Home>Furniture>Outdoor Furniture>How To Install A Patio Screen Door
Outdoor Furniture
How To Install A Patio Screen Door
Modified: March 7, 2024
Looking to enhance your outdoor space? Learn how to effortlessly install a patio screen door to keep bugs out and enjoy your outdoor furniture in peace.
(Many of the links in this article redirect to a specific reviewed product. Your purchase of these products through affiliate links helps to generate commission for Storables.com, at no extra cost. Learn more)
Introduction
Welcome to our comprehensive guide on how to install a patio screen door. Patio screen doors are a great addition to any outdoor space, as they allow you to enjoy the fresh air and beautiful views while keeping bugs and debris out. Installing a patio screen door may seem like a daunting task, but with the right tools and a step-by-step approach, you can easily complete the installation process.
In this article, we will walk you through each step of the installation process, from gathering the necessary tools and materials to adjusting and testing the screen door. By following our instructions, you’ll be able to successfully install a patio screen door and provide a functional and aesthetically pleasing entrance to your outdoor area.
Before we dive into the installation steps, it’s important to note that the specific instructions may vary depending on the type and model of the patio screen door you have purchased. Always refer to the manufacturer’s guidelines and instructions for your specific screen door model. With that said, let’s get started!
Key Takeaways:
- Enjoy bug-free outdoor living by installing a patio screen door. Follow our guide for a smooth installation process and a functional entrance to your outdoor space.
- Gather tools, measure, install, and test for a successful patio screen door installation. Enjoy fresh air and bug-free outdoor living!
Read more: How To Replace A Screen Patio Door
Step 1: Gather the necessary tools and materials
Before you begin installing a patio screen door, it’s essential to gather all the necessary tools and materials. Having everything you need in advance will make the installation process smoother and more efficient. Here is a list of the tools and materials you will need:
- Tape measure: This will help you accurately measure the dimensions of the door frame.
- Screwdriver: You’ll need a screwdriver to remove any existing screws or hardware on the door frame.
- Level: A level will ensure that the screen door is installed straight and level.
- Hacksaw or miter saw: You may need a hacksaw or miter saw to trim the screen door frame if it’s too long for your opening.
- Pencil or marker: To mark the areas where you’ll be making cuts or drilling holes.
- Drill and drill bits: You’ll need a drill to make holes for screws or other hardware.
- Screen door kit: This will include the main components of the screen door, such as the frame, track, handle, and hardware.
- Screen mesh: Depending on the type of screen door kit you have, you may need to purchase screen mesh separately.
It’s important to ensure that you have all the necessary tools and materials before you begin the installation process. This will prevent any delays or interruptions during the installation, allowing you to complete the project smoothly and efficiently.
Once you have gathered all the tools and materials listed above, you’re ready to move on to the next step: measuring and preparing the door frame.
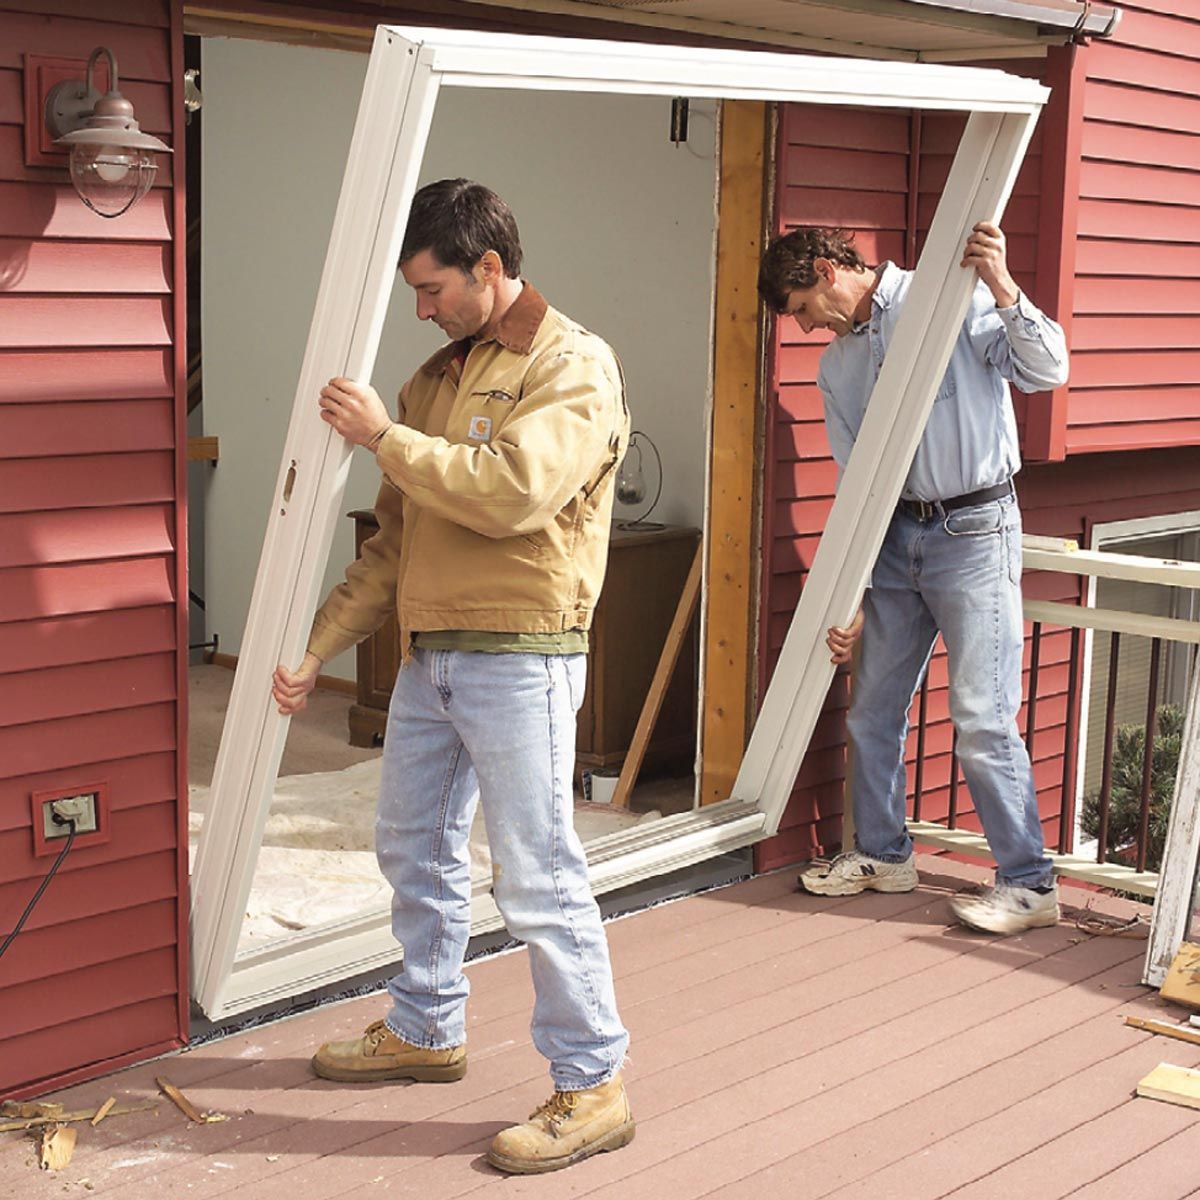
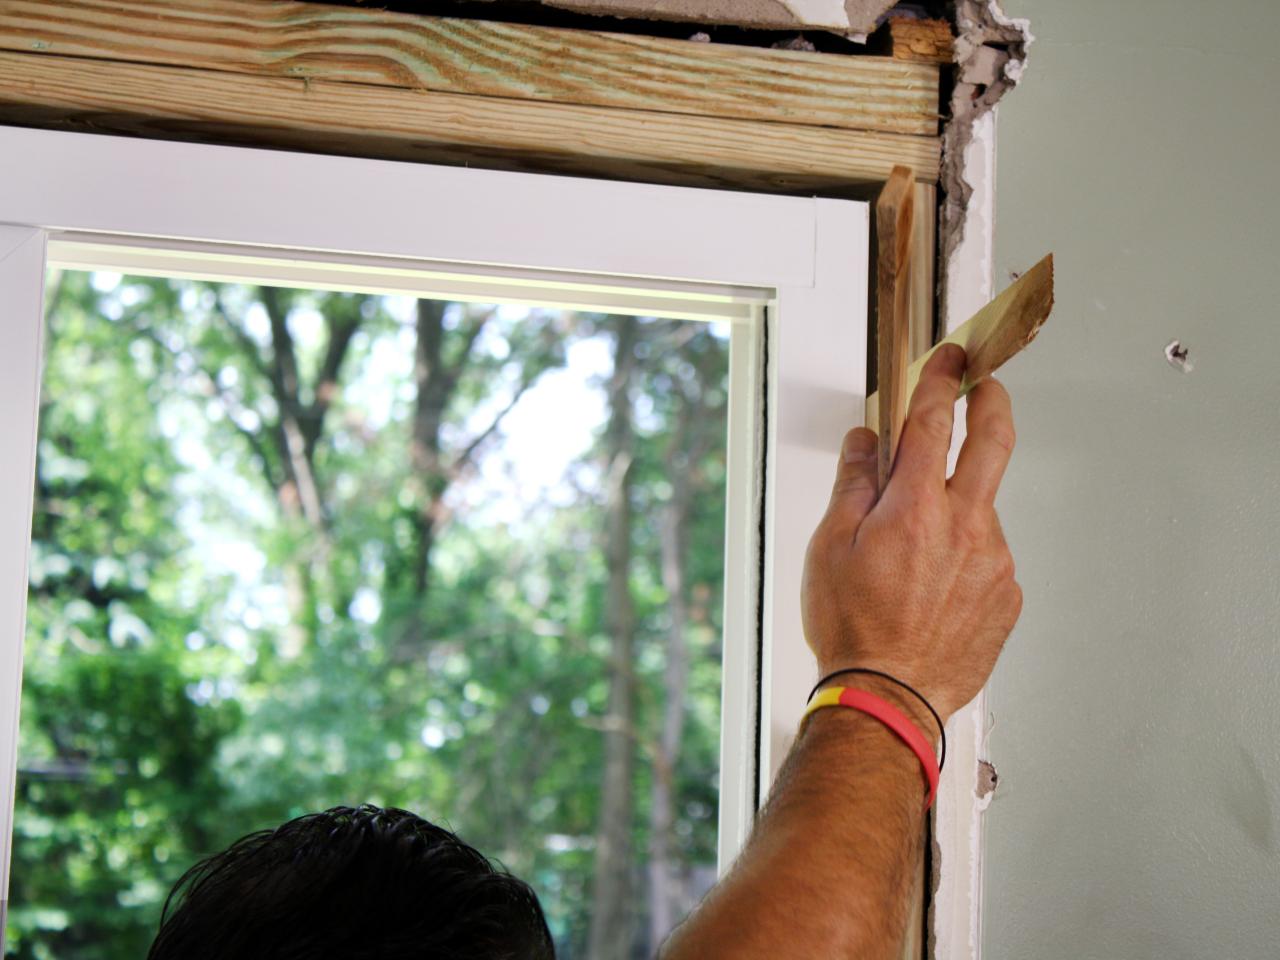
Step 2: Measure and prepare the door frame
Before installing the patio screen door, it’s crucial to accurately measure and prepare the door frame. This step ensures that the screen door fits properly and functions smoothly. Follow these steps to measure and prepare the door frame:
- Measure the width and height of the door frame: Using a tape measure, measure the width of the door frame from the inside edge to the opposite inside edge. Similarly, measure the height from the top of the door frame to the bottom. Take note of these measurements to ensure you purchase a screen door that fits your door frame dimensions.
- Check for obstructions: Inspect the door frame for any obstructions, such as molding or protruding hardware. Clear away any obstructions or trim them to ensure the screen door can be installed without interference.
- Remove any existing screws or hardware: Using a screwdriver, remove any existing screws or hardware from the door frame. This includes door handles, hinges, or any other attachments that might impede the installation of the screen door.
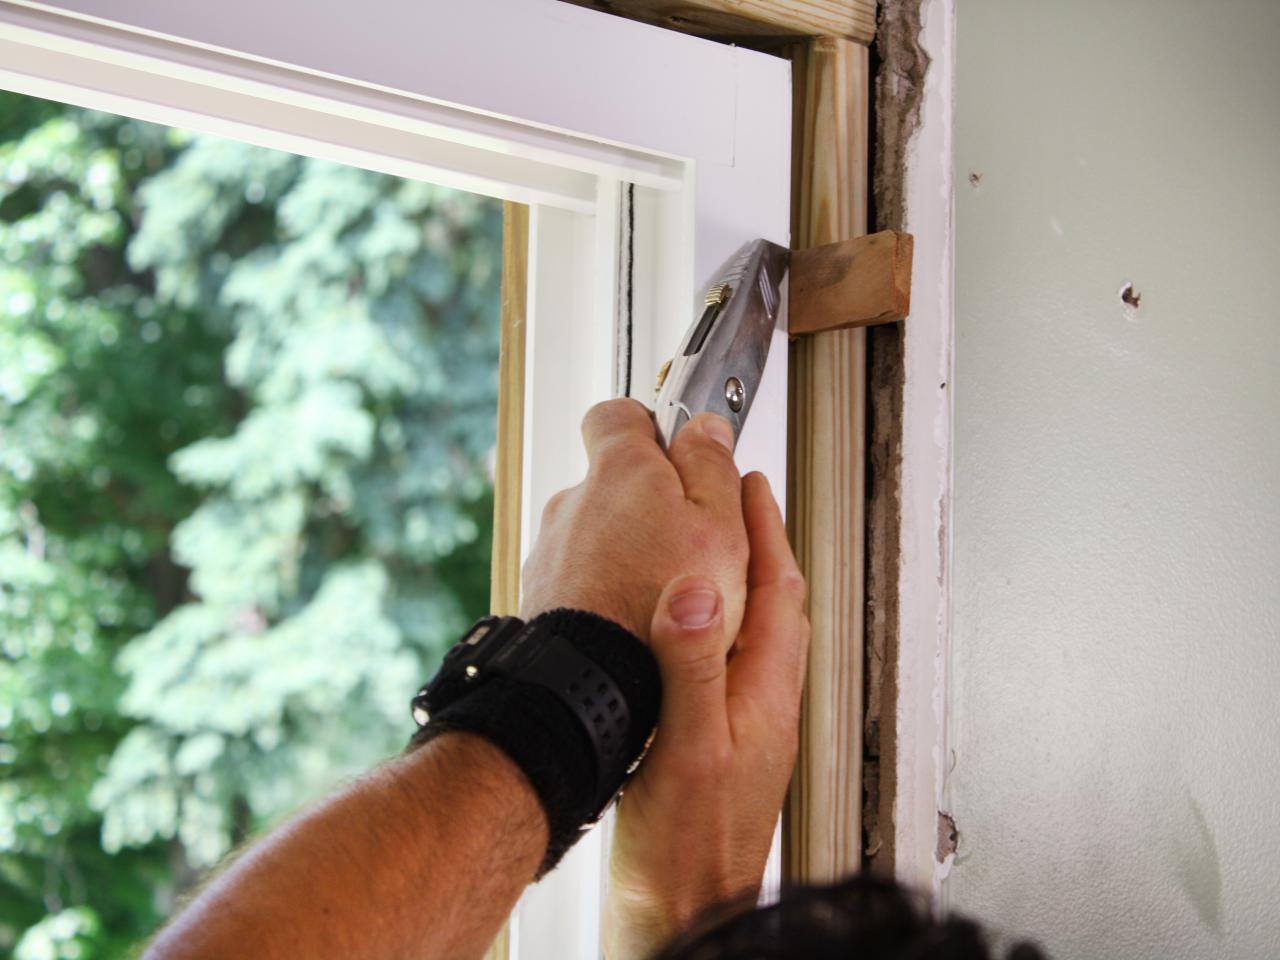
- Prepare the frame opening: Depending on the type of patio screen door kit you have, you may need to prepare the frame opening by removing a portion of the existing door frame. Measure the necessary amount to be removed, and use a hacksaw or miter saw to carefully trim the door frame. Make sure the cut is clean and level.
- Smooth any rough edges: After cutting the door frame, use sandpaper or a file to smooth any rough edges. This will prevent any splinters or sharp edges that could cause injury during installation or use of the screen door.
By accurately measuring and preparing the door frame, you’re setting the stage for a successful screen door installation. Once you have completed these steps, you’re now ready to move on to the next step: installing the screen door track.
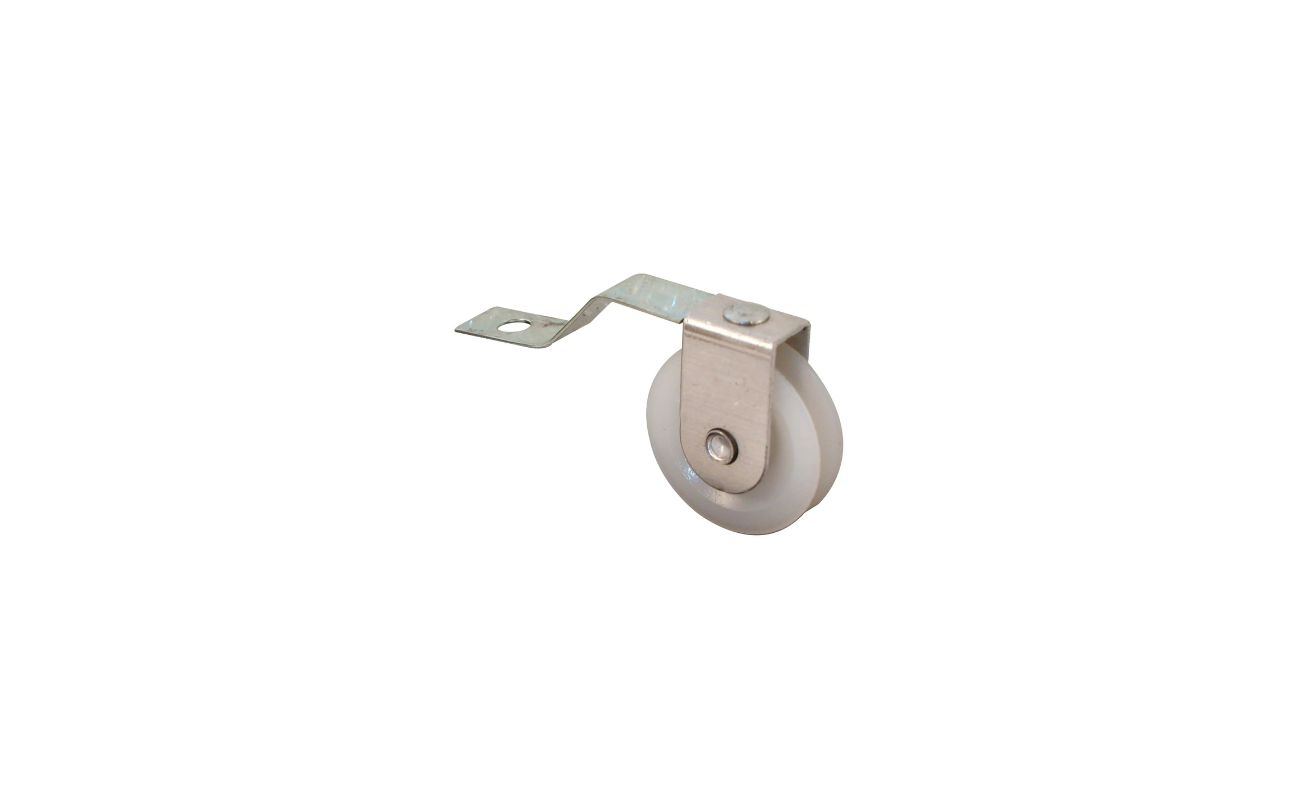
Step 3: Install the screen door track
Installing the screen door track is a crucial step in the installation process, as it provides the foundation for the screen door and ensures smooth opening and closing. Follow these steps to install the screen door track:
- Position the track: Place the screen door track at the bottom of the prepared door frame. Ensure that it is centered and aligned with the width of the door frame.
- Secure the track: Using a drill and appropriate drill bits, carefully make pilot holes through the track’s mounting holes and into the door frame. Then, secure the track in place by screwing it into the door frame.
- Check the track level: Use a level to ensure that the screen door track is straight and level. Adjust as necessary by loosening the screws and repositioning the track.
- Secure additional track pieces (if applicable): Depending on the design of your screen door, you may have additional track pieces to secure. Follow the manufacturer’s instructions and use the same method as above to position and secure the additional track pieces.
Installing the screen door track is a relatively straightforward process, but it’s essential to ensure that it is properly aligned and level. This ensures that the screen door operates smoothly and doesn’t get stuck or misaligned.
Once the screen door track is securely installed, it’s time to move on to the next step: installing the screen door frame.
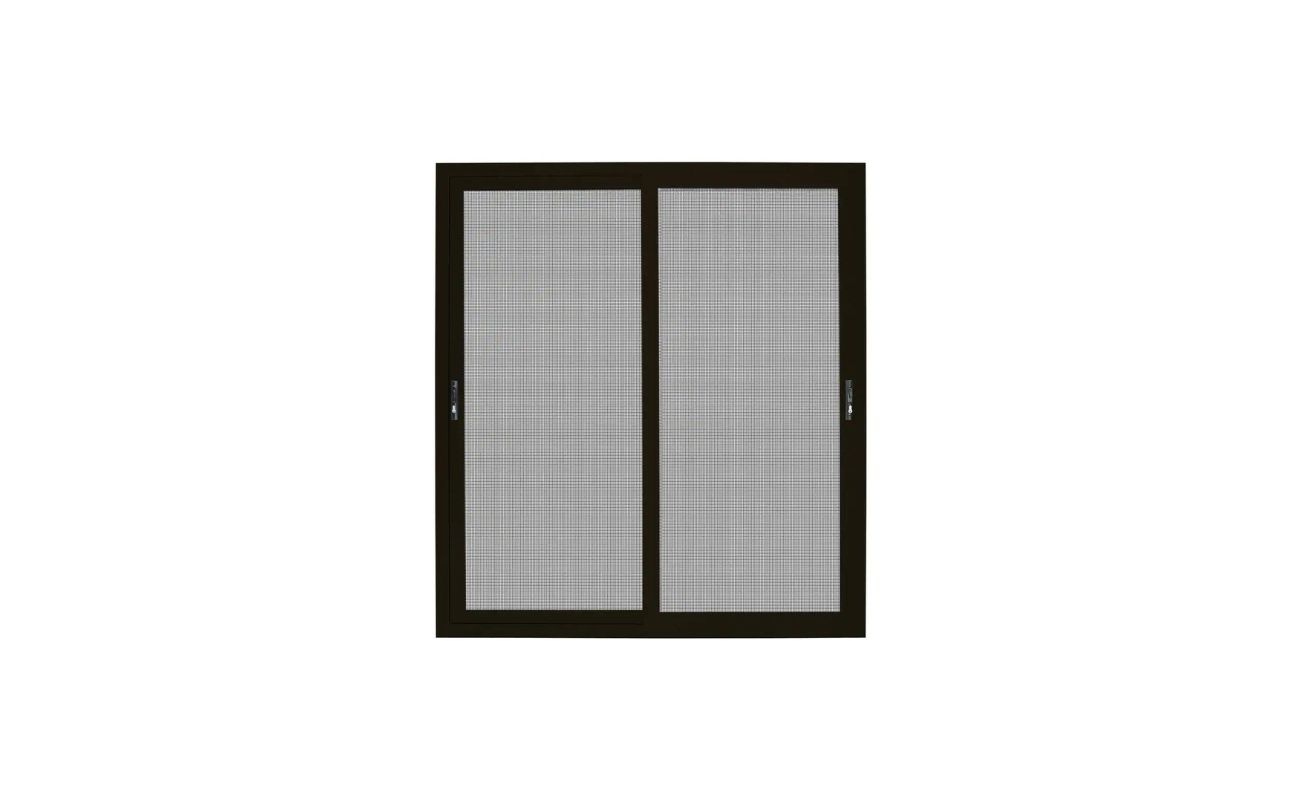
Step 4: Install the screen door frame
With the screen door track securely in place, it’s time to install the screen door frame. The frame provides structure and stability to the screen door, allowing it to function properly. Follow these steps to install the screen door frame:
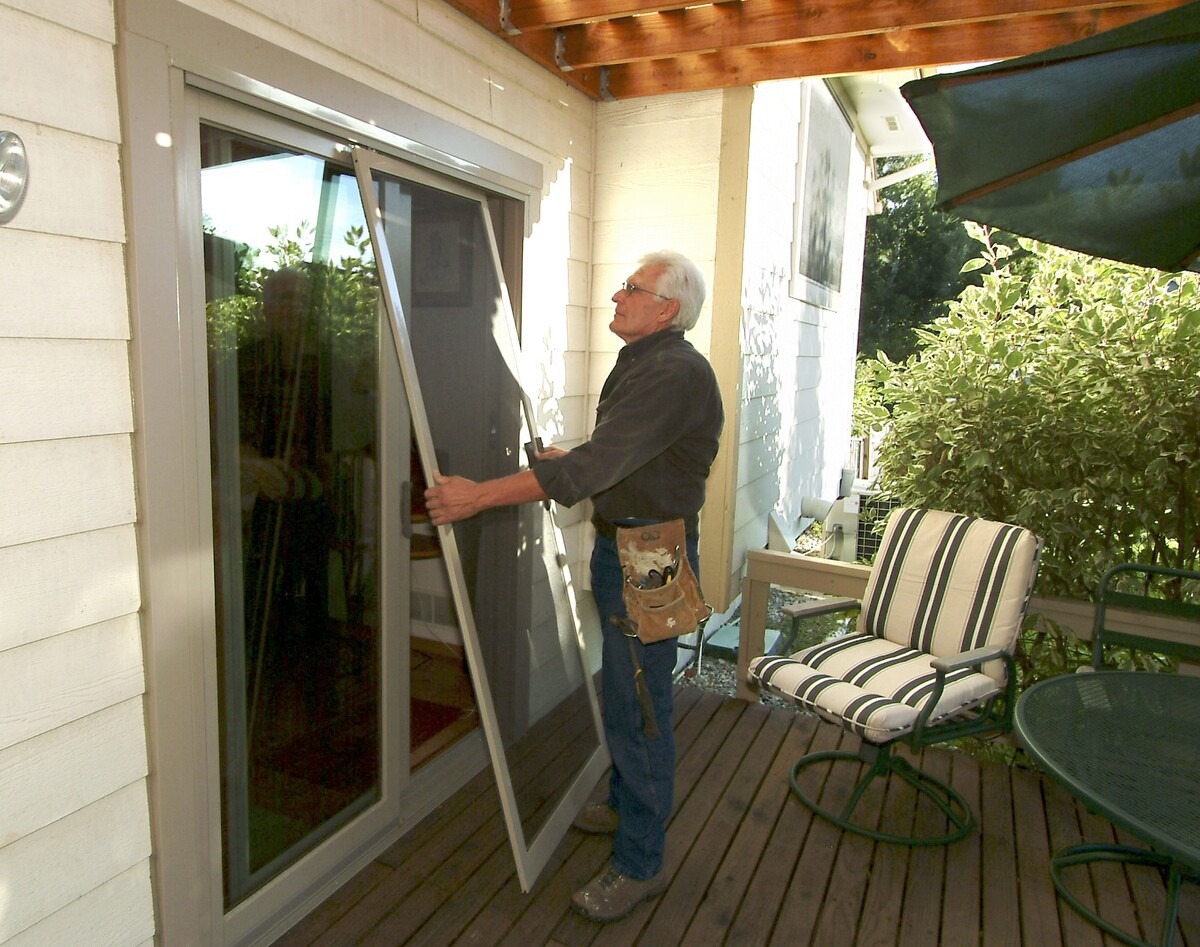
- Position the screen door frame: Place the screen door frame into the screen door track. Ensure that it fits snugly and is aligned with the top and sides of the door frame.
- Secure the frame to the track: Using a drill and appropriate screws, carefully attach the screen door frame to the track. Make sure to follow the manufacturer’s instructions regarding screw placement and quantity.
- Check the frame level: Use a level to ensure that the screen door frame is straight and level. Adjust as necessary by loosening the screws and repositioning the frame.
- Test the door swing: Gently open and close the screen door to ensure that it swings freely and smoothly. Make any adjustments if needed to ensure proper operation.
- Secure the frame to the door frame: Once the screen door frame is correctly positioned and swinging smoothly, secure it to the door frame using additional screws or hardware provided with the screen door kit.
Installing the screen door frame requires precision and attention to detail to ensure proper alignment and smooth operation. Take your time to ensure that the frame is securely attached to the track and door frame.
Now that the screen door frame is installed, we can move on to the next step: attaching the screen mesh.
When installing a patio screen door, make sure to measure the opening accurately before purchasing the door. This will ensure a proper fit and save you time and effort during installation.
Read more: How To Adjust A Patio Screen Door
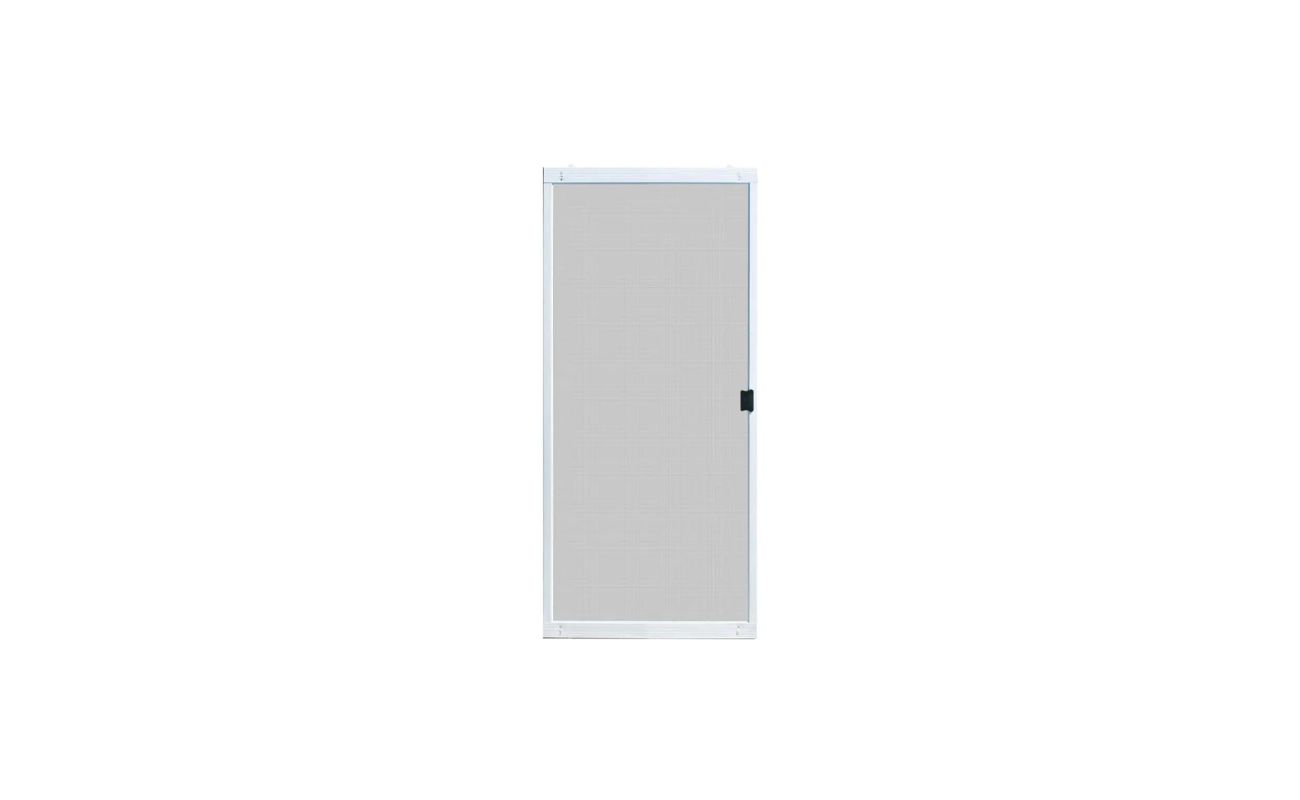
Step 5: Attach the screen mesh
Attaching the screen mesh to the screen door frame is the next step in the installation process. The screen mesh serves as a barrier against insects while still allowing fresh air to pass through. Follow these steps to attach the screen mesh:
- Measure and cut the screen mesh: Lay the screen mesh over the screen door frame, ensuring it covers the entire frame. Use a sharp utility knife or scissors to trim the screen mesh, leaving a couple of inches of extra mesh on all sides.
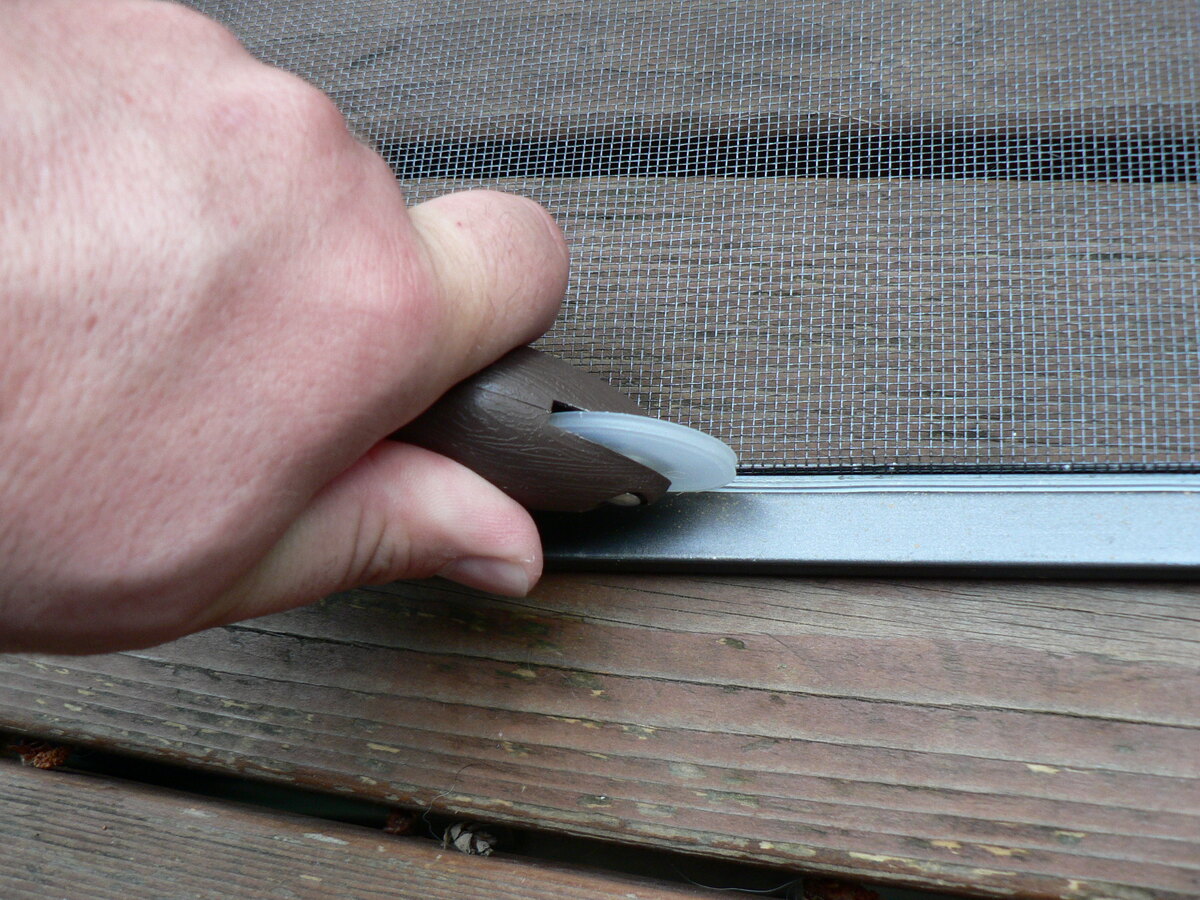
- Align and secure the screen mesh: Carefully position the cut screen mesh over the screen door frame, ensuring it is centered and aligned. Use a screen spline roller or a flat-edged tool to press the screen mesh into the grooves of the screen door frame.
- Tension the screen mesh: Starting from one corner, use the screen spline roller or flat-edged tool to press the screen spline into the grooves on top of the screen mesh. As you go along, apply even pressure to create tension and keep the screen mesh taut.
- Continue securing the screen mesh: Repeat the process of aligning and tensioning the screen mesh for each side of the screen door frame. Make sure to smooth out any wrinkles or creases as you go along.
- Trim any excess screen mesh: Once the screen mesh is securely attached, use a utility knife or scissors to carefully trim away the excess mesh, following the outline of the frame.
Attaching the screen mesh requires patience and attention to detail to ensure a smooth and wrinkle-free surface. Take your time to align and tension the screen mesh properly for the best results.
Now that the screen mesh is attached, it’s time to move on to the next step: installing the door handle and hardware.
Step 6: Install the door handle and hardware
Installing the door handle and hardware is an important step in completing the installation of your patio screen door. The handle allows you to easily open and close the screen door, while the hardware ensures proper operation and security. Follow these steps to install the door handle and hardware:
- Position the door handle: Determine the desired height and location for the door handle on the screen door. Mark the spots where you will be drilling holes for the handle.
- Drill holes for the door handle: Use a drill and an appropriate drill bit to carefully drill holes for the door handle on the screen door. Make sure to follow the manufacturer’s instructions for proper hole size and placement.
- Attach the door handle: Place the door handle onto the drilled holes and secure it in place using screws or other hardware provided with the handle. Make sure the handle is securely fastened to the screen door.
- Install additional hardware: Depending on the specific screen door model, you may need to install additional hardware such as a latch, lock, or closer. Follow the manufacturer’s instructions to properly install these components.
- Test the door handle and hardware: Gently open and close the screen door to ensure that the handle operates smoothly and that all hardware is functioning correctly. Make any necessary adjustments to ensure proper functionality.
The installation of the door handle and hardware adds the finishing touches to your patio screen door. Take your time to align and install these components properly for optimal performance and security.
Now that the door handle and hardware are installed, it’s time to move on to the final step: adjusting and testing the screen door.
Step 7: Adjust and test the screen door
Once you have completed the installation of the patio screen door, it’s important to adjust and test the door to ensure it is operating correctly. This final step ensures that the screen door opens, closes, and latches smoothly. Follow these steps to adjust and test the screen door:
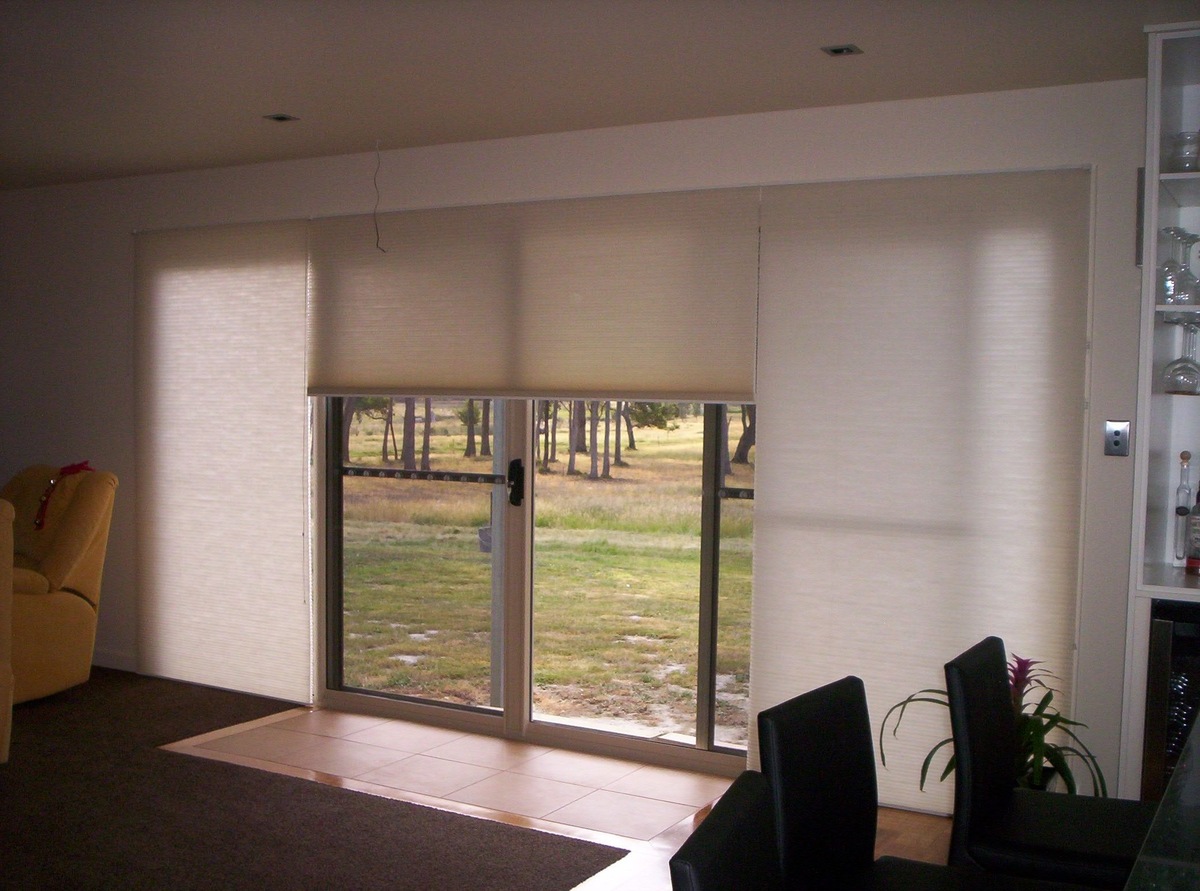
- Check the alignment: Stand back and observe the screen door from a distance. Ensure that it is centered within the door frame and that there are no visible gaps or misalignments.
- Adjust the hinges (if applicable): If your screen door has hinges that allow for adjustment, use a screwdriver to tighten or loosen the hinge screws, allowing for slight vertical and horizontal adjustments as needed.
- Test the door swing: Swing the screen door open and closed several times to check for smooth operation. Make sure it doesn’t scrape against the track, drag on the floor, or get stuck at any point.
- Check the door latch: Close the screen door and engage the latch mechanism. Ensure that the latch securely locks the screen door in place and that it is easy to open and close.
- Test the closing speed (if applicable): If your screen door has a closer mechanism, adjust the closing speed to your liking. The closer should provide enough force to smoothly close the door, but not slam it shut.
By adjusting and testing the screen door, you can address any minor issues and ensure that it is operating exactly as it should. This final step ensures that your patio screen door is functioning smoothly and securely.
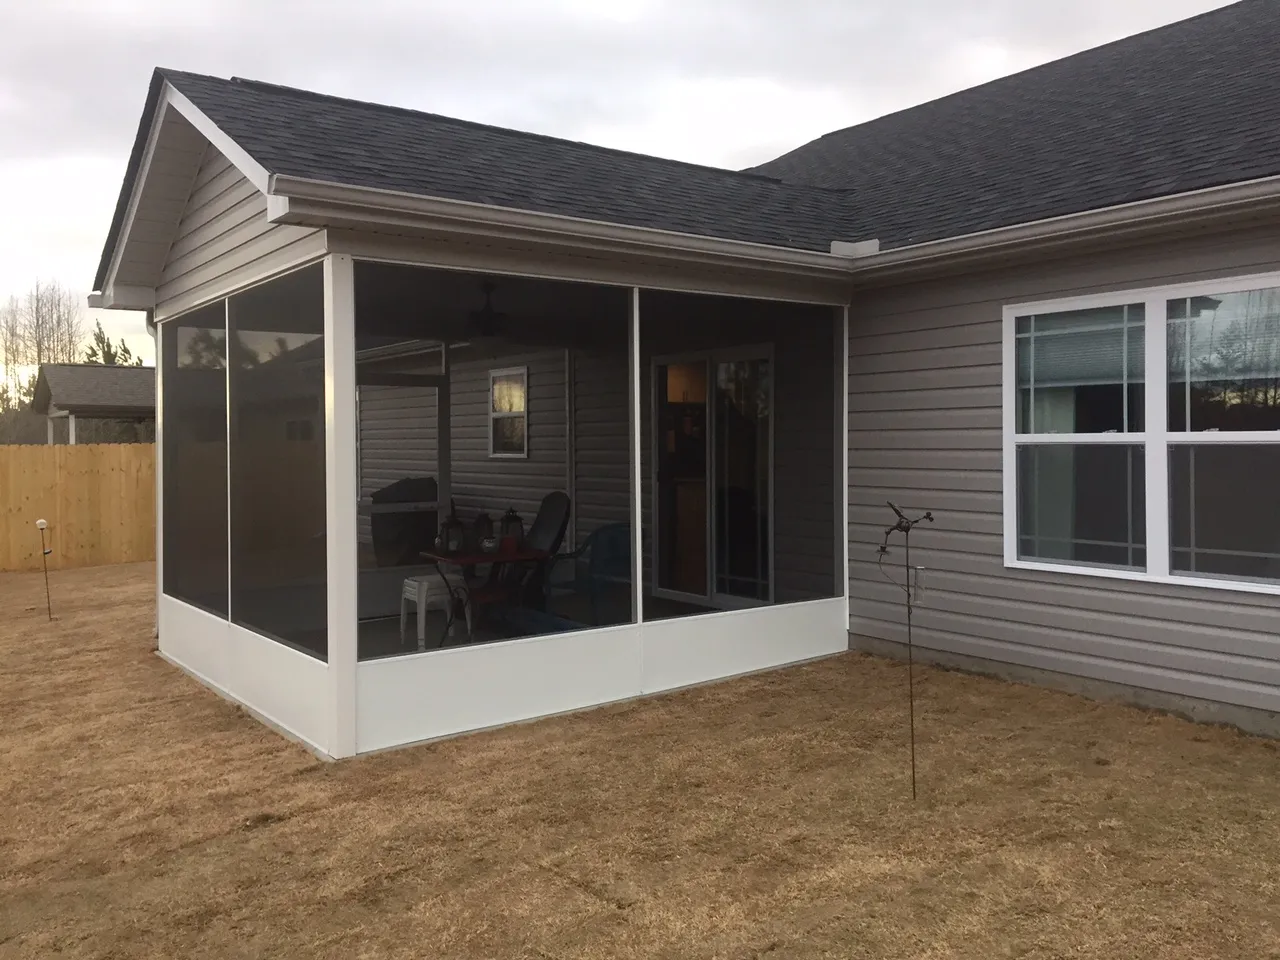
Congratulations! You have successfully installed and tested your patio screen door. Enjoy the fresh air and bug-free outdoor living experience that it provides!
With the completion of this step, our installation guide comes to an end. We hope this comprehensive guide has been helpful in assisting you with the installation of your patio screen door. If you have any further questions or need additional assistance, don’t hesitate to reach out to a professional or consult the manufacturer’s instructions specific to your screen door model.
Conclusion
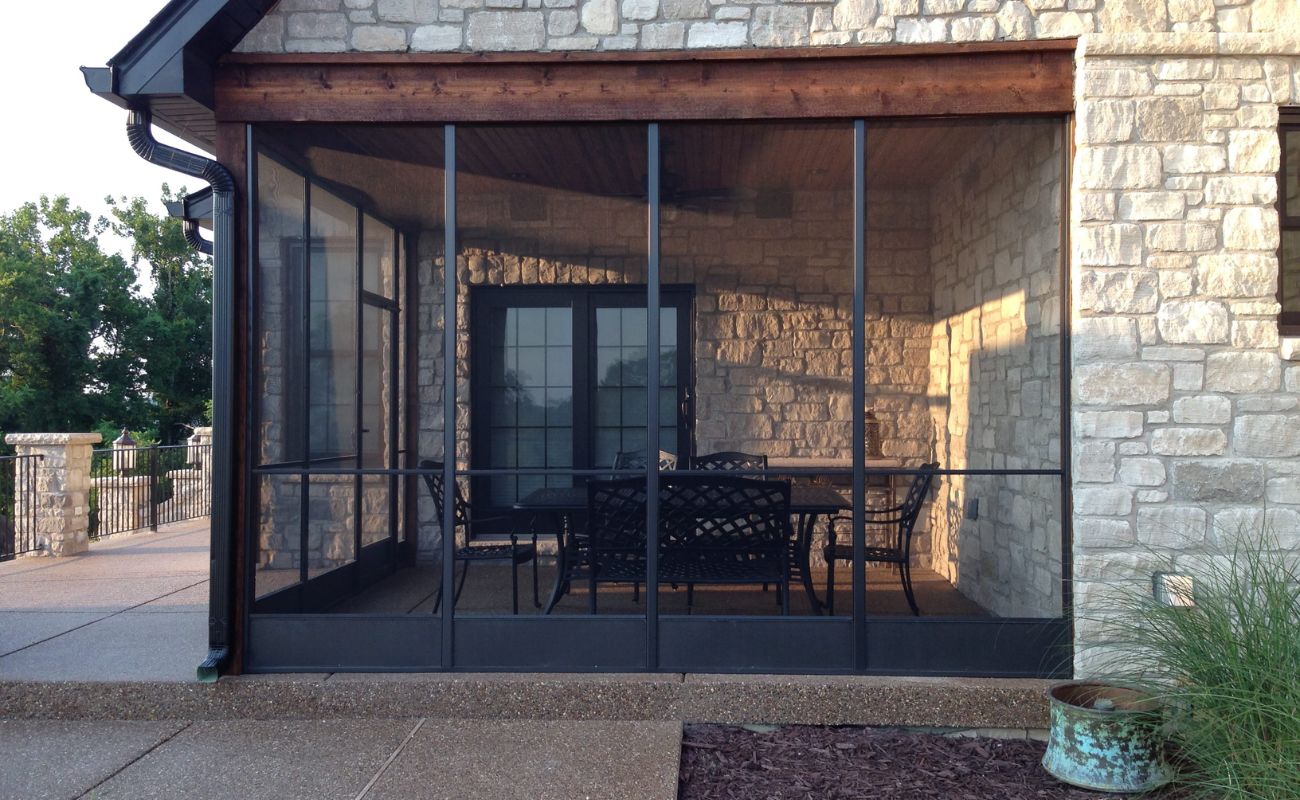
Installing a patio screen door can enhance your outdoor living experience by allowing you to enjoy fresh air and beautiful views while keeping insects and debris out. By following our step-by-step guide, you can successfully install a patio screen door and provide a functional and aesthetically pleasing entrance to your outdoor space.
In this comprehensive guide, we discussed each step of the installation process, from gathering the necessary tools and materials to adjusting and testing the screen door. We highlighted the importance of accurately measuring and preparing the door frame, installing the screen door track and frame, attaching the screen mesh, and installing the door handle and hardware. Finally, we emphasized the significance of adjusting and testing the screen door to ensure proper functionality.
Throughout the installation process, it is essential to refer to the manufacturer’s instructions for your specific screen door model. Variations may exist depending on the type and model of the patio screen door you have purchased.
By taking the time to carefully follow the installation steps and paying attention to detail, you can enjoy a seamless installation and a reliable patio screen door that provides you with a bug-free and enjoyable outdoor space.
Remember, if you encounter any challenges or need assistance, don’t hesitate to seek professional help or consult the manufacturer’s support.
Thank you for choosing our comprehensive guide for installing your patio screen door. We hope it has been informative and useful, and we wish you many enjoyable moments in your outdoor space!
Frequently Asked Questions about How To Install A Patio Screen Door
Was this page helpful?
At Storables.com, we guarantee accurate and reliable information. Our content, validated by Expert Board Contributors, is crafted following stringent Editorial Policies. We're committed to providing you with well-researched, expert-backed insights for all your informational needs.


0 thoughts on “How To Install A Patio Screen Door”