Home>Furniture>Outdoor Furniture>How To Install Patio Misters
Outdoor Furniture
How To Install Patio Misters
Modified: March 7, 2024
Learn how to install patio misters and create a comfortable outdoor space with our step-by-step guide. Enhance your outdoor furniture experience now!
(Many of the links in this article redirect to a specific reviewed product. Your purchase of these products through affiliate links helps to generate commission for Storables.com, at no extra cost. Learn more)
Introduction
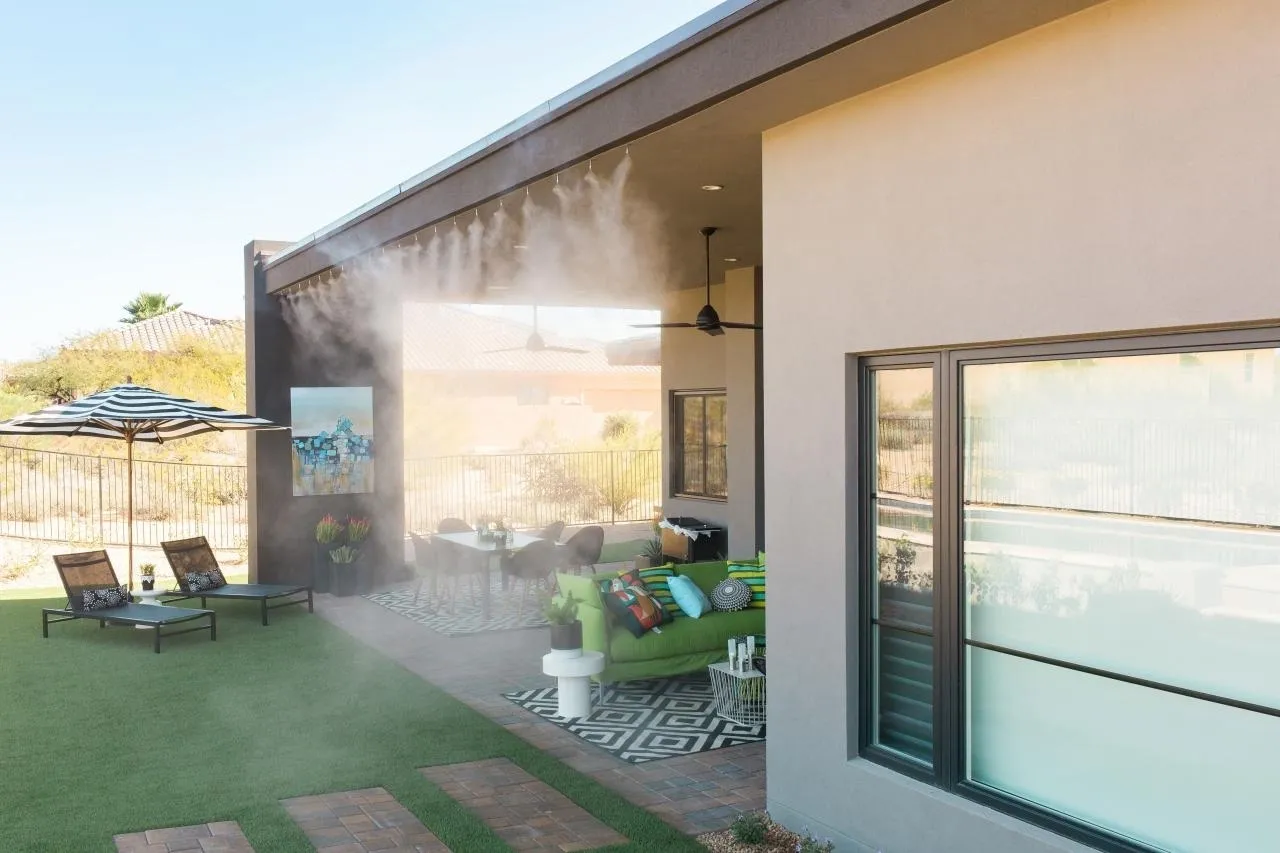
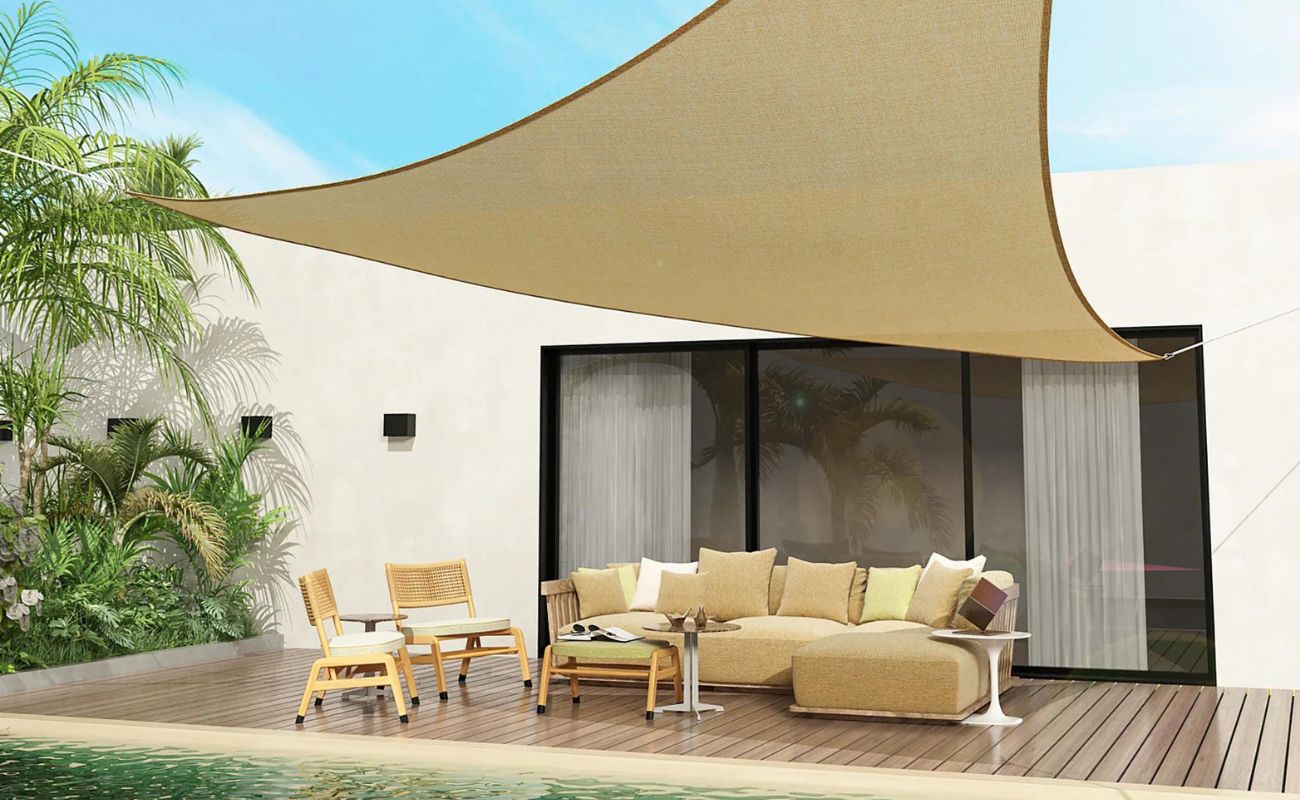
Welcome to our comprehensive guide on how to install patio misters! If you love spending time outdoors on your patio but find yourself longing for some relief from the sweltering heat, then installing patio misters could be the perfect solution for you. Patio misters provide a refreshing and cooling mist that can significantly lower the ambient temperature, creating a more comfortable outdoor space for you and your loved ones to enjoy.
Installing patio misters may seem like a daunting task, but with the right materials and a step-by-step approach, it can be a straightforward and rewarding DIY project. In this guide, we will walk you through the process of installing patio misters, ensuring that you have all the necessary information and guidance to successfully complete the project.
Before we dive into the specifics of the installation process, it’s important to gather all the required materials. This will ensure that you have everything you need on hand to complete the project efficiently and effectively.
Key Takeaways:
- Stay cool and comfortable on your patio by installing misters to lower the temperature and create a refreshing outdoor space for relaxation and entertainment.
- Strategic placement and proper installation of misting nozzles and water supply line are essential for effective cooling and maximum coverage on your patio.
Read more: How To Make A Patio Mister System
Step 1: Gather the Required Materials
Before you begin the installation process for your patio misters, it’s essential to gather all the necessary materials. Having everything on hand will save you time and prevent any delays during the installation. Here is a list of the materials you will need:
- Patio misting kit: This should include the misting nozzles, tubing, and fittings.
- Water supply line: You will need a flexible water supply line that can be connected to your outdoor faucet.
- Timer: A timer will allow you to automate the misting system, ensuring that it operates at specific intervals.
- Mounting brackets: These brackets will be used to secure the misting system to your patio structure.
- PVC cement: This is necessary for securing the tubing and fittings together.
- Teflon tape: Teflon tape will help create a watertight seal when connecting the water supply line and fittings.
- Drill and drill bits: You will need a drill to create holes for the misting nozzles and to secure the mounting brackets.
- Measuring tape: This will be used to measure and mark the placement of the misting system.
- Wire cutters: Wire cutters will come in handy for trimming the tubing to the desired length.
- Adjustable wrench: An adjustable wrench will be needed to tighten the fittings.
Once you have gathered all the necessary materials, you are ready to move on to the next step: determining the placement of your patio misters.
Step 2: Determine the Placement of Patio Misters
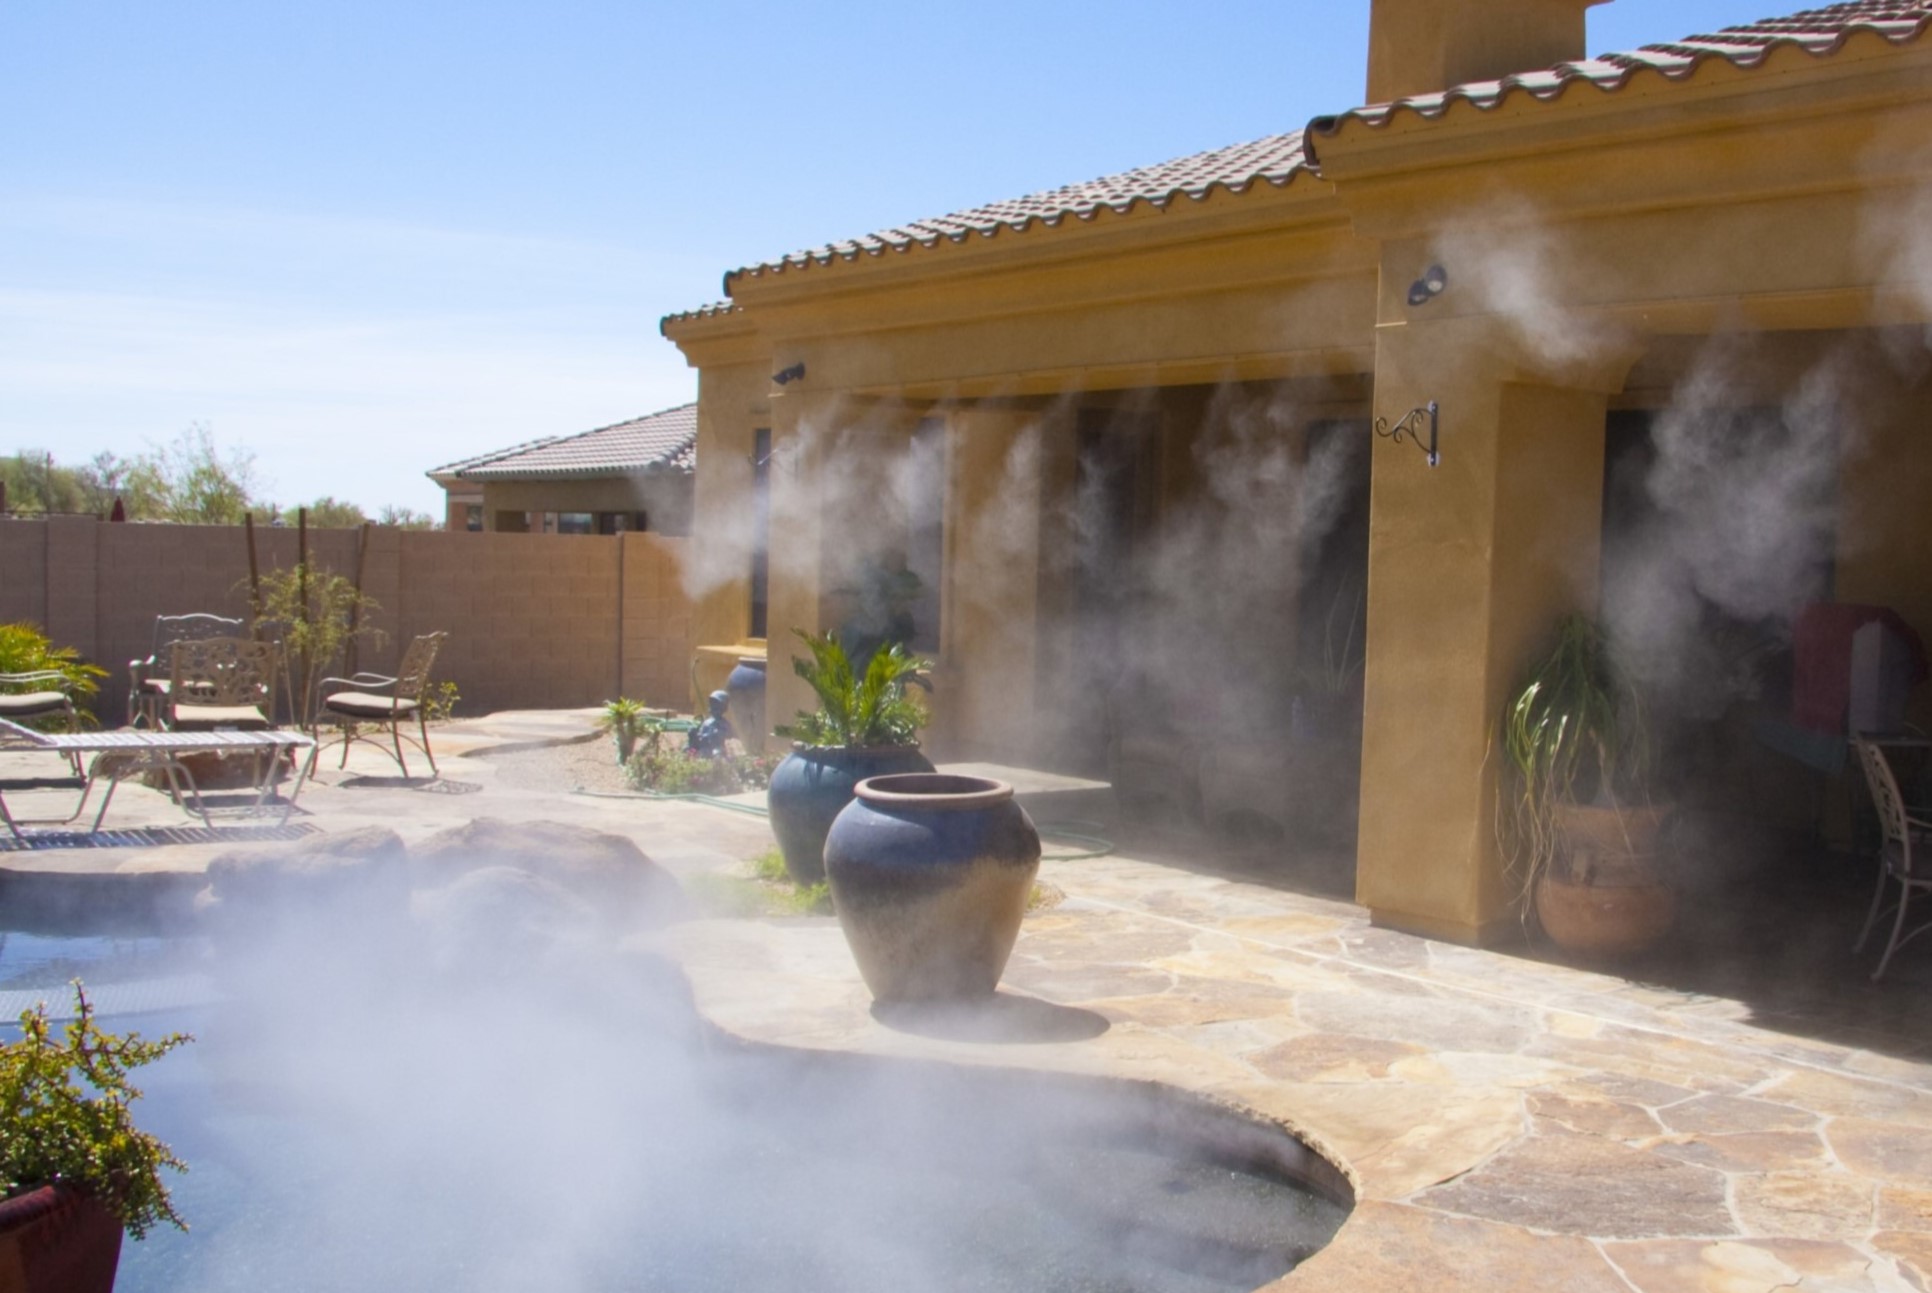
Choosing the right placement for your patio misters is crucial for maximum effectiveness and coverage. You want to ensure that the mist reaches all areas of your patio, creating a cool and refreshing environment. Here are some considerations to keep in mind when determining the placement:
1. Coverage Area: Take a look at the layout of your patio and identify the areas where you and your guests spend the most time. These are the primary areas where you will want to install the misters. Consider factors such as seating areas, dining spaces, and lounging spots. The goal is to provide mist coverage in the areas where you need it most.
2. Distance from Seating: It’s important to place the patio misters at an appropriate distance from seating areas. Too close, and the mist may become overwhelming or cause discomfort. Too far, and the mist may not reach you effectively. Aim for a balance that provides a gentle and refreshing mist without drenching you.
3. Shade and Sun Exposure: Take into account the natural shade and sun exposure on your patio. If you have areas that are more exposed to direct sunlight, those are prime locations for the misters. Not only will they cool down those areas, but the mist can also help create a more pleasant and comfortable environment by reducing the intensity of the sun’s rays.
4. Wind Direction: Consider the prevailing wind direction on your patio. Avoid placing the misters in areas where the wind will blow the mist away or create uneven coverage. You want the mist to disperse evenly throughout the patio rather than being blown away without providing any cooling effect.
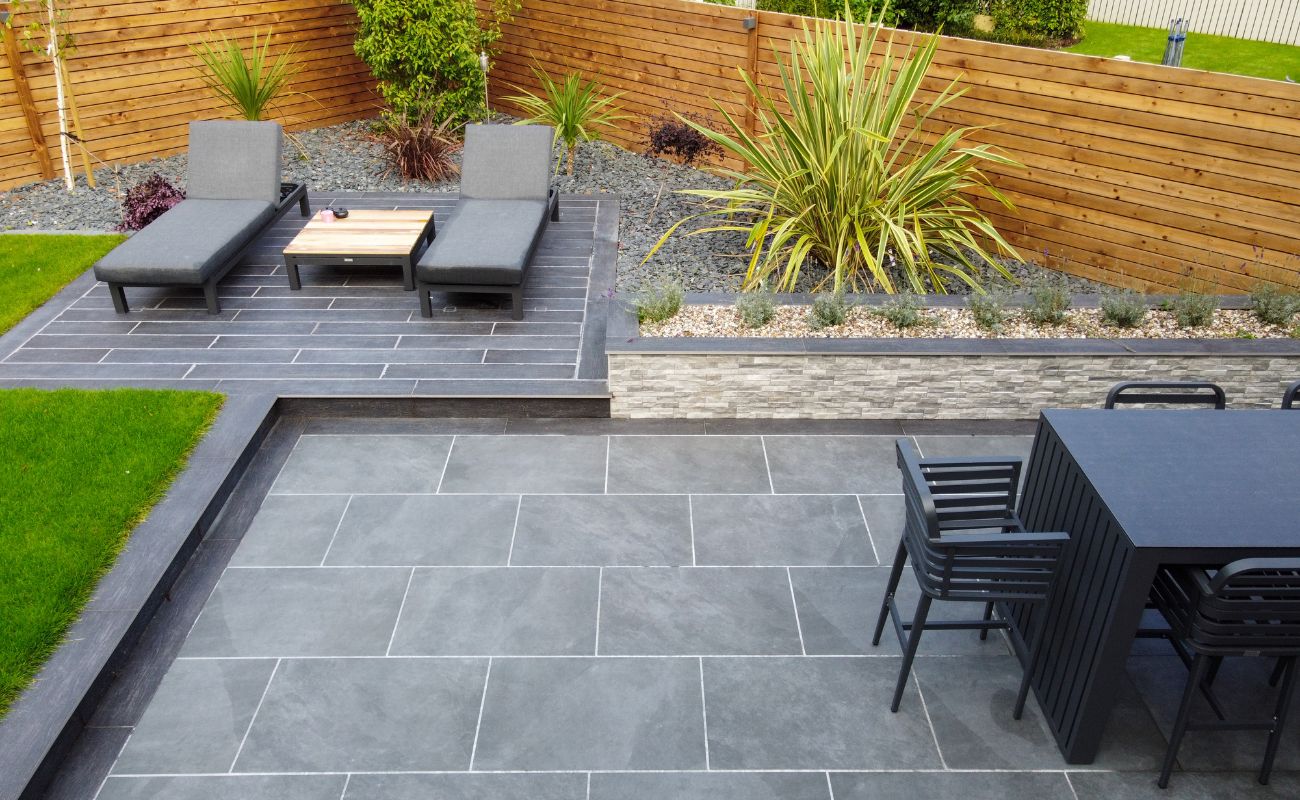
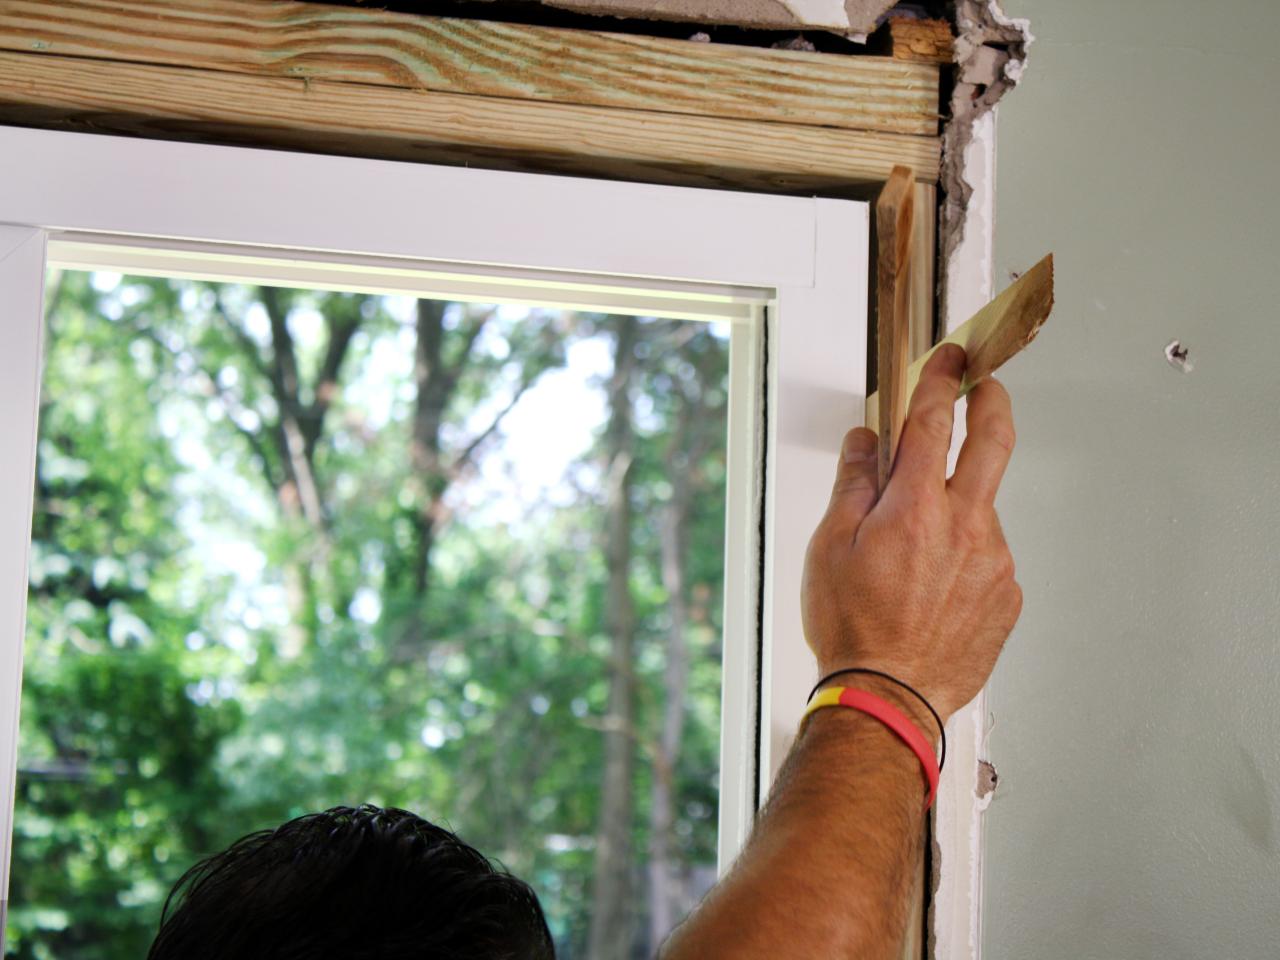
5. Structural Mounting Points: Look for stable structures on your patio, such as beams, pergolas, or awnings, where you can mount the misters. These structures will provide a sturdy anchor for securing the misting system and ensure its stability over time.
By considering these factors, you can determine the optimal placement for your patio misters and ensure that you are creating a cool and comfortable outdoor space. Once you have decided on the placement, it’s time to move on to the next step: measuring and marking the placement of the misters.
Step 3: Measure and Mark the Placement
Now that you have determined the ideal placement of your patio misters, it’s time to measure and mark the exact locations where the misting system will be installed. Proper measurement and marking will ensure accurate installation and optimal mist coverage. Follow these steps to measure and mark the placement:
1. Start by measuring the distance between the mounting points or structures where you will be attaching the misting system. Use a measuring tape to determine the length of tubing needed to connect these points. It’s advisable to add a few extra inches to allow for flexibility and adjustments during the installation process.
2. Mark the locations for the misting nozzles along the measured tubing length. Ideally, space the nozzles around 2-3 feet apart to ensure even misting coverage. Use a marker or a piece of tape to indicate where each nozzle will be placed.
3. While marking the locations, ensure that the misting nozzles are facing towards the desired misting area. Adjust the orientation of the nozzles accordingly to ensure the mist reaches the intended space.
4. If you have multiple rows of misting nozzles, make sure to measure and mark the tubing for each row separately. This will help maintain consistency and avoid any confusion during the installation process.
5. Once you have marked the tubing with the nozzle locations, it’s a good idea to double-check your measurements and markings to ensure accuracy. This step will help prevent any errors or miscalculations that could affect the overall performance of your patio misters.
By taking the time to measure and mark the placement of your patio misters, you are setting yourself up for a successful installation. Accurate measurements and markings will ensure that your misting system provides efficient and effective cooling throughout your patio. With the placement determined and marked, it’s time to move on to the next step: installing the water supply line.
Step 4: Install the Water Supply Line
Now that you have measured and marked the placement of your patio misters, it’s time to install the water supply line. The water supply line will connect the misting system to your outdoor faucet and provide the necessary water flow for the misting process. Follow these steps to install the water supply line:
- Locate your outdoor faucet: Identify the outdoor faucet that you will be connecting to the misting system. Make sure the faucet is in good working condition and can provide a steady water supply.
- Turn off the water supply: Before installing the water supply line, turn off the water supply to your outdoor faucet. This will prevent any water flow while you make the necessary connections.
- Prepare the water supply line: Cut the water supply line to the length required to reach from the outdoor faucet to the first misting nozzle. Ensure that you have enough slack to accommodate any bends or connections along the way.
- Attach the fittings: Slide the appropriate fittings onto each end of the water supply line. Use Teflon tape to create a watertight seal. Tighten the fittings securely using an adjustable wrench.
- Connect to the outdoor faucet: Screw the end of the water supply line with the fitting onto the outdoor faucet. Ensure that it is tightly secured to prevent any leakage.
- Secure the water supply line: Use mounting brackets or clips to secure the water supply line along the desired route. This will help keep it in place and prevent any accidental damage or displacement.
- Turn on the water supply: Once the water supply line is securely installed, turn on the water supply to your outdoor faucet. Check for any leaks along the water supply line and make any necessary adjustments or repairs.
By following these steps, you can successfully install the water supply line for your patio misters. Proper installation ensures a steady flow of water to the misting system, allowing it to function optimally. With the water supply line in place, you are ready to move on to the next step: attaching mist nozzles to the patio misters.
When installing patio misters, make sure to place the misting nozzles at least 8-10 feet apart for even coverage. This will ensure that the mist is distributed evenly across the entire patio area.
Read also: 10 Best Patio Mister For 2024
Step 5: Attach Mist Nozzles to the Patio Misters
With the water supply line installed, it’s time to attach the mist nozzles to the patio misters. The mist nozzles are responsible for creating a fine mist that cools the surrounding area. Follow these steps to properly attach the mist nozzles:
- Inspect the mist nozzles: Before attaching the mist nozzles, check them for any damage or clogs. Clean them if necessary to ensure optimal misting performance.
- Prepare the misting system: If your patio misting system came with pre-drilled holes for the mist nozzles, skip to the next step. Otherwise, use a drill and the appropriate drill bit size to create holes along the marked locations on the tubing.
- Insert the mist nozzles: Gently insert each mist nozzle into its designated hole. Press firmly but avoid using excessive force to prevent any damage to the nozzle or the tubing.
- Secure the mist nozzles: If your misting system has built-in clips or fittings to secure the mist nozzles, use them to firmly hold the nozzles in place. If not, you can secure the mist nozzles with zip ties or small clamps.
- Adjust the nozzle orientation: Once all the mist nozzles are inserted and secured, adjust their orientation as needed. Ensure that they are facing the desired misting area, allowing the mist to disperse evenly across the patio.
- Test the mist nozzles: With the mist nozzles attached, it’s time to test their functionality. Turn on the water supply and observe the misting process. Check for any leaks, clogs, or uneven misting patterns. Make adjustments as necessary.
By following these steps, you can successfully attach the mist nozzles to your patio misters. Proper attachment and positioning of the nozzles ensure that the misting system operates efficiently and provides optimal cooling. With the mist nozzles in place, it’s time to move on to the next step: connecting the water supply line to the mist nozzles.
Step 6: Connect the Water Supply Line to the Mist Nozzles
Now that the mist nozzles are attached to the patio misters, it’s time to connect the water supply line to the misting system. This step will allow the water to flow through the tubing and reach the nozzles, creating a refreshing mist. Follow these steps to connect the water supply line to the mist nozzles:
- Inspect the fittings: Take a close look at the fittings that came with your patio misting kit. Ensure that they are in good condition and free from any damage or defects.
- Connect the fittings: Attach the fittings to the ends of the water supply line, making sure they match the size and type of fittings on the misting system. Use Teflon tape on the threaded connections to create a watertight seal.
- Secure the connections: Use an adjustable wrench to tighten the fittings securely. Be careful not to overtighten, as it can lead to cracks or leaks in the fittings or tubing.
- Connect the fittings to the mist nozzles: Attach the fittings on the water supply line to the corresponding fittings on the mist nozzles. Again, use an adjustable wrench to tighten the connections to ensure they are secure.
- Check for leaks: Turn on the water supply and examine the connection points for any leaks. Make sure that all fittings are tightly secured and that there are no water drips or sprays along the tubing.
- Adjust the water flow: If desired, install a flow control valve or adjust the flow rate at the outdoor faucet to regulate the water pressure and mist intensity. This will allow you to customize the misting experience to your preferences.
By following these steps, you can successfully connect the water supply line to the mist nozzles. Proper connections ensure a consistent and reliable flow of water to create a refreshing mist. With the water supply line connected, it’s time to move on to the final step: testing the patio misters.
Step 7: Test the Patio Misters
Now that the patio misters are installed and all connections have been made, it’s time to test the system to ensure proper functionality and performance. Testing the patio misters will allow you to identify any issues or adjustments needed before enjoying the full cooling benefits. Follow these steps to test the patio misters:
- Ensure the water supply is turned on: Double-check that the water supply to the misting system is turned on at the outdoor faucet.
- Inspect the misting pattern: Observe the misting pattern produced by the mist nozzles. Check if the mist is evenly distributed and covers the desired area. Look for any clogs, blockages, or misting irregularities.
- Adjust the mist nozzles: If needed, make adjustments to the orientation and positioning of the mist nozzles. This will help fine-tune the misting pattern and ensure proper coverage.
- Check for leaks: Carefully inspect all connection points, fittings, and tubing for any signs of leaks. Look for water dripping or spraying from the connections. Address any leaks by tightening fittings or replacing damaged components.
- Evaluate the misting performance: Assess the overall performance of the patio misters. Determine if the misting system is effectively cooling the surrounding area. Pay attention to the temperature difference and the level of comfort provided.
- Make adjustments if necessary: If you notice any issues during the testing phase, such as uneven misting or insufficient coverage, make the necessary adjustments. This could include repositioning the mist nozzles, troubleshooting clogged nozzles, or adjusting the water pressure.
By following these steps, you can ensure that your patio misters are working optimally and providing the desired cooling effect. Testing the system allows you to make any necessary adjustments or repairs, guaranteeing a pleasant and refreshing outdoor experience. Once you are satisfied with the testing results, you can sit back, relax, and enjoy your wonderfully cool patio atmosphere!
Conclusion
Congratulations! You have successfully learned how to install patio misters and create a refreshing oasis in your outdoor space. By following the steps outlined in this guide, you have gained the knowledge and skills needed to tackle this DIY project with confidence.
Patio misters are an excellent addition to any outdoor area, providing relief from the scorching heat and creating a comfortable environment for you and your loved ones to enjoy. By strategically placing mist nozzles and properly connecting the water supply line, you can create a cooling mist that cools down your patio, making it the perfect place to relax, entertain, or dine alfresco.
Throughout the installation process, it’s crucial to consider factors such as coverage area, seating locations, shade, wind direction, and structural mounting points. By being mindful of these factors, you can ensure that your patio misters provide maximum effectiveness and coverage, targeting the areas where you need them most.
Remember to test your patio misters after installation to check for proper functionality, misting patterns, and any leaks. Adjustments may be necessary to fine-tune the misting system and make it even more effective in cooling your outdoor space.
With your new patio misters in place, you can now sit back, relax, and enjoy long summer days and evenings in comfort. Invite friends and family over, host outdoor gatherings, or simply have a peaceful moment to yourself in the cool misty breeze.
Keep in mind that regular maintenance is essential to keep your patio misters working smoothly. Clean the mist nozzles periodically to remove any mineral deposits or debris that may clog the system and affect its performance.
We hope this guide has helped you create the perfect outdoor oasis with the installation of patio misters. Enjoy the comfort and relaxation they provide, and make lasting memories in your beautifully cool patio space!
Frequently Asked Questions about How To Install Patio Misters
Was this page helpful?
At Storables.com, we guarantee accurate and reliable information. Our content, validated by Expert Board Contributors, is crafted following stringent Editorial Policies. We're committed to providing you with well-researched, expert-backed insights for all your informational needs.

0 thoughts on “How To Install Patio Misters”