Home>Furniture>Outdoor Furniture>How To Make A Cat Patio
Outdoor Furniture
How To Make A Cat Patio
Modified: September 1, 2024
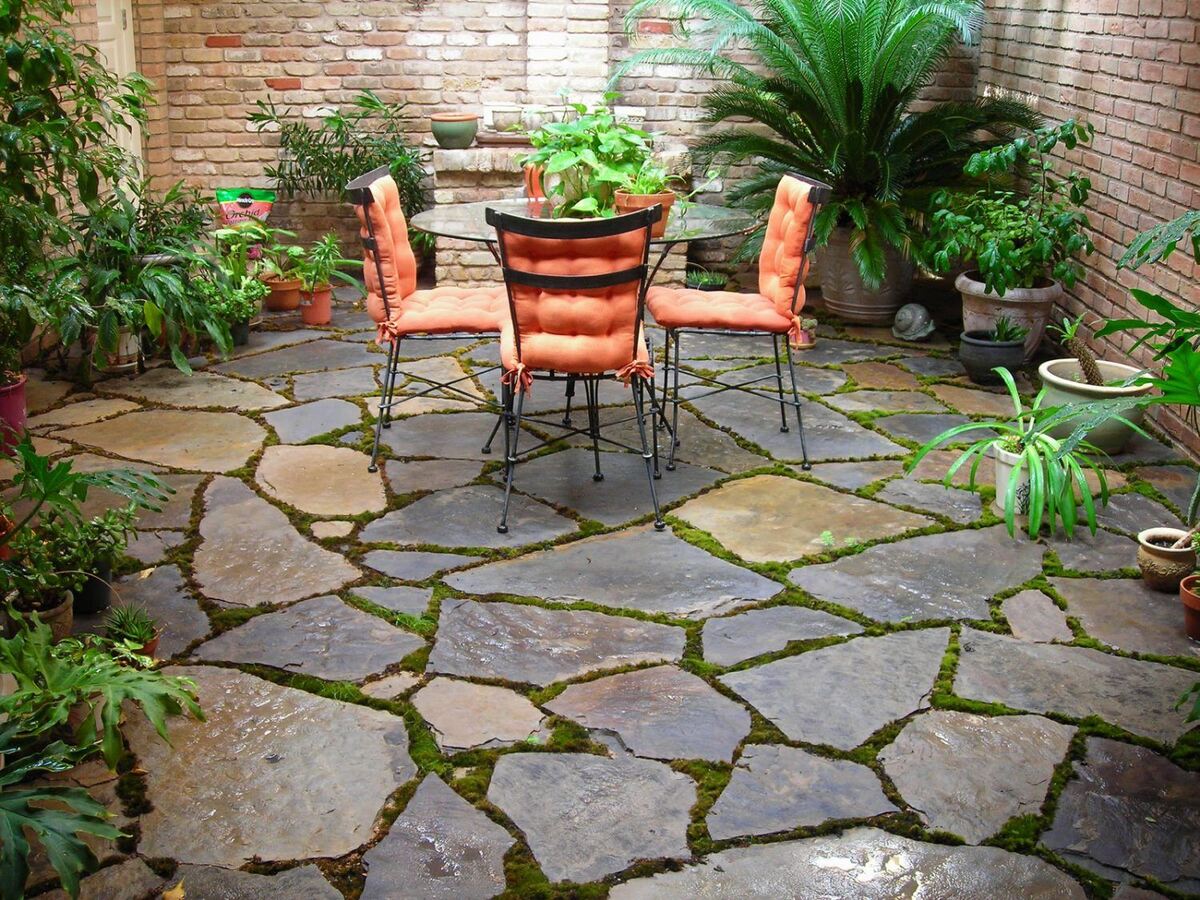
Learn how to create a cat patio with outdoor furniture for your furry friend's comfort and enjoyment. Enhance your outdoor space while providing a safe and relaxing area for your cat.
(Many of the links in this article redirect to a specific reviewed product. Your purchase of these products through affiliate links helps to generate commission for Storables.com, at no extra cost. Learn more)
Introduction
Welcome to the world of outdoor furniture! Whether you’re a seasoned pro or just starting to explore the wonderful world of patio sets, hammocks, and lounge chairs, this comprehensive guide has got you covered. With the right outdoor furniture, you can transform your backyard, patio, or balcony into a stunning and comfortable outdoor oasis.
But before you dive head-first into the world of outdoor furniture, it’s important to understand the key factors to consider when making a purchase. From choosing the right materials to understanding different styles, this guide will provide you with all the information you need to make an informed decision.
When it comes to outdoor furniture, durability is key. Since these pieces will be exposed to the elements, it’s important to choose materials that are weather-resistant and can withstand the test of time. Common materials used for outdoor furniture include aluminum, teak, wicker, and wrought iron. Each material has its own advantages and disadvantages, so it’s important to choose one that suits your specific needs and preferences.
In addition to durability, comfort is another important factor to consider. After all, what’s the point of having a beautiful outdoor furniture set if you can’t relax and enjoy it? Look for pieces that offer ample cushioning and support, such as ergonomic chairs, plush sofas, and padded loungers. Don’t forget to consider the size and dimensions of the furniture as well, ensuring that it fits comfortably in your outdoor space.
Style is also a crucial aspect of outdoor furniture. Just like indoor furniture, outdoor pieces come in a wide range of styles, from contemporary and minimalist to rustic and traditional. Determine the overall aesthetic you want to achieve in your outdoor space and choose furniture that complements it. Whether you prefer sleek and modern lines or ornate and intricate designs, there’s a style out there for every taste.
Besides the furniture itself, it’s important to consider the accessories and accents that can enhance your outdoor space. From umbrellas and canopies to outdoor rugs and throw pillows, these small details can add a touch of personality and style to your patio. Don’t forget to think about lighting as well, as it can create a warm and inviting atmosphere during nighttime gatherings.
By considering these key factors and doing thorough research, you can find the perfect outdoor furniture that fits your needs and brings your outdoor space to life. So, grab a cup of coffee and get ready to dive into the fascinating world of outdoor furniture. Your dream outdoor oasis awaits!
Key Takeaways:
- Choosing the right location, measuring and planning, and gathering materials are crucial steps in creating a comfortable and stylish outdoor furniture haven. Consider cat-friendly elements and add finishing touches for a personalized outdoor oasis.
- Incorporating cat-friendly elements like scratching posts and comfortable bedding ensures that your furry friends can also enjoy your outdoor furniture. Adding cushions, rugs, and lighting completes the inviting atmosphere of your outdoor oasis.
Read more: How To Make A Cat Hammock
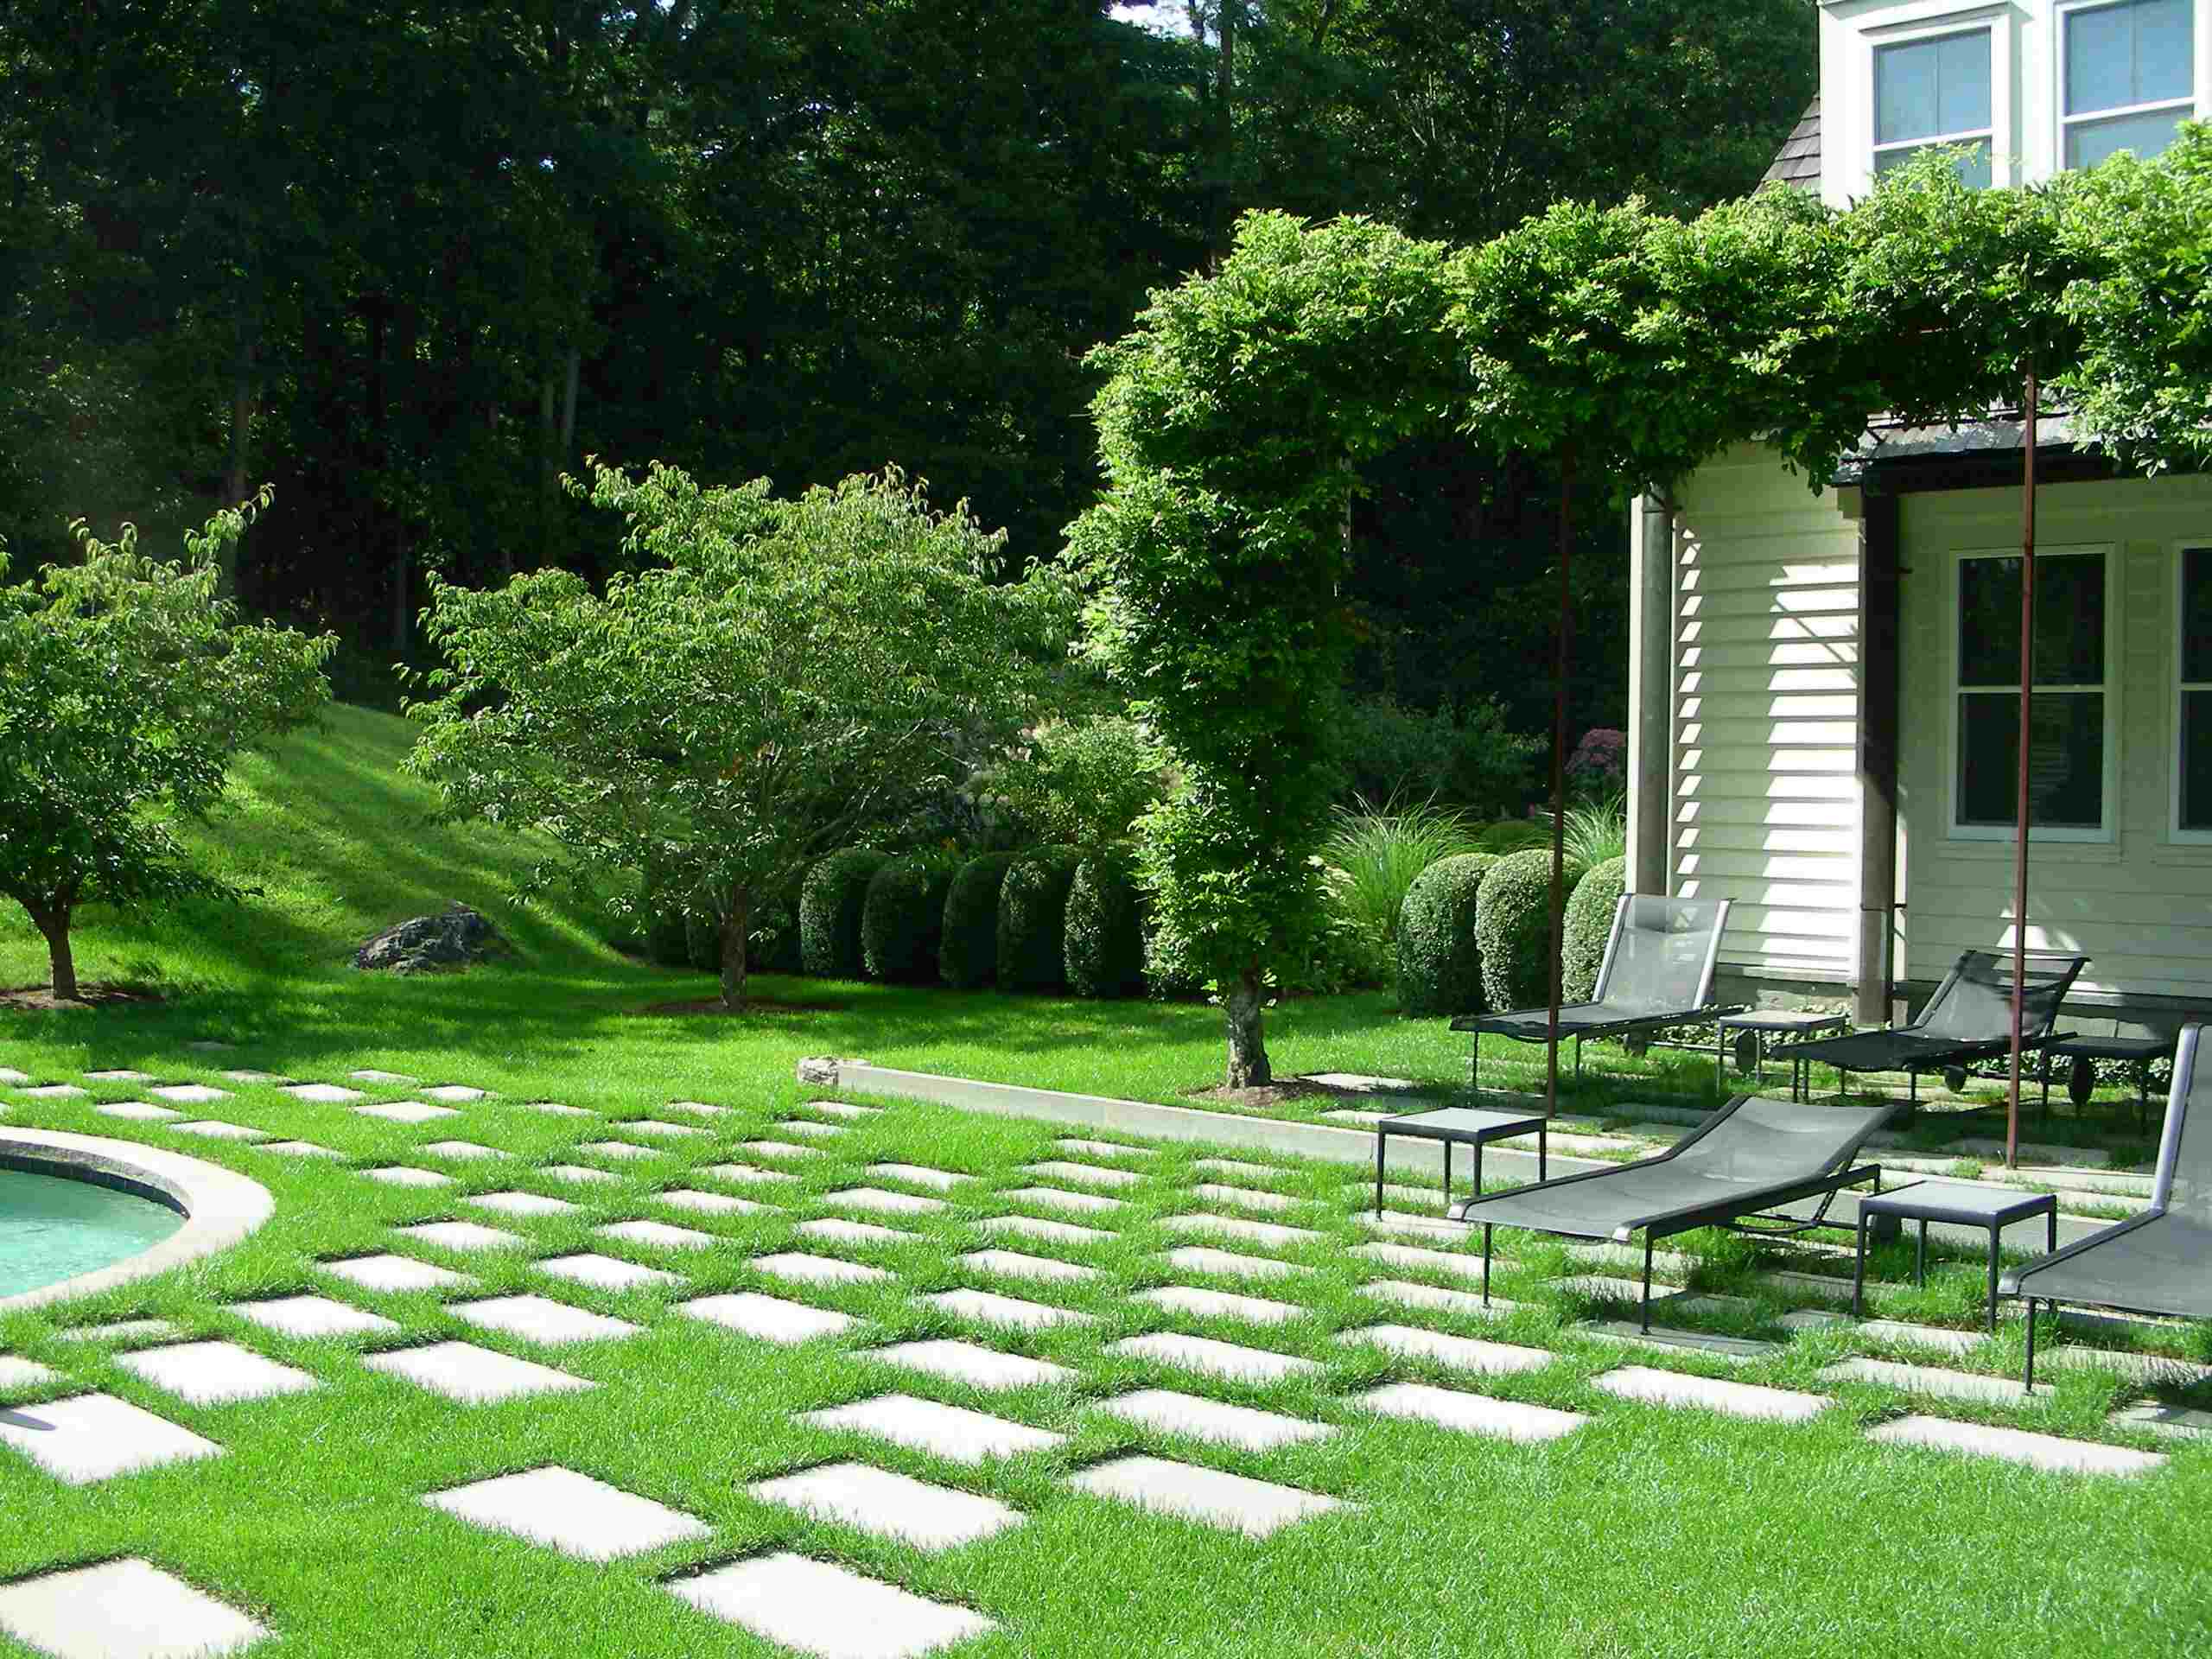
Step 1: Choosing the right location
Before you start shopping for outdoor furniture, it’s important to choose the right location for your outdoor oasis. Take a look at your outdoor space and consider factors such as the size, layout, and surroundings. Here are some tips to help you select the perfect location:
- Assess the space: Start by evaluating the available space in your yard, patio, or balcony. Consider the dimensions and shape of the area, as well as any existing features like trees, shrubs, or fences. This will help you determine the overall layout and placement of your outdoor furniture.
- Consider the sun exposure: Take note of how the sun moves across your outdoor space throughout the day. Areas that receive direct sunlight for a large portion of the day may require sun-blocking accessories like umbrellas or pergolas to provide shade. On the other hand, if you enjoy basking in the sun, choose a spot with ample sunlight.
- Check for protection from the elements: While it may be tempting to place your outdoor furniture in an open area, consider the weather conditions in your area. Harsh winds, heavy rains, or excessive heat can damage your furniture over time. Look for areas with natural barriers like walls or trees to provide some protection from the elements.
- Privacy matters: If you prefer a more secluded and intimate outdoor space, consider locations that offer privacy. You can create a cozy corner by placing your furniture against a wall or using tall plants or decorative screens to create a visual barrier. Privacy will enhance your relaxation and allow you to fully enjoy your outdoor experience.
- Accessibility and convenience: Think about how easily accessible the location is from your house. You want to create a space that is convenient to access, especially when you’re entertaining guests or carrying food and drinks outdoors. Consider pathways or walkways to ensure smooth movement to and from your outdoor oasis.
- Take in the view: Lastly, take a moment to survey the view from different parts of your outdoor space. Identify areas with beautiful scenery or interesting focal points and consider placing your furniture in those spots. Whether it’s a stunning garden, a tranquil pond, or a breathtaking mountain view, incorporating the natural surroundings will enhance your outdoor experience.
By carefully considering these factors, you can choose the perfect location for your outdoor furniture. Remember, the location sets the stage for your outdoor oasis, so take the time to find a spot that meets your needs and creates the ambiance you desire. Once you’ve selected the right location, you can move on to the next step and start planning your outdoor furniture layout and design.
Step 2: Measuring and planning
Once you have chosen the perfect location for your outdoor furniture, it’s time to start measuring and planning your outdoor space. This step is crucial as it will ensure that your furniture fits properly and allows for comfortable movement and flow. Here are some key steps to follow:
- Measure the area: Start by measuring the dimensions of your outdoor space. Use a measuring tape or a laser measurer to get accurate measurements of the length, width, and height of the area. Note down these measurements and use them as a reference throughout the planning process.
- Consider furniture placement: Think about how you want to arrange your outdoor furniture. Are you looking to create a cozy conversation area? Or do you prefer a more open layout with separate seating and dining areas? Visualize the placement of each furniture piece and how they will interact with the surrounding space.
- Allow for walkways: It’s important to ensure that there is ample space for people to move around your outdoor space comfortably. Leave enough room for walkways between furniture pieces, allowing at least 2-3 feet of space. This will prevent your outdoor area from feeling cramped and allow for easy navigation.
- Consider the focal point: If your outdoor space has a natural focal point, such as a stunning garden or a breathtaking view, plan the furniture placement in a way that highlights this feature. Orient the furniture to face the focal point and create a visual flow towards it.
- Think about functionality: Consider the activities you plan to do in your outdoor space. If you enjoy outdoor dining, make sure to allocate enough space for a dining table and chairs. If you want to create a cozy reading nook, plan for a comfortable lounge chair or a hammock. Tailor the furniture layout to your specific needs and preferences.
- Sketch a layout: It can be helpful to create a rough sketch of your outdoor space and furniture placement. You don’t need to be an artist; a simple hand-drawn diagram will do. This will give you a visual representation of how the furniture will fit and help you make any necessary adjustments before making a purchase.
Taking the time to measure and plan your outdoor space will ensure that you make the most of the available area and create a well-designed and functional outdoor oasis. By considering furniture placement, allowing for walkways, and aligning with focal points, you can create a space that is visually appealing and easy to navigate. So, grab your measuring tape and start planning your outdoor furniture layout!
Step 3: Gathering materials and tools
Now that you have measured and planned your outdoor space, it’s time to gather the materials and tools you’ll need to bring your outdoor furniture vision to life. This step is crucial for ensuring a smooth and efficient construction process. Here are the key things to consider:
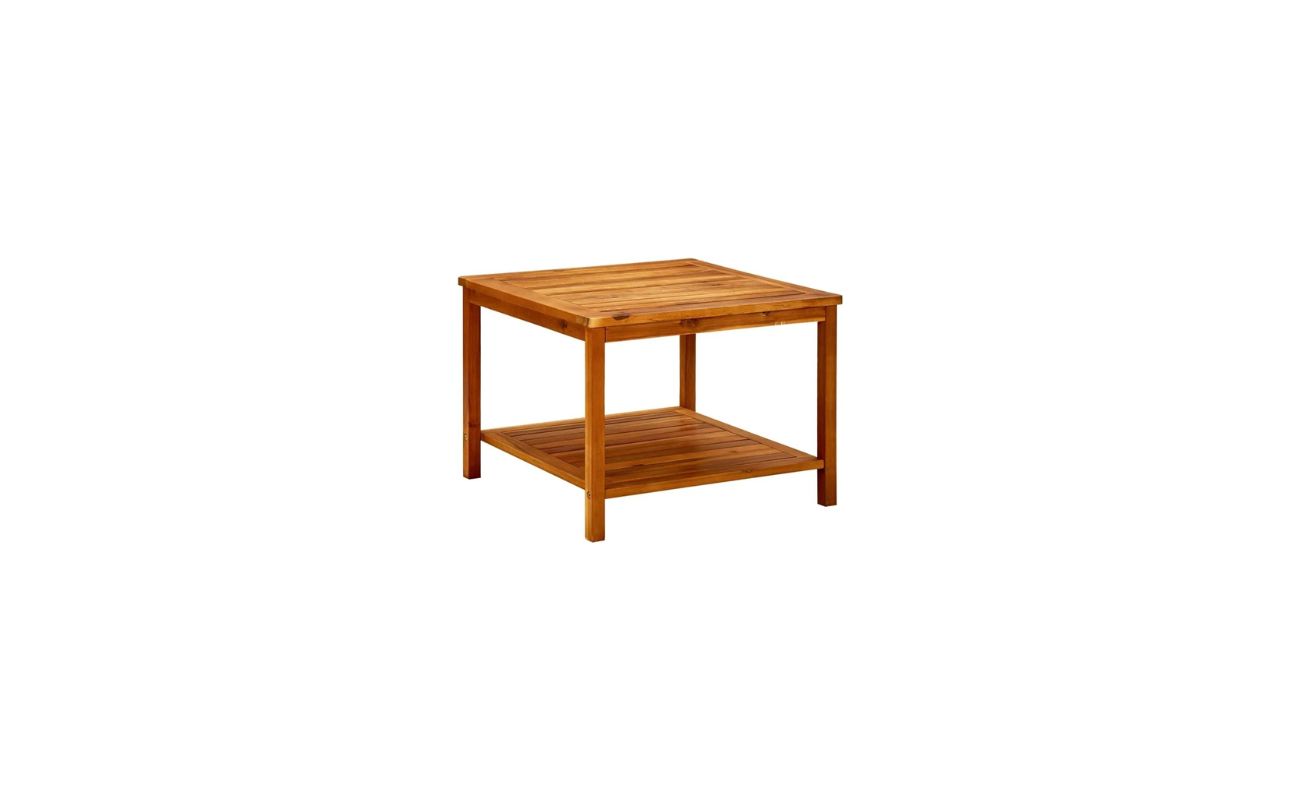
- Research and select the right materials: Depending on the type of outdoor furniture you plan to build, you will need to choose the appropriate materials. Common materials for outdoor furniture construction include wood, metal, and plastic. Each material has its own advantages and requires specific tools and equipment for assembly. Research the pros and cons of each material and select the one that best suits your design preferences and durability expectations.
- Make a list of required tools: Determine the tools you’ll need to complete your outdoor furniture project. This may include basic hand tools such as a hammer, screwdriver, and tape measure, as well as power tools like a drill, saw, and sander. Make a list of the tools you already have and note down any additional tools you need to purchase or borrow.
- Gather necessary supplies: Besides materials and tools, you may need other supplies to complete your outdoor furniture project. Consider items like screws, nails, wood glue, sandpaper, and sealant, depending on the materials you are using and the specific design of your furniture. Take an inventory of these supplies and ensure you have everything you need before you start construction.
- Consider safety equipment: Safety should always be a priority when working on any DIY project. Depending on the tools you are using, you may need safety glasses, gloves, ear protection, and a dust mask. Assess the potential risks involved in your project and gather the necessary safety equipment to protect yourself during construction.
- Explore DIY resources: If you are new to DIY projects or need guidance on how to build specific types of furniture, take advantage of the wealth of online resources available. There are countless tutorial videos, step-by-step guides, and DIY forums that can provide you with valuable insights and tips for successfully completing your outdoor furniture project.
- Consider professional help: Depending on the complexity of your project and your own skills and experience, it may be beneficial to seek professional assistance. If you are not confident in your abilities or are working with more advanced materials like metal or stone, contacting a professional builder or contractor can ensure that your outdoor furniture is constructed safely and to the highest quality standards.
By gathering the right materials and tools, you’ll be well-prepared to embark on your outdoor furniture construction journey. Whether you’re a seasoned DIY enthusiast or a beginner, having the necessary resources at your disposal will contribute significantly to the success of your project. So, make a list, check it twice, and gather everything you need to turn your outdoor furniture dreams into a reality!
Step 4: Building the frame
With the materials, tools, and supplies gathered, it’s time to start building the frame of your outdoor furniture. The frame provides the structure and support for your furniture, and it’s essential to ensure it is sturdy and well-constructed. Here’s a step-by-step guide to help you build the frame:
- Measure and mark the dimensions: Using your measurements from the planning stage, mark and measure the appropriate lengths and angles on your chosen material. Double-check your measurements to ensure accuracy before making any cuts.
- Cut the material: With the marked measurements, use a suitable saw or cutting tool to cut the material to the desired lengths. Take your time and make precise cuts to ensure the pieces fit together properly.
- Prepare the pieces: Before assembling the frame, it’s important to prepare the pieces. Use sandpaper to smooth any rough edges or surfaces and create a clean finish. This will not only improve the aesthetic appeal but also prevent any potential injuries from sharp edges.
- Construct the frame: Begin by assembling the main structure of the frame. Depending on the design of your furniture, this may involve joining the pieces at right angles using screws, brackets, or other suitable fasteners. Use a level to ensure the frame is straight and square.
- Reinforce the joints: To provide extra stability and strength, reinforce the joints of the frame. This can be done by adding additional support blocks or braces. Use appropriate fasteners to secure these reinforcements in place.
- Check for stability: Once the frame is assembled, check for stability. Give it a gentle shake or apply some pressure to see if it wobbles or feels flimsy. If any parts feel weak or unstable, reinforce them further to ensure the frame is solid and secure.
- Make adjustments if necessary: It’s not uncommon for minor adjustments to be needed during the construction process. If pieces don’t fit together perfectly or if there are any stability issues, make the necessary adjustments by trimming, sanding, or adding additional support as needed.
Building the frame is a critical step in creating sturdy and long-lasting outdoor furniture. Pay close attention to measurements, make precise cuts, and reinforce the joints to ensure the frame can withstand the elements and regular use. With the frame complete, you’re ready to move on to the next step and add the wire mesh or other suitable materials to your furniture.
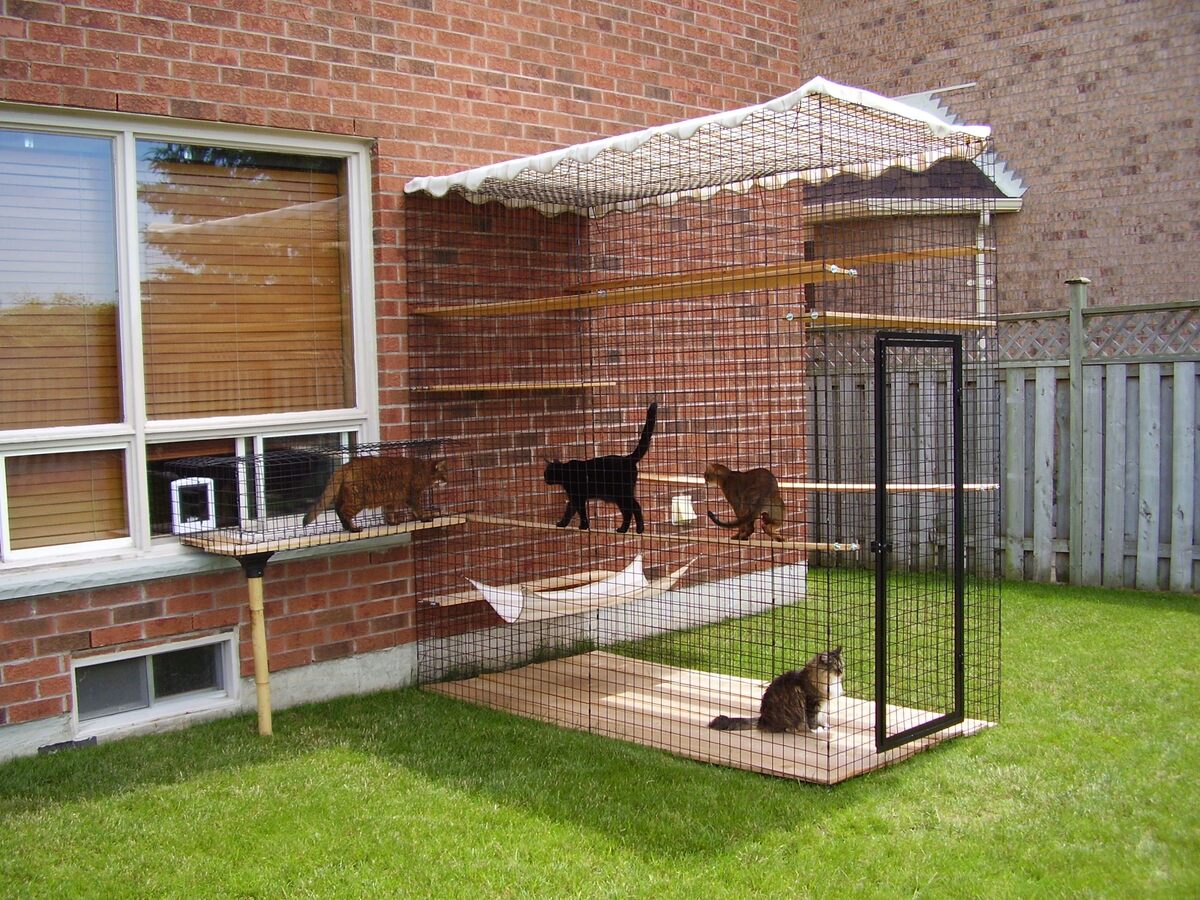
Consider using durable and weather-resistant materials for your cat patio, such as pressure-treated wood or PVC. This will ensure that the structure can withstand the elements and last for a long time.
Read more: How To Make A Litter Box For Cats
Step 5: Installing the wire mesh
With the frame of your outdoor furniture complete, it’s time to move on to the next step – installing the wire mesh. The wire mesh serves as the foundation for the seating or surface area of your furniture and adds functionality and durability. Here’s a step-by-step guide to installing the wire mesh:
- Choose the appropriate wire mesh: There are different types of wire mesh available, such as welded wire mesh and woven wire mesh. Consider the purpose and usage of your furniture when selecting the mesh. Welded wire mesh is more rigid, while woven wire mesh offers more flexibility.
- Measure and cut the wire mesh: Take precise measurements of the seating or surface area of your furniture frame. Use these measurements to cut the wire mesh accordingly. Leave a slight overhang to ensure the mesh covers the frame properly.
- Secure the wire mesh: Attach the wire mesh to the frame using suitable fasteners such as staples, screws, or clips. Start at one end and work your way across, ensuring the mesh is taut and secure. If using staples, space them evenly along the edges, and hammer them in securely.
- Trim any excess mesh: Once the mesh is secured, carefully trim any excess material that extends beyond the frame. Use wire cutters or heavy-duty scissors to achieve a clean and neat finish.
- Check for stability and comfort: Test the stability of the wire mesh by gently pressing on it and ensuring it is firmly attached to the frame. Sit or place weight on the furniture to check for comfort and support. Make any necessary adjustments or reinforcements if needed.
- Fine-tune the appearance: Take a close look at the wire mesh and smooth out any visible imperfections or rough edges. You can use sandpaper or a file to carefully file down any sharp or uneven areas.
Installing the wire mesh not only adds functionality to your outdoor furniture but also enhances its overall appearance. Ensure the mesh is securely attached and provides a comfortable seating or surface area. Once the wire mesh is in place, you’re ready to move on to the next step and add a roof or cover to your furniture to protect it from the elements.
Step 6: Adding a roof or cover
To protect your outdoor furniture from the elements and extend its lifespan, it’s important to add a roof or cover. This step will provide shade, shelter, and additional protection against rain, sunlight, and debris. Here’s a step-by-step guide to adding a roof or cover:
- Determine the type of roof or cover: There are various options to choose from, depending on your preferences and the design of your outdoor furniture. Common choices include umbrellas, pergolas, awnings, and canopies. Consider both the practical and aesthetic aspects when selecting the best option for your space.
- Measure the area to be covered: Take accurate measurements of the area that needs to be covered by the roof or cover. Make sure to account for any potential obstructions or obstacles that may affect the placement or size of the roof.
- Select the materials: Depending on the chosen type of roof or cover, select the appropriate materials. This can include fabric, metal, wood, or a combination. Consider materials that are durable, weather-resistant, and suitable for your specific climate and aesthetic preferences.
- Prepare the support structure: If you’re installing a permanent structure like a pergola, prepare the support structure by ensuring it is properly anchored and stable. This may involve installing posts, beams, or brackets. If you’re adding a removable or temporary cover, ensure the frame or structure is capable of supporting the weight and tension of the chosen material.
- Install the roof or cover: Carefully follow the manufacturer’s instructions for installing the roof or cover. This may involve attaching the fabric or material to the support structure, adjusting the tension or height, and securing it in place. Pay special attention to details like waterproofing, UV protection, and wind resistance, depending on the specific weather conditions in your area.
- Ensure proper drainage: If your roof or cover is exposed to rain or other precipitation, ensure proper drainage to prevent pooling of water. This can be achieved by adding a slight slope to the roof or installing gutters and downspouts to direct water away from the furniture.
- Regular maintenance: Keep in mind that roofs and covers require regular maintenance to stay in good condition. This may involve cleaning, inspecting for any damage or wear, and making necessary repairs or replacements as needed.
Adding a roof or cover to your outdoor furniture will not only protect it from the elements but also add a stylish and functional element to your outdoor space. Whether you choose a permanent structure or a removable cover, ensure proper installation, adequate support, and regular maintenance to maximize the lifespan and enjoyment of your furniture.
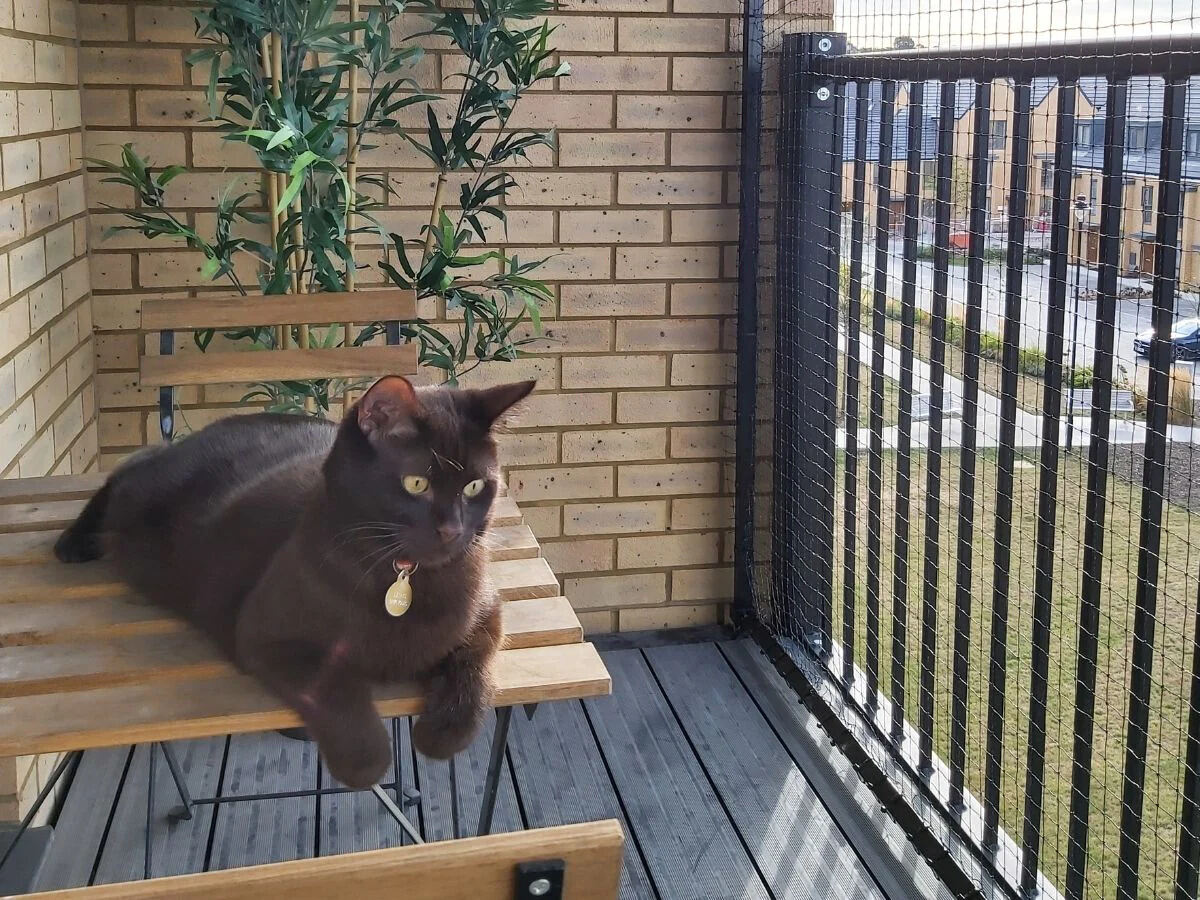
Step 7: Adding cat-friendly elements
If you’re a cat lover, you’ll want to ensure that your outdoor furniture is not only comfortable for you but also cat-friendly. Creating a space that allows your furry friends to enjoy the outdoors safely and comfortably will provide them with stimulation and a sense of freedom. Here are some ideas for adding cat-friendly elements to your outdoor furniture:
- Scratching posts or pads: Cats love to scratch, so incorporating scratching posts or pads into your outdoor furniture will redirect their natural instinct and protect your other furniture. Consider attaching a scratching post to a nearby tree or incorporating a scratching pad into the design of your seating area.
- Cat perches or shelves: Cats enjoy having elevated spots to observe their surroundings. Install cat perches or shelves onto your outdoor furniture or nearby walls to provide them with a high vantage point. These elevated spots will also provide them with a sense of security and a cozy place to relax.
- Hideouts or covered areas: Cats often seek out secluded spots to hide and feel safe. Create covered areas within your outdoor furniture where they can retreat and have their own private space. This can be done by incorporating small enclosures, cubbies, or even adding a cozy canopy.
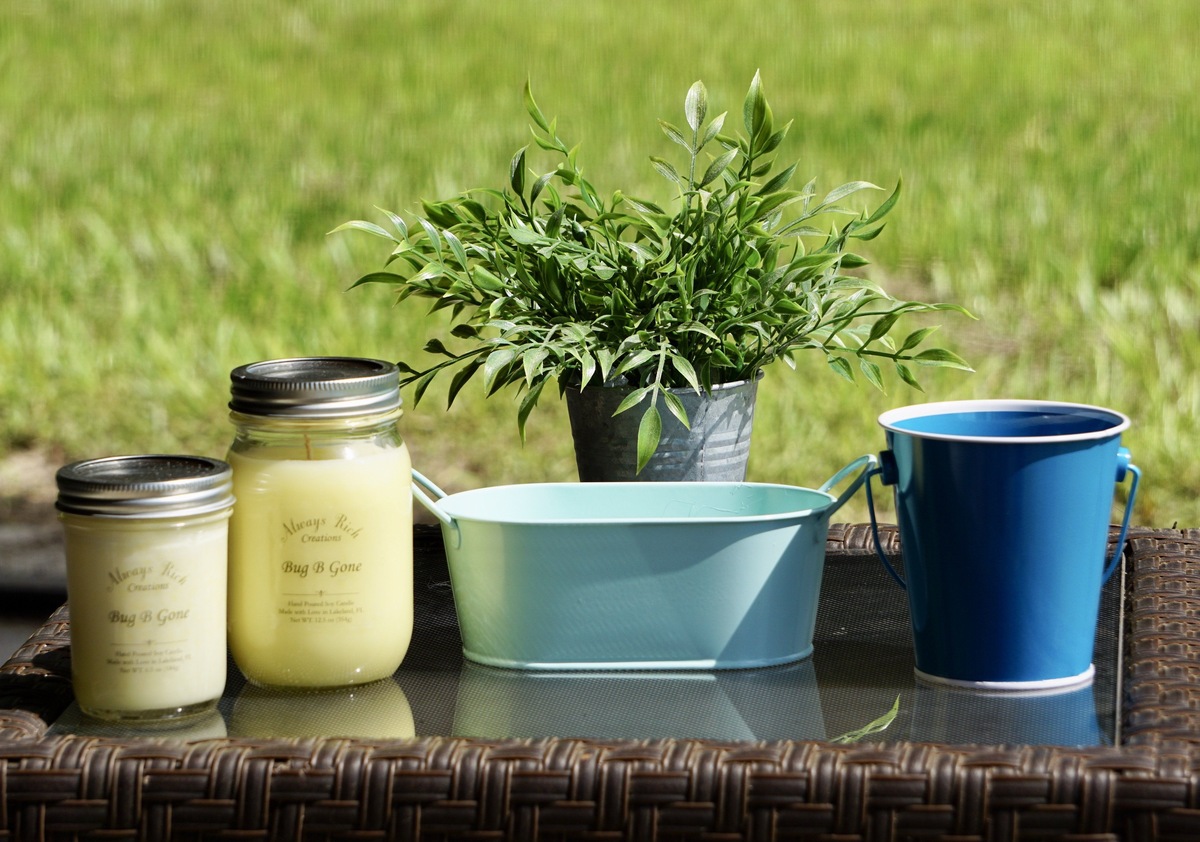
- Cat-friendly plants: Consider planting cat-friendly plants in your outdoor space to engage your feline friends. Catnip, cat grass, and lavender are just a few examples of plants that can provide sensory stimulation and entertainment for your cats. Ensure that the plants are safe for cats and non-toxic when choosing what to include in your outdoor area.
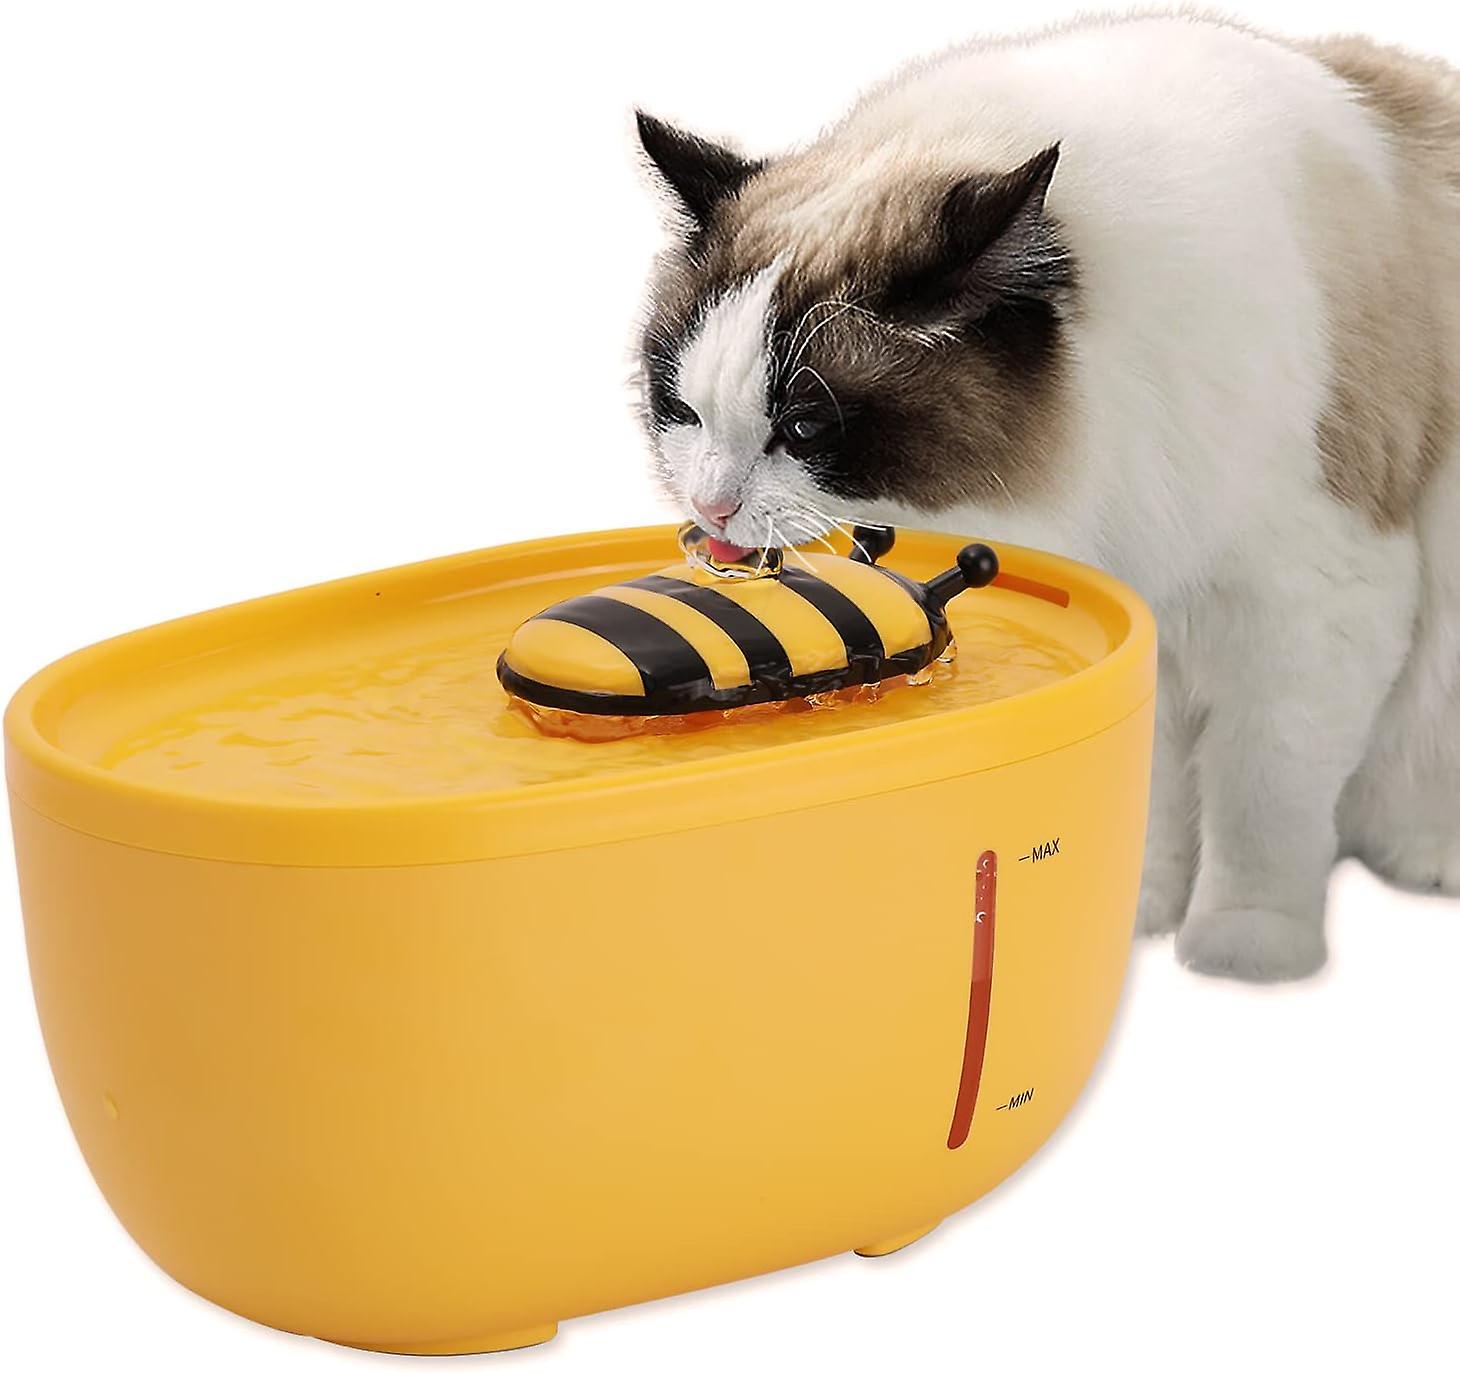
- Water features: Cats are naturally drawn to the sound and sight of water. Consider adding a small water fountain or a shallow water feature to your outdoor furniture area. This will not only provide a source of drinking water for your cats but also offer them the opportunity to play and cool off on hot days.
- Safe boundaries: Ensure that your outdoor furniture area is secure and cat-proof. Install barriers or fencing around areas that may be dangerous for your cats to prevent them from wandering off or encountering any hazards. Provide easy access to the outdoor furniture area while keeping them safely contained.
- Comfortable cushions or bedding: Cats love to curl up and nap in cozy spots. Add comfortable cushions or bedding to your outdoor furniture to create inviting lounging areas for your feline friends. Ensure the materials are durable, easy to clean, and resistant to outdoor weather conditions.
By incorporating these cat-friendly elements, you’ll create a safe and enjoyable outdoor space for both you and your four-legged companions. Cats love exploring and engaging with their environment, and providing them with these features will not only enrich their lives but also enhance your outdoor furniture experience. So get creative and design a cat-friendly paradise that will keep your furry friends entertained and content.
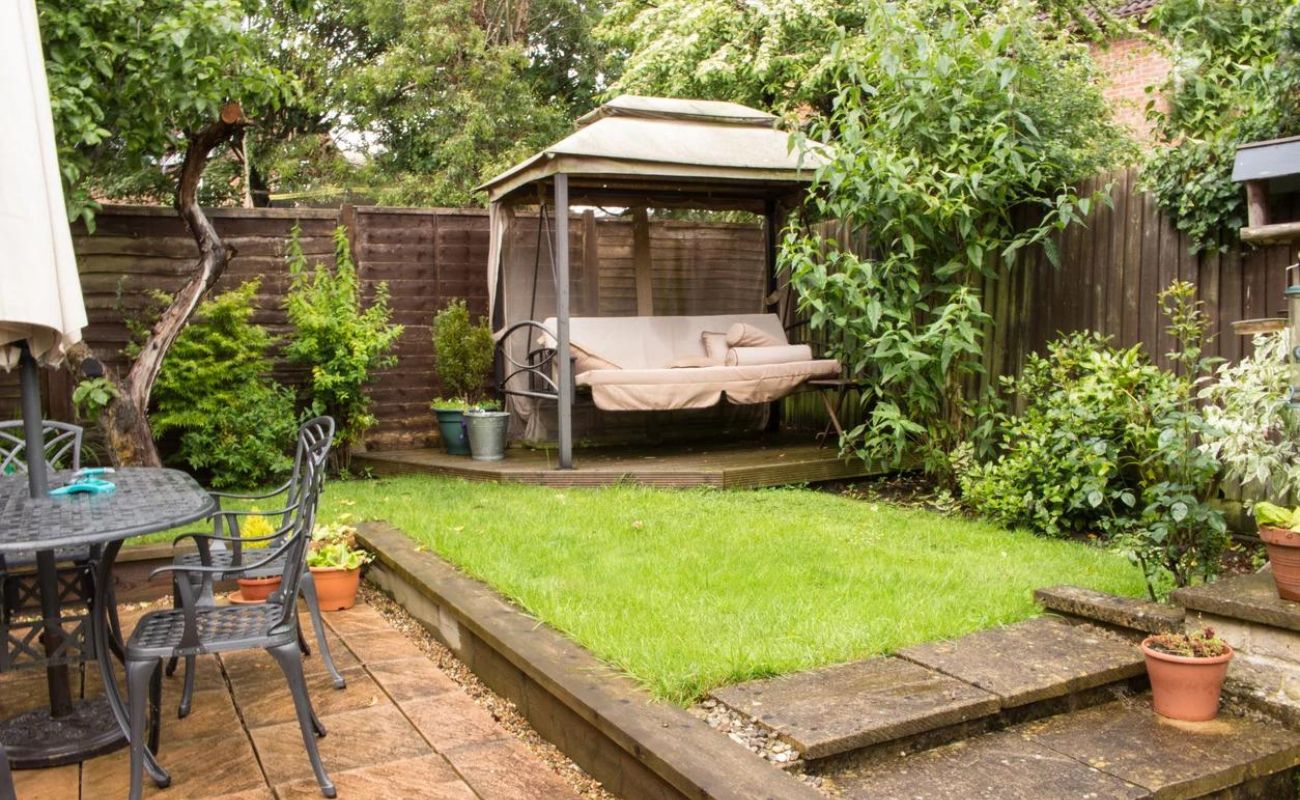
Step 8: Finishing touches and decorations
Now that you’ve built and customized your outdoor furniture, it’s time to add the finishing touches and decorations to bring your space to life. These final touches will enhance the overall aesthetic appeal and create a welcoming atmosphere. Here are some ideas to consider for the finishing touches and decorations:
- Cushions and pillows: Adding cushions and pillows to your outdoor furniture not only provides extra comfort but also adds a pop of color and style. Choose cushions and pillows that are designed for outdoor use, as they are made to withstand different weather conditions. Mix and match colors and patterns to create a vibrant and inviting look.
- Outdoor rugs: Placing an outdoor rug under your furniture can anchor the space and define different areas. Choose a durable and weather-resistant rug that complements the overall design of your outdoor furniture. Consider patterns or textures that add visual interest and tie the space together.
- Lighting: Incorporating appropriate lighting into your outdoor furniture area can create a cozy and inviting ambiance for evening gatherings. String lights, lanterns, or pathway lighting can add a warm and welcoming glow. Consider solar-powered options for a sustainable and energy-efficient lighting solution.
- Decorative accents: Personalize your outdoor furniture space with decorative accents that reflect your style and personality. This can include items such as outdoor artwork, statues, wind chimes, and planters. These small details can make a big difference and add character to your outdoor oasis.
- Plants and greenery: Bring nature into your outdoor furniture area by adding plants and greenery. Consider potted plants, hanging baskets, or vertical gardens to add a touch of freshness and tranquility. Choose plants that thrive in your climate and require minimal maintenance.
- Tabletop decor: If your outdoor furniture includes a table, consider adding decorative elements to the tabletop. This can include items like candle holders, a centerpiece, or a decorative tray for serving drinks and snacks. These small details can elevate the overall look and make your outdoor space feel more inviting.
- Comfort accessories: Don’t forget to include comfort accessories that enhance your outdoor experience. This can include items like outdoor blankets, throws, or even a portable speaker for playing music. These additions will make your outdoor furniture area a cozy and enjoyable retreat.
Adding these finishing touches and decorations will transform your outdoor furniture space into a beautifully curated and inviting area. Take the time to select items that reflect your personal style and create an atmosphere that you and your guests will enjoy. With the right combination of cushions, lighting, decor, and greenery, your outdoor oasis will be a true extension of your home.
Read more: How To Make A Macrame Cat Hammock
Conclusion
Congratulations! You’ve reached the end of this comprehensive guide to creating your outdoor furniture haven. By following the steps outlined in this article, you have gained the knowledge and understanding necessary to make informed decisions, build sturdy frames, install wire mesh, add roofs or covers, incorporate cat-friendly elements, and put the finishing touches on your outdoor furniture.
Creating an outdoor space that is comfortable, stylish, and functional requires careful planning and attention to detail. From choosing the right location and measuring your space to gathering materials and tools, each step plays a vital role in achieving your ideal outdoor oasis. By considering aspects such as durability, comfort, and style, you can select outdoor furniture that suits your needs and personal taste.
Additionally, incorporating cat-friendly elements ensures that your furry companions can also enjoy your outdoor space while being safe and entertained. Adding features like scratching posts, perches, and comfortable bedding will make your outdoor furniture their haven as well.
Don’t forget to put the finishing touches on your outdoor furniture by adding cushions, pillows, rugs, lighting, and decorative accents that reflect your personality and create a warm and inviting atmosphere. These small details can make a big impact and complete the overall design of your outdoor oasis.
Remember, maintaining your outdoor furniture is essential for its longevity. Regular cleaning, maintenance, and periodic checks for repairs will help keep your furniture looking its best and ensure its continued functionality.
Now that you have all the knowledge and guidance, it’s time to embark on your outdoor furniture journey. So dust off your tools, unleash your creativity, and transform your outdoor space into a haven that you and your loved ones can enjoy for years to come. Whether it’s lounging in the sun, hosting gatherings, or simply enjoying a peaceful moment surrounded by nature, your outdoor furniture will be the perfect backdrop for unforgettable memories. Start building, decorating, and immersing yourself in the beauty of the great outdoors!
Frequently Asked Questions about How To Make A Cat Patio
Was this page helpful?
At Storables.com, we guarantee accurate and reliable information. Our content, validated by Expert Board Contributors, is crafted following stringent Editorial Policies. We're committed to providing you with well-researched, expert-backed insights for all your informational needs.


0 thoughts on “How To Make A Cat Patio”