Home>Furniture>Outdoor Furniture>How To Make A Cat Hammock
Outdoor Furniture
How To Make A Cat Hammock
Modified: August 28, 2024
Create a cozy outdoor haven for your furry friend with our guide on how to make a cat hammock. Enjoy quality time together with this DIY outdoor furniture project.
(Many of the links in this article redirect to a specific reviewed product. Your purchase of these products through affiliate links helps to generate commission for Storables.com, at no extra cost. Learn more)
Introduction
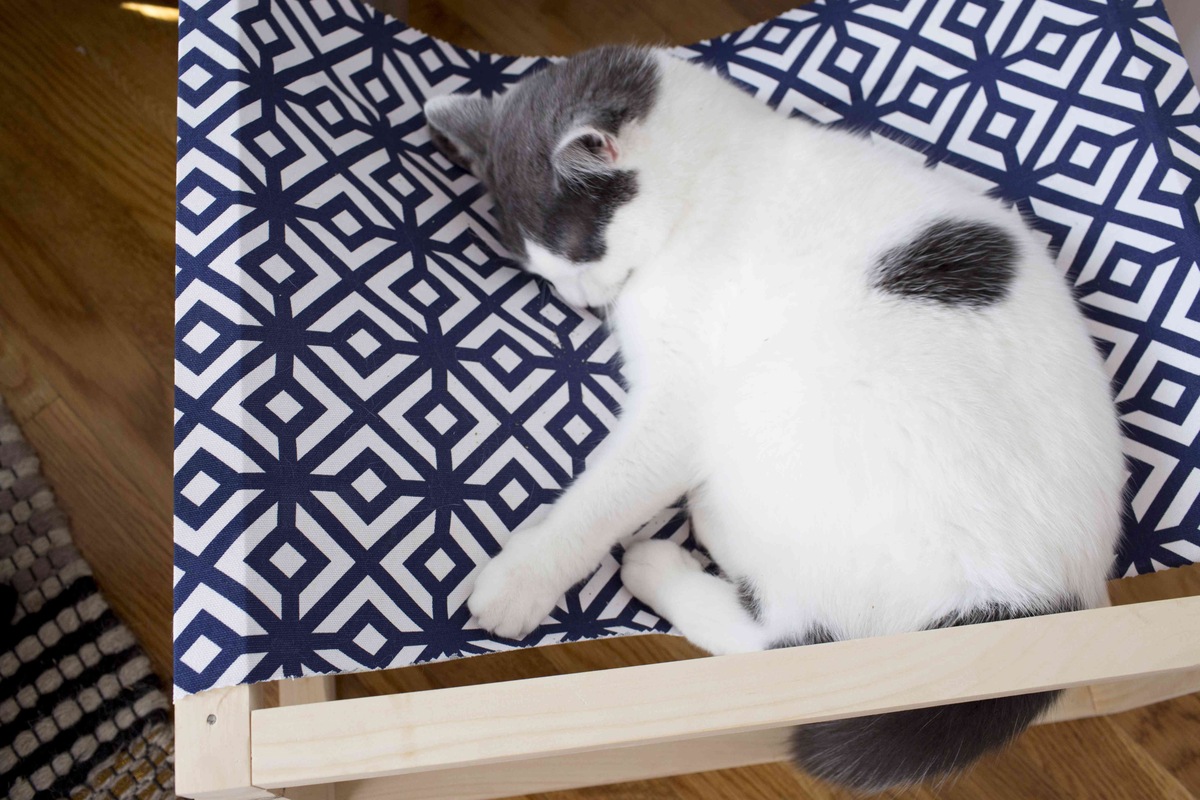
Welcome to the world of cat hammocks, where feline comfort meets stylish relaxation. If you’re a cat owner looking to provide your furry friend with a cozy spot to lounge, a cat hammock could be the purrrfect solution. Not only do cat hammocks provide cats with a comfortable space to nap, but they also add a touch of charm to any room.
In this article, we will guide you through the process of creating your very own DIY cat hammock. Whether you’re a crafty cat lover or just looking for a fun and functional project, this step-by-step guide will help you create a custom cat hammock that both you and your beloved kitty will adore.
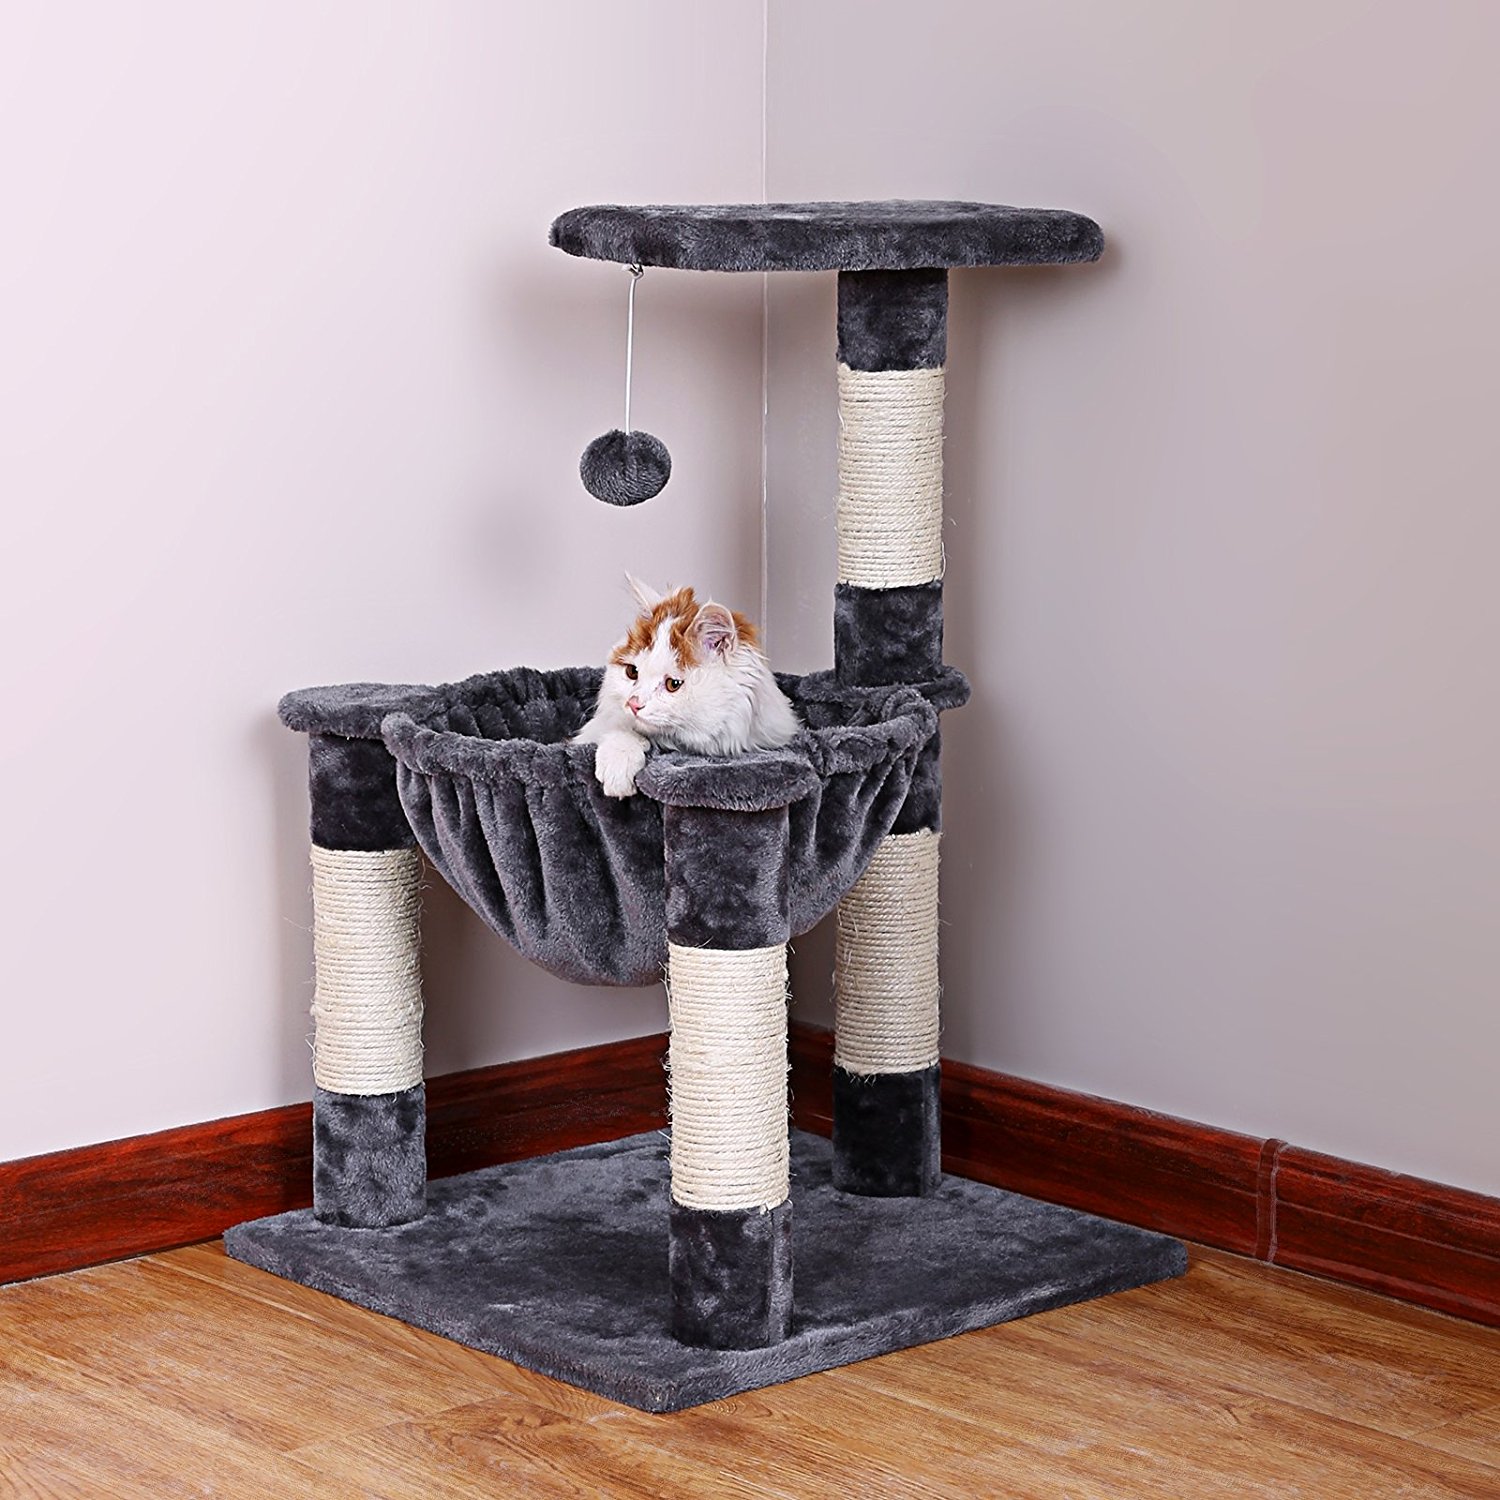
Before we dive into the construction process, let’s take a moment to highlight some of the benefits of having a cat hammock. Firstly, hammocks offer a unique elevated space for cats to relax, allowing them to escape from the hustle and bustle of daily life. Cats are natural climbers, and having a hammock gives them a sense of safety and security while still being able to observe their surroundings.
Secondly, hammocks help to save valuable floor space. In smaller living environments, utilizing vertical spaces is essential, and cat hammocks enable you to provide your cat with their own personal oasis without sacrificing precious square footage.
Lastly, cat hammocks promote healthy and luxurious lounging. By providing a soft and comfortable space for your cat to rest, you can help alleviate any pressure points they may encounter from hard surfaces. Additionally, hammocks can also help keep your cat cool, as they elevate them off the warm ground during hot weather.
Now that you understand the benefits of a cat hammock, it’s time to gather the necessary materials and get started on this exciting and rewarding DIY project. So, grab your sewing kit and let’s make a cat hammock that will have your feline friend purring with joy!
Key Takeaways:
- Create a cozy cat hammock using fabric, hooks, and sewing skills. Your feline friend will love this elevated, space-saving, and comfortable lounging spot that adds charm to your home.
- Test and adjust the hammock to ensure your cat’s comfort. Add cushions, familiar scents, and reassurance to make the hammock inviting. Patience and creativity will help your cat embrace their new favorite spot.
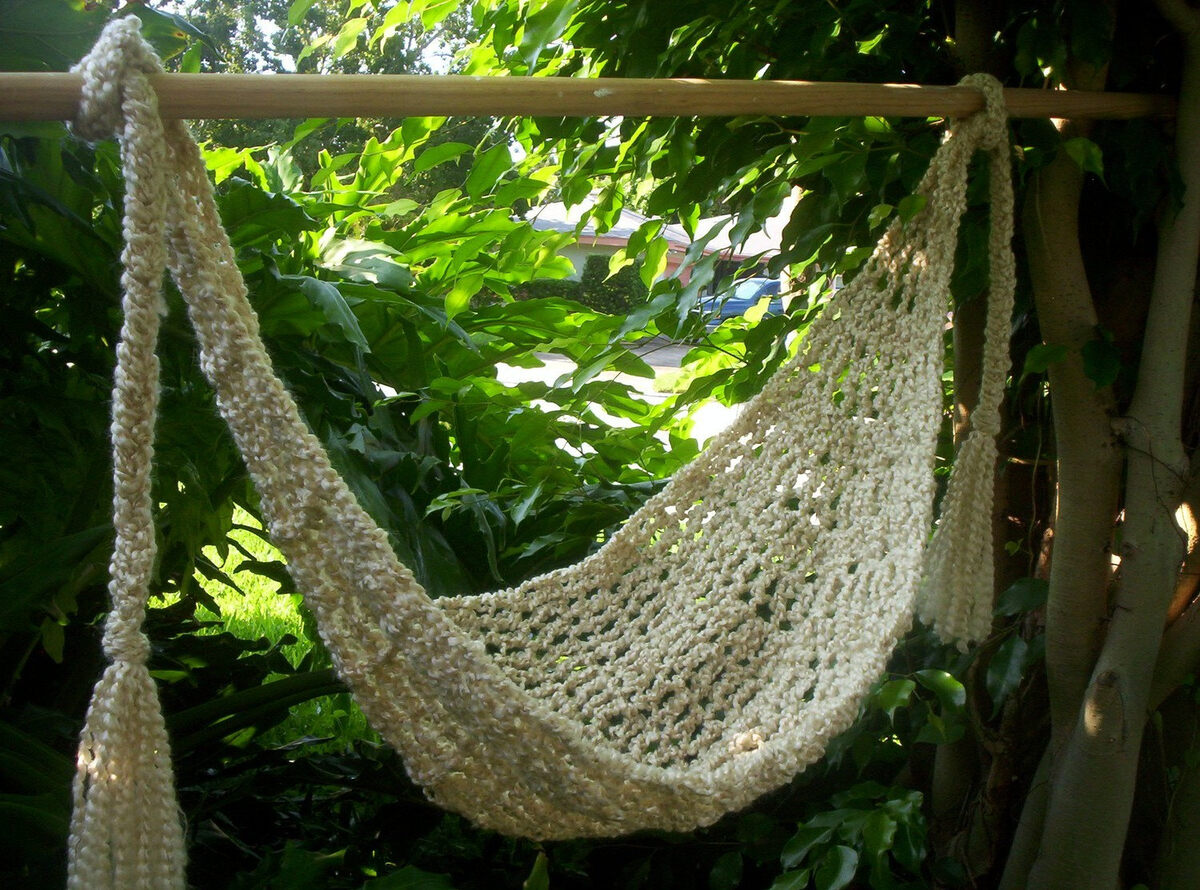
Read more: How To Make A Macrame Cat Hammock
Materials Needed
Before getting started, make sure you have the following materials on hand:
- Fabric: Choose a durable and comfortable fabric for the hammock. Cotton or canvas material works well and is easy to work with.
- Measuring Tape: You’ll need a measuring tape to determine the dimensions of the hammock.
- Scissors: A good pair of scissors will be necessary for cutting the fabric to size.
- Thread: Choose a sturdy thread that matches the color of your fabric.
- Sewing Machine or Needle and Thread: Depending on your preference and sewing skills, you can use a sewing machine or hand stitch the edges of the fabric together.
- Two Durable Hooks: Look for strong hooks that can support the weight of your cat. They should be able to be securely attached to the wall or any other designated spot.
- Optional: Decorative Ribbon or Trim: If you want to add some decorative flair to your cat hammock, consider getting some ribbon or trim to embellish the edges.
Now that you have gathered all the necessary materials, you are ready to move on to the next step – choosing the perfect location for your cat hammock.
Step 1: Choose the Location
The first step in making a cat hammock is choosing the ideal location for it. Cats love to relax in elevated spots where they can observe their surroundings, so finding a high and secure spot is key.
Take a moment to observe your living space and consider the following factors:
- Sturdiness: Look for a location that can support the weight of your cat and the hammock. Strong walls or sturdy furniture pieces can serve as suitable anchor points.
- Accessibility: Cats prefer to have easy access to their resting spots, so choose a location that is easily reachable for them. Avoid areas that require your cat to jump or climb too high.
- Visibility: Cats enjoy watching the world go by, so opt for a spot where your cat can have a good view of the room. A sunny window or a corner with a nice view can be a great choice.
Once you have identified the perfect location, make sure there is enough space for the size of the hammock you plan to create. Measure the area and take note of the dimensions for the next step.
With the location selected, it’s time to move on to Step 2: measuring and cutting the fabric.
Step 2: Measure and Cut the Fabric
Now that you have chosen the perfect location for your cat hammock, it’s time to measure and cut the fabric to create the actual hammock.
Start by measuring the area where you plan to hang the hammock. Use a measuring tape to determine the length and width of the space. These measurements will help you determine the size of the fabric needed.
Next, add a few inches to each measurement to account for seam allowances and extra space for your cat to comfortably lounge. This will ensure that the hammock is the perfect size for your furry friend.
Once you have your measurements, mark them on the fabric using a fabric marker or chalk. Double-check your measurements to ensure accuracy before proceeding.
Take a sharp pair of scissors and carefully cut the fabric according to the marked measurements. Make sure to follow a straight line to maintain the shape of the hammock.
After cutting the fabric, you should have a rectangular or square piece ready for sewing. If you want to add any decorative trim or ribbon, now is a good time to attach it to the edges of the fabric.
With the fabric cut and any decorative elements added, you’re ready to move on to Step 3: sewing the edges.
Step 3: Sew the Edges
With the fabric cut to the desired size, it’s time to sew the edges to create a neat and secure hammock. Sewing the edges will ensure that the fabric doesn’t fray and adds durability to the hammock.
If you have a sewing machine, set it up according to the fabric type you’re using and select a sturdy thread in a matching color. If you prefer hand sewing, thread a needle with a strong thread.
Start by folding over about half an inch of fabric along one of the edges. Pin it in place to hold it while sewing. Repeat this process for all four edges of the fabric.
If you are using a sewing machine, guide the fabric under the presser foot and slowly stitch along the edge, removing the pins as you go. Backstitch at the beginning and end to secure the thread. Continue sewing all around the fabric, making sure to maintain a straight line and a consistent seam allowance.
If you are hand sewing, use a running stitch or a backstitch to secure the folded fabric. Make sure to stitch close to the edge to prevent fraying. Knot the thread securely at the beginning and end of each edge.
As you sew, take your time to ensure even and neat stitches. This step is crucial in creating a well-crafted and durable hammock.
Once you have sewn all four edges, trim off any excess thread and remove the pins. Your fabric should now resemble a rectangular or square hammock with neatly sewn edges.
With the edges sewn, you’re ready to move on to Step 4: attaching the hooks and preparing the hammock for hanging.
When making a cat hammock, be sure to use strong and durable fabric that can support your cat’s weight. Additionally, secure the hammock to a sturdy frame or structure to ensure your cat’s safety while lounging.
Read more: How To Make A Rat Hammock
Step 4: Attach the Hooks
Now that the edges of the fabric are sewn, it’s time to attach the hooks that will suspend the cat hammock. The hooks will secure the hammock to the chosen location, providing a stable and safe spot for your cat to relax.
Start by determining the placement of the hooks. Measure and mark the desired distance for each hook from the edges of the fabric. Make sure the hooks are positioned symmetrically, ensuring a balanced and level hammock.
Once you have marked the hook placement, take a strong and sturdy hook suitable for your chosen location. You can use metal screw-in hooks or adhesive hooks, depending on the surface you are attaching them to.
If you are using screw-in hooks, carefully insert them into the wall or furniture where you plan to hang the hammock. Make sure they are securely fastened and can hold the weight of your cat.
If you are using adhesive hooks, follow the manufacturer’s instructions for proper installation. Clean the surface before attaching the hooks to ensure a strong bond.
Once the hooks are in place, hang the fabric of the hammock on the hooks. Adjust the fabric to ensure it is level and taut. Double-check that the hooks can support the weight of your cat and provide a comfortable and safe spot for them to lounge.
Take a moment to test the stability of the hammock by gently giving it a slight push. Ensure that it remains securely attached and doesn’t wobble or come loose.
With the hooks securely in place and the hammock properly attached, you’re ready to move on to Step 5: hanging the hammock.
Step 5: Hang the Hammock
With the hooks securely attached and the fabric in place, it’s time to hang the cat hammock. Proper installation is essential to ensure your furry friend’s safety and comfort.
Begin by carefully lifting the fabric and placing it on the hooks. Make sure the fabric is centered and aligned with the hooks, creating a level and balanced hammock.
Check that the fabric is taut and not sagging excessively. You want it to be firm enough to support your cat’s weight, but with a little bit of flexibility for added comfort.
Gently push down on the fabric to test its stability and ensure it remains securely attached to the hooks. If it feels loose or unstable, readjust the fabric or tighten the hooks as needed.
Step back and visually inspect the cat hammock from different angles to ensure it is level and properly hung. Ensure there are no obstructions or nearby objects that could potentially harm your cat or cause the hammock to become unstable.
Consider the location of the hammock in relation to your cat’s favorite spots or areas where they like to observe. Placing it next to a window or in a quiet corner can create an inviting and cozy space for your feline friend.
Once you’re satisfied with the placement and stability of the hammock, your DIY project is nearly complete. The next step is to test and adjust the hammock to ensure your cat’s comfort and satisfaction.
Continue with Step 6: testing and adjusting the hammock to ensure it meets your cat’s needs.
Step 6: Test and Adjust
Now that the cat hammock is hung in place, it’s time to test and make any necessary adjustments to ensure your cat’s ultimate comfort and satisfaction.
Encourage your cat to explore the hammock by gently placing them on it or enticing them with treats or toys. Observe their reaction and behavior to gauge their comfort level.
If your cat takes to the hammock immediately and appears relaxed, congratulations! You’ve successfully created a comfortable lounging spot for them. Monitor their usage over time to make sure they continue to enjoy it.
If, however, your cat seems hesitant or unsure about the hammock, there are a few things you can do to make it more appealing:
- Add a soft cushion: Place a cozy cushion or a blanket inside the hammock to make it more inviting and comfortable for your cat.
- Scent the hammock: Cats are attracted to familiar scents, so consider placing an item with your cat’s scent, such as a blanket or bedding, inside the hammock.
- Adjust the height: If your cat is having trouble accessing the hammock or seems uneasy about the height, consider lowering it or providing a nearby stepping platform.
- Provide reassurance: Spend time near the hammock, talking to your cat or offering treats, to help them associate the hammock with positive experiences and a sense of security.
Remember, each cat is unique, and it may take some time for them to fully embrace and enjoy their new hammock. Patience and gentle encouragement will go a long way in helping them feel comfortable.
Regularly inspect the hammock’s stability and condition, ensuring that the hooks are secure and the fabric is in good shape. Depending on the fabric used, you may need to periodically clean or replace it to maintain hygiene and durability.
By testing and adjusting the cat hammock according to your cat’s preferences, you’ll create a cozy and inviting space where they can relax and recharge.
With the testing and adjusting complete, you’ve successfully completed the process of creating a DIY cat hammock. Congratulate yourself on a job well done and enjoy watching your cat lounge and enjoy their new favorite spot!
If you have any further questions or want to explore more ideas for outdoor furniture and pet accessories, feel free to browse our website or reach out to our customer support team.
Happy hammocking!
Conclusion
Congratulations! You have successfully learned how to create a DIY cat hammock, providing your feline friend with a comfortable and stylish spot to relax and unwind. By following the steps outlined in this guide, you have created a cozy oasis for your cat that combines functionality with a touch of creativity.
Remember, cat hammocks offer numerous benefits to both you and your cat. They provide your feline companion with an elevated space to observe their surroundings, save valuable floor space in smaller living environments, and promote healthy and luxurious lounging.
Throughout this process, you have learned how to choose the ideal location for the hammock, measure and cut the fabric, sew the edges for a polished look, attach the hooks securely, and hang the hammock in a way that ensures stability and comfort.
Additionally, by testing and adjusting the hammock to your cat’s liking, you have created a personalized space that meets their unique preferences and needs. Your attention to detail and willingness to make necessary modifications will only further enhance your cat’s enjoyment of their hammock.
Remember, the journey doesn’t stop here! Feel free to get creative by experimenting with different fabric patterns, colors, or adding extra cushions or toys to make the hammock even more enticing for your cat.
Lastly, always prioritize the safety and well-being of your cat. Regularly inspect the hammock’s condition, ensure the hooks are secure, and monitor your cat’s behavior while using the hammock. If at any point you notice signs of discomfort or instability, make the necessary adjustments promptly.
We hope this guide has empowered you to create a cozy and inviting space for your furry friend. Seeing your cat happily lounging in their new hammock will be a rewarding sight, and we’re confident that both you and your cat will enjoy the benefits of this DIY project for years to come.
Thank you for choosing outdoor furniture knowledge for your DIY cat hammock journey. If you have any further questions or need assistance, our team is always here to help. Happy hammocking!
Frequently Asked Questions about How To Make A Cat Hammock
Was this page helpful?
At Storables.com, we guarantee accurate and reliable information. Our content, validated by Expert Board Contributors, is crafted following stringent Editorial Policies. We're committed to providing you with well-researched, expert-backed insights for all your informational needs.


0 thoughts on “How To Make A Cat Hammock”