Home>Furniture>Outdoor Furniture>How To Make A Patio Mister System
Outdoor Furniture
How To Make A Patio Mister System
Modified: March 24, 2024
Create a comfortable outdoor space with a patio mister system. Keep cool and enjoy your outdoor furniture with our easy-to-follow guide.
(Many of the links in this article redirect to a specific reviewed product. Your purchase of these products through affiliate links helps to generate commission for Storables.com, at no extra cost. Learn more)
Introduction
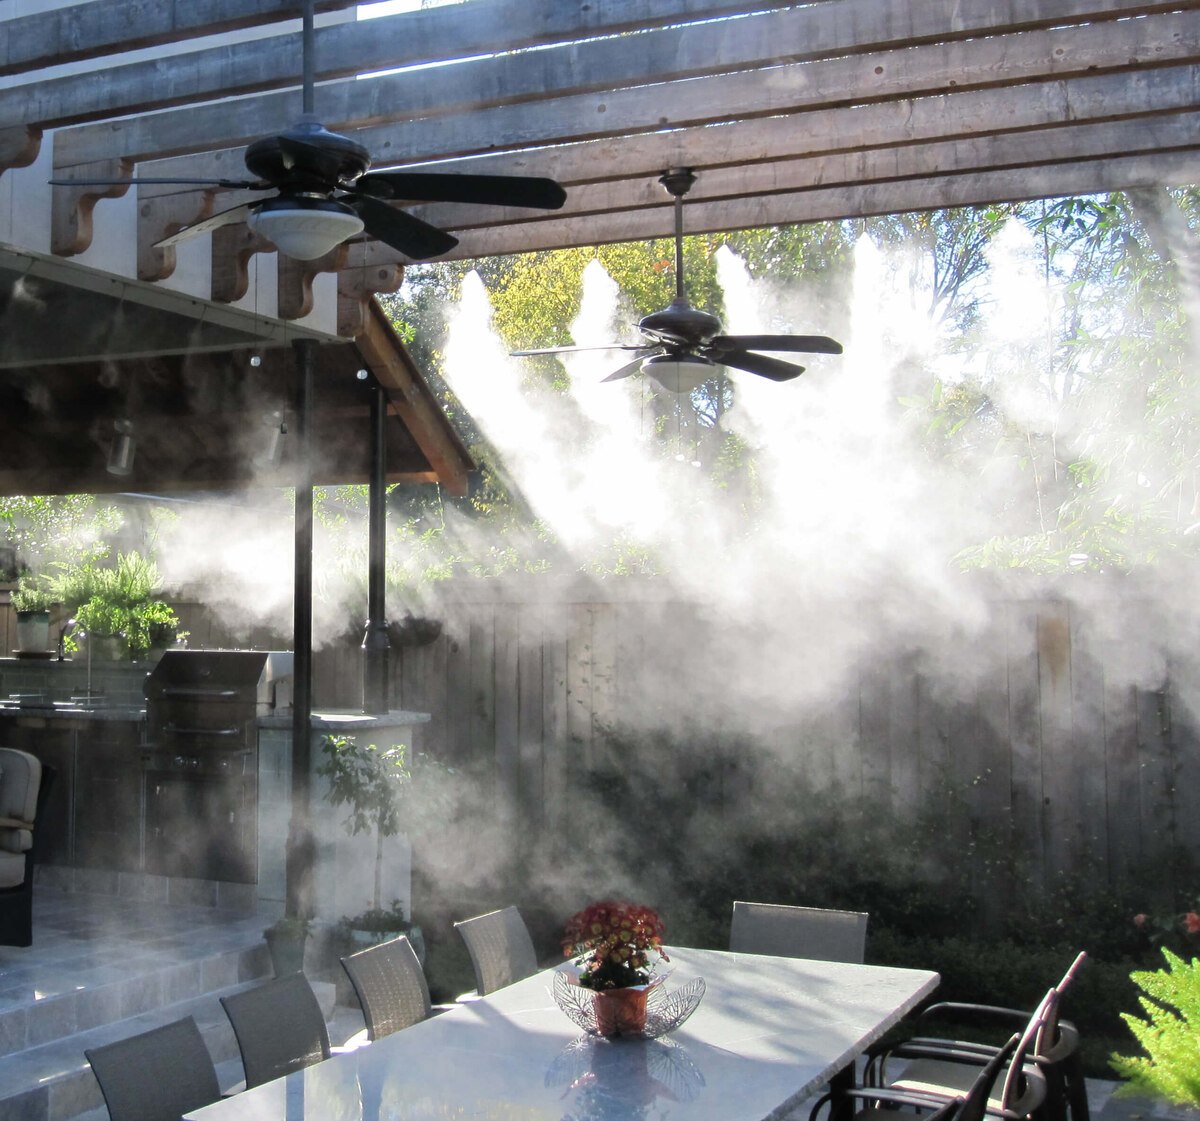
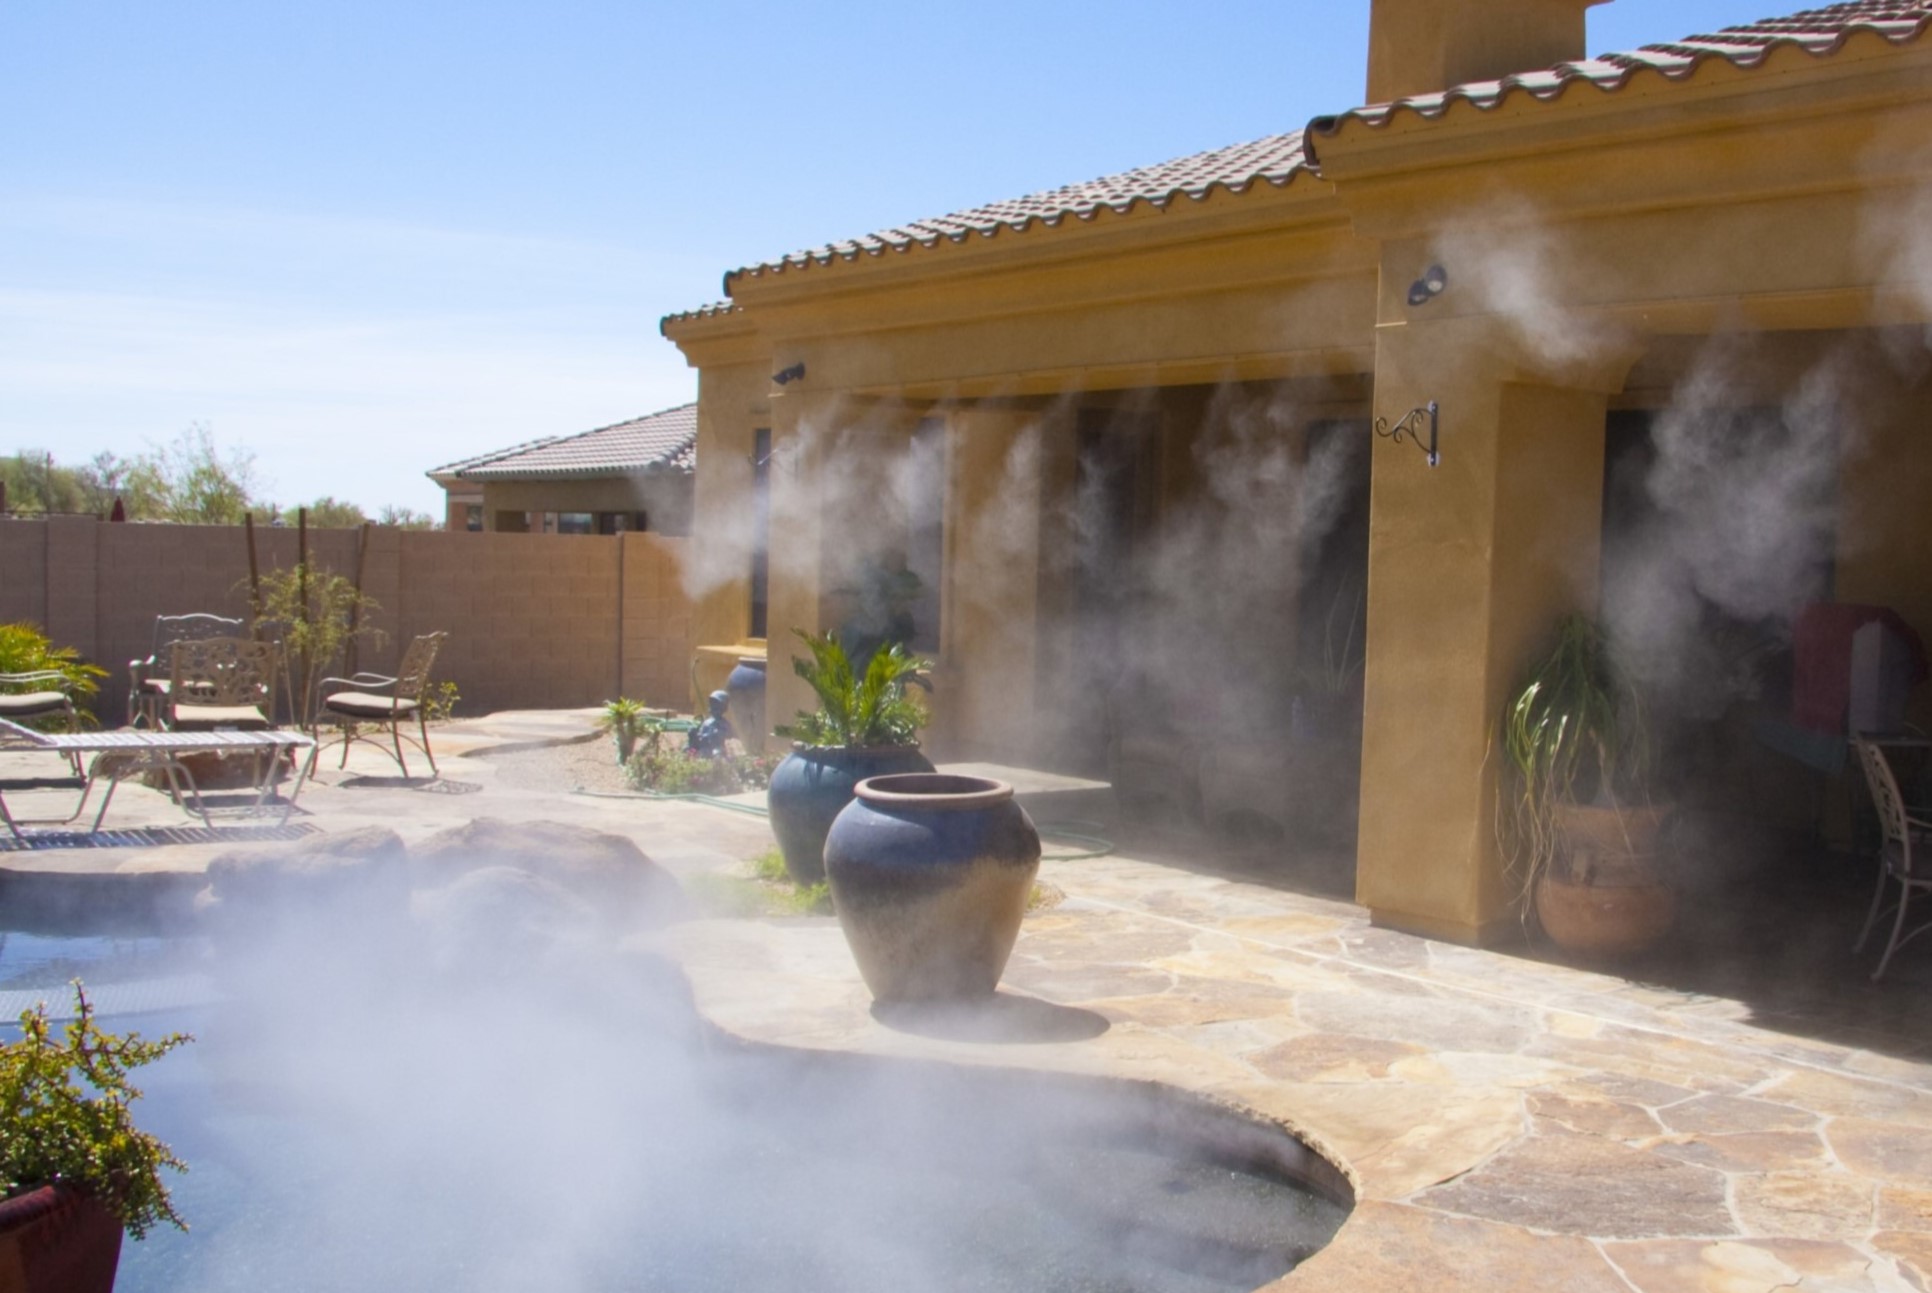
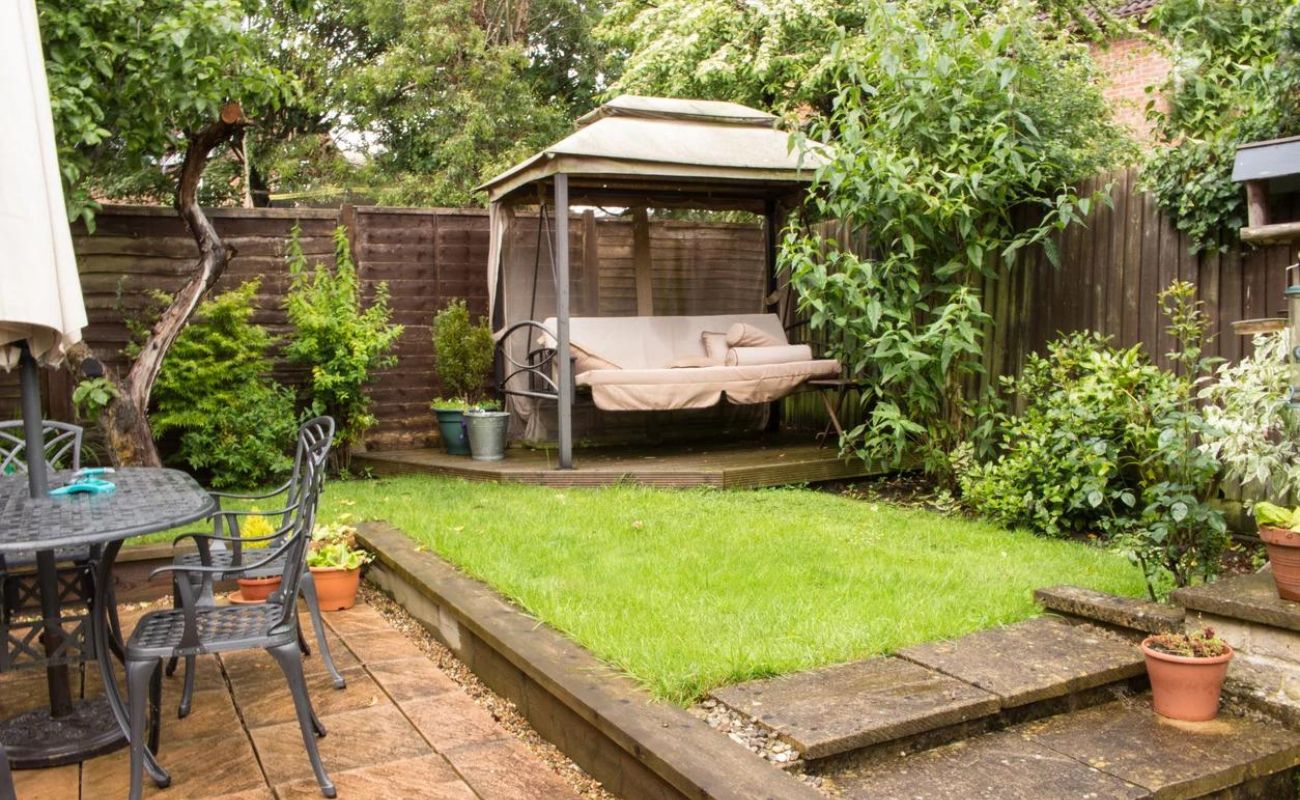
When the hot summer months roll around, spending time outdoors can become quite uncomfortable. However, with a patio mister system, you can create a refreshing oasis right in your own backyard. A patio misting system is a simple and effective way to cool down your outdoor space, providing relief from the sweltering heat. Whether you’re hosting a barbecue, lounging by the pool, or simply enjoying a quiet evening outdoors, a patio misting system can make your outdoor experience much more enjoyable.
In this guide, we will take you through the steps of creating your own patio misting system. From gathering the materials to the final installation, we will provide you with all the information you need to set up a system that fits your specific needs. So, let’s dive in and get started on transforming your patio into a cool and comfortable haven.
Key Takeaways:
- Stay cool in the summer heat by creating your own patio misting system. Gather materials, plan the layout, and enjoy a refreshing outdoor oasis with misting nozzles strategically placed for maximum coverage.
- Transform your patio into a cool and comfortable haven with a DIY misting system. Install the water source, attach misting nozzles, and connect the tubing for a refreshing mist that enhances your outdoor experience.
Read more: How To Install Patio Misters
Step 1: Gather Materials
Before you begin installing your patio misting system, you’ll need to gather all the necessary materials. Here are some items you’ll need to get started:
- Misting Kit: Look for a misting kit that includes the necessary components such as tubing, misting nozzles, fittings, and a filter.
- PVC or Copper Pipe: Depending on your preference and budget, you can choose between PVC or copper pipe for the main water line. PVC pipe is more affordable, while copper pipe offers better durability.
- Water Source: You’ll need a water source for your misting system, such as a garden hose faucet or an outdoor water supply line.
- Timer: To automate the system and control when it turns on and off, consider purchasing a timer that can be connected to the misting system.
- Mounting Hardware: Depending on the layout of your patio and the type of surface you’ll be attaching the misting system to, you may need mounting hardware such as clips, brackets, or zip ties.
- Sealant: It’s important to have a sealant on hand to ensure proper connections and prevent any leaks in the system.
- Tools: Basic tools such as a drill, screwdriver, adjustable wrench, and pipe cutter will be necessary for the installation process.
Make sure to carefully read the instructions provided with your misting kit to ensure you have all the necessary components. Additionally, consider the size of your patio and the desired coverage area to determine how much tubing and how many misting nozzles you’ll need.
Gathering all the materials before you start will save you time and help ensure a smooth installation process. Once you have everything ready, you can move on to the next step: planning the layout of your patio misting system.
Step 2: Plan the Layout
Once you have gathered all the necessary materials, it’s time to plan the layout of your patio misting system. This step is crucial to ensure that the misting nozzles are positioned strategically for maximum coverage and effectiveness. Here are a few factors to consider when planning the layout:
- Area Coverage: Determine the areas of your patio where you want the misting system to be installed. Focus on areas where you’ll be spending the most time, such as seating areas or dining spaces.
- Nozzle Placement: Position the misting nozzles in a way that allows for even distribution of mist. Aim for approximately 2-3 feet of space between each nozzle.
- Height: Consider the height at which you want the misting nozzles to be installed. Mounting them higher will create a wider misting range, while mounting them lower will provide a more localized mist.
- Obstacles: Take note of any obstacles, such as trees, awnings, or structures, that may obstruct the misting spray. Adjust the layout accordingly to ensure proper coverage.
- Water Source: Plan the path of the tubing from the water source to each misting nozzle. Consider the location of the water source and the available access points.
It’s helpful to sketch out a diagram of your patio and mark the desired nozzle positions. This will serve as a guide during the installation process and help you visualize the final layout. Remember to take measurements and consider any specific requirements or limitations of your patio space.
With a well-planned layout, you can ensure that your patio misting system will effectively cool down the desired areas, providing a comfortable and enjoyable outdoor experience. Once you have finalized the layout, you’re ready to move on to the next step: installing the water source for your misting system.
Step 3: Install the Water Source
Now that you have planned the layout of your patio misting system, it’s time to install the water source. The water source is the starting point of your misting system and will provide the necessary water to create the mist. Here’s how to install the water source:
- Locate a Water Source: Identify a suitable water source for your patio misting system. This can be a garden hose faucet or an outdoor water supply line.
- Shut Off the Water: Before you begin any installation, make sure to shut off the water supply to prevent any leaks or water wastage.
- Attach a Pressure Regulator: If your water source has high water pressure, it’s essential to attach a pressure regulator to prevent damage to the misting system. Follow the manufacturer’s instructions to install the pressure regulator.
- Connect the Water Line: Connect the main water line of your misting system to the water source. If you’re using PVC pipe, you can secure the connection with PVC glue or pipe fittings. For copper pipe, you’ll need compression fittings.
- Position the Filter: Install a filter in the water line to prevent any debris or particles from clogging the misting nozzles. Make sure to install the filter in an easily accessible location for future maintenance.
- Tighten Connections: Use an adjustable wrench or pliers to securely tighten all the connections, ensuring there are no leaks.
- Turn On the Water: Once all the connections are in place and tightened, turn on the water supply to test for any leaks. Inspect all the connections and make any necessary adjustments.
By installing the water source correctly, you’ll ensure a steady flow of water to your misting system, allowing it to function efficiently. After completing this step, you can proceed to the next step: attaching the misting nozzles.
Step 4: Attach the Misting Nozzles
Once you have installed the water source for your patio misting system, it’s time to attach the misting nozzles. The misting nozzles are responsible for creating a fine mist that cools down the surrounding area. Follow these steps to properly attach the misting nozzles:
- Choose Nozzle Type: Select the appropriate type of misting nozzle for your system. There are various options available, including low-pressure and high-pressure nozzles. Consider your desired misting effect and consult the manufacturer’s instructions to choose the right nozzle for your system.
- Position the Nozzles: Refer to the layout plan you made in Step 2 and position the nozzles accordingly. Ensure that they are evenly spaced and positioned for optimal mist distribution.
- Drill Holes (if necessary): If your patio does not already have pre-drilled holes for the nozzles, use a drill with the appropriate size bit to create the necessary holes. Make sure to follow the manufacturer’s guidelines for hole spacing and size.
- Insert the Nozzles: Insert the misting nozzles into the pre-drilled holes. Twist them gently to secure them in place, ensuring a tight fit.
- Seal the Connections: Apply a small amount of sealant around the base of each misting nozzle to create a watertight seal. This will prevent any leakage at the connection points.
It’s important to follow the manufacturer’s instructions for proper installation of the misting nozzles. Each nozzle may have specific requirements or recommendations for installation. Take your time and ensure that each nozzle is securely attached and sealed.
Once you have successfully attached the misting nozzles, you are ready to move on to the next step: connecting the tubing.
When installing a patio mister system, make sure to use high-quality materials that are designed to withstand outdoor conditions. This will ensure that your system lasts longer and provides effective cooling for your patio.
Read also: 10 Best Patio Mister For 2024
Step 5: Connect the Tubing
With the misting nozzles securely attached, it’s time to connect the tubing for your patio misting system. The tubing is responsible for carrying the water from the water source to the misting nozzles. Follow these steps to properly connect the tubing:
- Measure and Cut the Tubing: Measure the required length of tubing to connect the water source to each misting nozzle. Use a sharp utility knife or tubing cutter to cut the tubing to the appropriate size.
- Attach the Tubing to the Water Source: Connect one end of the tubing to the water source, ensuring a tight and secure connection. Use appropriate fittings or clamps to secure the tubing in place.
- Thread the Tubing through the Nozzles: Thread the tubing through the holes where the misting nozzles are installed. Make sure the tubing is long enough to reach each nozzle without any tension or strain.
- Secure the Tubing to the Nozzles: Attach the tubing to each misting nozzle using appropriate fittings or clamps. Make sure the connection is secure, allowing for the proper flow of water to the nozzles.
- Check for Leaks: Once all the tubing connections are made, turn on the water supply and run the system for a few minutes. Check for any leaks in the tubing connections and make any necessary adjustments.
It’s important to ensure that the tubing connections are secure and leak-free to maintain the efficiency and effectiveness of your misting system. Take your time while connecting the tubing and double-check each connection to avoid any potential issues.
After successfully connecting the tubing, you can proceed to the next step: testing the system.
Step 6: Test the System
Once you have connected the tubing for your patio misting system, it’s important to test the system before fully enjoying the cooling mist. Testing the system will ensure that everything is functioning properly and allow you to make any necessary adjustments. Follow these steps to test your misting system:
- Turn on the Water Supply: Ensure that the water supply to the misting system is turned on.
- Inspect for Leaks: While the system is running, carefully inspect all the connections, including the water source, tubing, and misting nozzles. Check for any leaks and make any necessary adjustments or repairs.
- Observe the Misting Effect: Take note of the misting effect created by the nozzles. Ensure that the mist is evenly distributed and covers the desired area. Pay attention to any areas of less or excessive misting and make adjustments if needed.
- Check for Proper Cooling: Walk through the misting area and assess whether the system provides the desired cooling effect. Make sure the mist is effectively cooling down the surrounding space without creating excessive moisture.
- Adjust the Timing (if necessary): If you have installed a timer, test different time settings to determine the ideal misting duration for your needs. Find a balance between enjoying the cooling mist and avoiding excessive water consumption.
Testing the system allows you to fine-tune the misting effect and ensure optimal performance. If you notice any issues or areas that require adjustment, take the time to make necessary modifications before proceeding.
Once you are satisfied with the performance of your misting system, you can move on to the final step: enjoying your patio misting system!
Step 7: Enjoy Your Patio Mister System
Congratulations! You have successfully installed your patio misting system. Now, it’s time to sit back, relax, and enjoy the refreshing mist on your outdoor patio. Here are a few tips to help you fully enjoy your misting system:
- Adjust the Mist Angle: Experiment with the angle of the misting nozzles to find the most comfortable and effective positioning. You can tilt them slightly up or down to achieve the desired misting effect.
- Find the Optimal Timing: Determine the best time to run your misting system based on the weather and your outdoor activities. Running the system during the hottest parts of the day can provide the most relief from the heat.
- Maintain the System: Regularly clean the misting nozzles to remove any mineral deposits or dirt that may affect their performance. Check the tubing and connections for any leaks or damage and address them promptly.
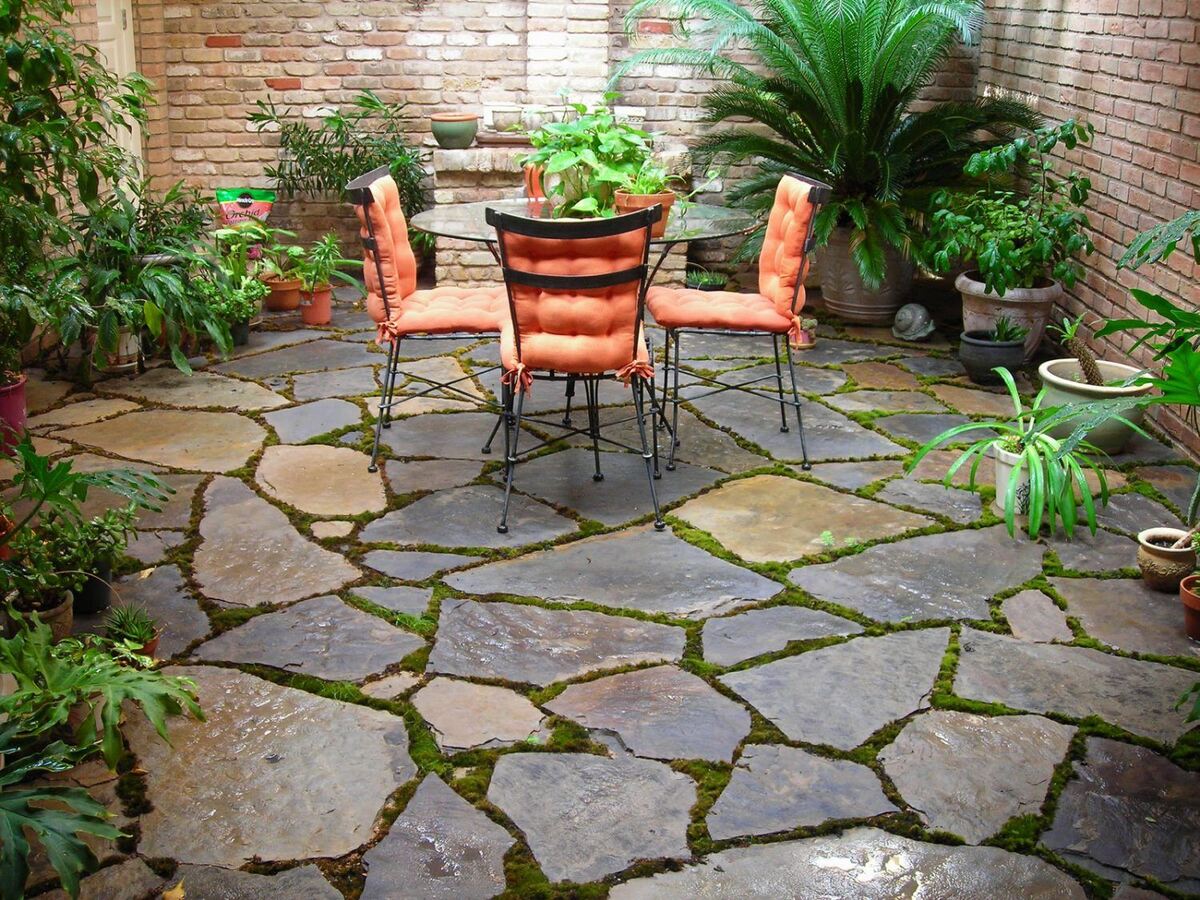
- Create a Relaxing Ambiance: Enhance your outdoor space by adding comfortable furniture, ambient lighting, and plants to create a welcoming atmosphere. The misting system will complement the overall ambiance and make your patio even more enjoyable.
- Entertain with Ease: With your patio misting system, you can host outdoor gatherings and events without worrying about the heat. Your guests will appreciate the cool mist as they enjoy their time in your outdoor oasis.
Remember to use your misting system responsibly and be conscious of water usage. It is recommended to use a timer to control the system’s operation and prevent excessive water consumption.
Having a patio misting system allows you to make the most of your outdoor space, even on the hottest days. By following the installation steps and taking proper care of your system, you can enjoy a cool and comfortable patio throughout the summer months.
So grab a refreshing beverage, kick your feet up, and bask in the enjoyable mist of your newly installed patio misting system. Cheers to a cool and relaxing outdoor experience!
Conclusion
Creating a patio misting system can transform your outdoor space into a refreshing haven during hot summer days. By following the steps outlined in this guide, you can install a misting system that provides relief from the heat and enhances your outdoor experience.
In Step 1, we discussed the importance of gathering all the necessary materials before beginning the installation process. From misting kits to tubing and mounting hardware, having everything ready ensures a smooth and efficient installation.
Step 2 focused on planning the layout of your misting system. Strategic placement of the misting nozzles is essential for optimal mist distribution and coverage. Taking into consideration the area you want to cool, obstacles, and water source access points will help you plan a layout that suits your needs best.
Installing the water source was covered in Step 3. This step involved connecting the main water line and ensuring the pressure is regulated. A properly installed water source is crucial to the overall performance and efficiency of your misting system.
In Step 4, we detailed the process of attaching the misting nozzles. Creating a watertight seal and positioning the nozzles for even distribution are key factors in achieving an effective cooling mist.
Step 5 focused on connecting the tubing, which acts as the conduit for water flow from the source to the nozzles. Careful measurement, secure connections, and leak checks are essential to ensure the misting system operates smoothly.
Once all the components are in place, Step 6 involves testing the misting system. This step allows you to identify any leaks, adjust the misting effect, and ensure proper cooling within your desired coverage area.
Finally, Step 7 is all about enjoying your patio misting system. Adjusting the mist angle, finding the optimal timing, and maintaining the system will enable you to fully appreciate the refreshing mist on your outdoor patio.
Remember to be mindful of water usage and use the misting system responsibly. With proper installation and maintenance, your patio misting system can provide a cool and comfortable outdoor oasis for you, your family, and your guests to enjoy.
So, take advantage of the summer months and turn your outdoor space into a refreshing retreat with a patio misting system. Stay cool and make lasting memories in your comfortable and enjoyable outdoor haven!
Frequently Asked Questions about How To Make A Patio Mister System
Was this page helpful?
At Storables.com, we guarantee accurate and reliable information. Our content, validated by Expert Board Contributors, is crafted following stringent Editorial Policies. We're committed to providing you with well-researched, expert-backed insights for all your informational needs.


0 thoughts on “How To Make A Patio Mister System”