Home>Furniture>Outdoor Furniture>How Much To Screen In A Patio
Outdoor Furniture
How Much To Screen In A Patio
Modified: March 7, 2024
Discover the cost of screening in your patio and enjoy the great outdoors with our durable and stylish outdoor furniture.
(Many of the links in this article redirect to a specific reviewed product. Your purchase of these products through affiliate links helps to generate commission for Storables.com, at no extra cost. Learn more)
Introduction
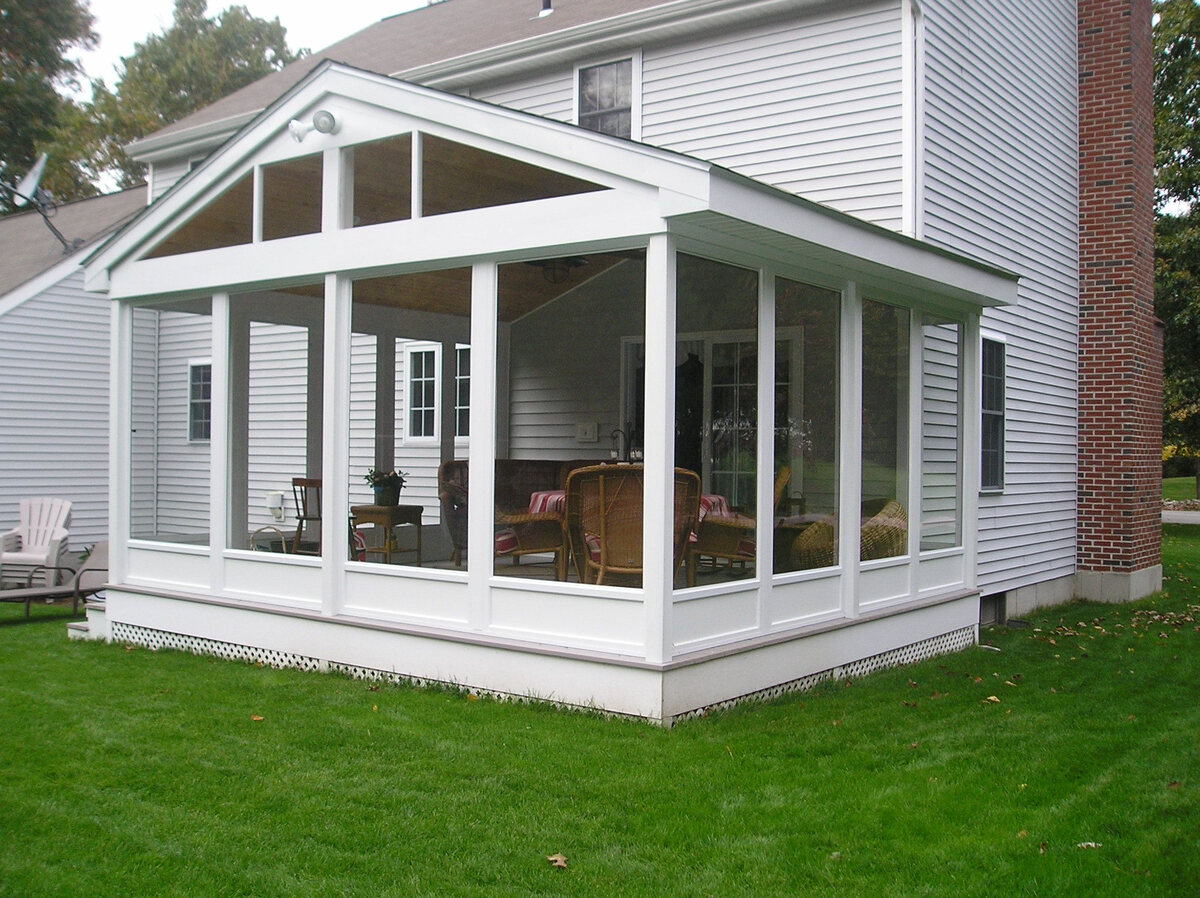
Welcome to our comprehensive guide on how much it costs to screen in a patio. If you’re looking to transform your outdoor space into a screened-in oasis, you’ve come to the right place. Screened-in patios offer a multitude of benefits, from protection against insects and pests to providing a comfortable and shaded area for relaxation, dining, and entertaining.
Before jumping into the costs associated with screening in a patio, it’s important to consider a few factors. The cost can vary depending on the size of your patio, the materials you choose, and whether you decide to hire professionals or take on the project yourself.
So, dive in, explore the options, and get ready to enjoy your bug-free outdoor retreat.
Key Takeaways:
- Screening in a patio can cost more or less depending on factors like size, materials, and professional installation. Consider DIY options and affordable materials to save money while creating a bug-free outdoor oasis.
- To reduce the cost of screening in a patio, consider DIY installation, compare quotes, choose affordable materials, and reuse existing structures. Regular maintenance and shopping for sales can also help save money in the long run.
Read more: How Much Does Patio Screen Repair Cost
Factors to Consider Before Screening in a Patio
Screening in a patio is a significant investment, so it’s crucial to carefully consider a few key factors before getting started. These factors can help you determine the right approach and give you an idea of the overall cost involved. Let’s take a closer look:
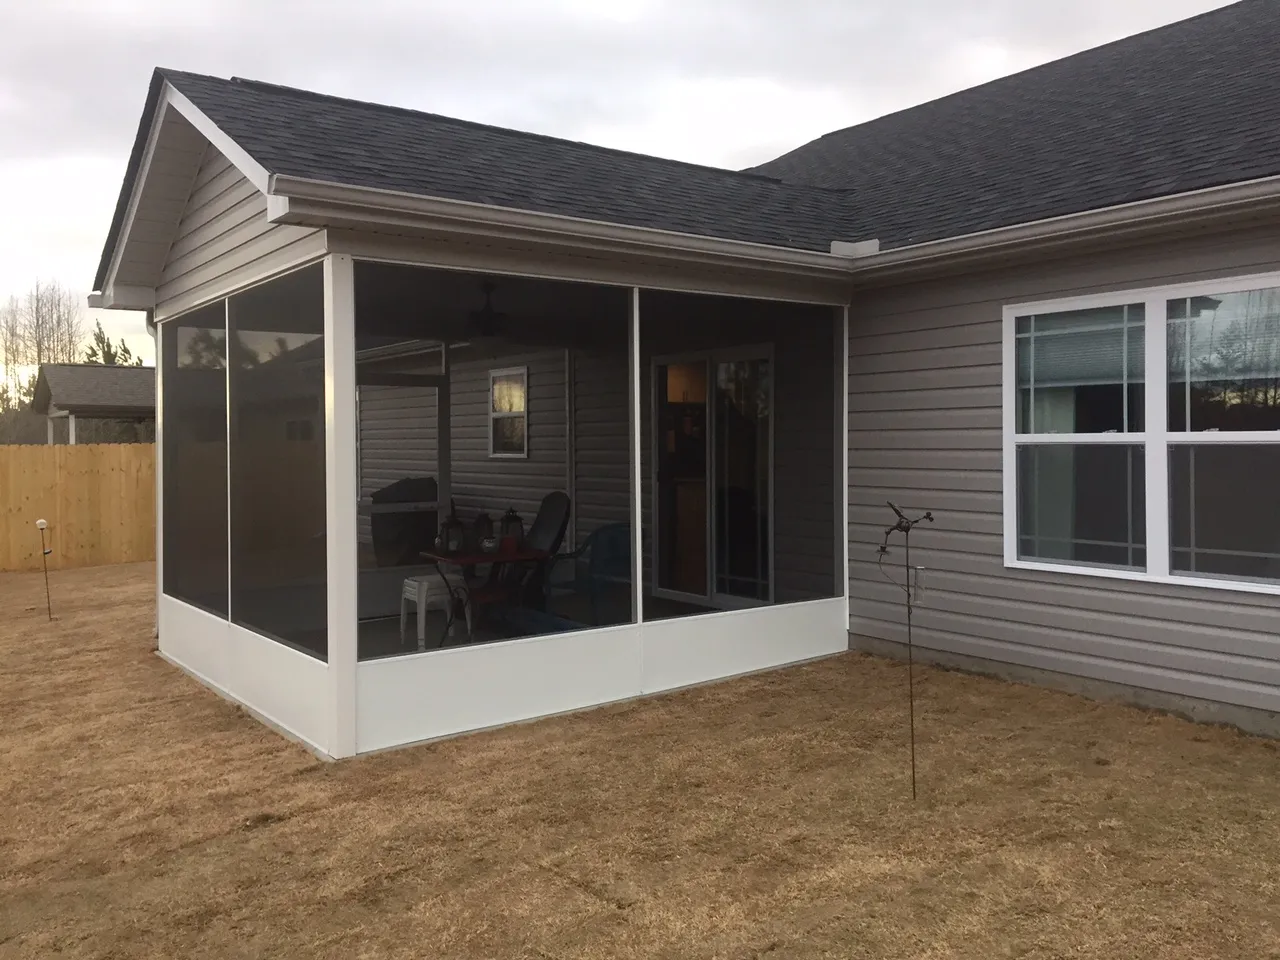
- Patio Size: The size of your patio will play a vital role in the cost of screening. Larger patios require more materials and take longer to screen. Consider the dimensions of your patio and how much space you want to enclose.
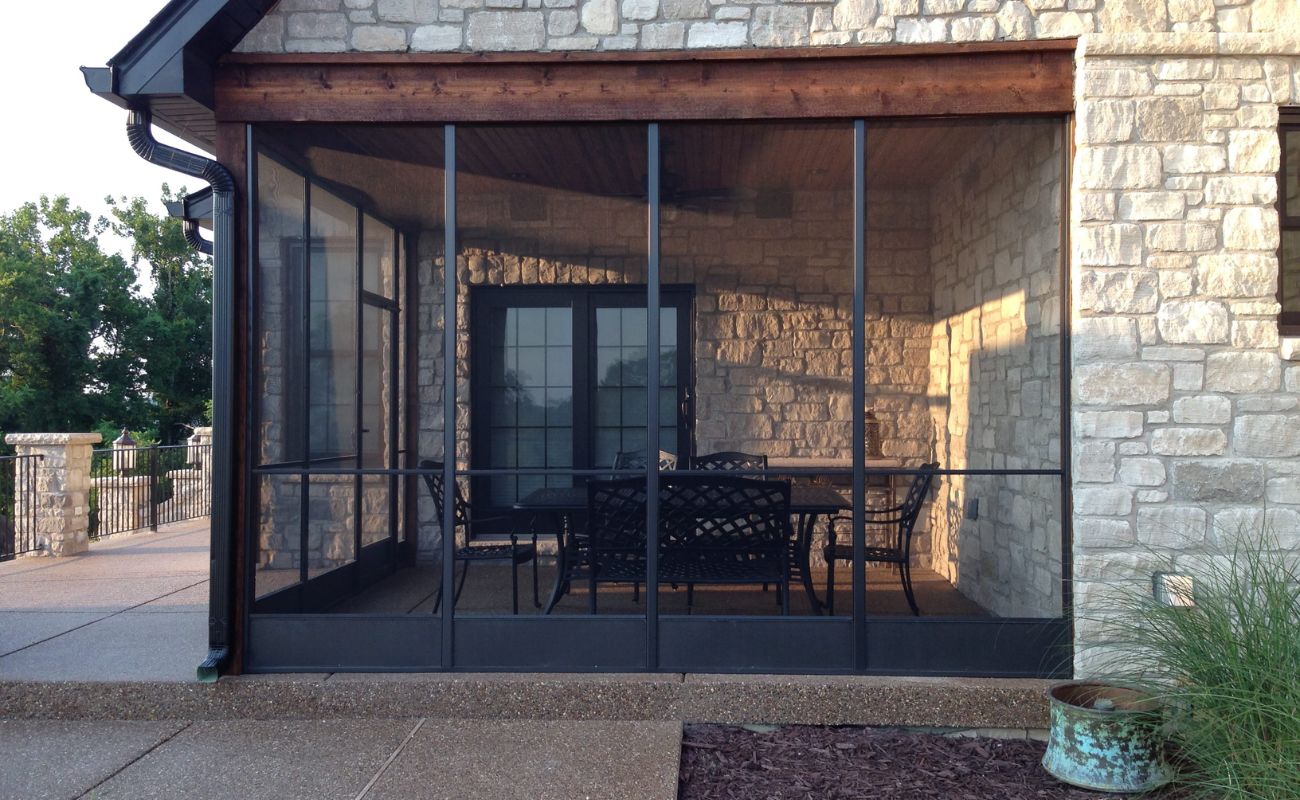
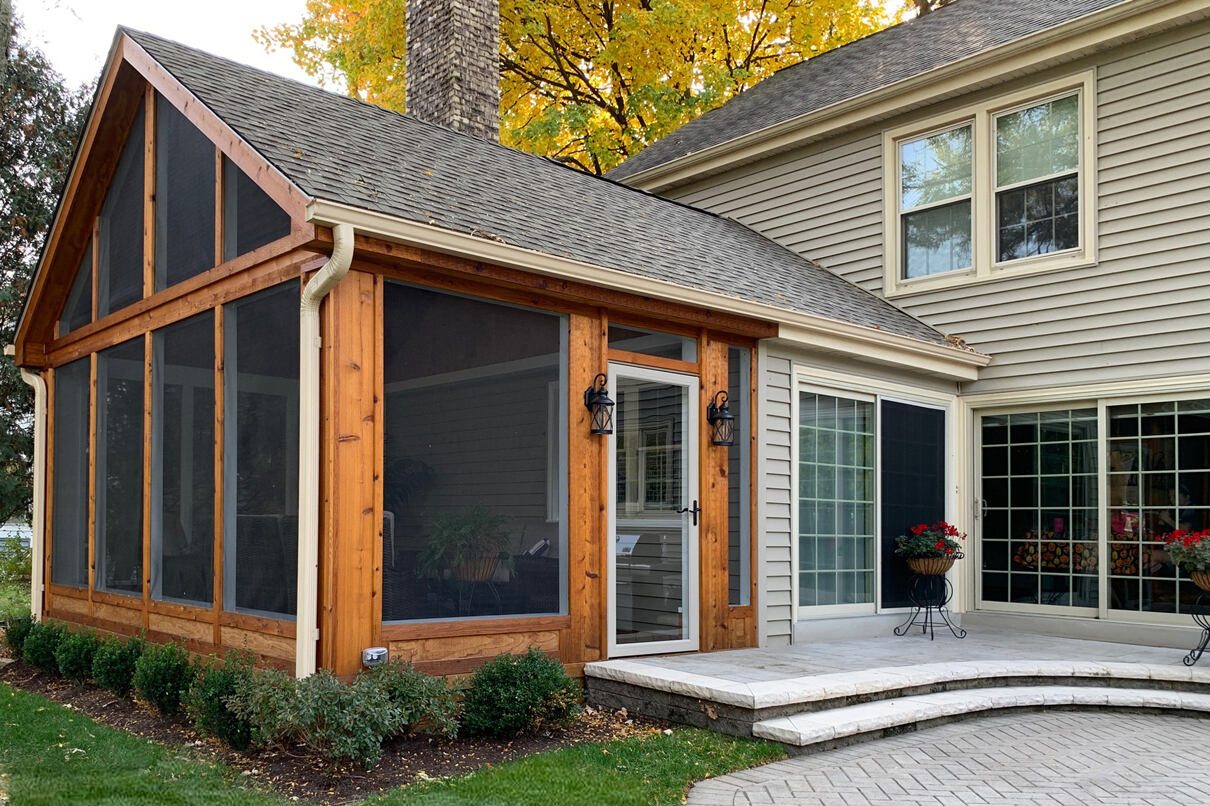
- Material Selection: Choosing the right materials for your patio screen is essential. Options range from traditional aluminum screens to more durable options like fiberglass or solar screens. Each material comes with different price points and maintenance requirements.
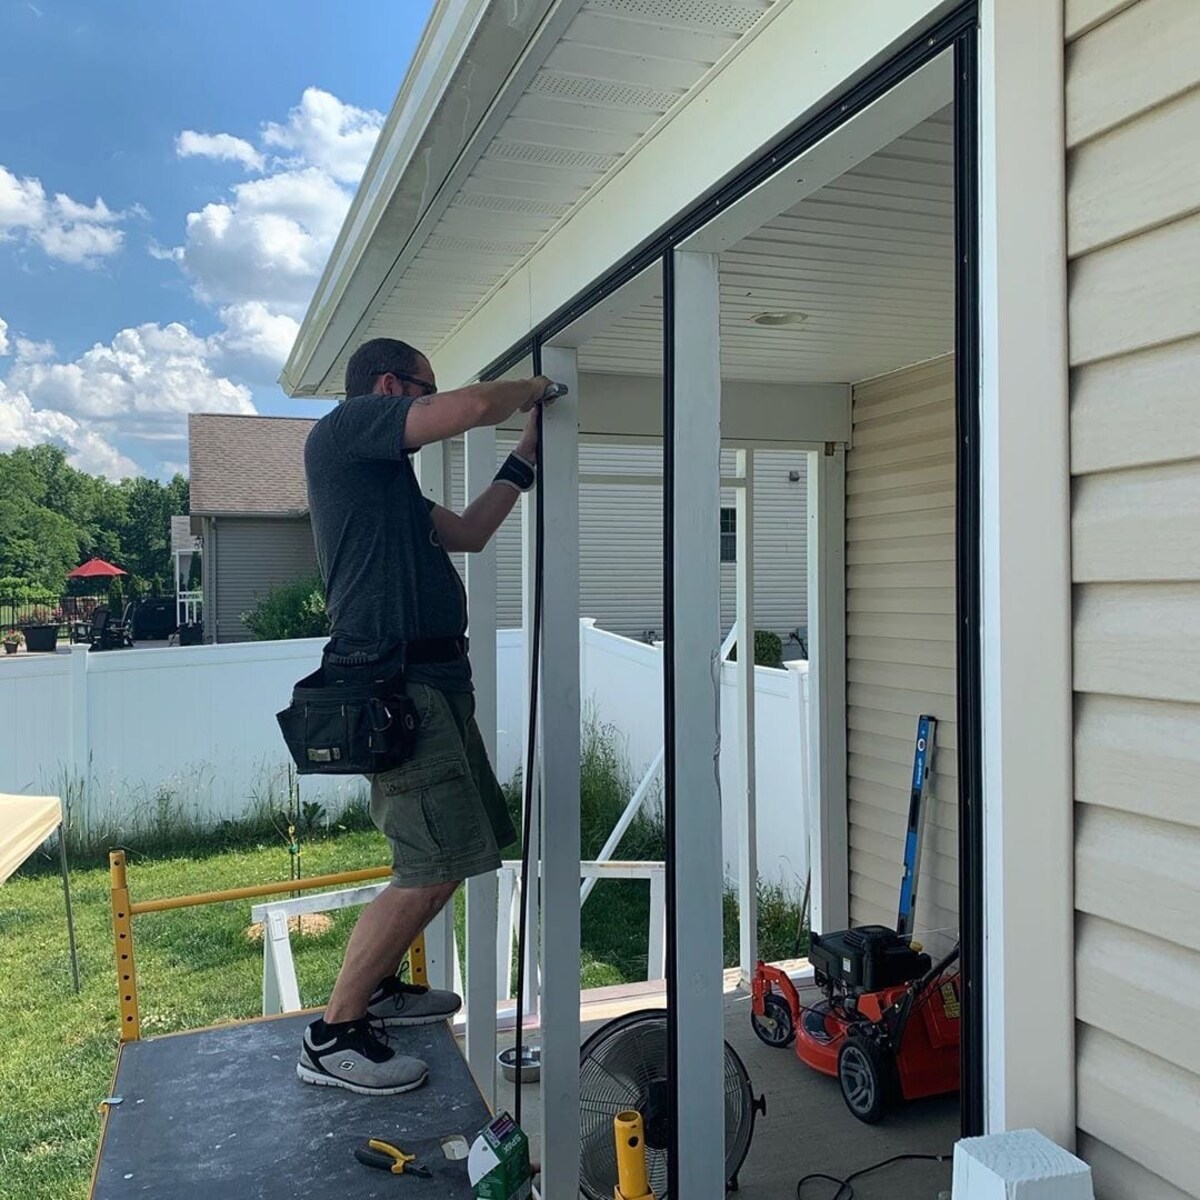
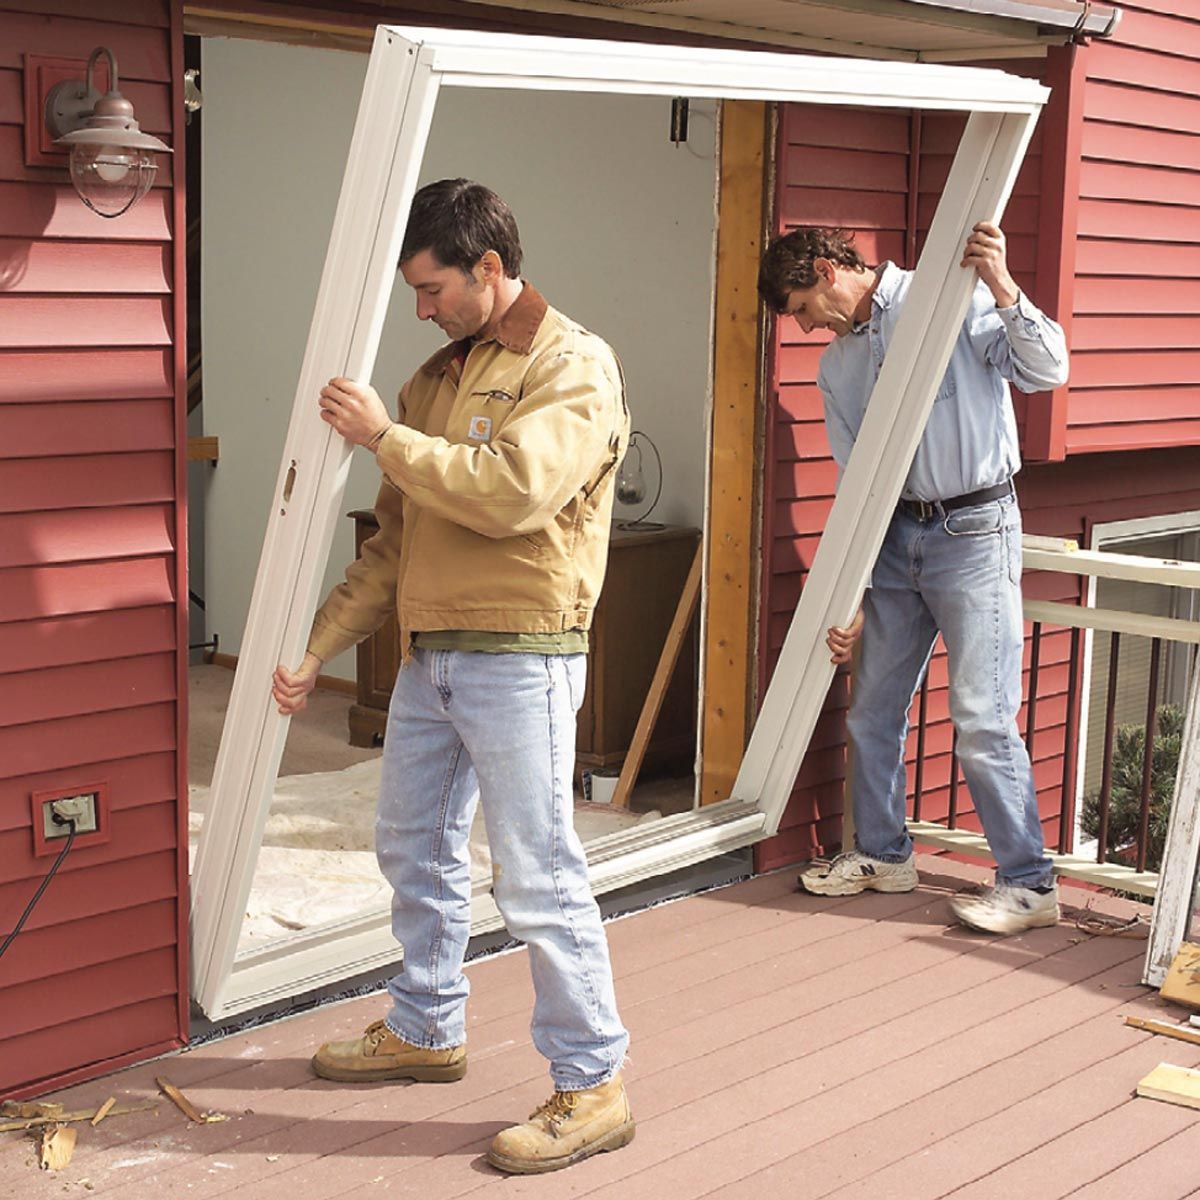
- Professional Installation or DIY: Another factor to consider is whether you want to hire professionals to install the patio screen or take on the project yourself. Hiring professionals will ensure a high-quality and efficient installation but comes with a cost. On the other hand, DIY installation can save you money, but it requires time, skills, and tools.
- Local Regulations: Check with your local authorities or homeowner’s association to determine if there are any regulations or guidelines regarding patio screening. Some places may have specific requirements for the design, materials, or height of the screen.
- Integration with Existing Structures: Consider how the screened-in patio will integrate with your existing outdoor structures, such as decks, porches, or gazebos. Depending on the complexity of the integration, additional costs may be involved.
By taking these factors into account, you can make informed decisions and plan your screened-in patio project effectively.
Cost of Materials for Patio Screening
When it comes to screening in a patio, the cost of materials can vary depending on the type of screen you choose and the size of your patio. Here are some common materials and their associated costs to give you an idea:
- Aluminum Screens: Aluminum screens are a popular choice due to their affordability. They typically cost around $1 to $2 per square foot of screen material.
- Fiberglass Screens: Fiberglass screens offer better visibility and durability compared to aluminum screens. They range in price from $1.50 to $4 per square foot.
- Solar Screens: Solar screens are designed to block heat and UV rays from entering your patio. They come at a higher price point, ranging from $5 to $12 per square foot.
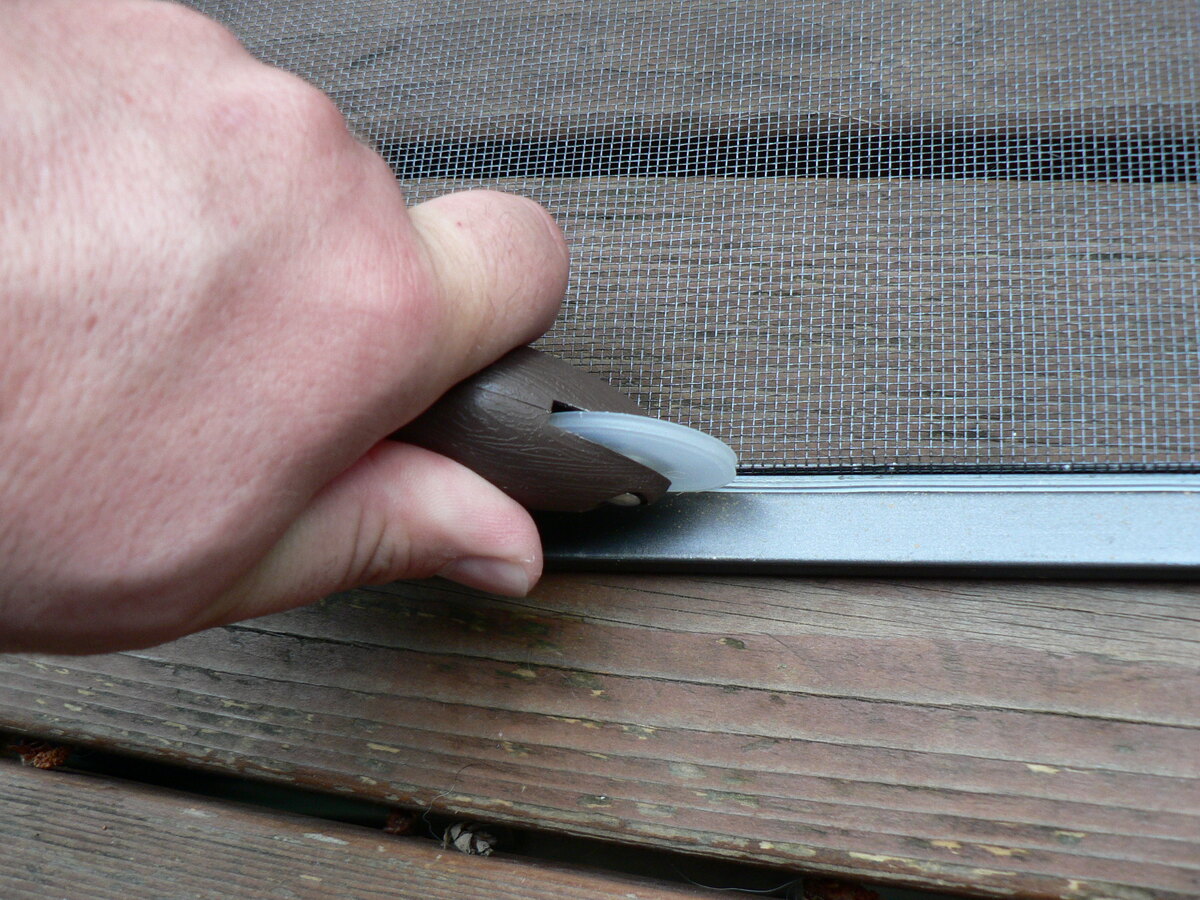
- Screening Accessories: In addition to the screen material, you may also need other accessories such as screen frames, spline, and clips. These are typically sold separately and can add to the overall cost.
Keep in mind that these are ballpark figures and prices may vary depending on your location and the supplier you choose. It’s always a good idea to get multiple quotes from different suppliers to ensure you’re getting the best price.
Aside from the screen material, you may also need to consider other materials such as framing and hardware. Aluminum framing is a common choice for patio screening and can cost around $2 to $4 per linear foot. Specialty hardware, such as hinges and latches, can add a few extra dollars to the total cost.
Remember to factor in any additional materials you may need based on your specific patio design and installation requirements.
Now that you have an idea of the material costs, let’s move on to the labor cost involved in screening in a patio.
Labor Cost for Screening in a Patio
The labor cost for screening in a patio can vary depending on the complexity of the project, the size of the patio, and whether you choose to hire professionals or tackle the installation yourself. Here are some factors to consider when estimating the labor cost:
- Professional Installation: Hiring professionals to install your patio screen can ensure a high-quality and efficient job. The cost of professional installation typically ranges from $8 to $12 per square foot of screened area. However, this cost can vary depending on the region and the specific contractor.
- DIY Installation: If you’re comfortable with DIY projects and have the necessary skills, you can save on labor costs by doing the installation yourself. Keep in mind that DIY installation requires time, effort, and the right tools. It’s essential to carefully follow installation instructions and ensure a proper and secure fit.
- Additional Labor Costs: Depending on your patio design and complexity, there may be additional labor costs involved. For example, if your patio requires custom framing or if there are existing structures that need modifications to integrate the screen, these factors can increase the labor cost.
It’s worth noting that while DIY installation may save you money, professional installation provides expertise and assurance of a well-executed project. Consider your skill level, available time, and the scope of the project before deciding whether to hire professionals or go the DIY route.
Now that we’ve covered the labor cost, let’s explore some additional costs you may encounter when screening in a patio.
Consider the size of your patio and the materials you want to use when budgeting for a screen enclosure. Factors like the type of screening, framing, and labor costs will all impact the overall expense.
Additional Costs Associated with Patio Screening
When budgeting for screening in a patio, it’s important to take into account the additional costs that may arise throughout the project. These costs can vary depending on the specific requirements of your patio and the choices you make. Here are some common additional costs to consider:
- Permits and Inspections: Depending on your location and local regulations, you may need to obtain permits for the patio screening project. Permit costs can vary, so it’s essential to check with your local authorities. Some areas may also require inspections during or after the installation process, which can incur additional fees.
- Electrical Wiring or Lighting: If you’re planning to incorporate electrical wiring or lighting into your screened-in patio, additional costs may apply. This includes hiring an electrician, purchasing light fixtures, and ensuring that the electrical work aligns with building codes and safety standards.
- Repairs or Modifications: If your patio requires any repairs or modifications before the screening can be installed, such as fixing damaged frames or addressing structural issues, these costs should be factored into your budget.
- Maintenance and Upkeep: Over time, your patio screen may require maintenance and upkeep. This can include cleaning, replacing damaged screens, or repairing any wear and tear. Consider the long-term costs associated with maintaining your screened-in patio.
- Enhancements and Add-Ons: Depending on your preferences and budget, you may want to add enhancements to your screened-in patio, such as ceiling fans, outdoor furniture, or landscaping. These additions come with their own costs and should be considered when estimating the overall project budget.
By factoring in these additional costs associated with patio screening, you can ensure that your budget is comprehensive and covers all the necessary expenses for a successful project.
Now that we have explored the additional costs, let’s move on to some tips for reducing the cost of screening in a patio.
Read more: How Much Do Motorized Patio Screens Cost
Tips for Reducing the Cost of Screening in a Patio
If you’re looking to screen in your patio without breaking the bank, there are several strategies you can employ to reduce the overall cost. Consider these tips as you plan your project:
- Do-It-Yourself (DIY): Taking on the installation yourself can significantly reduce labor costs. Ensure you have the necessary skills and tools before attempting a DIY approach.
- Compare Quotes: Get multiple quotes from different suppliers and contractors to ensure you’re getting the best price for materials and professional installation.
- Opt for Affordable Materials: While aluminum screens are usually the least expensive option, fiberglass screens can provide better durability and visibility at a reasonable price. Consider your priorities and budget when choosing the screen material.
- Choose Standard Sizes: When purchasing screen material and framing, opt for standard sizes whenever possible. Custom-made screens tend to be more expensive, so adapting your patio dimensions to fit standard sizes can save costs.
- Reuse Existing Structures: If you already have a porch or deck, consider incorporating it into your new screened-in patio design to reduce the need for extra framing or modifications.
- Regular Maintenance: Properly maintain your screened-in patio to prolong its lifespan. Clean the screens regularly and repair any damages promptly to avoid costly replacements in the future.
- Shop Sales and Clearance: Keep an eye out for sales, promotions, and clearance items when purchasing materials or accessories for your patio screening project. You may find great deals that can help lower costs.
- Consult with Professionals: Even if you plan on completing a DIY installation, consulting with professionals can provide valuable guidance and advice. They can help you navigate the project and avoid costly mistakes.
By implementing these tips, you can minimize costs while still achieving a beautiful and functional screened-in patio.
Now that you’re equipped with these cost-saving strategies, it’s time to start planning your dream screened-in patio within your budget.
Conclusion
Screening in a patio can transform your outdoor space into a comfortable and insect-free oasis for relaxation and entertaining. However, it’s important to consider various factors that can influence the cost of the project.
Factors such as the size of your patio, material selection, professional installation versus DIY, local regulations, and integration with existing structures all play a role in determining the overall cost. Remember to budget not only for materials and labor but also for additional expenses like permits, maintenance, and any desired enhancements.
To reduce the cost of screening in a patio, you can opt for DIY installation, compare quotes from different suppliers and contractors, choose affordable materials like fiberglass screens, and reuse existing structures whenever possible. Regular maintenance and shopping for sales can also help you save money in the long run.
Ultimately, the cost of screening in a patio will vary depending on your specific needs and choices. It’s important to weigh the benefits of a professionally installed screen against the cost savings of a DIY approach.
Now that you have a better understanding of the various cost factors and suggestions for minimizing expenses, you can confidently embark on your patio screening project. Create an inviting and bug-free outdoor space where you can enjoy the beauty of nature without any interruptions.
Remember to plan carefully, make informed decisions, and ensure that your screened-in patio reflects your personal style and preferences. With the right approach, your screened-in patio will provide years of enjoyment and relaxation for you, your family, and your friends.
Frequently Asked Questions about How Much To Screen In A Patio
Was this page helpful?
At Storables.com, we guarantee accurate and reliable information. Our content, validated by Expert Board Contributors, is crafted following stringent Editorial Policies. We're committed to providing you with well-researched, expert-backed insights for all your informational needs.


0 thoughts on “How Much To Screen In A Patio”