Home>Garden Essentials>How To Add Infill To A SketchUp Model
Garden Essentials
How To Add Infill To A SketchUp Model
Modified: August 28, 2024
Learn how to add infill to your SketchUp garden model with this step-by-step guide. Enhance the realism and design of your garden project.
(Many of the links in this article redirect to a specific reviewed product. Your purchase of these products through affiliate links helps to generate commission for Storables.com, at no extra cost. Learn more)
Introduction
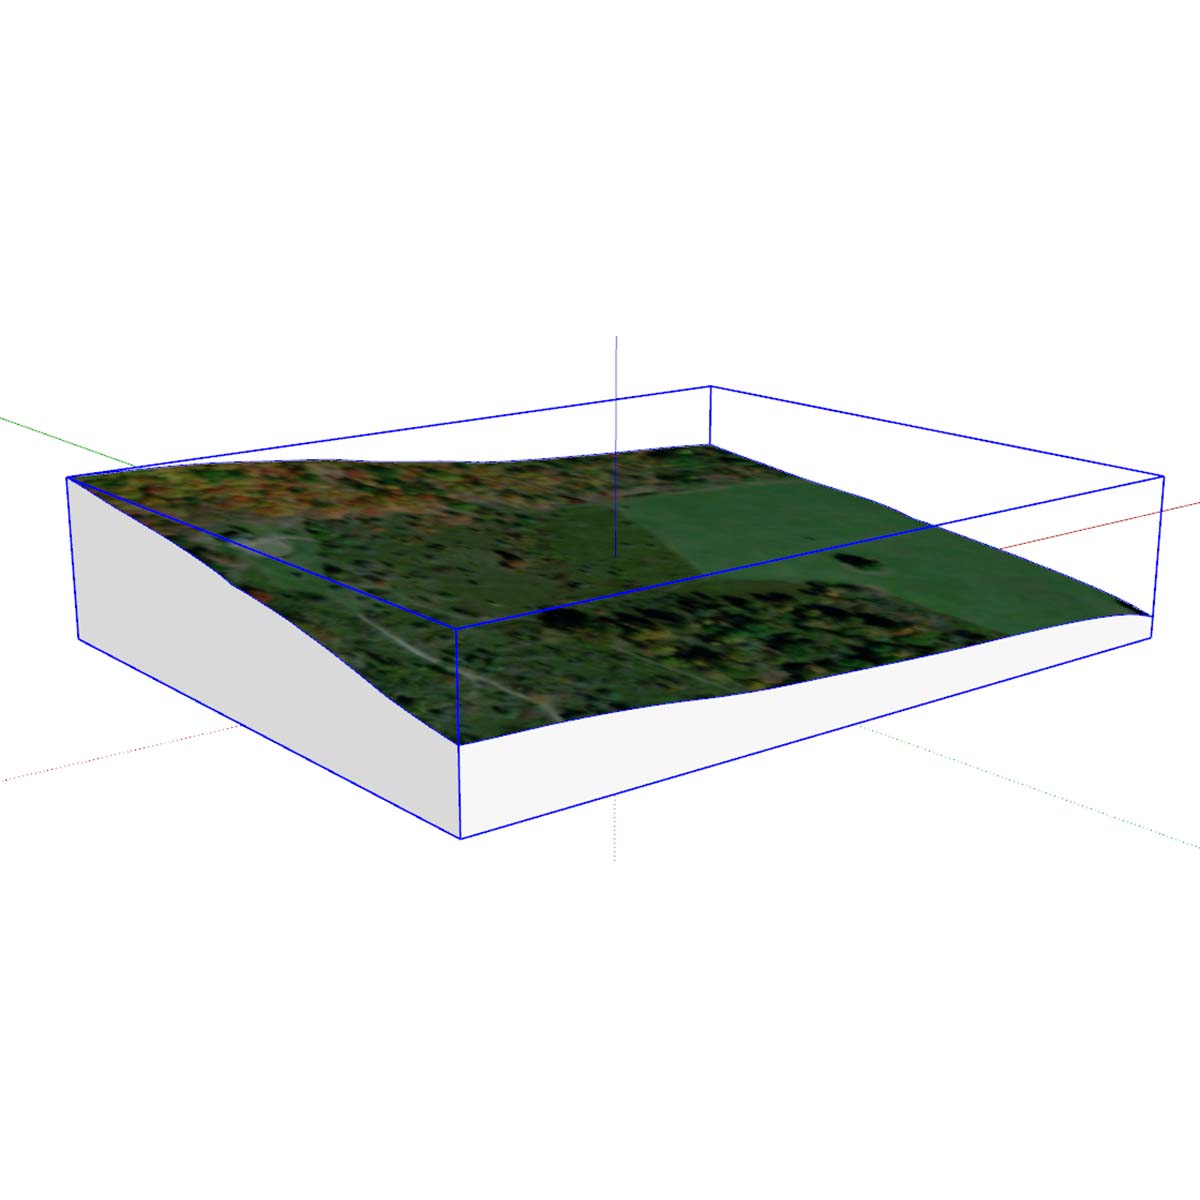
Welcome to the world of SketchUp, where you can bring your architectural designs and creative visions to life. One of the key aspects of designing a model is to add infill, which refers to the material used to fill the inner void or volume of an object. Infill plays a vital role in increasing the structural integrity and stability of a 3D model. Whether you are working on a small project or a complex design, knowing how to add infill to your SketchUp model is an essential skill to possess.
In this article, we will guide you step by step on how to add infill to a SketchUp model. We will explore the different tools and techniques that will help you enhance the strength and aesthetics of your design. So, let’s dive in and unlock the possibilities of infill in SketchUp!
Key Takeaways:
- Adding infill to a SketchUp model enhances its strength and visual appeal. By selecting, applying, and fine-tuning infill materials, designers can elevate their 3D models to new levels of creativity and craftsmanship.
- Mastering the process of infill addition in SketchUp allows designers to create captivating and realistic models. Experimenting with different materials and textures empowers designers to unleash their creativity and bring their visions to life.
Read more: How To Add Infill In Rhino
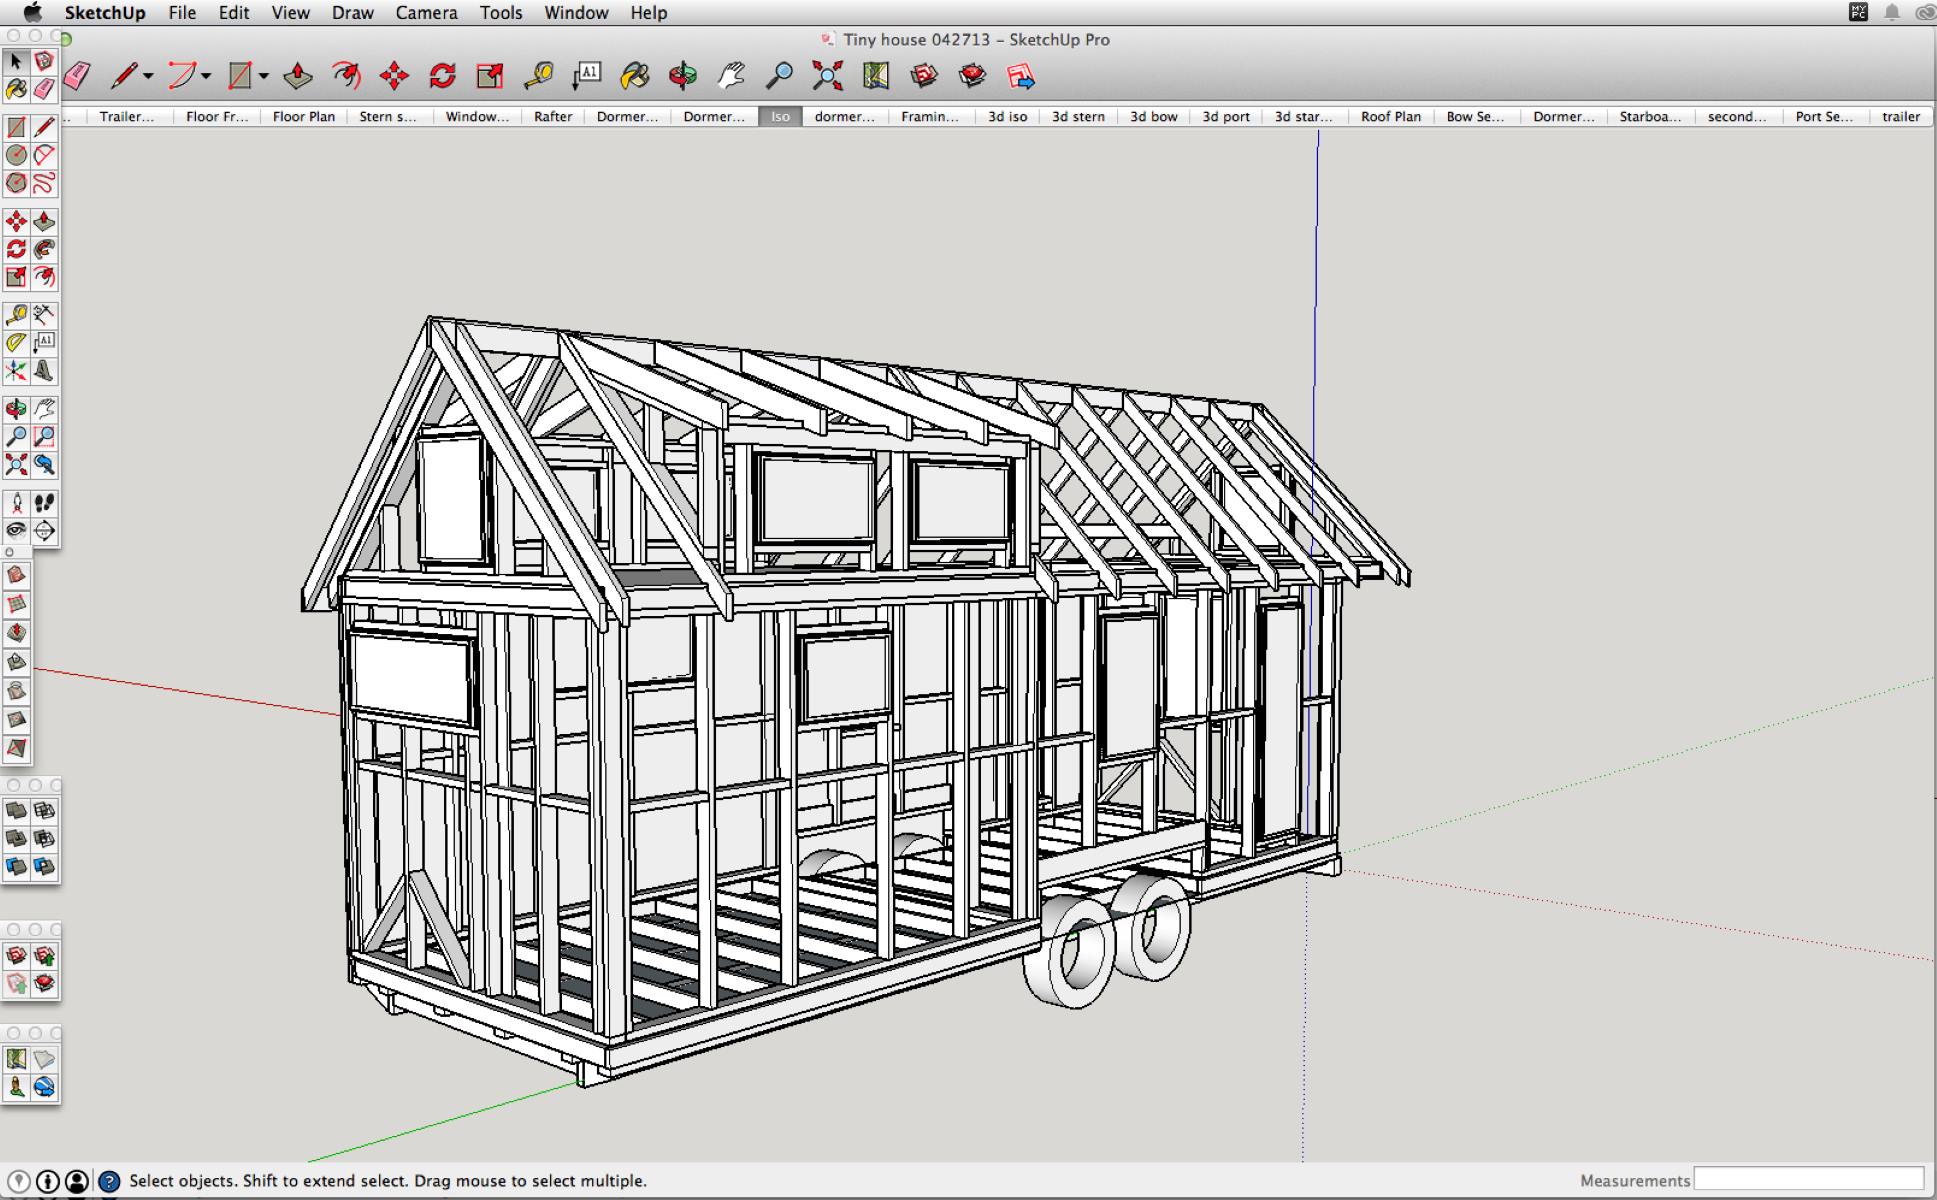
Step 1: Opening SketchUp and Loading the Model
The first step towards adding infill to your SketchUp model is to open the SketchUp software on your computer. If you don’t have SketchUp installed, you can easily download it from the official website and follow the instructions to install it.
Once you have opened SketchUp, you will be greeted by the main interface. To start working on your model, you need to load it into the software. You can do this by navigating to the “File” menu on the top left corner of the screen and selecting the “Open” option.
In the dialogue box that appears, browse through your computer’s file system and locate the model you want to work on. Highlight the file and click “Open.” SketchUp will then take a few moments to load the model, and you will see it displayed on the screen.
It’s important to note that SketchUp supports various file formats, including .skp (SketchUp’s native format), .dwg, .dxf, .stl, etc. Make sure your model is in a compatible format for a seamless importing process.
If you don’t have a pre-existing model, you can start with a blank canvas by selecting the “Start using SketchUp” option on the welcome screen. This will open a new empty model, and you can begin your design from scratch.
Once your model is loaded into SketchUp or you have a blank canvas, you are ready to proceed to the next step of adding infill to your SketchUp model.
Step 2: Selecting the Paint Bucket Tool
Now that you have your model loaded into SketchUp, it’s time to select the Paint Bucket tool. The Paint Bucket tool is used to apply textures, colors, and materials to different parts of your model. In this case, we will be using it to add infill.
To access the Paint Bucket tool, look for the icon in the toolbar on the left side of the screen. It resembles a paint bucket pouring paint onto a surface. Alternatively, you can press the “B” key on your keyboard as a shortcut to select the tool.
Once you have selected the Paint Bucket tool, you will notice additional options and settings appear in the toolbar at the top of the screen. These options allow you to customize the infill material that you will be applying to your model.
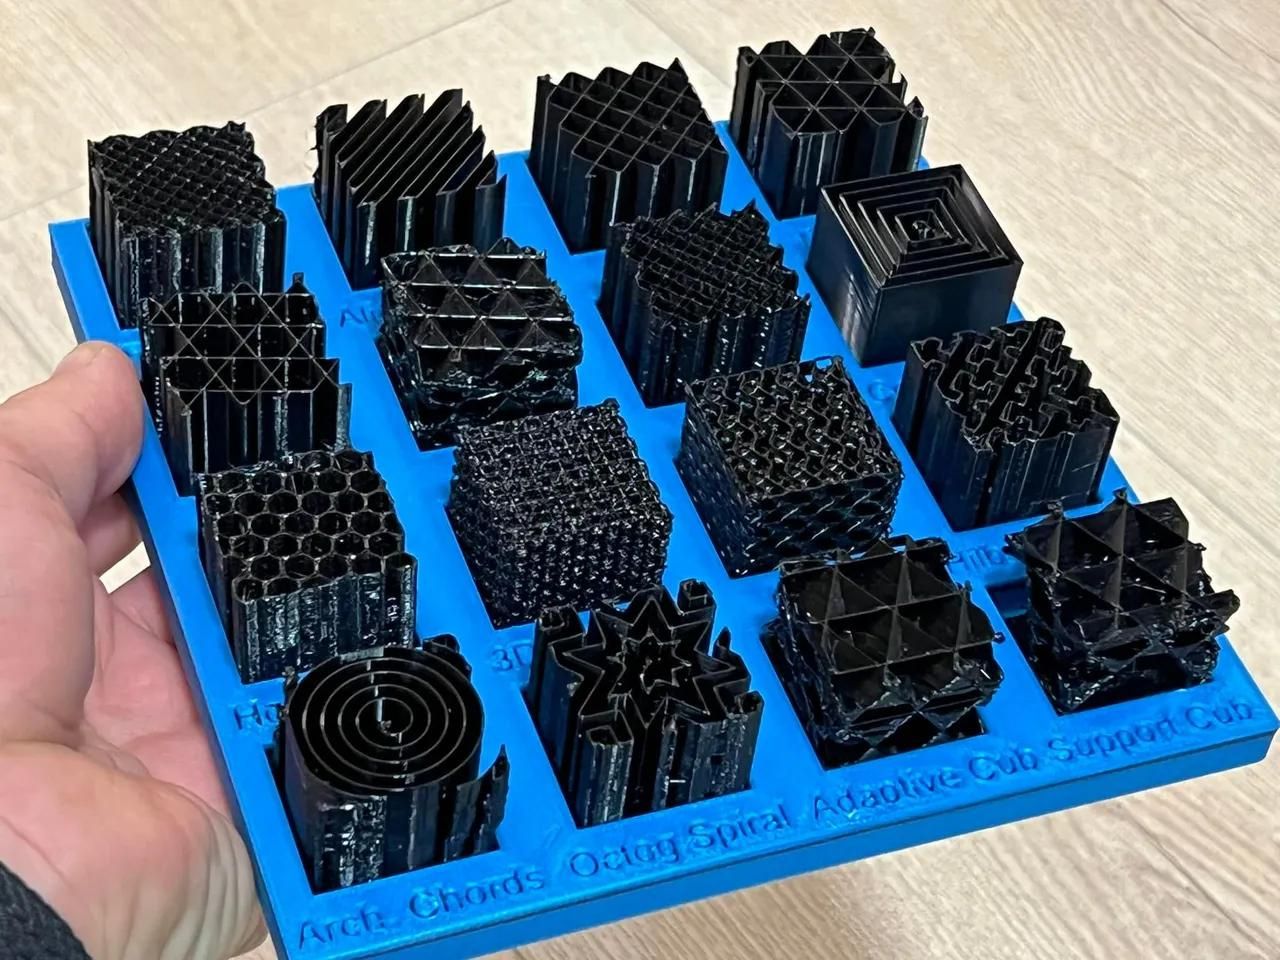
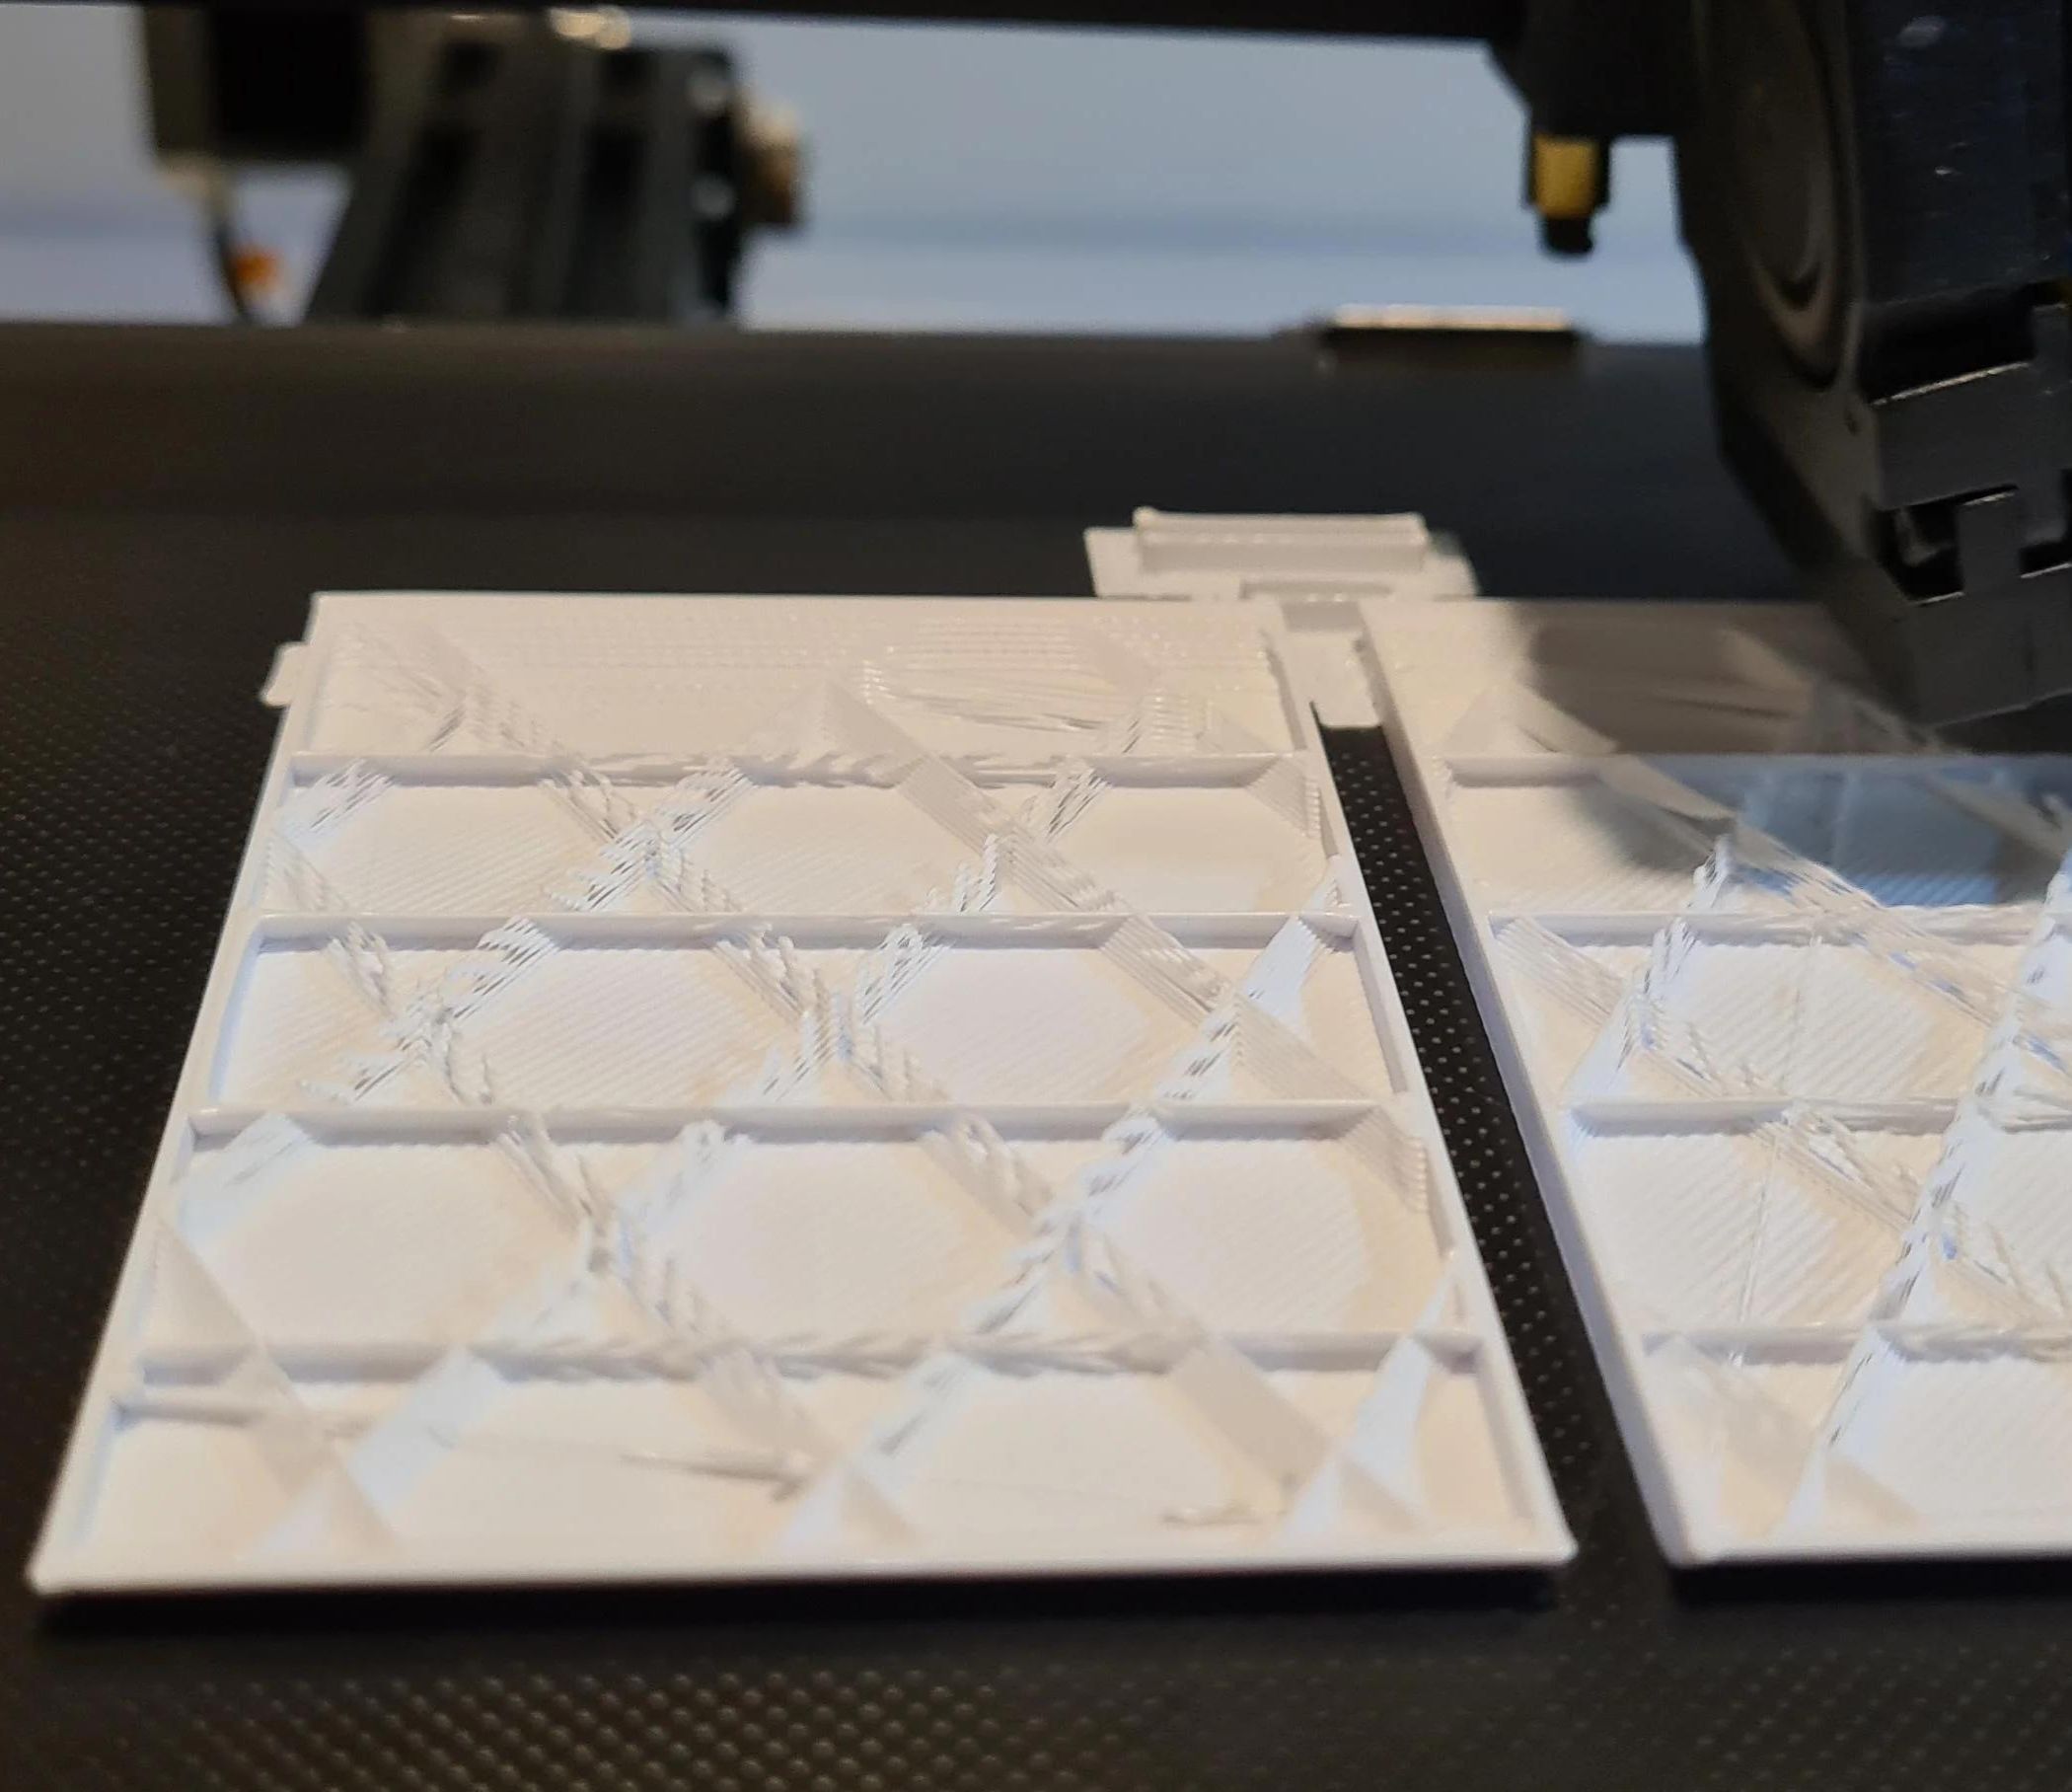
Before proceeding, it’s important to gather the infill materials that you want to use. SketchUp provides a library of pre-loaded materials, or you can import your own custom textures and materials. This will give you a wide range of options to choose from, whether you want a wood grain texture, a metal finish, or a simple solid color.
To access the material library, click on the small arrow next to the material swatch in the toolbar. This will open a palette of material options. Take your time to explore the library and select the infill material that best suits your design.
Once you have your infill material selected, you are ready to move on to the next step, where we will apply the infill to your SketchUp model.
Step 3: Choosing the Infill Material
Now that you have the Paint Bucket tool selected and your model loaded into SketchUp, it’s time to choose the infill material that you will be applying to your model. The infill material not only adds strength and stability to your design but also enhances its visual appeal.
To choose the infill material, ensure that the Paint Bucket tool is still selected. Look at the toolbar at the top of the screen, and you will see a material swatch with a small arrow next to it. Click on the arrow to open the material palette.
The material palette will display a wide range of options, including basic colors, materials with different textures, and even custom materials that you have imported. Take your time to explore the different categories and select the infill material that best aligns with your design vision and the desired aesthetics.
If the pre-loaded materials in SketchUp do not meet your requirements, you have the option to import custom materials. Simply click on the “Create Material” button in the material palette, and a dialogue box will appear where you can import an image, adjust the properties of the material, and save it for future use.
When selecting an infill material, consider the purpose and function of your model. For example, if you are designing a 3D-printed object, you may want to choose a material that closely resembles the actual material that will be used in the printing process. On the other hand, if you are working on an architectural model, you may want to select materials that mimic real-world finishes such as wood, concrete, or glass.
Remember that the choice of infill material can greatly impact the overall look and feel of your model. So take your time, experiment with different options, and choose the material that not only complements your design but also adds value to its structural integrity.
Once you have chosen the infill material, you are ready to move on to the next step, where we will apply the selected material to your SketchUp model.
Step 4: Applying Infill to the Model
With the infill material selected, it’s time to apply it to your SketchUp model. This step will bring your design to life and give it the strength and visual appeal that infill provides.
To apply the infill material, ensure that the Paint Bucket tool is still selected. Take a moment to familiarize yourself with the various options and settings available in the toolbar at the top of the screen. These options will allow you to customize the way the infill material is applied to your model.
Once you are ready, navigate to the surface or component of your model where you want to apply the infill material. Click on the surface or component with the Paint Bucket tool, and you will notice that the infill material is instantly applied.
If you want to apply the infill material to multiple surfaces or components at once, you can click and drag the Paint Bucket tool across those areas or use modifier keys (e.g., Shift) to select multiple surfaces simultaneously. This technique is especially useful when dealing with complex models that require consistent infill application.
As you apply the infill material, you will notice that the appearance of your model transforms, giving it depth, texture, and a sense of realism. If you’re not satisfied with the initial application, don’t worry! SketchUp allows you to easily modify and adjust the infill settings to achieve the desired outcome.
Now that you have successfully applied the infill material to your model, it’s time to move on to the next step, where we will explore the options for fine-tuning the infill settings in SketchUp.
When adding infill to a SketchUp model, use the “offset” tool to create a new shape inside the existing one. Then, use the “push/pull” tool to extrude the infill to the desired thickness.
Read more: How To Add Infill To Turf
Step 5: Adjusting the Infill Settings
After applying the infill material to your SketchUp model, you have the flexibility to adjust the infill settings to further refine the appearance and properties of your design. These settings allow you to control aspects such as transparency, texture scale, and material orientation, adding depth and realism to your model.
To access the infill settings, ensure that the Paint Bucket tool is still selected. Look for the “Edit” tab in the toolbar at the top of the screen. Click on it, and a drop-down menu will appear with various options, including “Texture,” “Position,” and “Scale.”
The “Texture” option allows you to adjust the properties of the infill material, such as transparency, brightness, and colorization. This is particularly useful when you want to achieve a specific effect or match the material’s appearance to real-world counterparts.
The “Position” option allows you to control the position and orientation of the infill material on the selected surface or component. You can rotate, flip, or align the texture to suit your design requirements. Experiment with different positions to see which one enhances the visual appeal of your model.
The “Scale” option is used to resize the infill material, making it larger or smaller to create the desired effect. You can adjust the scale by dragging the scale handles or by entering specific values in the toolbar. This option is especially useful when you want to maintain consistency in texture size across different parts of your model.
Take the time to explore the different infill settings and experiment with various adjustments. This will allow you to achieve the desired look and feel for your model. Remember, the infill settings give you the opportunity to add your personal touch and creativity to the design.
Once you are satisfied with the adjustments, you can move on to the next step, where we will fine-tune the placement of the infill within the model.
Step 6: Fine-tuning the Infill Placement
Now that you have applied the infill material and adjusted the settings, it’s time to fine-tune the placement of the infill within your SketchUp model. This step allows you to ensure that the infill is precisely applied where you want it, enhancing the overall appearance and functionality of your design.
To fine-tune the infill placement, use the Select tool, which can be accessed by clicking on the arrow icon in the toolbar on the left side of the screen. The Select tool allows you to manipulate and modify the different elements of your model, including the infill material.
Select the component or surface on which you want to fine-tune the infill placement. You can click on the surface directly or use the Select tool to create a selection box around multiple surfaces or components. Once selected, you can easily move, rotate, or resize the infill material by clicking and dragging on the surface handles.
Use the intelligent snapping and alignment features in SketchUp to align the infill material precisely with the desired areas of your model. This will help create a seamless and cohesive design that enhances the overall quality and appearance of your project.
As you fine-tune the infill placement, pay attention to details such as ensuring that seams and edges align correctly, that the material flows smoothly across multiple surfaces, and that the infill enhances the structural integrity of your design. These little adjustments can make a significant difference in the overall look and feel of your model.
Remember to regularly save your progress as you fine-tune the infill placement to avoid any accidental loss of work. You can do this by navigating to the “File” menu and selecting the “Save” option, or by using the keyboard shortcut of Ctrl + S (Windows) or Command + S (Mac).
Once you are satisfied with the fine-tuned infill placement, it’s time to save and export your modified SketchUp model. This brings us to the final step of our infill addition process.
Step 7: Saving and Exporting the Modified Model
After adding infill to your SketchUp model and fine-tuning its placement, it’s essential to save and export your modified design. This step allows you to preserve your progress and share your model with others or use it in other design workflows.
To save your modified SketchUp model, navigate to the “File” menu at the top left corner of the screen and select the “Save” option. This will overwrite the original file with your changes. Alternatively, you can use the “Save As” option to create a new file name and location for your modified model.
When saving your SketchUp model, it is recommended to choose a descriptive and easy-to-remember file name. This will make it easier to locate and identify your design in the future. Additionally, consider specifying the file format, such as .skp, to ensure compatibility and ease of use with other software or sharing platforms.
If you intend to share your modified model with others, you can also export it in various formats. SketchUp provides exporting options such as .dwg, .dxf, .stl, .obj, and many more. Choose the appropriate format based on your needs and the requirements of the intended audience or software.
When exporting your model, consider the level of detail required and the compatibility with the software or platform you intend to use it in. Some formats may lose certain design elements or may not be supported by certain applications. Research and select the export format wisely to ensure a seamless experience when sharing or importing your modified SketchUp model.
Once you have saved and exported your modified model, you can confidently share it with colleagues, clients, or the wider design community. Your infill addition process in SketchUp is complete, and you can now showcase your creativity and craftsmanship in the design world.
Congratulations on successfully adding infill to your SketchUp model! With this skill, you have expanded your repertoire as a designer and enriched the quality and appeal of your projects. Continue exploring the vast potential of SketchUp and keep pushing the boundaries of your creativity!
Conclusion
Adding infill to your SketchUp model is a crucial step in enhancing its structural integrity and visual appeal. By following the step-by-step process outlined in this article, you have learned how to open SketchUp, load your model, select the Paint Bucket tool, choose the infill material, apply it to the model, adjust the infill settings, fine-tune the infill placement, and save and export the modified model. Each of these steps plays a significant role in transforming your design into a captivating and well-constructed 3D model.
Remember, infill is not just about filling the inner void of your model; it adds strength, stability, and a touch of realism. Through careful selection, customization, and placement of the infill material, you can elevate your design and make it truly stand out.
SketchUp provides a versatile platform for architectural and creative visualization. By mastering the process of adding infill, you can create stunning models that accurately represent your vision and captivate viewers. Whether you’re working on architectural projects, product designs, or artistic creations, infill adds the finishing touch that takes your model to the next level.
So, don’t be afraid to experiment with different materials, textures, and infill placement. Let your creativity flow and push the boundaries of what’s possible in SketchUp. With each new project, you’ll refine your skills and develop a unique style that showcases your talents as a designer.
Now that you have learned how to add infill to your SketchUp model, it’s time to unleash your creativity and bring your designs to life. Embrace the power of infill and take your 3D modeling to new heights. Happy designing!
Frequently Asked Questions about How To Add Infill To A SketchUp Model
Was this page helpful?
At Storables.com, we guarantee accurate and reliable information. Our content, validated by Expert Board Contributors, is crafted following stringent Editorial Policies. We're committed to providing you with well-researched, expert-backed insights for all your informational needs.


0 thoughts on “How To Add Infill To A SketchUp Model”