Home>Garden Essentials>How To Grow Milkweed Plants From Seed
Garden Essentials
How To Grow Milkweed Plants From Seed
Modified: March 16, 2024
Learn how to grow milkweed plants from seed in your garden. Our step-by-step guide will help you create a beautiful habitat for pollinators.
(Many of the links in this article redirect to a specific reviewed product. Your purchase of these products through affiliate links helps to generate commission for Storables.com, at no extra cost. Learn more)
Introduction
Growing milkweed plants from seed is a rewarding and eco-friendly way to attract butterflies, particularly the iconic monarch butterflies, to your garden. Milkweed plants, also known as Asclepias, are not only beautiful, but they also serve as a crucial host plant for monarch butterfly caterpillars. By providing these essential plants, you can play a vital role in supporting the declining monarch population.
Whether you’re a seasoned gardener or a beginner, this comprehensive guide will walk you through the step-by-step process of growing milkweed plants from seed. From gathering the seeds to caring for the mature plants, you’ll learn everything you need to know to create a thriving milkweed garden sanctuary.
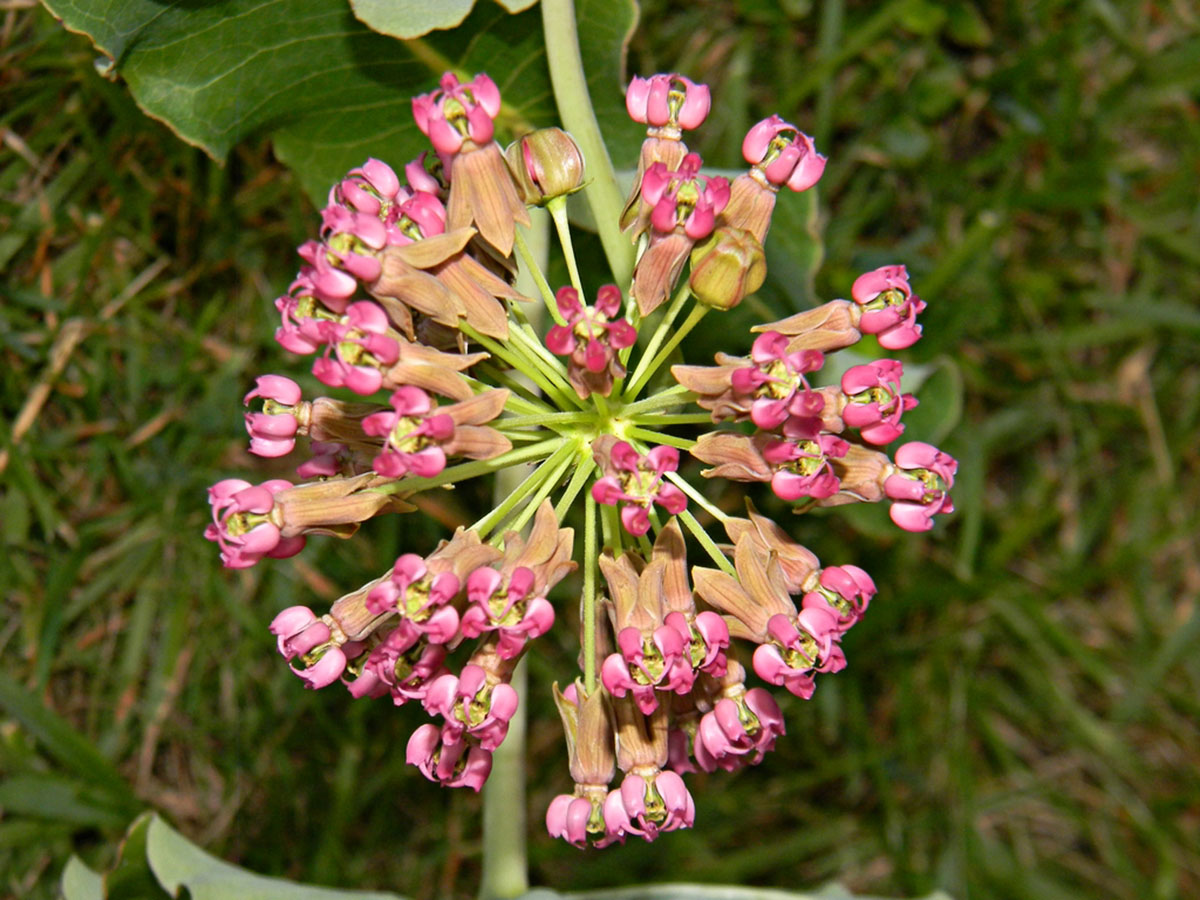
Before diving into the specific steps, let’s explore some key information about milkweed plants. Native to North America, milkweed belongs to the Apocynaceae family and encompasses more than 100 species. These perennial plants typically have showy flowers that range in color from white and pink to orange and purple. With their unique structure and attractive blooms, milkweed plants add a touch of beauty and intrigue to any garden.
Aside from their aesthetic appeal, milkweed plants have a crucial role in supporting the life cycle of monarch butterflies. Monarchs rely exclusively on milkweed plants for egg-laying and as a food source for their caterpillars. Many other beneficial pollinators, such as bees and butterflies, also visit milkweed flowers to collect nectar and pollen. By growing milkweed plants in your garden, you’ll create a haven for these delicate creatures and contribute to the conservation of important pollinators.
Now that we’ve familiarized ourselves with the significance of milkweed plants, let’s delve into the step-by-step process of growing them from seed. By following these guidelines, you can experience the joy of nurturing milkweed plants and attracting a vibrant array of butterflies to your outdoor space.
Key Takeaways:
- Growing milkweed from seed helps attract butterflies and supports their life cycle. By following the steps, you can create a beautiful garden sanctuary for these delicate creatures.
- Harvesting and sharing milkweed seeds contributes to butterfly conservation. It’s a rewarding way to spread awareness and create more habitats for these important pollinators.
Read more: How To Plant Milkweed Seeds
Step 1: Gathering the Seeds
The first step in growing milkweed plants from seed is to gather the seeds themselves. There are several methods you can use to collect milkweed seeds, depending on the availability and preferences of the milkweed species in your area.
One common method is to collect the seeds from existing milkweed plants in your garden or a nearby natural area. Look for mature seed pods that have turned brown and crispy. These pods typically develop in late summer or early fall. To collect the seeds, gently break open the pods and remove the silky fibers and seeds inside.
Another option is to purchase milkweed seeds from a reputable seed provider. There are many online sources that offer a variety of milkweed seeds, allowing you to choose the species that best suits your needs and climate conditions. Make sure to select seeds that are native to your region, as they will be better adapted to the local climate and soil conditions.
Once you have gathered or obtained the seeds, it’s important to store them properly until you’re ready to sow them. Place the seeds in a paper envelope or a small container that allows for airflow while keeping them dry. Store them in a cool, dark place until the planting season arrives.
Gathering the seeds of milkweed plants is an essential first step in the propagation process. Whether you collect them from existing plants or purchase them, ensuring the quality and viability of the seeds is crucial for successful germination and growth. With your seeds in hand, you’re now ready to move on to the next step: preparing the soil.
Step 2: Preparing the Soil
Creating the ideal growing environment is vital for the successful germination and growth of milkweed plants. Before sowing the seeds, it’s important to prepare the soil to provide the necessary nutrients and conditions for the seeds to thrive.
Milkweed plants prefer well-draining soil that is rich in organic matter. Begin by selecting a sunny location in your garden that receives at least six to eight hours of direct sunlight each day. Milkweed plants are sun-loving and require adequate sunlight to grow and flower properly.
Next, loosen the soil in the selected area to a depth of 6-8 inches using a garden fork or a tiller. This will improve the soil’s structure and allow for better root penetration and water drainage. Remove any weeds, rocks, or other debris from the area to ensure the milkweed plants have plenty of space to grow.
Once the soil is prepared, it’s beneficial to amend it with organic matter such as compost or well-rotted manure. This will enrich the soil with essential nutrients and improve its overall fertility. Spread a 2-3 inch layer of organic matter over the soil surface and gently work it into the top few inches of soil using a rake or garden hoe.
After amending the soil, it’s important to ensure proper soil pH for optimal plant growth. Milkweed plants prefer slightly acidic to neutral soil with a pH level ranging from 6.0 to 7.5. If your soil tends to be highly acidic or alkaline, consider adjusting the pH level by applying lime to raise the pH or sulfur to lower it. Test the soil pH using a soil testing kit, which is available at most garden centers or can be done professionally.
By preparing the soil properly, you’re creating a favorable growing environment for milkweed plants. The enriched soil will provide the necessary nutrients and drainage, promoting healthy root development and robust growth. With the soil ready, we can now move on to the next step: sowing the seeds.
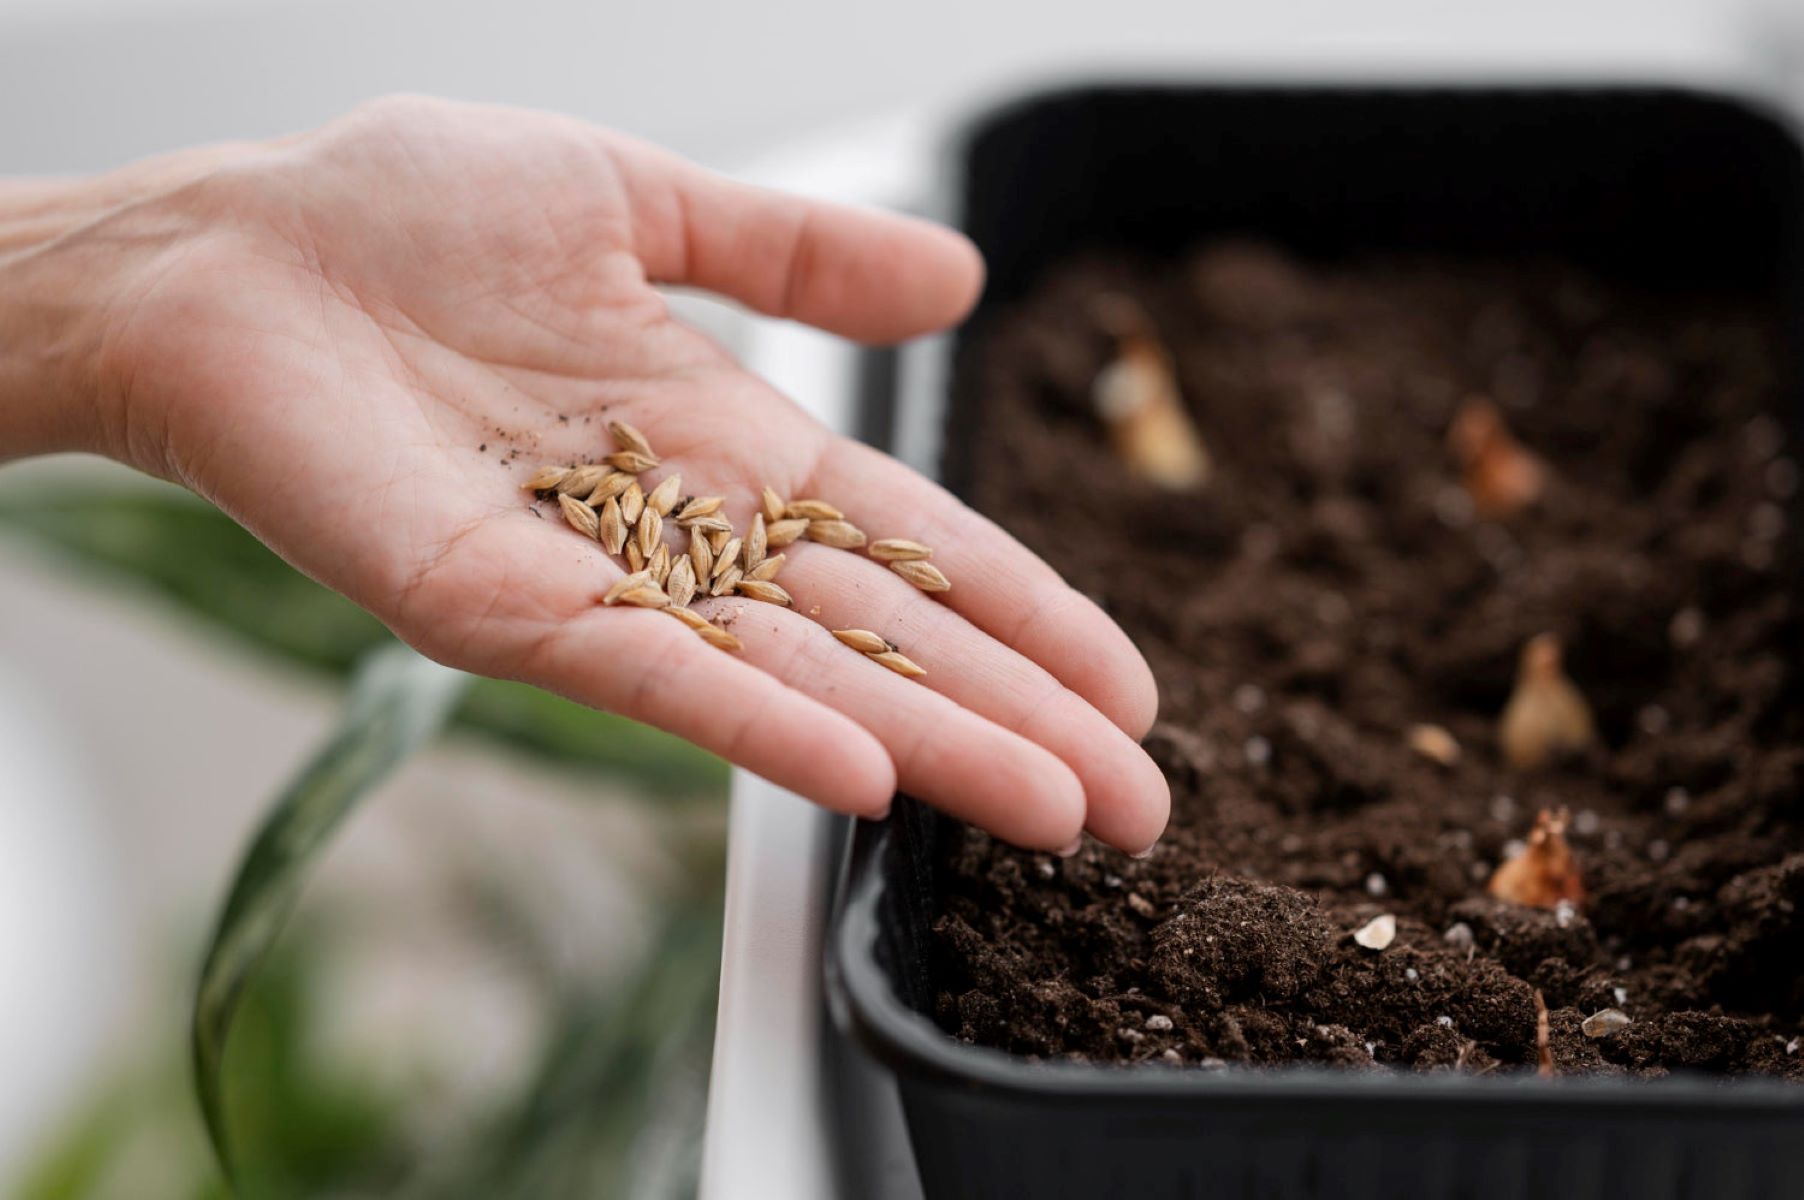
Step 3: Sowing the Seeds
Now that you have gathered your milkweed seeds and prepared the soil, it’s time to sow the seeds and kickstart the growing process.
Begin by creating furrows or shallow trenches in the soil, spaced about 12-18 inches apart. The depth of the furrows should be approximately twice the size of the seeds. This will provide enough room for the seeds to germinate and establish their root systems.
Place the milkweed seeds in the furrows, spacing them about 1 inch apart. If you’re using small seeds like those of common milkweed (Asclepias syriaca), it’s helpful to mix them with a small amount of sand to improve their distribution and prevent overcrowding.
Once you have evenly distributed the seeds, lightly cover them with a thin layer of soil, about 1/4 inch deep. Be careful not to bury the seeds too deeply, as this may hinder germination. Gently pat down the soil to ensure good seed-to-soil contact.
After sowing the seeds, water the area thoroughly but gently to provide moisture for germination. Use a gentle spray or mist setting on your watering can or hose to avoid displacing the seeds. The goal is to keep the soil moist but not saturated, as excessive moisture can lead to rotting or fungal diseases.
Continue to monitor the soil moisture levels throughout the germination period, which typically takes around 7-14 days. Mist the soil surface or water as needed to maintain consistent moisture. Avoid letting the soil dry out completely, as this can hinder germination.
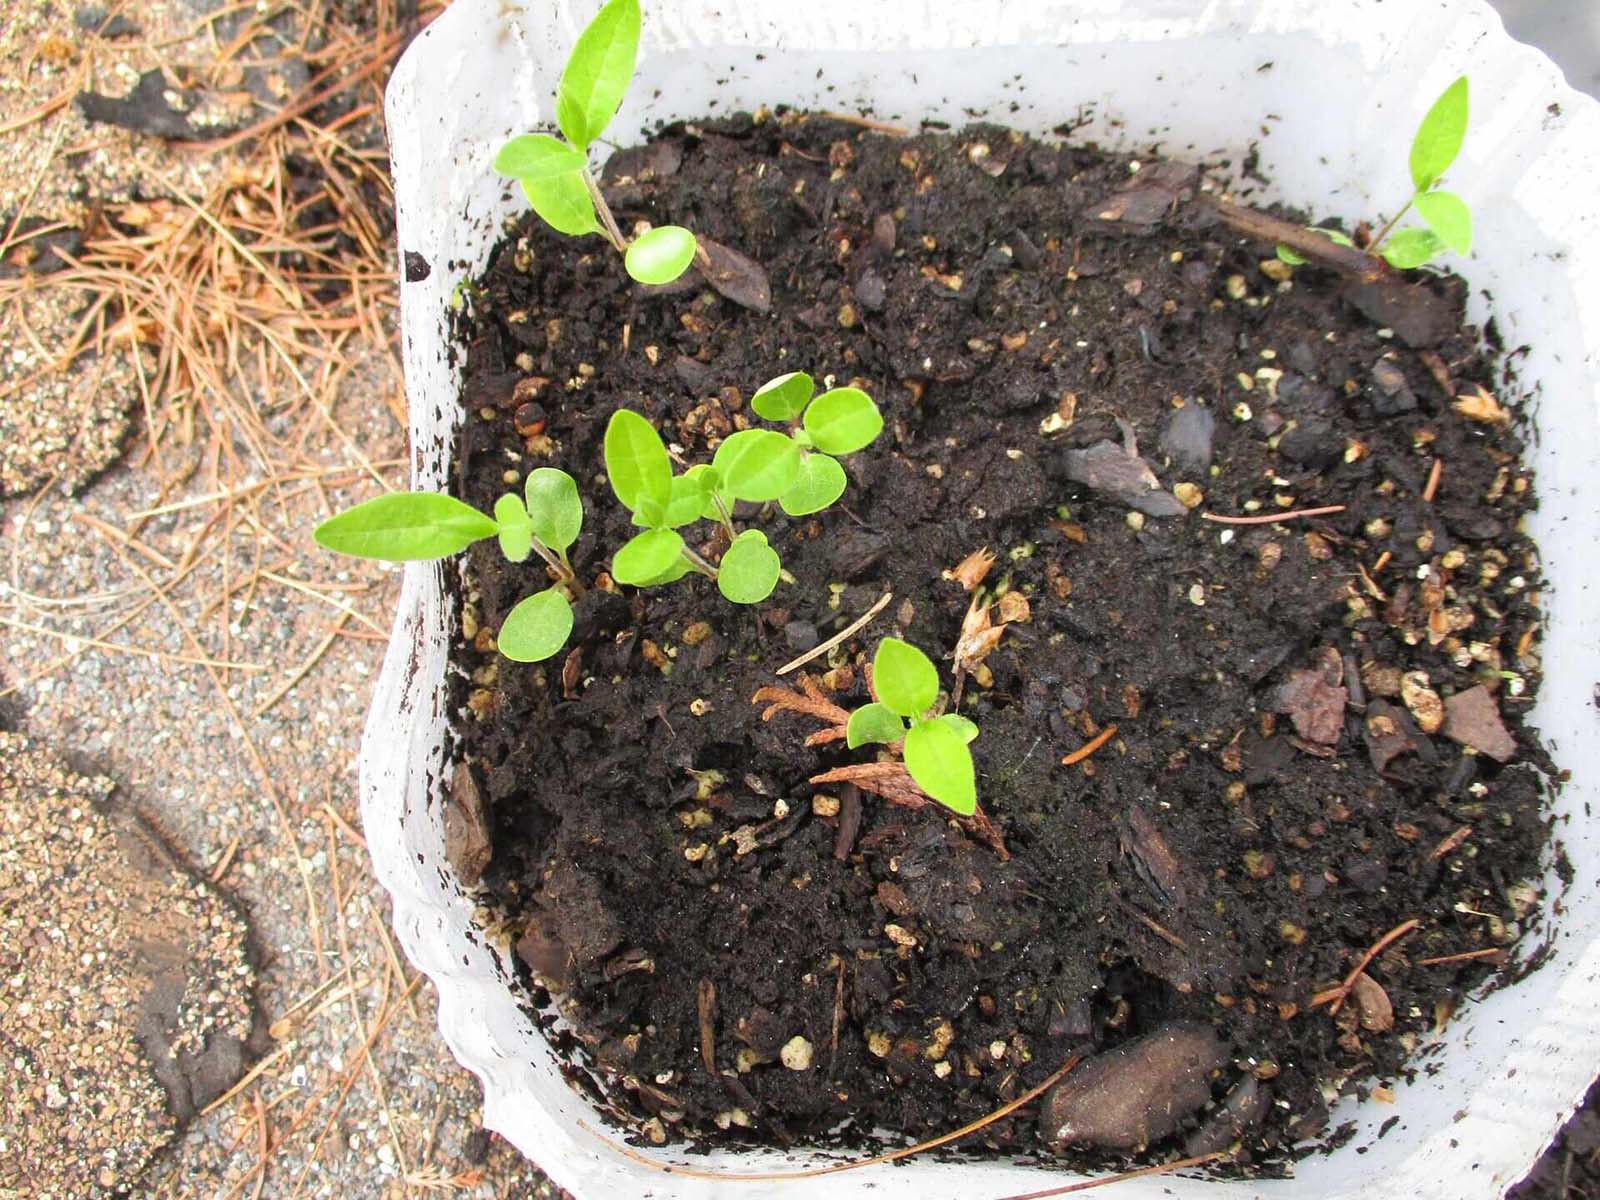
As the seeds germinate and the seedlings emerge, you may notice clusters of young plants in the furrows. To ensure proper spacing and eliminate overcrowding, thin out the seedlings, leaving only the healthiest and strongest plants. Space the remaining seedlings about 6-12 inches apart to give them ample room to grow.
Sowing the milkweed seeds is an exciting step that sets the foundation for your milkweed garden. With proper placement and care, the seeds will soon sprout and begin their journey towards becoming beautiful and blooming milkweed plants. In the next step, we’ll explore the importance of providing adequate watering to support their growth.
Step 4: Providing Adequate Watering
Watering plays a crucial role in the successful growth and establishment of milkweed plants. Proper hydration ensures that the seedlings receive the necessary moisture to develop a strong root system and promote healthy growth.
After sowing the milkweed seeds, it’s important to keep the soil consistently moist during the germination and early growth stages. Check the soil moisture regularly and water as needed to maintain the ideal moisture level. Avoid overwatering, as this can lead to root rot and other fungal diseases.
An effective watering technique for milkweed plants is to provide deep, infrequent waterings rather than light, frequent sprays. Deep watering encourages the roots to grow deeper into the soil, making the plants more resilient and better able to withstand dry periods.
When watering, aim to moisten the soil to a depth of around 4-6 inches. This can be achieved by providing a slow and steady trickle of water at the base of the plants. Avoid wetting the foliage excessively, as this can lead to disease development. Focus on watering the root zone where the plants can absorb the moisture effectively.
During dry spells or hot summer months, you may need to water the milkweed plants more frequently to prevent the soil from drying out completely. Pay attention to the signs of water stress, such as wilting leaves or dry soil, and adjust your watering schedule accordingly.
It’s important to note that milkweed plants are generally drought-tolerant once established. However, providing adequate moisture during their early stages of growth is crucial for their survival and overall health.
In addition to regular watering, consider mulching around the base of the plants. A layer of organic mulch, such as wood chips or straw, helps retain soil moisture, suppresses weed growth, and regulates soil temperature. Apply a 2-3 inch layer of mulch, leaving a small gap around the stems to prevent moisture buildup and potential rot.
Remember to adjust your watering practices based on the specific needs of the milkweed species you are growing and the environmental conditions in your area. By providing adequate watering, you are nurturing the milkweed plants and setting the stage for their continued growth and development.
Read more: How Does A Plant Grow From A Seed
Step 5: Ensuring Proper Sunlight
Proper sunlight is essential for the healthy growth and development of milkweed plants. These sun-loving plants require ample sunlight to thrive, so it’s important to ensure they receive the right amount of exposure to the sun.
When selecting a location to plant your milkweed seeds or seedlings, choose an area that receives at least 6-8 hours of direct sunlight per day. Ideal spots include open areas in your garden, along fences or walls that don’t cast shade, or even in containers on a sunny patio or balcony.
The intensity and duration of sunlight will vary depending on your geographical location and the time of year. Different milkweed species have varying tolerances to sunlight, with some being more adaptable to partial shade. It’s important to research the specific requirements of the milkweed species you are growing to ensure optimal sunlight conditions.
If you’re unsure about the sunlight conditions in your chosen location, consider observing the area throughout the day to determine if it receives sufficient sunlight. Observe the area in the morning, midday, and afternoon to assess the patterns of sunlight and potential shading from nearby structures or trees.
Remember that sunlight is vital for milkweed plants not only to grow but also to attract butterflies. Monarch butterflies, in particular, rely on milkweed plants as a host plant for their eggs and as a food source for their caterpillars. By providing ample sunlight, you’ll create an inviting environment that attracts and supports these beautiful creatures.
While milkweed plants generally prefer full sun exposure, they can tolerate some partial shade, especially during hot summer months or in regions with intense sunlight. However, prolonged periods of shade can lead to leggy or weak growth and reduced flower production.
If your chosen location has limited sunlight due to shading from nearby structures or trees, you may need to consider alternative options. This could involve pruning or thinning nearby plants to allow more sunlight to reach the milkweed plants or choosing a different location altogether.
By ensuring proper sunlight exposure, you’ll provide the milkweed plants with the energy they need to flourish, attract butterflies, and contribute to a vibrant and thriving garden ecosystem.
Plant milkweed seeds in the fall or early spring for best results. Make sure to scarify the seeds by scratching the surface with sandpaper or a file to help them germinate. Keep the soil moist and provide plenty of sunlight for healthy growth.
Step 6: Protecting from Pests and Diseases
Just like any other plant in your garden, milkweed plants are susceptible to pests and diseases. Taking proactive measures to protect your milkweed plants will help ensure their health and longevity, allowing them to thrive and provide a haven for butterflies and other beneficial insects.
One common pest that can affect milkweed plants is the milkweed bug. These insects feed on milkweed sap and can cause damage to the leaves and stems. To prevent milkweed bugs, monitor your plants regularly and remove any infected leaves or bugs you spot. You can also use insecticidal soap or organic insecticides labeled for use on milkweed to control the infestation.
Another common pest is the aphid, which can suck sap from milkweed plants. To control aphids, consider introducing natural predators like ladybugs or lacewings to your garden. If the infestation is severe, you can also use a strong jet of water or insecticidal soap to dislodge and kill the aphids.
Milkweed plants are also susceptible to fungal diseases such as powdery mildew and root rot. To prevent powdery mildew, avoid overcrowding the plants and ensure adequate airflow between them. If you spot signs of powdery mildew, remove infected leaves and treat the plants with a fungicide labeled for powdery mildew control.
Root rot can occur when the soil remains consistently wet, leading to the decay of the plant’s roots. To prevent this, avoid overwatering and ensure proper drainage in the planting area. If you suspect root rot, carefully dig up the affected plants, remove any rotting roots, and replant them in fresh, well-draining soil.
Aside from pests and diseases, milkweed plants can also face competition from weeds. Weeds can rob the milkweed plants of nutrients and water, hindering their growth. Regularly remove any weeds that appear near the milkweed plants to minimize competition and give them the best chance to thrive.
It’s important to note that while pesticide use may be necessary in some cases, it’s crucial to choose products labeled for use on milkweed plants and follow the instructions carefully. Using harmful pesticides can be detrimental to the butterflies and other beneficial insects that rely on milkweed plants as a food source.
By being vigilant, implementing preventative measures, and taking appropriate action when pests or diseases are detected, you can safeguard your milkweed plants and maintain a healthy and thriving habitat for butterflies and other pollinators.
Step 7: Transplanting the Seedlings
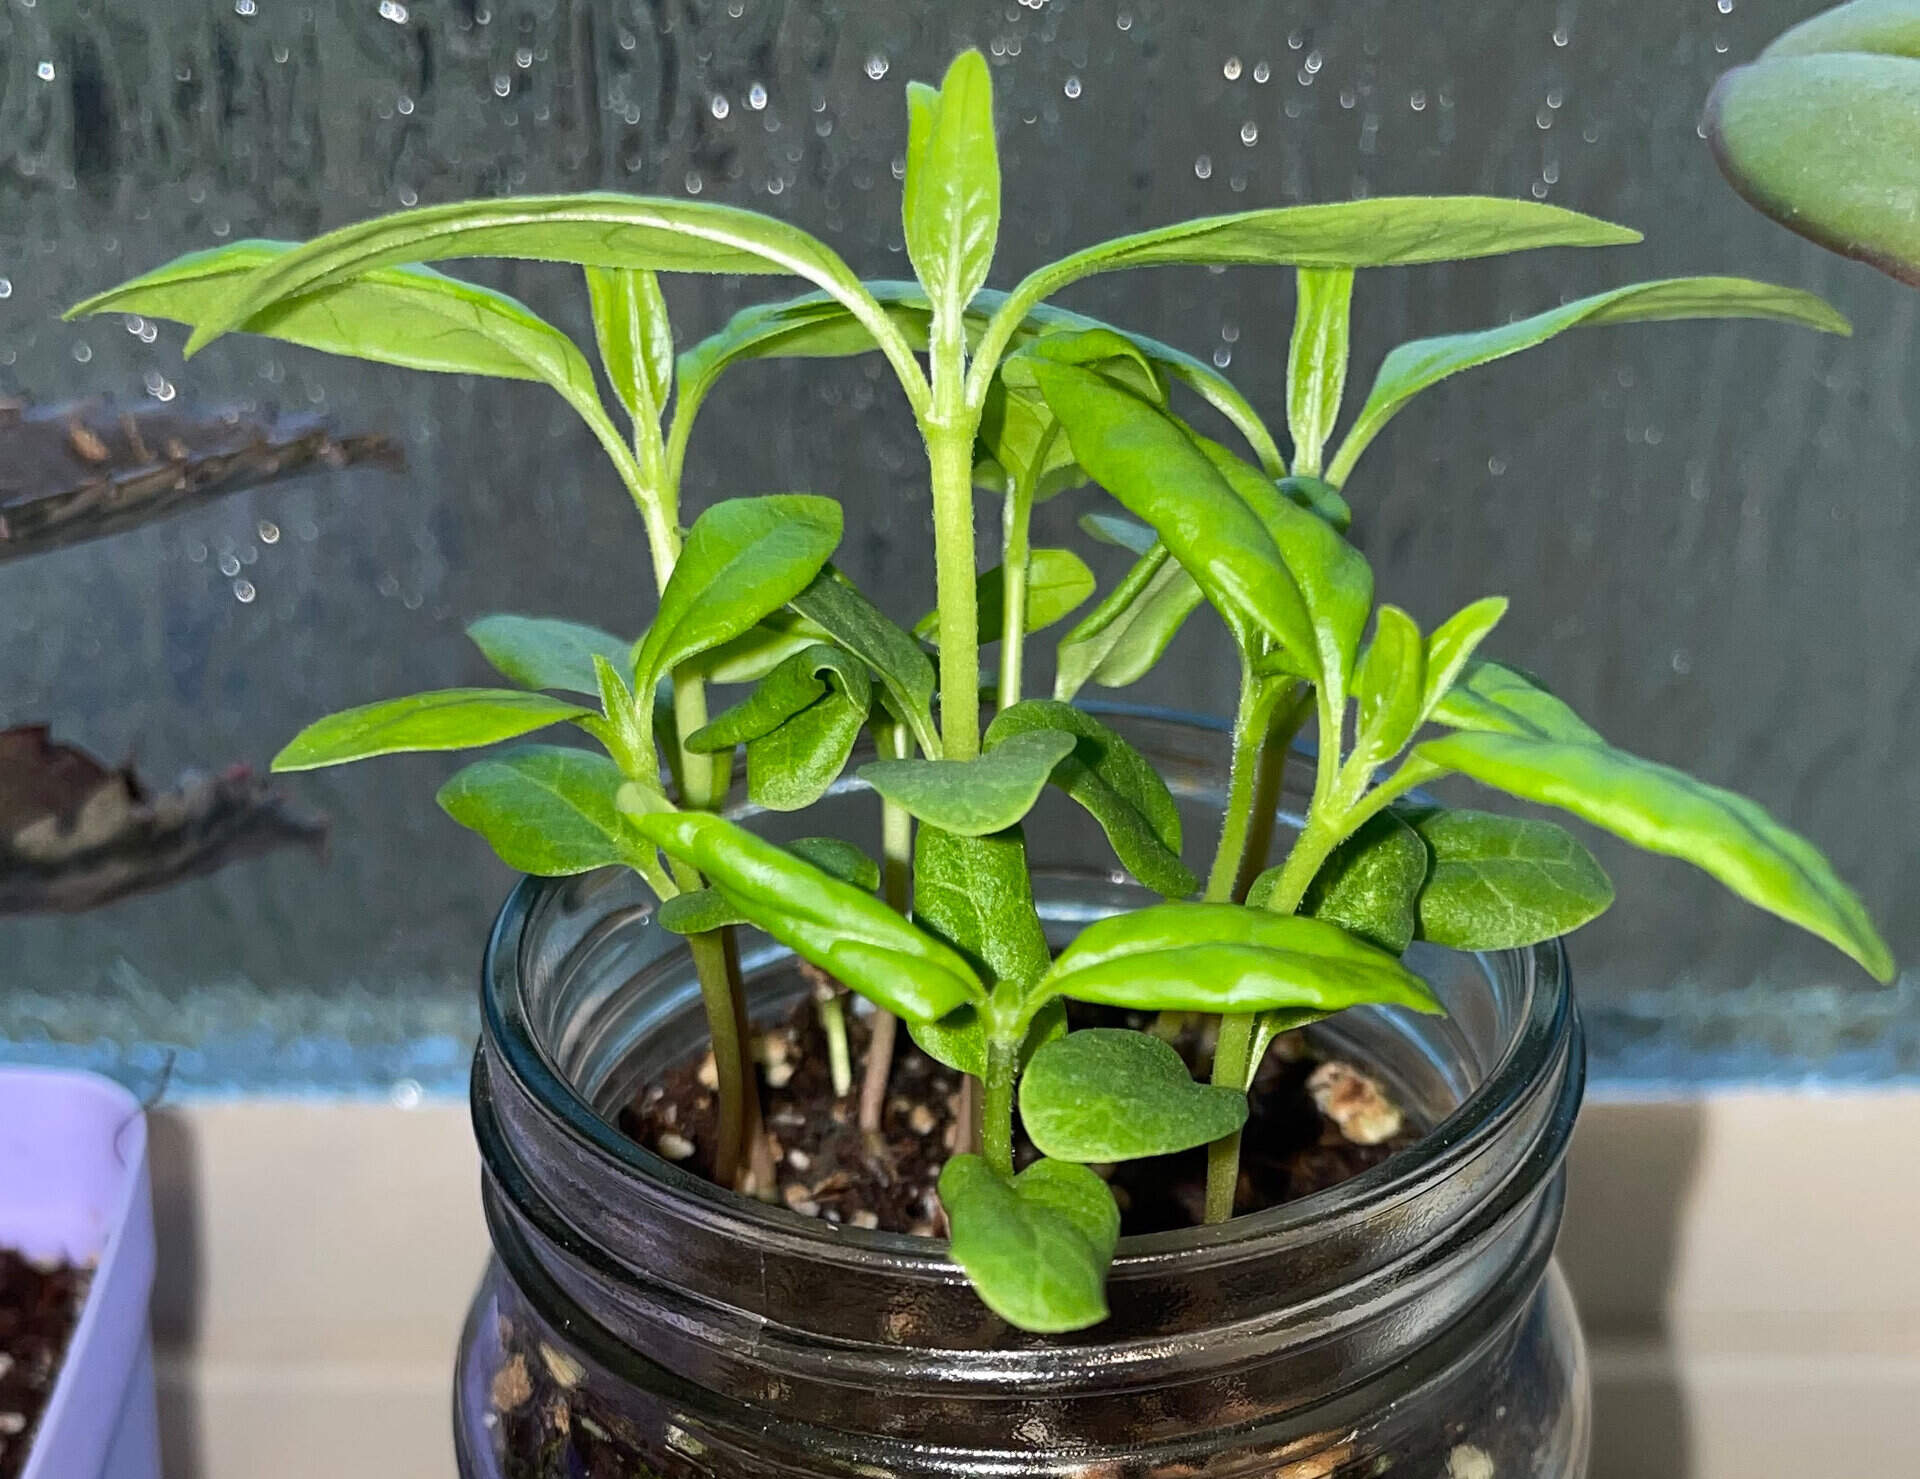
Once the milkweed seedlings have grown and developed a few sets of true leaves, they may be ready for transplantation into their permanent garden location. Transplanting is an important step in the growth process, as it allows the seedlings to establish themselves and thrive in their new environment.
Before transplanting, it’s important to choose the right time and weather conditions. Aim to transplant the seedlings on a cloudy day or during the cooler hours of the day to minimize stress on the plants. Avoid transplanting during hot, sunny periods when the plants are more prone to wilting.
Prior to transplanting, prepare the planting holes in the garden bed. Dig holes that are slightly larger than the root ball of each seedling, ensuring there is enough space for the roots to spread out. Space the holes according to the recommended spacing for the specific milkweed species you are growing.
Gently remove the seedlings from their containers by carefully loosening the soil around the roots. Be gentle to avoid damaging the delicate roots. If the seedlings are growing in close proximity to each other, tease apart any tangled roots to encourage proper growth.
Place each seedling into its prepared hole, making sure it is at the same depth it was in the container. Backfill the hole with soil, gently pressing it around the base of the seedling to ensure good soil-to-root contact. Avoid compacting the soil too firmly, as it can hinder water and air circulation around the roots.
After transplanting, water the seedlings deeply to help settle the soil and provide necessary moisture. As with the initial planting, aim to water the root zone rather than wetting the foliage. This encourages the roots to establish themselves in their new location.
Continue to monitor the newly transplanted seedlings and ensure they receive adequate watering as they acclimate to their new surroundings. Keep an eye out for any signs of stress or wilting and provide extra care and attention if needed.
It’s important to note that milkweed plants have long taproots, which can be sensitive to disturbances. Therefore, it’s generally recommended to transplant milkweed seedlings while they are still relatively small and their root systems are more manageable.
By transplanting the seedlings into the garden bed, you are giving them the opportunity to establish themselves and contribute to a flourishing milkweed habitat. The next step involves providing ongoing care and maintenance to ensure the health and vitality of the milkweed plants.
Step 8: Caring for the Milkweed Plants
Proper care and maintenance are essential to ensure the health and vitality of your milkweed plants. By providing the necessary attention, you can support their growth, attract butterflies, and create a flourishing milkweed habitat in your garden.
Here are some important care tips to keep in mind:
Watering: While milkweed plants are drought-tolerant once established, regular watering is crucial during their initial growth stages. Water deeply to encourage deep root growth, and make sure the soil is evenly moist. Avoid overwatering, as this can lead to root rot. Watering in the morning allows foliage to dry out during the day, reducing the risk of disease.
Fertilizing: Milkweed plants generally don’t require heavy fertilization. Excessive nitrogen can encourage lush foliage at the expense of flower production. A light application of balanced organic fertilizer in early spring can provide the necessary nutrients. Compost or well-rotted manure can also be applied as a top dressing around the base of the plants to enrich the soil.
Pruning: Regular pruning helps maintain the shape and health of the milkweed plants. Remove any dead, damaged, or diseased leaves and stems to prevent the spread of diseases. Pruning also encourages bushier growth and can prolong the blooming period of the plants.
Supporting Monarch Caterpillars: If you’re growing milkweed to support monarch butterflies, it’s important to let some of the milkweed plants mature without pruning. Monarch caterpillars rely on the leaves as a food source, so it’s crucial to provide them with ample foliage to sustain their growth.
Mulching: Apply a layer of organic mulch around the base of the plants to retain moisture, suppress weeds, and regulate soil temperature. Leave some space around the stems to prevent excessive moisture buildup and potential rot.
Monitoring for pests and diseases: Regularly inspect the milkweed plants for signs of pests or diseases. Look for pests like aphids or milkweed bugs and take appropriate action if an infestation occurs. Remove any affected leaves or insects by hand or use organic pest control methods.
Supporting pollinators: Milkweed plants attract not only monarch butterflies but also a variety of other pollinators. When caring for your milkweed plants, consider planting other nectar-rich flowers nearby to provide additional food sources for pollinators. This will create a diverse and vibrant habitat for these beneficial insects.
By providing proper care and attention, your milkweed plants will flourish, serve as a valuable resource for butterflies and other pollinators, and contribute to the overall health of your garden ecosystem. With nurturing care, you’ll be rewarded with a beautiful and thriving milkweed habitat in your own backyard.
Read more: How To Grow Pepper Plants From Seeds
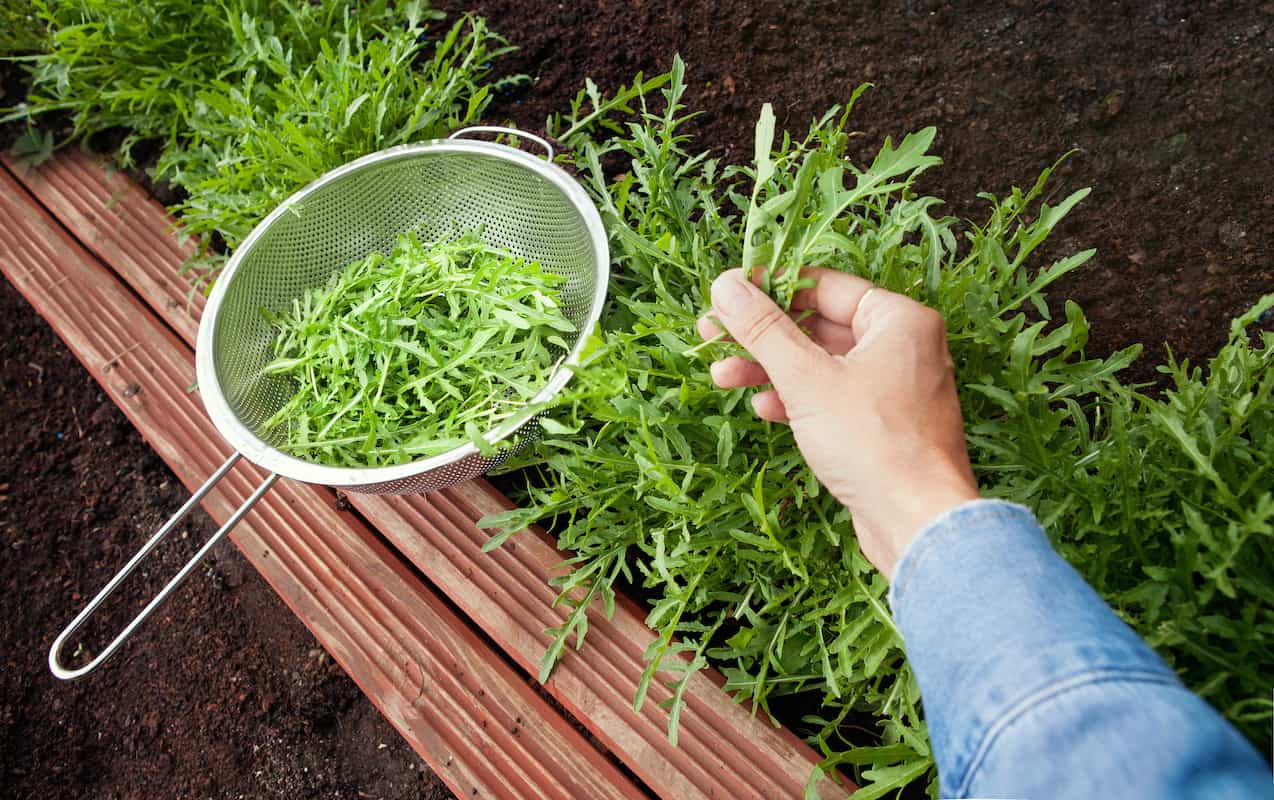
Step 9: Harvesting and Using the Seeds
Harvesting and utilizing the seeds from mature milkweed plants is a rewarding and practical way to continue propagating milkweed in your garden or share seeds with others who are passionate about supporting pollinators. Harvesting the seeds also allows you to contribute to the conservation efforts of milkweed plants.
Here’s how to harvest and use the milkweed seeds:
1. Timing: Harvest the seeds when the seed pods have fully matured. The pods will turn brown and begin to split open. This usually occurs in late summer or early fall.
2. Collecting seeds: Cut the seed pods from the plant using clean and sharp garden scissors or pruners. Place the seed pods in a paper bag or bucket to capture the falling seeds. Avoid plastic bags or containers that can trap moisture and cause the seeds to rot.
3. Drying the seeds: Spread the harvested seed pods in a single layer on a clean and dry surface. Allow them to dry in a well-ventilated area for a few weeks until the pods are brittle and the seeds can be easily released. Gently crush the pods to separate the seeds if necessary.
4. Cleaning the seeds: Once the seed pods are dry, carefully remove the seeds from the pods. Discard any debris or non-viable seeds. You can separate the silky fibers from the seeds by gently rubbing them between your fingers or using a fine-mesh sieve.
5. Storing the seeds: Place the clean and dry seeds in a paper envelope or a labeled container. Store them in a cool, dry, and dark location, such as a refrigerator or a seed storage container. Properly stored milkweed seeds can remain viable for several years.
6. Sowing the harvested seeds: Use the harvested seeds to sow new milkweed plants in the following growing season. Follow the steps outlined earlier in this guide to prepare the soil, sow the seeds, and provide proper care and maintenance for the growing plants.
Additionally, consider sharing the harvested seeds with friends, family, or local gardening groups to spread the importance of milkweed conservation and create more habitats for butterflies and other pollinators.
By harvesting and utilizing the seeds from mature milkweed plants, you are actively participating in the preservation of milkweed species and supporting the ecological balance in your garden. Enjoy the process of growing new milkweed plants and witnessing the beauty and benefits they bring to your outdoor space.
Conclusion
Growing milkweed plants from seed is not only a satisfying gardening endeavor but also a meaningful contribution to the conservation of butterflies and other pollinators. By following the step-by-step guide outlined in this article, you can successfully cultivate a vibrant milkweed garden filled with blooming flowers and fluttering wings.
From gathering the seeds to transplanting the seedlings and providing ongoing care, each step plays a pivotal role in creating a thriving milkweed habitat. By choosing native milkweed species, creating appropriate soil conditions, ensuring adequate sunlight, and protecting the plants from pests and diseases, you lay the foundation for their growth and contribute to the well-being of important pollinators.
Remember that milkweed plants are not only beautiful but also crucial for the life cycle of monarch butterflies and other pollinators. By providing a habitat filled with milkweed plants, you create a nurturing environment for these creatures to lay their eggs, feed on nectar, and continue their extraordinary journey.
Additionally, the process of harvesting and utilizing the seeds allows you to propagate milkweed plants and share the seeds with others. It’s a wonderful opportunity to spread awareness about the importance of milkweed conservation and create more habitats for butterflies in different gardens and landscapes.
As you embark on your milkweed gardening journey, remember to enjoy the process and embrace the wonders of nature. Observe the delicate dance of butterflies as they visit your milkweed flowers, appreciate the intricate beauty of the plants, and cherish the role you play in supporting these vital pollinators.
So, go ahead and sow those milkweed seeds, watch them germinate and grow, and celebrate the vibrant ecosystem that emerges in your garden. Your dedication to growing milkweed plants not only brings joy and beauty to your surroundings but also contributes to the conservation of these magnificent creatures that rely on these plants for their very existence.
Happy gardening and may your milkweed garden become a beacon of beauty and biodiversity!
Frequently Asked Questions about How To Grow Milkweed Plants From Seed
Was this page helpful?
At Storables.com, we guarantee accurate and reliable information. Our content, validated by Expert Board Contributors, is crafted following stringent Editorial Policies. We're committed to providing you with well-researched, expert-backed insights for all your informational needs.


0 thoughts on “How To Grow Milkweed Plants From Seed”