Home>Garden Essentials>How To Grow Kale From Seed Indoors
Garden Essentials
How To Grow Kale From Seed Indoors
Modified: March 15, 2024
Learn how to grow kale from seed indoors in your garden. Follow our step-by-step guide for a successful indoor gardening experience and enjoy fresh, homegrown kale all year round.
(Many of the links in this article redirect to a specific reviewed product. Your purchase of these products through affiliate links helps to generate commission for Storables.com, at no extra cost. Learn more)
Introduction
Welcome to the wonderful world of gardening! If you’re a fan of fresh, nutritious greens, then growing kale from seed indoors is a great option for you. Not only is it a rewarding experience to watch these leafy vegetables thrive under your care, but it also ensures a constant supply of delicious and healthy greens throughout the year.
Growing kale from seed indoors allows you to get a head start on the growing season by germinating the seeds in a controlled environment. This ensures that your seedlings are strong and ready to be transplanted into your outdoor garden or containers once the weather is suitable.
But before we dive into the process of growing kale from seed indoors, let’s take a moment to understand why kale is such a popular choice among home gardeners. Kale, a member of the cabbage family, is known for its high nutritional value. It is packed with vitamins A, C, and K, as well as minerals like calcium and iron. This leafy green is also rich in antioxidants and fiber, making it a powerhouse in promoting overall health and well-being.
Now, let’s explore the step-by-step process of growing kale from seed indoors.
Key Takeaways:
- Growing kale from seed indoors is a rewarding way to ensure a fresh and constant supply of nutritious greens. Choose the right seeds, provide proper care, and enjoy the bountiful harvest!
- Harvest and enjoy your homegrown kale by incorporating it into delicious recipes. From sautés to smoothies, kale is a versatile and nutritious addition to your culinary creations.
Read more: How To Grow Sage Indoors From Seed
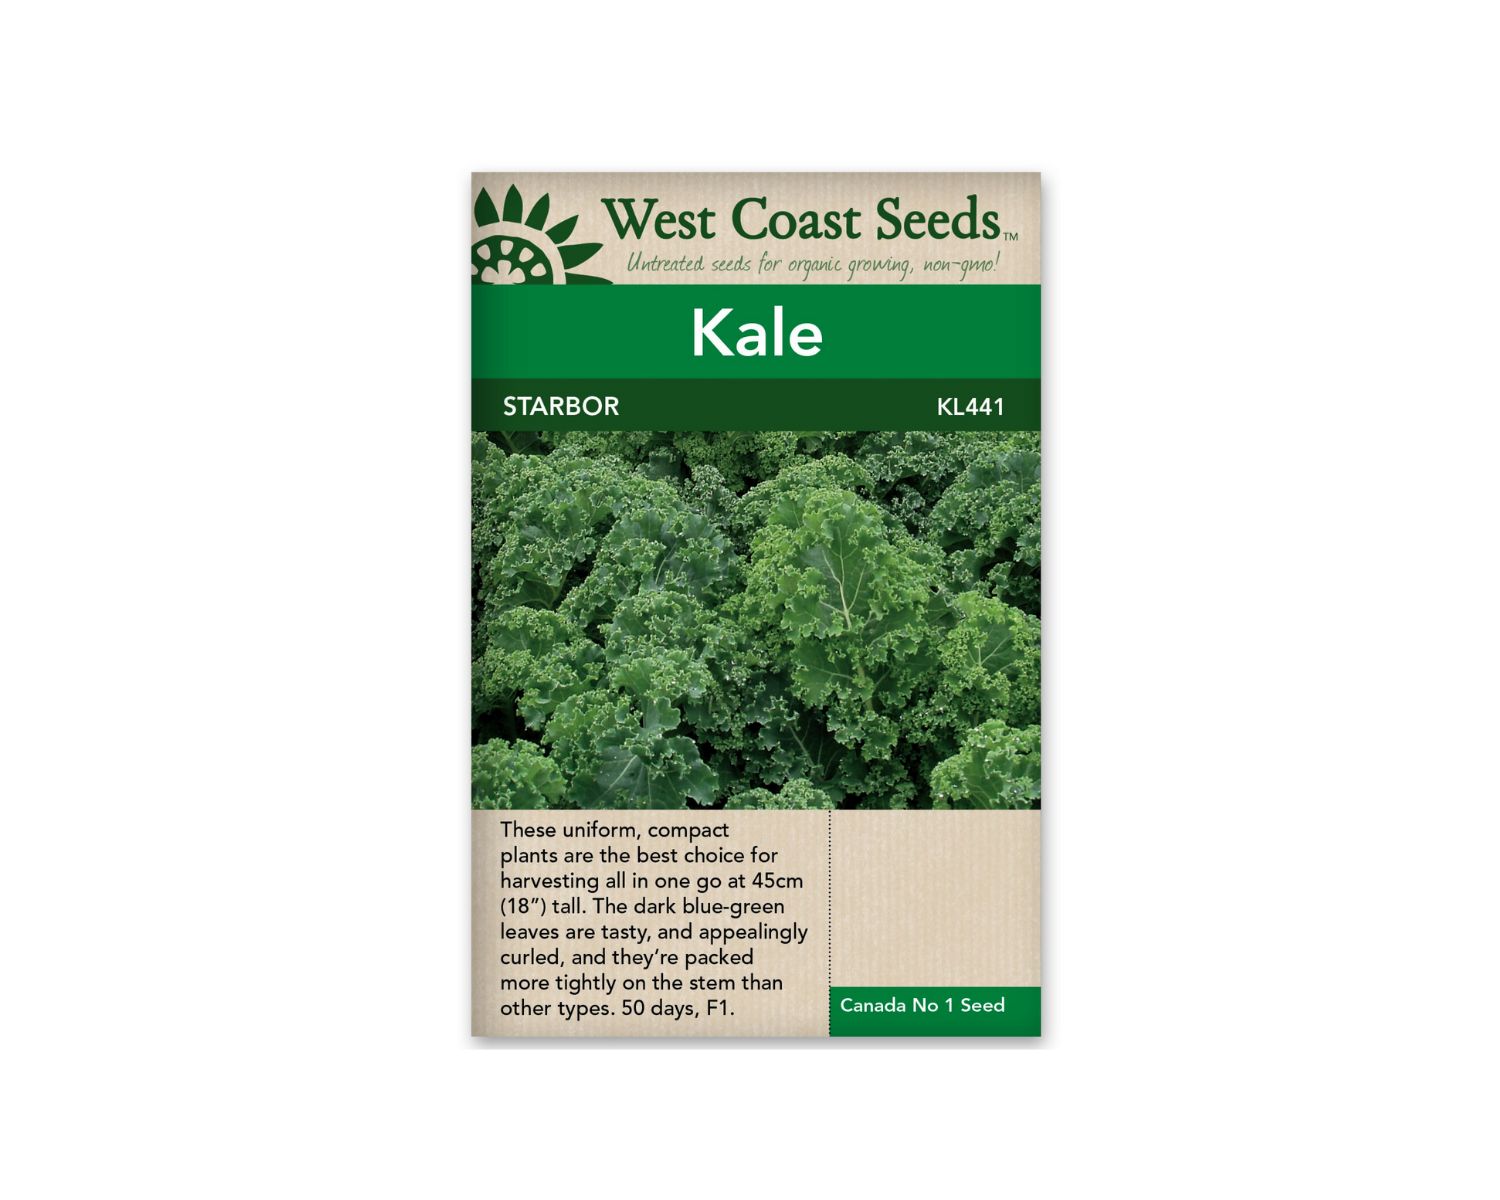
Choosing the Right Kale Seeds
When it comes to choosing the right kale seeds for indoor growing, there are a few factors to consider. Firstly, select a variety of kale that is suitable for indoor cultivation. Look for compact or dwarf varieties that are specifically bred for container gardening. These varieties typically have smaller leaves and a shorter growth height, making them perfect for growing indoors.
Consider the flavor and texture of the kale as well. Some varieties have a milder taste, while others have a more robust flavor. Choose a kale variety that suits your personal preferences and culinary needs.
Next, check the seed packet or catalog description for information on the days to maturity. This will give you an estimate of how long it will take for the kale to reach harvesting stage. If you’re looking for a quick harvest, select a variety with a shorter maturity period.
Lastly, opt for organic or heirloom kale seeds whenever possible. These seeds are not genetically modified and are free from chemical treatments, making them a healthier choice for you and the environment.
Once you’ve chosen the right kale seeds, it’s time to prepare the indoor growing environment.
Preparing the Indoor Growing Environment
Creating the ideal growing environment for your kale seeds is crucial for their successful germination and development. Here are some steps to prepare your indoor space:
- Choose a Suitable Location: Select a sunny spot in your home that receives at least 6-8 hours of direct sunlight each day. If natural sunlight is limited, you can supplement it with artificial grow lights.
- Set Up Containers: Use seed trays, pots, or containers with drainage holes to plant your kale seeds. Ensure the containers are clean and sanitized to prevent the growth of harmful pathogens.
- Prepare the Soil: Use a well-draining potting mix rich in organic matter. Avoid heavy garden soil, as it can lead to poor drainage and hinder the growth of your kale seedlings.
- Sow Kale Seeds: Follow the instructions on the seed packet for proper sowing depth and spacing. Generally, kale seeds should be sown about ½ inch deep and spaced 2-3 inches apart.
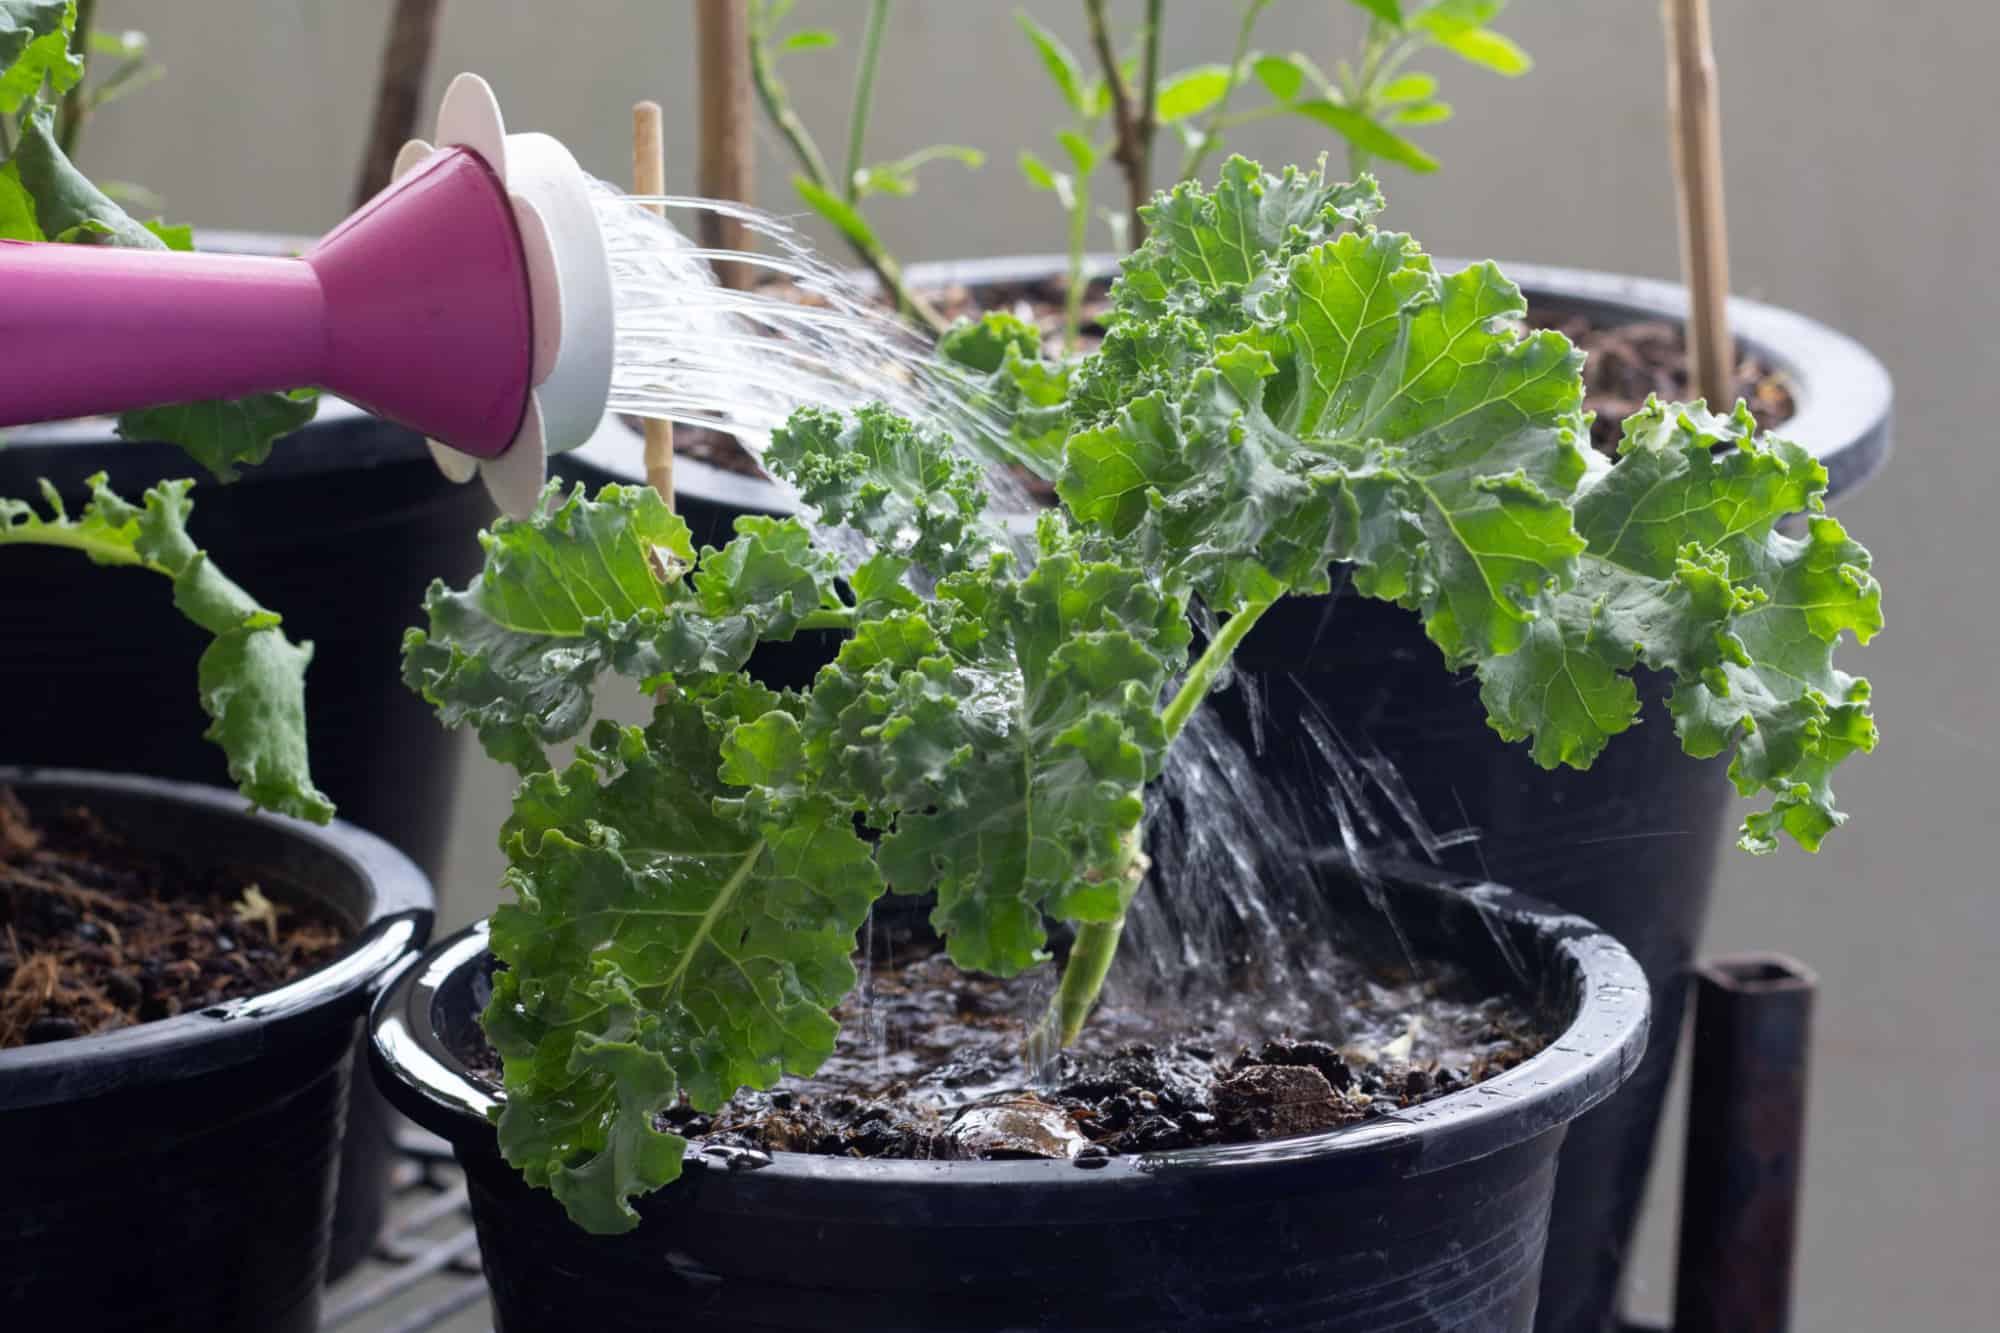
- Water the Seeds: Gently water the soil after sowing the kale seeds, ensuring that the soil is evenly moist. Avoid overwatering, as it can lead to rot or fungal diseases.
- Cover and Label: Place a clear plastic cover or plastic wrap over the containers to create a humid environment and promote seed germination. Don’t forget to label the containers with the kale variety and the date of sowing.
- Maintain Proper Temperature: Kale seeds require a temperature range of 60-75°F (15-24°C) for optimal germination. Use a heating mat or place the containers in a warm location to provide consistent warmth.
By following these steps and ensuring the right conditions, you will create a favorable environment for your kale seeds to germinate and thrive. Next, let’s explore the process of planting the kale seeds.
Planting Kale Seeds
Now that you have prepared the indoor growing environment, it’s time to plant your kale seeds. Follow these steps to ensure successful seed germination:
- Moisten the Soil: Before planting, make sure the soil is slightly damp. This will aid in seed-to-soil contact and promote germination.
- Sow the Seeds: Create small, shallow holes in the soil with your finger or a pencil. Place one or two kale seeds in each hole, then gently cover them with soil. Press the soil down lightly to ensure good seed-to-soil contact.
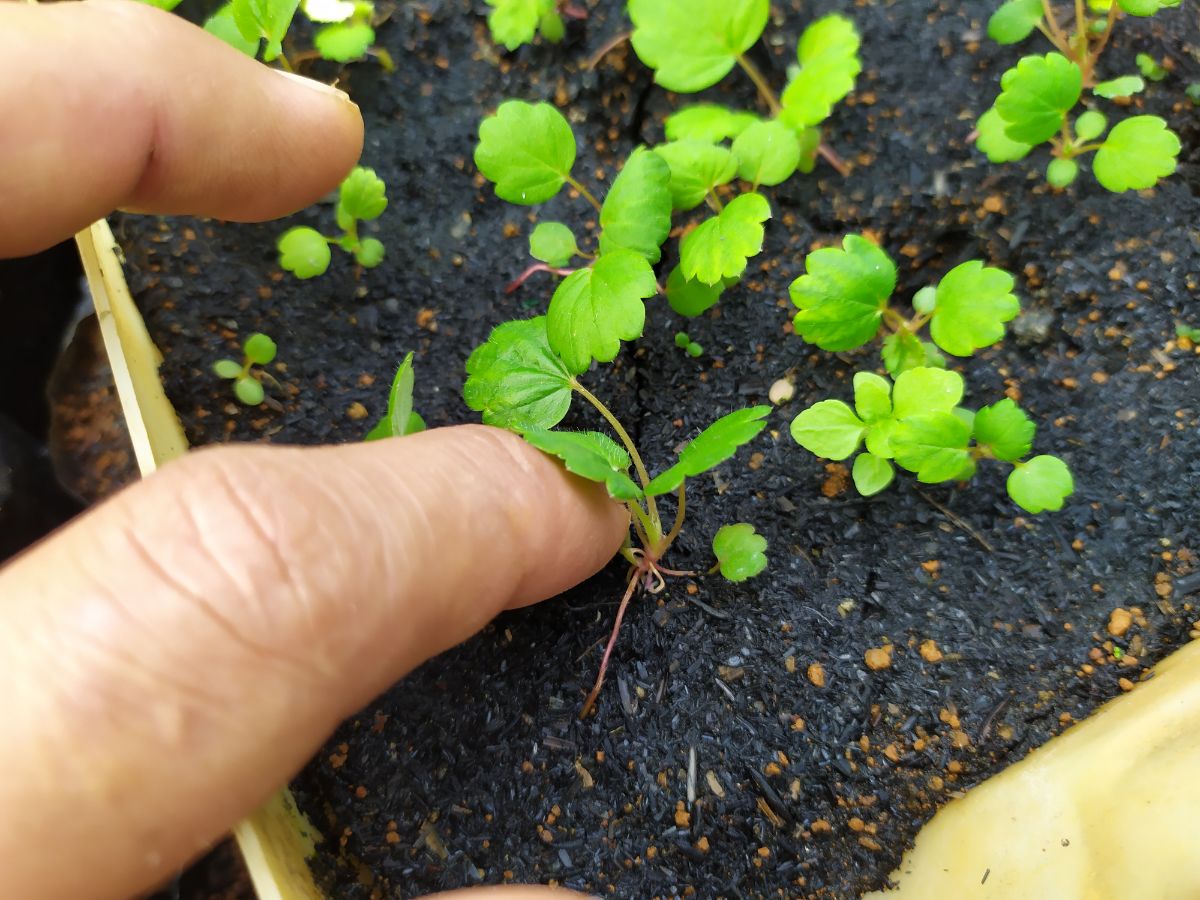
- Thin out Seedlings: After the seedlings emerge, it’s important to thin them out to prevent overcrowding. Keep the strongest and healthiest seedlings, spacing them 6-8 inches apart to allow for proper growth.
- Water the Seedlings: Regularly water the seedlings, keeping the soil consistently moist but not waterlogged. Avoid overhead watering, as it can lead to disease development. Instead, water at the base of the plants.
- Monitor for Pests and Diseases: Keep an eye out for any signs of pests or diseases, such as aphids or powdery mildew. If necessary, use appropriate organic pest control methods to protect your seedlings.
- Provide Air Circulation: Adequate air circulation is crucial for preventing fungal diseases. Place a small fan near your seedlings to encourage airflow, but ensure it’s not directly blowing on the plants.
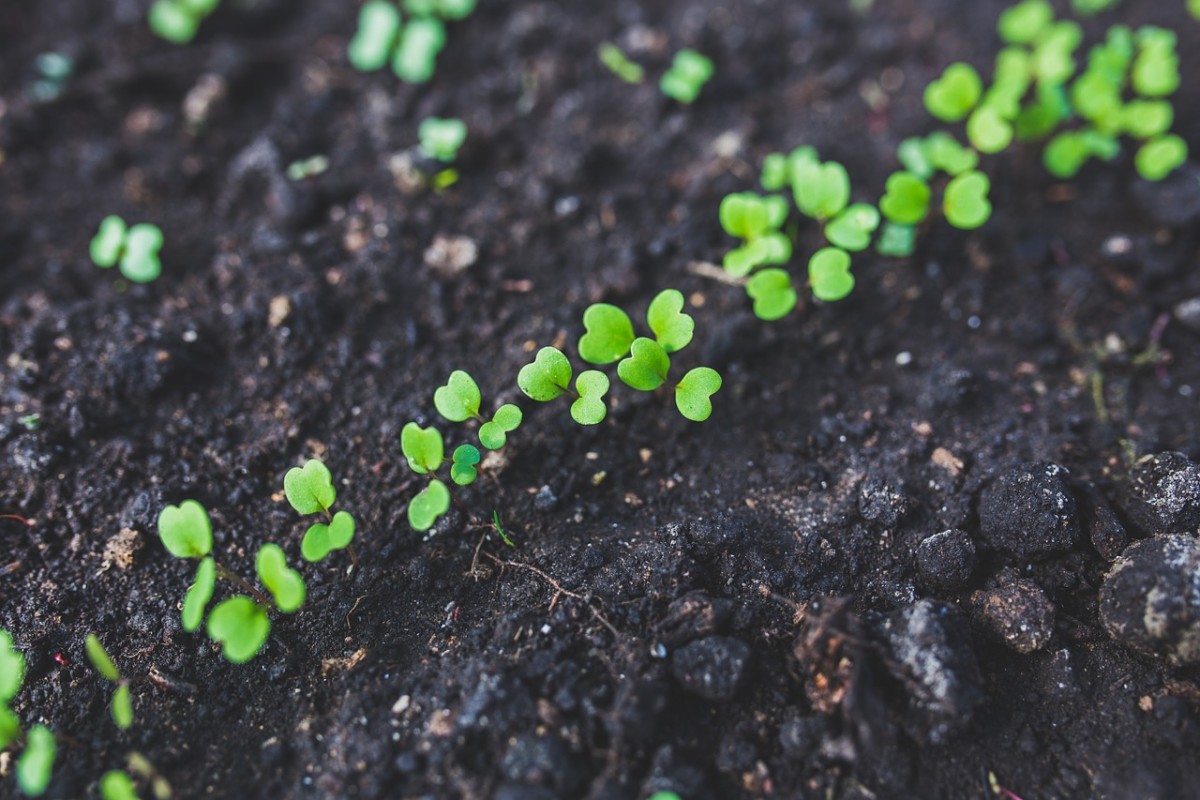
Remember to be patient with your kale seeds as they germinate and establish themselves. It typically takes around 7-14 days for the seeds to sprout, depending on the variety and growing conditions. As the seedlings develop, they will require proper light and temperature to thrive, which we will explore in the next section.
Providing Proper Light and Temperature
Proper lighting and temperature are essential for the healthy growth of your kale seedlings. Here’s what you need to know:
Light: Kale plants require at least 6-8 hours of direct sunlight each day. If you’re growing them indoors, place them near a sunny window or use artificial grow lights. Position the lights about 6 inches above the seedlings and adjust the height as they grow to provide adequate light intensity.
Temperature: Kale is a cool-season crop and thrives in temperatures between 60-75°F (15-24°C). Provide consistent temperatures in this range, ensuring that it’s not too hot or too cold. Avoid placing the seedlings near drafty windows or in areas with extreme temperature fluctuations.
If the ambient temperature is cooler, such as in early spring or fall, you can use a heating mat to maintain the optimal temperature for seed germination and growth.
Rotate the containers every few days to ensure that all sides of the seedlings receive equal light exposure. This prevents the plants from leaning towards the light source and promotes balanced growth.
While providing adequate light and temperature is important, it’s also crucial to water and fertilize your kale seedlings properly, which we will discuss in the next section.
When growing kale from seed indoors, make sure to provide plenty of light, such as a sunny windowsill or grow lights, and keep the soil consistently moist but not waterlogged to promote healthy seedling growth.
Read more: How To Grow Cilantro From Seed Indoors
Watering and Fertilizing Kale Seedlings
Proper watering and fertilizing are essential for the healthy growth and development of your kale seedlings. Here’s what you need to keep in mind:
Watering:
- Keep the soil consistently moist, but not waterlogged. Overwatering can lead to root rot and other issues.
- Water the plants at the base, preferably in the morning, allowing the soil to dry out slightly between waterings.
- Use a watering can with a fine spray nozzle or a gentle stream of water to avoid disturbing the seedlings.
- Ensure that water reaches the entire root zone, but avoid creating standing water in the trays or containers.
Fertilizing:
- Start fertilizing your kale seedlings with a balanced organic liquid fertilizer, diluted according to the instructions on the packaging, about two weeks after germination.
- Alternatively, you can use a slow-release organic fertilizer at the time of planting to provide nutrients over an extended period.
- Fertilize every 2-3 weeks throughout the growing season, following the recommended dosage for leafy green vegetables.
- Always water the plants after fertilizing to prevent burning the roots.
Regularly inspect your kale seedlings for any signs of nutrient deficiencies, such as yellowing leaves or stunted growth. Adjust your fertilization schedule or consult a gardening expert if you notice any issues.
As your kale seedlings mature, it will be time to transplant them outdoors. In the next section, we will discuss the process of transplanting your kale seedlings.
Transplanting Kale Seedlings Outdoors
Once your kale seedlings have grown to a sturdy size, it’s time to transplant them into your outdoor garden or containers. Follow these steps for a successful transplant:
- Choose the Right Time: Transplant your kale seedlings outdoors when the soil has warmed up and all risk of frost has passed. Kale is a cool-season crop and can tolerate light frost, but it’s best to wait for more favorable conditions.
- Prepare the Planting Area: Select a well-drained location that receives at least 6 hours of sunlight per day. Ensure that the soil is enriched with organic matter and free from weeds.
- Harden off the Seedlings: Before transplanting, gradually acclimate your kale seedlings to the outdoor conditions. Start by placing them outdoors for a few hours each day, gradually increasing the exposure over the course of a week.
- Space the Seedlings: Dig holes in the prepared soil, spacing the kale seedlings 12-18 inches apart. This allows enough room for the mature plants to grow and ensures proper air circulation.
- Transplant Carefully: Gently lift the seedlings from their containers, taking care not to damage the roots. Place each seedling in a hole and backfill with soil, firming it gently around the base of the plant.
- Water Thoroughly: Water the transplanted seedlings well, ensuring that the soil is moist but not waterlogged. This helps settle the soil around the roots and encourages quick establishment.
- Mulch: Apply a layer of organic mulch around the base of the plants to help retain moisture, suppress weeds, and regulate soil temperature.
- Provide Care: Continue to water the newly transplanted kale regularly, aiming for about 1 inch of water per week. Monitor for pests, and if necessary, take appropriate measures to protect your plants.
With proper care, your transplanted kale seedlings will establish themselves in their new outdoor home and start growing vigorously. In the next section, we will discuss how to maintain and care for your kale plants as they mature.
Caring for Kale Plants
Now that your kale plants are growing in your garden or containers, it’s important to provide them with the care and attention they need. Here are some key aspects of caring for kale plants:
Watering:
- Water your kale plants regularly, aiming for about 1 inch of water per week.
- Avoid overhead watering, as excessive moisture on the leaves can lead to fungal diseases.
- Water at the base of the plants to ensure the water reaches the roots.
- Adjust your watering frequency based on the weather conditions and soil moisture levels.
Weeding:
- Regularly remove any weeds that compete with your kale plants for nutrients and space.
- Be careful when weeding around the plants to avoid damaging their shallow root systems.
- Consider applying a layer of organic mulch to help suppress weeds and conserve moisture.
Pruning:
- Remove any damaged or yellowing leaves from your kale plants to maintain their overall health and appearance.
- Prune any flowering stalks that appear to redirect the plant’s energy into leaf growth.
Pest Control:
- Regularly inspect your kale plants for signs of pests, such as aphids or cabbage worms.
- Introduce natural predators like ladybugs or use organic pest control methods to manage pest infestations.
- Keep your garden clean and free from debris to discourage pests from taking up residence.
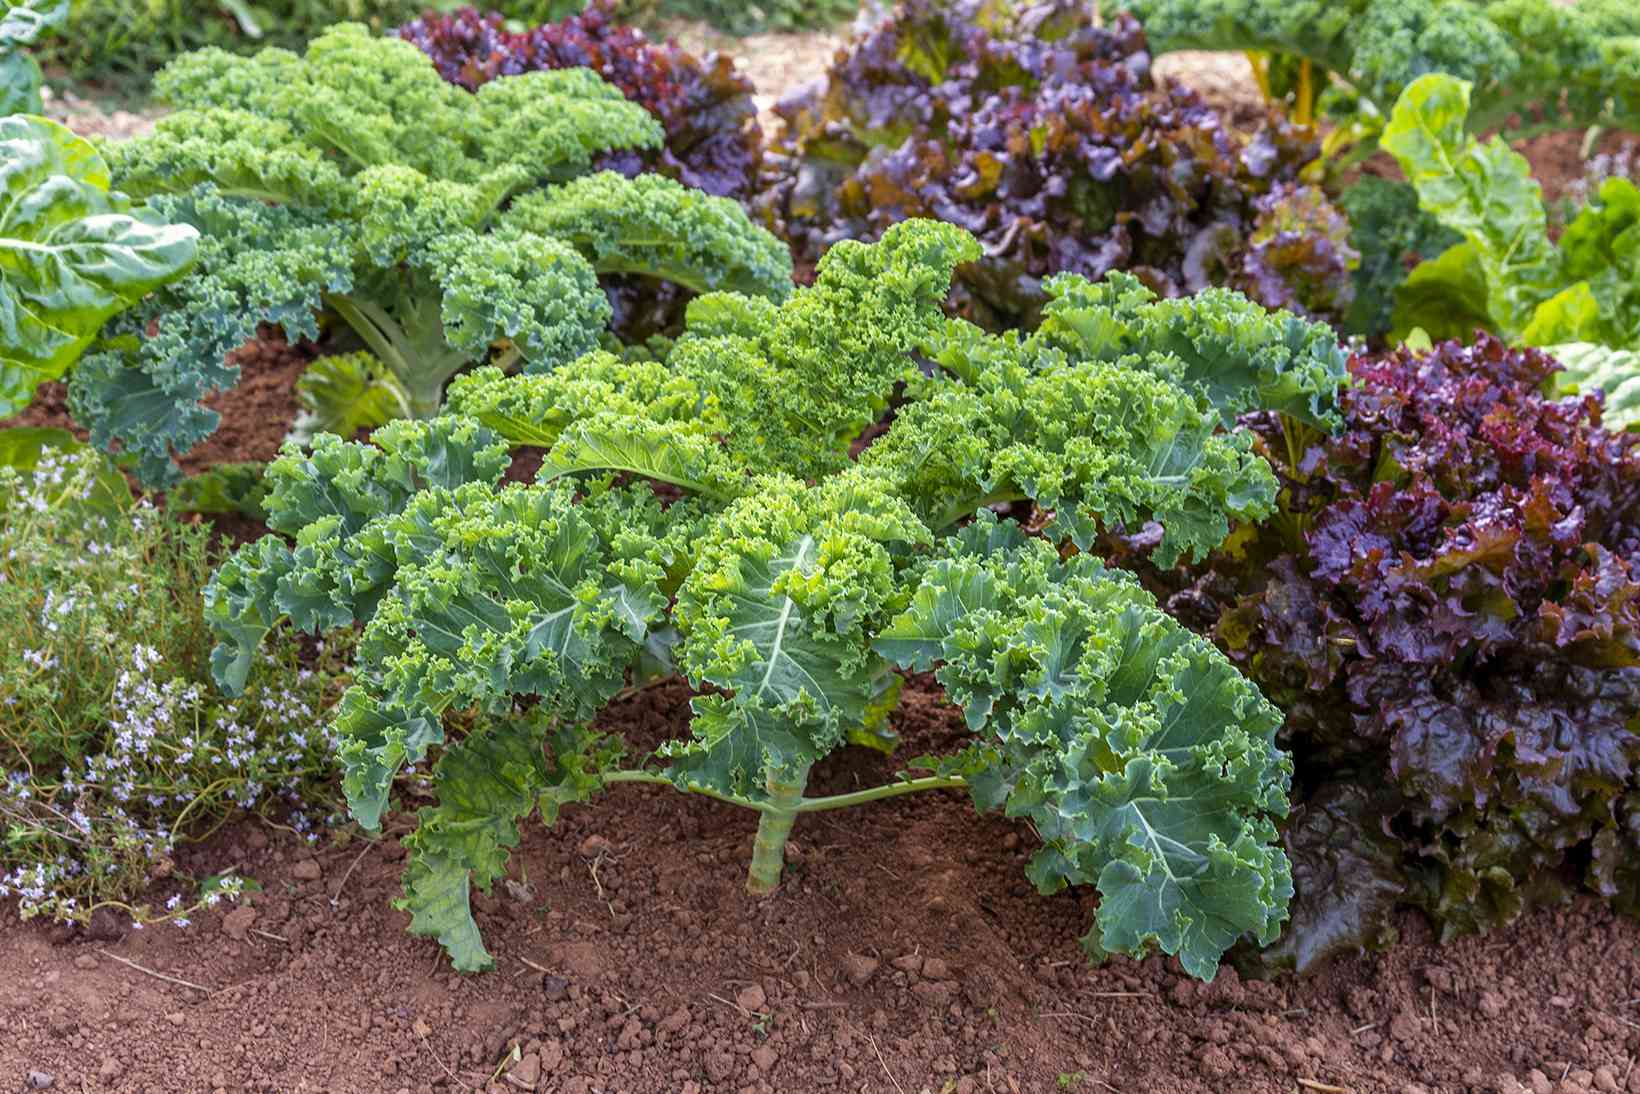
Harvesting:
- Harvest your kale leaves when they reach the desired size, typically around 8-10 inches long.
- Pluck the outer leaves from the bottom of the plant, allowing the inner leaves to continue growing.
- Regular harvesting encourages new growth and prolongs the harvest season.
By providing proper care, your kale plants will continue to thrive and provide you with a bountiful harvest of fresh, nutritious greens. In the next section, we will explore the exciting part – harvesting and using your homegrown kale!
Harvesting and Using Homegrown Kale
Congratulations on successfully growing your own kale! Now it’s time to reap the rewards by harvesting and enjoying your homegrown kale. Here’s what you need to know:
Harvesting:
- Start harvesting your kale when the leaves have reached a desirable size, usually around 8-10 inches in length.
- Pluck the outer leaves from the bottom of the plant, allowing the inner leaves to continue growing.
- Regular harvesting encourages new growth and extends the harvest season.
- Avoid harvesting more than one-third of the leaves at a time to ensure the plant continues to thrive.
Storing:
- Store freshly harvested kale in the refrigerator, unwashed, in a plastic bag or airtight container. It will stay fresh for about a week.
- Before using, wash the kale leaves thoroughly to remove any dirt or debris.
Using Kale in Recipes:
- Kale can be used in a variety of delicious recipes. Here are a few ideas to get you started:
- Sauté kale with garlic and olive oil for a simple and nutritious side dish.
- Add kale to salads for a vibrant and nutrient-packed green. Massage the leaves with lemon juice or dressing to help tenderize them.
- Blend kale into smoothies for a boost of vitamins and minerals.
- Include kale in soups, stews, or stir-fries for added flavor and texture.
- Bake kale into crispy chips by tossing the leaves with olive oil and your favorite seasonings, then baking them until crispy.
Kale is a versatile ingredient that can be incorporated into a wide range of dishes, adding a nutritious and flavorful punch. Get creative and experiment with different recipes to find your favorite ways to enjoy homegrown kale!
With the knowledge and tips shared in this article, you’re well-equipped to embark on a successful journey of growing kale from seed indoors. Enjoy the process, savor the harvest, and experience the joy of tasting homegrown kale straight from your garden or containers!
Frequently Asked Questions about How To Grow Kale From Seed Indoors
Was this page helpful?
At Storables.com, we guarantee accurate and reliable information. Our content, validated by Expert Board Contributors, is crafted following stringent Editorial Policies. We're committed to providing you with well-researched, expert-backed insights for all your informational needs.


0 thoughts on “How To Grow Kale From Seed Indoors”