Home>Garden Essentials>How To Grow Plants From Seeds Indoors
Garden Essentials
How To Grow Plants From Seeds Indoors
Modified: March 16, 2024
Learn how to grow a beautiful garden indoors from seeds with our step-by-step guide. Discover the best techniques and tips for successful indoor gardening.
(Many of the links in this article redirect to a specific reviewed product. Your purchase of these products through affiliate links helps to generate commission for Storables.com, at no extra cost. Learn more)
Introduction
Gardening is a rewarding and fulfilling hobby, but it can be challenging, especially if you don’t have access to outdoor space. However, with the right knowledge and tools, you can still enjoy the beauty and satisfaction of growing plants by starting them from seeds indoors.
Indoor gardening has become increasingly popular, allowing people to grow a variety of plants, including vegetables, herbs, and flowers, right in the comfort of their own homes. Whether you live in an apartment, have limited outdoor space, or simply want to extend your growing season, starting seeds indoors is a fantastic option.
In this article, we will guide you through the process of growing plants from seeds indoors. From choosing the right seeds to providing the ideal growing conditions, you’ll learn all the essential steps to successfully nurture your seedlings into healthy, thriving plants.
In addition to the pleasure of experiencing the entire growth journey of your plants, starting seeds indoors offers several benefits. Firstly, it allows you to have a wider variety of plants, including those that may not be available as seedlings at your local plant nursery or garden center. It also gives you greater control over the growing conditions, ensuring optimal care and minimizing the risk of pests and diseases.
Indoor gardening is also a great educational activity for kids, providing them with the opportunity to learn about plant life cycles, responsibility, and the wonders of nature. Plus, it can be a therapeutic and stress-relieving activity for adults, offering a sense of calm and connection with the natural world.
Whether you’re a seasoned gardener or a beginner, with some basic knowledge and a few essential supplies, you can easily start growing plants from seeds indoors. The process requires patience, attention to detail, and dedication, but the rewards are well worth the effort.
Now, let’s dive into the exciting world of indoor gardening and discover how to grow plants from seeds with success!
Key Takeaways:
- Start your indoor gardening journey by choosing high-quality seeds and creating the perfect growing environment to nurture healthy and thriving plants from seeds indoors.
- Provide your indoor seedlings with the right light, temperature, and care to ensure their growth and protect them from pests, ultimately leading to a successful indoor gardening experience.
Read more: How To Grow Cilantro From Seed Indoors
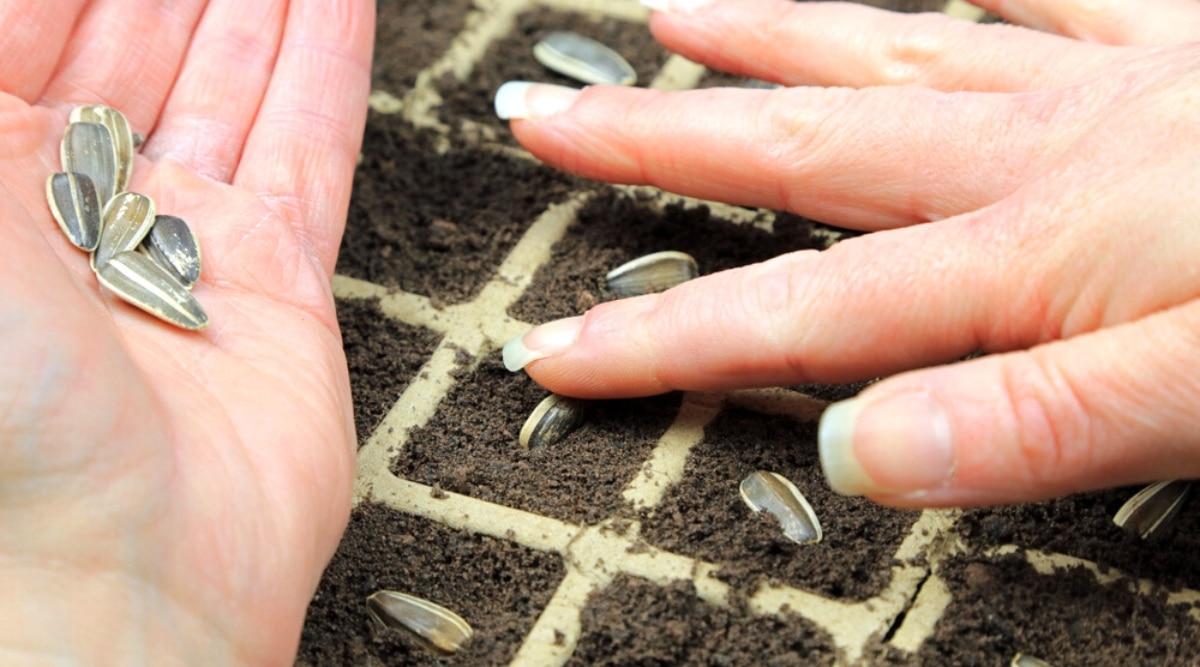
Choosing the Right Seeds
When starting plants from seeds indoors, it’s crucial to begin with high-quality seeds that are suitable for indoor cultivation. Here are some key factors to consider when selecting the right seeds:
- Plant Type: Determine what type of plant you want to grow. Whether it’s vegetables, herbs, or flowers, make sure to choose seeds that are appropriate for indoor growing.
- Variety and Cultivar: Look for different varieties and cultivars within the chosen plant type. Each variety might have different characteristics, such as flavor, size, or color, so choose the one that suits your preferences and growing conditions best.
- Seed Quality: Opt for fresh and viable seeds. Check the seed packets for the “packed for” or “sell by” date to ensure they are still within their shelf life. Additionally, reputable seed suppliers provide information about germination rates, which can help you select seeds with higher chances of sprouting.
- Growing Conditions: Consider the specific growing conditions required for the seeds you wish to plant. Some plants require special care, such as certain temperature ranges, light intensity, or humidity levels. Ensure that you can provide the necessary conditions before selecting those seeds.
- Indoor Space: Take into account the space available for indoor gardening. If you have limited space, choose compact varieties or plants that are suitable for container gardening.
- Success Rate: If you’re a beginner, it’s advisable to start with seeds that are known for their high germination and success rates. This will boost your confidence and increase the chances of successful indoor cultivation.
- Organic or Non-GMO: If you prefer to grow plants organically or avoid genetically modified organisms (GMOs), look for seeds that are labeled as organic or non-GMO.
Once you have considered these factors and have a clear idea of what type of seeds you want to sow, it’s time to purchase them. You can find a wide variety of seeds at local garden centers, online seed suppliers, or through seed exchange programs. Ensure that you buy from reputable sources to ensure the quality and authenticity of the seeds.
Remember, the success of your indoor gardening venture greatly depends on the quality of the seeds you choose. So, take the time to research and make informed decisions, and you’ll be on your way to growing healthy and vibrant plants from seeds indoors.
Preparing the Indoor Growing Space
Creating the right environment for your indoor garden is essential for the successful growth of your seedlings. Here are some steps to take when preparing the indoor growing space:
- Choose the Right Location: Select a well-lit area in your home that receives ample natural light throughout the day. Ideally, this would be near a south-facing window where the plants can receive at least 6-8 hours of sunlight. If natural light is limited, you can supplement it with artificial grow lights.
- Clean and Disinfect: Before setting up your indoor garden, clean and disinfect the area to create a healthy and disease-free environment for your plants. Wipe down surfaces, remove any dust or debris, and sanitize the containers or trays you will be using.
- Provide Proper Ventilation: Adequate air circulation is crucial for the health of your plants. Ensure that the indoor growing space has proper ventilation to prevent stagnant air and fungal growth. Use fans or open windows periodically to allow fresh air flow.
- Protect from Drafts: Avoid placing your plants in areas where they will be exposed to cold drafts or sudden temperature fluctuations. This can stress the seedlings and inhibit their growth. Find a location that is relatively stable in temperature.
- Consider the Noise and Traffic: Keep in mind that excessive noise, foot traffic, or other disturbances can impact the growth of your plants. Choose a location where they will have minimal disruption and can grow undisturbed.
- Organize and Optimize the Space: Arrange your indoor garden in a way that maximizes the available space and allows easy access for tending to your plants. Use shelves, racks, or tables to create multiple layers for placing the containers or trays.
- Protect Surfaces: Place trays or saucers beneath your containers to catch any excess water or soil particles. This will protect your countertops or floors from getting damaged or stained.
By carefully preparing your indoor growing space, you are setting the foundation for healthy and thriving seedlings. Take the time to create a suitable environment that meets the needs of your plants, and they will reward you with robust growth and bountiful harvests.
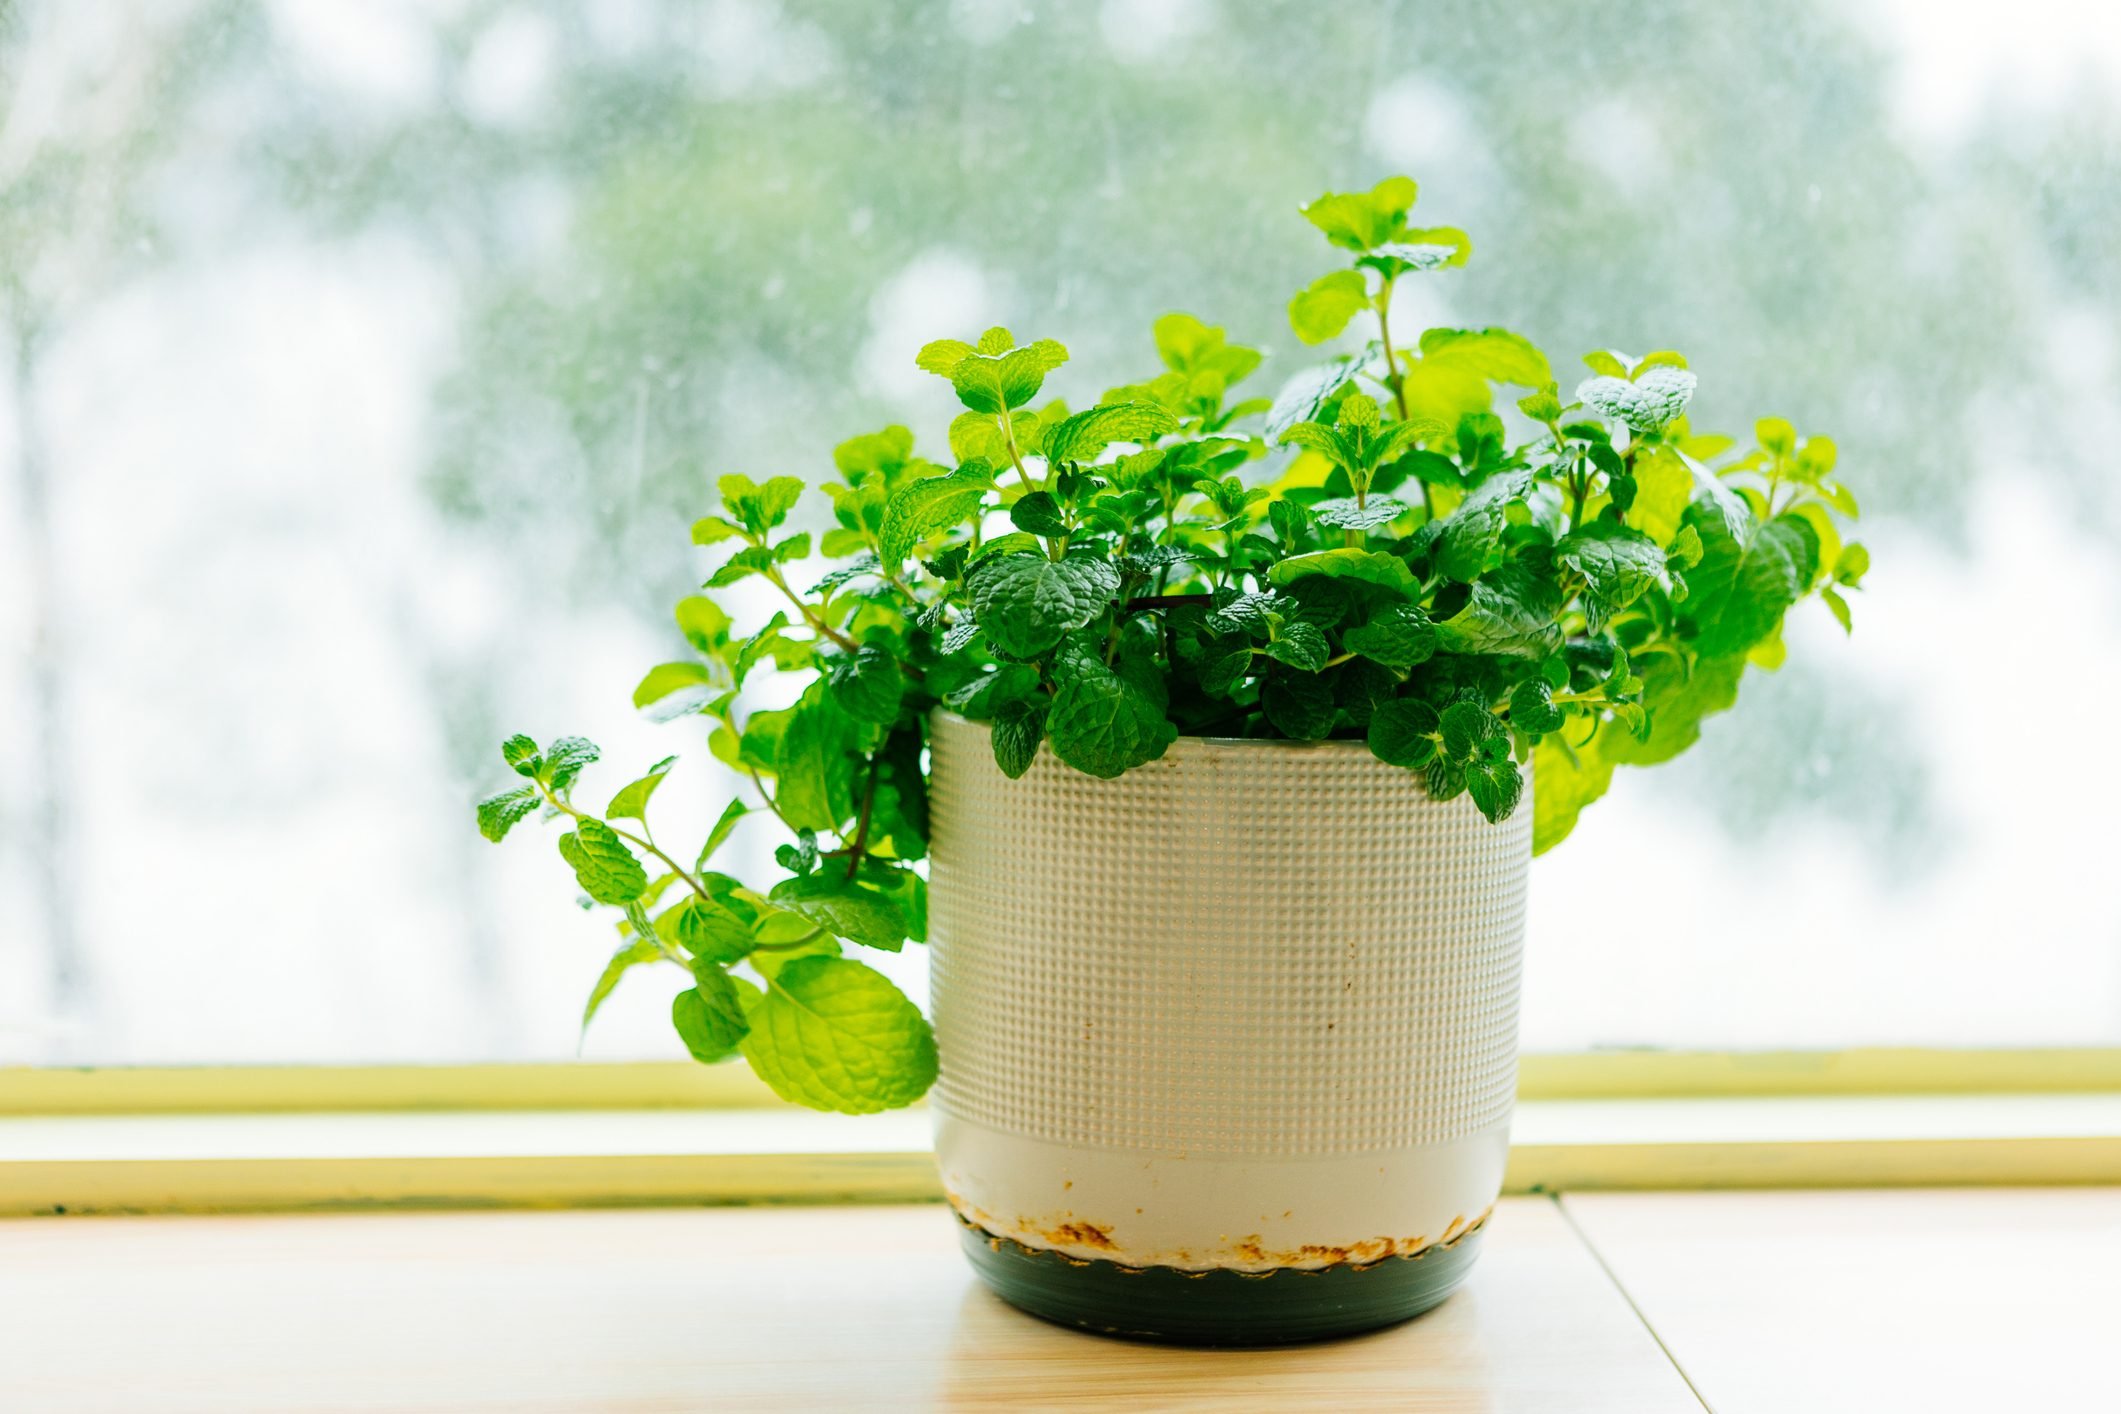
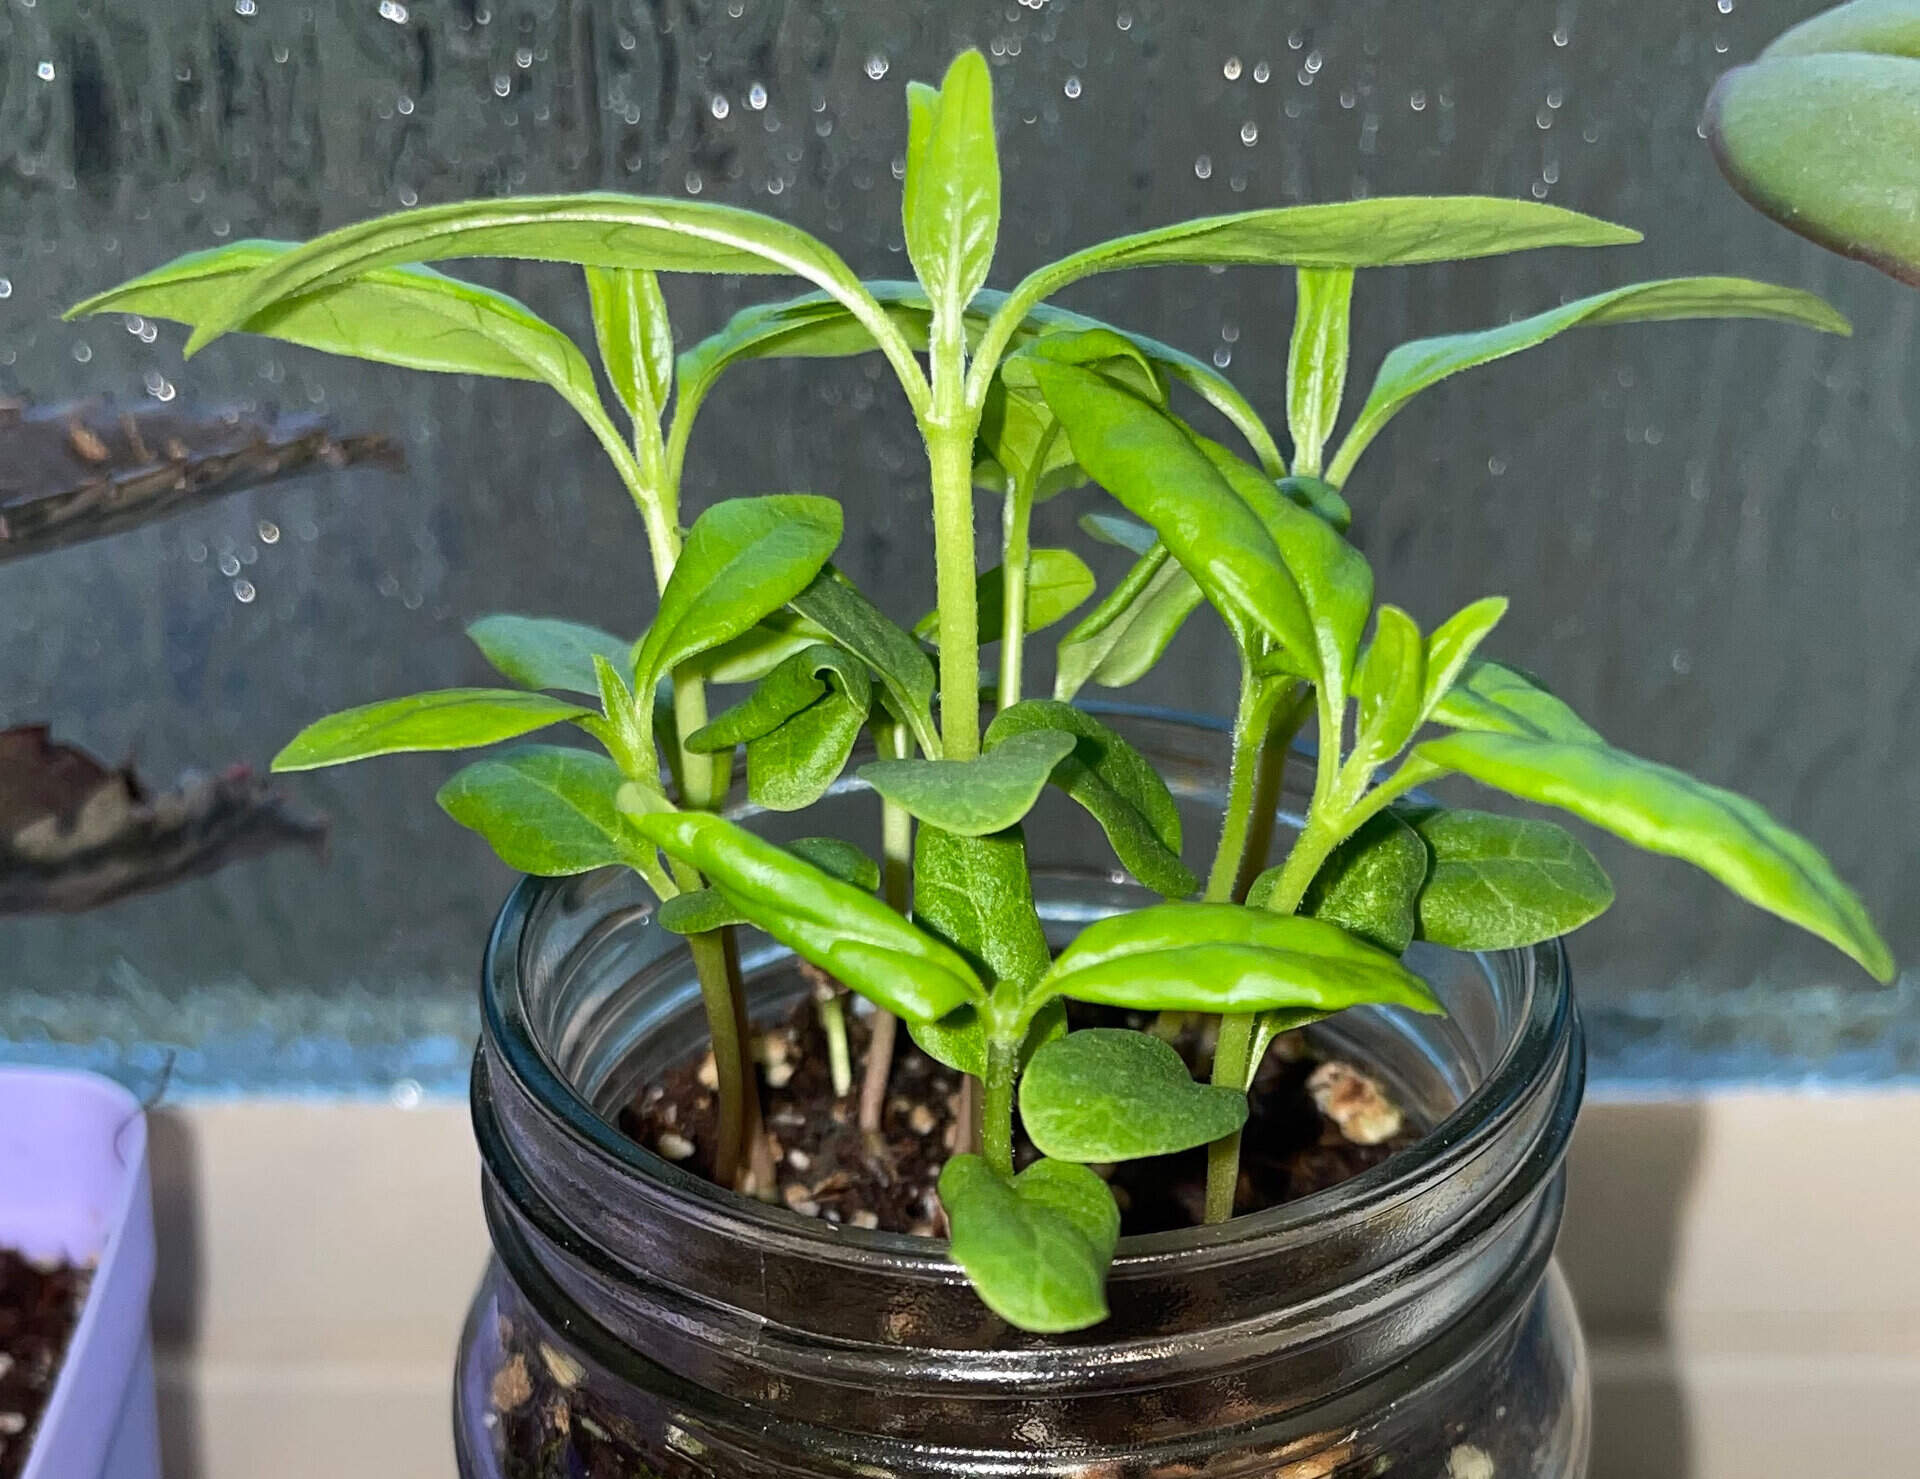
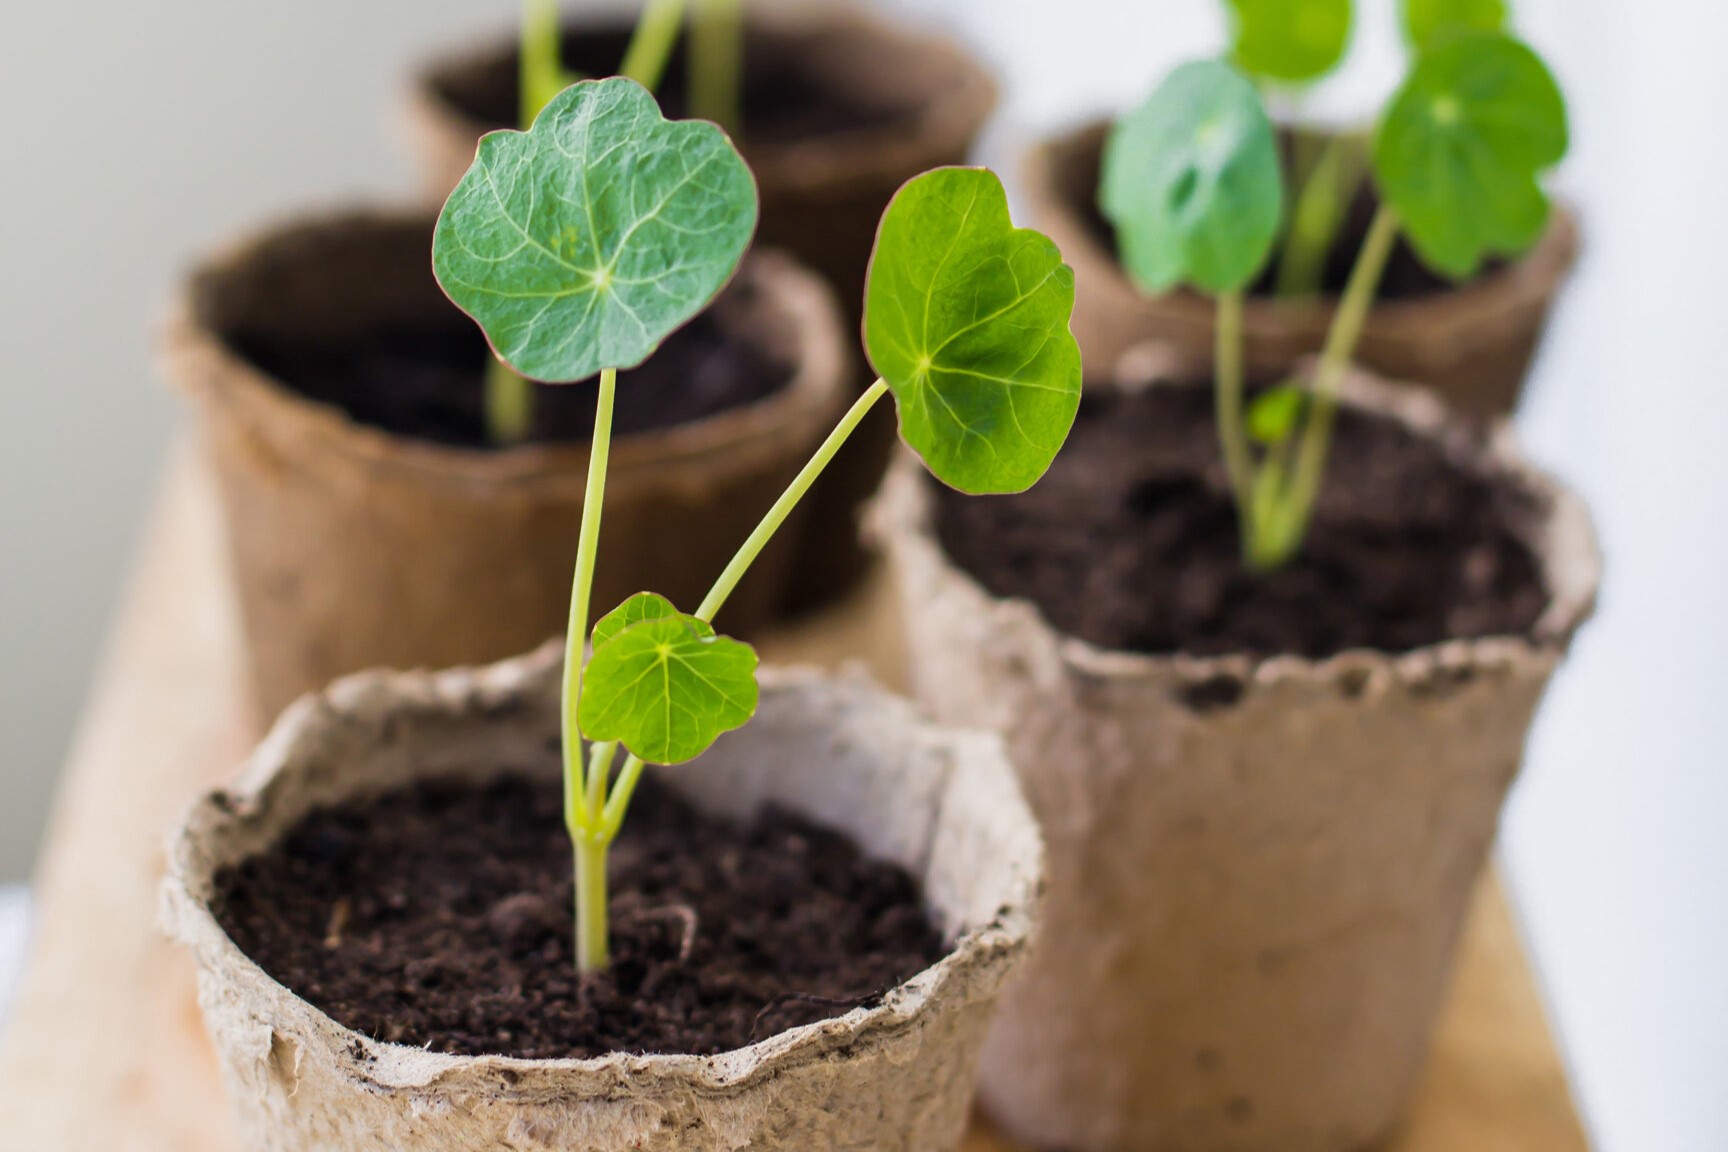
Selecting the Containers
Choosing the right containers for your indoor seedlings is crucial for their growth and development. Here are some factors to consider when selecting containers:
- Size and Depth: The size and depth of the containers depend on the type of plant you are growing. Larger plants with deep root systems will require bigger containers, while smaller plants can thrive in shallower ones. Ensure that the containers are spacious enough to accommodate the growth of the seedlings.
- Drainage: Proper drainage is essential to prevent waterlogged soil and root rot. Look for containers with drainage holes at the bottom to allow excess water to escape. Alternatively, you can use trays or saucers beneath the containers to collect the draining water.
- Material: Containers are available in various materials like plastic, clay, ceramic, or biodegradable options. Each material has its pros and cons. Plastic containers are lightweight, inexpensive, and retain moisture well. Clay or ceramic pots are porous, allowing for better airflow and drainage. Biodegradable containers are eco-friendly and can be directly planted into the soil, reducing transplant shock. Choose a material that suits your needs and preferences.
- Sustainability: If sustainability is a priority for you, consider using recycled containers or repurposing household items like egg cartons, yogurt cups, or takeaway containers. This reduces waste and saves money.
- Uniformity and Aesthetics: If you prefer a neat and organized look, aim for containers that are uniform in size and appearance. This creates a visually appealing indoor garden. However, if you enjoy a more eclectic style, feel free to mix and match different containers for a unique and creative display.
- Quantity: Determine how many containers you will need based on the number of seeds you plan to sow. It’s always a good idea to have extra containers on hand in case you need to replant or grow more seedlings.
- Accessibility: Consider the ease of access for watering, checking soil moisture, and transplanting. Ensure that the containers are easily movable and provide ample space for your hands to maneuver.
Remember to clean your containers before use to remove any dirt or debris that may harbor pests or diseases. You can wash them with soap and water or disinfect them using a mild bleach solution to ensure a clean and sterile environment for your seedlings.
By carefully selecting the appropriate containers for your indoor seedlings, you are providing them with a stable and conducive growing environment. This will promote healthy root development and contribute to the overall success of your indoor gardening venture.
Providing Adequate Light
Light is one of the most critical factors for successful indoor seedling growth. Proper lighting ensures that your seedlings receive the energy they need for photosynthesis and healthy development. Here’s how to provide adequate light for your indoor plants:
- Natural Light: Place your seedlings near a window that receives ample sunlight. South-facing windows typically provide the brightest light. Ensure that the plants are not shaded by curtains or blinds during daylight hours. Rotate the containers regularly to prevent the seedlings from leaning towards the light source.
- Supplement with Grow Lights: If natural light is insufficient or unavailable, supplement it with artificial grow lights. LED or fluorescent lights specifically designed for plant growth are ideal. Position the lights a few inches above the seedlings, adjusting the height as they grow to maintain an optimal distance of 6-12 inches.
- Daily Duration: Most plants require 12-16 hours of light per day during the seedling stage. Ensure that they receive consistent light for the recommended duration. Using a timer for your grow lights can help automate this process and ensure a consistent lighting schedule.
- Light Intensity: Seedlings need bright light, but excessive heat can damage them. Ensure that the light intensity is appropriate for the seedlings’ stage of growth. If using artificial lights, check the manufacturer’s recommendations for the suitable light intensity and adjust accordingly.
- Light Positioning: To promote even growth and prevent leggy, weak stems, position the lights directly above the seedlings. If using multiple lights, arrange them in such a way that all plants receive uniform coverage. Adjust the positions as necessary to maintain an even light distribution.
- Monitor Light Exposure: Regularly observe the seedlings for signs of light stress or inadequate exposure. If the plants appear spindly, pale, or slow in growth, it may indicate a need for more light. Conversely, if the seedlings become yellow or burnt-looking, it could be a sign of light burn, and you may need to adjust the light intensity.
- Gradual Light Exposure: If you are transitioning seedlings from an indoor setting to an outdoor garden, gradually expose them to natural sunlight over a period of several days. This helps them acclimate to the higher intensity of outdoor light and minimizes transplant shock.
While providing adequate light is crucial, remember that seedlings also need a period of darkness for proper development. Avoid leaving the lights on 24/7 and provide a period of darkness, typically 8 hours a day, for optimal growth.
By ensuring that your seedlings receive the right amount and quality of light, you are setting the stage for healthy growth and robust plants. Pay attention to light duration, intensity, and positioning to provide the ideal lighting conditions for your indoor garden.
Keep the soil consistently moist but not waterlogged when growing plants from seeds indoors. Use a spray bottle to water gently and avoid disturbing the seeds.
Read more: How To Grow Sage Indoors From Seed
Maintaining the Ideal Temperature and Humidity
Temperature and humidity are crucial factors that impact the growth and overall health of indoor seedlings. By maintaining the ideal conditions, you can create an environment that allows your plants to thrive. Here’s how to ensure the optimal temperature and humidity levels:
- Temperature: Most seeds germinate well at temperatures between 65-75°F (18-24°C). Once the seedlings emerge, the ideal temperature range is typically slightly lower, around 60-70°F (15-21°C). Use a thermometer to monitor the temperature in your indoor growing space and ensure it remains within these ranges.
- Heat Source: Consider using a heat mat or propagator to provide bottom heat to your containers. This can help maintain a consistent and slightly elevated temperature, especially during cooler periods or if you’re starting seeds in a colder environment. Be cautious not to overheat the soil, as excessive heat can damage the seedlings.
- Cooling: If the indoor environment becomes too warm, ensure proper ventilation to allow air circulation and cooling. Open windows or use fans strategically to maintain a comfortable temperature for your seedlings.
- Humidity: Seedlings generally prefer higher humidity levels during their initial growth stages. Aim for a humidity range of 50-70%. To increase humidity, you can use a humidifier or place a tray of water near the seedlings. Covering the containers with plastic wrap or using a humidity dome can also help retain moisture. Monitor humidity levels using a hygrometer and adjust as needed.
- Humidity Control: If the humidity levels are too high, leading to excessive moisture and potential fungal growth, increase airflow and reduce watering frequency. Conversely, if the air is too dry, consider using a room humidifier or placing a water-filled tray near the plants to raise humidity. Mist the seedlings gently with water, but avoid spraying directly onto the leaves to prevent waterlogging or foliage damage.
- Location Considerations: Keep in mind that temperature and humidity levels can vary in different areas of your home. Avoid placing your seedlings near heat sources, such as radiators or vents, as they can create fluctuations in temperature and reduce humidity levels.
- Monitor and Adjust: Continuously monitor the temperature and humidity using appropriate instruments. Keep a record and make necessary adjustments based on the needs of your specific plants and their growth stages.
By maintaining the ideal temperature and humidity levels, you are creating an environment that mimics the natural conditions for your seedlings. This promotes healthy growth, reduces stress, and minimizes the risk of diseases or pests. It’s essential to strike a balance and provide the best possible conditions for your indoor plants to thrive.
Watering and Fertilizing
Proper watering and fertilizing are essential for the healthy growth and development of your indoor seedlings. Here’s a guide on how to effectively water and fertilize your plants:
- Watering:
- Water your seedlings when the top inch of the soil feels dry to the touch. Avoid overwatering, as it can lead to root rot and other moisture-related issues.
- Use a watering can or a spray bottle with a fine mist setting to gently water the seedlings. This helps to prevent disturbing the delicate roots and avoids soil displacement. Alternatively, you can bottom-water by placing the containers in a shallow tray filled with water and allowing the soil to absorb moisture from the bottom.
- Ensure that the containers have proper drainage to prevent waterlogging. Empty any excess water that collects in the tray or saucer beneath the containers to avoid standing water.
- Water the seedlings slowly and evenly, ensuring that the soil is thoroughly moistened. Pay attention to the drainage holes to ensure that the excess water flows out freely.
- Adjust the watering frequency based on the moisture levels of the soil and the specific needs of your plants. Different plants have different watering requirements, so it’s important to research and understand the needs of each variety.
- Consider using a moisture meter to help gauge the moisture levels in the soil. This can provide a more accurate indication of when to water your seedlings.
- Fertilizing:
- Seedlings usually do not require fertilization until they have developed their first set of true leaves. Prior to that, they can rely on nutrients stored in the seed.
- Choose a balanced, water-soluble fertilizer specifically formulated for seedlings or young plants. Read the instructions on the fertilizer package for proper dilution ratios.
- Start fertilizing once a week or every other week, following the recommended dosage. Be careful not to over-fertilize, as this can cause nutrient burn or damage to the seedlings.
- Apply the fertilizer during watering, ensuring that it is evenly distributed. Avoid direct contact between the fertilizer and the leaves or stems, as it may cause burns or damage.
- Monitor the growth and health of your seedlings after fertilizing. Look for signs of nutrient deficiencies (such as yellowing leaves or stunted growth), which may indicate the need for adjustments in your fertilization routine.
- Consider using organic fertilizers or compost tea as an alternative to synthetic fertilizers, especially if you prefer an organic gardening approach.
Remember, the watering and fertilization needs of your seedlings may vary depending on the specific plants you are growing. It’s important to observe and adjust your watering and fertilizing practices based on the individual requirements of each plant.
By providing appropriate and balanced moisture and nutrients, you are ensuring the healthy growth and vitality of your indoor seedlings. Pay attention to their specific needs and adjust your care routine accordingly to help them thrive.
Monitoring and Managing Pests
Keeping a close eye on your indoor seedlings is essential to identify and manage any potential pest infestations. Here are some tips for effectively monitoring and controlling pests in your indoor garden:
- Regular Inspection: Regularly inspect your seedlings for signs of pests, including visible insects, eggs, larvae, or damage to the leaves and stems. Pests can vary from common plant pests like aphids, whiteflies, and mealybugs to fungal gnats or spider mites.
- Identify the Pests: Accurately identifying the pests is crucial for implementing the appropriate control measures. Use reliable resources such as gardening books or online guides to help you identify the specific pests affecting your plants.
- Isolation: If you notice any infested plants, immediately isolate them from healthy seedlings to prevent the pests from spreading. Quarantine the affected plants and treat them separately to avoid infestation throughout your indoor garden.
- Non-Chemical Methods: Start with non-chemical control methods as the first line of defense. This includes manually removing pests with your hands, using a gentle stream of water to wash them off, or introducing natural pest predators like ladybugs or beneficial insects.
- Organic Pest Control: If the infestation persists or becomes severe, consider using organic pest control methods. This can involve using insecticidal soaps, neem oil, or homemade remedies like garlic spray or diluted dish soap to control common garden pests. Follow the instructions carefully and use organic products approved for use on edible plants if you’re growing vegetables or herbs.
- Chemical Options: If all else fails and the pest problem escalates, chemical control may be necessary. However, exercise caution when using chemical pesticides, as they can harm beneficial insects and have adverse effects on human health. Always read and follow the instructions provided by the manufacturer, and only use pesticides approved for indoor use.
- Cultural Practices: Maintaining good cultural practices can prevent pest infestations. This includes keeping your indoor garden clean, removing dead leaves or plant debris, and regularly cleaning the area surrounding your seedlings. Providing proper air circulation and avoiding overwatering can also help deter pests.
- Early Intervention: Monitoring your seedlings regularly allows you to detect pests at the earliest stages. Early intervention is key to preventing pests from causing extensive damage and spreading to other plants.
- Pest-Resistant Varieties: When selecting seeds, consider choosing pest-resistant varieties. These plants have natural defenses against certain pests, making them more resistant to infestations and reducing the need for chemical control.
Remember, prevention is always better than treatment when it comes to pests. By practicing vigilant monitoring and taking proactive measures, you can minimize the risk of pest infestations and maintain a healthy and thriving indoor garden.
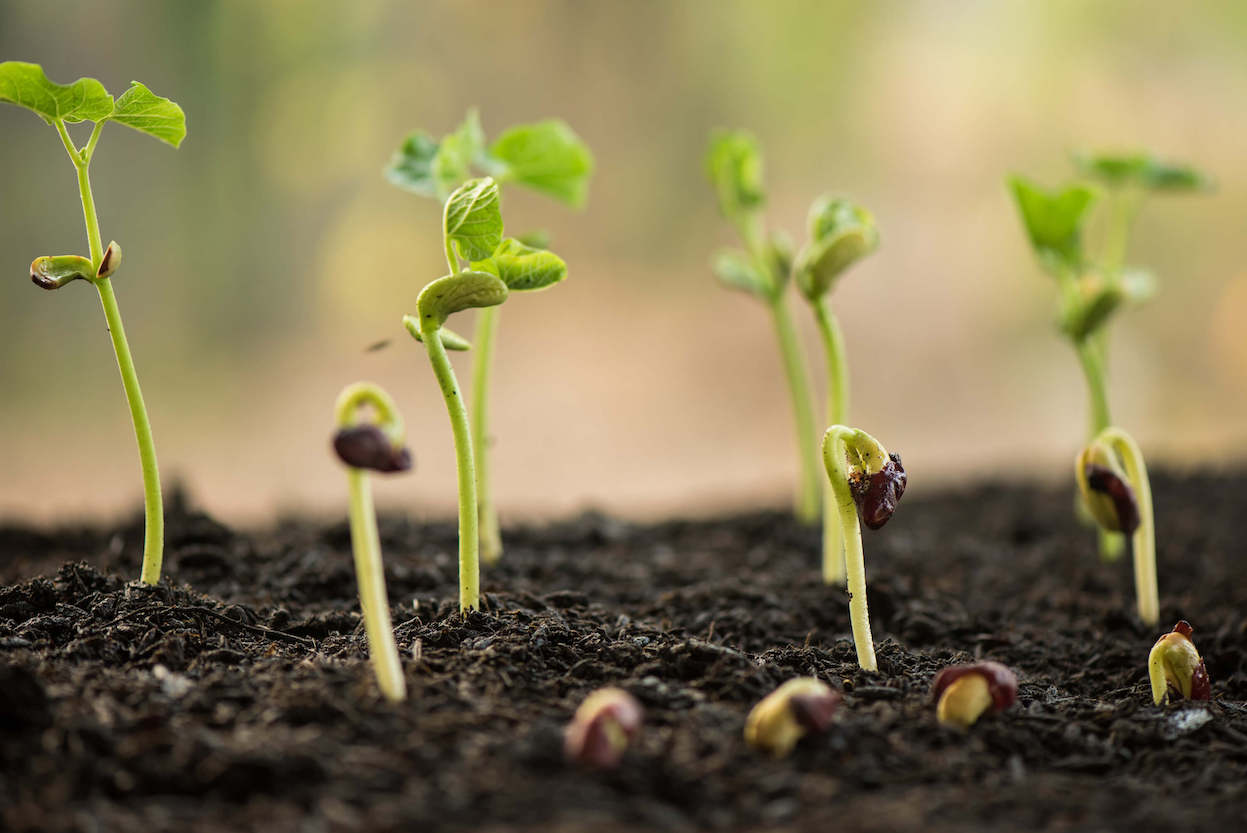
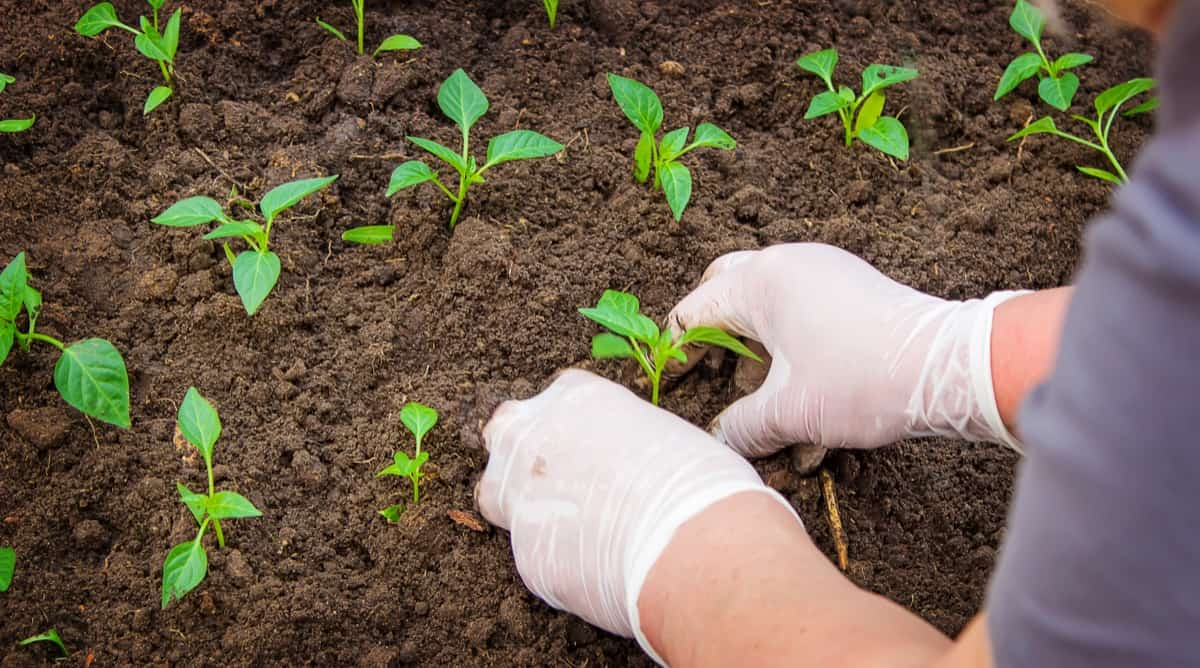
Transplanting Seedlings
Transplanting seedlings is an important step in the growth journey of your indoor plants. It allows them to continue their development in larger containers or to be transferred to an outdoor garden. Here’s a guide on how to successfully transplant your seedlings:
- Timing: Transplant your seedlings when they have developed their true leaves and are strong enough to handle the process. This is usually when they have grown to a size where they are outgrowing their current containers or after the last frost date for outdoor planting.
- Prepare the New Containers: Choose containers that are larger and have sufficient drainage holes. Thoroughly clean and disinfect the new containers to create a healthy environment for the seedlings.
- Moisten the Soil: Before transplanting, water the seedlings’ existing containers to ensure that the soil is moist but not waterlogged. This will make it easier to remove the seedlings without causing undue stress to their roots.
- Handle with Care: Gently remove the seedlings from their current containers by carefully loosening the soil around the root ball. Be cautious not to damage the delicate roots or stem. If the roots are tightly intertwined, you can gently tease them apart to encourage healthy root growth.
- Transplanting Technique: Dig a hole in the new container that is deep enough to accommodate the seedling’s root ball. Place the seedling in the hole and fill in the surrounding soil, gently firming it around the roots. Ensure that the seedling is planted at the same depth as it was in its previous container.
- Watering: After transplanting, water the seedlings thoroughly to help them settle into their new containers. This will also ensure good soil-to-root contact. Monitor the soil moisture levels and water as needed, keeping in mind the specific watering requirements of your plants.
- Gradual Adjustment: If you are transplanting the seedlings to an outdoor garden, give them time to adjust to the new environment. Start by placing them in a shaded or protected area for a few hours a day, gradually increasing the exposure to sunlight and outdoor conditions over the course of a week or two.
- Post-Transplant Care: Monitor the seedlings closely after transplanting, watching for signs of stress or wilting. Provide proper lighting, watering, and care to support their recovery. Protect them from extreme weather conditions, such as strong winds or heavy rain, until they are well-established.
- Hardening Off: If transplanting seedlings outdoors, it’s important to harden them off. Gradually expose them to outdoor conditions by increasing their time outdoors incrementally over a period of 7-10 days. This helps them adjust to temperature, sunlight, and wind, reducing the risk of transplant shock.
- Labeling: Don’t forget to label your transplanted seedlings with the plant variety and transplant date. This will help you keep track of their progress and ensure proper care.
Transplanting seedlings can be a delicate process, but with proper handling and care, your plants will adapt and thrive in their new containers or outdoor garden. Remember to transplant at the appropriate time and provide the necessary post-transplant care to set them up for success.
Read more: How To Grow Kale From Seed Indoors
Conclusion
Growing plants from seeds indoors opens up a world of possibilities for gardeners, regardless of their available outdoor space. By following the right techniques and providing optimal conditions, you can successfully nurture your seedlings into healthy and thriving plants right in the comfort of your home.
Choosing the right seeds and preparing the indoor growing space are vital first steps. Selecting high-quality seeds, considering the growing conditions, and creating an ideal environment are essential for the success of your indoor garden. Providing adequate light, maintaining the proper temperature and humidity levels, and watering and fertilizing your seedlings appropriately are crucial for their growth and development.
Monitoring and managing pests is an ongoing task that requires attentive observation and timely action. Regular inspection, identifying pests, and implementing appropriate control measures will help protect your indoor garden from infestations. Transplanting seedlings is a significant milestone in their growth journey, allowing them to continue thriving in larger containers or in an outdoor garden.
Remember, while indoor gardening requires patience and attention to detail, the rewards are well worth the effort. The satisfaction of watching your seedlings grow into mature and fruitful plants is truly fulfilling. So, whether you’re growing vegetables, herbs, or flowers, enjoy the process and embrace the beauty of indoor gardening.
By applying the knowledge and techniques shared in this article, you are well on your way to becoming a successful indoor gardener. Have fun, be creative, and may your indoor garden flourish with beauty and abundance!
Frequently Asked Questions about How To Grow Plants From Seeds Indoors
Was this page helpful?
At Storables.com, we guarantee accurate and reliable information. Our content, validated by Expert Board Contributors, is crafted following stringent Editorial Policies. We're committed to providing you with well-researched, expert-backed insights for all your informational needs.

0 thoughts on “How To Grow Plants From Seeds Indoors”