Home>Garden Essentials>How To Grow Mimosa Tree From Seed


Garden Essentials
How To Grow Mimosa Tree From Seed
Modified: August 25, 2024
Learn how to grow a beautiful mimosa tree from seed in your garden. Follow our step-by-step guide and enjoy the colorful blooms and delicate leaves.
(Many of the links in this article redirect to a specific reviewed product. Your purchase of these products through affiliate links helps to generate commission for Storables.com, at no extra cost. Learn more)
Introduction
Mimosa trees, also known as silk trees, are beautiful and vibrant additions to any garden or landscape. With their delicate fern-like foliage and clusters of colorful flowers, they can bring a touch of exotic beauty to your outdoor space. While you can purchase young mimosa trees from nurseries, growing them from seed can be a rewarding and cost-effective option.
In this article, we will guide you through the process of growing mimosa trees from seed, from collecting the seeds to caring for the young plants and eventually transplanting them into your garden. Whether you are a seasoned gardener or a novice, you can successfully grow your own mimosa tree with a little bit of patience and care.
Before we begin, it’s important to note that mimosa trees (Albizia julibrissin) are fast-growing and tend to be invasive in certain regions. Therefore, it’s essential to check with your local gardening authorities to ensure that growing mimosa trees is permitted in your area.
Now, let’s dive into the step-by-step process of growing mimosa trees from seed and discover the joys of nurturing these beautiful trees from the very beginning.
Key Takeaways:
- Growing mimosa trees from seed requires collecting, preparing, and planting the seeds with care. Providing optimal growing conditions and regular maintenance are essential for nurturing healthy and vibrant trees.
- Proper watering, fertilization, pruning, and transplanting are crucial steps in caring for young mimosa trees. Patience and attentiveness are key to successfully cultivating these beautiful trees.
Read more: How To Grow A Tree From A Seed
Step 1: Collecting Mimosa Tree Seeds
The first step in growing mimosa trees from seed is to collect the seeds themselves. Mimosa trees produce long, flat seed pods that contain multiple seeds. These seed pods are typically brown or dark brown when mature, and they can be found hanging from the branches of the tree.
To collect the seeds, carefully remove the seed pods from the tree, making sure not to damage them. You can do this by gently twisting or cutting the stem of the seed pod. It’s best to collect the seed pods when they are fully mature, as this increases the chances of successful germination.
Once you have collected the seed pods, place them in a paper bag or a container and allow them to dry for a few days. This will help to loosen the seeds from the pod and make extraction easier. After the seeds have dried, gently open the seed pods and separate the individual seeds.
It’s essential to handle the seeds with care as they can be delicate. Avoid applying excessive pressure or force when opening the seed pods to prevent damage to the seeds.
After separating the seeds, you may notice that they have a hard outer coating. To improve the chances of successful germination, you can scarify the seeds. This involves gently scratching or nicking the outer shell of the seed to allow moisture to penetrate more easily during the germination process. You can use a small knife or sandpaper to carefully nick the seeds.
Once the seeds have been nicked, place them in a paper bag or an airtight container until you are ready to move on to the next step of the planting process.
Step 2: Preparing the Seeds for Planting
After you have collected and prepared the mimosa tree seeds, it’s time to get them ready for planting. Proper preparation ensures that the seeds have the best chance of germination and healthy growth.
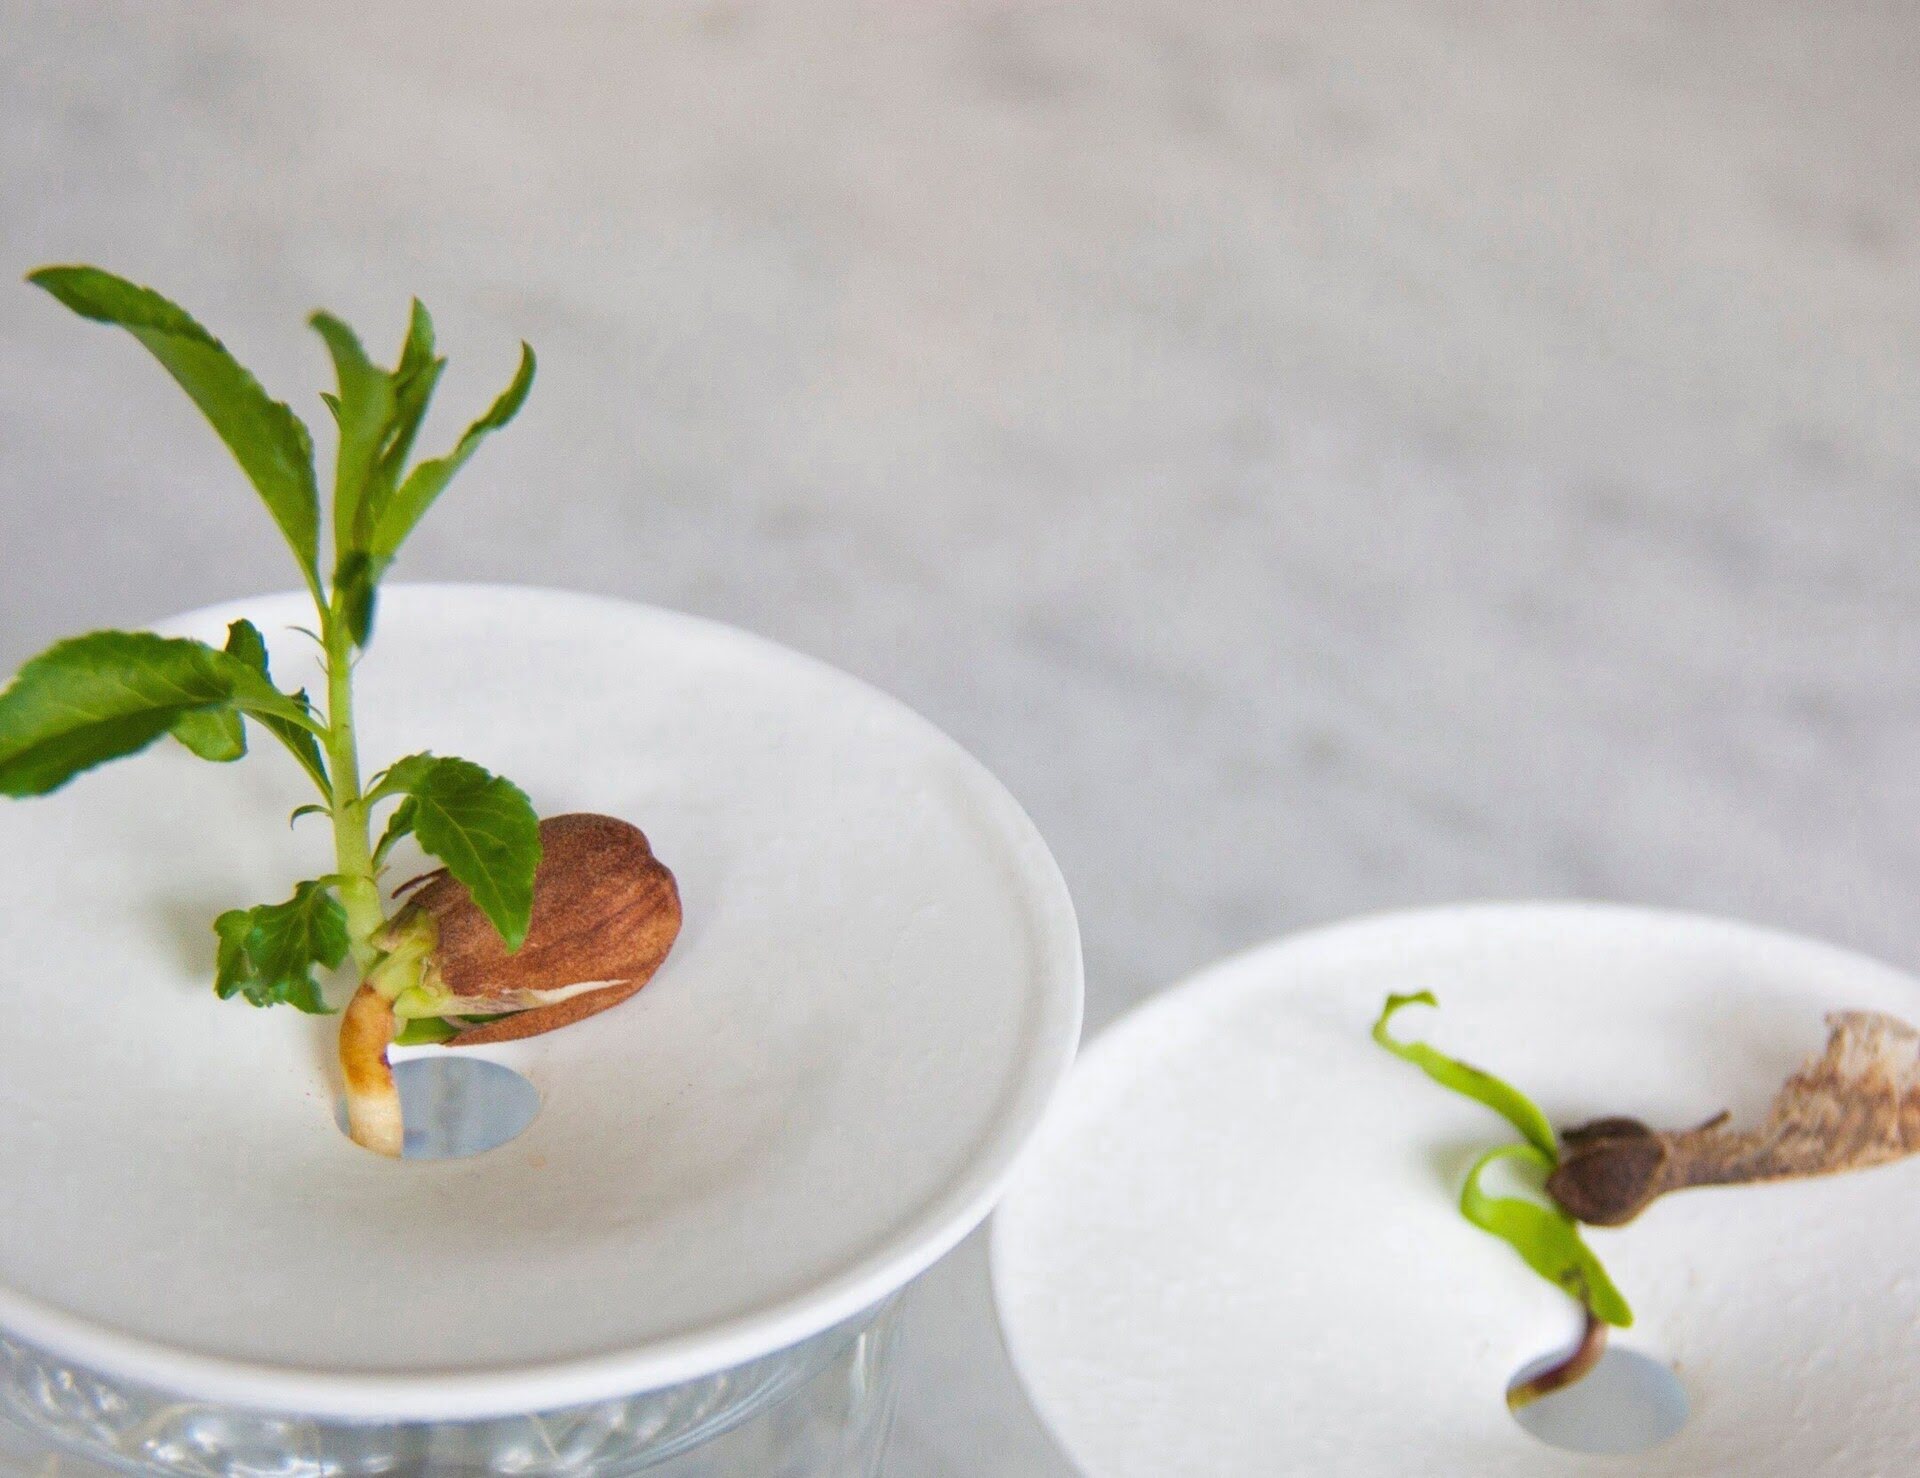
The first step in preparing the seeds is to soak them in water. This process, known as stratification, helps to soften the hard outer coating of the seeds and kick-start the germination process. Fill a bowl or container with room temperature water and place the seeds in the water. Allow them to soak for 24 to 48 hours.
Once the seeds have undergone stratification, it’s important to check their viability. Not all seeds will germinate, so this step helps you identify which ones are most likely to sprout. To check the viability of the seeds, carefully remove them from the water and press them gently between your fingers. If the seeds are plump and firm, they are likely viable. Discard any seeds that are mushy or discolored.
After checking the viability, it’s time to scarify the seeds further. Take a small nail file or sandpaper and gently rub the seeds to remove a bit more of the hard outer coating. This additional scarification helps the seeds absorb moisture more easily, promoting successful germination.
Once you have scarified the seeds, they are ready to be planted. However, it’s recommended to plant multiple seeds to increase the chances of successful germination. Mimosa seeds may have a lower germination rate, so planting several seeds ensures that you have a better chance of obtaining healthy saplings.
Now that the seeds are prepared, move on to Step 3 to learn how to plant them and provide the optimal growing conditions for your mimosa trees.
Step 3: Planting the Mimosa Tree Seeds
Now that you have prepared the mimosa tree seeds, it’s time to plant them and give them the proper growing environment to flourish. Follow these steps to ensure successful planting:
- Select a suitable planting location: Mimosa trees thrive in well-draining soil and prefer full sunlight. Choose a location in your garden or landscape that receives ample sunlight throughout the day.
- Prepare the soil: Mimosa trees prefer slightly acidic soil with a pH range of 5.0 to 6.5. If your soil is alkaline, you may need to amend it with organic matter or sulfur to lower the pH. Dig a hole that is twice as wide and deep as the seedling container to loosen the soil and improve drainage.
- Plant the seeds: Place the prepared mimosa tree seeds in the planting hole, gently covering them with soil. The seeds should be planted at a depth of about one to two inches. Space multiple seeds about six to eight inches apart to allow room for growth.
- Water thoroughly: After planting the seeds, water the area thoroughly to ensure the soil is evenly moist. However, be cautious not to overwater, as overly wet conditions can lead to rotting. Aim to keep the soil moist but not waterlogged.
It’s important to note that mimosa tree seeds have a low germination rate, so it may take some time for the seeds to sprout. Be patient and provide consistent care to give them the best chance of success. Keep the soil consistently moist by watering regularly, and monitor the planting area for any signs of growth.
Once the mimosa tree seeds have sprouted, you can move on to Step 4 to provide the optimal growing conditions to support the healthy development of the seedlings.
Step 4: Providing the Optimal Growing Conditions
After the mimosa tree seeds have sprouted, it’s crucial to provide them with the optimal growing conditions to support their healthy development. Here are some key factors to consider:
Sunlight: Mimosa trees thrive in full sunlight, so ensure that the seedlings receive at least six to eight hours of direct sunlight each day. If necessary, consider removing nearby obstacles or pruning surrounding plants to give the seedlings ample access to sunlight.
Soil: Mimosa trees prefer well-draining soil with a slightly acidic pH range of 5.0 to 6.5. Monitor the moisture levels in the soil and adjust watering accordingly to maintain a consistently moist but not waterlogged environment. Avoid overwatering, as this can lead to root rot.
Temperature: Mimosa trees are generally hardy in USDA zones 6-9. They can tolerate a wide range of temperatures, but they prefer mild climates. Protect the young seedlings from freezing temperatures by covering them with a frost cloth or bringing them indoors during cold snaps.
Air circulation: Adequate air circulation is essential for the healthy growth of mimosa trees. Avoid overcrowding the seedlings and ensure that they have enough space between them to allow airflow. This helps prevent the development of fungal diseases and promotes stronger, sturdier growth.
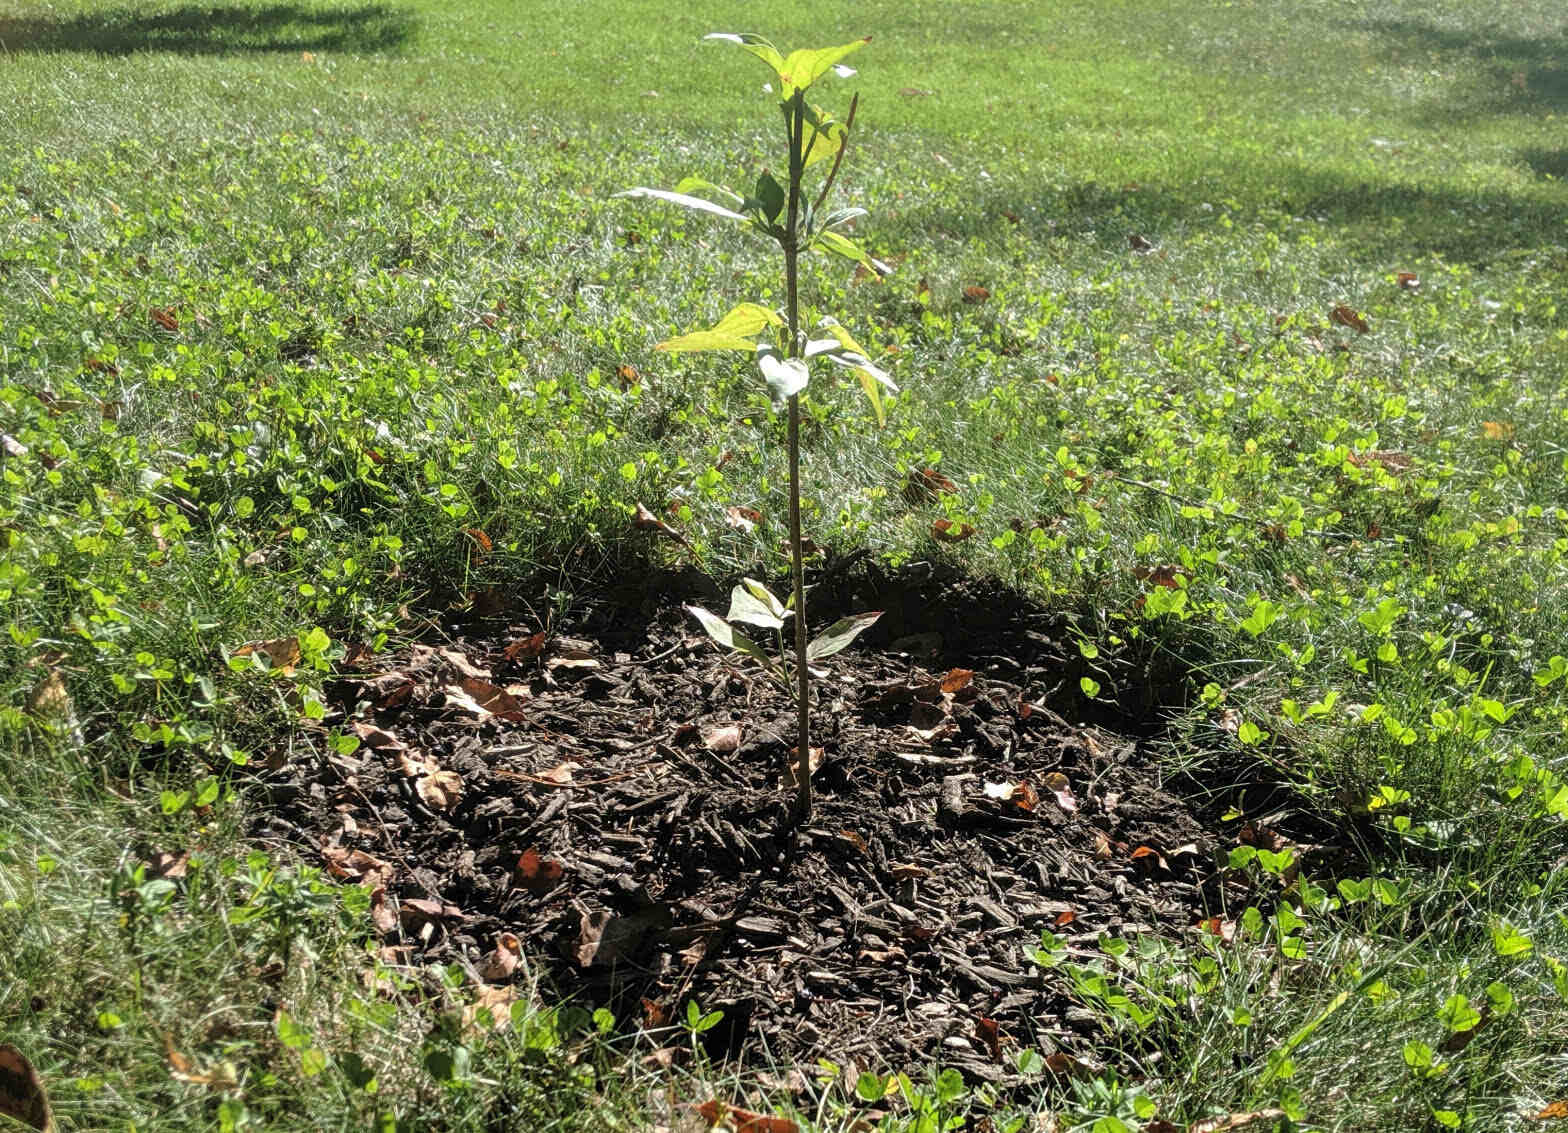
Weed control: Keep the area around the mimosa tree seedlings free from weeds and competing plants. Weeds can steal vital nutrients and water from the seedlings, hindering their growth. Regularly remove any weeds that appear and mulch the area to suppress weed growth and retain soil moisture.
Protection from pests: Monitor the seedlings for signs of pests such as aphids, spider mites, or caterpillars. To prevent or manage infestations, consider using organic pest control methods or introducing beneficial insects like ladybugs or lacewings to control pest populations.
Regular observation: Regularly check on the mimosa tree seedlings to monitor their growth and overall health. Look out for any signs of distress or disease, such as wilting leaves, discoloration, or unusual spots. Promptly address any issues to prevent further damage and promote vigorous growth.
By providing the optimal growing conditions for your mimosa tree seedlings, you will foster their healthy development and increase the chances of them growing into robust and beautiful trees. With the right care and attention, your mimosa trees will thrive and become a stunning addition to your garden or landscape.
Next, let’s explore Step 5, which covers watering and fertilizing your mimosa tree to support its growth and nourishment.
To grow a mimosa tree from seed, scarify the seeds by nicking the hard outer coating with a knife or sandpaper. Soak the seeds in warm water for 24 hours, then plant them in well-draining soil and keep them moist. Mimosa trees prefer full sun and can be grown indoors or outdoors.
Read more: How To Grow Tree From Seed
Step 5: Watering and Fertilizing the Mimosa Tree
Proper watering and fertilization are essential for the healthy growth and development of your mimosa tree. Follow these guidelines to ensure your tree receives the necessary moisture and nutrients:
Watering:
- During the first year after planting, mimosa trees require regular watering to establish a deep and extensive root system. Water the tree deeply once or twice a week, providing enough moisture to reach the root zone.
- Check the moisture level of the soil by sticking your finger or a moisture meter into the soil. If the top inch feels dry, it’s time to water.
- Avoid overwatering, as mimosa trees are susceptible to root rot. Ensure that the soil drains well to prevent waterlogged conditions.
- In hotter and drier climates, you may need to increase the frequency of watering during periods of intense heat or drought.
- As the tree matures and establishes a strong root system, it becomes more drought-tolerant and requires less frequent watering. Monitor the soil moisture and adjust the watering accordingly.
Fertilizing:
- Mimosa trees generally do not require heavy fertilization. However, you can provide a gentle nutrient boost during the growing season to support their growth.
- Apply a balanced, slow-release fertilizer around the base of the tree in early spring. Follow the manufacturer’s instructions for the appropriate amount and method of application.
- Avoid over-fertilizing, as this can lead to excessive foliage growth and weak branches.
- Monitor the tree’s overall health and growth. If the leaves appear pale or the growth is lackluster, you may consider administering a light application of fertilizer in midsummer.
- Alternatively, you can use organic fertilizers such as compost or well-rotted manure to provide natural and gentle nourishment to the tree.
Remember, it’s important to strike a balance with watering and fertilization. Too much water or fertilizer can cause harm to the tree, while inadequate watering and nutrient deficiency can stunt its growth. Regularly assess the moisture level of the soil and respond to the tree’s nutritional needs to keep it healthy and thriving.
Next, let’s move on to Step 6, where we will discuss the proper care and maintenance of young mimosa trees as they continue to grow.
Step 6: Caring for Young Mimosa Trees
As your young mimosa trees continue to grow, it’s important to provide them with proper care and maintenance to ensure their health and vitality. Follow these guidelines to care for your young mimosa trees:
Monitoring growth:
- Regularly monitor the growth and overall health of your young mimosa trees.
- Check for any signs of stress, such as wilting leaves, discoloration, or pest infestations.
- Address any issues promptly to prevent further damage and maintain the tree’s health.
Pruning:
- Prune your young mimosa trees during their dormant season, which is typically late winter or early spring.
- Remove any dead, damaged, or diseased branches to improve the tree’s overall appearance and health.
- Thin out overcrowded branches to improve air circulation and reduce the risk of fungal diseases.
- Trim back excessive growth to help maintain the tree’s desired shape and size.
Protection from extreme weather:
- Provide protection to your young mimosa trees during extreme weather conditions, such as strong winds, heavy rains, or excessive heat.
- Consider using tree stakes or supports to anchor the tree and prevent it from toppling over in strong winds.
- Provide shade or cover during hot summer days to protect the tree from excessive heat stress.
Regular fertilization:
- Continue to provide light fertilization to your young mimosa trees during the growing season.
- Apply a balanced, slow-release fertilizer according to the manufacturer’s instructions.
- Avoid over-fertilization, as this can lead to excessive foliage growth and weak branches.
Weed control:
- Regularly inspect the area around your young mimosa trees for weed growth.
- Remove weeds promptly to prevent them from competing with the tree for nutrients and water.
- Consider applying mulch around the base of the tree to suppress weed growth and retain moisture in the soil.
By providing proper care and maintenance to your young mimosa trees, you will ensure their healthy growth and increase their chances of becoming strong and beautiful mature trees. Regularly assess the tree’s needs and address any issues promptly to maintain its overall health and appearance.
Next, let’s move on to Step 7, where we will discuss the process of transplanting your mimosa tree into its permanent location.
Step 7: Transplanting the Mimosa Tree
Transplanting your mimosa tree into its permanent location is an exciting step in its growth journey. Follow these guidelines to ensure a successful transplant:
Timing:
- Transplant your mimosa tree during its dormant season, which is typically in late winter or early spring before new growth emerges.
- Avoid transplanting during periods of extreme heat or cold, as this can cause stress to the tree.
Choosing the location:
- Select a location in your garden or landscape with well-draining soil and full sunlight.
- Ensure there is enough space for the mature size of the mimosa tree, as they can grow up to 30 feet in height and have a wide spreading canopy.
- Consider the proximity to other plants and structures, as mimosa trees have brittle wood and can drop branches during storms.
Preparing the new planting hole:
- Dig a hole that is wider and deeper than the current root ball of the tree.
- Loosen the soil in the bottom of the hole and amend it with organic matter if necessary.
- Remove any weeds or grass from the planting area.
Transplanting the mimosa tree:
- Carefully remove the young mimosa tree from its current container, being mindful of the root ball.
- Place the tree in the center of the new planting hole, making sure that the top of the root ball is level with or slightly above the surrounding soil surface.
- Backfill the hole with the loosened soil, gently firming it around the roots to ensure good soil-to-root contact.
- Water the newly transplanted tree thoroughly to settle the soil and eliminate air pockets.
Maintaining the transplanted tree:
- Water the newly transplanted mimosa tree regularly to keep the soil moist but not waterlogged.
- Apply a layer of mulch around the base of the tree to conserve moisture and suppress weed growth.
- Monitor the tree for any signs of stress or transplant shock, such as wilting or yellowing leaves. Provide extra care, including shade and additional water, if needed.
Transplanting can be a stressful process for trees, so it’s important to provide proper care and monitoring during the weeks following the transplant. With time and attention, your mimosa tree will adjust well to its new location and continue to thrive.
In the final step, Step 8, we will discuss pruning and maintaining the mimosa tree to ensure its long-term health and beauty.
Step 8: Pruning and Maintaining the Mimosa Tree
Pruning and maintaining your mimosa tree are crucial steps in promoting its long-term health, shape, and beauty. Follow these guidelines to properly prune and maintain your mimosa tree:
Pruning:
- Pruning is best done during the dormant season, in late winter or early spring, before new growth emerges.
- Begin by removing any dead, diseased, or broken branches. This helps maintain the tree’s overall health and appearance.
- Thin out overcrowded branches to improve air circulation and reduce the risk of fungal diseases.
- Consider removing excessive growth or suckers to maintain the desired shape and size of the tree.
- Make clean, angled cuts just outside the branch collar, without leaving stubs.
Removing spent flowers:
- Mimosa trees produce beautiful clusters of flowers, but once they have faded and dried, it’s beneficial to remove them.
- Remove spent flowers by gently pinching them off, or prune back the clusters of faded flowers to encourage new growth.
- This helps redirect the tree’s energy towards producing new healthy growth rather than producing seeds.
Maintenance:
- Regularly monitor your mimosa tree for any signs of stress, disease, or insect infestation.
- Inspect the leaves, branches, and trunk for any abnormalities, such as discoloration, spots, or pest damage.
- Address any issues promptly to prevent further damage or spreading of diseases.
- Maintain a regular watering schedule, ensuring that the tree receives adequate moisture without being overwatered.
- Apply mulch around the base of the tree to retain moisture, suppress weed growth, and protect the roots from extreme temperatures.
Protecting from extreme weather:
- During periods of extreme heat, provide shade or use a shade cloth to protect your mimosa tree from heat stress.
- Consider staking young or newly transplanted trees to support them against strong winds.
- Protect the tree from heavy snow or ice by gently brushing off accumulated snow or using supports to prevent branches from breaking.
By regularly pruning and maintaining your mimosa tree, you can promote healthy growth, shape the tree to your liking, and prevent any potential issues from arising. Remember to follow proper pruning techniques and be attentive to the tree’s needs throughout the year to ensure its long-term health and beauty.
With these eight steps, you have learned how to grow mimosa trees from seed, from collecting and preparing the seeds to planting, providing optimal growing conditions, and caring for and maintaining the tree as it grows. Enjoy the process of nurturing your mimosa tree and watching it flourish in your garden or landscape.
Happy gardening!
Read more: How To Grow Pecan Tree From Seed
Conclusion
Congratulations! You have now learned the step-by-step process of growing mimosa trees from seed and caring for them as they develop into mature and beautiful trees. By following these guidelines and providing the proper care and maintenance, you can enjoy the beauty and elegance of these stunning trees in your garden or landscape.
Starting from collecting the mimosa tree seeds and preparing them for planting, to providing the optimal growing conditions and carefully transplanting the tree, you have gained the knowledge and skills to successfully cultivate mimosa trees from the very beginning.
Throughout the process, you have learned the importance of choosing a suitable location with adequate sunlight and well-draining soil, monitoring watering and fertilization needs, and staying attentive to the tree’s overall health and growth. Regular pruning and maintenance will ensure a healthy and vibrant mimosa tree that adds a touch of exotic beauty to your outdoor space.
Always remember to be patient and observant, as growing mimosa trees from seed can take time and require your attention. But the efforts will be rewarding when you witness the tree flourishing, with its fern-like foliage and clusters of colorful flowers, creating a picturesque landscape.
As you continue on your gardening journey, feel free to explore other varieties of plants and expand your knowledge of different gardening techniques. Remember to adapt these guidelines according to the specific needs of your local climate and environmental conditions.
Now it’s time to put your newfound knowledge into action! Gather your mimosa tree seeds, prepare them for planting, and embark on the rewarding process of growing your own mimosa tree. Enjoy the beauty and serenity it brings to your outdoor space, and embrace the joy of gardening along the way.
Happy gardening and best of luck with your mimosa tree journey!
Frequently Asked Questions about How To Grow Mimosa Tree From Seed
Was this page helpful?
At Storables.com, we guarantee accurate and reliable information. Our content, validated by Expert Board Contributors, is crafted following stringent Editorial Policies. We're committed to providing you with well-researched, expert-backed insights for all your informational needs.

0 thoughts on “How To Grow Mimosa Tree From Seed”