Home>Garden Essentials>How To Grow Orchids From Seed Without Agar


Garden Essentials
How To Grow Orchids From Seed Without Agar
Modified: August 20, 2024
Learn how to grow orchids from seed in your garden without using agar in this comprehensive guide.
(Many of the links in this article redirect to a specific reviewed product. Your purchase of these products through affiliate links helps to generate commission for Storables.com, at no extra cost. Learn more)
Introduction
Welcome to the wonderful world of orchids! Orchids are known for their stunning beauty and are a popular choice among plant enthusiasts and collectors. While buying mature orchid plants is a common practice, some gardeners prefer the challenge of growing orchids from seed. This process allows you to witness the entire lifecycle of an orchid, from a tiny seed to a beautiful blooming plant.
Traditionally, orchid seeds are germinated using agar, a gel-like substance that provides the necessary nutrients and moisture for seed development. However, there is an alternative method that does not require agar and is accessible to anyone interested in growing orchids from seed.
In this article, we will delve into the fascinating world of growing orchids from seed without agar. We will explore the alternative medium for orchid seed germination, the steps to preparing the growing medium, sterilizing the medium, preparing the seeds, sowing the seeds, providing the right environment for growth, caring for the seedlings, and finally, transferring them to potting mix.
By following these guidelines, you can embark on your own orchid-growing journey and experience the joy of nurturing these delicate plants from the very beginning.
Key Takeaways:
- Growing orchids from seed without agar is possible using alternative mediums like sphagnum moss or coconut coir. It’s a rewarding journey that requires patience, cleanliness, and the right environment for successful germination.
- Nurturing orchid seedlings involves careful care, including proper watering, light exposure, temperature control, and pest management. Transferring the seedlings to a suitable potting mix helps them establish strong roots for continued growth.
Read more: How To Grow Orchids From Seed
Understanding Orchid Seeds
Before we dive into the process of growing orchids from seeds, it’s important to understand the unique characteristics of orchid seeds. Unlike seeds of other plants, orchid seeds are incredibly tiny, often resembling fine dust particles. Their small size makes them difficult to handle and requires special care during the germination process.
Orchid seeds lack the food reserves found in most seeds. Instead, they rely on a symbiotic relationship with mycorrhizal fungi to obtain nutrients for germination and growth. These fungi form a mutually beneficial partnership with the orchid, exchanging nutrients and water for carbohydrates produced by the orchid through photosynthesis.
Additionally, orchid seeds are extremely vulnerable to fungal and bacterial infections due to their size and lack of protective covering. This makes it crucial to ensure a sterile environment during the germination process to prevent contamination.
Furthermore, orchid seeds have a long germination period, often taking months or even years to develop into fully mature plants. Patience and dedication are key when attempting to grow orchids from seed.
With a basic understanding of orchid seeds, let’s explore an alternative method for orchid seed germination that eliminates the need for agar and simplifies the process for home gardeners.
Alternative Medium for Orchid Seed Germination
Traditionally, orchid seeds are germinated using agar, a gelatinous substance that provides essential nutrients and moisture for seed development. While this method is effective, it can be challenging for home gardeners to access and work with agar. Luckily, there is an alternative medium that can be used to successfully germinate orchid seeds without the use of agar.
One common alternative medium for orchid seed germination is sphagnum moss. Sphagnum moss is a type of moss that retains moisture well and provides a suitable environment for seed germination. It is readily available at garden centers and is relatively inexpensive.
To prepare the sphagnum moss for orchid seed germination, start by soaking it in water until it becomes saturated. Squeeze out any excess water, but make sure the moss remains damp. Place the moist moss in a container that has drainage holes to avoid waterlogging the seeds.
Another alternative medium that can be used is coconut coir. Coconut coir is a fibrous material derived from the husks of coconuts. It is an excellent option for orchid seed germination because it retains moisture well and provides a stable environment for the seeds.
To prepare the coconut coir, soak it in water until it becomes hydrated and fluffy. Squeeze out the excess water, and it is ready to be used as a medium for orchid seed germination.
Both sphagnum moss and coconut coir have proven to be successful alternatives to agar for orchid seed germination. They provide the necessary moisture and support for the seeds to develop into healthy seedlings.
Now that we have explored the alternative medium options, the next step is to prepare the growing medium for orchid seed germination.
Preparing the Growing Medium
The growing medium plays a crucial role in the successful germination and growth of orchid seeds. Before sowing the seeds, it’s important to prepare the growing medium properly to provide the necessary nutrients and support for the delicate seedlings.
If you have chosen to use sphagnum moss as the growing medium, start by soaking the moss in water until it becomes fully saturated. Squeeze out any excess water, ensuring that the moss remains damp but not waterlogged. This will create an ideal environment for the orchid seeds to germinate.
For those using coconut coir as the growing medium, soak the coir in water until it becomes hydrated and fluffy. Gently squeeze out the excess water, leaving it moist but not soaking wet. This will provide a suitable foundation for the orchid seeds.
Regardless of the chosen medium, it’s important to ensure sterility to prevent contamination and diseases from affecting the orchid seeds. Cleanliness is key when preparing the growing medium.
Now that the growing medium is prepared, let’s move on to sterilizing the medium to create an environment free of harmful pathogens.
Sterilizing the Growing Medium
Sterilizing the growing medium is a crucial step in orchid seed germination to create a clean and disease-free environment for the delicate seeds. Sterilization helps prevent the growth of harmful pathogens that can destroy the seeds or lead to weak and unhealthy seedlings.
There are a few methods you can use to sterilize the growing medium, depending on the medium you have chosen.
If you are using sphagnum moss as the growing medium, one effective method of sterilization is to place the moist moss in a microwave-safe container and microwave it on high for a couple of minutes. This process will help kill any pathogens or fungi present in the moss.
For coconut coir, you can sterilize it by steaming. Place the moist coir in a steamer and steam it for at least 30 minutes. This will help eliminate any potential pathogens or unwanted organisms that may hinder the growth of the orchid seeds.
Another method you can use for both sphagnum moss and coconut coir is oven sterilization. Preheat the oven to a temperature of 180°C (350°F). Spread the moist medium on a baking tray in an even layer and place it in the oven for 30 minutes. This process will effectively kill any pathogens and ensure a sterile environment for the orchid seeds.
After sterilization, allow the growing medium to cool before proceeding to the next step. This will prevent heat damage to the seeds.
With the growing medium sterilized, it’s time to prepare the orchid seeds for sowing.
Read more: How To Grow Monkey Face Orchids From Seeds
Preparing the Seeds
Preparing the orchid seeds for sowing is a crucial step in ensuring successful germination. Since orchid seeds are extremely tiny and vulnerable, proper handling and preparation are essential.
Before starting, make sure you have a clean and sterile workspace to prevent contamination. Here are the steps to follow when preparing the orchid seeds:
- Obtain the seeds: Orchid seeds can be purchased from reputable suppliers or obtained from mature orchid pods. Ensure that the seeds are fresh and viable for optimal germination.
- Clean the seeds: Orchid seeds are usually coated with a protective substance called the seed coat. To remove this coating and increase germination rates, soak the seeds in a solution of water and a few drops of dishwashing liquid. Gently agitate the mixture to clean the seeds, then rinse them thoroughly with clean water.
- Disinfect the seeds: Before sowing, it’s essential to disinfect orchid seeds to prevent the growth of harmful pathogens. This can be done by soaking the cleaned seeds in a diluted bleach solution (1 part bleach to 10 parts water) for about 15-20 minutes. Rinse the seeds thoroughly with distilled or sterile water to remove any residual bleach.
- Prepare the seed-holding container: Choose a small container that has adequate drainage and is sterilized. Fill the container with the previously prepared and sterilized growing medium, such as sphagnum moss or coconut coir, leaving some space at the top for sowing the seeds.
- Sow the seeds: Carefully place the sterilized orchid seeds onto the surface of the growing medium in the seed-holding container. It’s important to distribute the seeds evenly and avoid overcrowding to allow proper airflow and prevent fungal growth.
- Label the container: Use a waterproof marker to label the container with the orchid species or hybrid name, date of sowing, and any other relevant information. This will help you keep track of the different seedlings as they grow.
With the orchid seeds properly cleaned, disinfected, and the growing medium prepared, it’s time to sow the seeds and begin the germination process.
After removing the seeds from the pod, sterilize them with a diluted bleach solution before planting in a sterile, well-draining medium such as sphagnum moss or coconut husk. Keep the environment warm and humid to encourage germination.
Sowing Orchid Seeds
Now that the seeds are prepared, it’s time to sow them onto the growing medium. Sowing orchid seeds requires precision and care due to their small size and vulnerability. Follow these steps to ensure successful sowing:
- Prepare the seeds for sowing: Gently transfer the prepared orchid seeds onto the surface of the growing medium in the seed-holding container. Use a clean pair of tweezers or a toothpick to handle the seeds to avoid contamination.
- Distribute the seeds evenly: Spread the orchid seeds evenly across the growing medium, ensuring they are not clumped together. Space the seeds out to allow adequate airflow and prevent overcrowding, which can lead to fungal growth.
- Cover the seeds: Once the seeds are evenly distributed, lightly sprinkle a thin layer of the growing medium over the seeds to cover them. This will provide a protective layer and promote consistent moisture retention during the germination process.
- Mist the container: Using a gentle misting spray bottle, moisten the top layer of the growing medium to ensure it is evenly damp. Avoid saturating the medium as excessive moisture can lead to fungal issues.
- Cover the container: Place a transparent cover or plastic wrap over the container to create a controlled environment with high humidity. This will help mimic the conditions required for orchid seed germination and retain moisture.
- Place the container in a warm area: Orchid seeds require consistent warmth to germinate. Find a warm location in your home, such as near a windowsill or using a heating pad, to provide the optimal temperature for seed germination.
- Monitor and maintain moisture: Regularly check the moisture level of the growing medium and mist as needed to maintain a consistently damp environment. Avoid over-watering, as this can cause fungal problems.
- Be patient: Orchid seeds can take a considerable amount of time to germinate, ranging from several weeks to months or even longer. Be patient and resist the urge to disturb or check on the seeds too frequently.
By following these steps and providing the right conditions, you are creating ideal circumstances for the orchid seeds to germinate and embark on their journey to becoming seedlings.
Providing the Right Environment
In order for orchid seeds to successfully germinate and grow into healthy seedlings, it’s essential to provide them with the right environment. Creating the optimal conditions will help mimic the natural habitat of orchids and encourage their development. Here are some key factors to consider:
- Temperature: Orchid seeds thrive in warm temperatures. Ideally, the temperature should be maintained between 70°F to 80°F (21°C to 27°C) during the germination process. Consistency is key, so try to avoid extreme temperature fluctuations.
- Lack of Direct Sunlight: While orchids need adequate light for growth, direct sunlight can be harmful to the delicate orchid seeds. Avoid placing the container with the seeds in direct sunlight, as it can cause overheating and damage the seeds.
- Humidity: Orchid seeds require a high humidity environment to germinate successfully. To maintain humidity, keep a transparent cover or plastic wrap over the container to create a mini greenhouse effect. Occasional misting of the growing medium will also help maintain the required moisture level.
- Air Circulation: Good air circulation is essential for preventing the growth of mold and fungal pathogens. However, be cautious not to subject the seeds to excessive drafts or airflow, as it can cause them to dry out or become dislodged from the growing medium.
- Patient Monitoring: Regularly check on the seeds to monitor their progress, but avoid disturbing them unnecessarily. Patience is crucial, as orchid seeds can take several weeks to months before showing any signs of germination.
By providing the right environment, you create the ideal growing conditions for orchid seeds to flourish. It’s important to remember that each orchid species may have slightly different requirements, so it’s a good idea to research the specific needs of the orchid seeds you are cultivating.
As the seeds progress and begin to show signs of germination, it’s essential to provide them with proper care to ensure their healthy development. Let’s explore how to care for the seedlings in the next section.
Caring for Seedlings
As your orchid seedlings begin to emerge and grow, they require proper care to support their healthy development. Here are some important care tips to keep in mind:
- Watering: Orchid seedlings are delicate and require careful watering. Aim to keep the growing medium consistently damp but not saturated. Avoid over-watering, as this can lead to root rot and other fungal problems. You can mist the seedlings gently or water from the bottom by placing the container in a shallow tray of water for a few minutes, allowing the medium to soak up moisture.
- Light: Provide your orchid seedlings with bright, indirect light. Place them near a window where they can receive filtered sunlight or use artificial grow lights. Avoid exposing them to harsh direct sunlight, as this can cause sunburn and damage their tender leaves.
- Temperature and Humidity: Maintain a temperature range of 70°F to 80°F (21°C to 27°C) during the day and slightly cooler temperatures at night. Adequate humidity is also crucial for orchid seedlings. You can achieve this by misting them regularly or placing a humidity tray near the plants.
- Fertilizing: Once your seedlings have a few established leaves, you can begin to fertilize them. Use a diluted orchid fertilizer, following the instructions on the package, and apply it at half the recommended strength. Fertilize your seedlings every other watering or as directed by the fertilizer instructions.
- Pest Control: Keep an eye out for pests such as aphids, spider mites, or mealybugs, as they can damage or even kill your seedlings. If you notice any signs of infestation, promptly treat them with an appropriate organic or chemical pest control method.
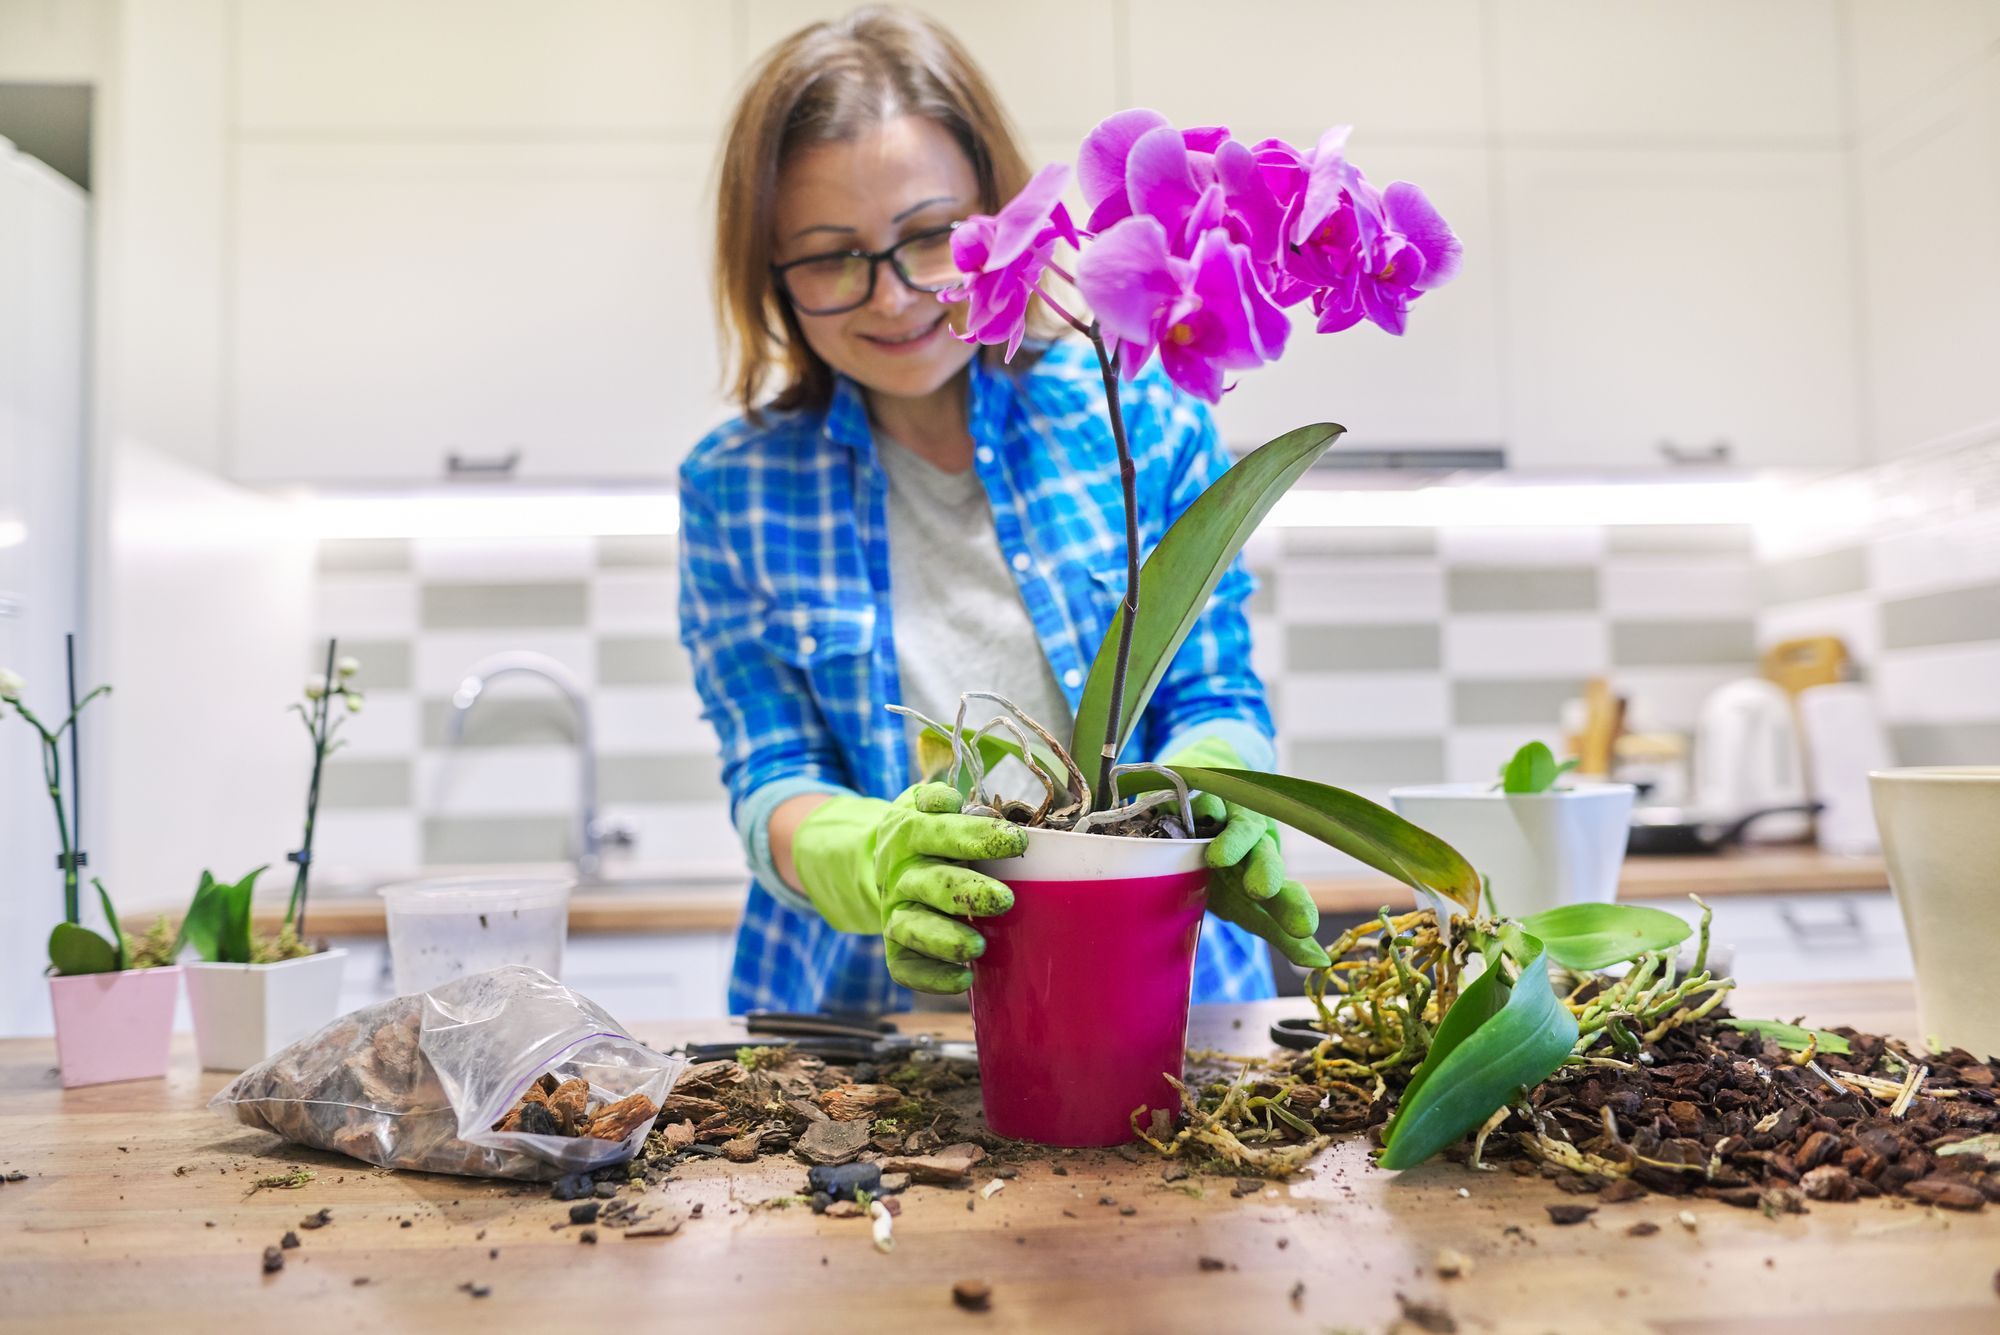
- Potting: As the seedlings grow and develop a few strong roots, you may need to transfer them to larger pots or individual containers. Carefully remove them from the seed-holding container, ensuring minimal disturbance to the delicate roots. Transplant them into a suitable orchid potting mix, gently firming the medium around the roots.
By providing adequate water, light, temperature, and humidity, along with regular fertilization and pest control, you can nurture your orchid seedlings into healthy plants.
As your orchid seedlings continue to grow and mature, the time will come to transfer them to their permanent potting mix. Let’s explore this final step in the next section.
Read more: How To Germinate Orchids
Transferring Seedlings to Potting Mix
At a certain stage of growth, your orchid seedlings will outgrow their initial containers and need to be transferred to a more suitable potting mix. This step is crucial for their continued development and allows them to establish stronger root systems. Here’s how to transfer your orchid seedlings to a potting mix:
- Select the right potting mix: Orchids have specific potting mix requirements, depending on their species. Choose a suitable orchid potting mix that provides excellent drainage and aeration while retaining enough moisture for the roots. Orchid bark mix or a mix of orchid bark, sphagnum moss, and perlite is commonly used.
- Prepare the new pots: Select pots that are slightly larger than the seedlings’ current container. The new pots should have drainage holes to prevent waterlogging. Clean and sterilize the pots before use to ensure a disease-free environment.
- Remove the seedlings: Gently remove the seedlings from their current container, taking care not to damage the delicate roots. Gently tease apart any tangled roots and remove any old or decaying material.
- Prepare the potting mix: Moisten the potting mix to a slightly damp consistency. Avoid it being too wet or dry. Add the mix to the new pots, filling them about halfway full.
- Position the seedlings: Carefully place each seedling onto the potting mix in the new pot. Spread out the roots gently, ensuring they are evenly distributed. Adjust the position of the seedling, so the growing tip is slightly above the potting mix surface.
- Add more potting mix: Fill the remaining space in the pot with the potting mix, gently firming it around the roots. Take care not to bury the seedling too deeply, as this can lead to rotting of the crown.
- Water and settle: After potting, water the newly transplanted seedlings thoroughly, allowing excess water to drain out through the drainage holes. This will help settle the roots properly into the new potting mix.
- Provide proper care: Place the transplanted seedlings in a suitable location with adequate light and temperature conditions. Continue to monitor and care for them by watering and fertilizing as needed, following the care instructions for your specific orchid species.
Transferring your orchid seedlings to a suitable potting mix allows them to grow and flourish in a more spacious environment. With time and care, your seedlings will continue to develop into mature orchid plants, rewarding you with beautiful blooms.
Now that you have successfully transferred your seedlings to the potting mix, continue to provide proper care and enjoy the journey of watching your orchids thrive!
Conclusion
Growing orchids from seed without agar opens up a whole new world of possibilities for home gardeners. By utilizing alternative mediums, such as sphagnum moss or coconut coir, and following the proper steps, you can embark on the rewarding journey of nurturing orchid seedlings from the very beginning.
Understanding the unique characteristics of orchid seeds, preparing the growing medium, sterilizing it to create a clean environment, and carefully sowing the seeds are vital steps in the germination process. Providing the right environment, including the optimal temperature, light, humidity, and circulation, supports healthy growth and development.
Caring for seedlings involves proper watering, light exposure, temperature, and humidity control. Regular monitoring, fertilization, and pest management are essential to ensure the well-being of your orchid seedlings.
Finally, transferring your seedlings to a suitable potting mix helps them establish stronger root systems and continue their growth journey. By following these steps, you can nurture your orchid seedlings into mature plants that will bring you years of joy with their exquisite blooms.
Remember, growing orchids from seed takes time, patience, and dedication. Each step along the way is an opportunity to learn, adapt, and appreciate the beauty of nature. Enjoy the process, embrace the challenges, and celebrate the success of nurturing your own orchids from seed.
Frequently Asked Questions about How To Grow Orchids From Seed Without Agar
Was this page helpful?
At Storables.com, we guarantee accurate and reliable information. Our content, validated by Expert Board Contributors, is crafted following stringent Editorial Policies. We're committed to providing you with well-researched, expert-backed insights for all your informational needs.


0 thoughts on “How To Grow Orchids From Seed Without Agar”