Home>Garden Essentials>How To Grow Tomato From Seed

Garden Essentials
How To Grow Tomato From Seed
Modified: October 20, 2024
Learn how to grow tomatoes from seeds in your garden with our easy-to-follow guide. Start your own tomato garden and enjoy fresh, homegrown tomatoes all season long.
(Many of the links in this article redirect to a specific reviewed product. Your purchase of these products through affiliate links helps to generate commission for Storables.com, at no extra cost. Learn more)
Introduction
Welcome to the wonderful world of tomato gardening! Growing tomatoes from seeds can be a fulfilling and rewarding experience, whether you are a seasoned gardener or a beginner looking to get your hands dirty. Not only does seed starting allow you to choose from a wide variety of tomato cultivars, but it also gives you the satisfaction of nurturing a tiny seedling into a productive plant that yields delicious, homegrown tomatoes.
By starting tomatoes from seeds, you have greater control over the entire growing process, from selecting the perfect seeds to transplanting the young seedlings into your garden or containers. In this article, we will guide you through the step-by-step process of growing tomatoes from seed, covering everything from choosing the right seeds to troubleshooting common issues that may arise along the way.
Before we delve into the specifics, it’s important to note that growing tomatoes from seeds requires patience, attention to detail, and a bit of planning. While it may take a few weeks longer than purchasing seedlings or starter plants, the rewards far outweigh the extra effort. So let’s get started on this exciting gardening journey!
Key Takeaways:
- Choose tomato seeds based on your climate, taste preferences, and intended use. Experiment with different varieties to discover your favorites and consider heirloom options for unique flavors and historical significance.
- Provide optimal growing conditions for healthy tomato plants. Ensure full sun, well-draining soil, proper spacing, and support. Regular care, pest management, and disease prevention are essential for a bountiful harvest.
Read more: How To Grow Tomatoes Seeds
Choosing the Right Tomato Seeds
When it comes to choosing tomato seeds, the options can seem overwhelming. There are countless varieties available, each with its unique characteristics and flavors. To make the selection process easier, consider the following factors:
- Climate: Start by considering your local climate. Some tomato varieties thrive in hot and humid conditions, while others perform better in cooler climates. Research the optimum temperature and growing conditions for each variety to ensure success.
- Taste Preferences: Think about the flavor of tomatoes you enjoy. Whether you prefer sweet, tangy, or rich and earthy flavors, there is a tomato variety that will suit your taste buds.
- Intended Use: Consider how you plan to use your tomatoes. Some varieties are ideal for slicing on sandwiches, while others are better suited for canning or making sauces. Choose a variety that aligns with your culinary preferences.
- Plant Size: Tomato plants vary in size, ranging from dwarf varieties that are perfect for small gardens or containers, to sprawling indeterminate varieties that require ample space to grow. Consider the available space in your garden or the size of your containers when selecting tomato seeds.
- Disease Resistance: Tomato plants are susceptible to various diseases, such as blight and wilt. Look for seeds that offer disease resistance to ensure a healthier, more resilient crop.
Once you have determined your preferences and requirements, it’s time to explore the vast array of tomato seed catalogues, local nurseries, or reputable online seed suppliers. Read the descriptions and reviews of different varieties to gain insight into their growth habits, disease resistance, and yield.
Remember, it’s always a good idea to experiment with a few different varieties to discover your favorites. You can also consider heirloom or open-pollinated varieties for their unique flavors and historical significance. Now that you have chosen your tomato seeds, it’s time to move on to the next step: preparing the seedlings.
Preparing the Seedlings
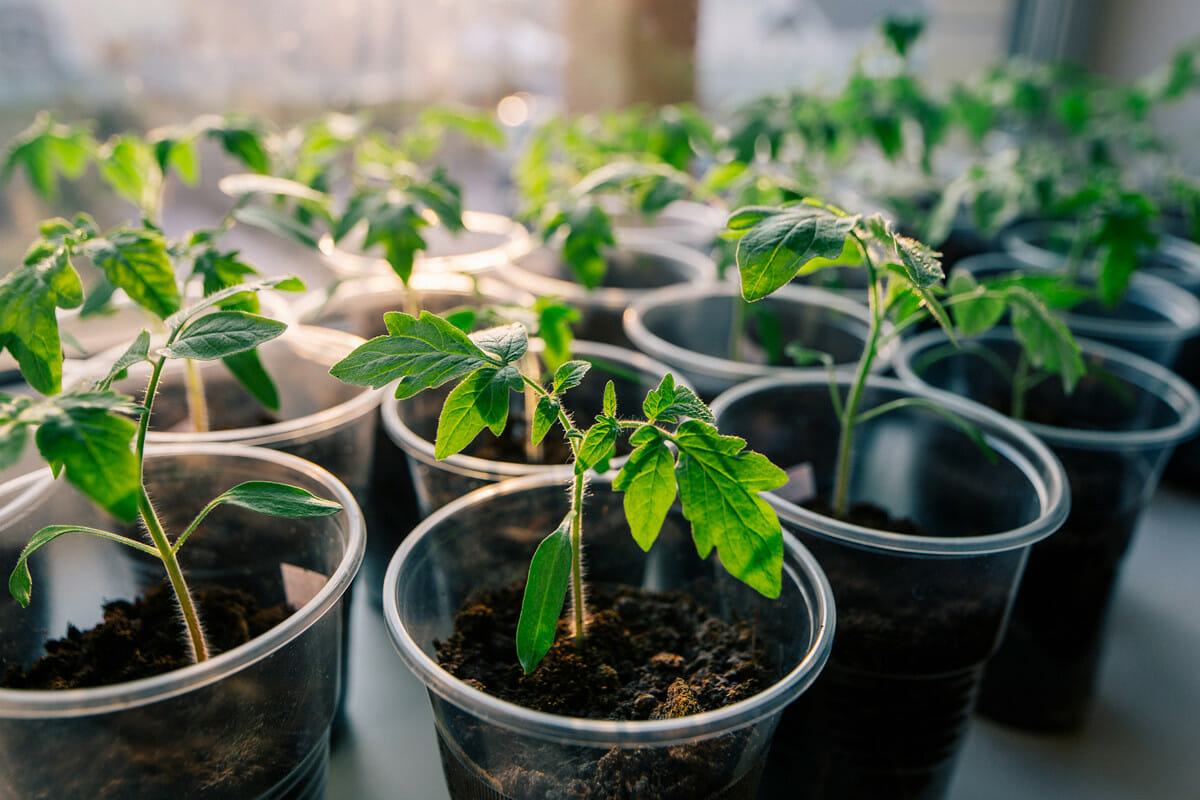
Preparing the seedlings is a crucial step in ensuring the success of your tomato plants. Follow these steps to give your seeds the best start:
- Seed Starting Medium: Choose a high-quality seed starting medium that is well-draining and sterile. Avoid using garden soil, as it can contain pathogens that may harm the delicate seedlings.
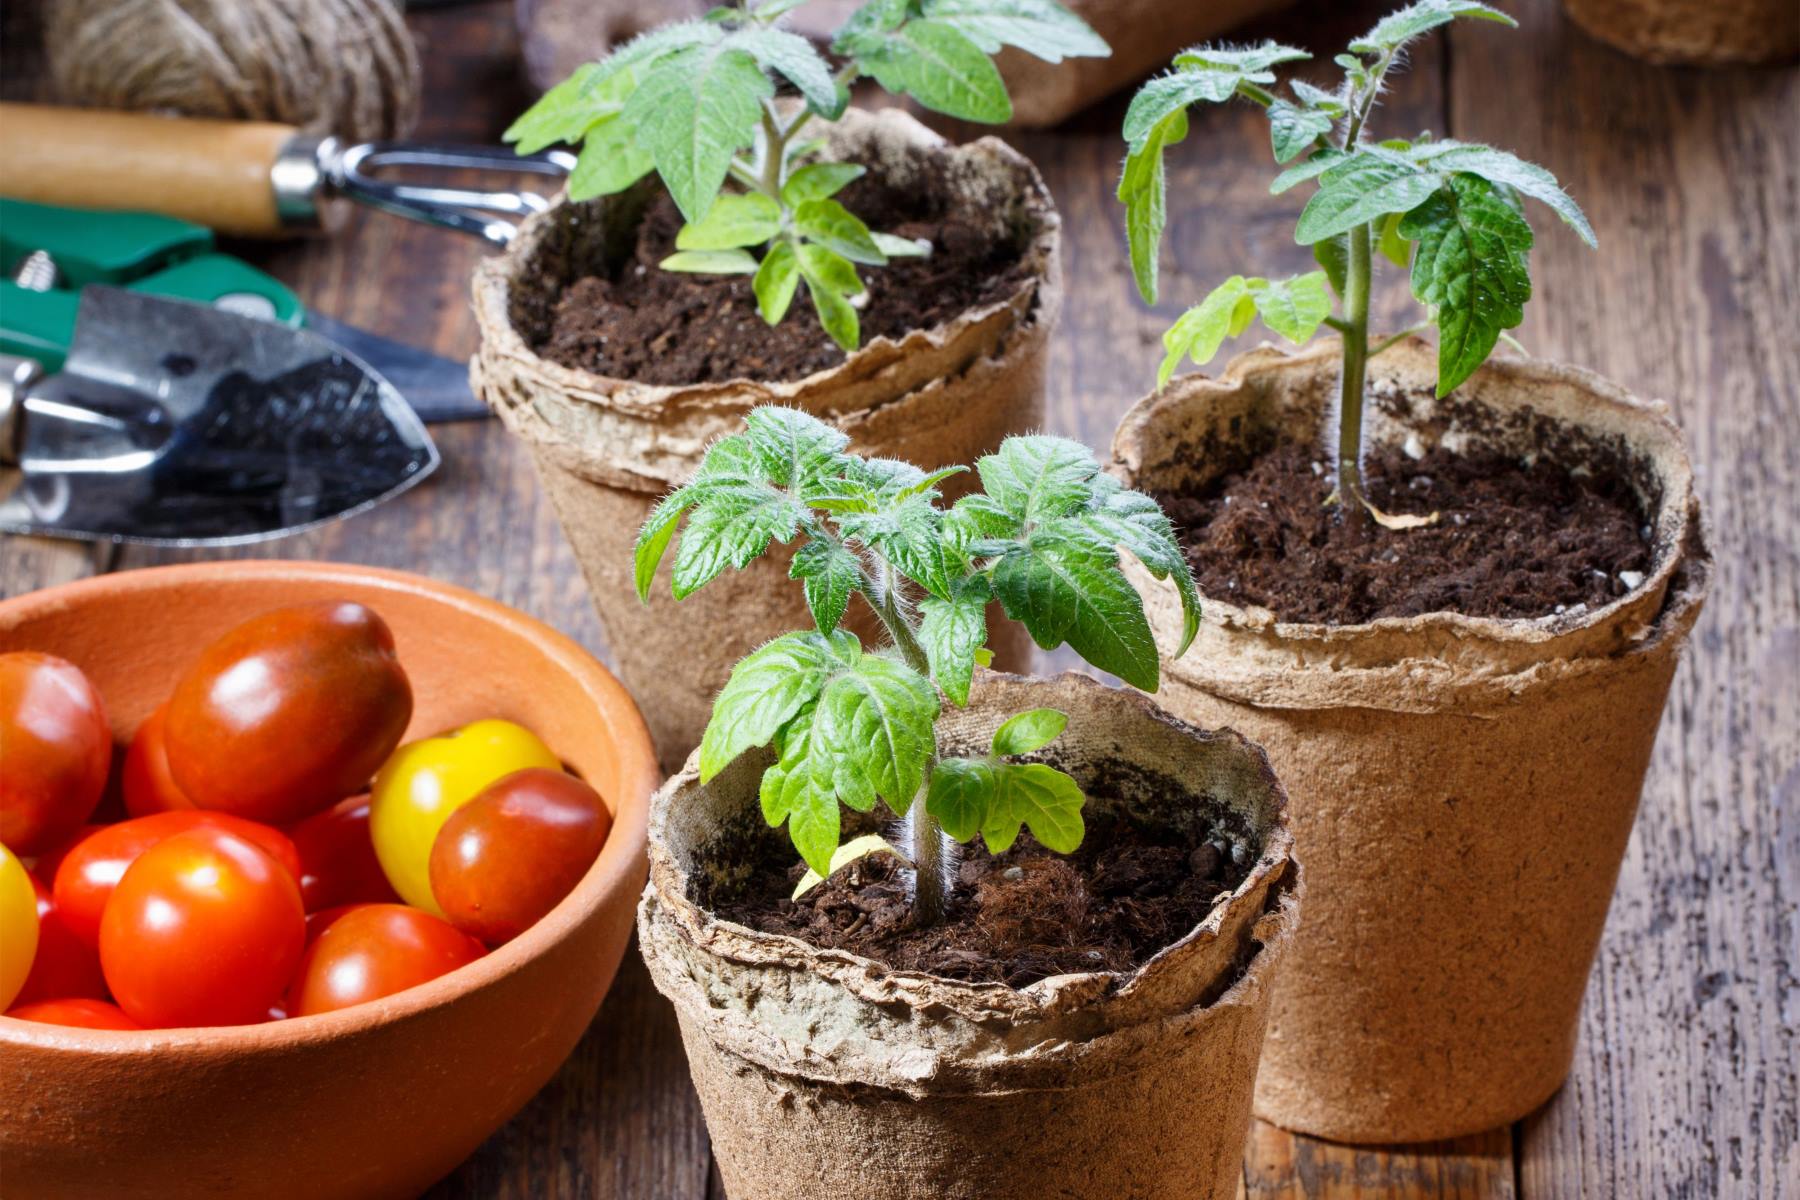
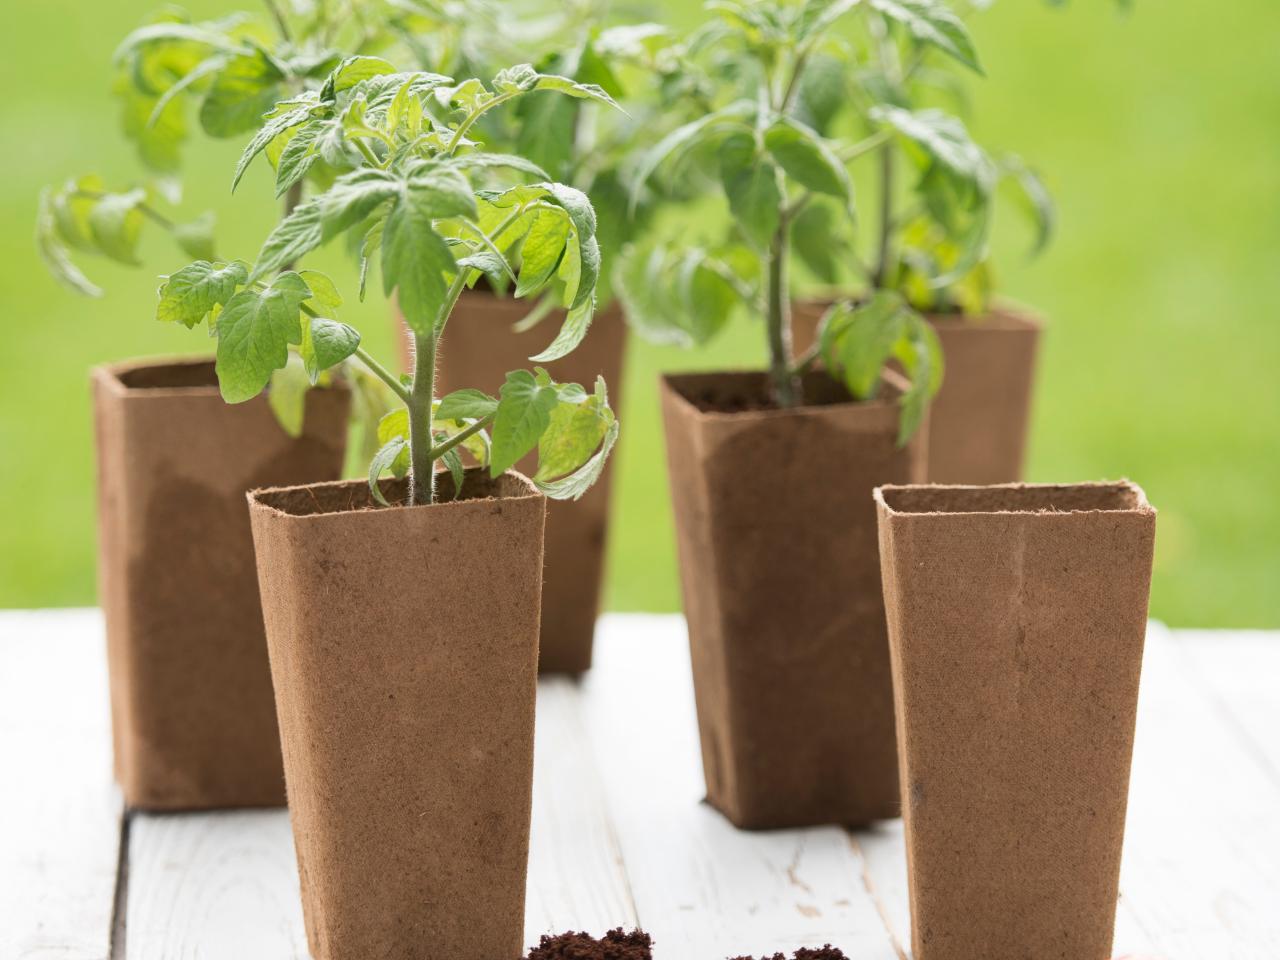
- Containers: Use seed trays, peat pots, or biodegradable seedling pots to sow your tomato seeds. Make sure the containers have drainage holes to prevent waterlogged soil.
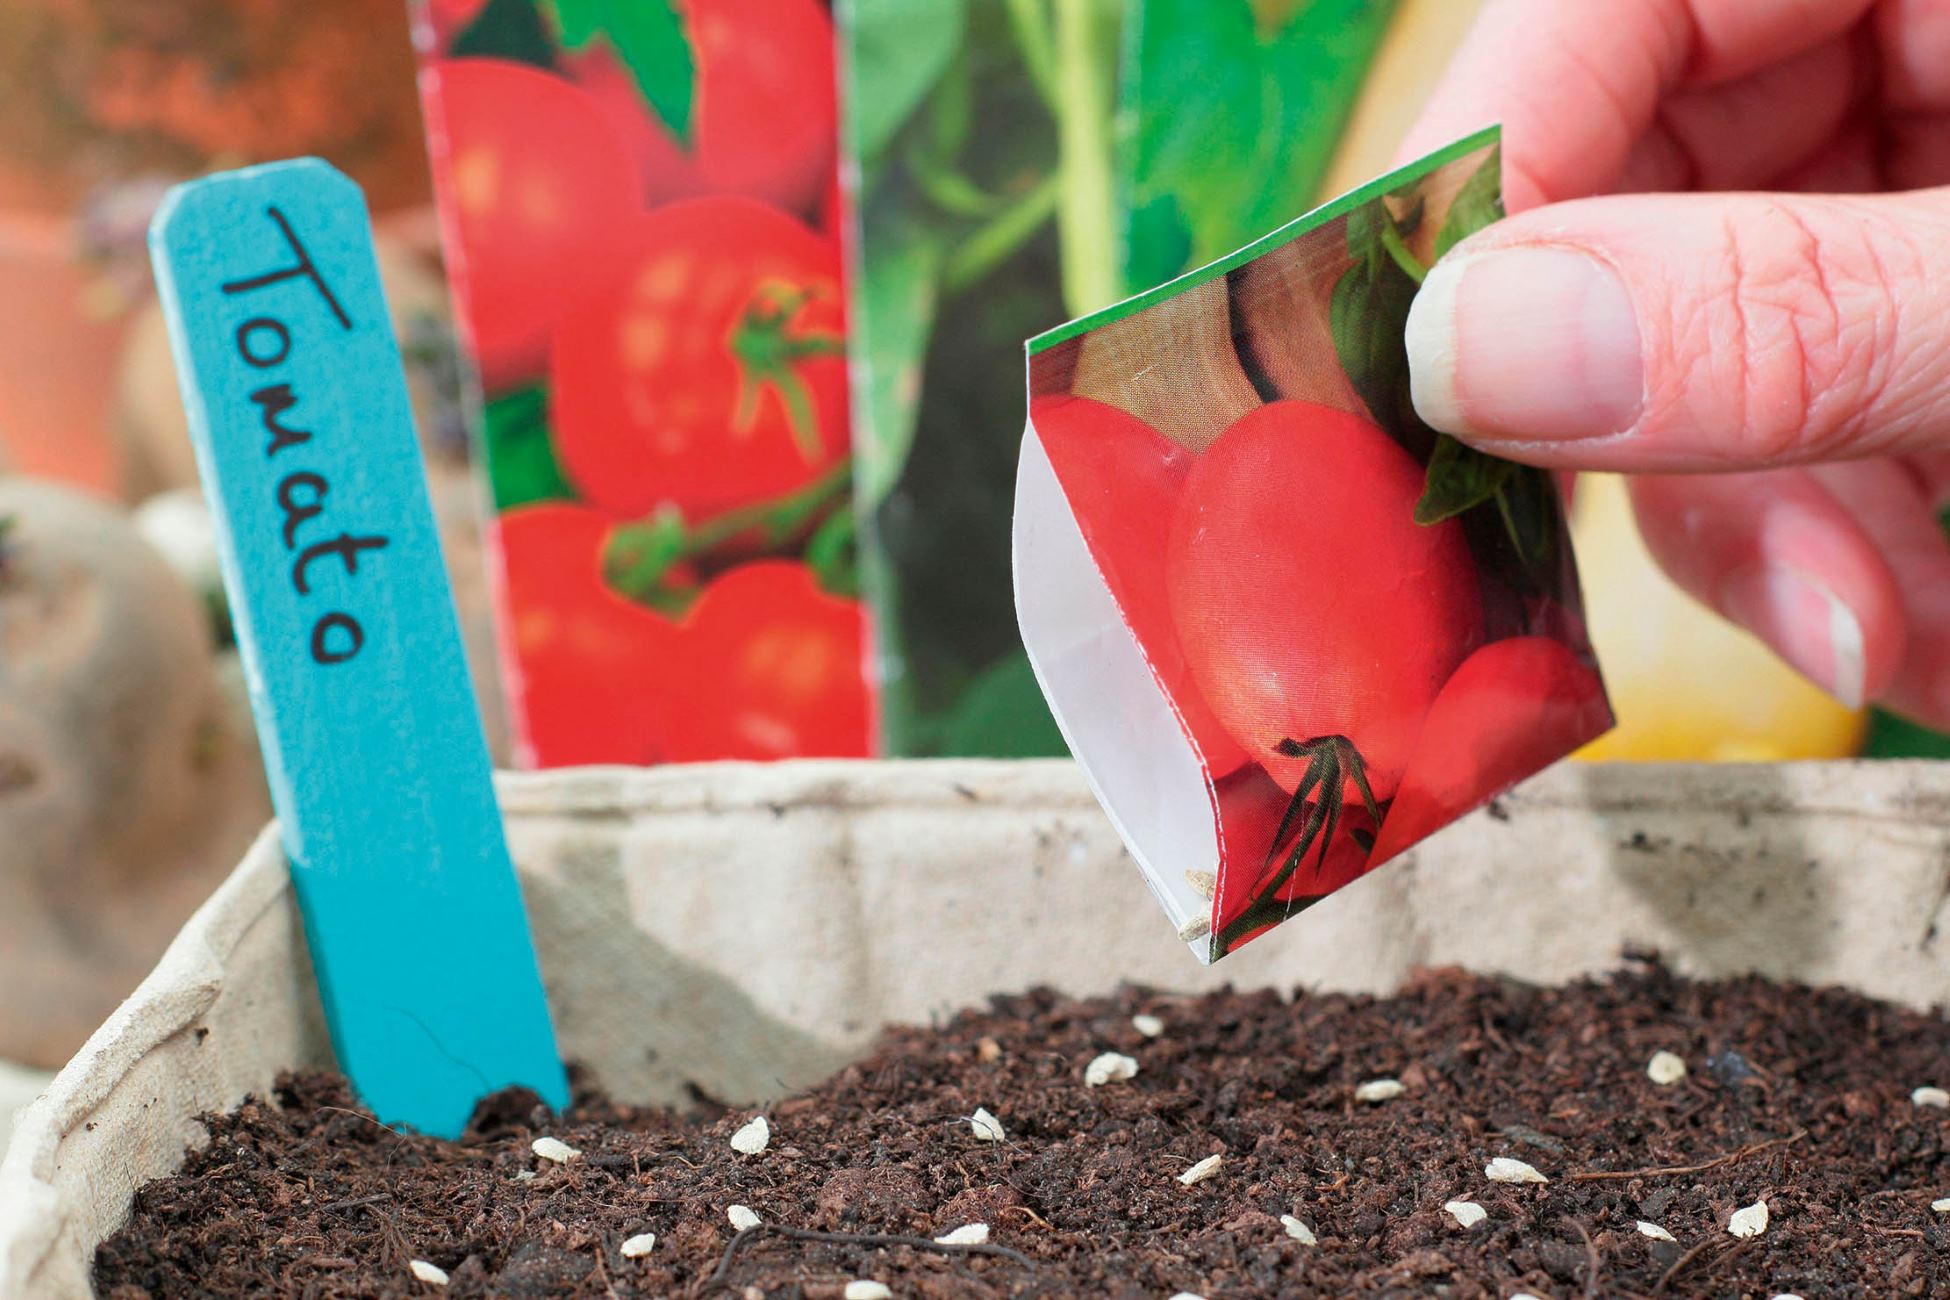
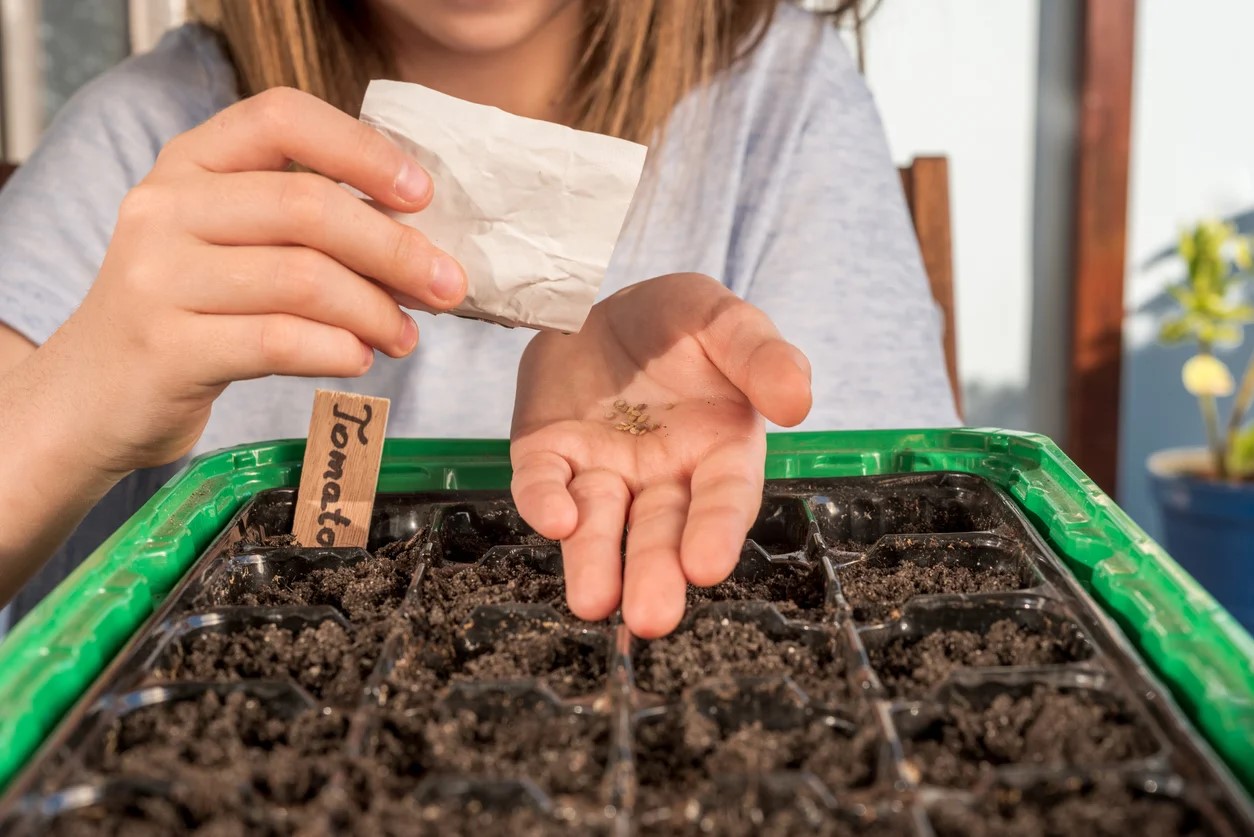
- Sowing the Seeds: Following the instructions on the seed packet, sow the tomato seeds in the prepared containers. Plant them at a depth of about ¼ to ½ inch, and space them about 1 to 2 inches apart.
- Moisture and Warmth: Keep the seed starting medium evenly moist, but not overly wet. Cover the containers with a plastic dome or plastic wrap to create a greenhouse-like environment that retains moisture and warmth.
- Light: Place the containers in a warm location with indirect sunlight or under grow lights. Tomato seeds require adequate light to germinate and grow into healthy seedlings. Provide around 14-16 hours of light per day.
- Germination Time: Tomato seeds typically germinate within 7 to 14 days. During this time, monitor the moisture levels and remove the cover once the seedlings emerge to prevent mold or damping-off disease.
- Thinning: Once the seedlings develop their first set of true leaves, thin them out to provide ample space for each plant to grow. Keep the strongest and healthiest seedlings, and remove the weaker ones.
As the seedlings continue to grow, ensure they receive sufficient light, preferably direct sunlight, or continue providing artificial light if growing indoors. Maintain the moisture levels by watering them gently, focusing on the soil and avoiding wetting the leaves.
After 6-8 weeks, the seedlings will be ready for transplanting into their permanent location. In the next section, we will explore the optimal growing conditions for your tomato plants.
Providing Optimal Growing Conditions
Once your tomato seedlings are ready for transplanting, it’s essential to provide them with the optimal growing conditions for healthy and productive plants. Consider the following factors:
- Sunlight: Tomatoes thrive in full sun, requiring at least 6-8 hours of direct sunlight daily. Choose a location in your garden that receives abundant sunlight throughout the day.
- Soil: Prepare the soil by incorporating organic matter such as compost or well-rotted manure. Opt for well-draining soil with a pH level between 6.0 and 7.0.
- Spacing: Space tomato plants about 2-3 feet apart to allow for air circulation and room for growth. Proper spacing reduces the risk of diseases and promotes healthy development.
- Support: Most tomato varieties benefit from some form of support, such as stakes, cages, or trellises. Providing support helps keep the plants upright and prevents sprawling, which can lead to fruit rot and disease.
- Watering: Tomatoes require regular and consistent watering. Aim to keep the soil evenly moist, but not soggy. Water deeply, allowing the top few inches of soil to dry out between watering sessions.
- Fertilizer: Prior to transplanting, incorporate a balanced fertilizer into the soil to provide essential nutrients. Afterward, continue feeding the plants with a well-balanced tomato fertilizer every few weeks.
- Weed Control: Keep the area around your tomato plants weed-free to prevent competition for nutrients and reduce the risk of disease. Mulching with straw or wood chips can help suppress weeds.
- Pest Management: Monitor your plants regularly for common pests such as aphids, tomato hornworms, or whiteflies. Use organic pest control methods or natural predators to manage pest populations.
By providing the optimal growing conditions, you are setting the stage for strong and healthy tomato plants. Regularly inspect your plants for any signs of stress or disease, and take appropriate action promptly to prevent further damage.
Next, let’s explore the process of transplanting your tomato seedlings into their designated spot in the garden.
Transplanting the Seedlings
Transplanting your tomato seedlings into their final growing location is a critical step in their journey towards maturity. Follow these steps to ensure a successful transplant:
- Timing: Wait until the seedlings have developed a sturdy stem and several true leaves before transplanting, usually around 6-8 weeks after sowing. Transplant on a calm, overcast day or in the early evening to minimize stress on the plants.
- Preparation: Before transplanting, water the seedlings thoroughly to moisten the roots and loosen the soil around them. This will make it easier to remove and transplant without damaging the delicate roots.
- Digging the Hole: Dig a hole that is slightly larger than the root ball of the seedling. Gently remove the seedling from its container, being cautious not to disturb the roots too much.
- Planting: Place the seedling into the hole, ensuring that the top of the root ball is level with the soil surface. Backfill the hole, gently firming the soil around the plant to eliminate any air pockets.
- Watering: Give the newly transplanted seedlings a thorough watering to settle the soil and help establish their roots. Water at the base of the plant, avoiding wetting the foliage.
- Support: If necessary, install stakes, cages, or trellises around the transplanted seedlings to provide support as they grow taller. This will prevent the plants from bending or breaking under the weight of the fruits.
- Protection: Consider using a protective barrier, such as a cloche or row cover, to shield the young seedlings from extreme weather conditions, strong winds, or unexpected frost.
After transplanting, monitor the seedlings closely for the first few days to ensure their successful adaptation. If you observe any signs of stress, such as wilting, provide extra water or shade until they recover. Continuing to provide the optimal growing conditions mentioned earlier will help the transplanted seedlings thrive.
Now that your tomato seedlings have been successfully transplanted, it’s time to shift our focus to caring for the plants as they grow and mature. The next section will cover essential tips for nurturing your tomato plants.
Start tomato seeds indoors 6-8 weeks before the last frost. Use a seed starting mix, keep soil moist, and provide plenty of light. Transplant seedlings outdoors after the last frost.
Caring for Tomato Plants
Once your tomato plants are in the ground, they will need consistent care to ensure healthy growth and a bountiful harvest. Here are some essential tips for caring for your tomato plants:
- Watering: Tomatoes require regular watering, aiming for about 1-1.5 inches of water per week. Water deeply, focusing on the root zone, and avoid wetting the foliage to prevent fungal diseases. Inconsistent watering can lead to issues like blossom end rot.
- Fertilizing: Feed your tomato plants with a balanced fertilizer once a month throughout the growing season. Look for fertilizers specifically formulated for tomatoes, which will provide the necessary nutrients for healthy growth and fruit development.
- Pruning: To promote better airflow and reduce the risk of disease, consider pruning the lower leaves of your tomato plants. This will also redirect the plant’s energy towards fruit production. Indeterminate varieties may require additional pruning to manage their growth.
- Support: As your tomato plants grow, continue to provide support by tying them loosely to stakes or cages. This will prevent them from sprawling on the ground and increase air circulation, reducing the likelihood of diseases.
- Weeding: Regularly remove weeds from around your tomato plants to minimize competition for nutrients and water. Mulching with organic materials like straw or wood chips can help suppress weeds and retain moisture in the soil.
- Pest Management: Monitor your plants for common pests such as aphids, tomato hornworms, or whiteflies. Remove pests by hand or use organic pest control methods. Companion planting with aromatic herbs like basil or marigolds can also help deter pests.
- Disease Prevention: To prevent common tomato diseases like blight or wilt, practice crop rotation and avoid planting tomatoes in the same spot for consecutive years. Proper spacing, good airflow, and maintaining healthy plants through proper watering and fertilization will also help prevent diseases.
- Harvesting: Harvest your tomatoes when they reach their mature color and have a slight give when gently squeezed. Leaving them on the vine too long may cause them to overripen or be susceptible to pests. Simply twist or cut the fruit from the stem, being careful not to damage the plant.
By providing proper care and attention to your tomato plants, you will not only ensure their health but also increase the likelihood of a fruitful harvest. Remember to check on your plants regularly and address any issues promptly for the best results.
Next, we will explore some common issues that you may encounter while growing tomatoes and how to troubleshoot them effectively.
Troubleshooting Common Issues
While growing tomatoes can be a rewarding endeavor, it’s not uncommon to face a few challenges along the way. Here are some common issues that tomato growers may encounter, along with troubleshooting tips:
- Yellowing Leaves: Yellow leaves can indicate several issues, including nutrient deficiencies, overwatering, or pests. Monitor your watering practices, ensure proper fertilization, and inspect your plants for any signs of pests. Adjusting these factors accordingly can help revive the plants.
- Blossom End Rot: Blossom end rot appears as dark, sunken spots at the bottom of the fruit. It is caused by calcium deficiency or inconsistent watering. Maintain consistent soil moisture levels and incorporate calcium-rich amendments, such as crushed eggshells or agricultural lime, into the soil.
- Fungal Diseases: Common fungal diseases in tomatoes include blight and powdery mildew. To prevent these issues, ensure proper spacing between plants, provide adequate airflow, and avoid overhead watering. Fungicidal sprays or organic treatments like neem oil can be applied if necessary.
- Pest Infestation: Watch out for pests like aphids, tomato hornworms, or whiteflies, which can damage your plants. Remove pests manually or spray with organic insecticidal soap or diluted neem oil. Companion planting with herbs like basil or marigolds can also deter pests.
- Cracking or Splitting: Rapid fluctuations in moisture levels can cause tomatoes to crack or split. To prevent this, maintain consistent watering practices, especially during dry spells. Applying mulch around the plants can also help conserve moisture in the soil.
- Stunted Growth: Stunted growth can occur due to various factors, including nutrient deficiencies, overwatering, or poor soil quality. Conduct a soil test to check for nutrient imbalances, adjust watering practices, and amend the soil with organic matter to support healthy growth.
- Lack of Fruit Set: If your tomato plants are not producing fruits, it may be due to insufficient pollination or unfavorable weather conditions. Consider hand-pollinating the flowers by gently shaking the plants or using a small brush. Providing optimal growing conditions, such as adequate sunlight and temperature, can also encourage fruit set.
Remember that prevention is the best approach to dealing with these issues. Regularly inspect your plants, practice proper sanitation, and maintain good gardening practices to minimize the occurrence of common tomato problems. When addressing issues, opt for organic and sustainable solutions whenever possible.
Now that you are equipped with knowledge to troubleshoot common tomato problems, let’s move on to the exciting part – harvesting and enjoying your homegrown tomatoes!
Harvesting and Enjoying Your Homegrown Tomatoes
After weeks of careful nurturing, it’s finally time to reap the rewards of your hard work and enjoy the delicious taste of homegrown tomatoes. Follow these tips for harvesting and savoring the fruits of your labor:
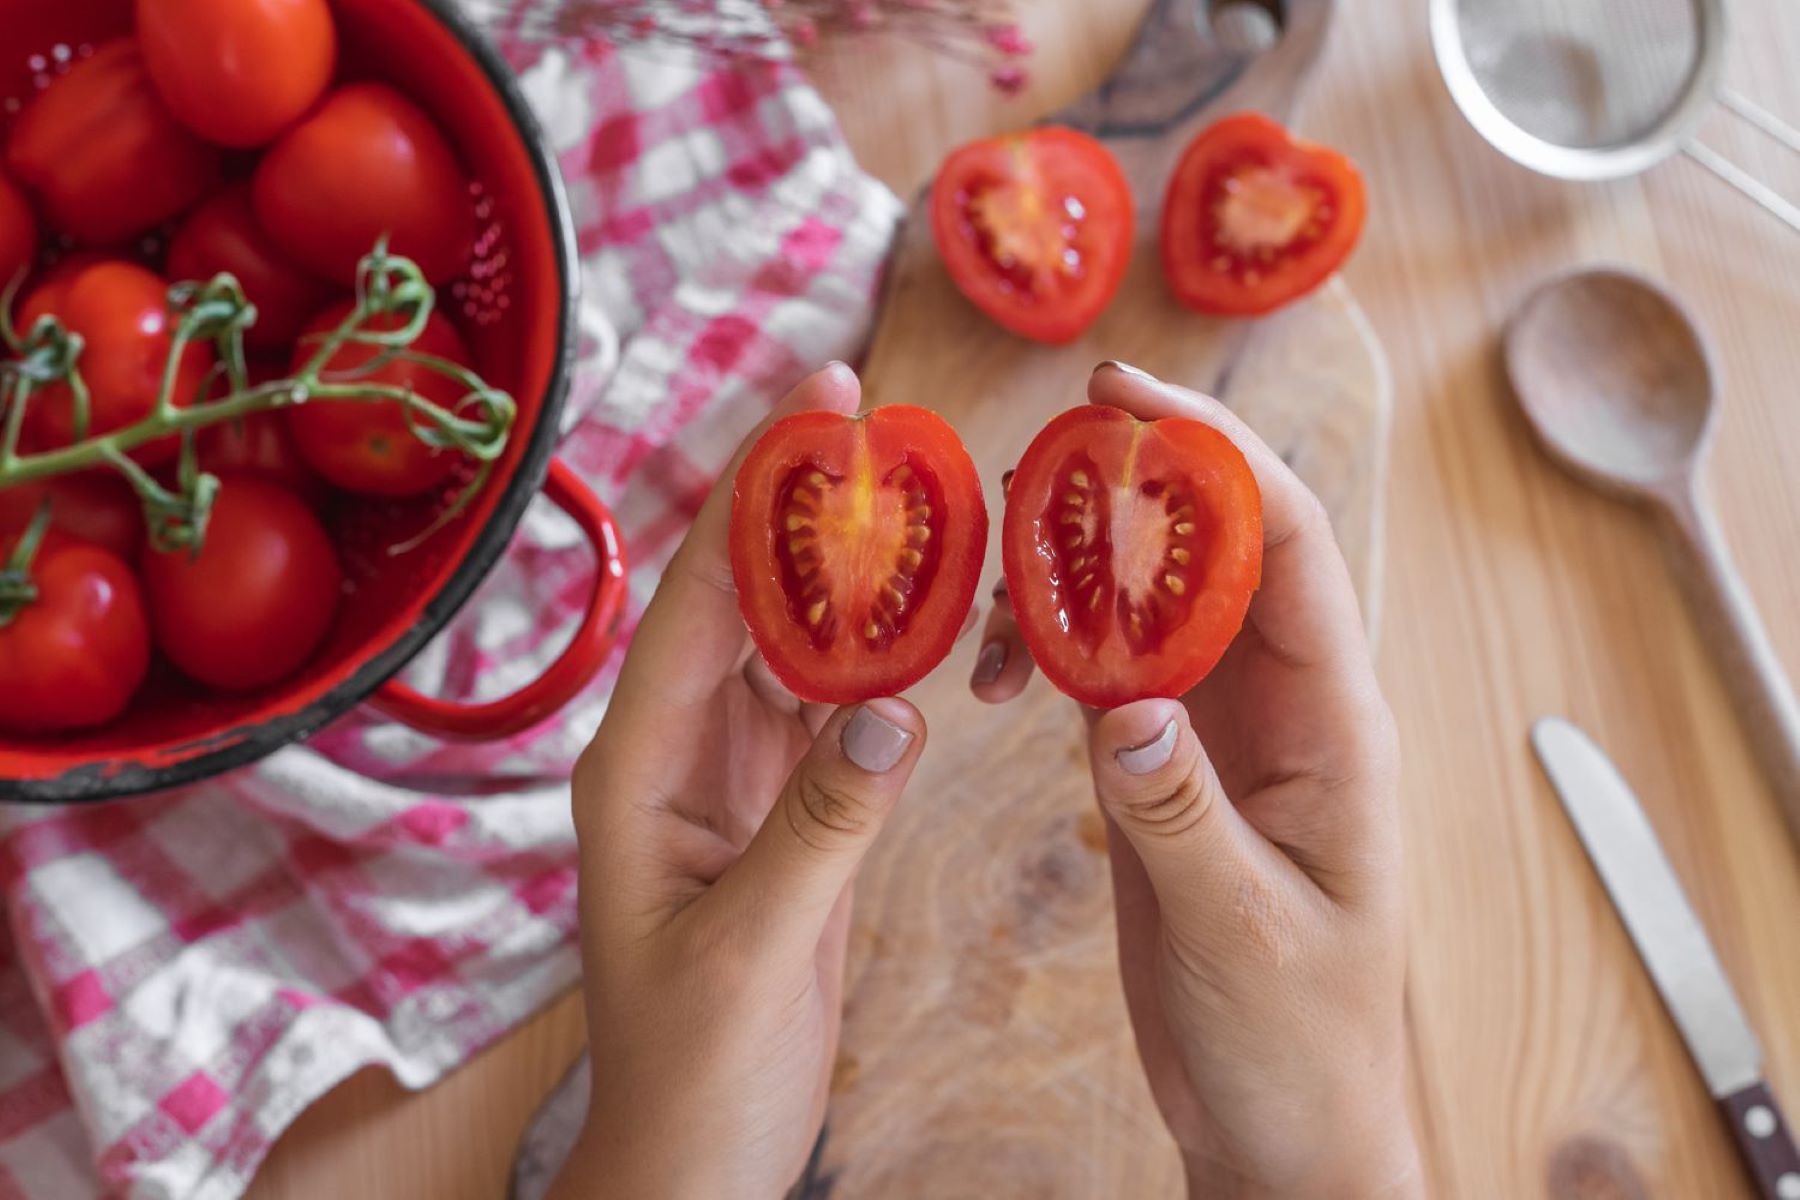
- Harvesting Time: Harvest tomatoes when they reach their mature color. Depending on the variety, this can range from vibrant red to deep orange, yellow, or even green. Gently squeeze the fruit – it should have a slight give.
- Picking Method: To harvest tomatoes, gently twist or cut them from the stem using clean garden shears or a knife. Be careful not to damage the plant or other nearby fruits.
- Storage: For the best flavor and texture, use freshly harvested tomatoes as soon as possible. If you have an abundance of tomatoes, store them at room temperature away from direct sunlight. Avoid refrigerating unless they are overly ripe and need to be preserved for a short period.
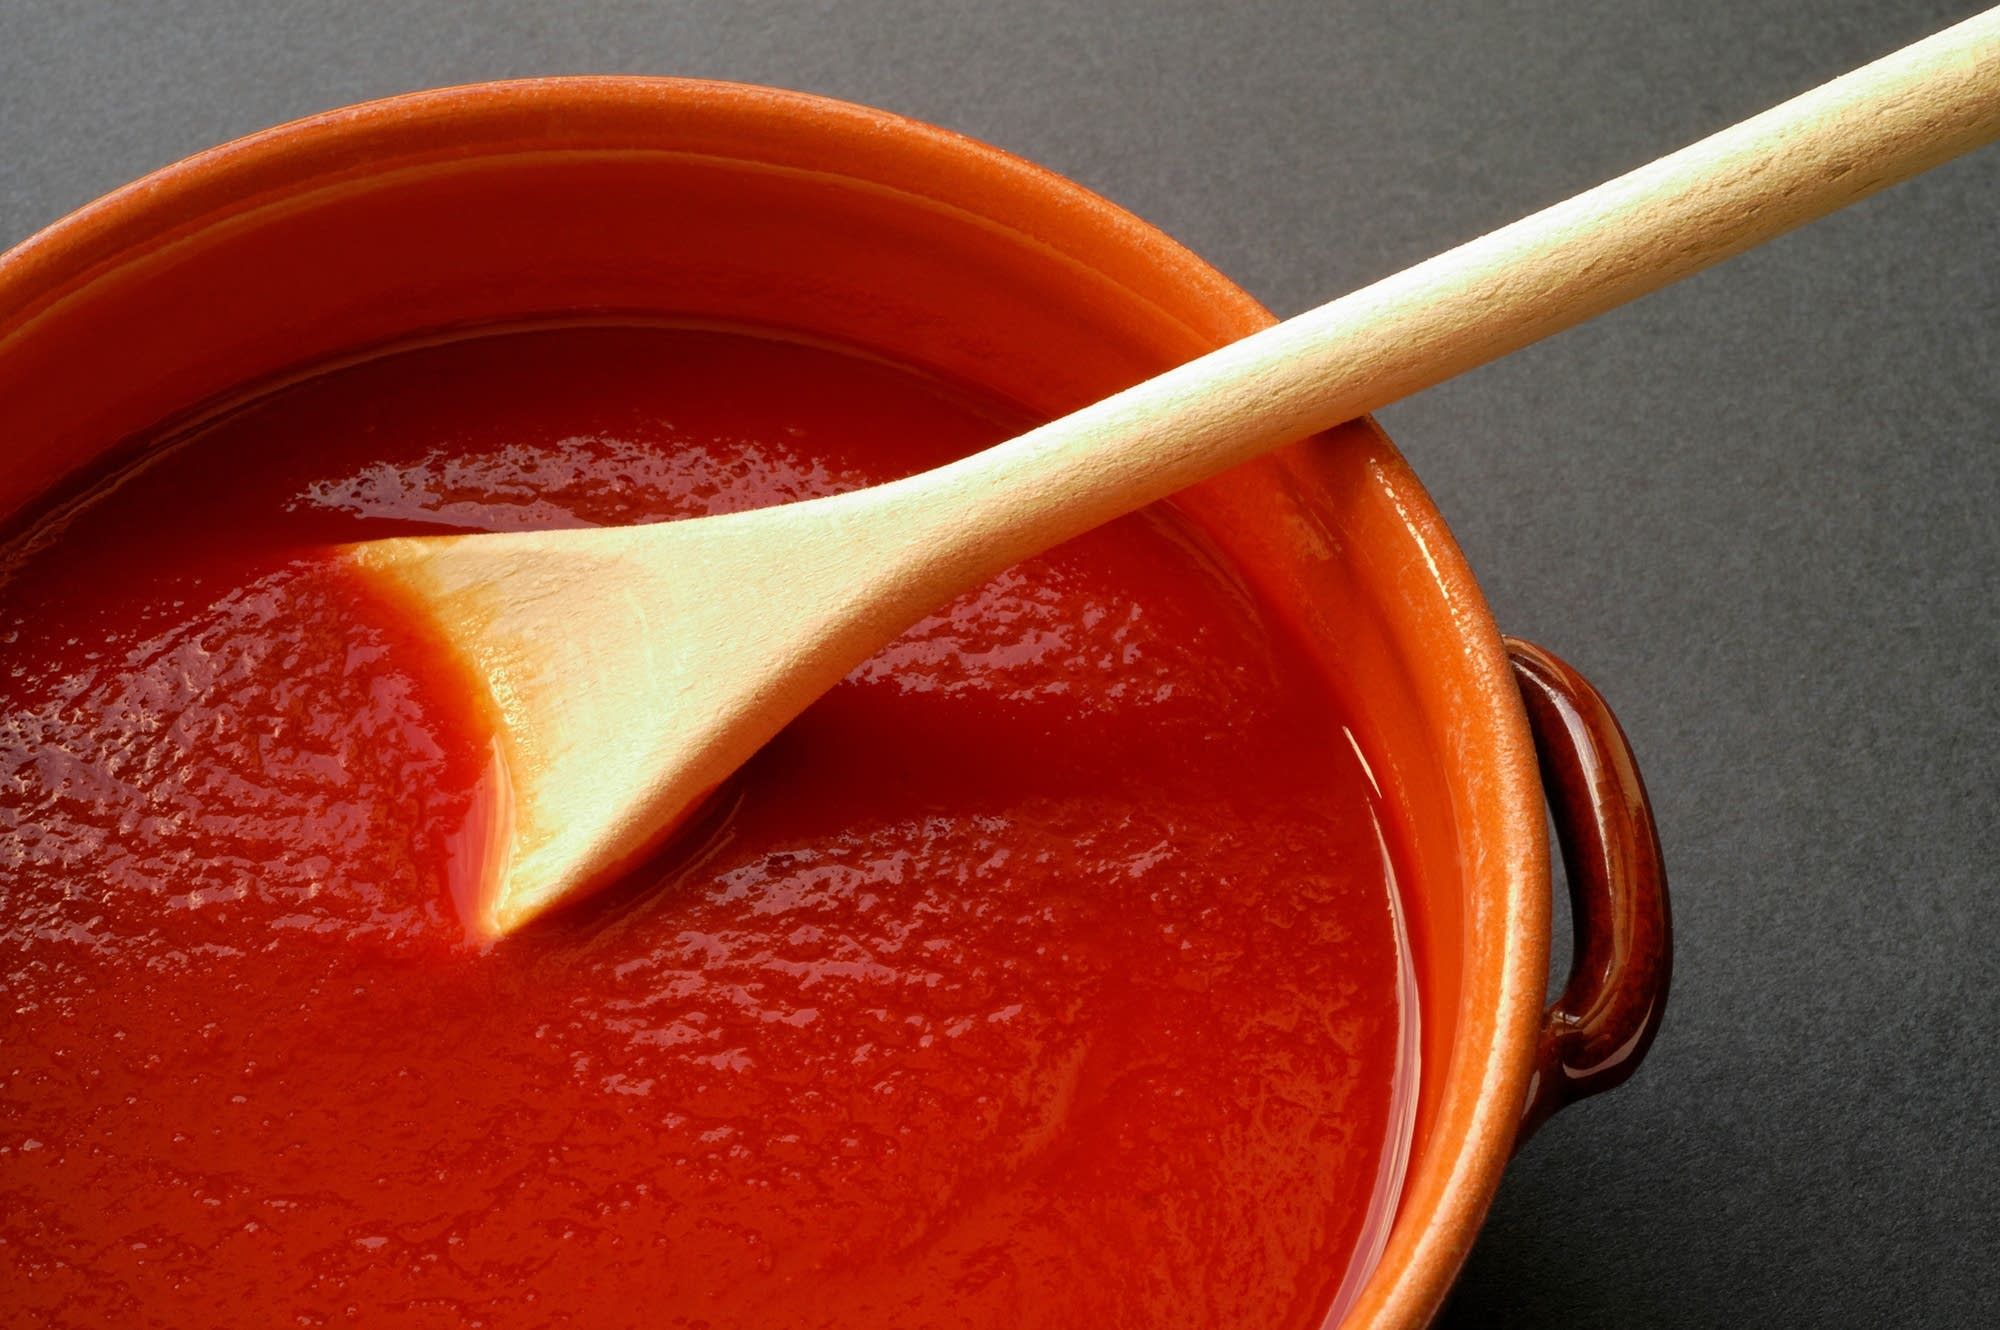
- Culinary Delights: Homegrown tomatoes are incredibly versatile and can be enjoyed in various ways. They are perfect for slicing and adding to salads, sandwiches, or burgers. They can also be used in pasta sauces, salsas, soups, or roasted to enhance their flavor. Don’t forget to savor the simple pleasure of a sun-warmed, freshly picked tomato eaten right in the garden!
- Preservation: If you have an abundance of tomatoes and want to enjoy them beyond the growing season, consider preserving them. Freezing, canning, or making sauces, salsa, or tomato jam are excellent ways to extend the enjoyment of your homegrown tomatoes throughout the year.
- Sharing the Bounty: If you find yourself with an abundance of tomatoes, share the joy with friends, family, or neighbors. Not only will you spread the deliciousness, but you may also inspire others to start their own tomato-growing journey.
Remember that each tomato variety has its unique flavor profile and culinary use. Experiment with different recipes and savor the taste of each variety you have grown. The satisfaction of enjoying a meal made with your own homegrown tomatoes is unmatched.
As you relish your harvest, take the time to reflect on your gardening journey and the valuable lessons you have learned. Your dedication, patience, and love for gardening have resulted in a fruitful and fulfilling experience that you can cherish for years to come.
Now, armed with the knowledge and skills you have gained, you can continue your gardening adventures and explore new varieties and gardening techniques. Happy harvesting and may your future tomato crops be plentiful and delicious!
Conclusion
Congratulations on successfully growing your own tomatoes from seed! As you ventured into the world of tomato gardening, you learned about the importance of choosing the right seeds, preparing seedlings, providing optimal growing conditions, and troubleshooting common issues. Your hard work and dedication have paid off in the form of delicious, homegrown tomatoes that you can enjoy with pride.
Through this journey, you discovered the joy of nurturing tiny seeds into thriving seedlings and witnessing the transformation as they grew into robust plants. You learned how to provide the perfect blend of sunlight, water, and nutrients to support their growth. Along the way, you encountered and overcame challenges, gaining valuable knowledge about preventing and combating common tomato issues.
But the journey doesn’t end with the harvest. As you savor the taste of your homegrown tomatoes, you’ll find a sense of fulfillment and satisfaction that only comes from producing your own food. You’ll also inspire others with your success and perhaps even share the abundance of your harvest with friends and family.
Remember, growing tomatoes from seeds is a continuous learning process. Each season presents new opportunities and challenges to hone your gardening skills. As you gain experience, don’t be afraid to experiment with different tomato varieties, growing techniques, and preservation methods. Gardening is a lifelong journey of discovery and growth.
So, whether you have a sprawling garden or a few pots on your balcony, continue nurturing your green thumb and enjoy the process of growing your own food. As you embark on future gardening adventures, may your tomatoes thrive and bring you joy, satisfaction, and the flavorful taste of summer. Happy gardening!
Frequently Asked Questions about How To Grow Tomato From Seed
Was this page helpful?
At Storables.com, we guarantee accurate and reliable information. Our content, validated by Expert Board Contributors, is crafted following stringent Editorial Policies. We're committed to providing you with well-researched, expert-backed insights for all your informational needs.


0 thoughts on “How To Grow Tomato From Seed”