Home>Garden Essentials>How To Make An Artificial Greenery Wreath

Garden Essentials
How To Make An Artificial Greenery Wreath
Modified: March 7, 2024
Learn how to create a stunning garden-themed wreath with artificial greenery. Transform your space with this easy and beautiful DIY project!
(Many of the links in this article redirect to a specific reviewed product. Your purchase of these products through affiliate links helps to generate commission for Storables.com, at no extra cost. Learn more)
Introduction
Welcome to the wonderful world of artificial greenery wreaths! If you’ve been looking for a creative and long-lasting way to add a touch of nature to your home decor, then you’re in the right place. Whether you lack a green thumb or simply prefer the low-maintenance benefits of artificial plants, an artificial greenery wreath is the perfect solution to bring natural beauty into your living space.
Not only are artificial greenery wreaths visually pleasing, but they also provide a great opportunity for DIY enthusiasts to showcase their creativity. With just a few materials and some simple steps, you can create a stunning wreath that will impress your guests and add a charming touch to any room.
In this guide, we will walk you through the step-by-step process of making your own artificial greenery wreath. We will cover everything from gathering the necessary materials to hanging or displaying your finished creation. So, let’s dive in and get started on this fun and rewarding project!
Key Takeaways:
- Creating an artificial greenery wreath is a fun and easy way to bring nature into your home without the hassle of plant maintenance. It’s a chance to show off your creativity and style!
- Gathering materials, preparing the base, attaching the greenery, and adding decorations are the key steps to making a beautiful artificial greenery wreath. Once done, find the perfect spot to display your creation and enjoy the natural beauty it brings!
Read more: How To Make A Greenery Wreath
Materials Needed
Before we begin, let’s gather all the necessary materials for making your artificial greenery wreath. Here’s a list of things you’ll need:
- Wreath base (such as a foam or wire wreath form)
- Artificial greenery of your choice (such as faux leaves, ferns, or eucalyptus branches)
- Floral wire or hot glue gun
- Wire cutters
- Ribbon or twine (for hanging the wreath)
- Additional decorations (such as faux flowers, berries, or pinecones) – optional
- Scissors
These materials are easily available at craft stores or online. Feel free to choose different types of greenery and decorations according to your personal preferences and the overall theme you wish to achieve.
Now that we have all our materials ready, let’s move on to the next step: preparing the wreath base.
Step 1: Gather Your Supplies
Before diving into the wreath-making process, it’s essential to gather all your supplies in one place. This will help streamline the project and ensure a smooth crafting experience. Here’s what you need to do:
- Set up your workspace: Find a clean, well-lit area where you can work comfortably. This could be a table or a large flat surface.
- Organize your materials: Arrange all the materials you gathered earlier, making sure they are easily accessible. This will save you time and prevent any last-minute searches.
- Prepare your tools: Ensure that your wire cutters, scissors, floral wire, and hot glue gun (if using) are within reach. Having them ready will expedite the process as you won’t have to constantly search for them while working.
- Protect your workspace: Lay down a protective covering such as a plastic sheet or old newspaper to catch any debris or glue drips.
By taking a few moments to gather and organize your supplies, you set yourself up for a stress-free wreath-making experience. Once everything is prepared, it’s time to move on to the next step: preparing the wreath base.
Step 2: Prepare the Wreath Base
Now that you have all your supplies ready, it’s time to prepare the wreath base. The wreath base provides the foundation for your artificial greenery and ensures that it sits securely on your wall or door. Here’s how to get started:
- Choose your wreath base: There are various options available for wreath bases, such as foam or wire wreath forms. Select the one that suits your preferences and the size of the wreath you want to create.
- If you’re using a foam wreath form, consider wrapping it with floral tape or covering it with a layer of moss. This will create a natural look and provide a better grip for attaching the greenery.
- If you’re using a wire wreath form, you can skip this step.
- Place the wreath base on your workspace.
Preparing the wreath base ensures a sturdy foundation for your artificial greenery and adds a professional touch to your wreath. With the base ready, let’s move on to the exciting part – attaching the greenery!
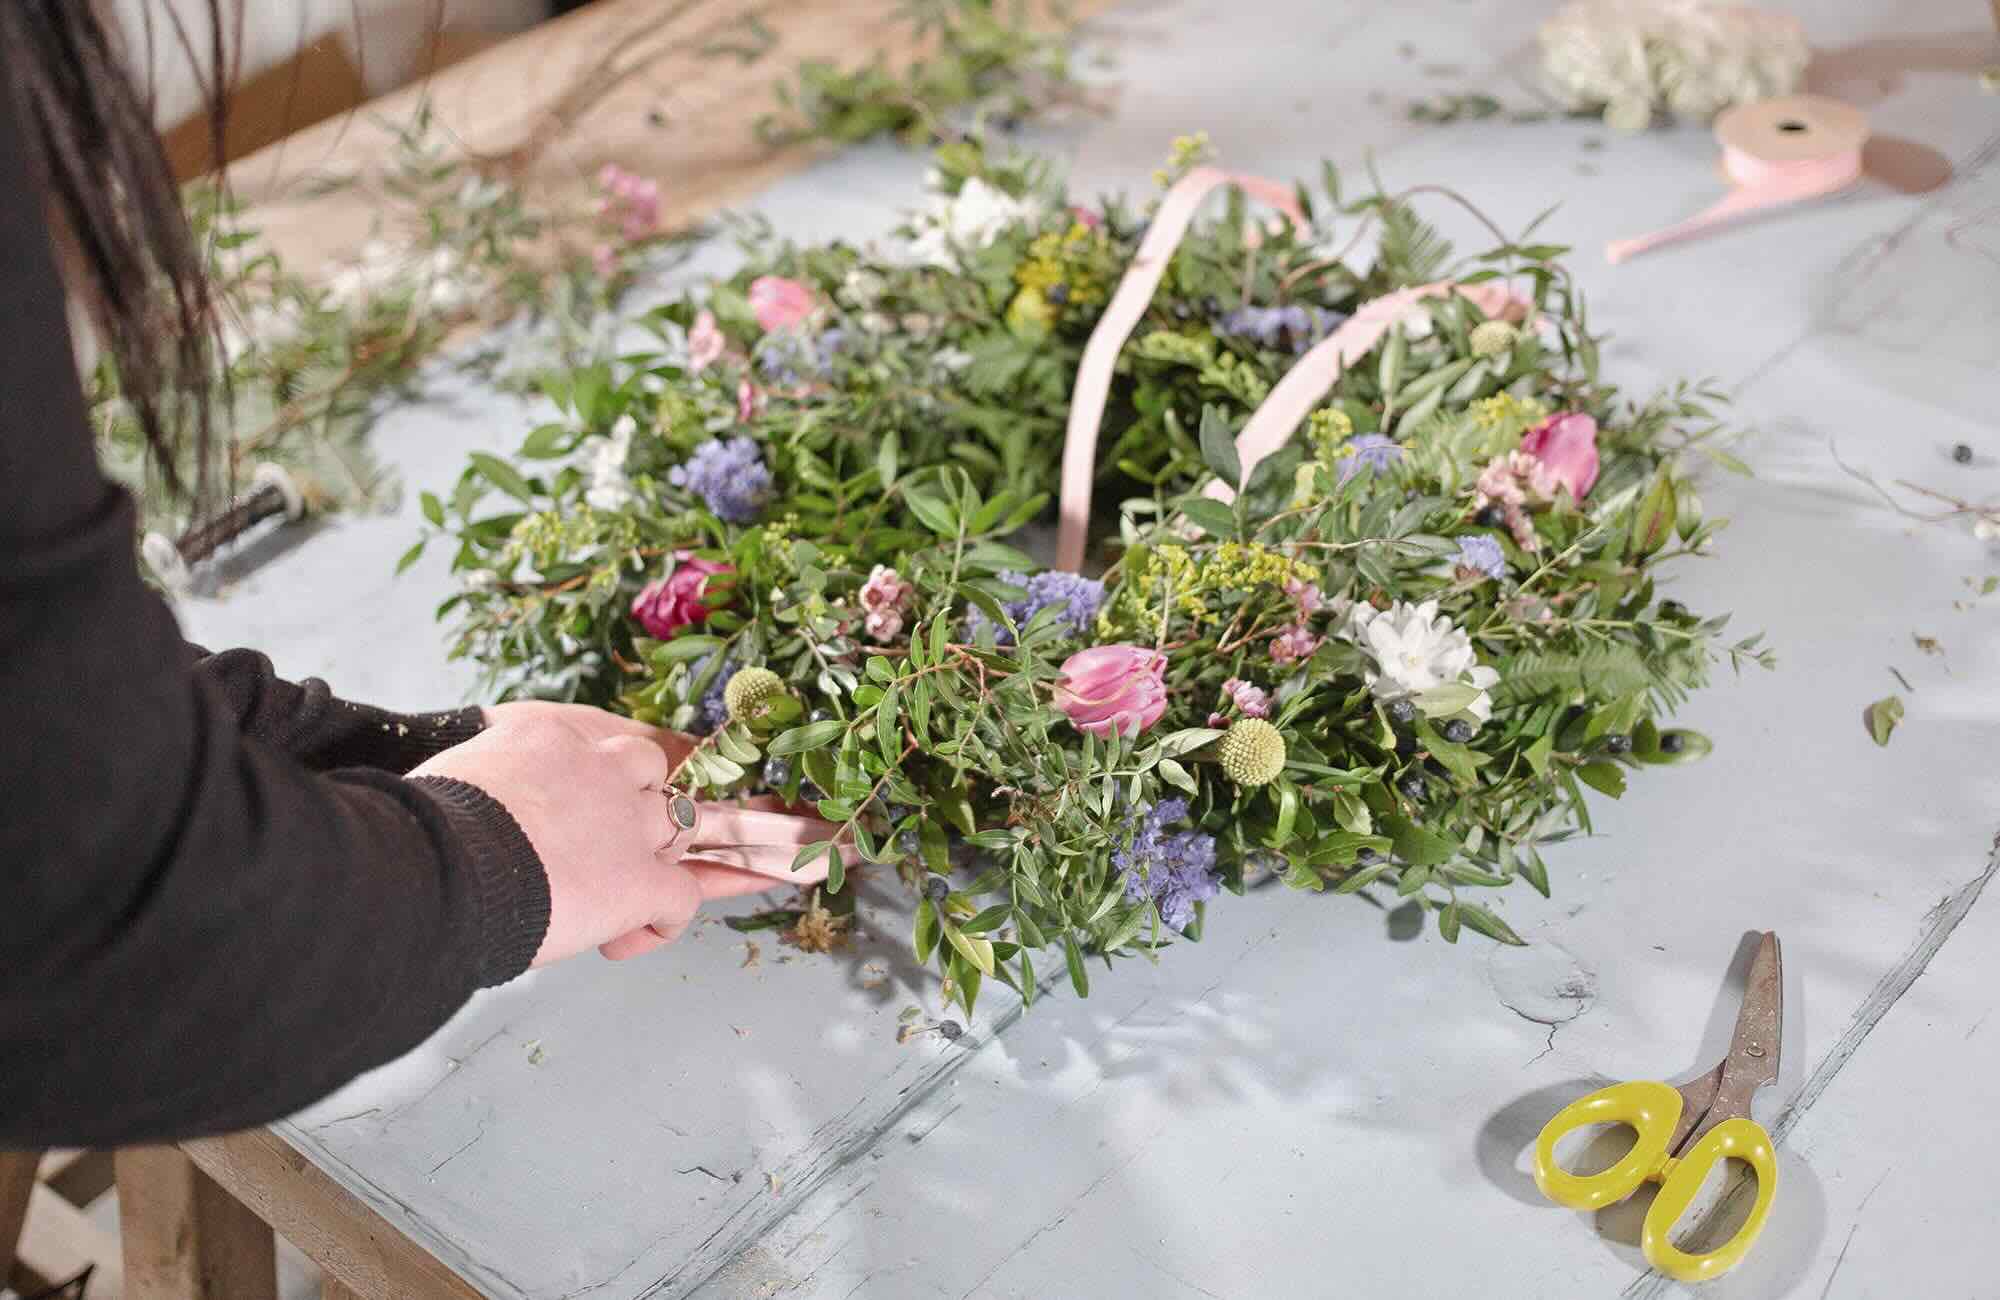
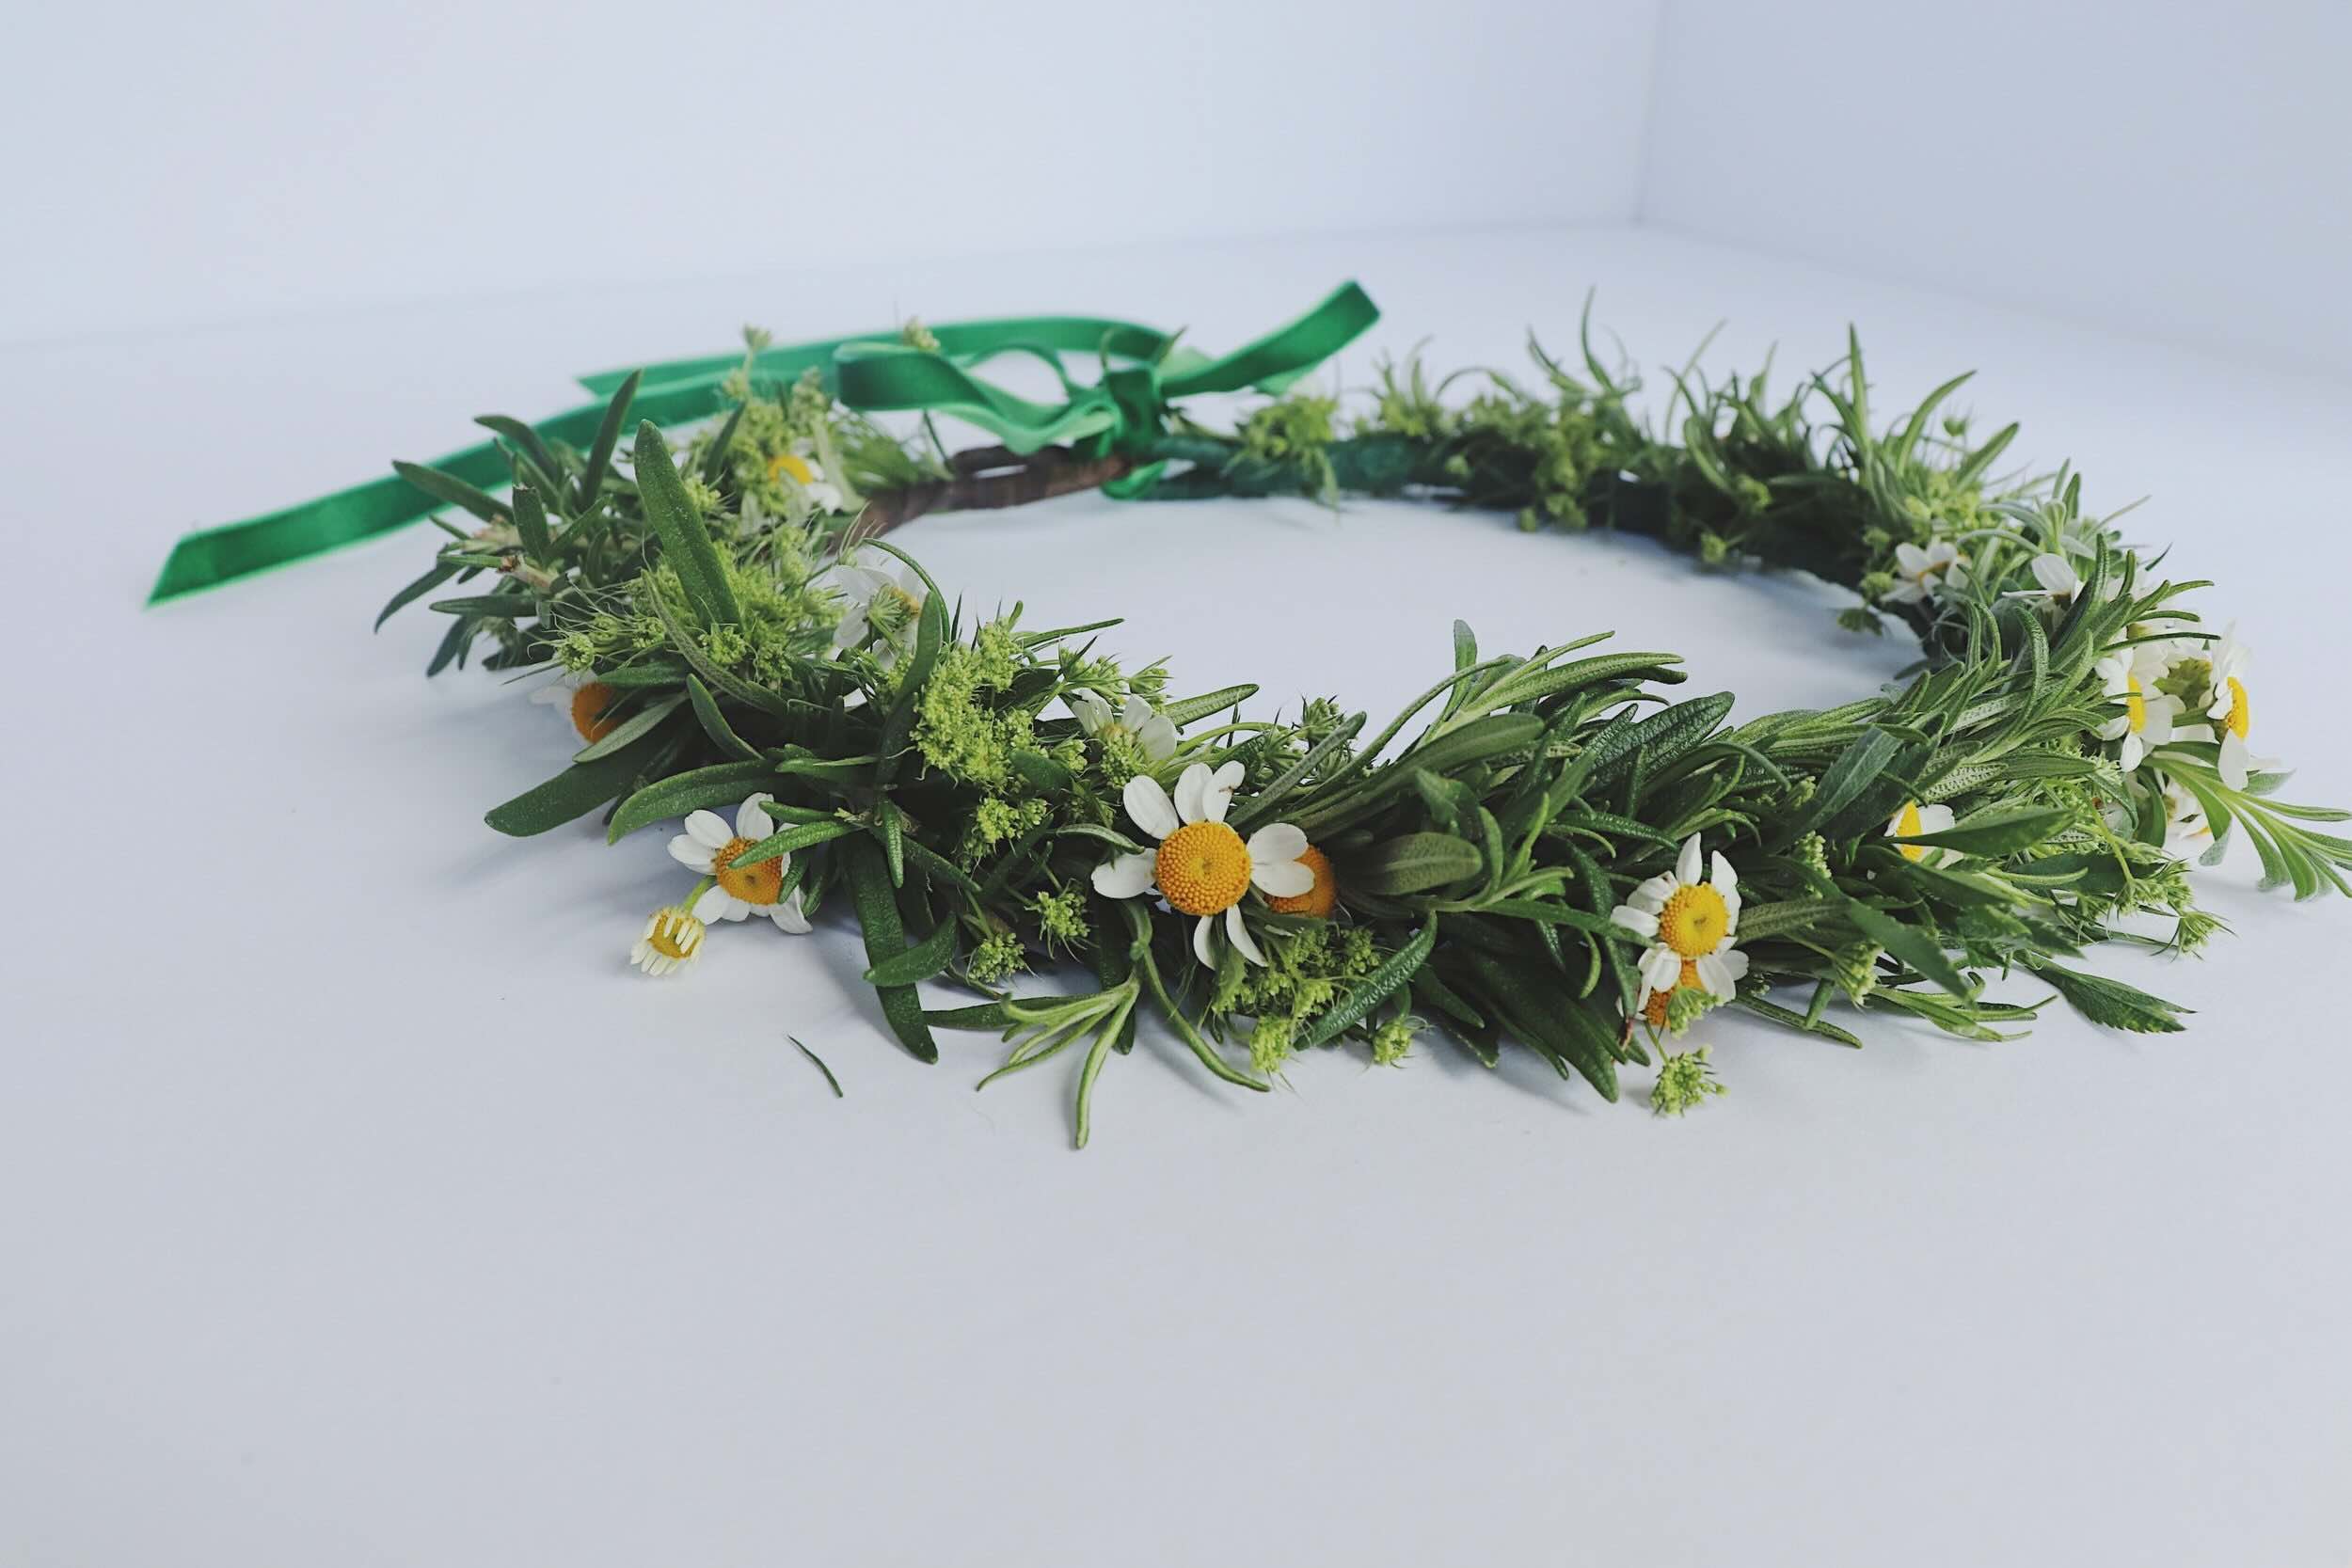
When making an artificial greenery wreath, start by choosing a sturdy base like a wire wreath frame. Then, layer different types of greenery and secure them with floral wire to create a full and balanced look.
Step 3: Attach the Greenery
Now that your wreath base is prepared, it’s time to bring in the artificial greenery and start attaching it to the base. This step will transform your wreath into a beautiful and lush creation. Follow these simple instructions to attach the greenery:
- Take your chosen artificial greenery and trim it into smaller, manageable pieces using wire cutters or scissors. This will make it easier to arrange and attach to the wreath base.
- Start by placing a piece of greenery at the desired position on the wreath base. If you’re using a foam wreath form, you can insert the stems directly into the foam. For a wire wreath form, use floral wire to secure the greenery in place.
- Continue adding more pieces of greenery, overlapping them slightly to create a full and natural look. Alternate the direction and variety of greenery to add visual interest.
- Secure each piece with floral wire or a dab of hot glue if necessary, ensuring that the stems are firmly attached to the wreath base.
- As you work your way around the wreath, step back occasionally to assess the overall balance and appearance. Make adjustments as needed, making sure to fill in any gaps.
Remember to vary the lengths and angles of the greenery to add depth and dimension to your wreath. Don’t hesitate to get creative and experiment with different arrangements until you achieve the desired look.
Once you’ve attached all the greenery, step back and admire your progress. The wreath is starting to take shape! Now it’s time to add some extra flair if desired, in the form of additional decorations.
Step 4: Add Additional Decorations (Optional)
Now that you have attached the greenery to your wreath base, you can take it a step further by adding some additional decorations. This optional step allows you to personalize your wreath and make it truly unique. Here are some ideas for adding extra flair:
- Consider incorporating faux flowers or berries for a pop of color. You can attach them using floral wire or hot glue, strategically placing them throughout the wreath.
- Add pinecones, acorns, or small ornaments to create a seasonal theme. Secure them using floral wire or hot glue, positioning them in a visually pleasing arrangement.
- Integrate a decorative ribbon or twine to hang the wreath. Choose a color and texture that complements your overall design and attach it securely to the back of the wreath using floral wire.
- Get creative with other embellishments like feathers, seashells, or small decorative objects that align with your personal style or the theme of the wreath.
When adding additional decorations, remember to maintain a balanced composition and ensure that the extra elements enhance the overall aesthetic of the wreath. Less is often more, so exercise restraint to avoid overwhelming the design.
Once you are satisfied with the appearance of your wreath, it’s time to move on to the final step – finding the perfect spot to hang or display your creation!
Step 5: Hang or Display Your Artificial Greenery Wreath
Congratulations on completing your beautiful artificial greenery wreath! Now it’s time to showcase your creation and bring a touch of natural elegance to your living space. Follow these steps to hang or display your wreath:
- Choose the perfect spot: Consider where you want to place your wreath. It could be on your front door, above a fireplace, on a wall, or even as a centerpiece on a table.
- Prepare the hanging mechanism: If you’re hanging the wreath on a door or wall, use a sturdy hook or adhesive hanger. For other display options, such as a table centerpiece, find a suitable base or stand.
- Hang your wreath: If using a hanging mechanism, securely attach or hang the wreath according to the instructions provided with the hook or hanger. Ensure that it is positioned at a height and angle that showcases it at its best.
- Display on a table or surface: If you’re displaying the wreath as a centerpiece, place it on a decorative plate or a wreath stand. Arrange it in a way that complements the surrounding decor.
- Step back and admire: Take a moment to step back and appreciate your handiwork. Admire how the artificial greenery adds life and beauty to your space.
Remember to periodically check and adjust your wreath as needed, especially if displayed outdoors or in areas exposed to direct sunlight or extreme weather conditions. This will help maintain its appearance and prolong its lifespan.
Now that your wreath is perfectly displayed, sit back and enjoy the beauty of nature brought indoors by your own hands. Your artificial greenery wreath will continue to add charm and elegance to your surroundings for months to come.
Concluding Note:
Creating an artificial greenery wreath is a wonderful way to bring the beauty of nature into your home without the maintenance required by live plants. It also offers the opportunity to express your creativity and add a personal touch to your decor. By following these step-by-step instructions and infusing your own style, you can create a stunning and long-lasting wreath that will be admired by all who enter your space. So gather your materials, let your imagination soar, and enjoy the process of making your very own artificial greenery wreath!
Conclusion
Creating an artificial greenery wreath is a fun and rewarding DIY project that allows you to bring the beauty of nature into your home or space. Not only does it add a touch of natural elegance, but it also gives you the opportunity to showcase your creativity and personal style.
Throughout this guide, we have walked you through the step-by-step process of making your own artificial greenery wreath. From gathering your supplies to hanging or displaying the finished product, each stage has been carefully explained to ensure a seamless and enjoyable crafting experience.
By selecting the perfect wreath base and attaching the greenery with floral wire or hot glue, you can create a lush and realistic-looking wreath that will impress your guests. Adding additional decorations, such as faux flowers or berries, allows you to customize the wreath to your liking and enhance its visual appeal.
Once your wreath is complete, you can hang it on your door, display it above a fireplace, or use it as a stunning centerpiece on a table. The choice of placement is entirely up to you, allowing you to transform any space into a natural oasis.
Remember to periodically check and maintain your wreath, especially if it is displayed outdoors. This will ensure its longevity and keep it looking fresh for months to come.
So, gather your materials, let your creativity flow, and embark on the journey of creating your own artificial greenery wreath. Enjoy the process and the beauty it brings to your home. Happy crafting!
Frequently Asked Questions about How To Make An Artificial Greenery Wreath
Was this page helpful?
At Storables.com, we guarantee accurate and reliable information. Our content, validated by Expert Board Contributors, is crafted following stringent Editorial Policies. We're committed to providing you with well-researched, expert-backed insights for all your informational needs.








0 thoughts on “How To Make An Artificial Greenery Wreath”