Home>Garden Essentials>How To Make A Greenery Corsage
Garden Essentials
How To Make A Greenery Corsage
Modified: March 7, 2024
Learn how to make a stunning greenery corsage using fresh garden foliage. Perfect for adding a natural touch to any special occasion.
(Many of the links in this article redirect to a specific reviewed product. Your purchase of these products through affiliate links helps to generate commission for Storables.com, at no extra cost. Learn more)
Introduction
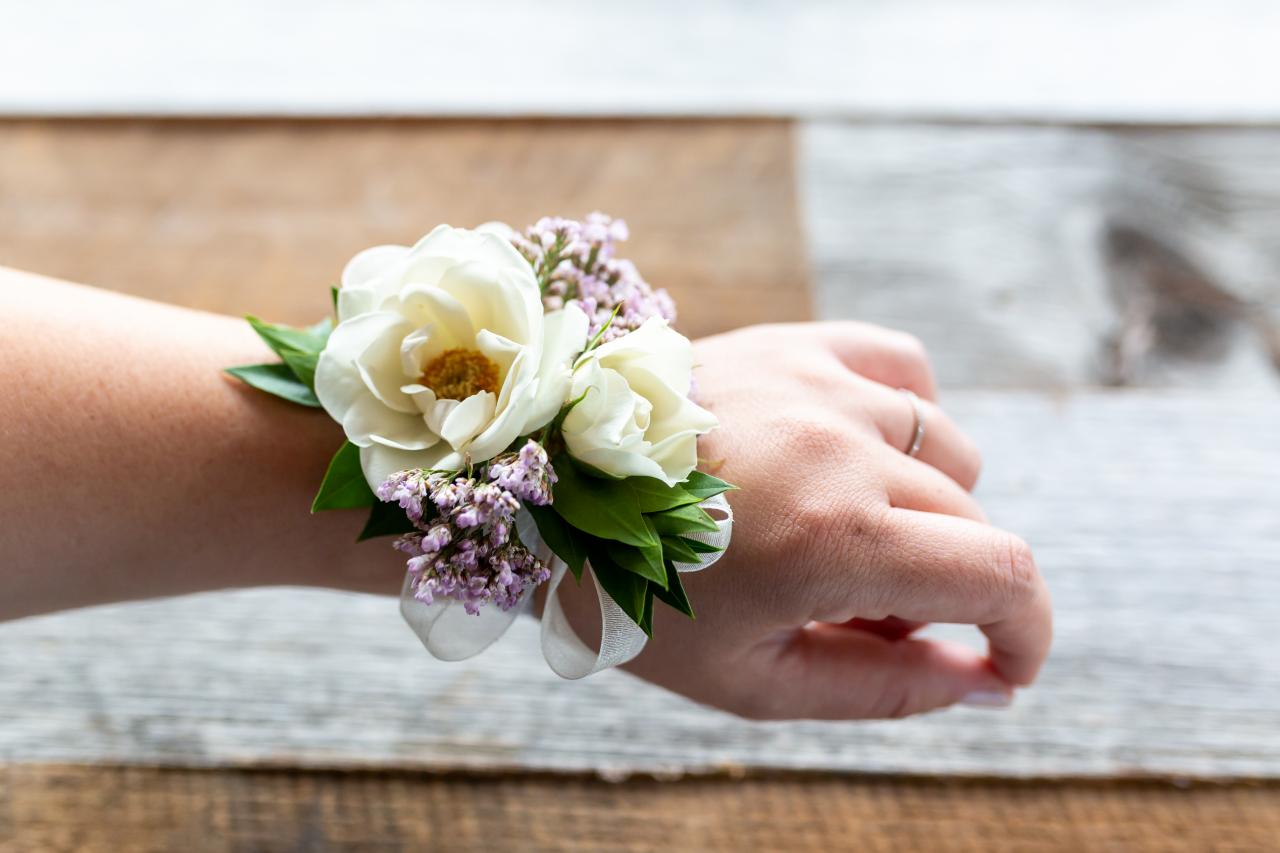
Creating a greenery corsage is a wonderful way to add a touch of natural beauty to any special occasion or event. Whether you’re attending a wedding, prom, or simply want to add a botanical element to your outfit, a greenery corsage is the perfect accessory. It not only looks stunning but also symbolizes growth, life, and freshness.
Not only are greenery corsages visually appealing, but they also have several other benefits. Greenery is known to purify the air by releasing oxygen and absorbing carbon dioxide, promoting a healthier environment. The natural fragrance of the greenery adds a delightful aroma to your surroundings, creating a sensory experience for both yourself and those around you.
In this article, we will guide you step-by-step on how to make a greenery corsage. We will cover everything, from gathering the greenery to adding finishing touches and decorations. By the end of this tutorial, you will have a beautiful and personalized greenery corsage that will make you stand out in any occasion.
So, let’s grab our gardening tools and get started on this creative and nature-inspired project!
Key Takeaways:
- Embrace nature’s beauty by crafting a greenery corsage, symbolizing growth and life. Enjoy the process and wear your unique botanical accessory with pride at any special occasion.
- Create a personalized greenery corsage to add elegance and freshness to your outfit. Connect with nature, explore different greenery, and let your creativity shine through optional decorations.
Read more: How To Make Greenery Tomte With Greenery
Materials Needed
Before we jump into the process of creating a greenery corsage, let’s gather all the necessary materials. Here’s a list of what you’ll need:
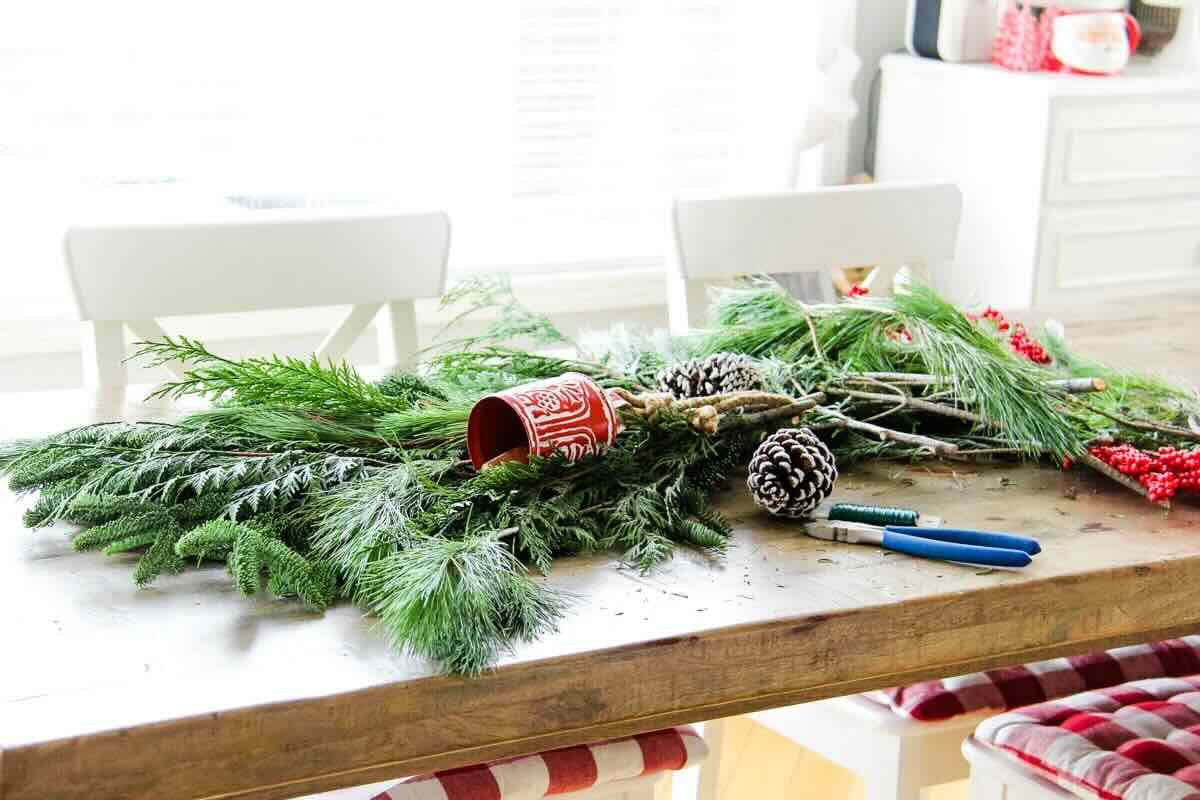
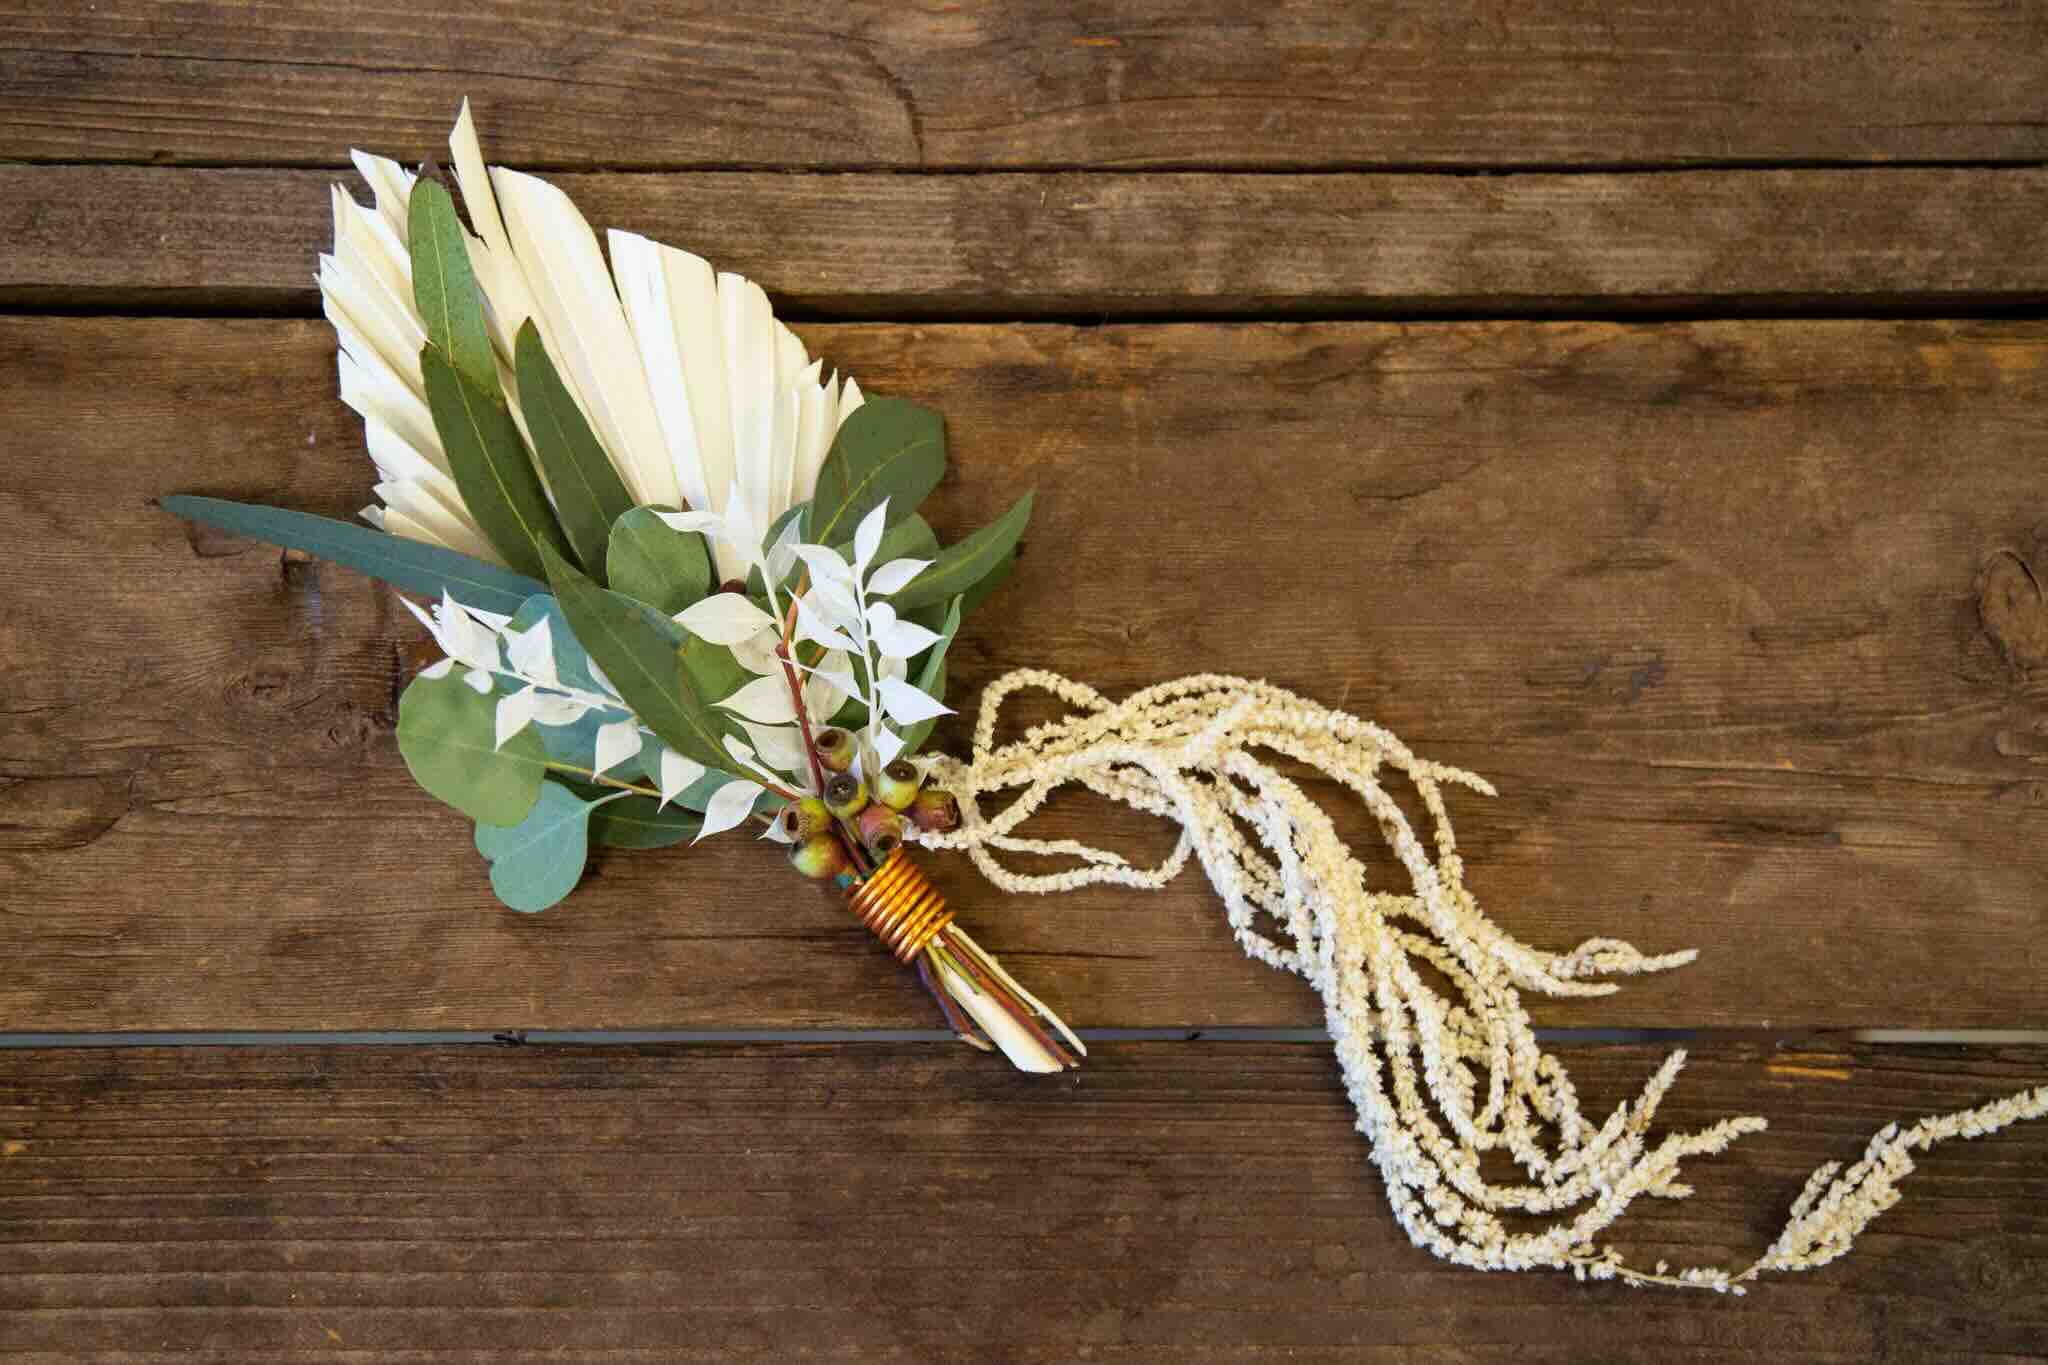
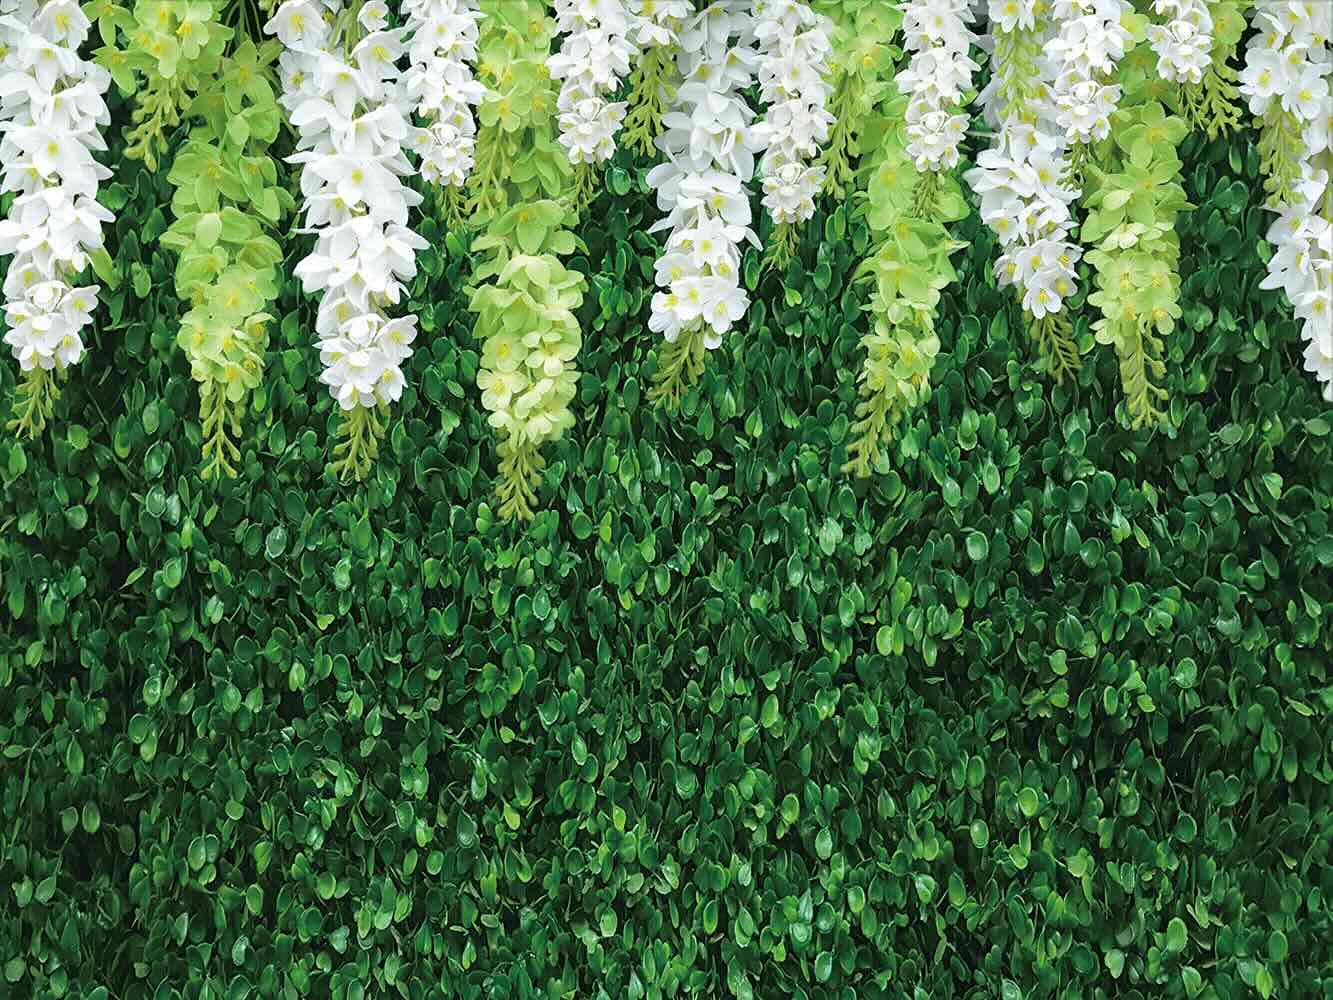
- Fresh greenery: Choose a variety of green leaves, such as eucalyptus, ferns, ivy, or rosemary. Aim for different textures and sizes to create visual interest.
- Floral wire: This will be used to secure the greenery to the corsage base. Opt for a strong wire that is easy to manipulate.
- Floral tape: This adhesive tape will be used to wrap the wire and create a smooth and cohesive look.
- Corsage bracelet or elastic band: This will serve as the base for the corsage and securely hold it on your wrist. You can find these at craft or floral supply stores.
- Decorative elements (optional): Ribbons, beads, pearls, or small flowers can be added to embellish the corsage and personalize it to your liking.
- Scissors: They will be used to cut the greenery and wire.
- Wire cutters: These are necessary to trim the floral wire.
Make sure to gather all these materials before you begin to ensure a smooth and enjoyable crafting process. Once you have everything ready, it’s time to dive into the step-by-step process of creating your greenery corsage!
Step 1: Gathering the Greenery
The first step in creating a greenery corsage is gathering fresh greenery. You can find an array of options at your local garden center or even in your own backyard. Here’s how to go about it:
- Choose a variety of green leaves: Look for different types of greenery, such as eucalyptus, ferns, ivy, or rosemary. Opt for leaves with various textures, shapes, and sizes to create visual interest in your corsage.
- Clip the greenery: Using scissors or pruning shears, trim the greenery stems. Aim for lengths of approximately 4 to 6 inches, but feel free to adjust based on your desired corsage size.
- Consider the color palette: Take into account the color scheme of your outfit or the event you’re attending. If you want a monochromatic look, choose greenery that matches your attire. For a contrasting pop of color, add leaves with hues like burgundy or variegated textures.
- Ensure freshness: Select greenery that is fresh and vibrant. Avoid brown or wilted leaves, as they won’t hold up well in your corsage.
- Be mindful of allergies: If you or someone you’re creating the corsage for has allergies, choose greenery that is hypoallergenic or less likely to cause a reaction. Consult with a florist or do some research to find suitable options.
Once you have gathered an assortment of greenery, it’s time to move on to the next step: preparing the greenery for your corsage.
Step 2: Preparing the Greenery
Now that you have gathered your desired greenery, it’s time to prepare it for your corsage. This step involves some simple trimming and conditioning to ensure that your greenery looks fresh and lasts longer. Follow these steps:
- Trim excess foliage: Remove any excess leaves or stems from the lower part of your greenery. This will make it easier to attach the greenery to the corsage base and create a neat and tidy appearance.
- Trim the stems: Using sharp scissors or floral shears, trim the stems of your greenery at an angle. This angle will help the stems absorb water and nutrients, keeping the greenery fresh.
- Remove any thorns or prickly parts: If you are using greenery with thorns or prickly parts, gently remove them to avoid any discomfort when wearing the corsage.
- Condition the greenery: Fill a container or vase with water and place your trimmed greenery stems inside. Allow them to soak for at least an hour or two. This step will revitalize the greenery and ensure maximum freshness and flexibility.
Once your greenery is conditioned and prepped, it’s time to move on to the next step: creating the corsage base.
Step 3: Creating the Corsage Base
Now that you have your greenery prepared, it’s time to create the base for your corsage. The corsage base is what will hold your greenery in place and provide a foundation for the final corsage design. Follow these steps to create the base:
- Select a corsage bracelet or elastic band: You can find these at craft or floral supply stores. Choose a bracelet style that suits your preference, such as a simple elastic band or a decorative wristlet. Make sure it fits comfortably on your wrist.
- Measure and cut the floral wire: Take the floral wire and measure a length that is long enough to wrap around the corsage base with extra length for attaching the greenery. Use wire cutters to trim the wire to the appropriate length.
- Check the placement and fit: Place the corsage base on your wrist to check if it fits comfortably and securely. Adjust the tightness of the base as needed, making sure it is snug but not too tight. You want it to be comfortable to wear for extended periods.
Once you have created the corsage base, you are ready to move on to the next step: attaching the greenery to the base.
When making a greenery corsage, be sure to use sturdy greenery like eucalyptus or ferns to provide a strong base. Trim the stems to the desired length and secure them with floral tape before adding any flowers or additional decorative elements.
Read more: How To Store A Corsage
Step 4: Attaching the Greenery to the Base
With your corsage base ready, it’s time to attach the greenery and bring your greenery corsage to life. Follow these steps to attach the greenery to the base:
- Select a piece of greenery: Choose one of your trimmed greenery stems to start with. Ensure that it has a good size and shape to serve as the focal point of the corsage.
- Secure the greenery with floral tape: Take the loose end of the floral wire that is attached to the corsage base and wrap it around the stem of the selected piece of greenery. Make sure to double back over the wire to secure it in place.
- Wrap the stem with floral tape: Starting at the point where the floral wire is attached, begin wrapping the stem with floral tape. Pull the tape gently as you go, stretching it slightly to activate the adhesive. Continue wrapping until you reach the end of the stem. This will create a smooth and cohesive look.
- Repeat with additional greenery: Continue selecting pieces of greenery and attaching them to the corsage base using the same method. Vary the placement and direction of each piece to create a natural and balanced arrangement. Pay attention to the overall shape and density of the corsage as you add more greenery.
- Secure loose ends: If any stems or wires are sticking out, use floral tape or additional wire to secure them to the corsage base. This will ensure a clean and professional finish.
- Check for balance and symmetry: Step back and assess the arrangement. Make any necessary adjustments to achieve a balanced and visually pleasing composition. Ensure that the greenery is evenly distributed and the corsage sits comfortably on your wrist.
Once you have attached all the greenery and achieved the desired composition, it’s time to move on to the optional step of adding additional decorations to your greenery corsage.
Step 5: Adding Additional Decorations (Optional)
Now that you have secured the greenery to your corsage base, it’s time to add some additional decorations to enhance its aesthetic appeal. This step is entirely optional but can add a touch of personalization and creativity to your greenery corsage. Follow these steps to add extra decorations:
- Ribbons or bows: Cut a piece of ribbon or lace to your desired length. Wrap it around the corsage base, securing it with a small drop of hot glue or a discreetly placed pin. You can also create a small bow out of ribbon and attach it to the corsage for an elegant and feminine touch.
- Beads or pearls: Thread small beads or pearls onto a thin wire or string. Wrap the wire or string around the greenery, carefully securing the beads or pearls in place. This will create a delicate and charming detail in your corsage.
- Small flowers: If desired, you can add small flowers, such as baby’s breath or miniature roses, to your corsage. Trim the stems and insert them into the greenery, making sure they are securely attached.
- Other decorative elements: Get creative and explore other decorative elements that resonate with your style and the occasion. Consider using dried flowers, crystal accents, or small charms to add a unique and personal touch to your corsage.
Remember to keep a balanced and harmonious overall design. Avoid overcrowding the corsage with too many additional decorations, as it may overpower the beauty of the greenery. Less can often be more when it comes to these extra touches.
Once you have added your desired decorations, take a moment to step back and admire your wonderful creation. You’re almost done! It’s time for the final touches and adjustments.
Step 6: Finishing Touches and Final Adjustments
Congratulations! You’re in the final stage of creating your greenery corsage. In this step, you will add the finishing touches and make any final adjustments to ensure that your corsage is perfect. Follow these steps to complete your corsage:
- Inspect and secure any loose ends: Take a close look at your corsage and check for any loose ends, such as wires or stems that may be sticking out. Use floral tape or additional wire to secure them to the base.
- Trim any excess greenery: If you find that certain pieces of greenery are too long or extending beyond the desired shape of the corsage, use scissors or floral shears to carefully trim them. Make small adjustments to achieve your desired look.
- Check for balance and symmetry: Step back and assess the overall composition of your corsage. Make sure that the greenery is evenly distributed and that the arrangement is well-balanced. Adjust any pieces as necessary to create a visually pleasing corsage.
- Gently mist with water (optional): If desired, lightly mist your corsage with water using a spray bottle. This will help keep the greenery fresh for longer and maintain its vitality throughout the event.
Once you have completed these finishing touches and made any necessary adjustments, your greenery corsage is ready to be worn or gifted. Admire your creation and enjoy the natural beauty and uniqueness of your handmade corsage.
Remember, each greenery corsage is a work of art, and no two will be exactly the same. Embrace the creativity and personal touch that you have brought to this project. You can now proudly wear your greenery corsage to weddings, proms, or any special occasion, knowing that you have crafted something beautiful and meaningful with your own hands.
We hope this guide has been helpful in creating your greenery corsage. Enjoy the process and feel the refreshing and organic connection with nature as you wear your unique botanical accessory.
Happy crafting!
Conclusion
Crafting a greenery corsage is a delightful and rewarding project that allows you to bring nature’s beauty to any special occasion or event. By following the steps outlined in this article, you have learned how to gather and prepare greenery, create a corsage base, attach the greenery, and add optional decorations. The final result is a stunning and personalized accessory that showcases your creativity and love for the natural world.
A greenery corsage not only adds a touch of elegance and freshness to your outfit, but it also symbolizes growth and life. The use of greenery in your corsage promotes a connection to nature and brings a sense of tranquility and serenity to your overall look.
Throughout the process of making your greenery corsage, you had the opportunity to explore different types of greenery, consider color palettes, and add your own creative flair with optional decorations. Each corsage is unique and reflects your personal style and the occasion for which it is intended.
Now, as you wear your greenery corsage, take a moment to appreciate the beauty and craftsmanship that went into creating it. You have brought a piece of nature to your outfit, making a statement about your love for the environment and your appreciation for the natural world.
Remember, crafting is not just about the end result; it’s about the process and the joy it brings. As you don your greenery corsage, embrace the connection to nature and let it inspire you to continue exploring the wonders of the botanical world in your future crafting endeavors.
We hope this guide has been informative and inspiring, guiding you through the steps of creating your greenery corsage. Whether you’re attending a wedding, prom, or any special event, wear your corsage with pride and let it be a symbol of your unique style and affinity for nature.
So, gather your greenery, get creative, and enjoy the beauty of the botanical world as you make your very own greenery corsage. Happy crafting!
Frequently Asked Questions about How To Make A Greenery Corsage
Was this page helpful?
At Storables.com, we guarantee accurate and reliable information. Our content, validated by Expert Board Contributors, is crafted following stringent Editorial Policies. We're committed to providing you with well-researched, expert-backed insights for all your informational needs.


0 thoughts on “How To Make A Greenery Corsage”