Home>Garden Essentials>How To Plant Rutabaga Seeds

Garden Essentials
How To Plant Rutabaga Seeds
Modified: March 15, 2024
Learn how to plant rutabaga seeds in your garden and get a bountiful harvest. Follow our step-by-step guide and create your own vegetable oasis.
(Many of the links in this article redirect to a specific reviewed product. Your purchase of these products through affiliate links helps to generate commission for Storables.com, at no extra cost. Learn more)
Introduction
Welcome to a comprehensive guide on how to plant rutabaga seeds! Rutabaga, also known as Swede, is a versatile and nutritious root vegetable that belongs to the brassica family. It is packed with vitamins, minerals, and dietary fiber, making it a popular choice for gardeners and home cooks alike. Growing your own rutabagas can be a rewarding experience, allowing you to savor the delicious taste and health benefits of freshly harvested produce.
In this article, we will take you through the step-by-step process of planting rutabaga seeds, from selecting the right seeds to nurturing the plants until harvest time. Whether you’re a seasoned gardener or a beginner, this guide will provide you with the knowledge and confidence to successfully grow your own rutabagas.
Before we dive into the specifics, it is important to note that rutabagas prefer cool climates and are typically grown as a fall or winter crop in most regions. They require adequate sunlight, well-drained soil, and regular watering to thrive. With the right care and attention, you can enjoy a bountiful harvest of this underrated vegetable in your own backyard. So let’s get started!
Key Takeaways:
- Grow delicious and nutritious rutabagas by selecting high-quality seeds, preparing well-drained soil, and providing consistent moisture and sunlight. Protect seedlings from pests and diseases for a bountiful harvest.
- Harvest rutabagas when they reach 3-4 inches in diameter, with smooth, firm skin. Store in a cool, dry place for several weeks to enjoy their versatile flavor in various culinary dishes.
Read more: How To Germinate A Plant
Step 1: Selecting the Rutabaga Seeds
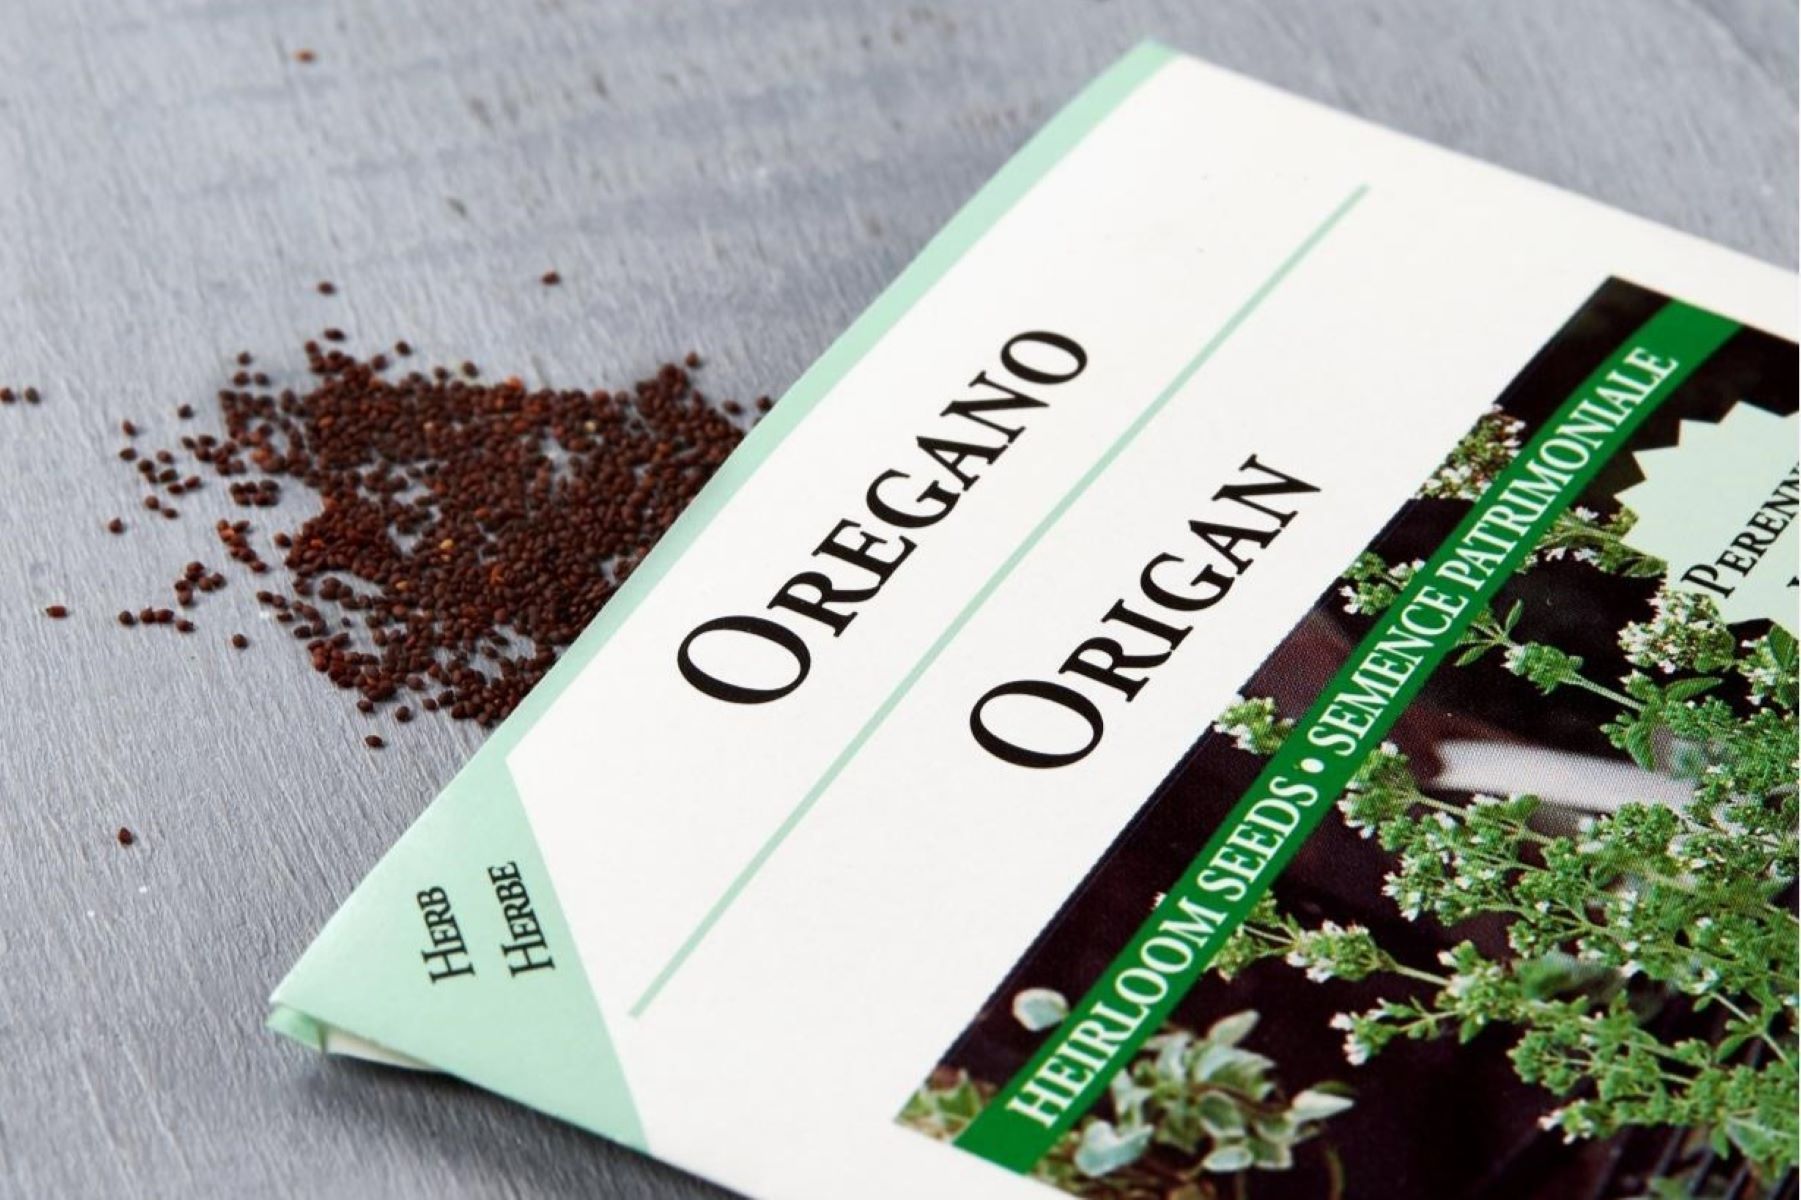
Choosing high-quality seeds is crucial for a successful rutabaga harvest. When selecting rutabaga seeds, consider the following factors:
- Variety: There are several varieties of rutabagas available, each with its own flavor profile and characteristics. Some popular varieties include ‘American Purple Top,’ ‘Gilfeather,’ and ‘Laurentian.’ Research the different varieties and choose one that suits your taste preferences and growing conditions.
- Seed Source: Purchase seeds from a reputable seed supplier or nursery to ensure quality and viability. Look for organic or non-GMO seeds if you prefer to grow your rutabagas without synthetic chemicals or genetic modifications.
- Freshness: Opt for fresh seeds that have been properly stored. Check the seed packet for the expiration date and select seeds that are within their viable period.
- Germination Rate: Germination rate refers to the percentage of seeds that successfully sprout. Look for seeds with a high germination rate to maximize your chances of success. This information should be indicated on the seed packet.
Once you have chosen your rutabaga seeds, it’s time to move on to the next step: selecting the planting location.
Step 2: Choosing the Planting Location
Choosing the right planting location is crucial for the healthy growth and development of your rutabaga plants. Here are some factors to consider when selecting the ideal spot:
- Sunlight: Rutabagas thrive in full sun, which means they need at least six to eight hours of direct sunlight each day. Choose a location in your garden that receives ample sunlight.
- Soil Quality: Rutabagas prefer well-drained soil that is rich in organic matter. The soil should be loose and friable, allowing the roots to penetrate easily. Perform a soil test to determine its pH level and make any necessary amendments to ensure an optimal pH range of 6.0 to 7.0.
- Moisture: Rutabaga plants require consistent moisture throughout their growing period. Avoid areas of your garden that are prone to waterlogging or excessive dryness. Adequate drainage is essential, as standing water can lead to root rot and other diseases.
- Space: Rutabagas need enough space to grow and develop a robust root system. Make sure to allocate sufficient space between plants, allowing for proper air circulation and preventing overcrowding.
- Accessibility: Consider the accessibility of the planting location. Ensure it is convenient for watering, harvesting, and other routine maintenance tasks.
Once you have identified the perfect planting spot, it’s time to prepare the soil for your rutabaga seeds. This will be our next step.
Step 3: Preparing the Soil
Preparing the soil is an important step in ensuring the success of your rutabaga plants. Follow these guidelines to create an optimal growing environment:
- Clear the area: Start by clearing the planting area of any weeds, rocks, or debris. This will provide a clean and unobstructed space for your rutabaga plants to grow.
- Loosen the soil: Using a garden fork or tiller, loosen the soil to a depth of at least 10-12 inches. This will improve drainage, aeration, and root penetration. Avoid over-tilling, as excessive disturbance can disrupt the soil structure.
- Amend the soil: Rutabagas thrive in nutrient-rich soil. Add organic matter, such as compost or well-rotted manure, to improve soil fertility and structure. Work it into the soil evenly, ensuring it is thoroughly mixed.
- Level the soil: Smooth out the soil surface using a rake, removing any large clumps or leveling uneven areas. This will provide a flat and even surface for planting your rutabaga seeds.
- Check soil moisture: Before planting, check the soil moisture to ensure it is adequately moist but not waterlogged. Rutabagas prefer a moderately moist environment.
By properly preparing the soil, you will create a favorable environment for your rutabaga plants to establish strong roots and grow vigorously. Next, we’ll move on to the exciting part – planting the rutabaga seeds!
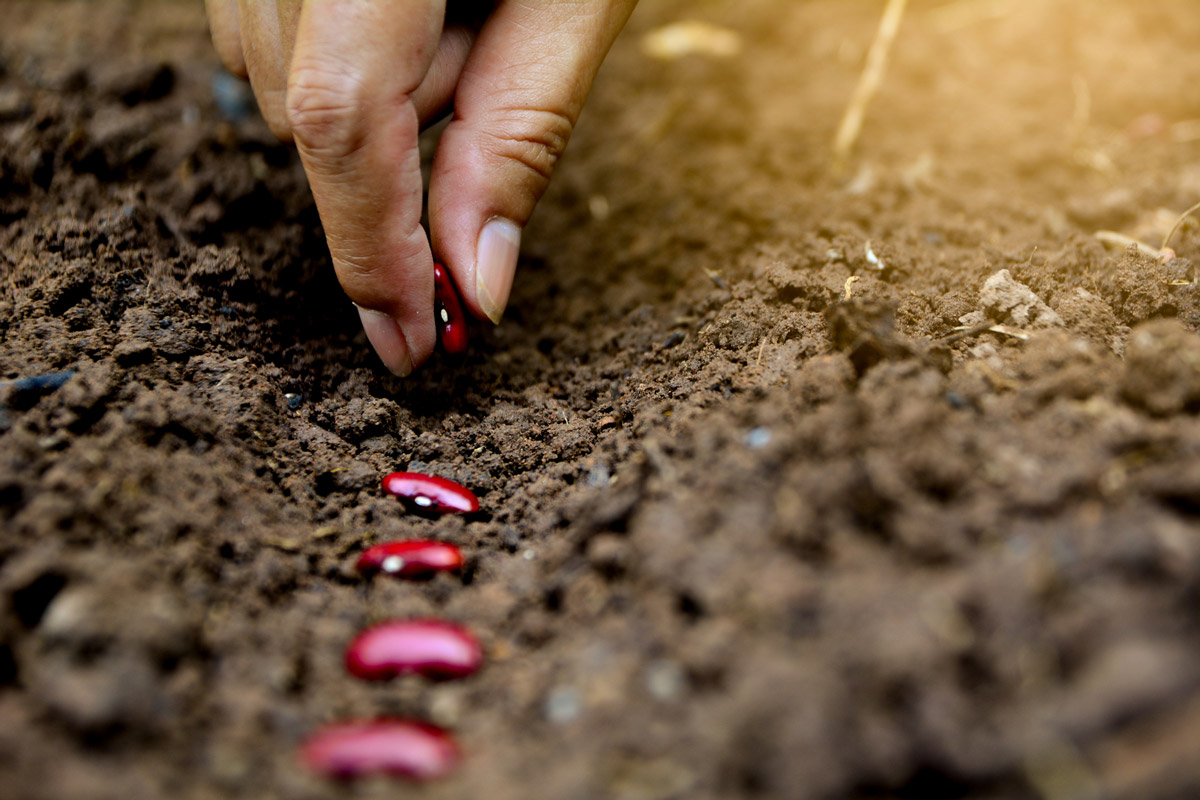
Plant rutabaga seeds in well-drained, fertile soil in a sunny spot. Sow seeds ½ inch deep and 12 inches apart. Keep soil consistently moist for best germination.
Step 4: Planting Rutabaga Seeds
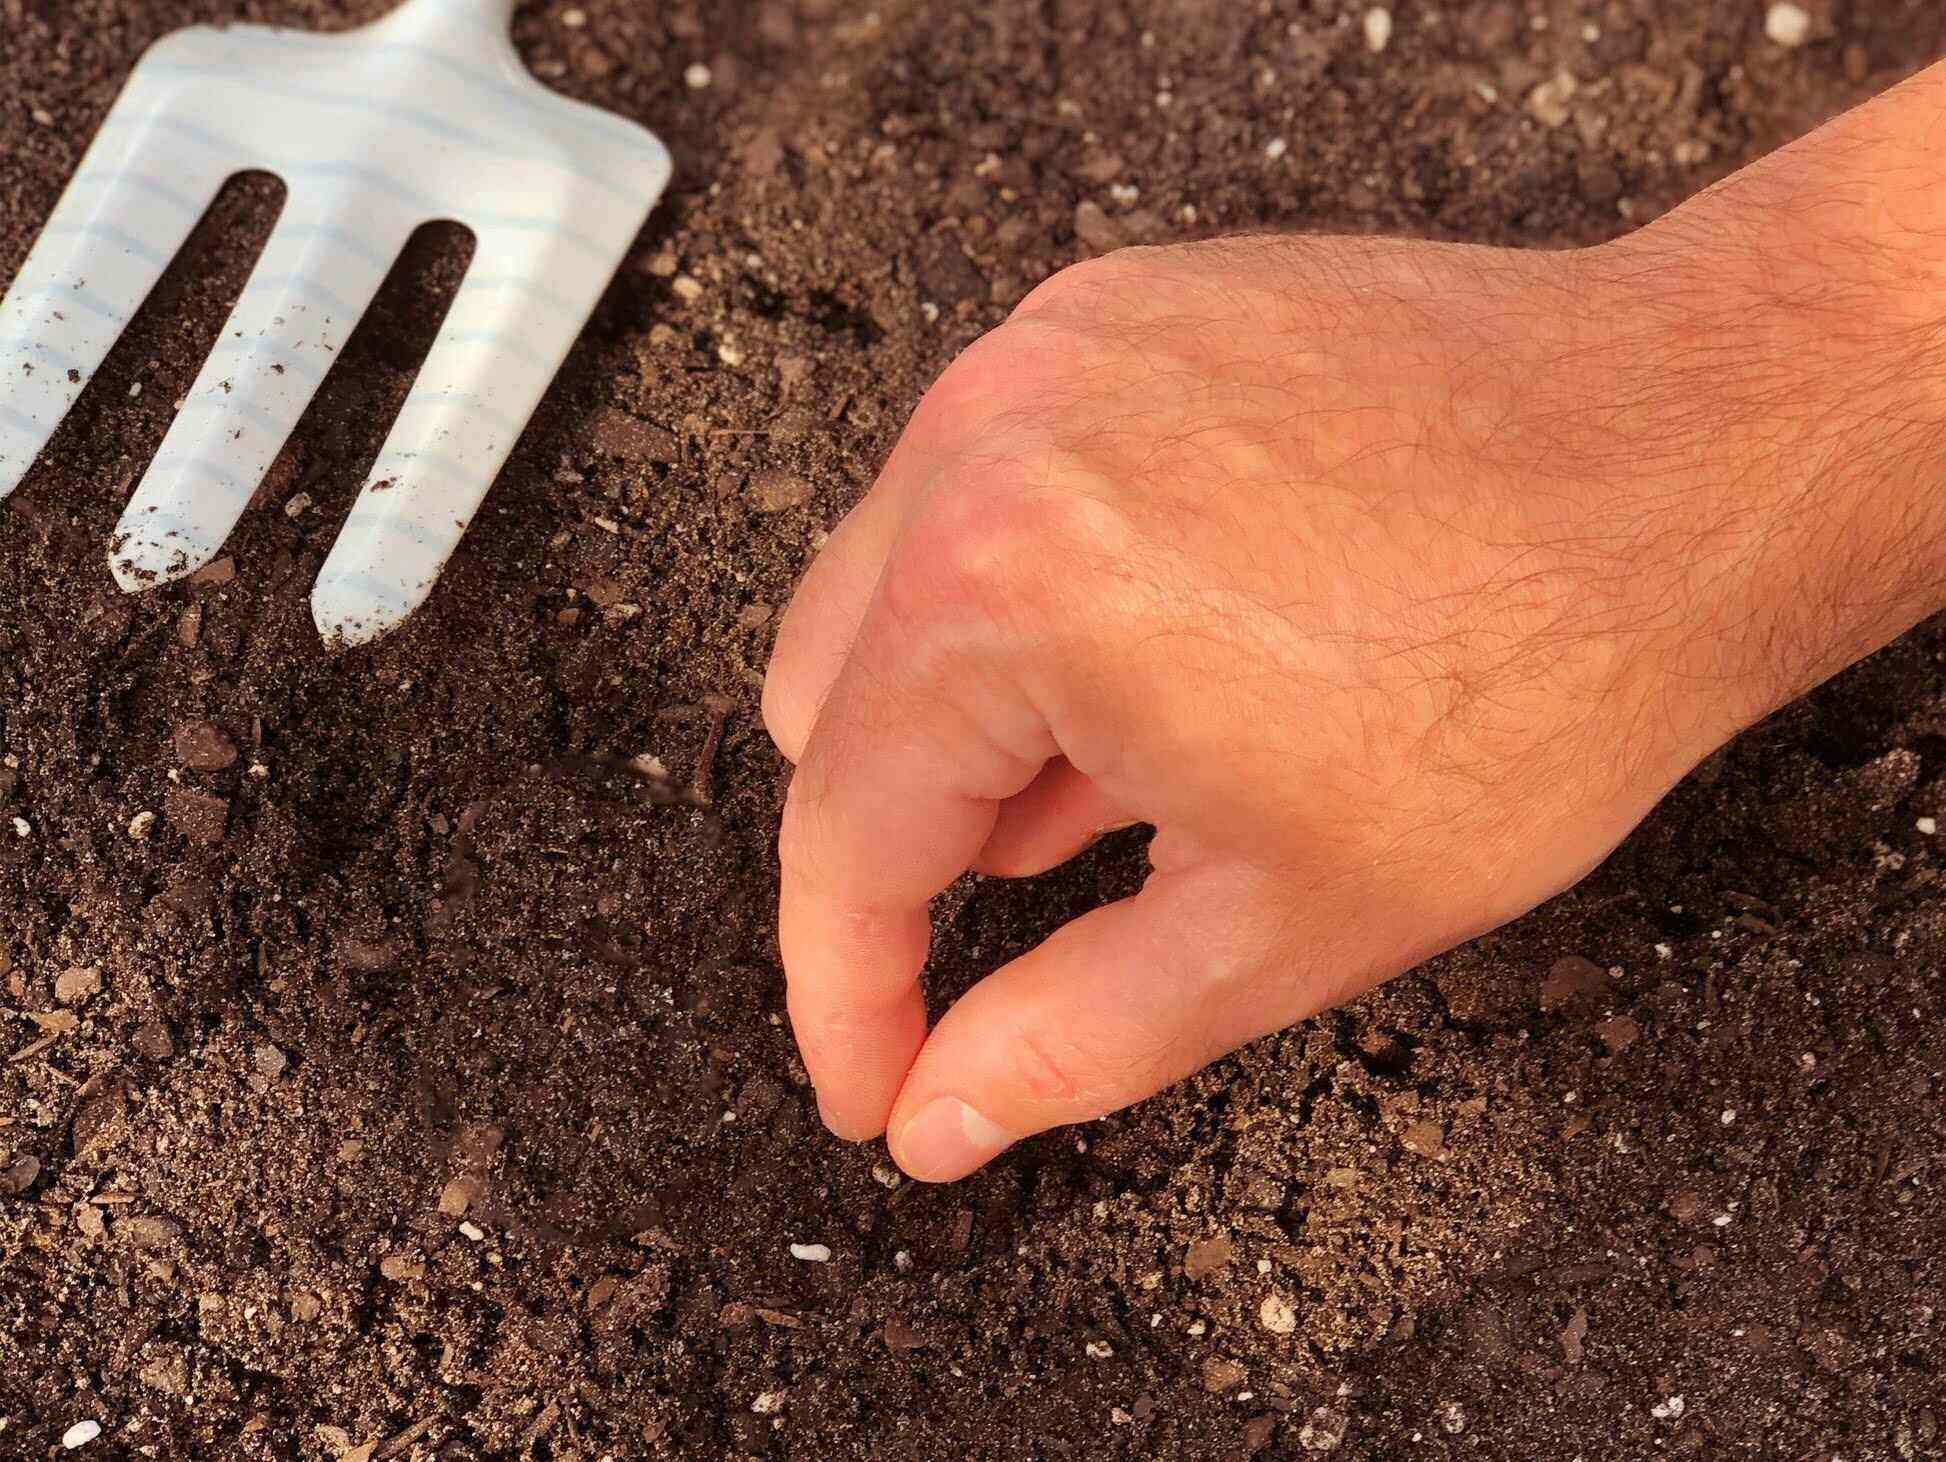
Now that you’ve prepared the soil, it’s time to plant your rutabaga seeds. Follow these steps to ensure successful seed planting:
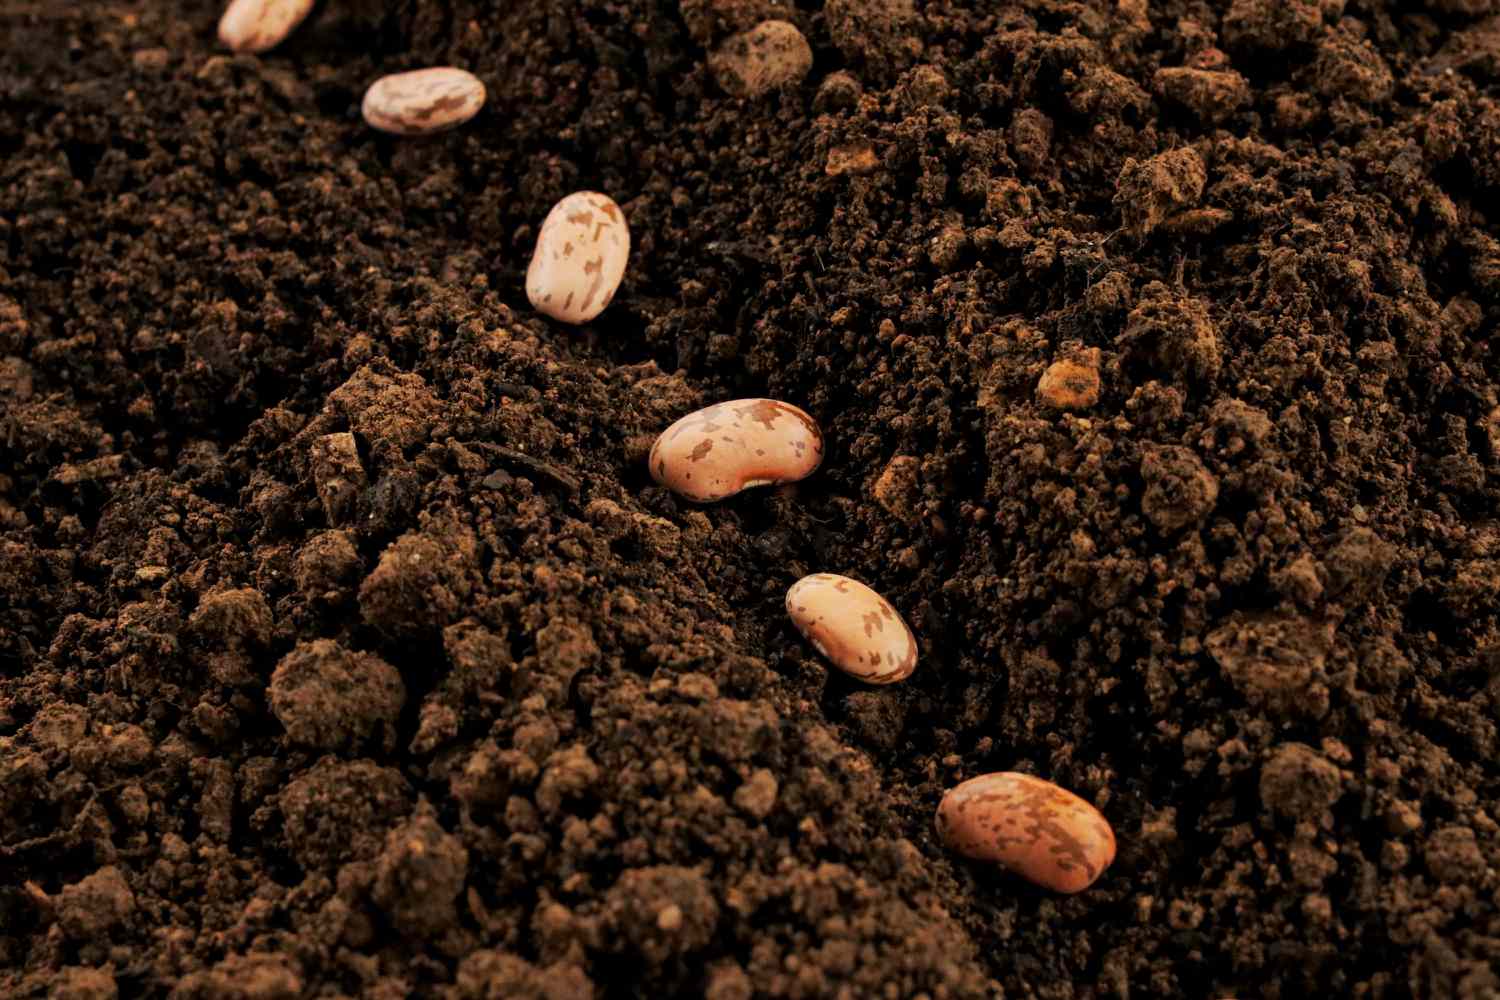
- Seed spacing: Rutabaga seeds should be planted about half an inch deep in rows or patches. Space the seeds approximately 2-4 inches apart to allow enough room for the plants to grow.
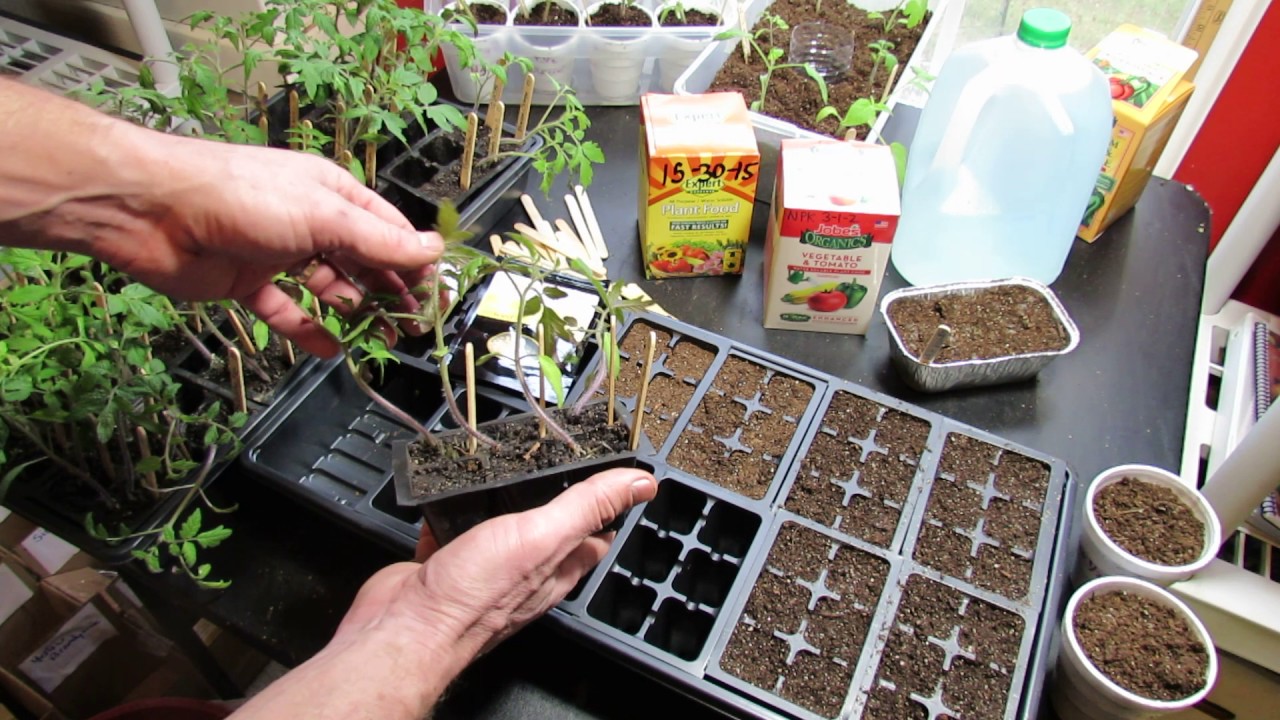
- Sowing method: You can either sow the seeds directly into the prepared soil or start them indoors and transplant the seedlings later. Direct sowing is recommended if the weather conditions permit, as rutabagas do not transplant well.
- Planting depth: Plant the seeds at a depth of about half an inch, covering them lightly with soil. Avoid planting them too deeply, as this can affect germination and emergence.
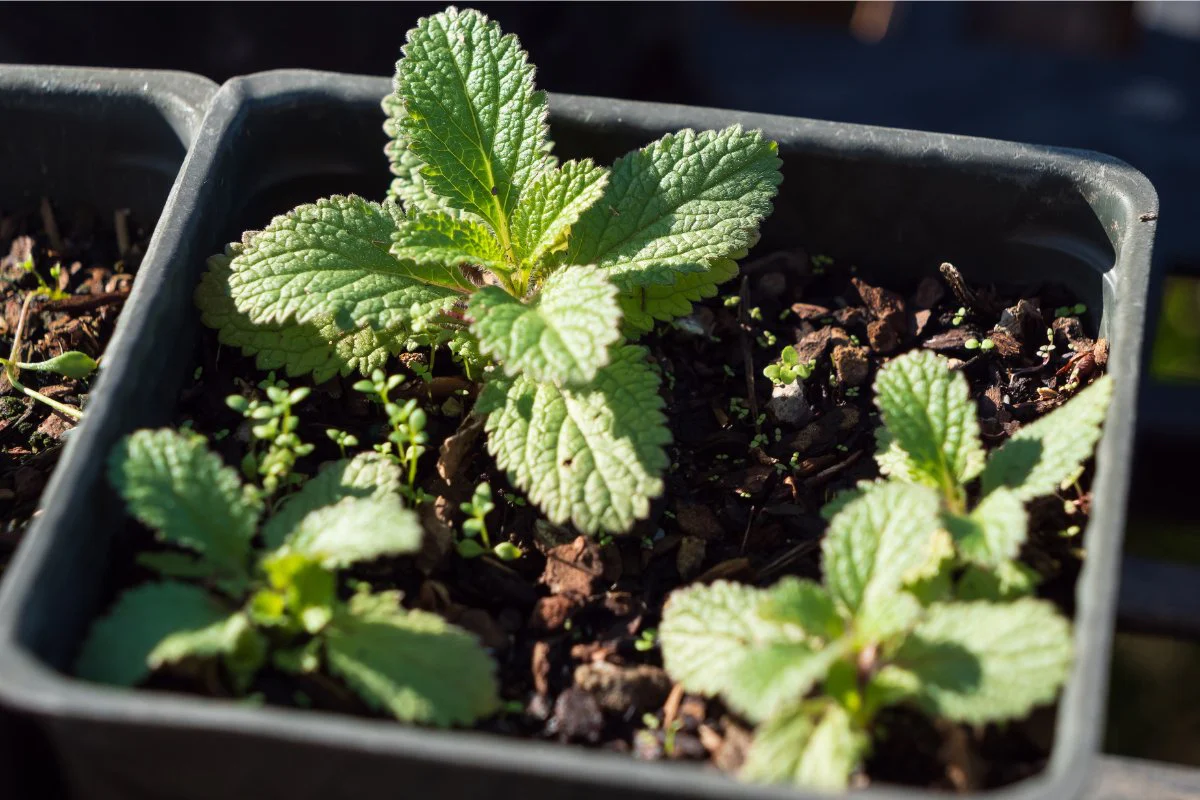
- Thin the seedlings: Once the seedlings emerge and grow a few inches tall, thin them out to maintain proper spacing. Remove the weaker seedlings, allowing the strongest ones to thrive.
- Cover the seeds: After planting, gently press the soil down to ensure good seed-to-soil contact. This will help with proper germination and root establishment.
Ensure that the newly planted seeds receive adequate moisture for germination. Keep the soil consistently moist, but not waterlogged, until the seedlings emerge. Once the seedlings are established, we’ll move on to the next step: watering and fertilizing.
Read more: How To Plant Seed
Step 5: Watering and Fertilizing
Proper watering and fertilizing are essential for the healthy growth and development of your rutabaga plants. Here’s what you need to know:
Watering:
- Keep the soil consistently moist, but not waterlogged.
- Water the plants deeply, ensuring that the water reaches the root zone.
- Avoid overhead watering, as wet foliage can lead to disease.
- Monitor the moisture levels regularly, especially during hot and dry periods.
- Using a mulch layer around the plants can help retain moisture and reduce weed competition.
Fertilizing:
- Before planting, incorporate organic matter or well-balanced fertilizer into the soil to provide essential nutrients.
- Apply a side dressing of nitrogen-rich fertilizer, such as compost or aged manure, when the plants are about six weeks old.
- Follow the instructions on the fertilizer packaging to determine the correct application rate.
- Avoid excessive use of nitrogen, as it can promote lush foliage growth at the expense of root development.
Remember to water your rutabaga plants consistently and fertilize them as needed throughout the growing season. The next step will focus on protecting the seedlings from pests and diseases.
Step 6: Protecting the Seedlings
Protecting your rutabaga seedlings from pests and diseases is crucial to ensure their healthy growth. Here are some measures you can take to safeguard your plants:
- Pest control: Routinely inspect your seedlings for common pests like aphids, flea beetles, and cabbage worms. Use organic pest control methods such as handpicking, applying neem oil, or using insecticidal soap. Installing physical barriers like row covers can also help deter pests.
- Disease prevention: Monitor your plants for signs of diseases such as clubroot, downy mildew, or powdery mildew. To minimize the risk of infection, practice crop rotation, providing adequate air circulation, and avoid overwatering. If necessary, apply organic fungicides as a preventive measure following the instructions on the label.
- Weed management: Keep the area around your seedlings free from weeds, as weeds can compete for nutrients and water. Regularly weed the area by hand, being careful not to disturb the delicate roots of your rutabaga seedlings.
- Supportive structures: Install supports like cages or stakes to provide stability and protection against strong winds or heavy rain. This is particularly important during the early stages of growth when the seedlings are more vulnerable.
By taking these precautions and implementing appropriate pest and disease management strategies, you can ensure the health and vitality of your rutabaga seedlings. Now, let’s move on to the final step: harvesting your rutabagas!
Step 7: Harvesting Rutabaga
Harvesting your rutabagas is an exciting and rewarding moment after months of care and nurturing. Here are the key steps to follow:
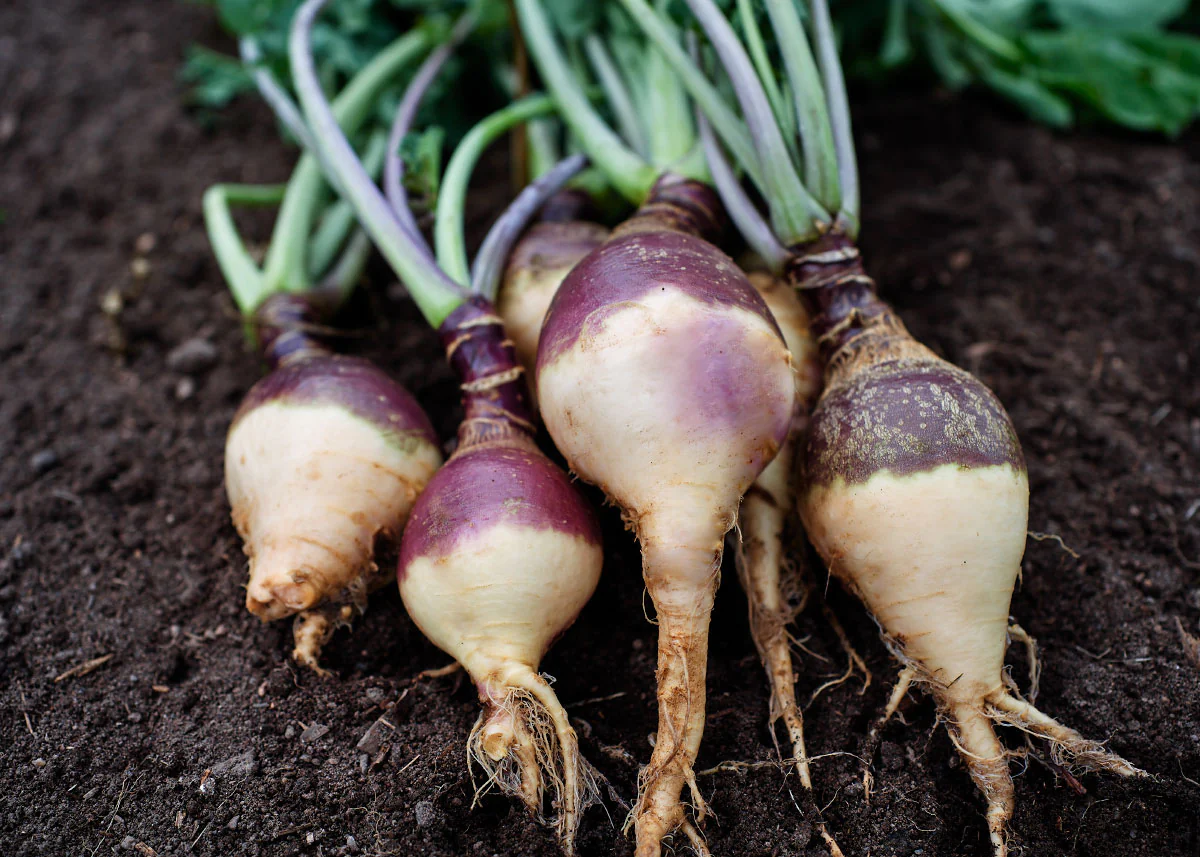
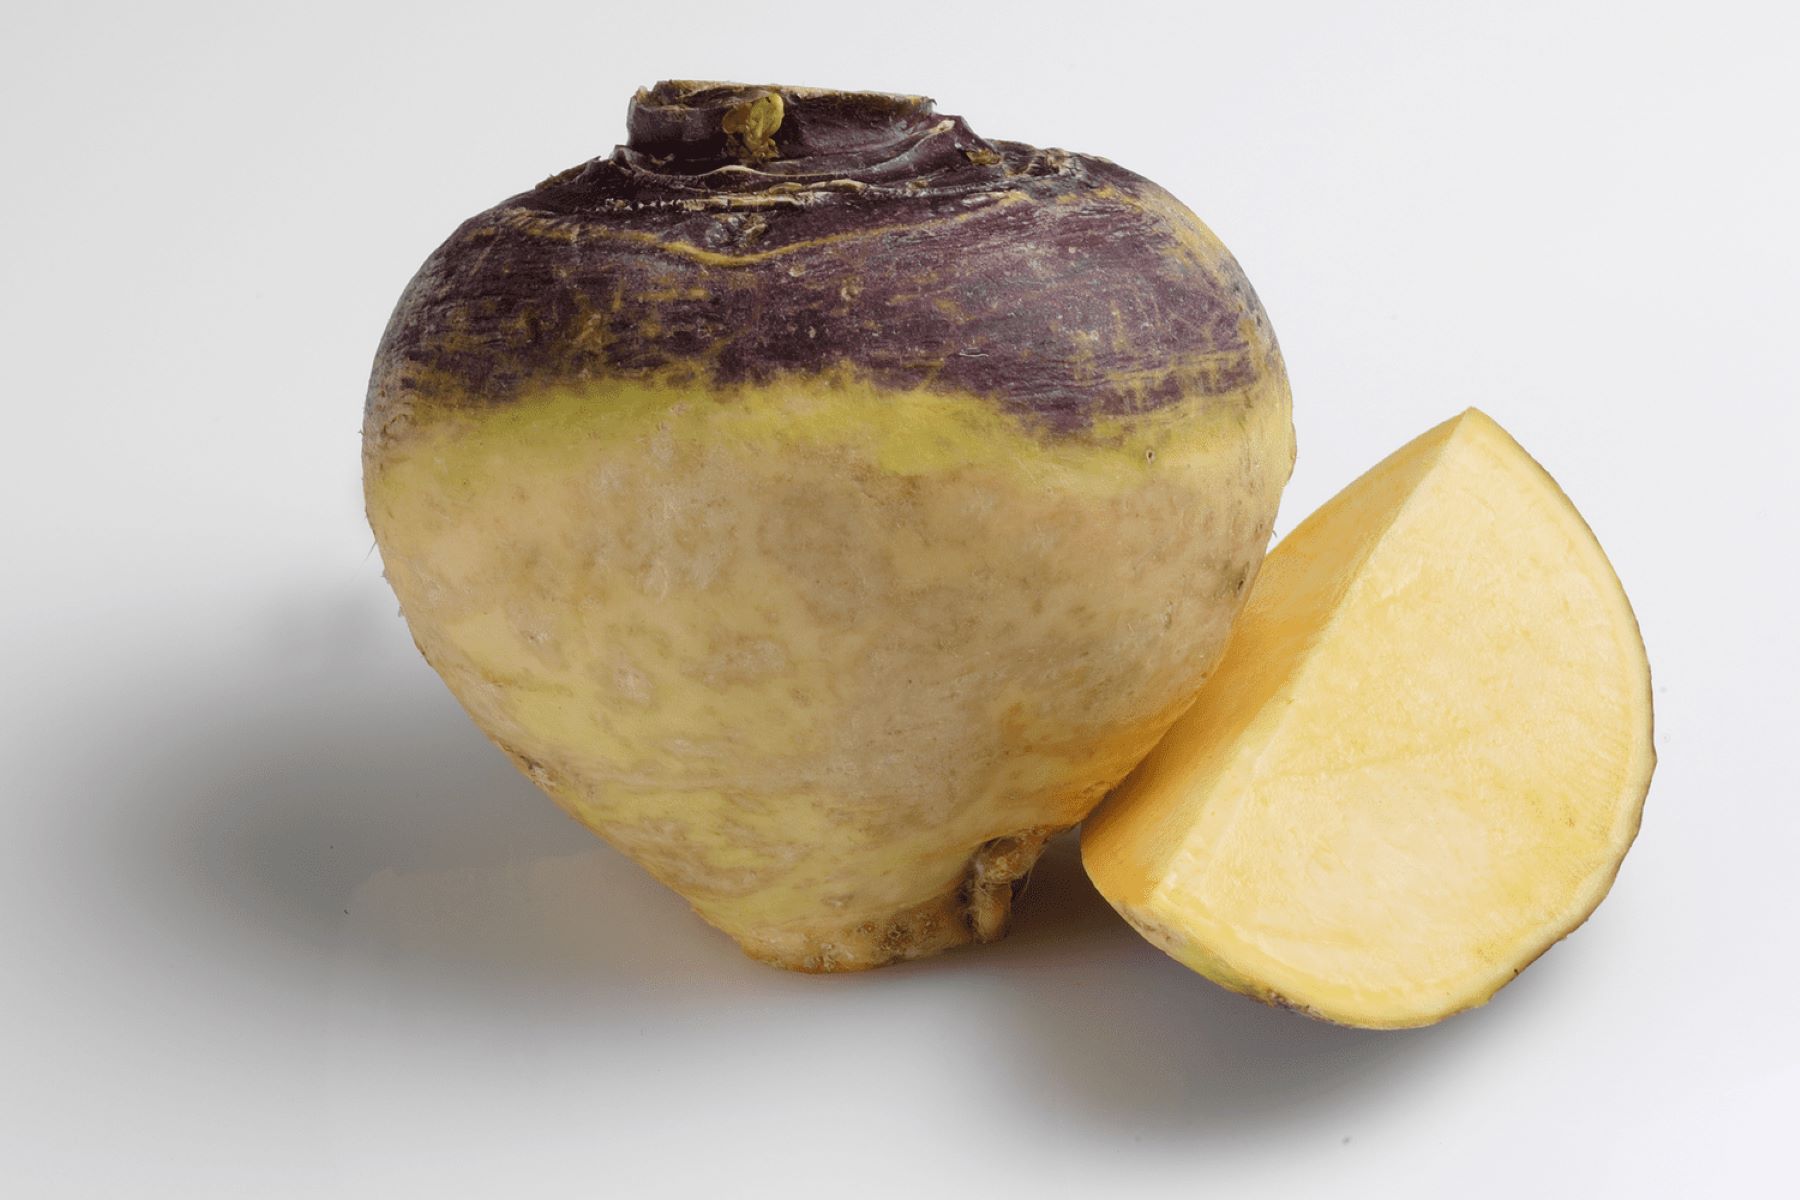
- Determine maturity: Rutabagas are typically ready for harvest when they have reached a diameter of 3 to 4 inches. The skin should be smooth, firm, and brightly colored.
- Loosen the soil: Gently loosen the soil around the base of the rutabaga using a garden fork or trowel. Be careful not to damage the roots or tuberous part of the plant.
- Harvesting method: Hold the foliage near the top of the rutabaga root and gently pull it up, lifting the entire plant from the ground. If the roots are stubborn, carefully use a garden fork to loosen them further. Avoid excessive force to prevent damage.
- Cleaning and storing: Once harvested, remove excess soil from the rutabagas by gently brushing or washing them. Trim off the foliage, leaving a small stem attached. Store rutabagas in a cool, dry place with good ventilation. They can last for several weeks to a few months if stored properly.
Rutabagas can continue to develop their flavor after harvesting, so don’t be afraid to leave them in storage for a while. They are a versatile vegetable that can be enjoyed in various culinary preparations, including roasting, mashing, or adding to soups and stews.
Congratulations! You have successfully harvested your homegrown rutabagas. Enjoy the delicious taste and the satisfaction of growing your own nutritious food!
Now that you have learned how to sow, grow, and harvest rutabagas, you can continue to refine your gardening skills and explore other exciting vegetables to cultivate in your garden.
Frequently Asked Questions about How To Plant Rutabaga Seeds
Was this page helpful?
At Storables.com, we guarantee accurate and reliable information. Our content, validated by Expert Board Contributors, is crafted following stringent Editorial Policies. We're committed to providing you with well-researched, expert-backed insights for all your informational needs.

0 thoughts on “How To Plant Rutabaga Seeds”