Home>Garden Essentials>How To Start Grape Seeds
Garden Essentials
How To Start Grape Seeds
Modified: March 15, 2024
Learn how to start grape seeds in your garden and enjoy the process of growing your own grapes. Find step-by-step instructions and tips for successful germination.
(Many of the links in this article redirect to a specific reviewed product. Your purchase of these products through affiliate links helps to generate commission for Storables.com, at no extra cost. Learn more)
Introduction
Welcome to the world of grape gardening! Growing grapes from seeds can be a rewarding and fulfilling experience, allowing you to witness the entire life cycle of this delicious fruit. While most grapevines are typically propagated from cuttings, starting grape seeds from scratch can be a fun and educational project.
In this article, we will guide you through the step-by-step process of starting grape seeds and nurturing them into healthy seedlings. With a little patience and dedication, you can enjoy the satisfaction of growing your own grapevine and eventually harvesting your very own grapes.
Before we dive into the details, it is important to note that growing grapes from seeds is a longer and more uncertain process compared to using cuttings or grafted plants. Grape seeds may not produce the exact same variety as the parent plant, so there is a chance of variation in taste, color, and characteristics. However, if you are up for the challenge and eager to experiment, starting grape seeds can be a fascinating journey.
Now, let’s get started!
Key Takeaways:
- Starting grape seeds is a fun and educational project, but it requires patience and dedication due to the uncertain outcome of the grape variety.
- Providing proper care, from watering to training and pruning, is crucial for growing healthy grape seedlings and eventually harvesting delicious grapes.
Read more: How To Start Grapes From Seeds
Step 1: Selecting the Grape Seeds
The first step in starting grape seeds is to carefully select the seeds you will be using. It is important to choose seeds from a variety of grape that you enjoy and that is suitable for your climate. Here’s how to go about it:
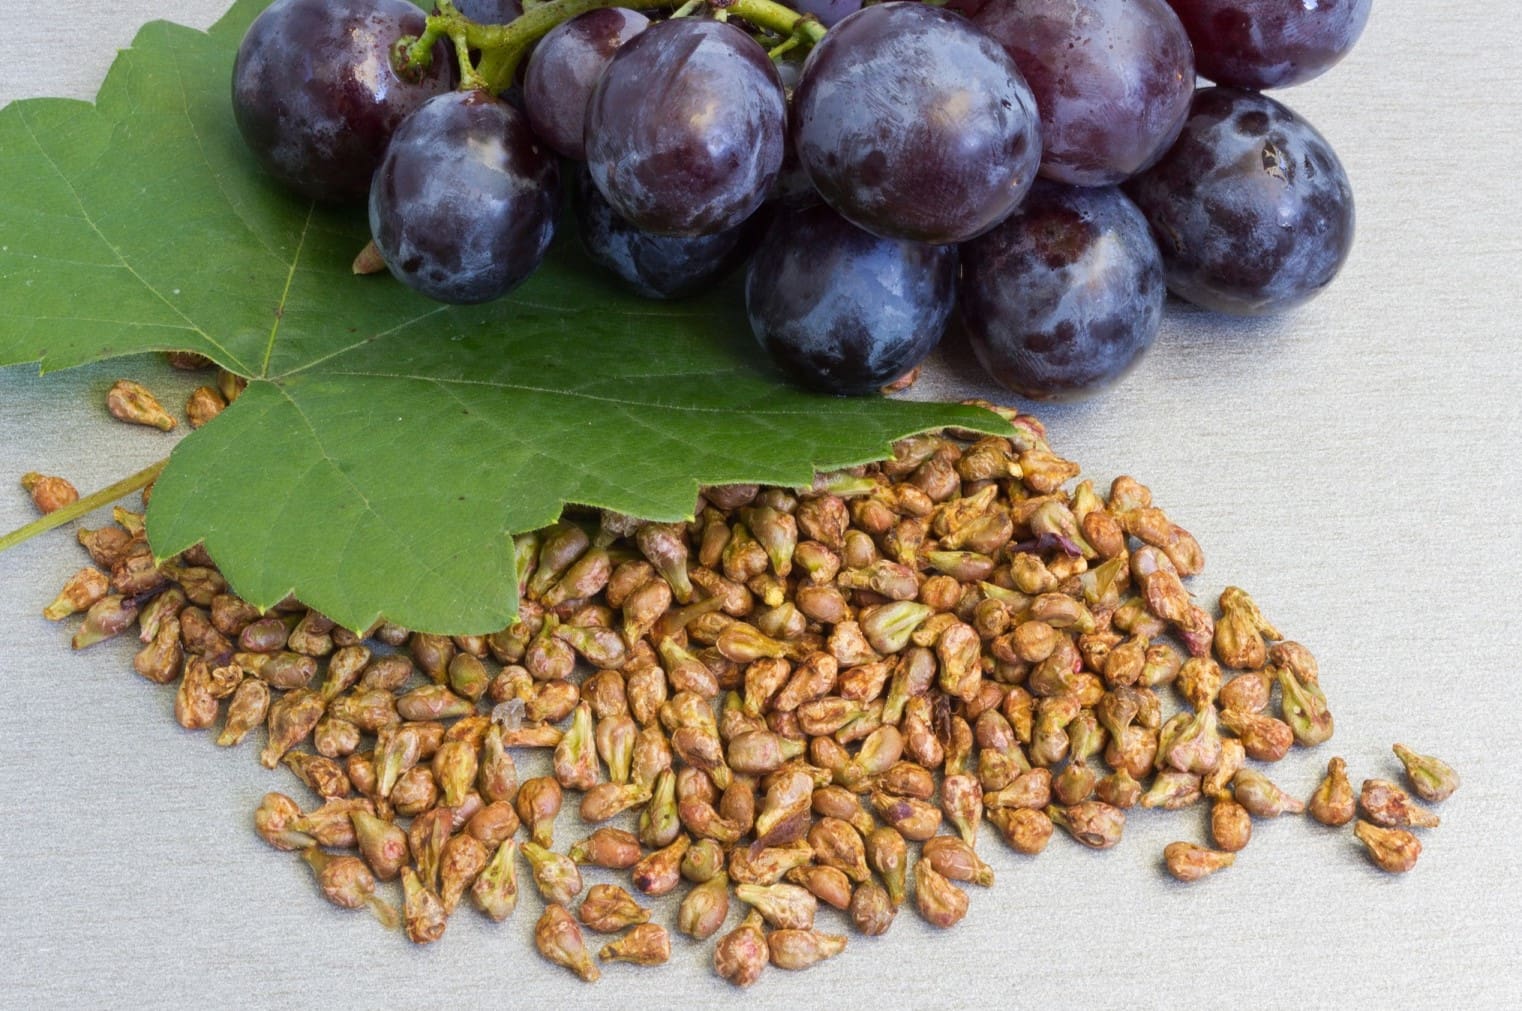
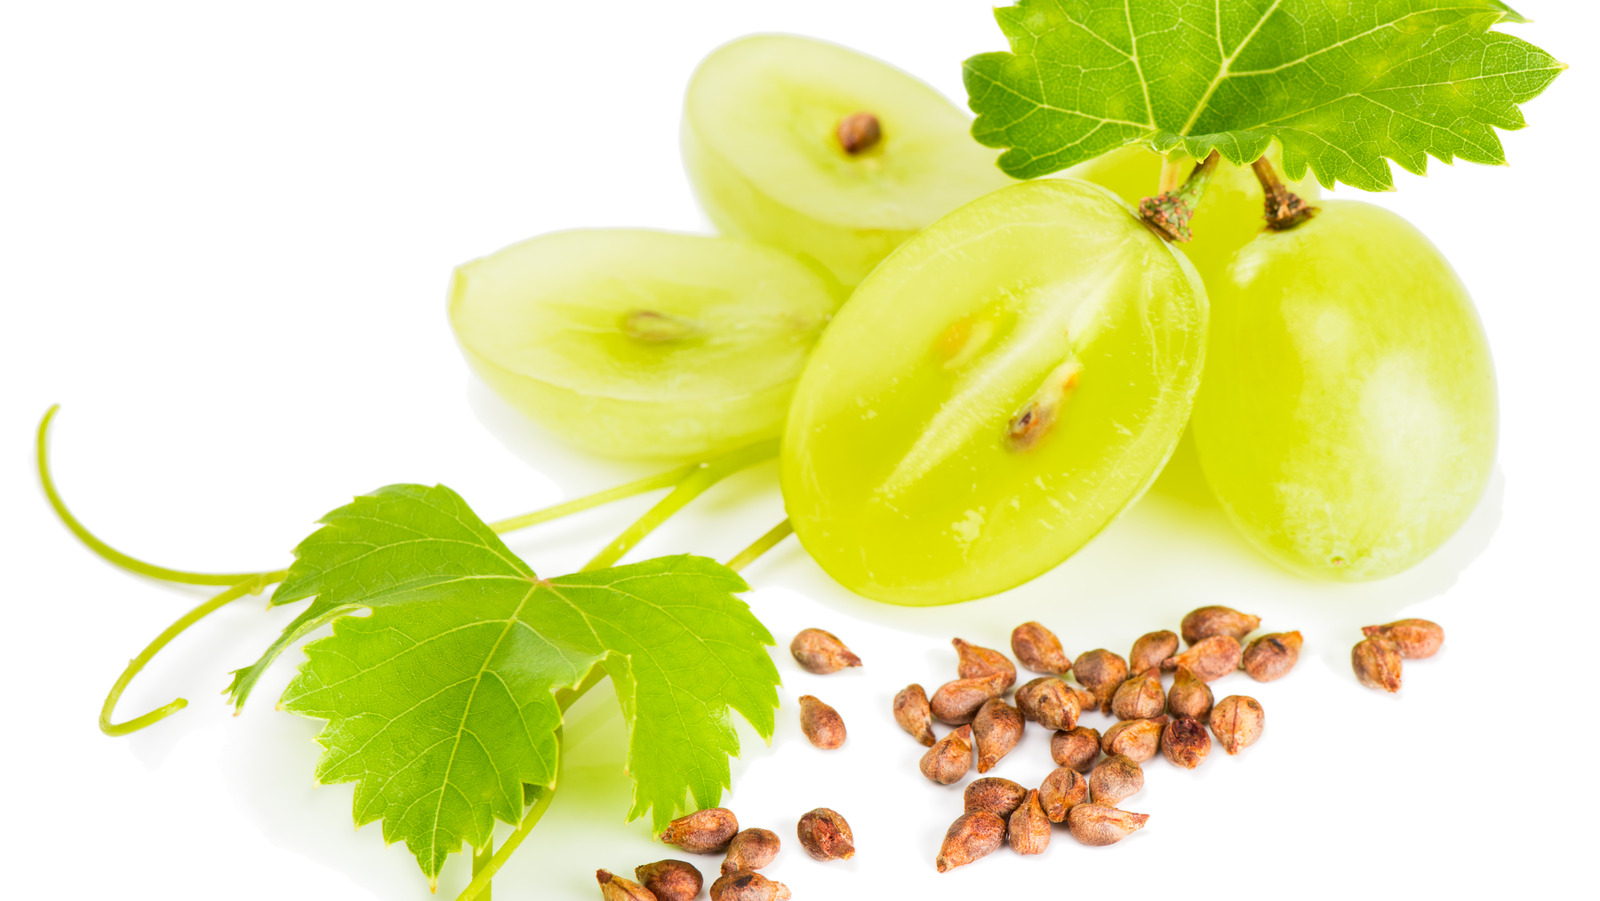
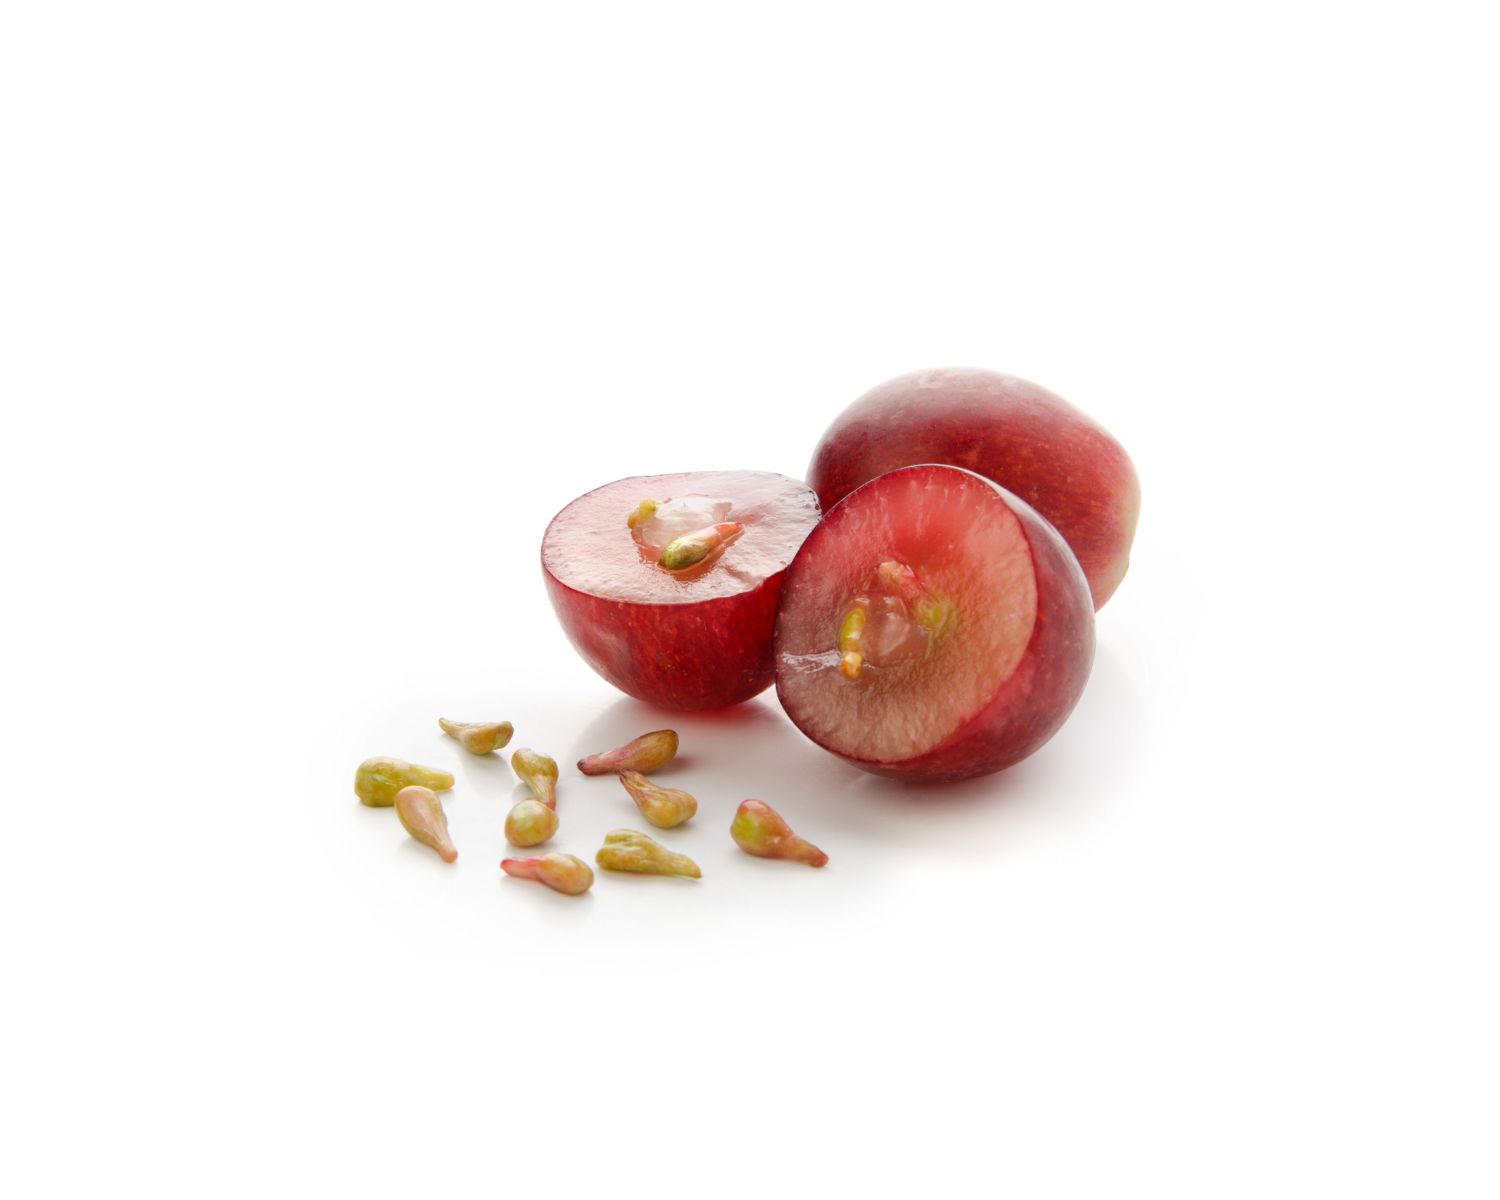
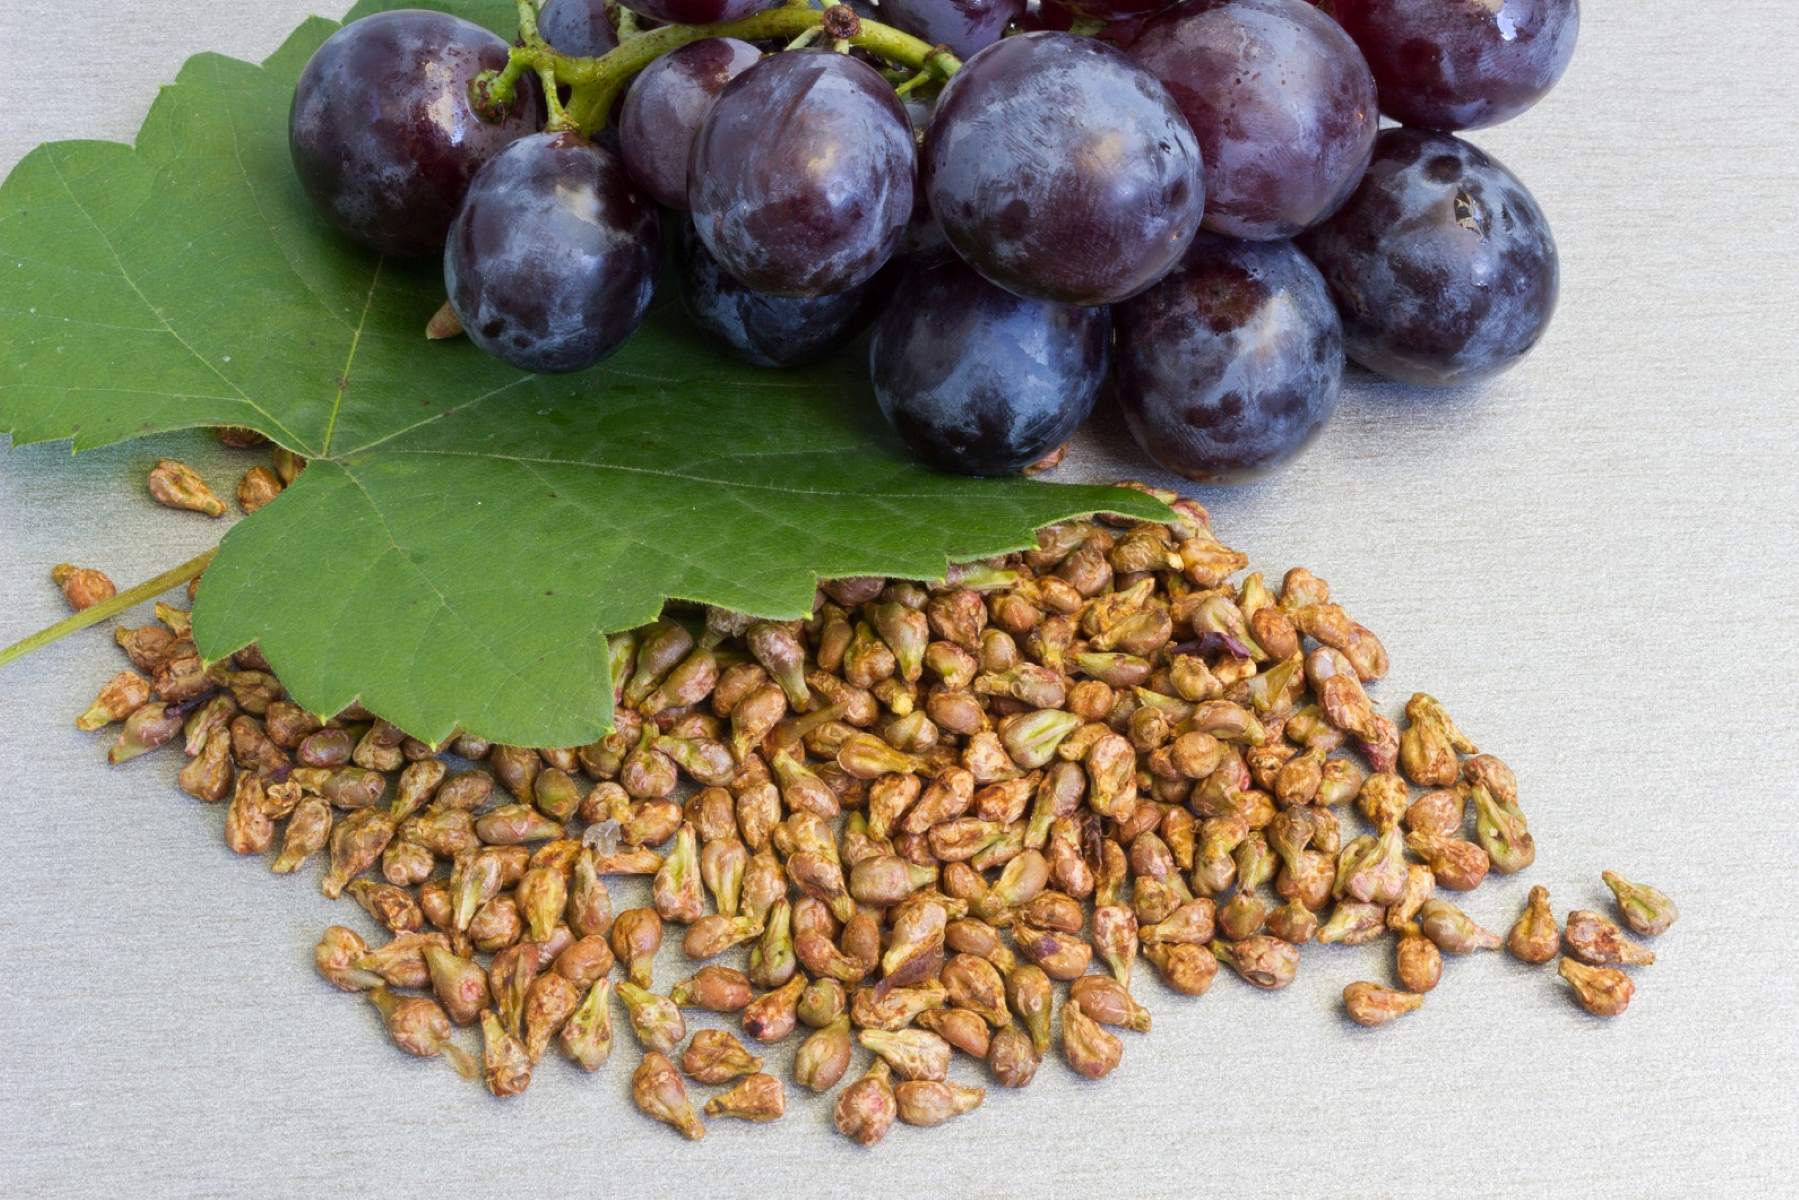
- Obtain fresh grape seeds: Look for ripe grapes and collect the seeds. It is best to select seeds from fully ripened grapes to maximize the chances of germination. Avoid using seeds from grapes that have been treated with chemicals or pesticides.
- Choose seeds from a desirable grape variety: If you have a particular grape variety in mind, make sure to select seeds from that specific variety. Keep in mind that the resulting plants may not exactly resemble the parent plant, but this can add to the excitement and surprise of growing from seeds.
- Consider climate suitability: Take into account the climate in your region. If you live in a cooler climate, choose grape varieties that are more cold-hardy. Conversely, if you are in a warmer climate, select varieties that thrive in heat.
- Inspect the seed condition: Examine the seeds for any signs of damage or deformity. Discard any seeds that are discolored, shriveled, or have cracks. Healthy seeds have a plump appearance and are a light brown color.
Remember that not all grape seeds will germinate successfully, so it’s a good idea to select a few extra seeds to increase your chances of success. With the seeds selected, let’s move on to preparing them for planting.
Step 2: Preparing the Seeds for Planting
Once you have selected the grape seeds, it’s time to prepare them for planting. This step is crucial to enhance the germination rate and give your seeds the best possible start. Follow these steps to properly prepare the seeds:
- Soak the seeds: Start by soaking the grape seeds in a bowl of room temperature water. Allow them to soak for 24 to 48 hours. This soaking process helps to soften the seed coat and promote germination.
- Stratify the seeds: After soaking, it’s important to stratify the seeds. This mimics the natural winter dormancy period for the seeds. Place the seeds in a moist paper towel or a damp vermiculite-filled bag. Seal the bag and refrigerate it for 6 to 8 weeks. This cold stratification process is essential for breaking the seed’s dormancy and triggering germination.
- Perform a water test: After the stratification period, conduct a water test to identify viable seeds. Fill a bowl with water and gently place the seeds in it. Healthy seeds will sink to the bottom, while non-viable seeds will float. Discard any seeds that float, as they are unlikely to germinate.
- Remove any remaining seed coat: For seeds that passed the water test, carefully remove the remaining seed coat. Gently rub them with a soft cloth or use your fingers to carefully pry off the seed coat. Be cautious not to damage the delicate seed inside.
By properly preparing the seeds, you are increasing the chances of successful germination. With the seeds now prepared, it’s time to move on to the next step: planting them.
Step 3: Planting the Grape Seeds
Now that the grape seeds are prepared, it’s time to move on to the planting stage. Planting the seeds properly will ensure optimal growth and development. Follow these steps to plant the grape seeds:
- Select the planting container: Choose a planting container that has drainage holes to prevent water from accumulating. You can use small pots, seed trays, or peat pellets for planting. Make sure the container is clean and sterilized to minimize the risk of diseases or pests.
- Fill the container with seed-starting mix: Fill the container with a well-draining seed-starting mix. This type of soil allows for proper moisture retention while preventing waterlogging. Avoid using regular garden soil, as it may not provide the ideal conditions for germination.
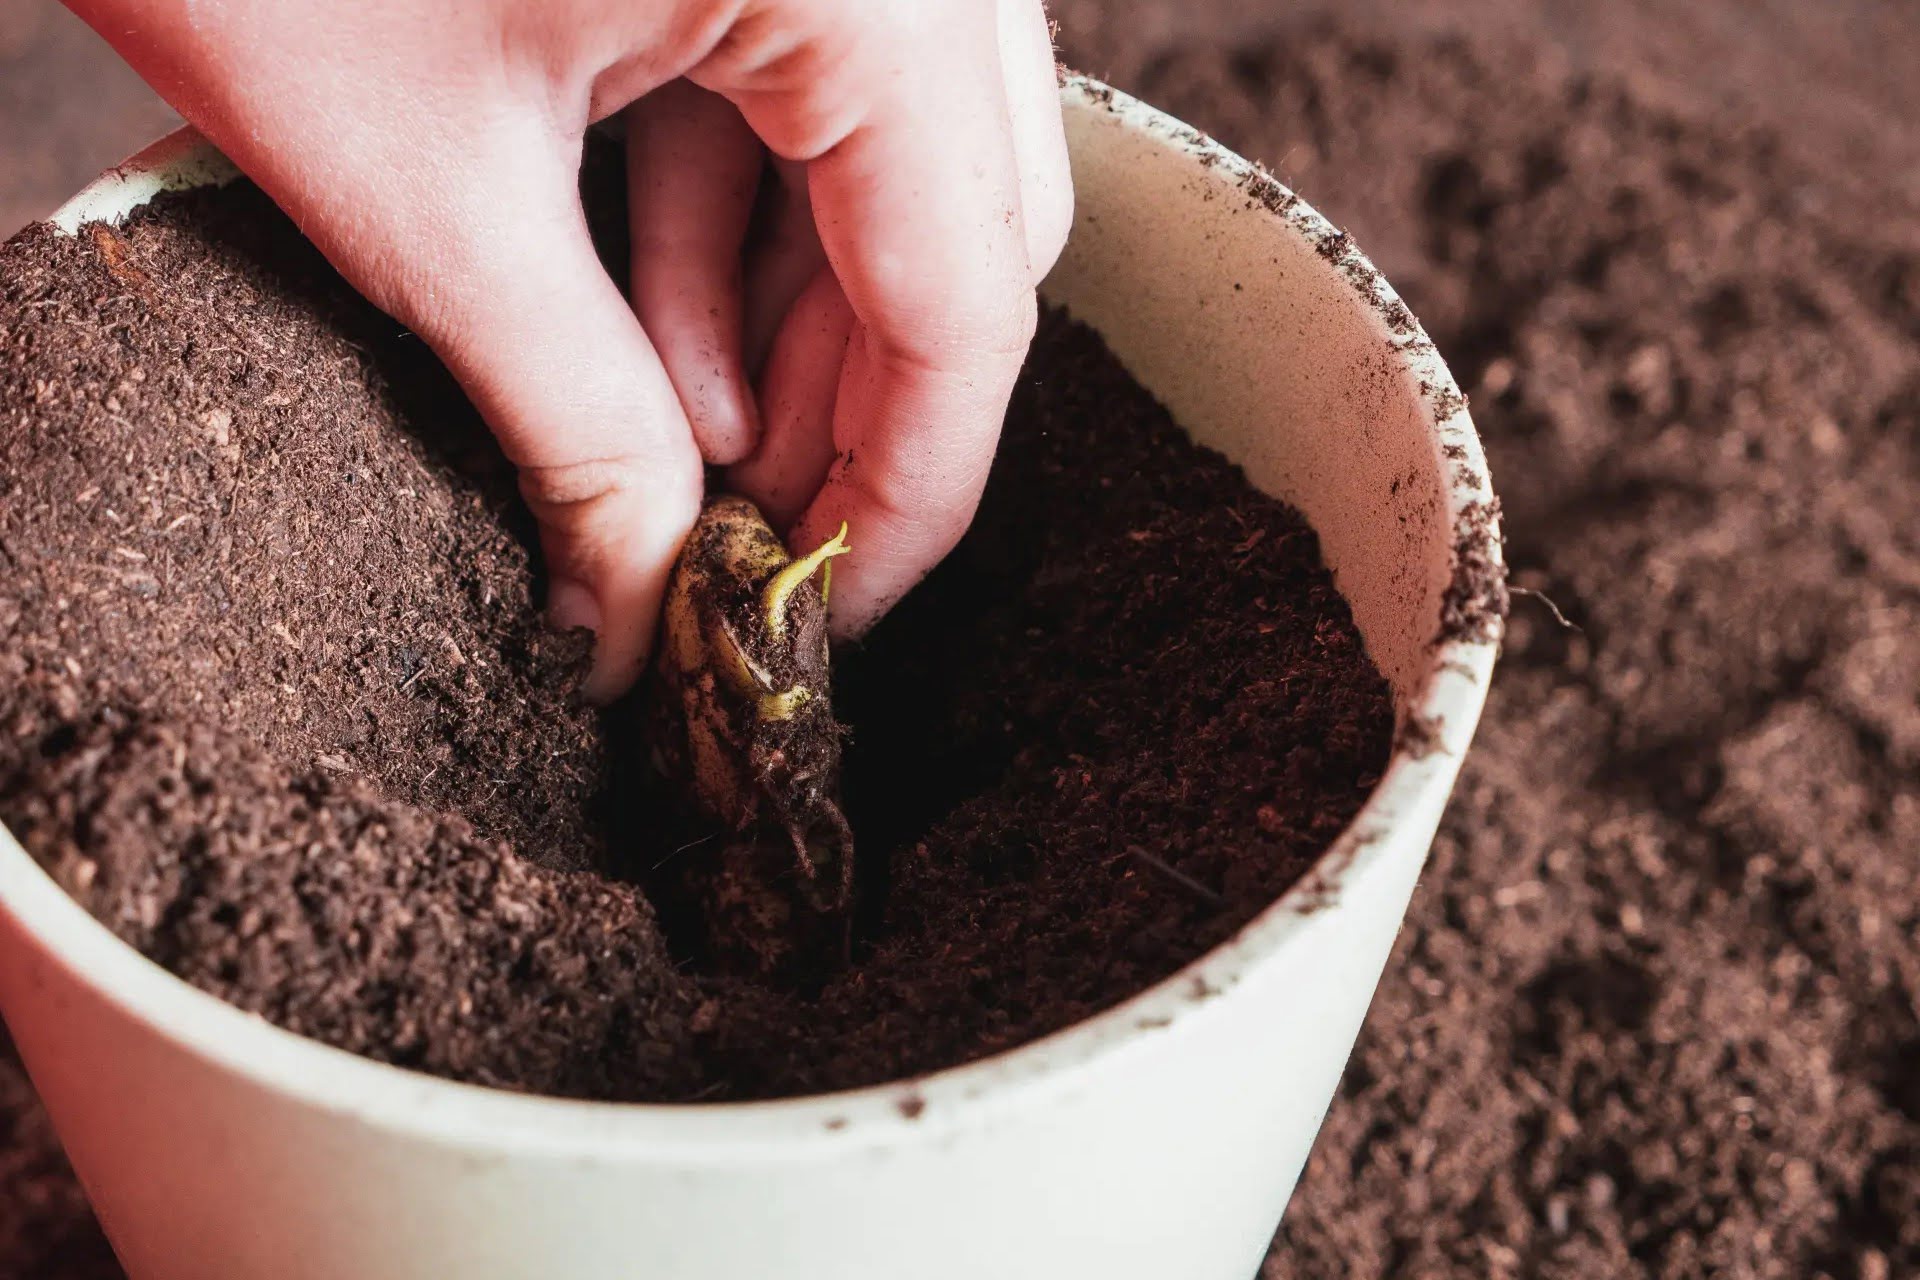
- Plant the seeds: Make a small hole in the soil with your finger or a pencil. Place the grape seed in the hole, approximately 1 inch deep. Gently cover the seed with soil and lightly press it down to ensure good soil-to-seed contact.
- Water the seeds: After planting the seeds, water them gently using a misting spray or a watering can with a fine nozzle. Avoid overwatering, as excessive moisture can lead to rot. Keep the soil evenly moist throughout the germination process.
Place the planted seeds in a warm location with indirect sunlight. A temperature of around 70°F (21°C) is ideal for seed germination. It’s important to note that grape seeds may take several weeks or even months to germinate, so be patient and keep a close eye on them.
Once the seeds have germinated and seedlings have emerged, it’s time to provide them with proper care. Move on to the next step to learn about nurturing the seedlings.
Step 4: Providing Proper Care for the Seeds
Now that the grape seeds have been planted and are starting to germinate, it’s crucial to provide them with the right care and attention to ensure healthy growth. Here are some essential care tips for your grape seedlings:
- Light and temperature: Once the seedlings have emerged, place them in a location where they can receive plenty of bright, indirect sunlight. Aim for a temperature range of 60°F to 70°F (15°C to 21°C) for optimal growth.
- Watering: It’s important to keep the soil consistently moist, but not soggy. Water the seedlings whenever the top inch of soil feels dry. Avoid overwatering, as it can lead to root rot. Use a watering can or a misting spray to provide a gentle and even distribution of water.
- Feeding: As the seedlings start to grow, you can begin to provide them with a diluted liquid fertilizer. Choose a fertilizer specifically formulated for young plants and follow the recommended dosage on the product label. Apply the fertilizer every two weeks to promote healthy growth.
- Thinning: If multiple seeds have germinated in the same container, it’s important to thin out the weaker seedlings. Choose the healthiest and strongest seedling, and carefully remove the rest to prevent overcrowding and competition for resources.
- Supporting growth: As the grape seedlings continue to grow, they will require support for their vertical growth. Gently insert a small stake or thin bamboo cane near the base of each seedling and loosely tie it with a soft plant tie. This will help the seedling grow straight and avoid bending or breaking.
- Protecting from pests: Keep a close eye on the seedlings and protect them from common pests such as aphids and snails. Regularly inspect the plants and take necessary measures to control any pest infestations.
By providing the right care and maintenance, your grape seedlings will thrive and develop into strong and healthy vines. Once the seedlings are well-established, you can consider transplanting them to a larger container or directly into the ground. This optional step will be covered in the next section.
To start grape seeds, first remove the seeds from ripe grapes and soak them in water for 24 hours. Then, plant the seeds in a small pot with well-draining soil and keep them in a warm, sunny spot. Keep the soil moist and in a few weeks, you should see the seeds sprouting.
Read more: How To Germinate Grape
Step 5: Transplanting the Seedlings (Optional)
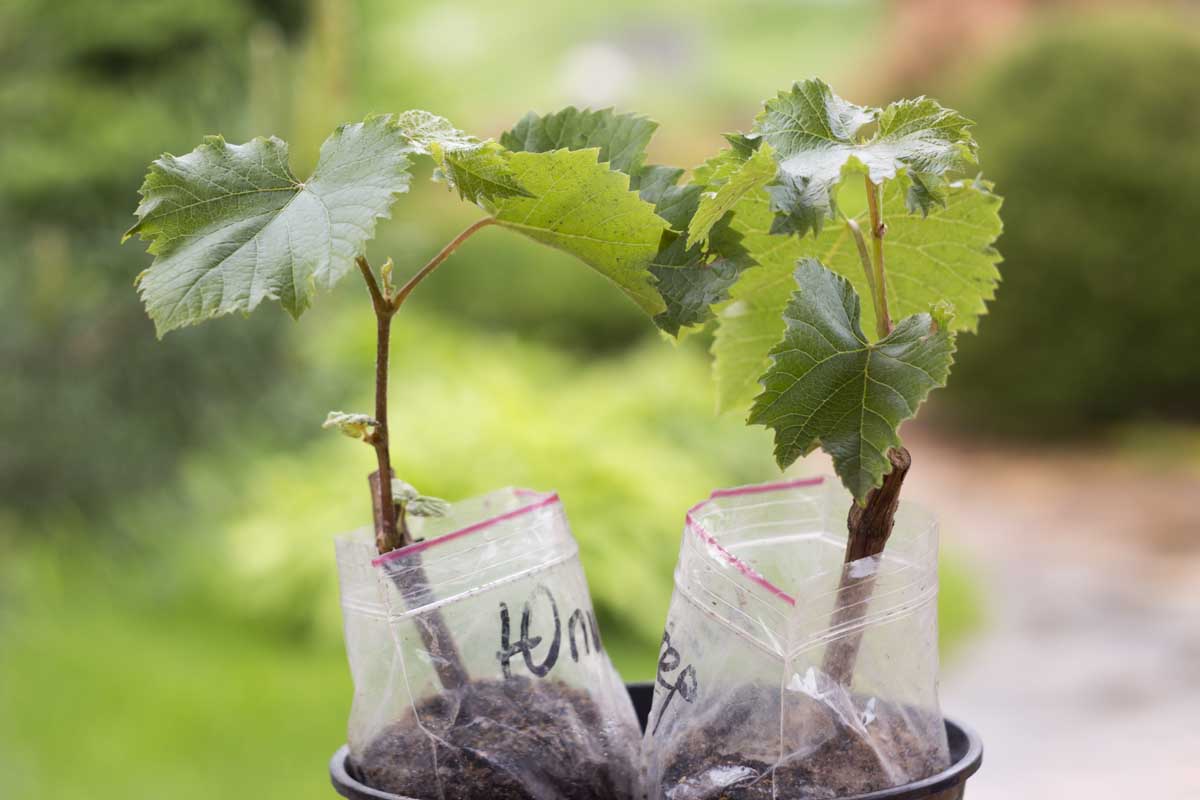
Transplanting your grape seedlings is an optional step that can be done to provide them with more space to grow and develop. This step is typically undertaken when the seedlings have reached a size where their roots are beginning to outgrow their current containers. Here’s how to transplant your grape seedlings:
- Prepare the planting site: Choose a suitable location in your garden for transplanting the seedlings. Ensure that the site receives ample sunlight and has well-draining soil. Clear any weeds or debris from the area and loosen the soil to encourage healthy root growth.
- Timing is key: It’s important to choose the right time to transplant your seedlings. Wait until the seedlings have developed a strong root system and have at least two or three sets of true leaves. This usually takes around 8 to 10 weeks from germination.
- Prepare the planting hole: Dig a hole in the planting site that is slightly larger and deeper than the current container holding the seedling. Gently remove the seedling from its container, taking care not to damage the roots.
- Planting the seedling: Place the seedling into the planting hole, making sure that the base of the stem is at ground level. Backfill the hole with soil, gently firming it around the roots. Water the newly transplanted seedling thoroughly.
- Maintain proper care: After transplanting, continue to provide the seedling with regular watering, proper nutrients, and support if needed. Monitor the plant for signs of stress or any pest or disease issues, and take appropriate action to address them.
Transplanting grape seedlings gives them the space to establish a strong root system and develop into healthy vines. However, if you choose not to transplant, you can still continue to care for and maintain your grape seedlings in their containers. Regardless of your decision, the next step will guide you on the continued care for your seedlings.
Step 6: Continued Care for Seedlings
Now that your grape seedlings are planted or transplanted, it’s important to provide them with consistent care to ensure their ongoing health and development. Follow these tips to continue caring for your grape seedlings:
- Watering: Maintain a regular watering schedule, ensuring the soil stays evenly moist. Grapevines generally prefer deep but infrequent watering, so water deeply once or twice a week, depending on the weather conditions. Avoid overwatering, as excessive moisture can lead to root rot.
- Fertilizing: Apply a balanced fertilizer designed for fruit-bearing plants during the growing season. Follow the instructions on the fertilizer package to determine the appropriate dosage and frequency. Apply the fertilizer around the base of the plants and gently work it into the soil.
- Training and pruning: As the grape seedlings grow, they will need proper training and pruning to establish a strong structure. Guide the main stem along a trellis or support system, and remove any side shoots or suckers that emerge from the base of the plants.
- Support: As the grapevines grow taller, provide them with additional support to help them climb. Install a trellis or use wires to guide the vines upwards. Regularly check the support structure to ensure it is secure and can withstand the weight of the growing vines.
- Weed control: Keep the area around your grape seedlings weed-free. Weeds compete for nutrients and water, which can hinder the growth of the vines. Regularly remove any weeds or grass that may encroach on the grapevine’s space.
- Pest and disease management: Monitor your grape seedlings for any signs of pests or diseases, such as aphids or powdery mildew. Use organic pest control methods whenever possible and take appropriate action to prevent or treat any issues that arise.
By providing ongoing care, your grape seedlings will continue to grow and develop into strong, productive vines. The final step will guide you on harvesting grapes from your grapevines and enjoying the fruits of your labor.
Step 7: Harvesting Grapes from the Seedlings
After months of care and nurturing, your grape seedlings have transformed into mature vines and are ready to bear fruit. Harvesting grapes from your seedlings is an exciting and rewarding moment. Here’s what you need to know about harvesting grapes:
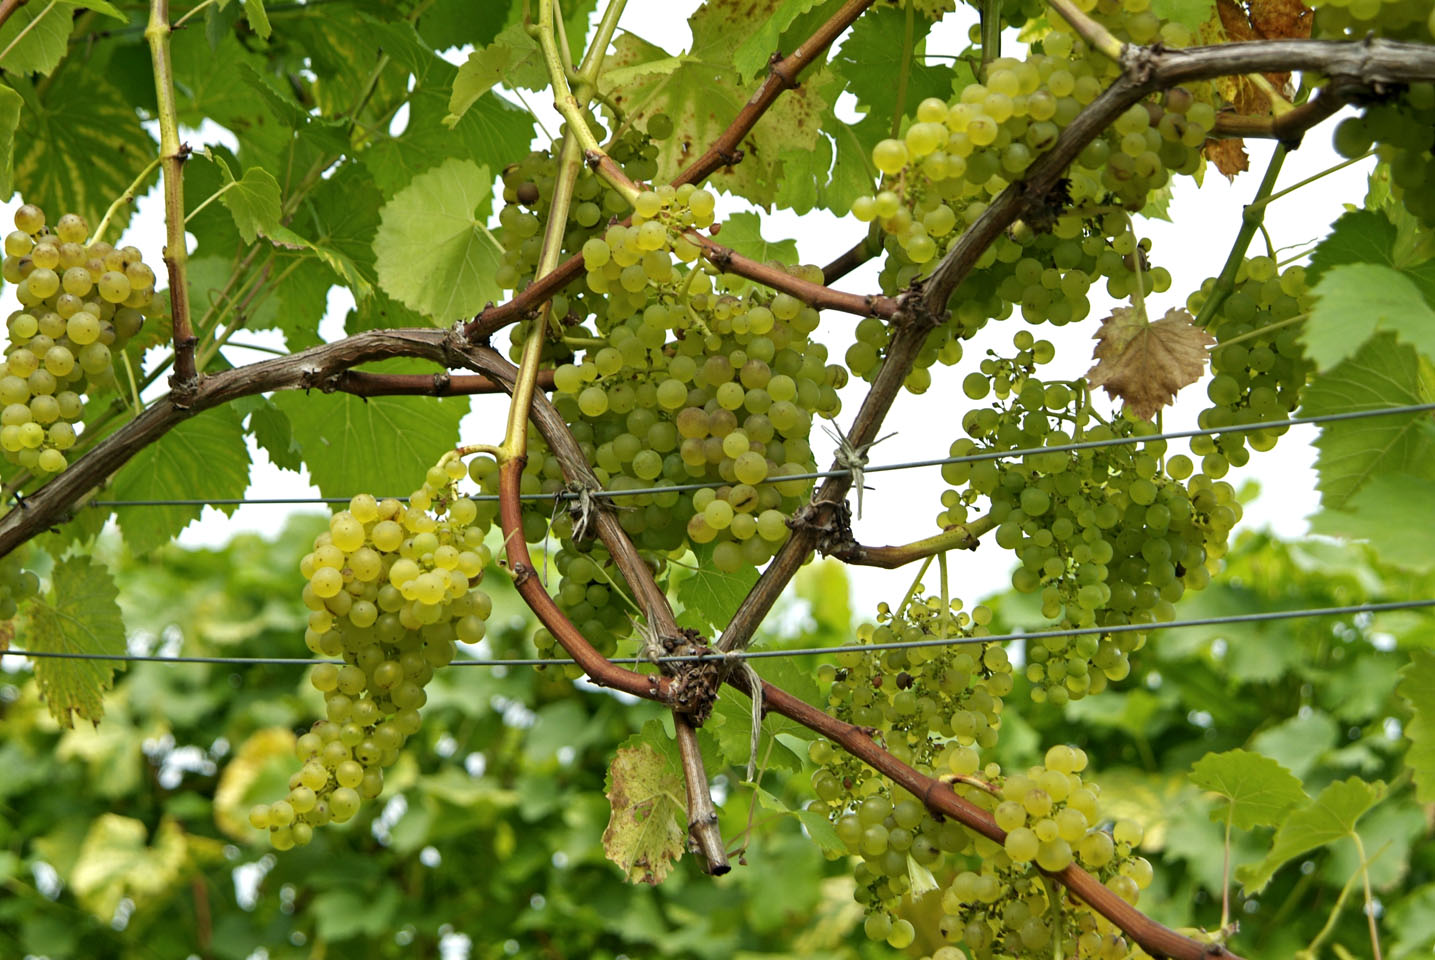
- Observing ripeness: Pay close attention to the color, texture, and taste of the grapes. Different grape varieties have different indications of ripeness, so familiarize yourself with the specific characteristics of the variety you planted. Grapes are typically ready for harvest when they are plump, juicy, and have a rich color.
- Timing the harvest: Harvest grapes when they are fully ripe but before they become overripe. It’s best to pick grapes in the early morning when temperatures are cooler, as this helps to preserve their flavor and freshness.
- Using good harvesting practices: When harvesting grapes, use clean and sharp pruning shears or scissors to cut the grape clusters from the vine. Snip the clusters carefully, being careful not to damage the vines or the remaining clusters.
- Storing and enjoying: Once harvested, grapes can be enjoyed immediately or stored in the refrigerator for a few days. Grapes can be eaten fresh, used in recipes, or even turned into delicious homemade juices, jellies, or wines.
It’s important to note that the flavor and characteristics of grapes grown from seeds may vary from their parent plants and commercially grown grapes. However, the joy of growing and tasting your own grapes brings a unique sense of accomplishment and satisfaction.
Remember to continue caring for your grapevines even after harvest, as they will continue to grow and produce grapes in subsequent years. With proper care and maintenance, your grapevines can provide you with many fruitful seasons to come.
Congratulations on successfully growing grapes from seeds and enjoying the fruits of your labor!
Conclusion
Growing grapes from seeds is a fascinating journey that allows you to witness the entire life cycle of these delightful fruits. While it may require some patience and time, the rewards of starting grape seeds are well worth the effort. From selecting the right seeds to providing proper care and eventually harvesting the grapes, each step contributes to the overall success of your grape-growing adventure.
Throughout this guide, we have walked you through the process of starting grape seeds, from selecting high-quality seeds to preparing them for planting and providing the necessary care for their growth. We also explored the optional step of transplanting the seedlings and discussed the joy of harvesting your homegrown grapes.
Remember, while starting grape seeds can be a fun and educational experience, it’s important to manage your expectations. Grape seeds may not produce the exact same variety as the parent plant, so there may be variations in taste, color, and characteristics. However, this adds a unique element of surprise and discovery to your grape garden.
So, whether you’re a seasoned gardener looking to try something new or a beginner eager to embark on a new horticultural journey, starting grape seeds can be a rewarding endeavor. With the right knowledge, care, and a little bit of luck, you can watch your grape seedlings transform into thriving vines that yield delicious, homegrown grapes.
Enjoy the process, savor the moments of growth, and relish the joy of tasting the fruits of your labor. Happy grape gardening!
Frequently Asked Questions about How To Start Grape Seeds
Was this page helpful?
At Storables.com, we guarantee accurate and reliable information. Our content, validated by Expert Board Contributors, is crafted following stringent Editorial Policies. We're committed to providing you with well-researched, expert-backed insights for all your informational needs.


0 thoughts on “How To Start Grape Seeds”