Home>Garden Essentials>How To Start A Vegetable Garden From Seeds
Garden Essentials
How To Start A Vegetable Garden From Seeds
Modified: August 30, 2024
Learn how to start your own vegetable garden from seeds with our comprehensive guide. Discover tips, techniques, and best practices for a successful garden.
(Many of the links in this article redirect to a specific reviewed product. Your purchase of these products through affiliate links helps to generate commission for Storables.com, at no extra cost. Learn more)
Introduction
Gardening is a rewarding and fulfilling hobby that allows you to connect with nature and enjoy the fruits (or in this case, vegetables) of your labor. Starting a vegetable garden from seeds is an excellent way to take control of your food supply and experience the joy of growing healthy, organic produce right in your backyard.
In this article, we will guide you through the process of starting a vegetable garden from seeds. From choosing the right seeds to harvesting your vegetables, we will provide you with all the necessary information to kickstart your journey into the world of gardening.
By starting your garden from seeds, you have the advantage of selecting from a wider variety of plants than what you may find at your local nursery. Additionally, starting from seeds gives you the opportunity to grow your vegetables from scratch and witness the entire growth cycle, from germination to harvest.
Before we delve into the details, it is important to mention that planning and preparation are essential for a successful vegetable garden. Take the time to research and determine the best plants for your region, assess the available space in your backyard, and gather the necessary gardening tools and supplies.
Now, without further ado, let’s dive into the first step of starting your vegetable garden – choosing the right seeds.
Key Takeaways:
- Starting a vegetable garden from seeds allows you to grow a wide variety of plants, witness the entire growth cycle, and enjoy the satisfaction of harvesting your own organic produce.
- Choosing the right seeds, location, and soil preparation are essential for a successful vegetable garden. Proper watering, pest management, and harvesting ensure healthy and bountiful yields.
Read more: How To Start Coneflower From Seed
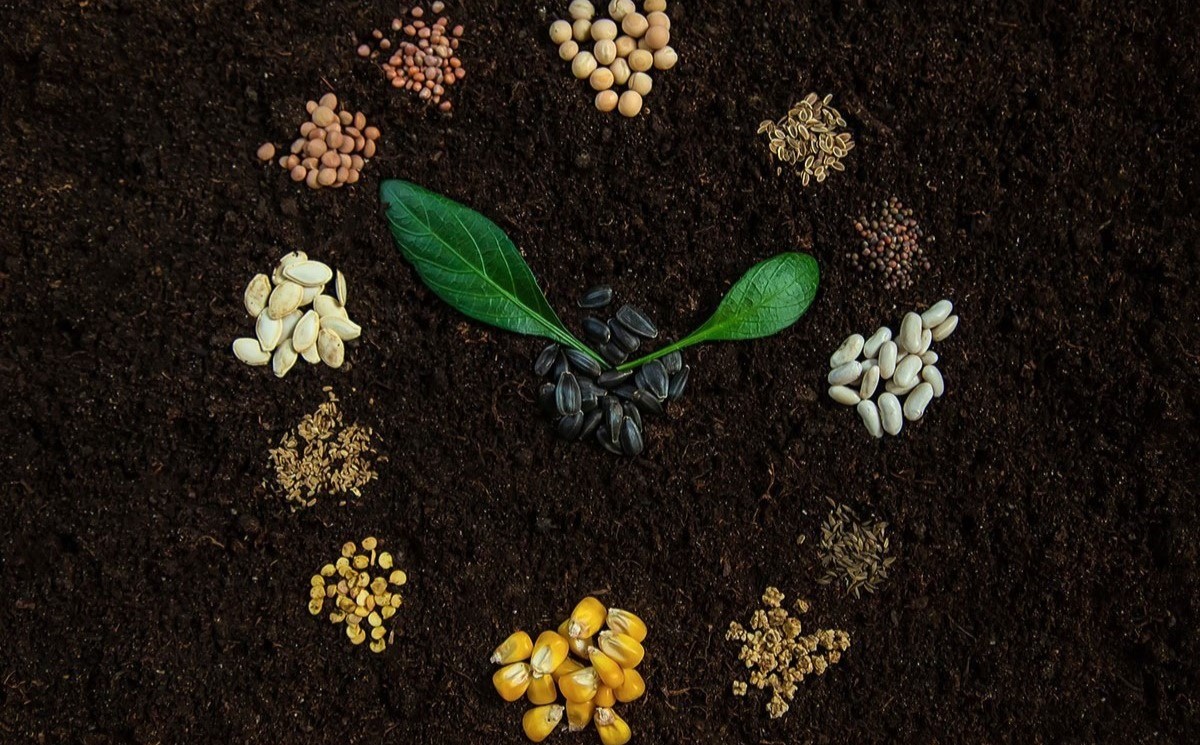
Choosing Your Seeds
When it comes to choosing seeds for your vegetable garden, there are a few factors to consider to ensure a successful and bountiful harvest. Here are some key points to keep in mind while selecting your seeds:
- Climate and Growing Conditions: Take into account the climate and growing conditions in your area. Different vegetables have specific temperature and sunlight requirements. Determine whether you are living in a warm or cool climate and choose seeds that are suitable for your specific region.
- Space and Size: Consider the space available in your garden and the size of your plants. Some vegetables, like tomatoes and zucchinis, require more space to grow, while others, like lettuce and herbs, can thrive in smaller areas or containers. Plan your garden layout accordingly.
- Time to Maturity: Look for the estimated time to maturity listed on the seed packets. This will give you an idea of how long it will take for your plants to produce edible vegetables. If you have a short growing season, opt for varieties that have a shorter time to maturity.
- Hybrid or Heirloom: Decide whether you want to grow hybrid or heirloom seeds. Hybrid seeds are produced by cross-pollinating two different varieties to achieve specific traits, such as disease resistance or higher yields. On the other hand, heirloom seeds are open-pollinated and have been passed down for generations, often known for their unique flavor and history.
- Vegetables You Enjoy: It goes without saying that you should choose vegetables that you and your family enjoy eating. Focus on selecting seeds for vegetables that you typically incorporate into your meals or have a desire to try. This will make your gardening experience more rewarding and enjoyable.
Once you have considered these factors, it’s time to start looking for seed catalogs or visiting your local garden center. These sources will offer a wide variety of seeds, allowing you to select the ones that best suit your preferences and needs.
Remember, starting from seeds gives you the opportunity to grow unique and exotic varieties that may not be readily available at local nurseries. So, embrace the diversity and excitement that comes with choosing your seeds, and get ready to watch your garden flourish!
Selecting the Right Location
Choosing the right location for your vegetable garden is crucial for the success of your plants. Here are some factors to consider when selecting the perfect spot:
- Sunlight: Most vegetables require at least six hours of direct sunlight per day. Observe your backyard throughout the day to identify the areas that receive the most sunlight. Select a location with ample sunlight to ensure healthy plant growth and high yields.
- Soil Drainage: Opt for a location with well-draining soil to prevent waterlogging and root rot. Avoid low-lying areas or places prone to flooding, as excess moisture can be detrimental to your plants. If your soil doesn’t drain well, consider creating raised beds or improving the drainage by adding organic matter.
- Proximity to Water Source: It’s important to have easy access to a water source for regular watering. Choose a location that is within reach of a hose or watering system to make watering your plants convenient.
- Protection from Wind: Consider the wind patterns in your area. While some gentle breeze is beneficial for plant health, excessive wind can damage delicate vegetables and hinder their growth. If your garden is exposed to strong winds, consider planting windbreakers or constructing a fence to provide protection.
- Accessibility: Make sure your chosen location is easily accessible for routine maintenance tasks such as watering, weeding, and harvesting. A garden that is conveniently located will encourage you to spend more time caring for your plants and enjoying the rewards.
Keep in mind that not all areas of your backyard may be suitable for a vegetable garden. Trees or large structures might cast shadows and restrict sunlight, while areas near large trees could have competing root systems that interfere with your vegetable plants’ growth.
Once you have identified the ideal location, mark out the boundaries of your garden area and prepare the soil for planting. With the right location, your vegetables will receive the necessary sunlight and nutrients, providing them a favorable environment to thrive and produce a bountiful harvest.
Soil Preparation
Preparing the soil is a crucial step in creating a healthy and fertile environment for your vegetable garden. Here are some important steps to follow:
- Clear the Area: Start by clearing the area of any weeds, rocks, or debris. Remove any unwanted vegetation, as they can compete with your vegetable plants for nutrients and sunlight.
- Test the Soil: Conduct a soil test to determine its pH level and nutrient composition. This will help you understand the soil’s fertility and identify any imbalances that need to be addressed. You can purchase a soil testing kit from a garden center or send a sample to a laboratory for professional analysis.
- Amend the Soil: Based on the results of the soil test, you may need to amend the soil to improve its fertility. Add organic matter such as compost, aged manure, or leaf mulch to enrich the soil with essential nutrients and improve its texture and drainage.
- Till the Soil: Use a garden tiller or a shovel to loosen the soil and incorporate the organic matter. This will help break up compacted soil and create a loose, crumbly texture that allows roots to penetrate easily and access nutrients.
- Level the Surface: After tilling, level the surface of the soil using a rake or garden hoe. This ensures an even planting surface and helps with water distribution across the garden.
It’s important to note that different vegetables have specific soil requirements. Some prefer well-drained soil, while others thrive in moist soil. Research the specific needs of the vegetables you plan to grow and adjust the soil accordingly.
Once the soil preparation is complete, your garden bed is ready for planting. The enriched soil will provide a nutrient-rich foundation for your vegetable plants, promoting healthy growth and maximizing their productivity.
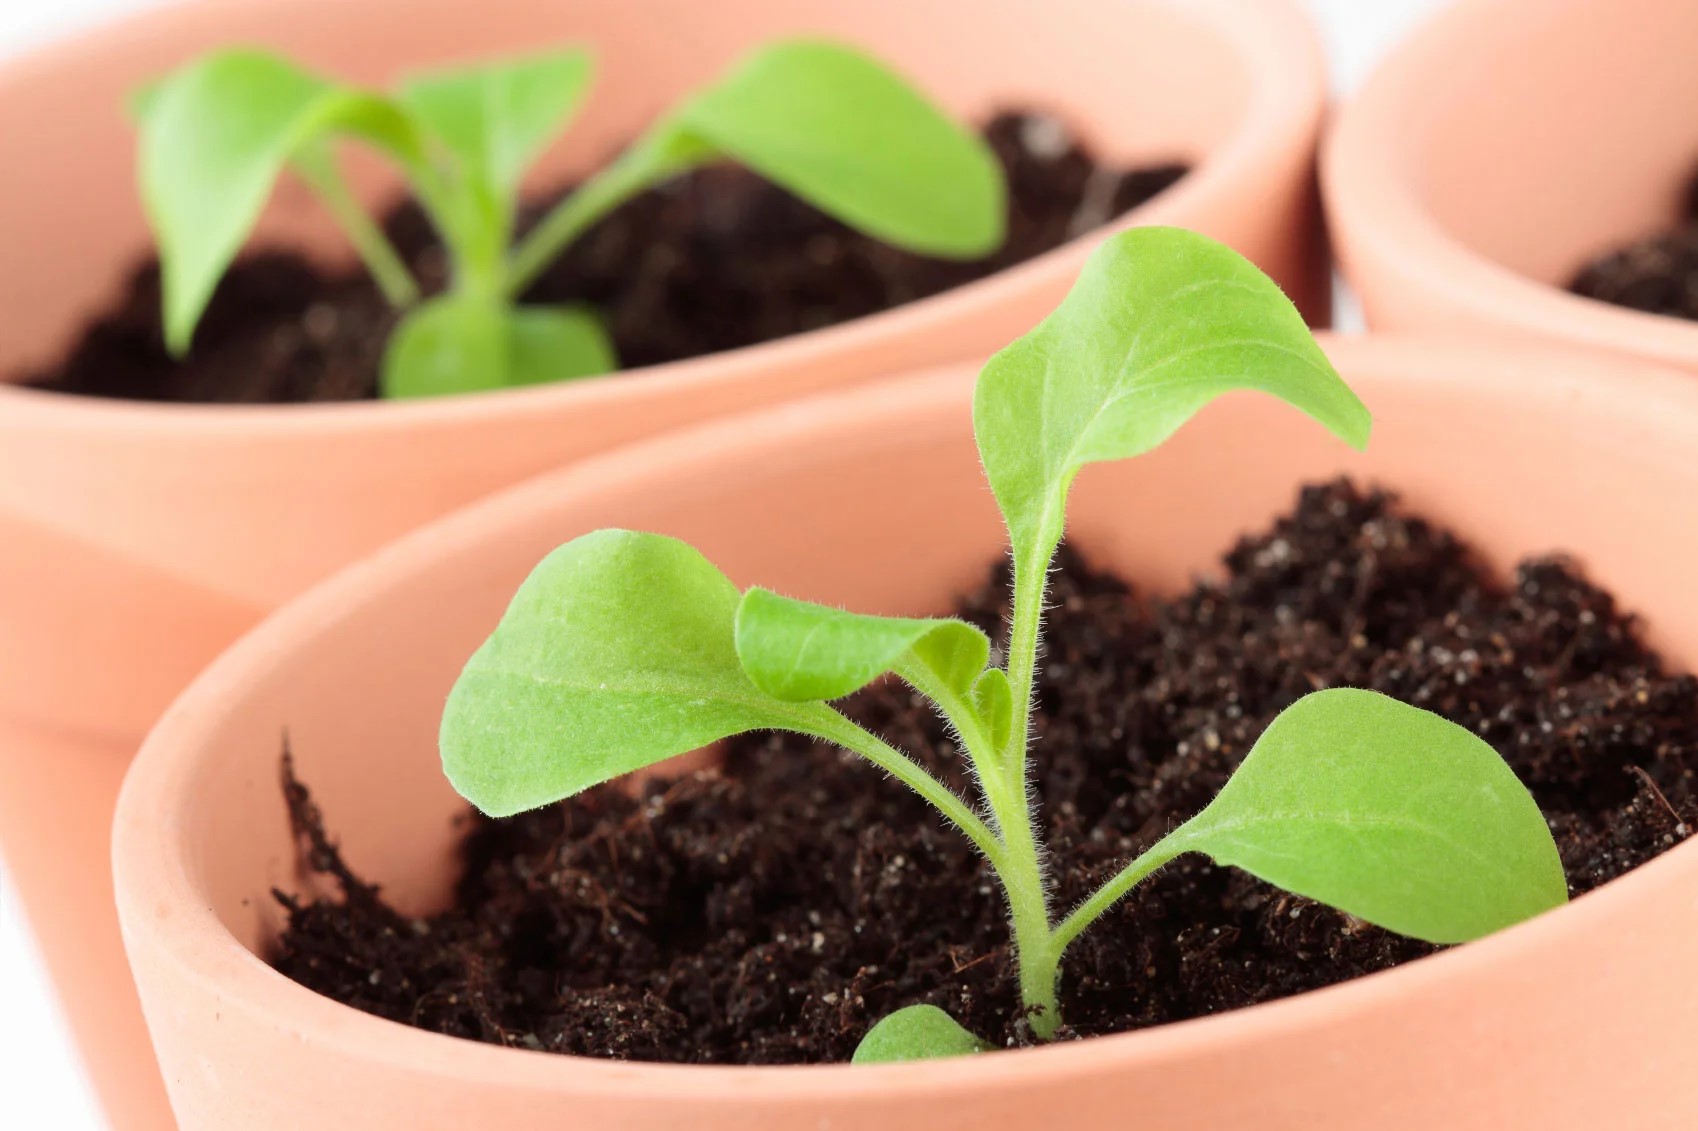
Planting the Seeds
Now that you’ve prepared the soil, it’s time to start planting your seeds. Here’s a step-by-step guide to help you successfully plant your vegetable garden:
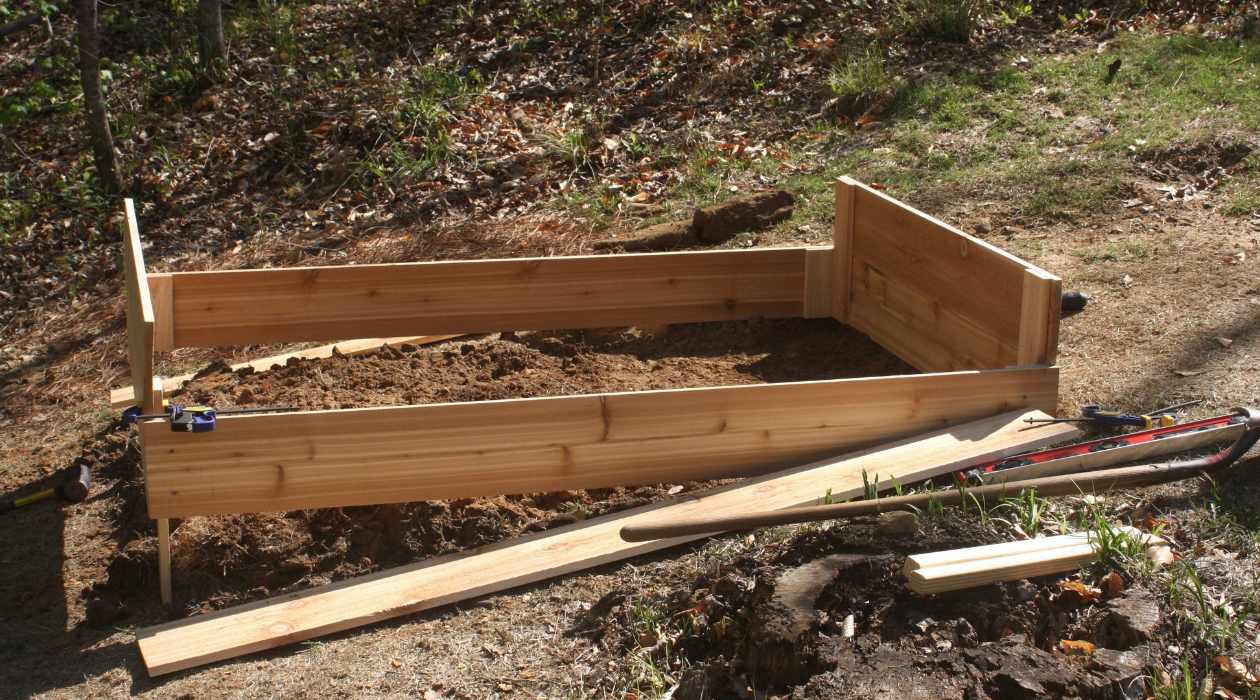
- Create Planting Rows or Beds: Decide whether you want to plant your seeds in traditional rows or raised beds. Rows are suitable for larger gardens, while raised beds are ideal for smaller spaces and offer better control over soil quality and drainage.
- Follow Seed Packet Instructions: Read the instructions on the seed packets for specific planting guidelines. They will provide valuable information on how deep to plant the seeds, the recommended spacing between plants, and the ideal time to sow.
- Make Furrows or Holes: Use a garden hoe, trowel, or your finger to create furrows or individual holes in the soil. Ensure the depth matches the recommended planting depth for the specific type of seeds you are sowing.
- Plant the Seeds: Place the seeds in the furrows or holes and cover them with soil. Gently press the soil down to ensure good seed-to-soil contact, which aids in germination.
- Label Your Rows or Beds: Use plant markers or small stakes to label your rows or beds. This will help you keep track of the different varieties you have planted.
- Water Thoroughly: After planting, give your newly sown seeds a thorough watering. This helps to settle the soil around the seeds and kickstarts the germination process.
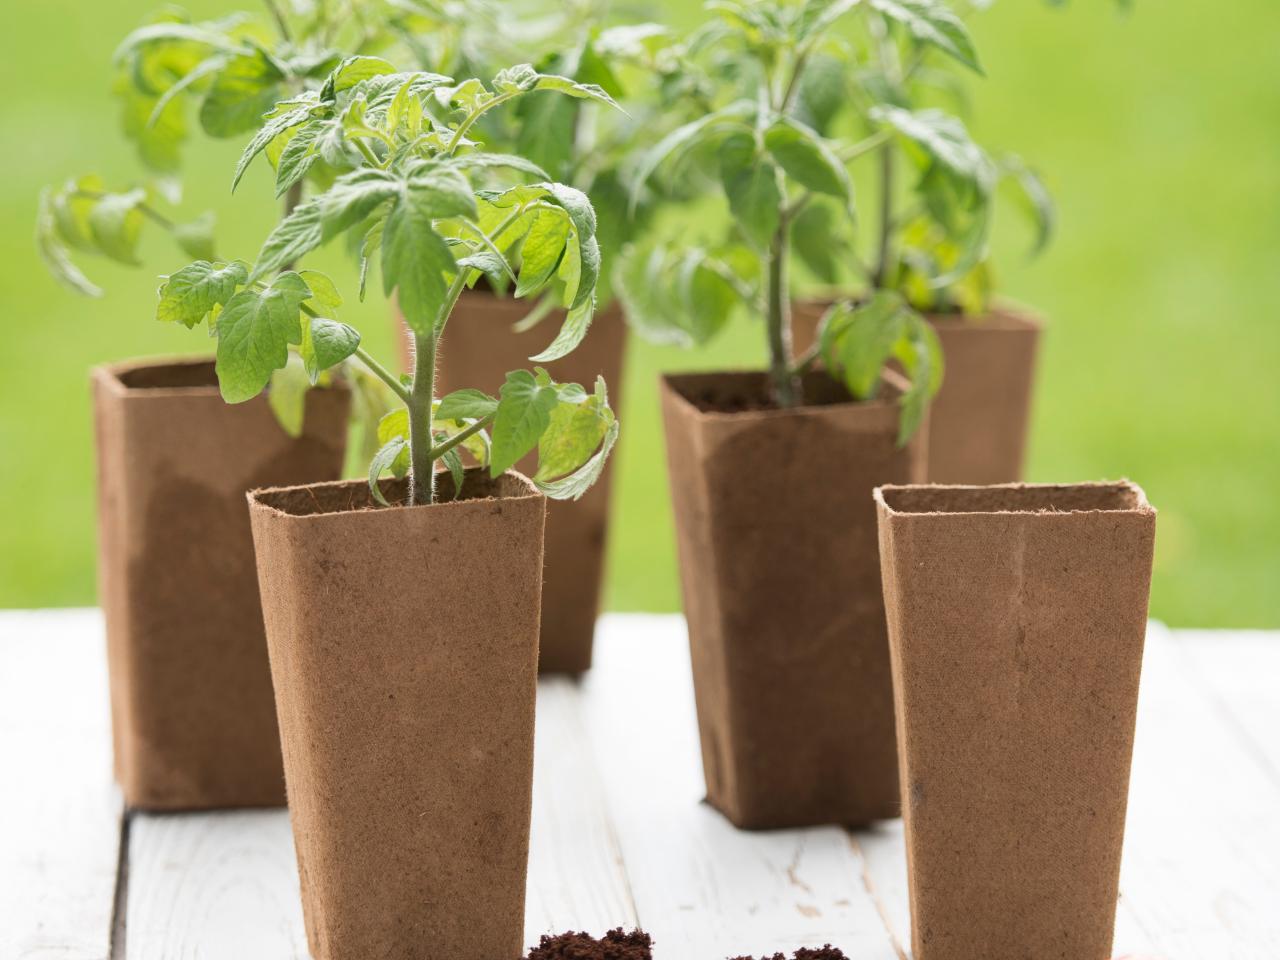
Keep in mind that not all seeds need to be started directly in the garden. Some vegetables, such as tomatoes and peppers, benefit from being started indoors and transplanted as seedlings.
Additionally, it’s important to consider the timing of planting. Different vegetables have different ideal planting times, depending on your climate and the length of your growing season. Consult a planting guide or local extension service to determine the best time to sow your seeds.
Remember to monitor the moisture levels in your garden bed and continue to provide regular, gentle watering as needed. As the seeds germinate and seedlings emerge, you’ll witness the magic of new life and the beginning of your vegetable garden journey.
Start your vegetable garden from seeds by choosing the right location with plenty of sunlight, preparing the soil with compost, and planting the seeds at the correct depth and spacing for each type of vegetable. Keep the soil moist and watch for sprouts!
Read more: How To Start Roses From Seed
Watering and Fertilizing
Proper watering and fertilizing are essential for the healthy growth of your vegetable plants. Here are some tips to keep in mind:
- Watering: Vegetables generally require about 1 inch of water per week. However, this can vary depending on factors such as temperature, soil type, and stage of plant growth. Monitor the moisture level in the soil and water when necessary. It’s better to water deeply, allowing the water to penetrate the root zone, rather than shallowly and frequently. This encourages deep root development.
- Time of Day: Water your plants early in the morning or late in the evening when temperatures are cooler. This helps to reduce evaporation and ensures that the plants have adequate moisture throughout the day.
- Watering Techniques: Avoid watering the foliage of the plants. Instead, focus the water at the base of the plants, directly onto the soil. This reduces the risk of disease and fungal infections.
- Fertilizing: Vegetables are heavy feeders and benefit from regular fertilization. Use organic fertilizers, such as compost or well-rotted manure, to provide a slow release of nutrients. Apply the fertilizer according to the package instructions or as recommended for the specific vegetables you’re growing.
- Timing of Fertilization: It’s generally best to apply fertilizer before planting and then follow up with additional applications throughout the growing season. Avoid fertilizing during periods of drought or extreme heat, as it can stress the plants.
- Mulching: Consider using organic mulch, such as straw or wood chips, around your plants. Mulch helps to conserve moisture, suppress weed growth, and gradually release nutrients into the soil as it breaks down.
Remember to observe your plants regularly for signs of over or under-watering. Wilting, yellowing leaves, or excessively dry soil may indicate that your plants need more water. On the other hand, waterlogged soil or leaves that appear water-soaked may indicate overwatering. Adjust your watering routine accordingly to maintain the proper moisture balance in your garden.
By providing adequate water and nutrients, you’ll ensure that your vegetables grow strong, healthy, and productive throughout the growing season.
Managing Pests and Weeds
As your vegetable garden grows, you may encounter pests and weeds that can harm your plants and reduce your harvest. Here are some strategies for managing pests and weeds:
- Identify Common Pests: Learn to identify common garden pests, such as aphids, slugs, caterpillars, and beetles. Regularly inspect your plants for signs of pest damage, such as holes in leaves, chewed stems, or insect presence.
- Natural Predators: Encourage natural predators to help control pests in your garden. Ladybugs, lacewings, and certain birds are beneficial predators that feed on harmful insects. Planting flowers, such as marigolds and calendula, can also attract beneficial insects to your garden.
- Companion Planting: Some plants have natural pest-repellent properties or help deter specific pests. Consider companion planting to create a natural barrier against pests. For example, planting basil near tomatoes can ward off aphids.
- Organic Pest Control: Use organic pest control methods, such as homemade sprays made from garlic, neem oil, or soap solution. These can help control pests without resorting to chemical pesticides.
- Weed Prevention: Keep your garden free from weeds, as they compete with your vegetables for nutrients, water, and sunlight. Regularly pull out weeds by hand or use mulch to suppress weed growth.
- Handpick Larger Pests: Some pests, like slugs and caterpillars, can be handpicked and removed from your plants. Check your plants regularly and remove any visible pests to prevent further damage.
- Rotate Crops: Practice crop rotation by planting different vegetable families in different areas of your garden each year. This helps prevent the buildup of pests and diseases that target specific plant families.
- Monitor Plant Health: Regularly monitor the overall health of your plants. Healthy plants are more resilient to pest infestations. Ensure your plants receive proper nutrition, water, and sunlight to maintain their vigor.
Remember, prevention is key when it comes to managing pests and weeds. By maintaining a healthy garden environment and implementing these strategies, you can minimize pest damage and keep your vegetable plants thriving.
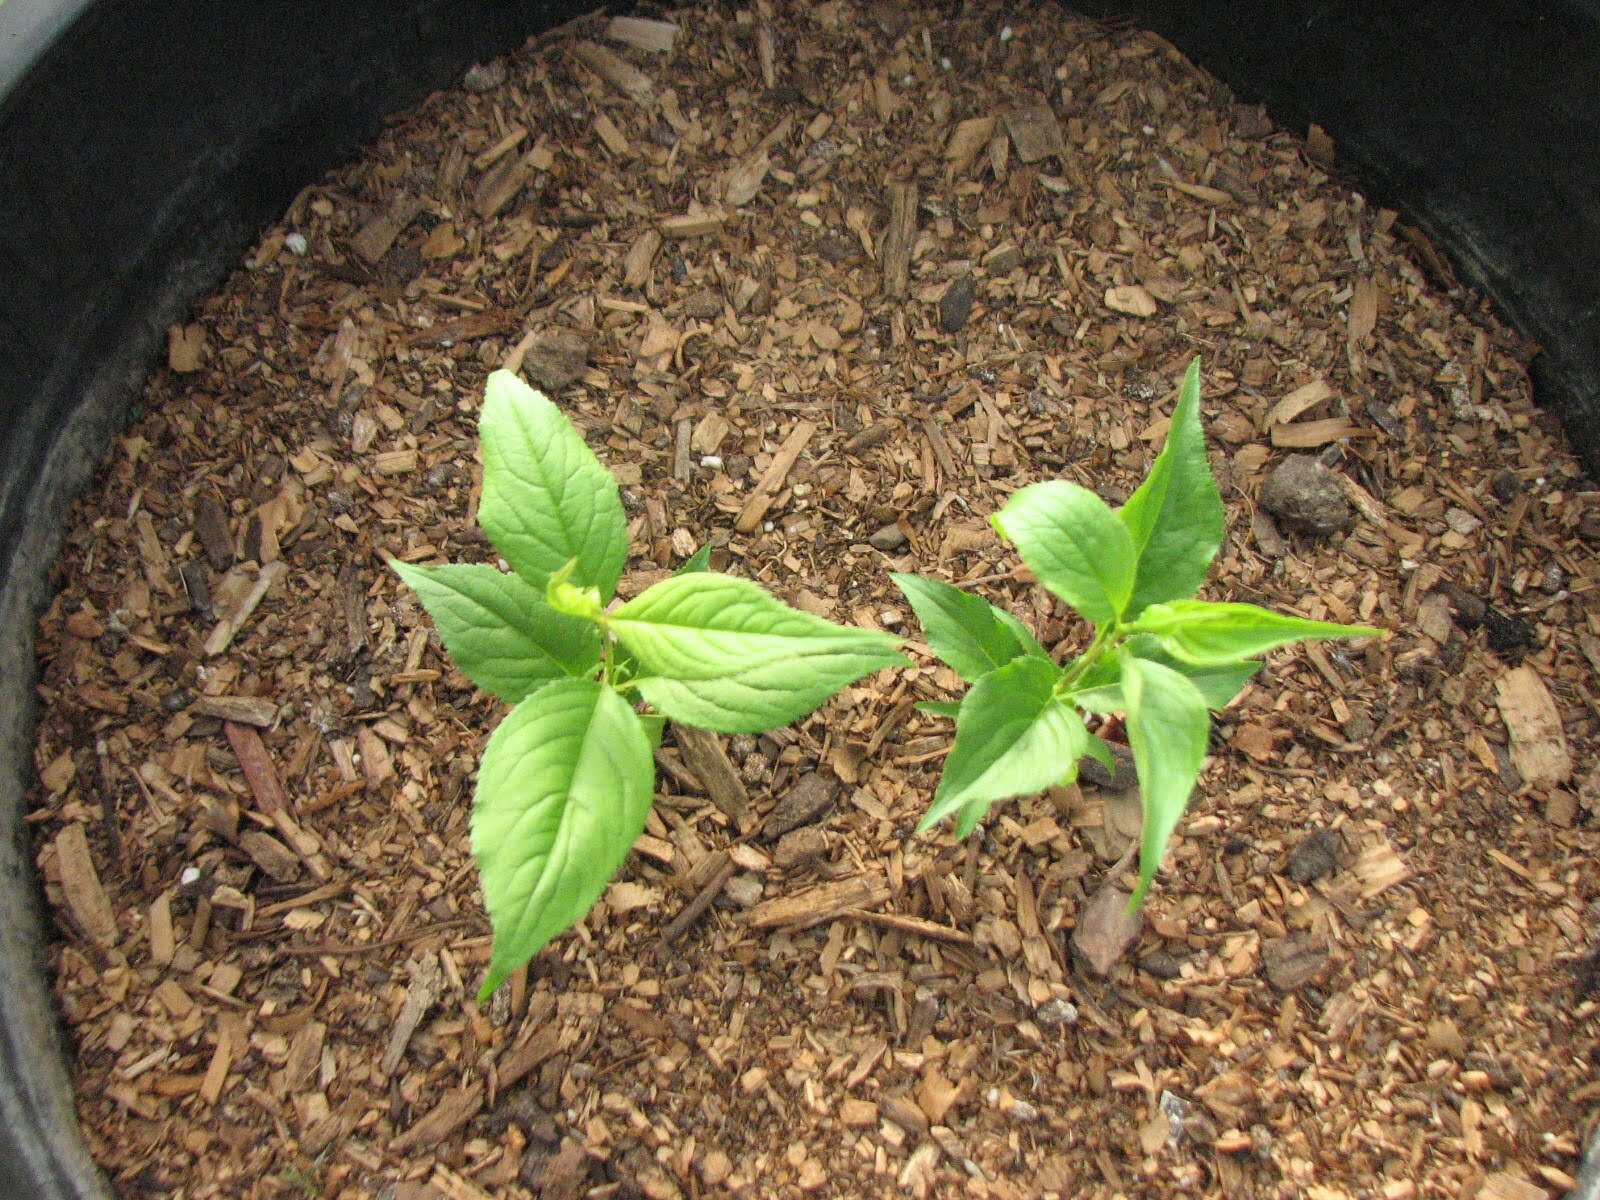
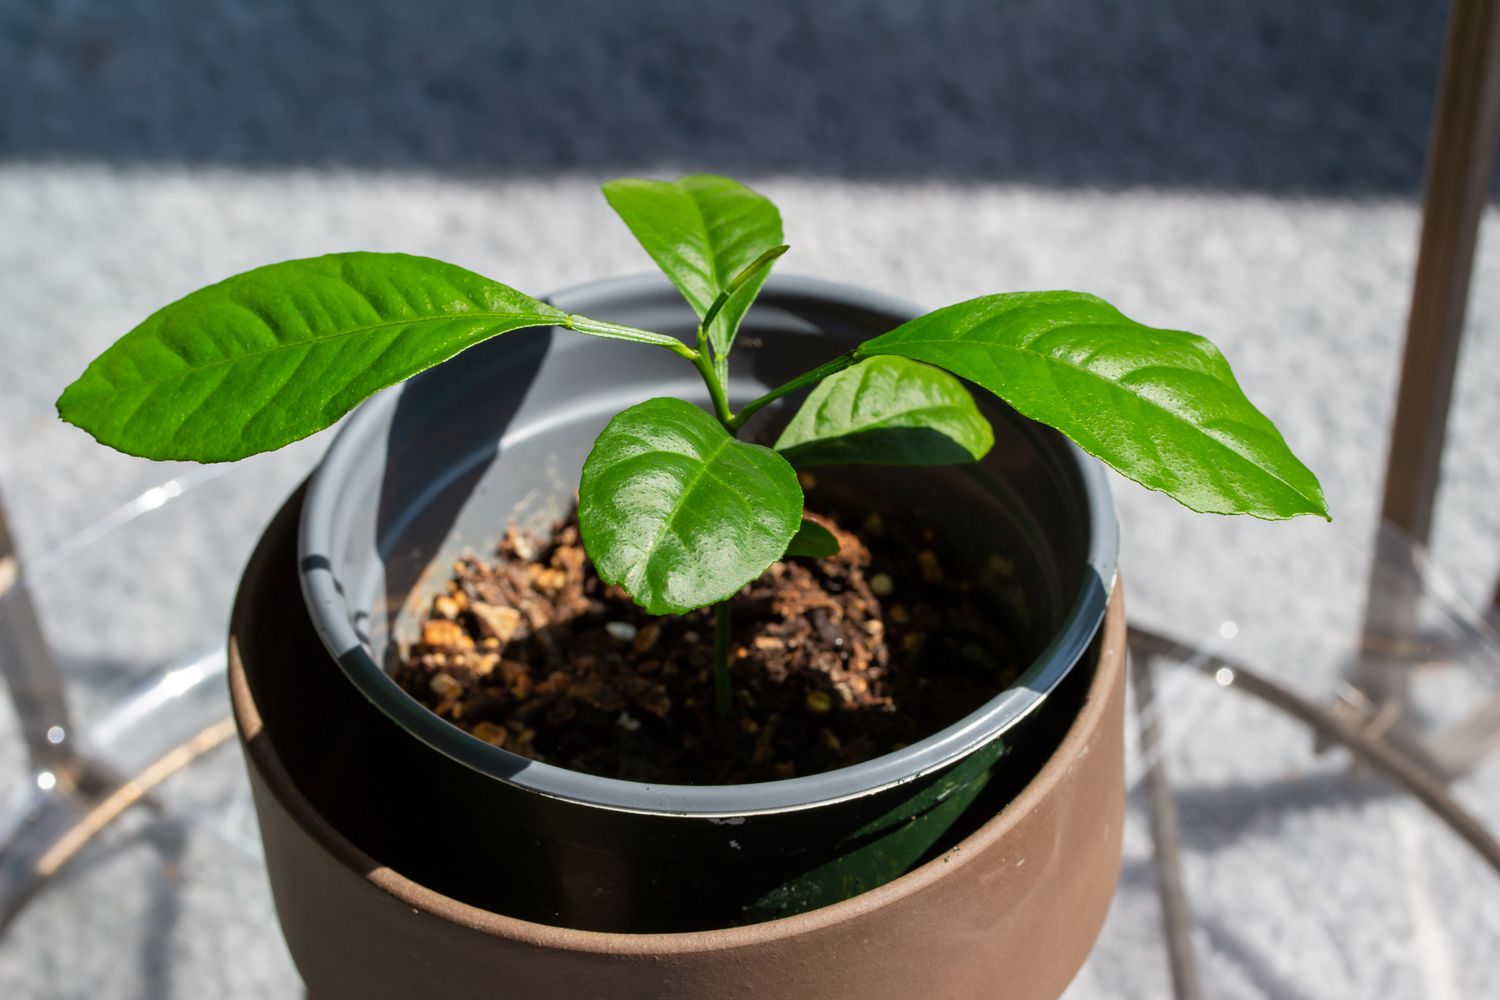
Transplanting Seedlings
Transplanting seedlings is an important step in the growth of your vegetable garden, allowing young plants to establish themselves in their permanent location. Here’s a guide to help you successfully transplant your seedlings:
- Timing: Wait until your seedlings have developed a strong root system and are sturdy enough to withstand transplanting. This is typically when they have developed their first true leaves and the risk of frost has passed.
- Prepare the Soil: Before transplanting, prepare the soil in your garden bed by loosening it and removing any weeds or debris. Ensure the soil is moist but not waterlogged.
- Dig the Holes: Dig holes in the garden bed that are slightly larger than the root ball of your seedlings. Space the holes according to the recommended spacing for the specific vegetable you’re transplanting.
- Remove Seedlings Carefully: Gently remove the seedlings from their original containers, being careful not to damage the roots. If the seedlings are in a biodegradable pot, you can plant them directly into the hole without removing the pot.
- Place the Seedlings: Place each seedling in a hole and backfill with soil around the root ball. Gently press the soil around the base of the plant to ensure good contact with the roots.
- Water Thoroughly: After transplanting, water the seedlings thoroughly to settle the soil and help the roots establish themselves. Provide regular watering in the following days to support their growth.
- Provide Shade (Optional): If the weather is particularly hot or sunny, you may consider providing temporary shade to the newly transplanted seedlings. This can be done using shade cloth or by placing a lightweight cover over them during the hottest parts of the day.
- Monitor Transplants: Keep a close eye on your transplanted seedlings for the first few weeks. Watch for any signs of stress or wilting and address any issues promptly.
It’s important to handle the delicate roots of the seedlings with care during the transplanting process. Avoid pulling or tugging on the stems and try to disturb the roots as little as possible.
Transplant shock is common when moving seedlings, but with proper care and attention, they will quickly adapt to their new environment and continue to grow into healthy, productive plants.
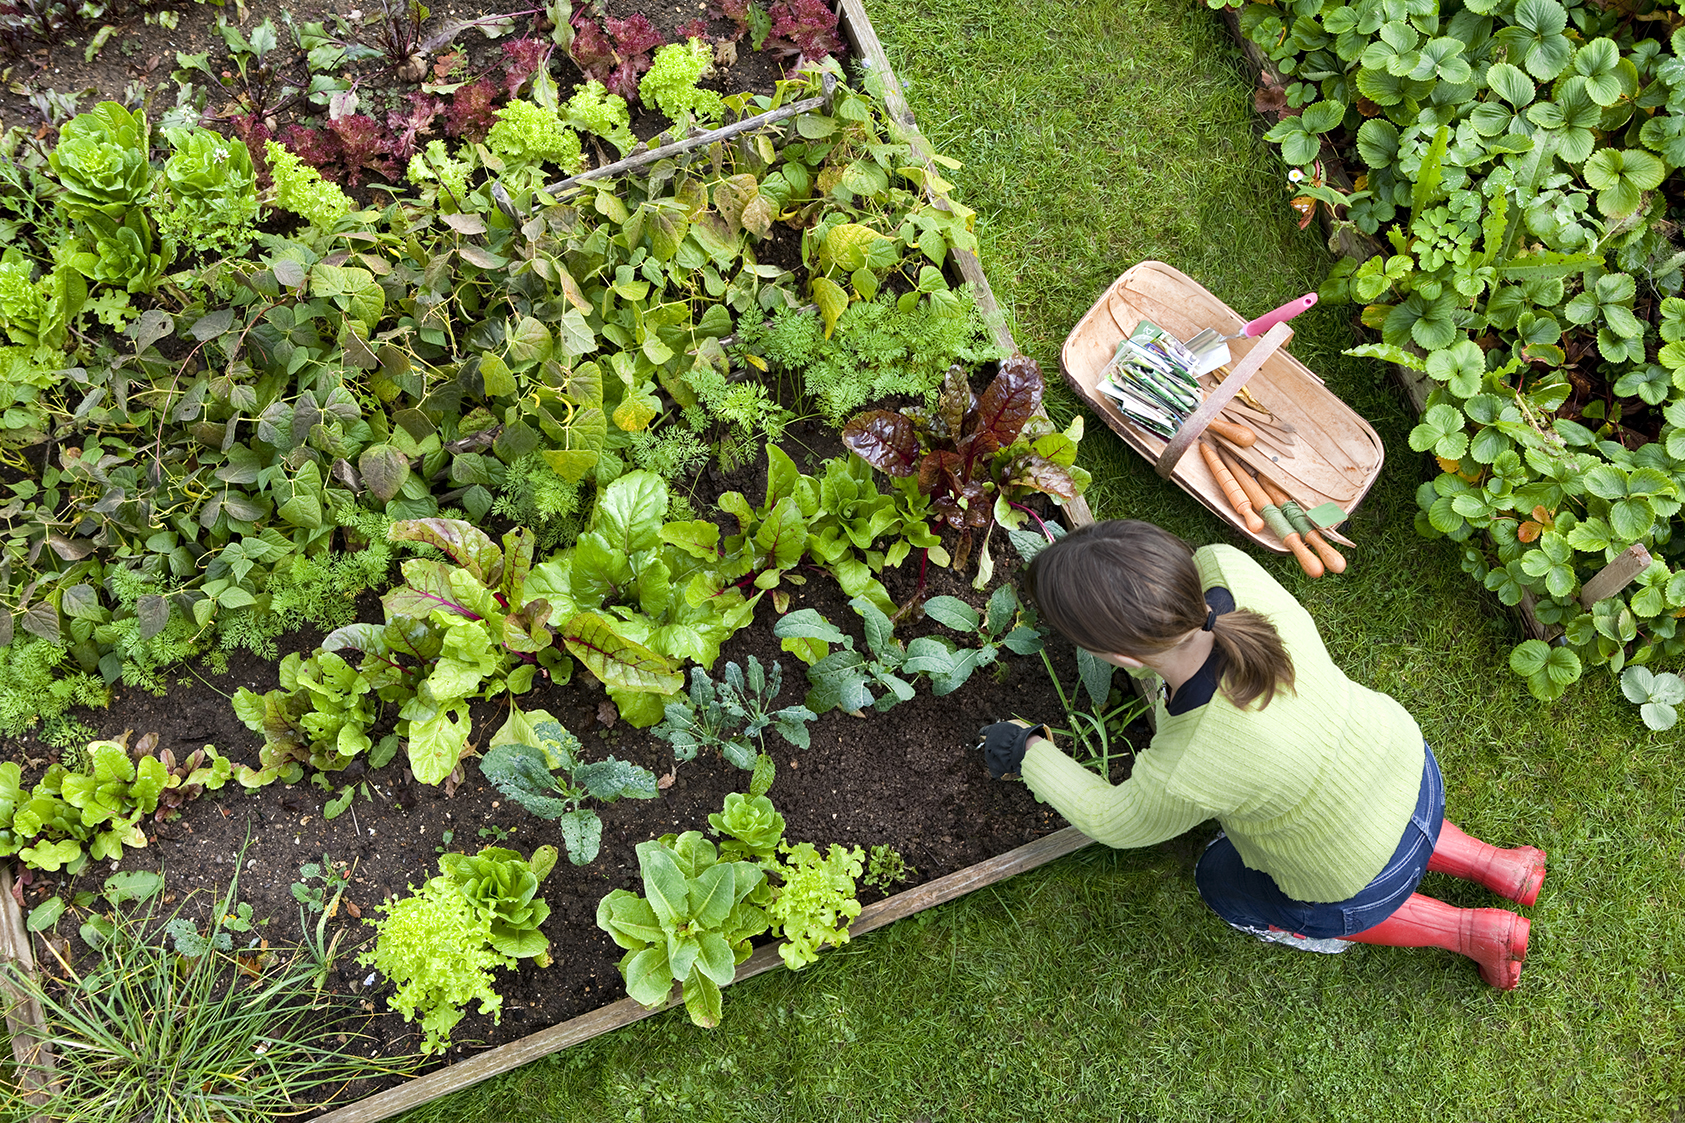
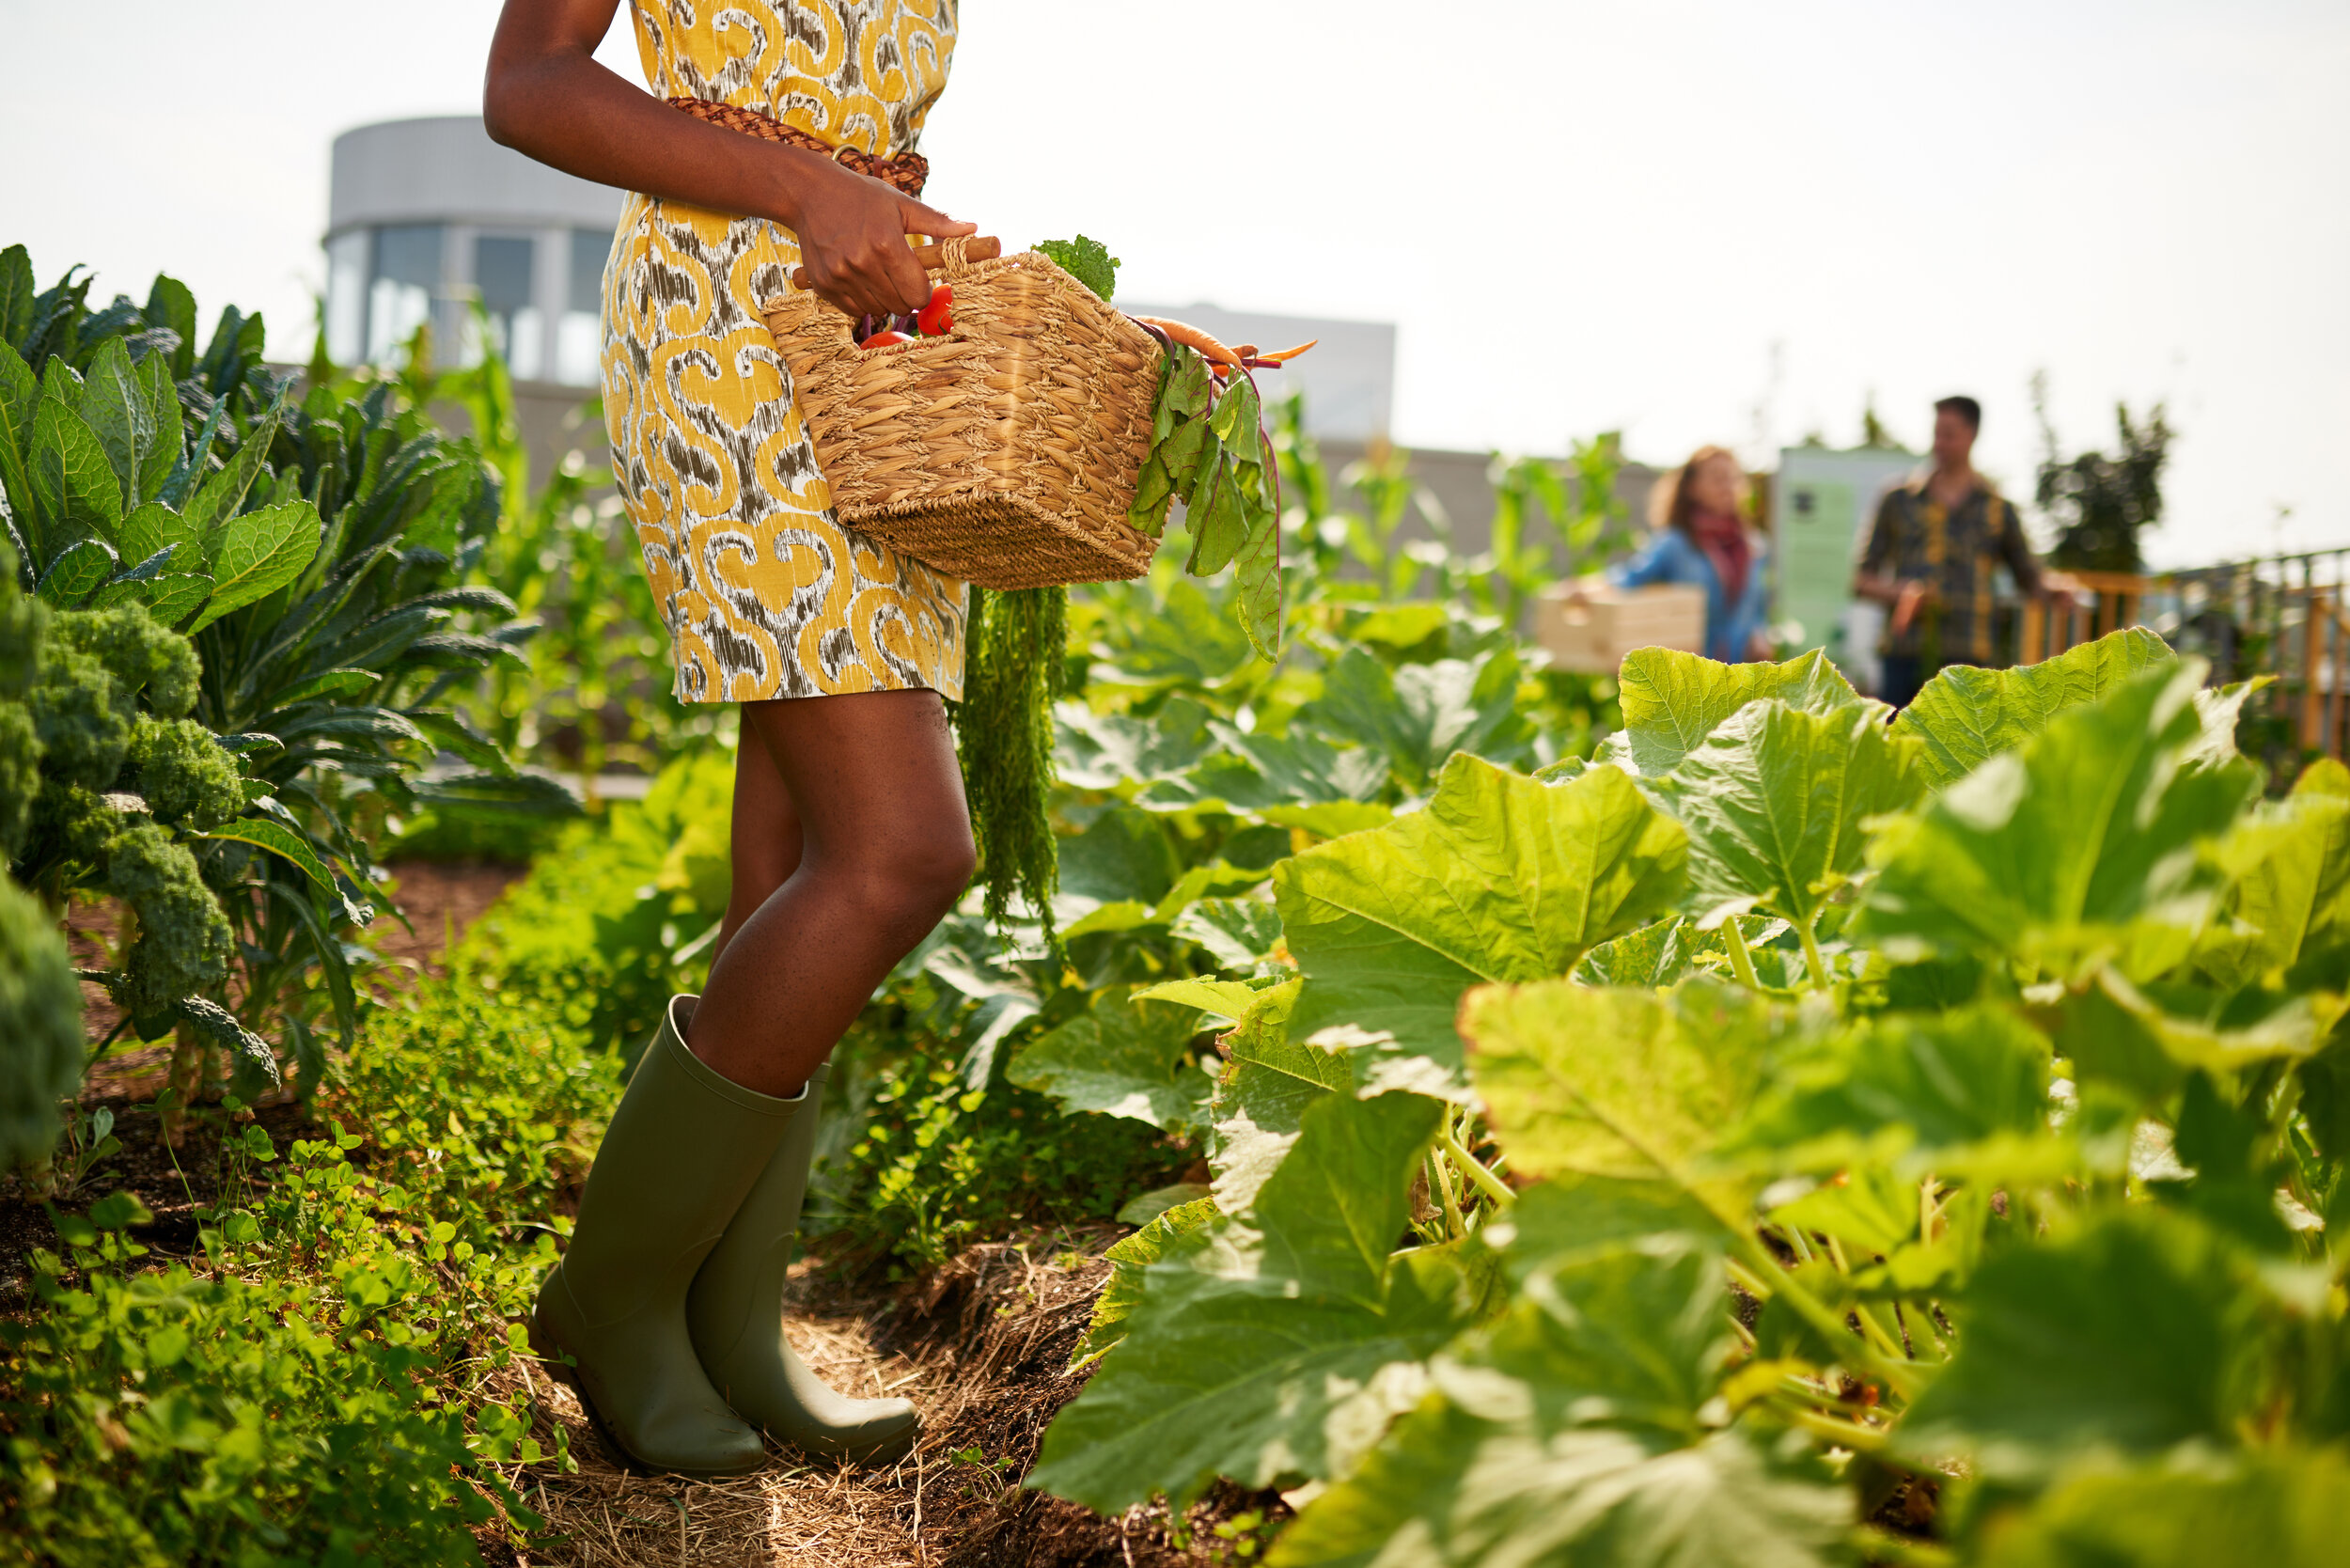
Harvesting Your Vegetables
After months of nurturing and tending to your vegetable garden, it’s finally time to enjoy the fruits (or vegetables) of your labor. Here’s a guide on how to properly harvest your vegetables:
- Know When to Harvest: Different vegetables have different indicators of when they are ready to be harvested. Some common signs include changes in color, size, or texture. Consult seed packets or gardening resources to determine the optimal harvesting time for each vegetable.
- Use the Right Tools: It’s essential to use the appropriate tools for harvesting to avoid damaging the plants. Use pruning shears or a sharp knife to cut the vegetables cleanly from the plant.
- Harvest Leafy Vegetables: Leafy greens, such as lettuce, spinach, and kale, can be harvested by cutting the outer leaves as needed, allowing the center of the plant to continue growing.
- Harvest Root Vegetables: For root vegetables like carrots, beets, and radishes, gently loosen the soil around the base of the plant and carefully pull them out by grasping the tops. Take care not to damage the roots.
- Harvest Vine Vegetables: Vine vegetables, such as tomatoes, cucumbers, and melons, are ready to be harvested when they reach their optimal size and color. Cut the stem just above the fruit using pruning shears.
- Harvest Peas and Beans: Peas and beans should be harvested when the pods are plump and well-filled. Use both hands to gently snap or cut the pods from the plant.
- Harvest Herbs: Harvest herbs by snipping the leaves or stems as needed. This encourages new growth and prolongs the availability of fresh herbs in your kitchen.
- Handle with Care: Handle harvested vegetables with care to avoid bruising or damaging them. Place them gently in a basket or container, taking care not to overcrowd or stack them.
- Enjoy Your Harvest: Utilize your freshly harvested vegetables in your favorite recipes, preserving any excess for future use. There’s nothing quite as satisfying as enjoying the taste of homegrown, freshly picked produce.
Remember, not all vegetables ripen at the same time, so continue to monitor your plants regularly and harvest as needed. Harvesting promptly not only ensures the best flavor and quality but also encourages continuous growth and productivity.
With each harvest from your vegetable garden, you’ll not only reap the rewards of your hard work, but you’ll also experience the incomparable taste and satisfaction that comes from growing your own food.
Read more: How To Start Petunias From Seed
Conclusion
Starting a vegetable garden from seeds is a fulfilling and rewarding experience that connects us to the natural world and allows us to savor the joys of growing and harvesting our own delicious produce. By following the steps outlined in this article, you can embark on a successful gardening journey, from choosing the right seeds to enjoying a bountiful harvest.
Remember, proper planning and preparation are key to a thriving vegetable garden. Take the time to research and select the best seeds for your region and desired vegetables. Consider the specific needs of each plant, including sunlight, soil, and spacing requirements, to provide an optimal growing environment.
Soil preparation is crucial for creating a fertile foundation, ensuring that your plants have the necessary nutrients and drainage to flourish. Implement proper watering and fertilization practices to support healthy growth and maximize yields.
Managing pests and weeds can be challenging, but with careful observation and proactive measures, you can protect your plants and minimize damage. Apply organic pest control methods whenever possible and practice weed prevention techniques to maintain a clean and healthy garden.
Transplanting seedlings and providing them with the right care during the transition is vital for their success. Monitor their progress closely after transplantation to address any issues promptly and encourage strong root establishment.
Finally, the ultimate reward of your vegetable garden journey comes with the harvest. Knowing when and how to harvest each vegetable ensures optimal flavor and quality. Handle your freshly picked produce with care and savor the satisfaction of enjoying homegrown, nutritious, and delicious vegetables at your table.
As you continue your gardening endeavors, remember that every gardening season presents new opportunities to learn and improve. Embrace the challenges and triumphs along the way, and don’t forget to share your abundance with friends, family, and neighbors.
So put on your gardening gloves, grab your trowel, and let the seeds of your vegetable garden take root. Happy gardening!
Frequently Asked Questions about How To Start A Vegetable Garden From Seeds
Was this page helpful?
At Storables.com, we guarantee accurate and reliable information. Our content, validated by Expert Board Contributors, is crafted following stringent Editorial Policies. We're committed to providing you with well-researched, expert-backed insights for all your informational needs.


0 thoughts on “How To Start A Vegetable Garden From Seeds”