Home>Garden Essentials>When To Sow Cabbage Seeds

Garden Essentials
When To Sow Cabbage Seeds
Modified: August 28, 2024
Looking to start your garden with cabbage? Learn the best time to sow cabbage seeds and get your garden off to a great start!
(Many of the links in this article redirect to a specific reviewed product. Your purchase of these products through affiliate links helps to generate commission for Storables.com, at no extra cost. Learn more)
Introduction
Growing cabbage is a rewarding endeavor that requires careful planning and timing. Whether you are a seasoned gardener or a beginner, understanding when to sow cabbage seeds is crucial to ensure optimal growth and a bountiful harvest. Cabbage is a cool-season crop that thrives in moderate temperatures, making it an excellent choice for many gardeners.
Timing plays a vital role in the success of cabbage cultivation, as planting too early or too late can result in stunted growth or premature bolting. In this article, we will delve into the intricacies of sowing cabbage seeds and provide valuable insights on when and how to achieve the best results.
Before we dive into the specific details, it is essential to familiarize ourselves with cabbage seeds. Cabbage belongs to the Brassicaceae family and comes in several varieties, including green cabbage, red or purple cabbage, and Savoy cabbage. Each variety has its distinct flavor and texture, making cabbage a versatile vegetable in the kitchen.
Factors such as temperature, sunlight, soil conditions, and water availability all significantly impact the overall growth and development of cabbage. By understanding these factors, we can make informed decisions when it comes to sowing cabbage seeds and create an ideal environment for them to thrive.
The best time to sow cabbage seeds will vary depending on your geographical location and climate. It is essential to consider the average date of the last frost in your area, as cabbage seeds cannot tolerate freezing temperatures. Sowing too early can result in stunted growth, while sowing too late can lead to a shortened growing season.
In the following sections, we will explore the different factors to consider when sowing cabbage seeds, including climate and temperature requirements, soil preparation, and transplanting seedlings. So let’s dive in and get ready to grow some healthy and delicious cabbage!
Key Takeaways:
- Timing is crucial for sowing cabbage seeds to ensure optimal growth and a bountiful harvest. Consider climate, temperature, and soil preparation for successful cultivation.
- Harvest cabbage at the right stage of maturity for the best flavor and texture. Proper care, watering, and pest management are essential for healthy cabbage plants.
Read more: When To Sow Lupine Seeds
Importance of Timing
Timing is crucial when it comes to sowing cabbage seeds. Cabbage is a cool-season crop that thrives in moderate temperatures. Sowing cabbage seeds at the right time ensures proper growth and development, leading to healthy and robust plants. Let’s explore why timing is so important in cabbage cultivation.
1. Optimal Growing Conditions: Cabbage seeds require specific environmental conditions to germinate and grow successfully. Sowing seeds during the appropriate time ensures that the plants receive the right combination of temperature, sunlight, and moisture for their growth. This results in strong and healthy seedlings that are better able to resist diseases and pests.
2. Avoiding Extreme Temperatures: Cabbage plants are sensitive to temperature fluctuations. Sowing seeds too early, when the soil is still cold and the air temperatures are freezing, can lead to poor germination and stunted growth. On the other hand, sowing seeds too late in the season may expose them to extreme heat and cause premature bolting, or the production of flowers, which affects the quality of the heads.
3. Maximizing Growing Season: Sowing cabbage seeds at the right time ensures that the plants have enough time to grow and mature before unfavorable weather conditions set in. By starting early, you can take advantage of the cool spring weather and extend the growing season, allowing the cabbage heads to fully develop and reach their optimal size and flavor.
4. Successive Planting: Timing also plays a role in successive planting, which is the practice of sowing cabbage seeds in batches at different times. This enables a continuous harvest throughout the season. By planning your sowings strategically, you can ensure a steady supply of fresh cabbage throughout the growing season and avoid overwhelming your kitchen with a large harvest all at once.
5. Pest and Disease Management: Sowing cabbage seeds at the right time can help mitigate the risk of pest and disease infestations. By planting when insect populations are still low and disease pressure is minimal, you give your cabbage plants a better chance to establish and grow healthy before any potential threats arise.
Ultimately, timing is key in achieving a successful cabbage harvest. By planting your cabbage seeds at the right time, you create the ideal conditions for optimal growth, mitigate risks of frost and heat stress, maximize the growing season, and manage pest and disease pressures. So take the time to plan and sow your cabbage seeds with care, and you will be rewarded with a bountiful and delicious crop.
Understanding Cabbage Seeds
Before you start sowing cabbage seeds, it’s essential to have a good understanding of the seeds themselves. Cabbage seeds are small and round, usually measuring around 1 to 2 millimeters in diameter. They are typically light to dark brown in color.
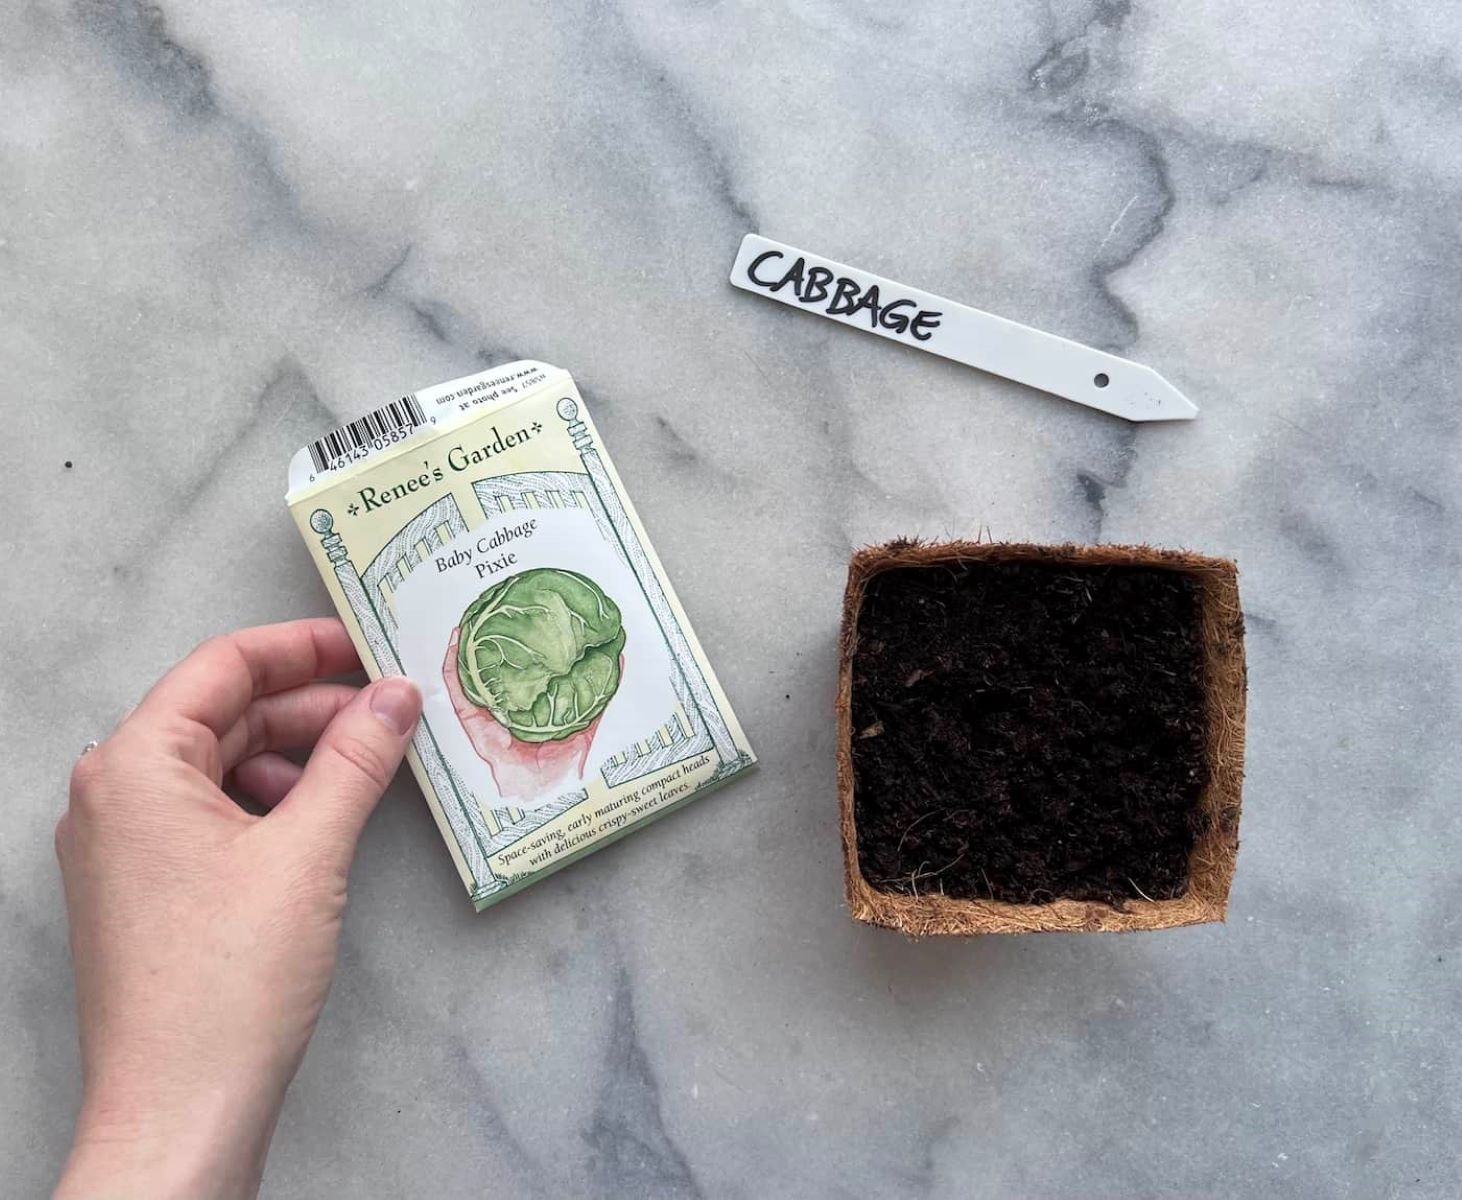
Cabbage seeds are capable of germinating and growing into healthy seedlings under the right conditions. The viability of cabbage seeds can vary, so it’s always advisable to check the seed packet for the expiration date or the seed viability percentage.
When purchasing cabbage seeds, you may come across different varieties, such as green cabbage, red or purple cabbage, and Savoy cabbage. Each variety has its unique characteristics, including flavors, textures, and maturation times.
It’s crucial to select a cabbage variety that suits your preferences and growing conditions. Some cabbage varieties are more tolerant of heat or cold, while others are known for their disease resistance. Consider factors like your climate, growing season, and desired cabbage attributes when choosing the type of cabbage seeds.
In addition to the variety, different cabbage seeds may have specific growth habits. Some cabbage seeds are specially bred for compact or dwarf growth, making them suitable for container gardening or smaller garden spaces. Others may be known for their ability to form large, dense heads.
Proper care and storage of cabbage seeds are also important for maintaining their viability. Store seeds in a cool, dry place, away from moisture and extreme temperatures. Using airtight seed storage containers or envelopes can help prolong the viability of cabbage seeds by protecting them from humidity and pests.
Cabbage seeds have unique germination requirements. They prefer a soil temperature of around 60 to 75 degrees Fahrenheit (15 to 24 degrees Celsius) for successful germination. Cooler temperatures can slow down germination, while warmer temperatures can cause poor seedling emergence.
Understanding the specific needs and characteristics of cabbage seeds will help you make informed decisions when sowing, caring for, and selecting the best cabbage seeds for your garden. So take the time to familiarize yourself with the intricacies of cabbage seeds, and you’ll be well-equipped to grow healthy and thriving cabbage plants.
Factors to Consider
Sowing cabbage seeds successfully requires careful consideration of various factors. By taking into account these important factors, you can create a favorable environment for your cabbage plants to thrive. Let’s explore the key factors to consider when sowing cabbage seeds.
1. Climate: Cabbage is a cool-season crop that prefers moderate temperatures. Before sowing cabbage seeds, consider the climate in your area. Cabbage grows best in temperatures between 45 and 75 degrees Fahrenheit (7 to 24 degrees Celsius). Ensure that the weather is suitable for cabbage cultivation, avoiding extremes of heat or cold.
2. Sunlight: Cabbage requires at least six hours of direct sunlight daily. Choose a location in your garden that receives ample sunlight throughout the day. If you have limited sunlight, opt for varieties that tolerate partial shade.
3. Soil Quality: The soil conditions play a crucial role in the success of cabbage cultivation. Cabbage prefers well-draining soil that is rich in organic matter. Test the pH level of the soil to ensure it falls within the optimal range of 6.0 to 6.5. Amendments like compost or aged manure can improve the soil’s fertility and structure.
4. Water Requirements: Adequate moisture is essential for cabbage growth. Cabbage plants prefer consistently moist soil but avoid waterlogged conditions. Ensure that your garden has proper irrigation or watering systems in place to provide controlled and consistent moisture to the plants.
5. Crop Rotation: Cabbage is susceptible to various diseases and pests. Implementing a crop rotation plan is crucial to prevent the buildup of soil-borne diseases and pests that can impact cabbage plants. Avoid planting cabbage in the same location year after year, and rotate it with other unrelated crops.
6. Companion Planting: Certain plants can benefit cabbage by repelling pests or providing shade. Consider companion plants like marigold, dill, and onion, which can help deter pests and improve cabbage growth and health.
7. Succession Planting: To ensure a continuous harvest, consider succession planting cabbage seeds at regular intervals. This staggered planting schedule allows you to harvest fresh cabbage throughout the growing season.
By considering these factors, you can provide the optimal conditions for your cabbage plants to thrive and produce high-quality heads. Remember, each factor interacts with the others, so it’s important to take a holistic approach to cabbage cultivation. With careful planning and attention to detail, you can enjoy a successful cabbage harvest year after year.
Climate and Temperature Requirements
Cabbage is a cool-season crop that thrives in moderate temperatures. Understanding the climate and temperature requirements of cabbage is crucial for successful cultivation. Let’s delve into the specifics of cabbage’s climate preferences to ensure optimal growth and a bountiful harvest.
1. Temperature Range: Cabbage plants prefer a temperature range of 45 to 75 degrees Fahrenheit (7 to 24 degrees Celsius) for optimal growth. Cooler temperatures in the range of 60 to 70 degrees Fahrenheit (15 to 21 degrees Celsius) are generally best for cabbage seed germination and early growth. However, cabbage can tolerate temperatures as low as 32 degrees Fahrenheit (0 degrees Celsius) for short periods.
2. Frost Tolerance: While cabbage can tolerate cool temperatures, it is not frost tolerant. Exposure to freezing temperatures can cause significant damage to cabbage plants. To protect your cabbage from frost, avoid sowing seeds too early in regions with a risk of late spring or early fall frosts.
3. Day Length: Cabbage growth and formation of heads are influenced by day length. This is known as photoperiod sensitivity. Most cabbage varieties are day-neutral, meaning they will form heads regardless of the day length. However, certain varieties may have specific day-length requirements for head formation. Check the seed packet or consult the variety information to understand the day length preferences of your chosen cabbage variety.
4. Heat Tolerance: While cabbage prefers cooler temperatures, it can tolerate some heat. However, extreme heat can cause reduced growth, leaf wilting, and premature bolting. If you live in a region with hot summers, consider growing cabbage as a cool-season crop in the spring or fall when temperatures are milder.
5. Microclimates: Your garden may have microclimates that differ from the overall climate of your region. Factors such as sun exposure, wind patterns, and nearby structures can influence temperatures within your garden. Take note of these microclimates and choose the planting location for your cabbage accordingly.
When sowing cabbage seeds, consider the average date of the last frost in your area and the temperature patterns of your region. In most regions, cabbage seeds can be sown in early spring for a summer harvest or in late summer for a fall harvest. Timing is crucial to ensure that the plants are not exposed to freezing temperatures or extreme heat.
By understanding the climate and temperature requirements of cabbage, you can plan your sowing and growing schedule accordingly. This will help you create an optimal environment for your cabbage plants, leading to healthy growth and a delicious harvest.
Read more: When To Sow Kale Seeds
Soil Preparation
Proper soil preparation is key to providing your cabbage plants with the optimal growing conditions they need to thrive. Healthy, well-prepared soil promotes strong root development, nutrient uptake, and overall plant growth. Follow these steps to prepare your soil for successful cabbage cultivation:
1. Clear the Area: Start by clearing the designated area of any weeds, rocks, or debris. Remove any large roots or obstructions that can hinder root growth.
2. Test the Soil: Test the soil to determine its pH level and nutrient content. Cabbage prefers a slightly acidic soil with a pH range of 6.0 to 6.5. Soil testing kits are readily available at garden centers or through local agricultural extensions. Based on the test results, adjust the soil pH if necessary using amendments like lime or sulfur.
3. Amend the Soil: Cabbage thrives in soil that is rich in organic matter and well-draining. Add compost, well-rotted manure, or aged leaf mold to the soil to improve fertility, structure, and water-holding capacity. Work these organic amendments into the soil to a depth of 6 to 8 inches (15 to 20 cm).
4. Loosen the Soil: Use a garden fork or tiller to loosen the soil. This helps break up any compacted areas and improves aeration. Avoid excessive tilling, as it can disrupt the beneficial soil structure and microorganisms.
5. Improve Drainage: Ensure that the soil has good drainage to prevent waterlogging, which can lead to root rot. If your soil tends to retain too much moisture, consider adding coarse sand or perlite to improve drainage.
6. Weed Control: Remove any remaining weeds or grass in the area. Weeds compete with cabbage plants for nutrients, water, and sunlight, so it’s crucial to keep them under control throughout the growing season.
7. Mulching: Once the soil is prepared and the cabbage plants are established, apply a layer of organic mulch around the base of the plants. Mulch helps conserve moisture, suppresses weed growth, and regulates soil temperature.
Remember to prepare the soil well in advance of sowing cabbage seeds, ideally a few weeks before planting. This allows time for the organic matter to decompose and integrate into the soil, creating a nutrient-rich environment.
By following these soil preparation steps, you will provide a healthy foundation for your cabbage plants to grow and thrive. Healthy soil sets the stage for healthy plants and a successful cabbage harvest.
Preparing the Seedlings
Properly preparing cabbage seedlings is essential for their successful growth and establishment. Starting cabbage seeds indoors allows you to have robust and healthy seedlings ready for transplanting into the garden. Follow these steps to prepare your cabbage seedlings:
1. Select a Suitable Container: Choose clean, sterile containers for sowing cabbage seeds. Consider using seed trays, cell packs, or pots with drainage holes to promote healthy root development and prevent waterlogging.
2. Seed Starting Mix: Fill the containers with a high-quality seed starting mix. This mixture should be light, well-draining, and have good moisture retention. Avoid using regular garden soil, as it may contain pathogens or be too heavy for young seedlings.
3. Sow the Seeds: Sow cabbage seeds according to the recommended spacing on the seed packet. Press the seeds lightly into the seed starting mix, ensuring good soil-to-seed contact. Cover the seeds with a thin layer of the seed starting mix.
4. Provide Adequate Moisture: Moisten the soil gently using a spray bottle or a fine mist setting on a watering can. Avoid overwatering, as excessive moisture can lead to disease and damping off of the seedlings. Keep the soil lightly moist until the seeds germinate.
5. Maintain Optimal Temperature and Light: Cabbage seeds require a consistent temperature of around 60 to 75 degrees Fahrenheit (15 to 24 degrees Celsius) for germination. Place the containers in a warm location or use a heat mat if necessary. Once the seeds germinate, move the seedlings to a brightly lit area or provide supplemental grow lights for 12 to 14 hours a day.
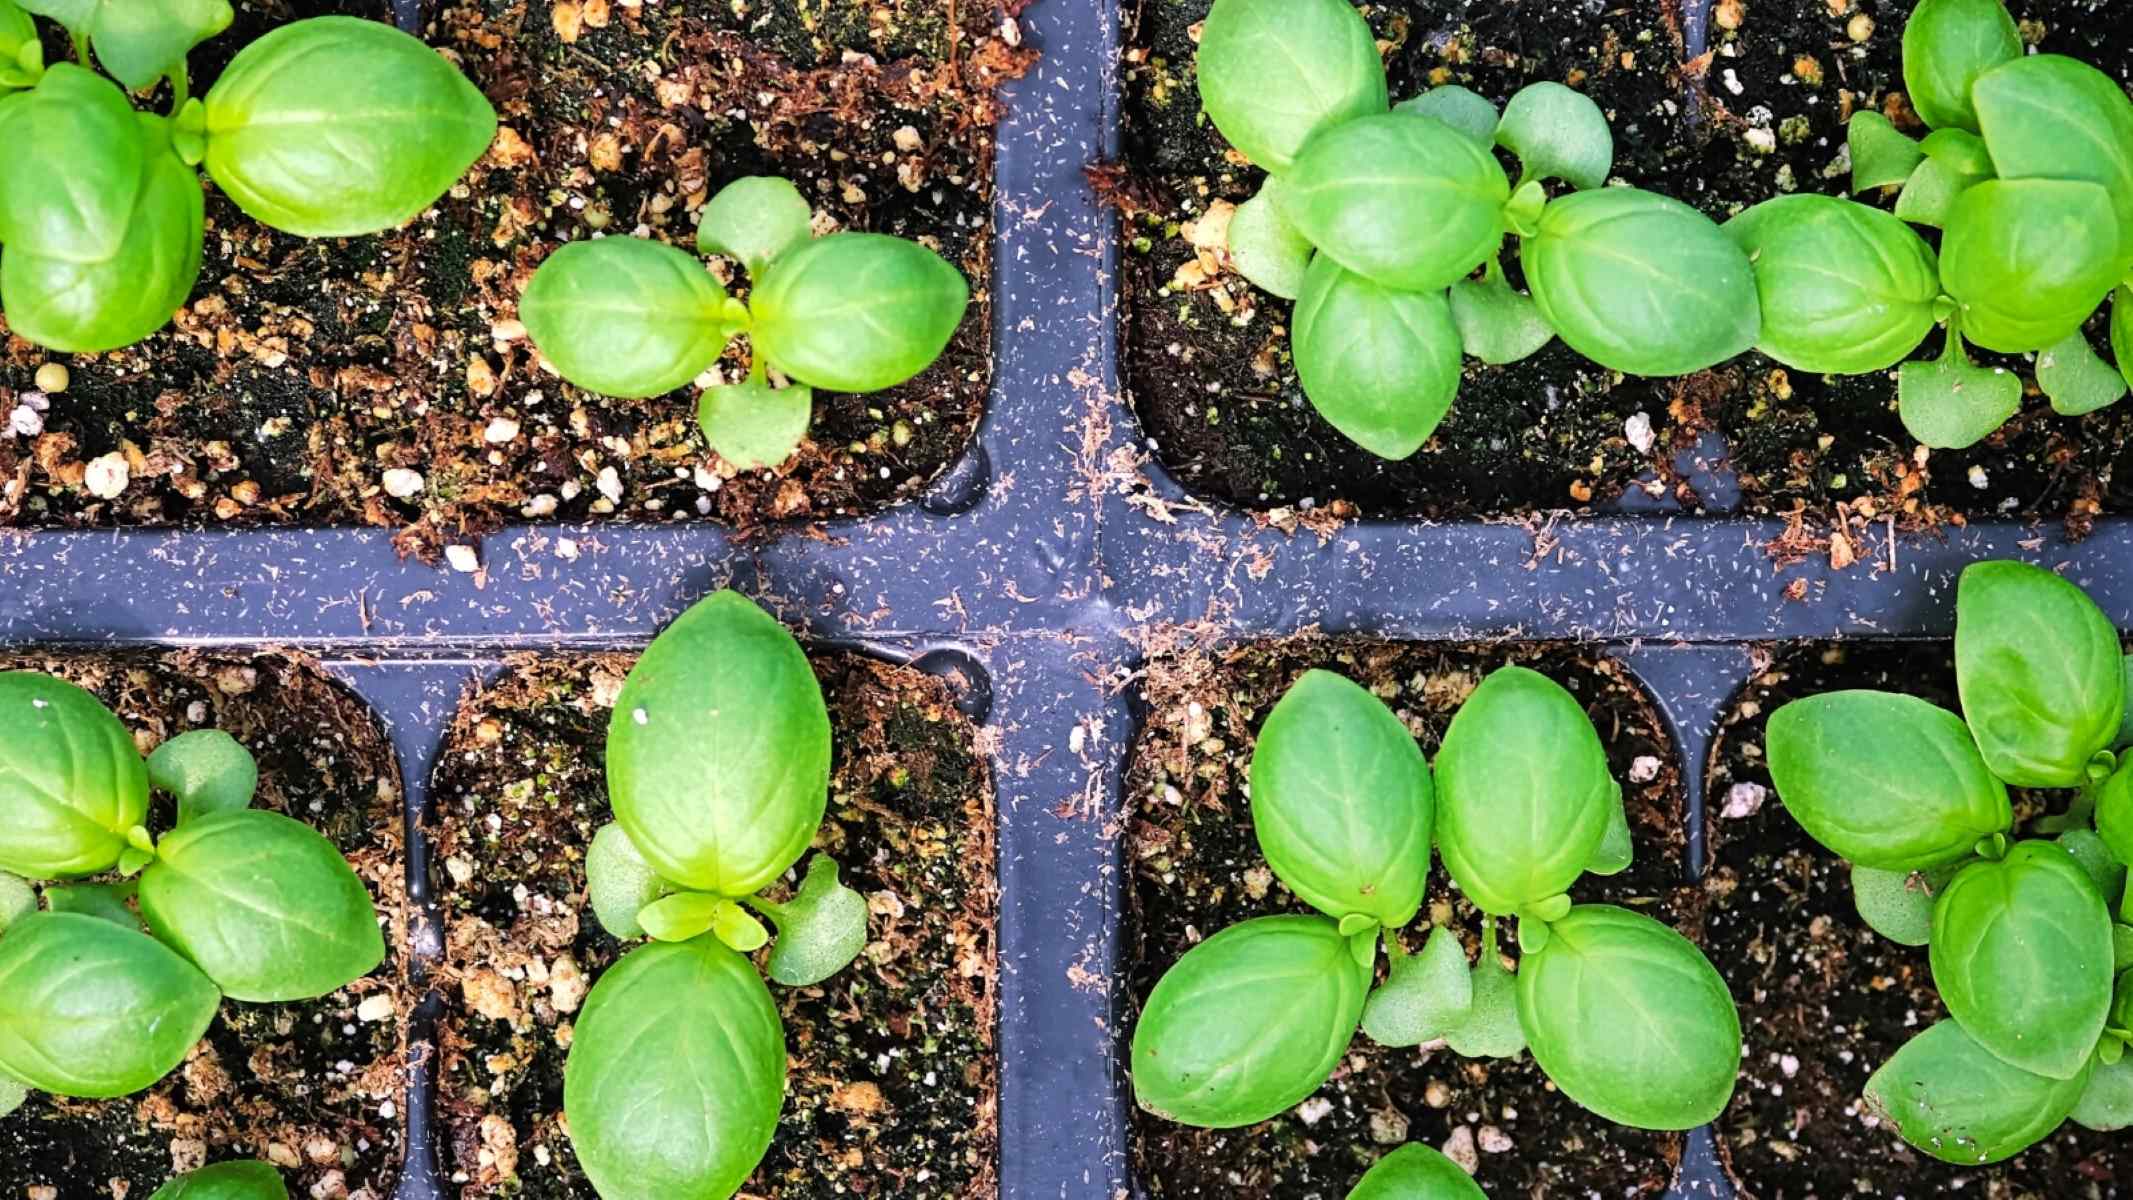
6. Thin out the Seedlings: Once the seedlings develop their first set of true leaves, thin them out to provide adequate space for each plant to grow. Choose the strongest and healthiest seedlings and carefully remove the weaker ones by snipping them at the soil level with clean scissors or using a thinning tool.
7. Harden Off the Seedlings: Before transplanting your cabbage seedlings into the garden, gradually acclimate them to outdoor conditions. Start by placing them outdoors in a sheltered, shaded area for a few hours a day, gradually increasing their exposure to sunlight and wind over the course of a week.
Properly preparing cabbage seedlings sets them up for success. By following these steps, you can ensure strong, healthy seedlings that are ready to be transplanted into the garden. Remember to provide consistent care, including regular watering and monitoring for pests or diseases, to ensure the continued growth and development of your cabbage plants.
Sow cabbage seeds indoors 6-8 weeks before the last frost date in your area. Transplant seedlings outdoors 2-3 weeks before the last frost.
Best Time to Sow Cabbage Seeds
The best time to sow cabbage seeds will vary depending on various factors, including your location, climate, and desired harvest time. Cabbage is a cool-season crop that thrives in moderate temperatures, making it ideal for spring and fall planting. Let’s explore the best times to sow cabbage seeds for these two growing seasons:
1. Spring Planting: For spring planting, begin sowing cabbage seeds indoors 6 to 8 weeks before the average date of the last frost in your area. This allows the seedlings to grow and develop in a controlled environment before transplanting them outdoors. The ideal temperature range for cabbage seed germination is between 60 to 70 degrees Fahrenheit (15 to 21 degrees Celsius). Transplant the seedlings into the garden when they have grown 4 to 6 true leaves and the threat of frost has passed.
2. Fall Planting: Fall is another excellent time to sow cabbage seeds, especially if you want a late-season harvest. Start sowing seeds indoors around 12 weeks before the first expected fall frost date. This timing allows the cabbage plants to mature during the cooler temperatures of fall. After hardening off the seedlings, transplant them into the garden around 4 to 6 weeks before the first expected frost date. The cooler temperatures and reduced pest pressure in the fall can result in sweeter-tasting and more tender cabbage heads.
It’s important to note that the specific timing for sowing cabbage seeds may vary depending on your geographical location and local climate conditions. Utilize regional gardening resources, such as your local cooperative extension or gardening forums, to get more precise information about the optimal sowing times for cabbage in your area.
Additionally, consider the days to maturity for the specific cabbage variety you are growing. This information is typically provided on the seed packet or in the variety description. Counting back from the average first frost date in your region will help you determine when to sow the seeds to ensure maturity before the onset of winter.
By sowing cabbage seeds at the appropriate time for your region and climate, you give your plants the best chance to grow and produce high-quality heads. Properly timed planting ensures that your cabbage plants have favorable weather conditions throughout their growth stages, leading to a successful and rewarding harvest.
Sowing Cabbage Seeds Indoors
Sowing cabbage seeds indoors is a great way to get a head start on the growing season and ensure strong, healthy seedlings for transplanting into the garden. Here’s a step-by-step guide on how to sow cabbage seeds indoors:
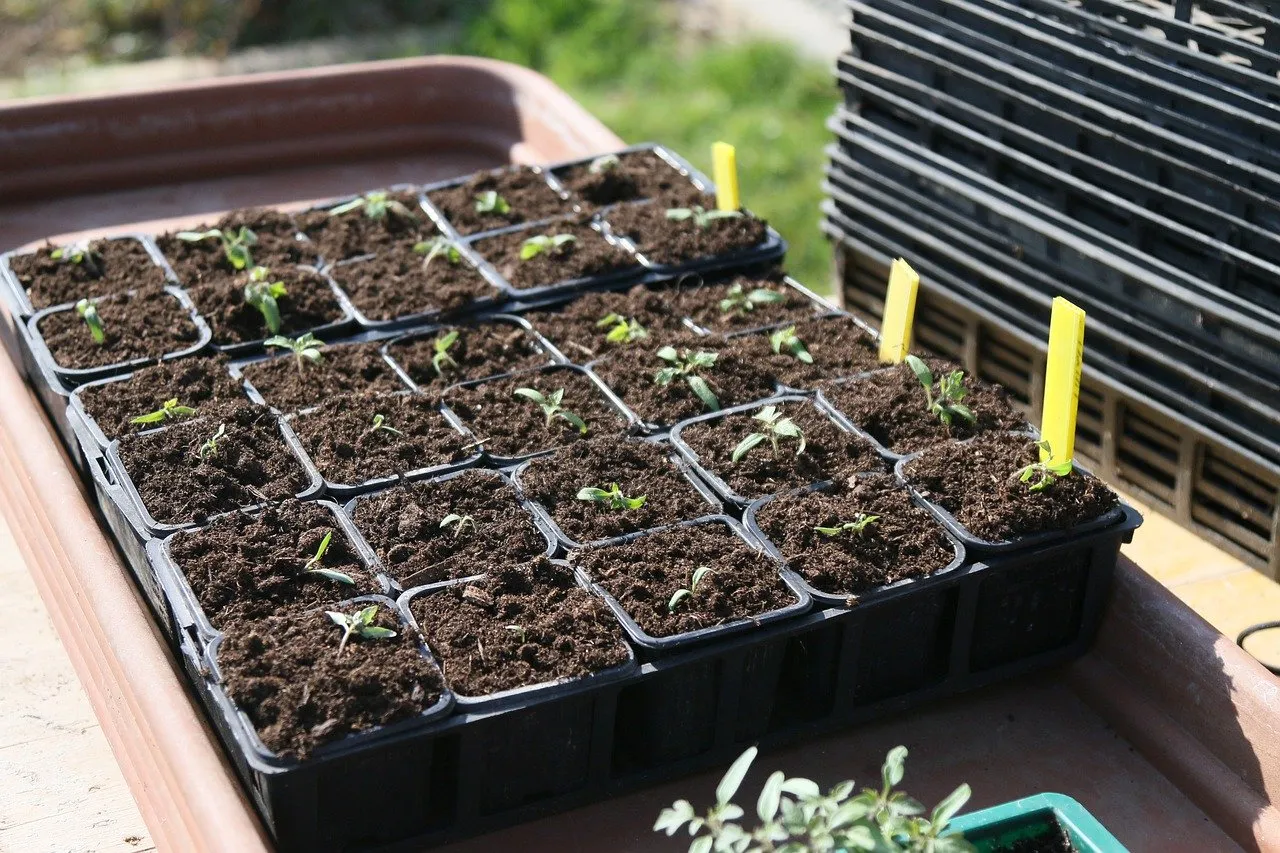
1. Choose the Right Containers: Select clean, sterile containers for sowing your cabbage seeds. Seed trays, cell packs, or individual pots with drainage holes work well. Ensure the containers are at least 2-3 inches deep to accommodate root growth.
2. Use Quality Seed Starting Mix: Fill your containers with a high-quality seed starting mix. Avoid using regular garden soil, as it can be too heavy and prone to compaction. The seed starting mix should be light, well-draining, and have good moisture retention.
3. Sow the Seeds: Moisten the seed starting mix before sowing the cabbage seeds. Follow the recommended spacing provided on the seed packet, usually 2-3 seeds per cell or pot. Plant the seeds at a depth of approximately ¼ to ½ inch. Sprinkle a thin layer of the seed starting mix over the seeds and gently pat it down.
4. Provide Ideal Growing Conditions: Place the containers in a warm location, preferably between 60 to 75 degrees Fahrenheit (15 to 24 degrees Celsius), for optimal germination. You can use a heat mat to provide a consistent bottom heat if necessary. It’s also important to ensure sufficient light for the seedlings. Place them under grow lights or in a sunny window where they’ll receive at least 12-14 hours of direct or supplemental light per day.
5. Maintain Proper Moisture: Keep the soil consistently moist but not waterlogged. Avoid letting the soil dry out completely or become overly saturated, as it can hinder seed germination. Mist the soil surface gently with water or use a spray bottle to prevent disturbing the seeds.
6. Thin Out the Seedlings: Once the cabbage seedlings develop their first set of true leaves, thin them out to allow for proper growth. Choose the healthiest and strongest seedling in each cell or pot and carefully remove the extra seedlings by snipping them at the soil level with clean scissors or using a thinning tool. Thinning ensures that the remaining seedlings have adequate space and resources to grow.
7. Harden Off the Seedlings: Approximately a week before transplanting, gradually acclimate the seedlings to outdoor conditions. Start by placing them outdoors in a sheltered, shady area for a few hours a day, gradually increasing their exposure to sunlight and wind over the course of a week. This helps the seedlings adjust to the changes in temperature and environmental conditions.
By sowing cabbage seeds indoors, you can control the growing conditions and ensure strong, healthy seedlings. This method allows you to extend the growing season, have a head start on production, and increase the chances of a successful harvest. With proper care and attention, your cabbage seedlings will be ready for transplanting into the garden and continue their journey towards becoming mature and delicious cabbage heads.
Read more: When To Sow Echinacea Seeds
Direct Sowing in the Garden
Direct sowing cabbage seeds in the garden is an alternative method to starting seeds indoors. Depending on the climate and growing conditions in your area, you can sow cabbage seeds directly into the garden soil. Here’s a step-by-step guide for direct sowing cabbage seeds:
1. Choose the Right Time: Determine the best time for direct sowing cabbage seeds based on your region’s climate and the recommended planting dates. Cabbage is a cool-season crop and prefers moderate temperatures for optimal growth. Direct sow the seeds when the soil temperature reaches around 45 to 75 degrees Fahrenheit (7 to 24 degrees Celsius).
2. Prepare the Soil: Prepare the garden bed by clearing it of any weeds, rocks, or debris. Loosen the soil to a depth of 6 to 8 inches (15 to 20 cm) using a garden fork or tiller. Remove any large roots or obstructions that can hinder root growth, and rake the soil surface to create a smooth seedbed.
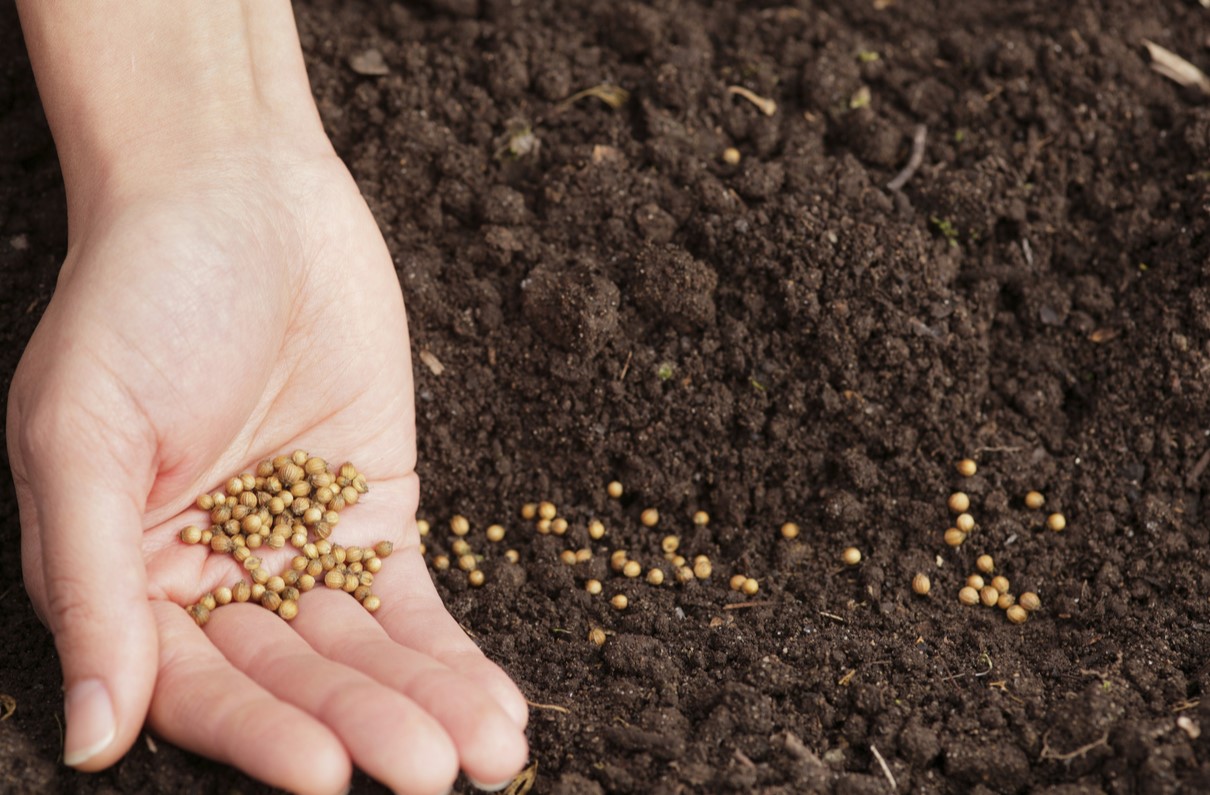
3. Sow the Seeds: Create shallow furrows or trenches in the prepared soil, spacing them according to the recommended distance indicated on the seed packet. Typically, cabbage seeds should be sown about 1/4 to 1/2 inch deep. Place the seeds in the furrows, leaving enough space between each seed to allow for proper growth. Cover the seeds with soil and gently firm the soil surface with your hands or the back of a rake.
4. Water the Seeds: After sowing the cabbage seeds, water the garden bed thoroughly. Ensure that the soil is evenly moist but not waterlogged. Maintain consistent moisture throughout the germination and seedling stage to support healthy growth. Be mindful not to create excessive runoff or standing water that may lead to seed displacement.
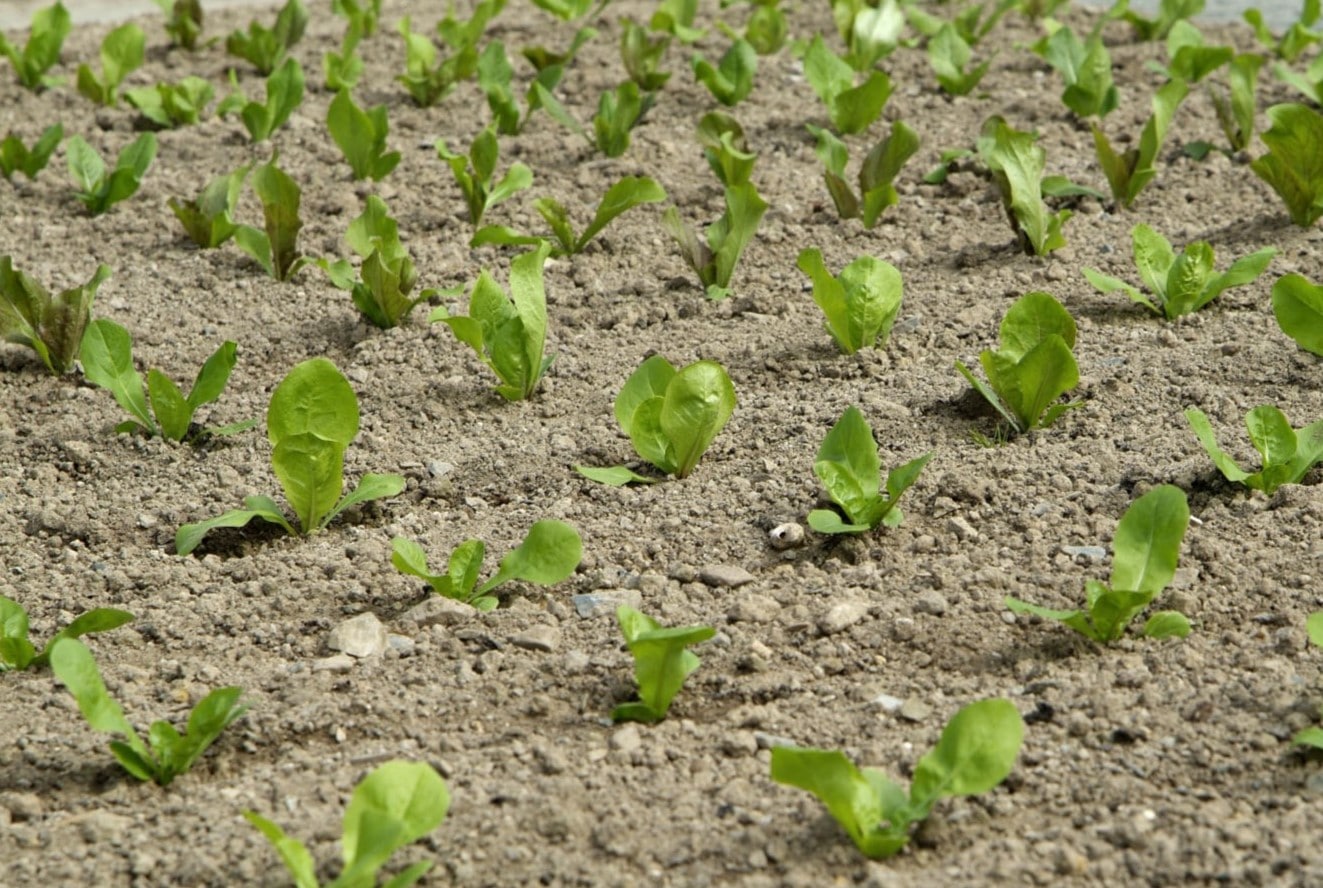
5. Provide Adequate Space: As the cabbage seedlings grow, they will need sufficient space to develop into mature plants. Stay mindful of the recommended spacing for your chosen cabbage variety and thin out the seedlings if they become overcrowded. This will ensure that each plant has enough room to spread out and obtain proper sunlight, water, and nutrients.
6. Monitor for Pests and Diseases: Once the cabbage seedlings emerge, regularly monitor the plants for any signs of pests or diseases. Use organic pest control methods like hand-picking insects or applying natural remedies to protect your cabbage plants. Maintain good garden hygiene by removing any diseased or damaged leaves promptly.
7. Maintain Care: Care for your direct-sown cabbage plants by providing consistent watering, proper fertilization, and weed control. Mulching around the plants can help retain soil moisture and suppress weed growth. Regularly inspect the plants for any signs of nutrient deficiencies or stress, and address any issues promptly.
Direct sowing cabbage seeds in the garden can be a convenient and effective method, especially if you have limited indoor space or prefer a more hands-off approach. By following these steps and providing proper care, you can enjoy a successful harvest of fresh, homegrown cabbage.
Transplanting Seedlings
Transplanting cabbage seedlings from their indoor containers to the garden is a critical step in their growth and development. Proper transplanting ensures that the seedlings continue to thrive and mature into healthy and productive cabbage plants. Follow these steps to successfully transplant your cabbage seedlings:
1. Choose the Right Time: Transplant your cabbage seedlings into the garden when they have grown 4 to 6 true leaves and the threat of frost has passed. This timing is usually a few weeks after the last expected frost date in your area. Be sure to harden off the seedlings by gradually acclimating them to outdoor conditions before transplanting.
2. Preparing the Garden Bed: Prepare the garden bed by clearing it of any weeds, rocks, or debris. Loosen the soil to a depth of 6 to 8 inches (15 to 20 cm) using a garden fork or tiller. Incorporate compost or well-rotted organic matter into the soil to improve fertility and structure.
3. Digging Planting Holes: Dig holes in the garden bed that are slightly larger and deeper than the root ball of the cabbage seedlings. Space the holes according to the recommended spacing for your particular cabbage variety, usually around 12 to 18 inches (30 to 45 cm) apart.
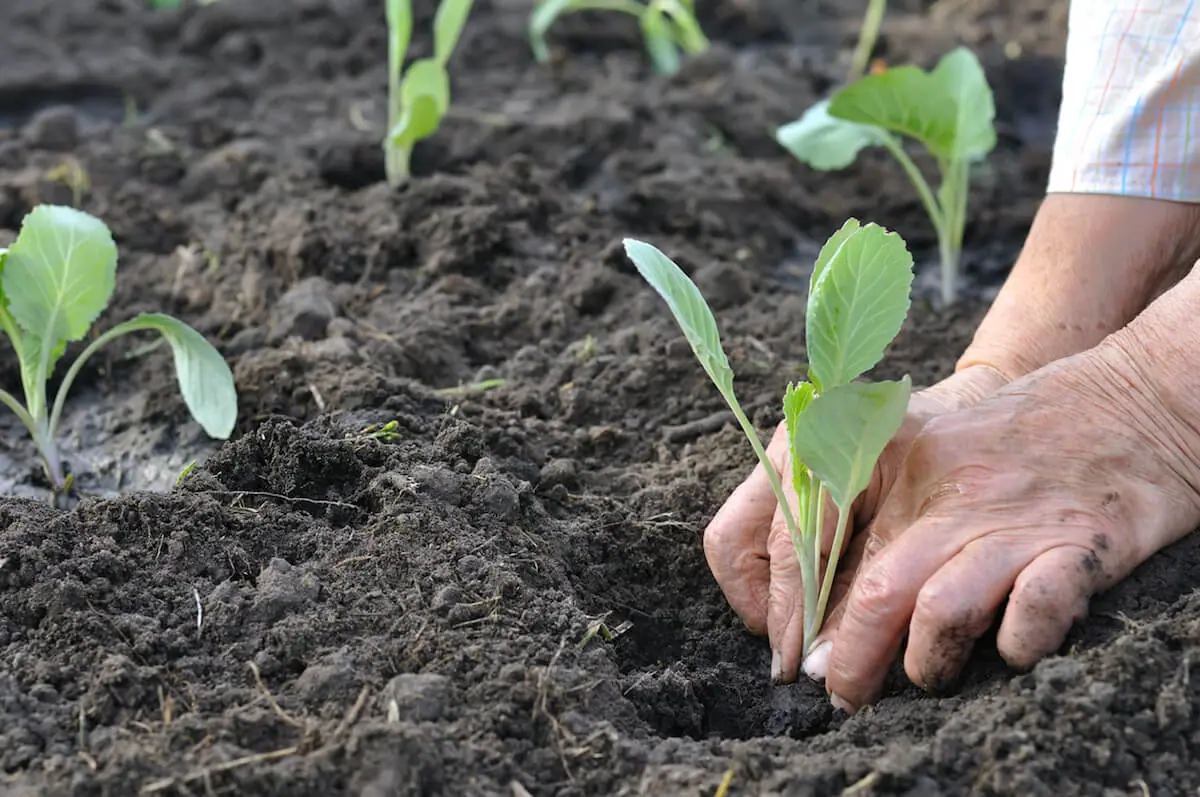
4. Transplanting Seedlings: Gently remove the cabbage seedlings from their containers by carefully grasping the base of the seedling. Handle the seedlings by their leaves to avoid damaging the delicate stems. Place each seedling into a planting hole, ensuring that the base of the stem is level with the soil surface or slightly below. Backfill the hole with soil, gently firming it around the roots. Water the transplanted seedlings immediately to help settle the soil.
5. Provide Proper Care: After transplanting, provide proper care to ensure the seedlings’ successful establishment in the garden. Water the transplanted seedlings deeply and consistently to keep the soil evenly moist but not waterlogged. Mulching around the plants can help retain moisture and suppress weed growth. Monitor the seedlings for any signs of stress or pest damage and take appropriate action.
6. Consider Cabbage Collars: To protect your cabbage seedlings from pests like cutworms, consider using cabbage collars. Cut circles or squares from cardboard or other suitable materials and place them around the base of each seedling, sinking them about an inch into the ground. This barrier will prevent pests from reaching the stems and causing damage.
7. Maintain Care: Throughout the growing season, continue to provide care for your transplanted cabbage seedlings. Fertilize with a balanced fertilizer according to the package instructions or incorporate time-release fertilizer into the soil during planting. Monitor the plants for nutrient deficiencies, pests, and diseases, and take necessary measures to maintain their health.
Transplanting cabbage seedlings is a crucial step in the overall success of your cabbage crop. By following these steps and providing proper care, your seedlings will establish themselves in the garden and continue their journey towards maturing into delicious and nutritious cabbage heads.
Care and Maintenance
Caring for your cabbage plants throughout their growth cycle is essential to ensure healthy development, disease prevention, and a bountiful harvest. Here are some key care and maintenance practices to keep in mind:
1. Watering: Provide consistent moisture to your cabbage plants. Aim to keep the soil evenly moist but avoid overwatering, as it can lead to root rot and other diseases. Water deeply and infrequently, allowing the top few inches of soil to dry out slightly between waterings. Irrigate at ground level to prevent wetting the foliage, which can increase the risk of fungal diseases.
2. Mulching: Apply a layer of organic mulch, such as straw, wood chips, or leaves, around the base of the cabbage plants. Mulch helps conserve moisture, suppress weeds, and regulate soil temperature. It also acts as a barrier, preventing soil-borne diseases from splashing onto the leaves.
3. Fertilizing: Cabbage plants benefit from regular fertilization to ensure optimal growth. Apply a balanced organic fertilizer or compost around the base of the plants every 3-4 weeks during the growing season. Follow the package instructions for application rates and frequency. Avoid over-fertilization, as excessive nitrogen can result in lush foliage but poor head development.
4. Weed Control: Keep the garden bed free from weeds, as they compete with cabbage plants for nutrients, water, and sunlight. Regularly inspect the garden and remove any weeds by hand or using appropriate weeding tools. Mulching can also help suppress weed growth.
5. Pest Management: Monitor your cabbage plants for common pests such as cabbage worms, aphids, and cabbage loopers. Implement preventive measures like using floating row covers early in the season or employing natural pest control methods like handpicking insects or applying insecticidal soap. Regularly inspect the plants for any signs of pest infestation and take appropriate action promptly.
6. Disease Prevention: Cabbage plants are susceptible to various diseases, including clubroot, black rot, and powdery mildew. Practice good garden hygiene by removing any diseased plant debris and rotating cabbage crops every year. Provide adequate spacing between plants for good air circulation and choose disease-resistant varieties whenever possible.
7. Staking: Some cabbage varieties may benefit from staking to provide support as they grow larger. Stake the plants when they start to develop larger heads to prevent them from toppling over or breaking under their weight. Use bamboo stakes or other suitable materials, placing them securely in the ground near the plant and gently tying the cabbage to the stake for support.
8. Protection from Extreme Weather: Protect your cabbage plants from extreme weather conditions. Provide shade during hot summer days to prevent wilting and bolting, or cover the plants during cold snaps or frost events to prevent damage. Use row covers, cloches, or other protective structures as needed.
By implementing these care and maintenance practices, you can help ensure the health and vitality of your cabbage plants. Regular monitoring, proper watering and fertilization, disease and pest prevention, and overall attentive care will contribute to a successful cabbage harvest.
Harvesting Cabbage
The time for harvesting cabbage is both exciting and rewarding, as it signifies the culmination of your efforts in growing this delicious vegetable. Harvesting cabbage at the right stage of maturity ensures optimal flavor, texture, and nutrition. Here’s a guide on how and when to harvest cabbage:
1. Head Formation: Cabbage develops a dense head at the center of the plant as it matures. The size and firmness of the head are essential factors to consider when determining if the cabbage is ready for harvest. The outer leaves of the cabbage head should be tightly wrapped and have reached their full size.
2. Timing: The average time to harvest cabbage depends on the variety and the specific growing conditions. Most cabbage varieties mature within 70 to 100 days after planting, but you can start harvesting leaves for consumption before the head forms. Refer to the seed packet or variety information to estimate the typical maturity timeframe for your chosen cabbage variety.
3. Firmness Test: Gently squeeze the head of the cabbage to check for firmness. A fully mature cabbage head should feel firm and solid when you press it. Avoid harvesting if the head feels soft or appears loose. Overripe cabbage heads can become tough, woody, and less pleasant to eat.
4. Observe Leaf Color: Examine the color of the outer leaves. Most varieties have green outer leaves, but some may have red, purple, or variegated leaves. Look for vibrant, healthy-looking leaves without signs of disease or pest damage.
5. Harvesting Techniques: To harvest cabbage, use a sharp knife or garden shears. Cut the head of the cabbage just above the level of the soil, ensuring that you leave the outer leaves and stem intact. For varieties with looser heads, you can gently lift and twist the cabbage to remove it from the plant.
6. Staggered Harvesting: If you have multiple cabbage plants, consider staggered harvesting. As the outer leaves of the cabbage plants reach their full size, selectively harvest the leaves while leaving the central head to continue maturing. This method allows you to enjoy fresh cabbage leaves without sacrificing the main harvest.
7. Post-Harvest Storage: After harvesting, remove any damaged or discolored outer leaves. Properly store harvested cabbage heads in a cool, dark place such as a root cellar, refrigerator, or cool basement. Cabbages can typically be stored for a few weeks, but monitor them regularly for any signs of spoilage or decay.
Remember, cabbage is a versatile vegetable that can be enjoyed raw in salads, slaws, or as a cooked side dish or main ingredient in various recipes. Harvesting cabbage at its peak freshness ensures the best taste and nutritional quality.
By following these guidelines, you can confidently harvest your cabbage at the right time and savor the satisfaction of growing and enjoying your own homegrown vegetables!
Read more: When To Plant Cabbage Seeds
Conclusion
Growing cabbage can be a rewarding and enjoyable experience, and understanding when to sow cabbage seeds is essential for a successful harvest. By considering factors such as climate, temperature requirements, soil preparation, and proper care, you can create an optimal environment for your cabbage plants to thrive.
Whether you choose to start your cabbage seeds indoors or directly sow them in the garden, careful attention to timing and preparation will set the stage for healthy seedlings and vigorous growth. Adequate water, proper nutrition, weed control, and pest management are crucial for the ongoing care and maintenance of your cabbage plants throughout the season.
When the time comes, harvesting your cabbage at the right stage of maturity ensures the best flavor and texture. From vibrant green to purple or red varieties, cabbage offers a versatile ingredient for various culinary dishes.
Remember to check seed packets or local gardening resources for specific information on maturity dates and variety-specific requirements. Every region varies in terms of climate, frost dates, and recommended planting and harvesting times, so adjust your plans accordingly.
By following the guidelines and putting in the effort, you’ll be rewarded with a bountiful harvest of delicious, nutritious cabbages to enjoy in your meals, share with others, or preserve for later use.
So, whether you’re a seasoned gardener or just beginning to explore the joys of growing your own food, take the time to understand the needs of cabbage plants, plan your sowing times, and provide the care they require. With patience, knowledge, and a green thumb, you’ll be well on your way to a successful and satisfying cabbage-growing journey!
Frequently Asked Questions about When To Sow Cabbage Seeds
Was this page helpful?
At Storables.com, we guarantee accurate and reliable information. Our content, validated by Expert Board Contributors, is crafted following stringent Editorial Policies. We're committed to providing you with well-researched, expert-backed insights for all your informational needs.

0 thoughts on “When To Sow Cabbage Seeds”