Home>Gardening & Outdoor>Landscaping Ideas>How To Lay Stone Pavers On Grass
Landscaping Ideas
How To Lay Stone Pavers On Grass
Modified: August 17, 2024
Learn how to lay stone pavers on grass with our expert landscaping ideas. Transform your outdoor space with our step-by-step guide and create a stunning, durable pathway.
(Many of the links in this article redirect to a specific reviewed product. Your purchase of these products through affiliate links helps to generate commission for Storables.com, at no extra cost. Learn more)
Introduction
Are you looking to transform your outdoor space with a touch of elegance and functionality? If so, laying stone pavers on grass can be a game-changer. This innovative landscaping technique offers a myriad of benefits, including enhanced aesthetics, improved usability, and increased property value. Whether you envision a charming patio, a picturesque walkway, or a cozy seating area, stone pavers can turn your dream into a stunning reality.
In this comprehensive guide, we will explore the step-by-step process of laying stone pavers on grass. From preparing the area to adding the finishing touches, each stage is crucial in ensuring a durable and visually appealing result. By following these expert tips and techniques, you can embark on a rewarding journey of transforming your outdoor space into a captivating oasis.
So, roll up your sleeves, unleash your creativity, and let’s dive into the art of laying stone pavers on grass. Whether you’re a seasoned DIY enthusiast or a first-time landscaper, this guide will equip you with the knowledge and inspiration needed to embark on this exciting project. Let’s embark on this transformative journey and elevate your outdoor living space to new heights of beauty and functionality.
Key Takeaways:
- Transform your outdoor space by laying stone pavers on grass. Follow the step-by-step process to create a visually striking and durable oasis for relaxation, entertainment, and connection with nature.
- Enhance the beauty and functionality of your outdoor living space with stone pavers. Add finishing touches like sealant, landscaping elements, outdoor lighting, and furniture to create a captivating and inviting outdoor oasis.
Read more: How To Lay Pavers On Grass
Step 1: Prepare the Area
Before diving into the installation process, it’s crucial to prepare the area where the stone pavers will be laid. This step sets the foundation for a successful and long-lasting result. Here’s how to get started:
- Mark the Area: Begin by outlining the area where you intend to lay the pavers. This can be done using marking spray paint, stakes, and string. Creating a clear boundary will help you visualize the project and ensure a precise layout.
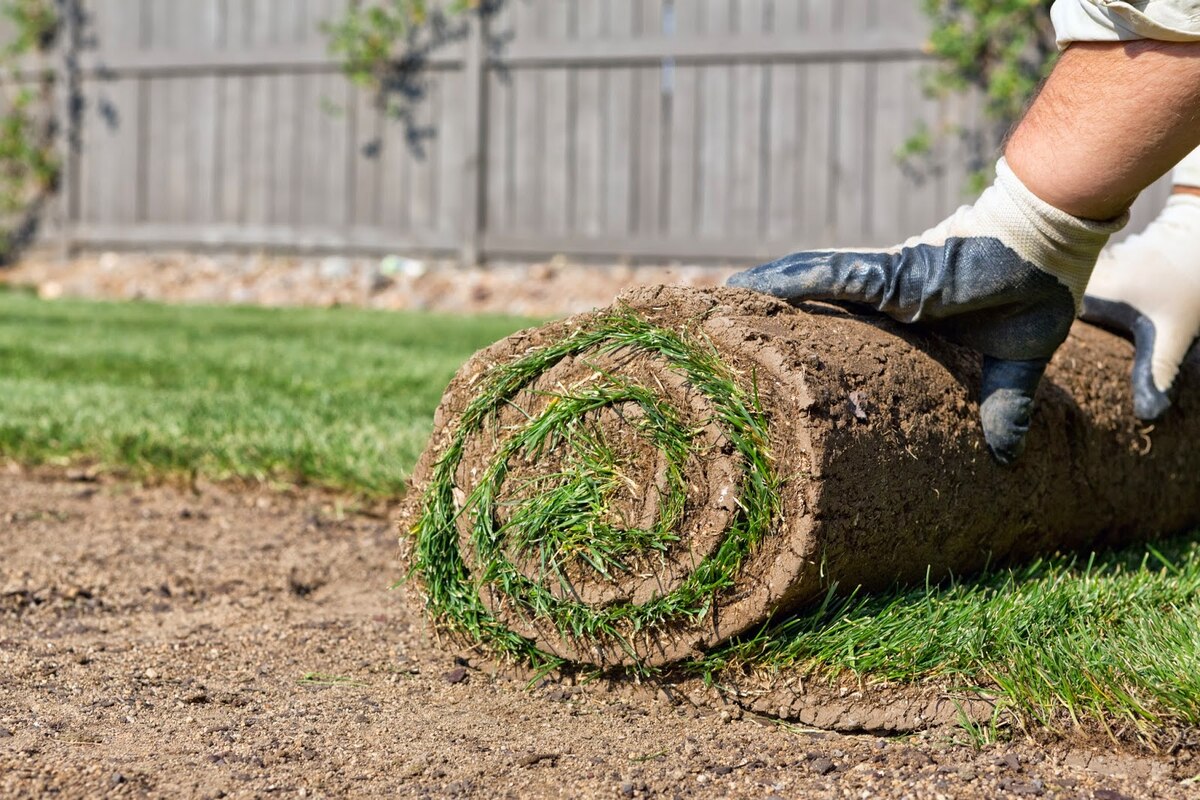
- Clear the Space: Remove any existing grass, vegetation, or debris from the marked area. Use a shovel, rake, or sod cutter to eliminate the top layer of grass and create a clean, level surface for the pavers. This step is essential for promoting proper drainage and preventing unevenness in the final result.
- Excavate the Soil: Once the area is cleared, excavate the soil to a depth that accommodates the base material and the thickness of the pavers. Typically, a depth of 4 to 6 inches is recommended. Use a shovel or a rented excavator for larger areas, and ensure that the excavated area follows the desired slope for proper water drainage.
- Compact the Soil: After excavating, use a plate compactor to firmly pack the soil. This step is crucial for creating a stable base and preventing future settling or shifting of the pavers. Repeat the compaction process multiple times, ensuring that the soil is uniformly firm and level.
- Install Edging: To contain the pavers and prevent shifting, install sturdy edging material along the perimeter of the excavated area. This can be achieved using plastic or metal paver restraints, which should be firmly secured into the ground.
By meticulously preparing the area, you set the stage for a seamless and enduring installation of stone pavers on grass. This crucial first step lays the groundwork for a visually striking, structurally sound, and long-lasting outdoor space that you can enjoy for years to come.
Step 2: Lay a Base
With the area prepared, it’s time to create a stable and supportive base for the stone pavers. The base serves as a critical layer that distributes weight, prevents settling, and ensures the longevity of your outdoor surface. Here’s how to lay a solid base for your pavers:
- Add Base Material: Begin by adding a layer of base material, such as crushed rock or gravel, to the excavated area. This layer typically ranges from 2 to 4 inches in depth and provides essential drainage and stability for the pavers. Spread the material evenly and use a rake to level it, ensuring a uniform surface throughout.
- Compact the Base: Using a plate compactor, firmly compact the base material. This step is crucial for creating a solid foundation and reducing the risk of settling over time. Repeat the compaction process multiple times, ensuring that the base is uniformly firm and well-compacted.
- Add a Layer of Bedding Sand: After compacting the base, add a layer of bedding sand over the compacted base material. The bedding sand should be approximately 1 inch thick and will serve as a cushioning layer for the pavers, allowing for minor adjustments and promoting stability.
- Level the Sand: Use a screed board or a long, straight piece of lumber to level the bedding sand. This process involves dragging the board across the sand, filling in any low spots, and removing excess material to achieve a smooth and even surface. Pay close attention to maintaining a consistent depth of sand throughout the area.
- Compact the Sand: Once the sand is leveled, gently compact it using a plate compactor or a hand tamper. This final compaction step ensures that the sand is firmly packed and provides a stable base for the pavers.
By meticulously laying a solid base, you establish a sturdy and level foundation for the stone pavers. This essential step sets the stage for a visually captivating and structurally resilient outdoor surface that will endure the test of time.
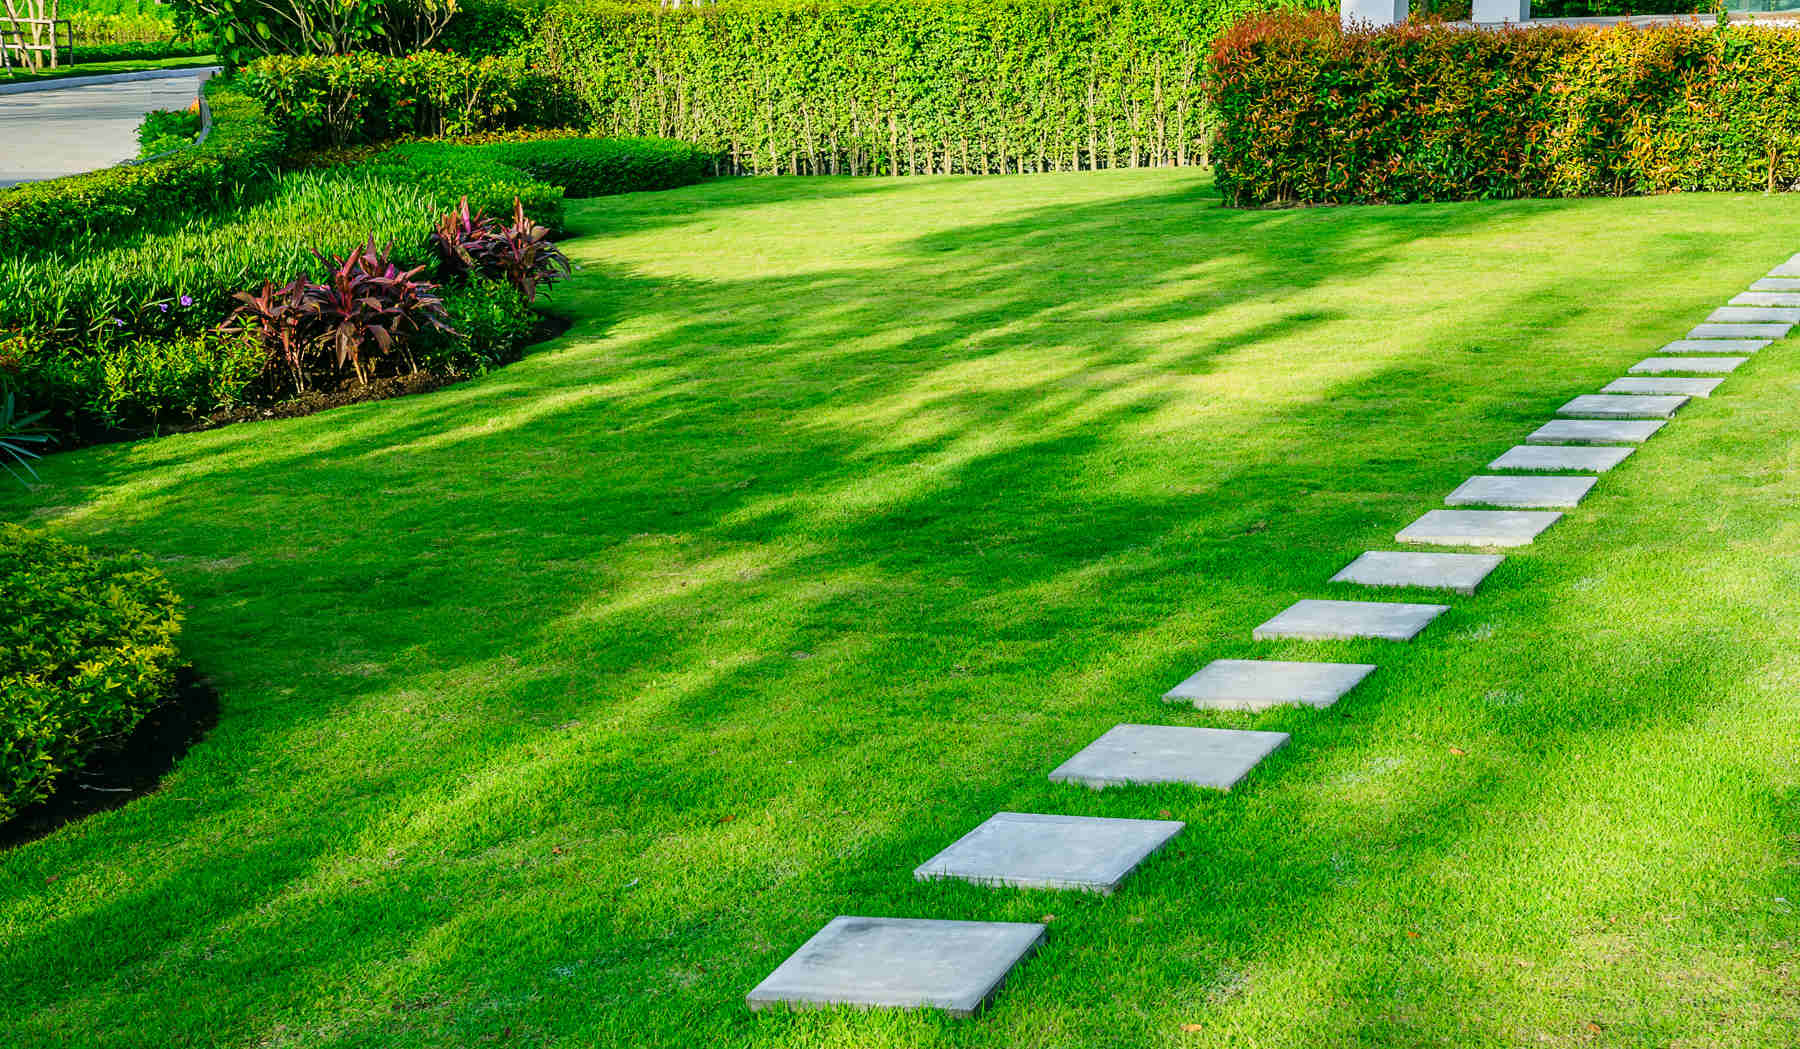
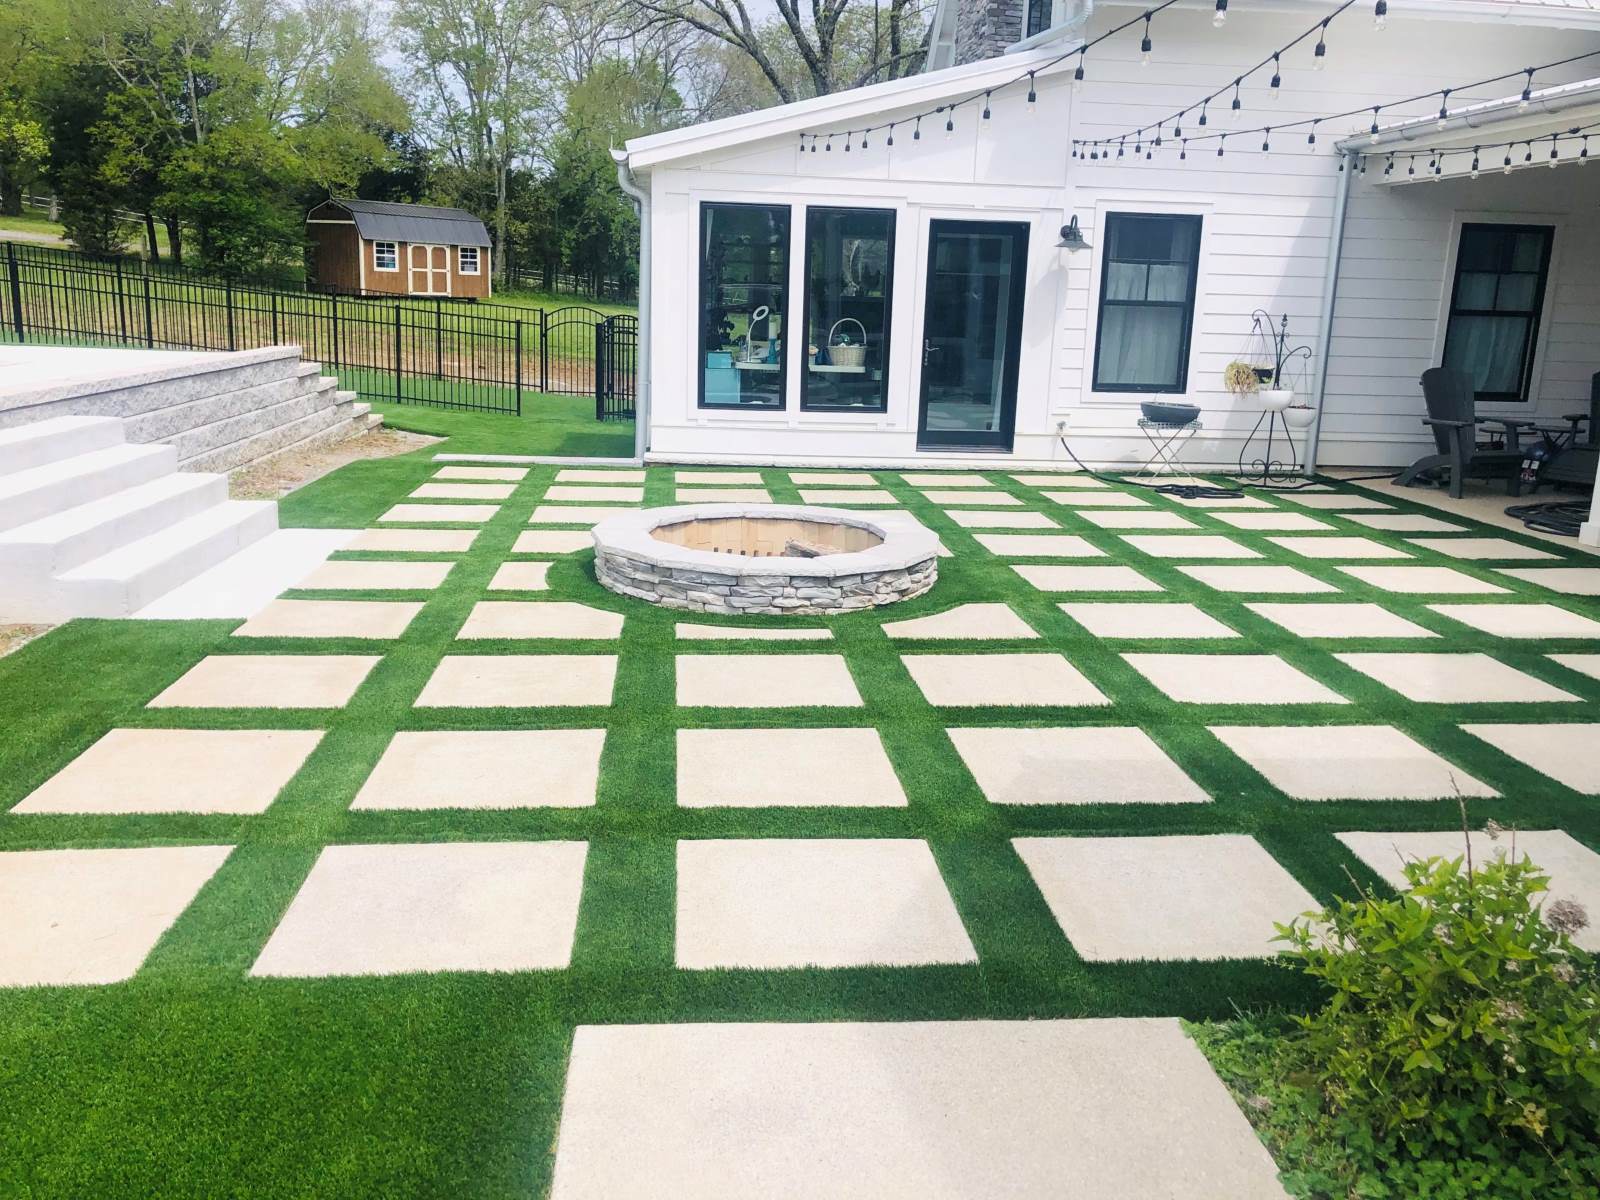
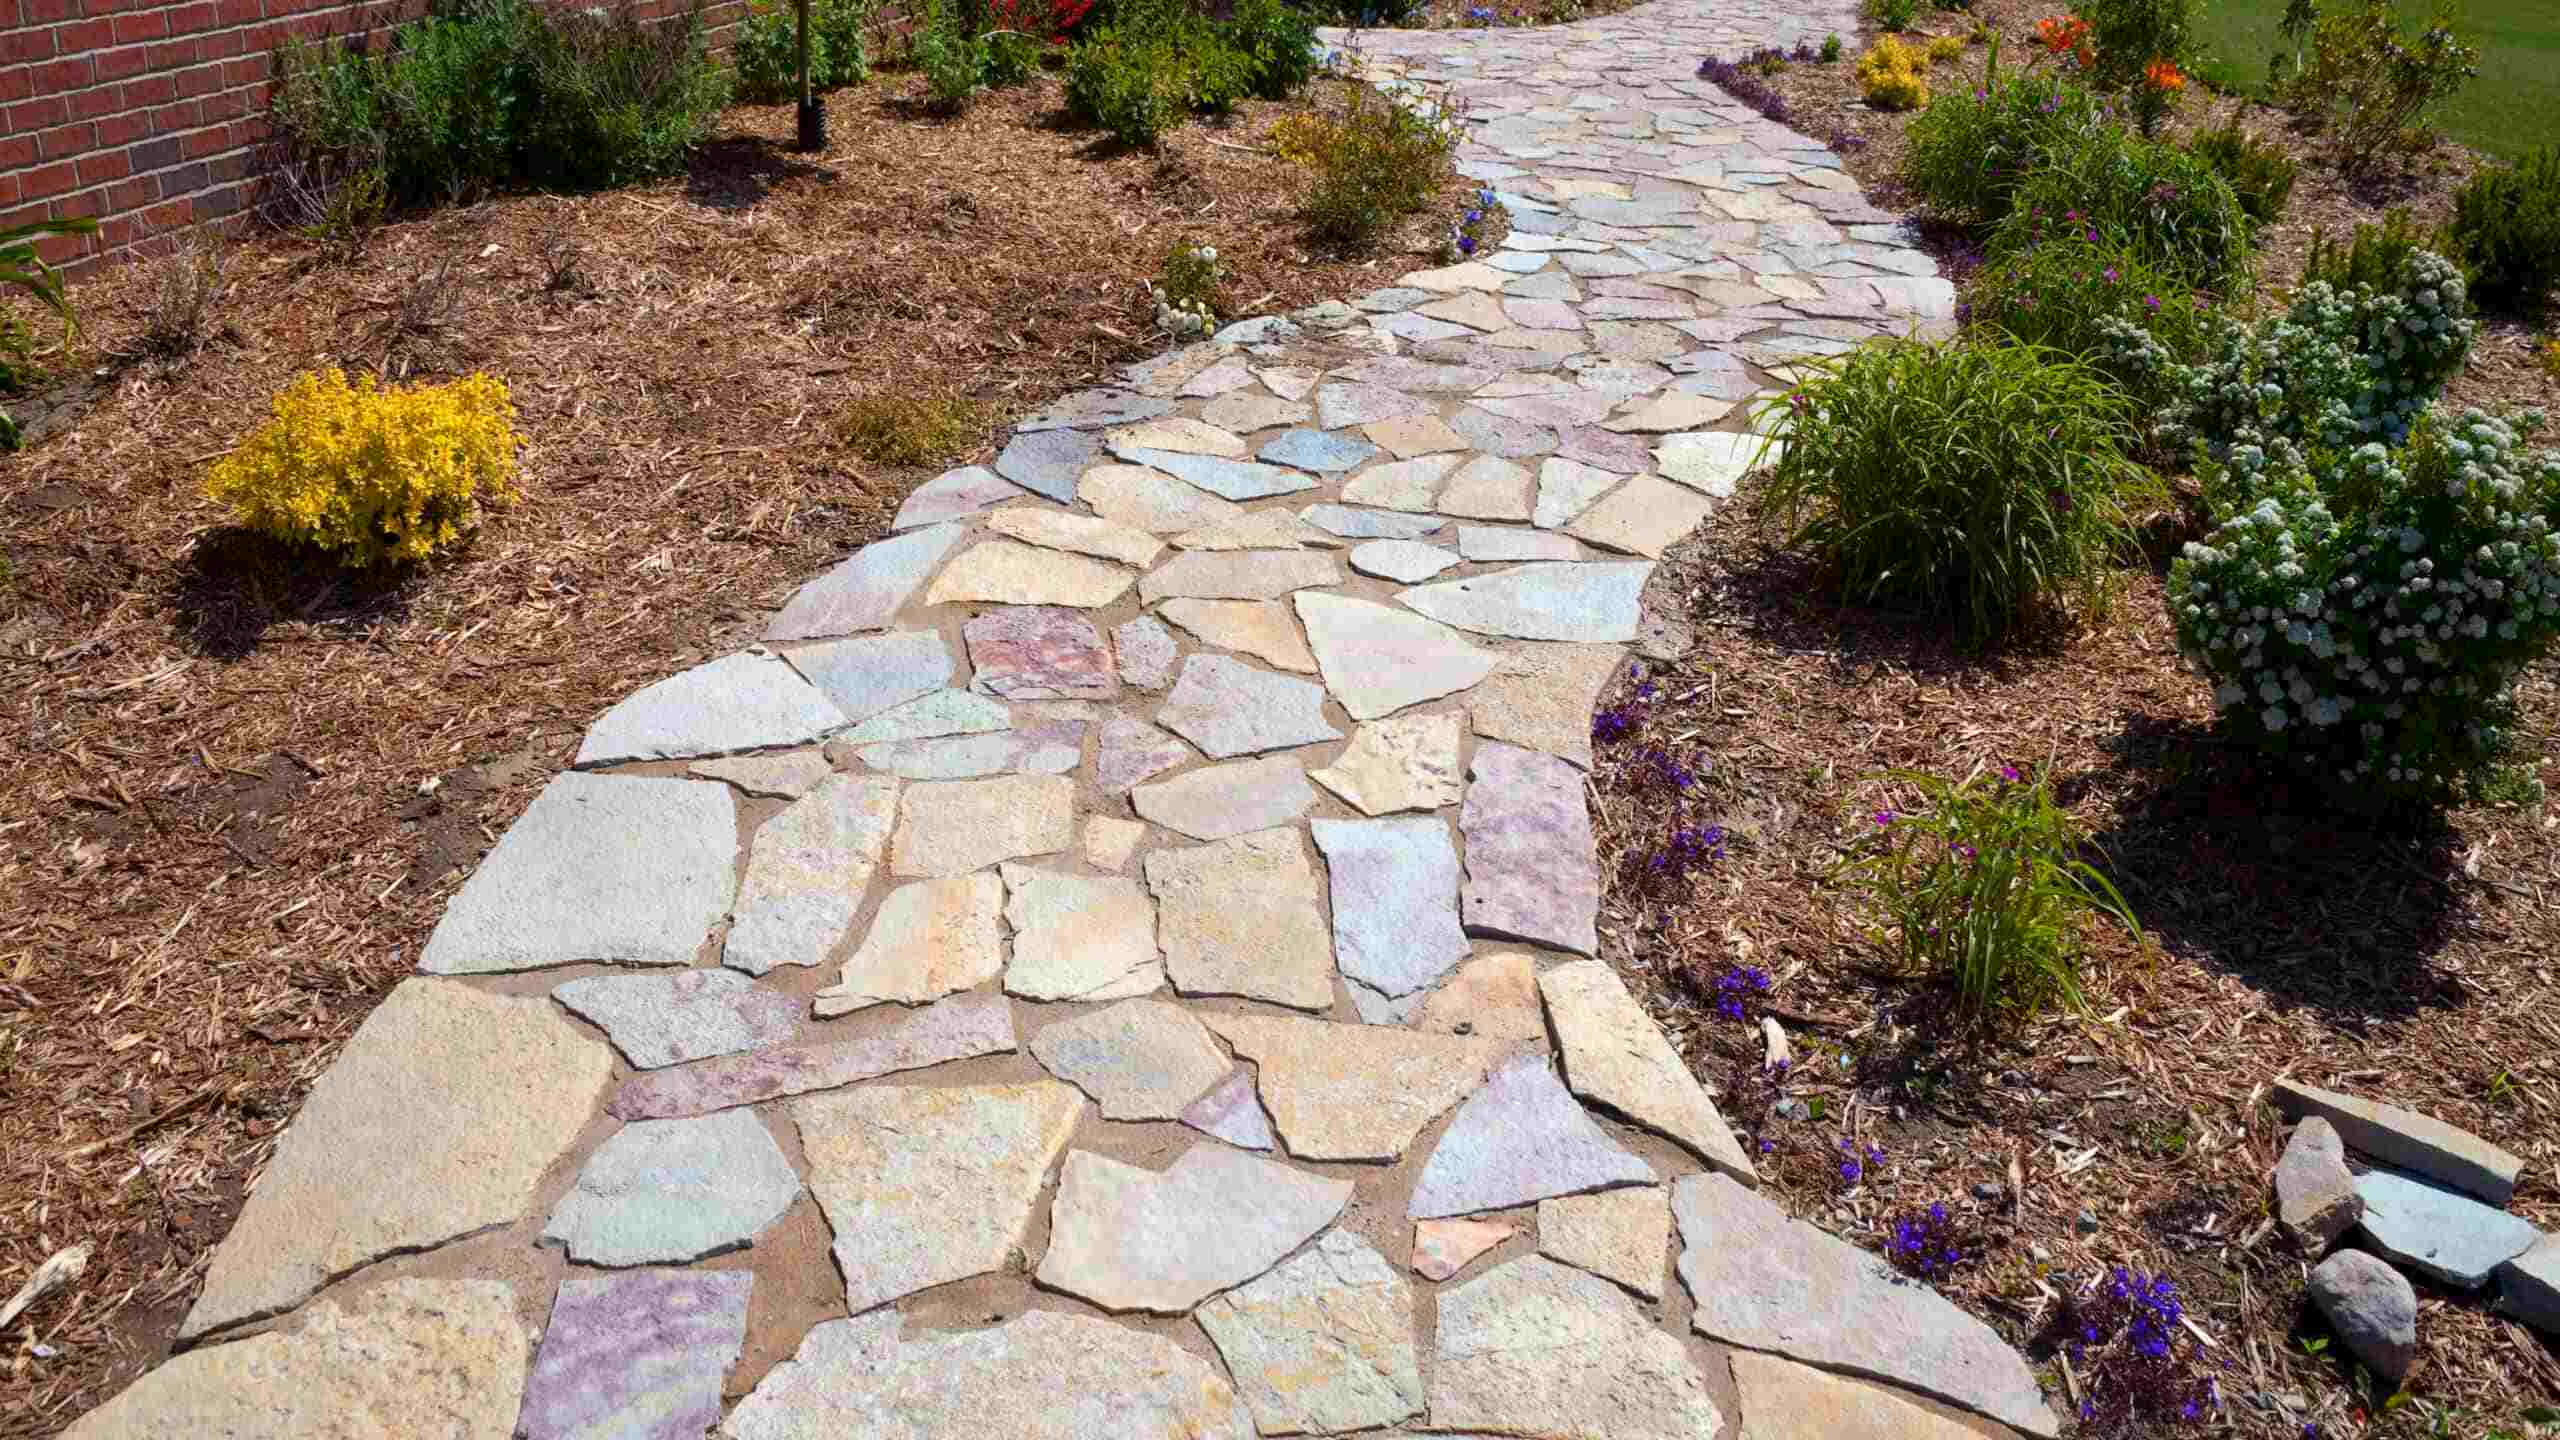
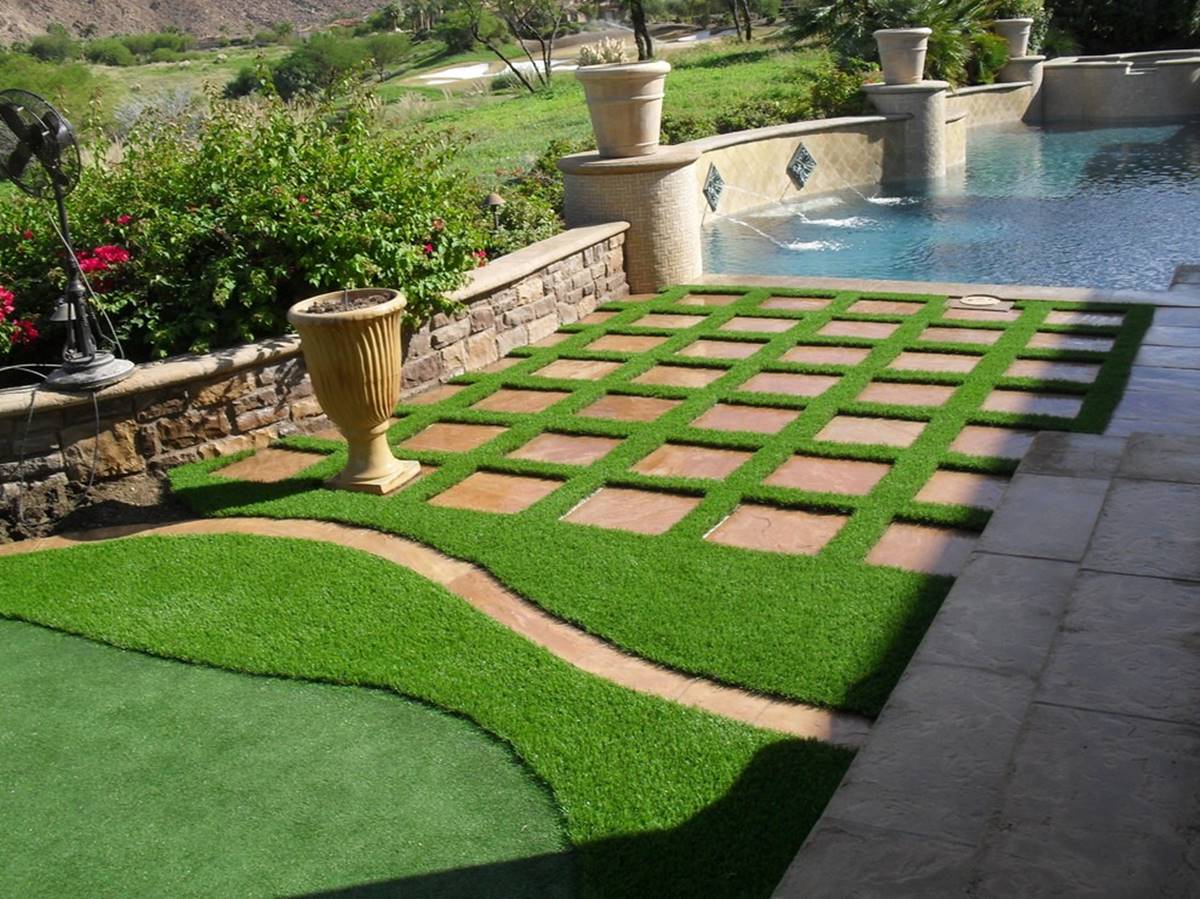
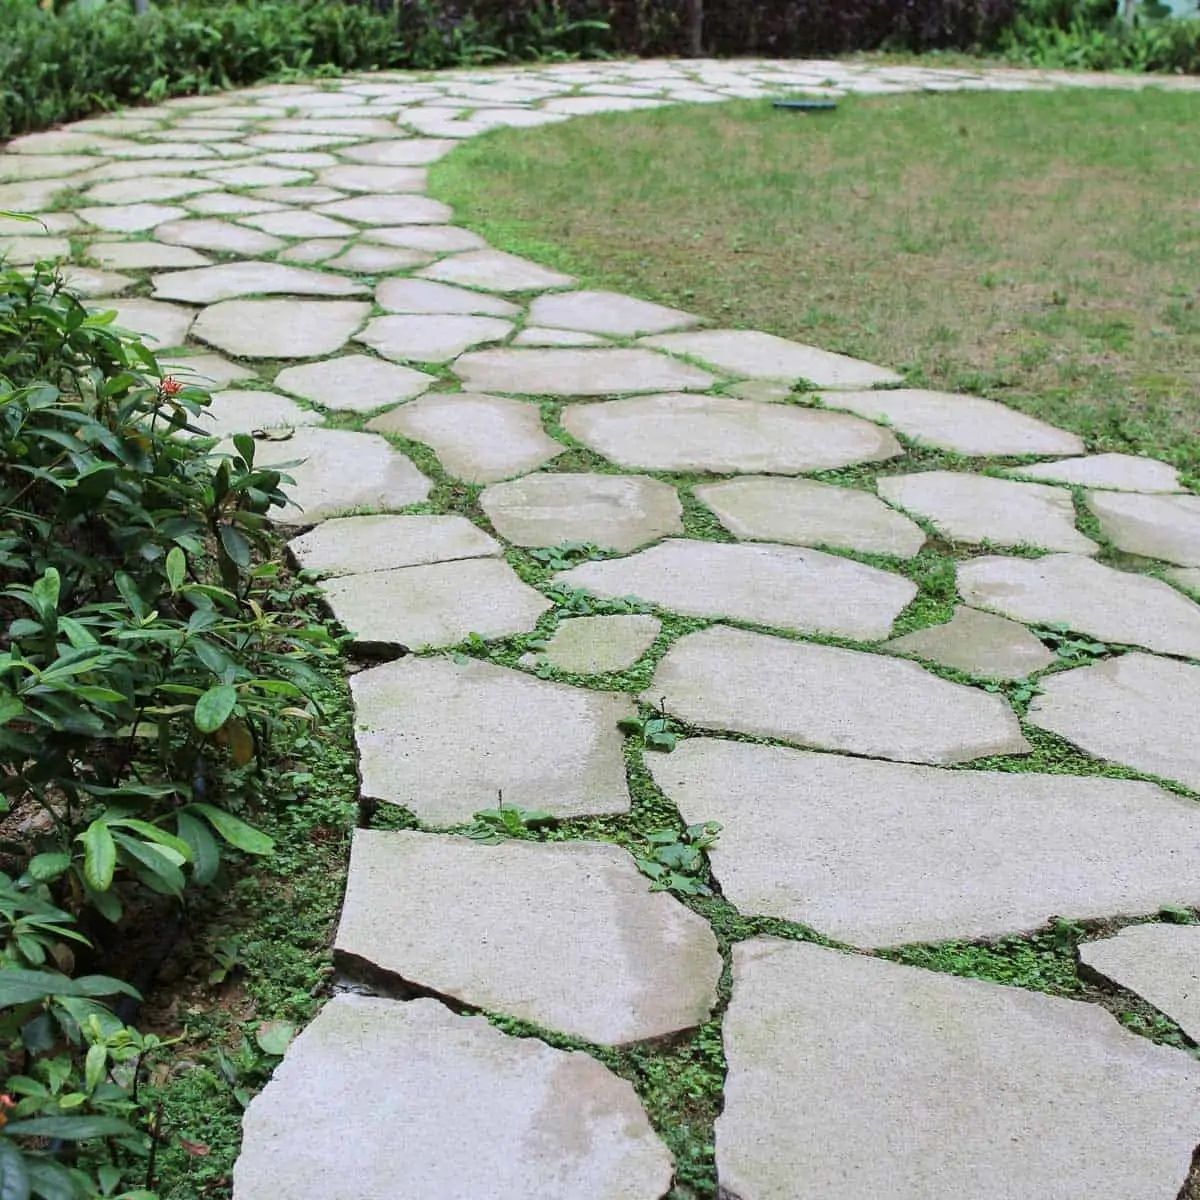
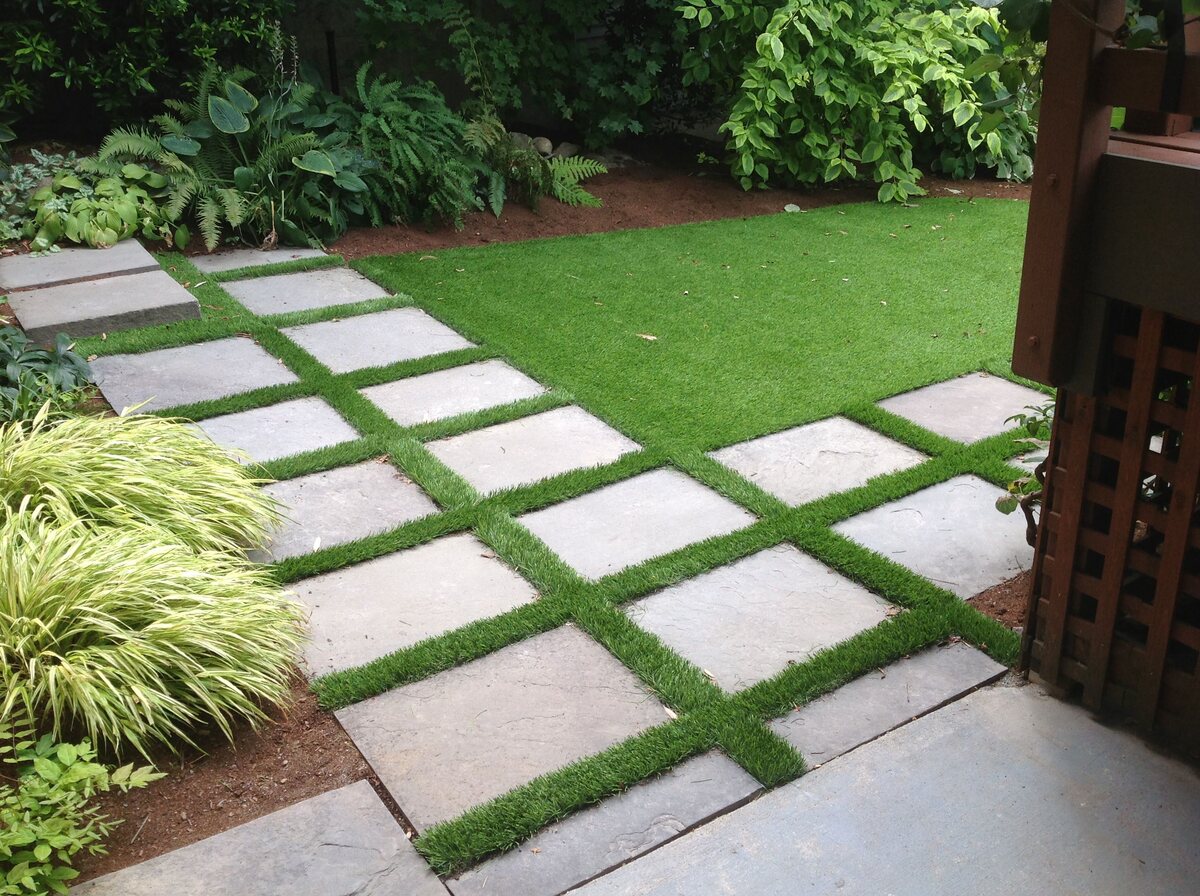
Step 3: Install the Pavers
With the base in place, it’s time to bring your vision to life by installing the stone pavers. This step is where your creativity and design preferences take center stage, allowing you to arrange the pavers in a pattern that complements your outdoor space. Here’s how to expertly install the pavers:
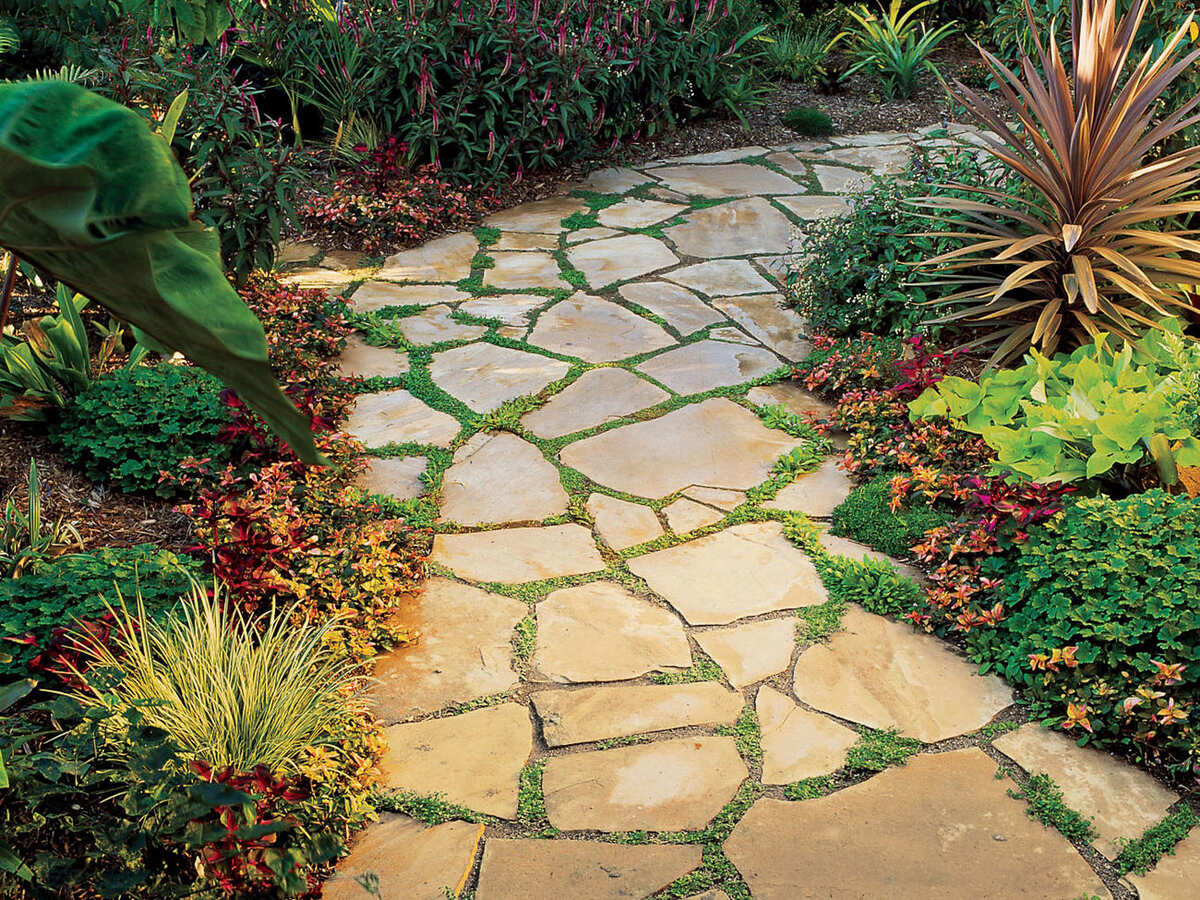
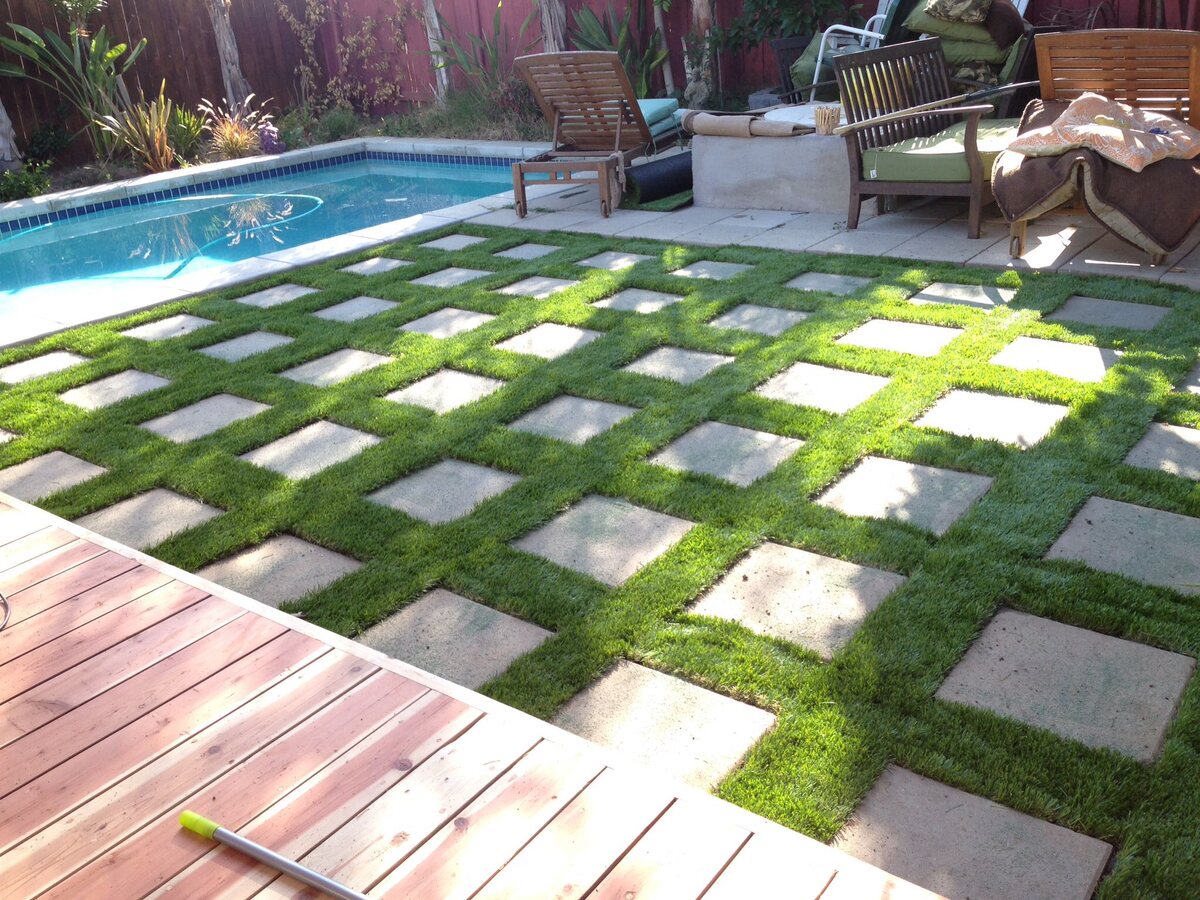
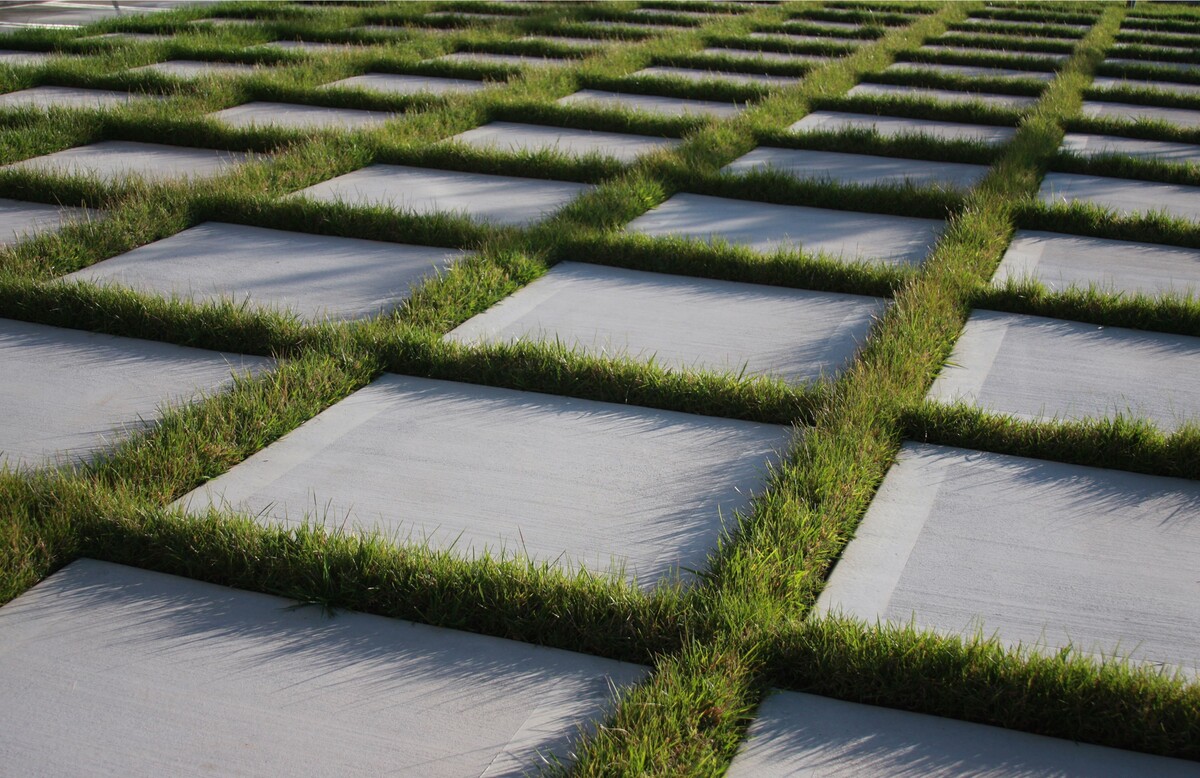
- Choose a Pattern: Before laying the pavers, decide on a pattern or layout that best suits your aesthetic and functional goals. Whether it’s a classic herringbone design, a sleek running bond pattern, or a custom arrangement, take the time to plan the layout and ensure that it enhances the overall appeal of the space.
- Begin Laying the Pavers: Starting from one corner of the prepared area, begin laying the pavers according to your chosen pattern. Place each paver gently on the bedding sand, ensuring a snug fit with minimal gaps between the stones. Use a rubber mallet to tap the pavers into place, maintaining a level surface as you progress.
- Make Necessary Cuts: As you reach the edges or encounter obstructions, you may need to make precise cuts to certain pavers to ensure a seamless fit. Use a masonry saw or a chisel and hammer to carefully trim the pavers, ensuring clean and accurate cuts that align with the layout.
- Check for Consistency: Periodically step back and assess the alignment, spacing, and overall consistency of the pavers. Make any necessary adjustments to maintain a uniform appearance and a level surface throughout the installation process.
- Fill in the Edges: Once the main area is covered with pavers, focus on filling in the edges and corners with appropriately sized stones. This meticulous step adds a polished finish to the installation and ensures that every inch of the space is elegantly adorned with pavers.
By thoughtfully installing the pavers, you infuse your outdoor space with charm, character, and functionality. This step marks the transformation of your vision into a tangible and captivating feature that will enrich your outdoor living experience.
Before laying stone pavers on grass, make sure to remove the grass and create a level base with sand and gravel. This will prevent the pavers from shifting and sinking over time.
Step 4: Secure the Pavers
Once the pavers are meticulously installed, it’s essential to secure them in place to ensure long-term stability and durability. This step involves locking the pavers together and fortifying the entire surface to withstand the elements and regular use. Here’s how to effectively secure the pavers:
- Spread Jointing Sand: After the pavers are in place, spread jointing sand over the entire surface. Using a broom, sweep the sand into the joints between the pavers, ensuring that it fills the spaces completely. This sand serves as a stabilizing agent, preventing shifting and promoting a cohesive, interlocked surface.
- Compact the Surface: Once the jointing sand is in place, gently compact the entire surface using a plate compactor. This process helps to settle the sand into the joints, creating a firm bond between the pavers and enhancing overall stability. Repeat the compaction process in multiple directions to ensure thorough consolidation.
- Apply Edge Restraints: To further secure the pavers and prevent shifting, install edge restraints along the perimeter of the paved area. These restraints, often made of sturdy plastic or metal, should be positioned securely and anchored into the ground to create a solid boundary for the pavers.
- Inspect and Adjust: After securing the pavers, carefully inspect the entire surface for any unevenness or loose stones. Make any necessary adjustments, such as adding additional jointing sand or tapping individual pavers into place, to achieve a uniformly secure and visually appealing result.
By diligently securing the pavers, you fortify the entire surface, ensuring that it can withstand the rigors of foot traffic, weather fluctuations, and other environmental factors. This crucial step enhances the longevity and resilience of your outdoor space, allowing you to enjoy the beauty and functionality of your paved area for years to come.
Read more: How To Lay A Paver Patio
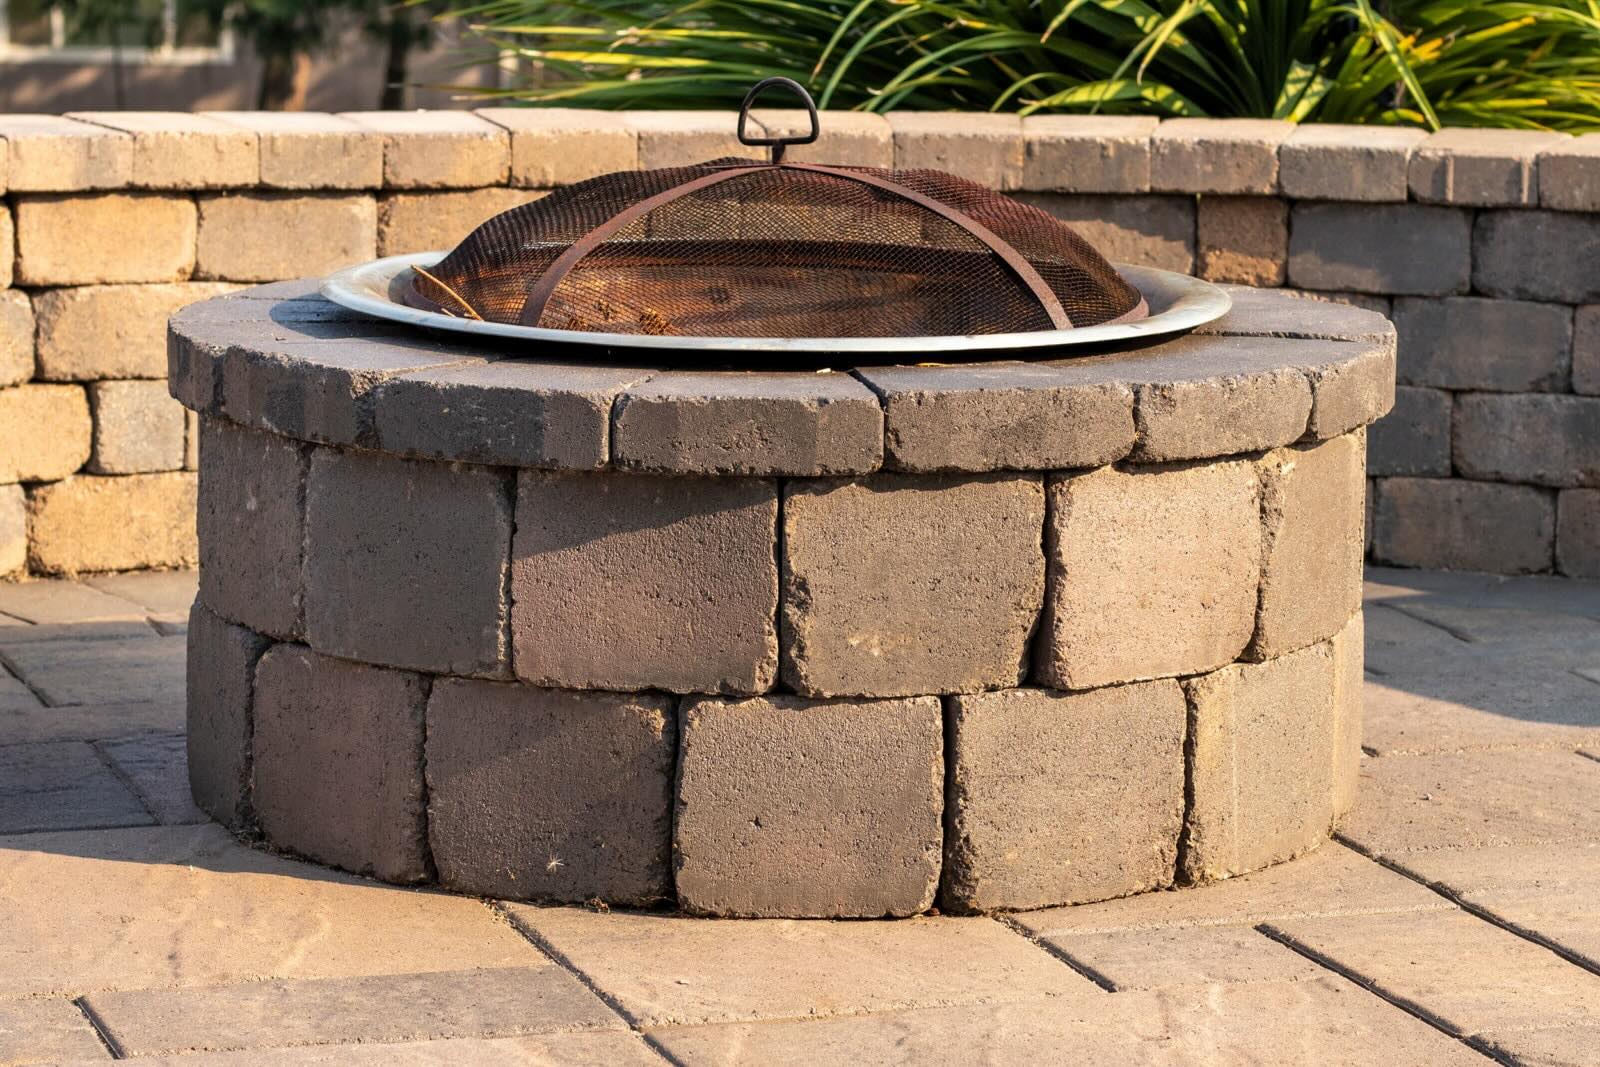
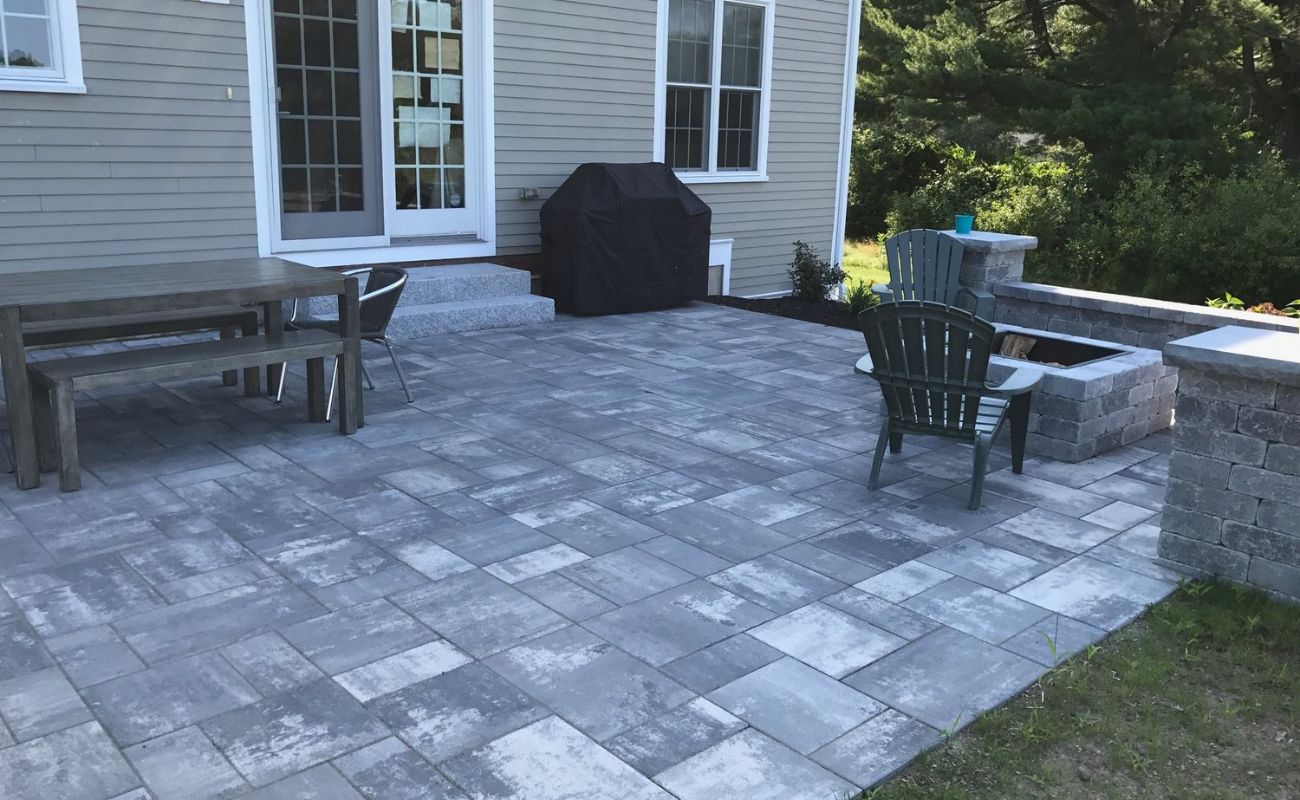
Step 5: Finishing Touches
As the installation nears completion, it’s time to add the finishing touches that elevate the visual appeal and functionality of the paved area. These subtle yet impactful details contribute to the overall charm and usability of the space, enhancing its allure and practicality. Here’s how to add the perfect finishing touches to your stone paver installation:
- Seal the Pavers: Consider applying a sealant to the pavers to enhance their color, protect them from stains, and provide long-term durability. Choose a high-quality sealant that is suitable for your specific paver material, and follow the manufacturer’s instructions for proper application.
- Add Landscaping Elements: Surround the paved area with complementary landscaping elements, such as flower beds, shrubs, or decorative stones. These additions create a harmonious blend between the paved surface and the natural elements, enhancing the overall visual impact of your outdoor space.
- Install Outdoor Lighting: Incorporate strategically placed outdoor lighting to illuminate the paved area during the evening hours. Whether it’s elegant pathway lights, subtle ground fixtures, or ambient string lights, thoughtful lighting enhances the ambiance and usability of the space, allowing you to enjoy it day and night.
- Accessorize with Furniture: If the paved area is intended for relaxation or entertainment, consider adding outdoor furniture, such as seating arrangements, tables, or decorative accents. Choose furniture that complements the style of the paved space, creating a welcoming and inviting atmosphere for gatherings and leisure activities.
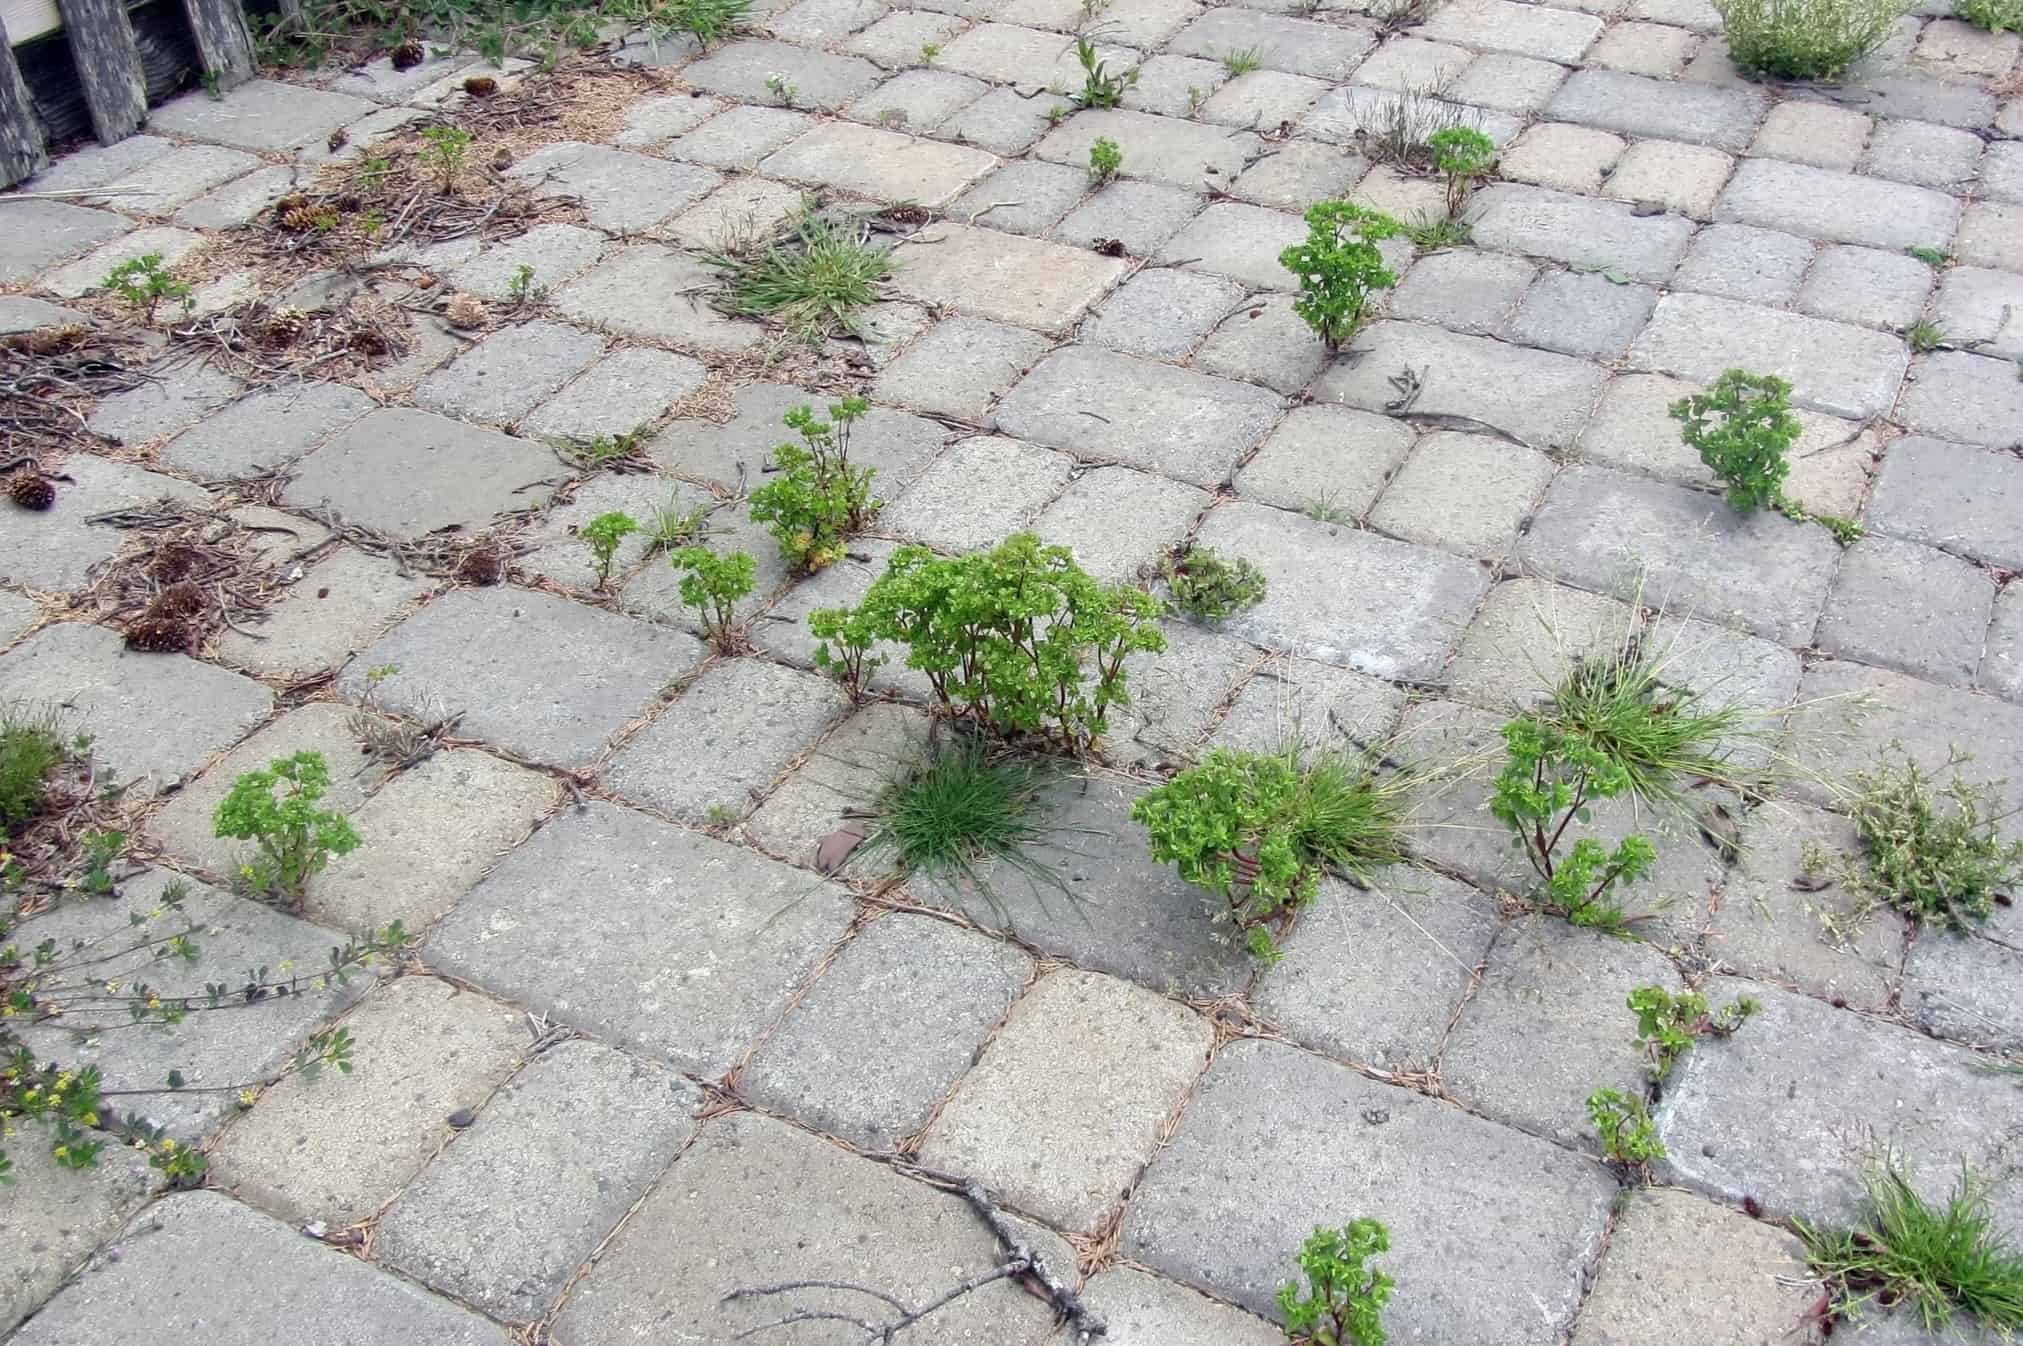
- Maintain Regularly: Establish a maintenance routine that includes regular cleaning, weed removal, and occasional reapplication of jointing sand or sealant. By caring for the paved area consistently, you can preserve its beauty and functionality for years to come.
By adding these finishing touches, you transform the paved area into a captivating and inviting feature of your outdoor landscape. These thoughtful details not only enhance the visual allure of the space but also contribute to its practicality and long-term enjoyment, allowing you to fully embrace the beauty and functionality of your newly paved outdoor oasis.
Conclusion
Congratulations on successfully completing the installation of stone pavers on grass, a transformative endeavor that has enriched your outdoor space with beauty, functionality, and enduring charm. By meticulously following the step-by-step process outlined in this guide, you have embarked on a rewarding journey of creating a captivating oasis that reflects your unique vision and style.
As you admire the newly paved area, take pride in the meticulous preparation, precise installation, and thoughtful finishing touches that have culminated in a visually striking and resilient outdoor surface. The addition of stone pavers has not only enhanced the aesthetics of your landscape but has also expanded the usability of your outdoor living space, providing a versatile area for relaxation, entertainment, and connection with nature.
It’s important to remember that the beauty and longevity of your paved area are sustained through regular maintenance and care. By investing time and attention into preserving the integrity of the pavers, you can ensure that your outdoor oasis remains a source of joy and inspiration for years to come.
Whether you’ve created a charming patio, a meandering walkway, or a cozy seating area, the installation of stone pavers on grass has undoubtedly elevated the allure and functionality of your outdoor environment. As you revel in the fruits of your labor, may this enhanced outdoor space become a cherished setting for making memories, finding solace, and savoring the simple pleasures of outdoor living.
Thank you for joining us on this journey of creativity, craftsmanship, and transformation. We hope that this guide has empowered you to embark on future landscaping projects with confidence and enthusiasm, as you continue to shape and enrich your outdoor surroundings with your unique vision and passion for beauty.
Frequently Asked Questions about How To Lay Stone Pavers On Grass
Was this page helpful?
At Storables.com, we guarantee accurate and reliable information. Our content, validated by Expert Board Contributors, is crafted following stringent Editorial Policies. We're committed to providing you with well-researched, expert-backed insights for all your informational needs.


0 thoughts on “How To Lay Stone Pavers On Grass”