Home>Furniture>Outdoor Furniture>How To Lay Patio Pavers On Grass
Outdoor Furniture
How To Lay Patio Pavers On Grass
Modified: August 27, 2024
Discover the best way to lay patio pavers on grass and create a stunning outdoor furniture area. Transform your backyard with our step-by-step guide.
(Many of the links in this article redirect to a specific reviewed product. Your purchase of these products through affiliate links helps to generate commission for Storables.com, at no extra cost. Learn more)
Introduction
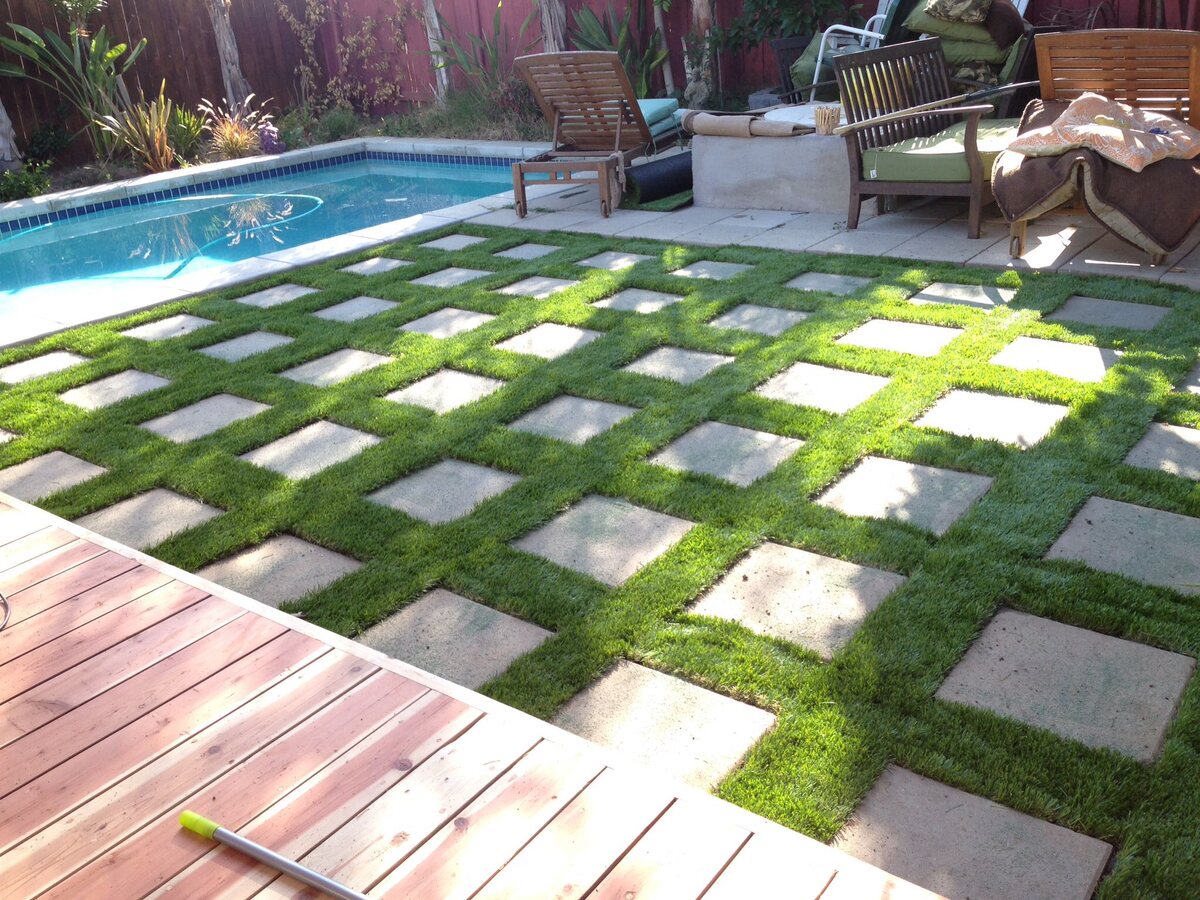
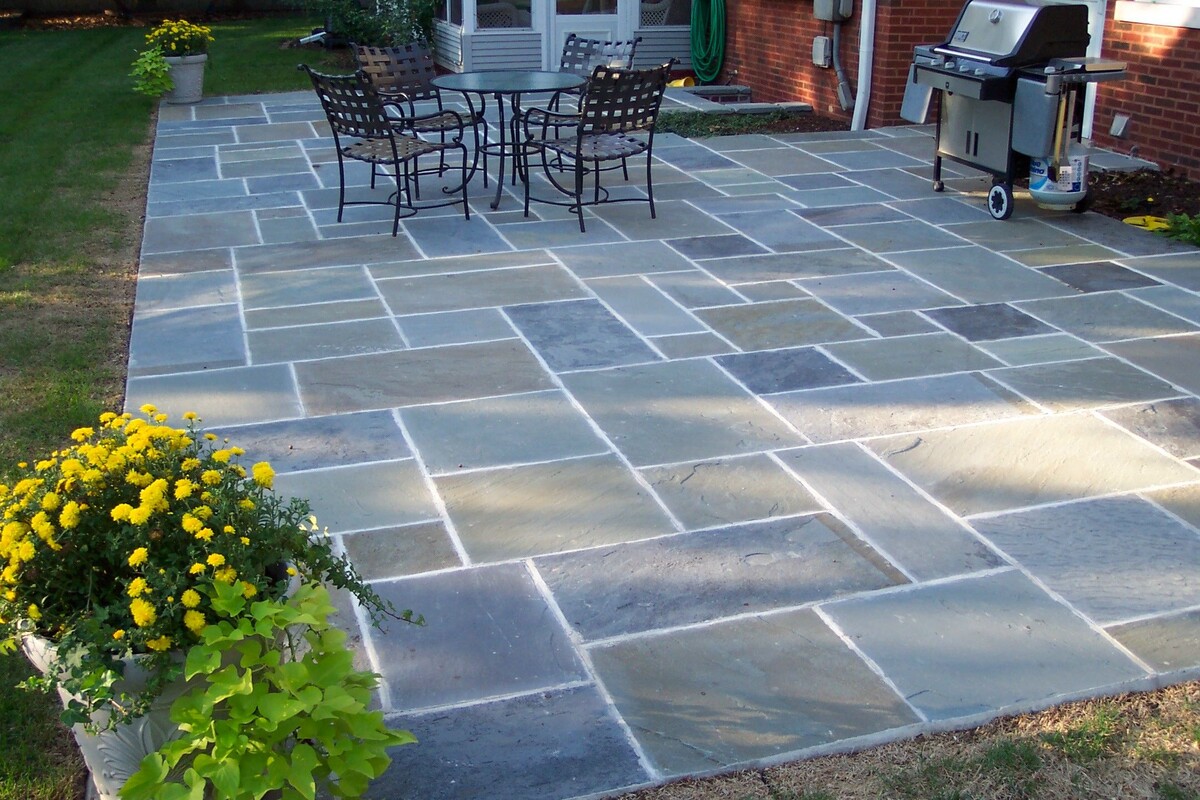
Welcome to our guide on how to lay patio pavers on grass. If you have a lush green lawn but want to create a stylish outdoor living space, laying patio pavers can be a great solution. By following the steps outlined in this article, you’ll be able to transform your grassy area into a beautiful and functional patio.
Patio pavers offer a variety of benefits. Not only do they provide a stable surface for outdoor furniture and activities, but they also add aesthetic appeal to your outdoor area. Whether you want to create a cozy spot for entertaining guests or a peaceful retreat for relaxation, patio pavers can help you achieve your vision.
One of the key advantages of laying pavers on grass is that it can be a more cost-effective and time-efficient option compared to other methods. Instead of removing the grass and excavating the entire area, you can simply build the patio on top of it. However, proper preparation and installation are crucial to ensure a long-lasting and sturdy patio.
In this guide, we will walk you through step-by-step instructions on how to lay patio pavers on grass. From preparing the area to filling the gaps between pavers, we’ll cover all the essential details. So, let’s dive in and get started!
Key Takeaways:
- Transform your grassy area into a stunning outdoor patio by following our step-by-step guide on laying patio pavers on grass. Enjoy a beautiful and functional space for outdoor living and entertaining guests.
- Proper preparation and installation are crucial for creating a long-lasting and stable patio. Take your time, follow the guidelines, and personalize your outdoor oasis with comfortable furniture and decorative elements.
Read more: How To Lay A Paver Patio
Step 1: Preparing the Area
The first step in laying patio pavers on grass is to prepare the area where you want to build your patio. Proper preparation is crucial to ensure a stable and durable foundation for your pavers.
Start by measuring the dimensions of your desired patio area. Use stakes and string to mark the boundaries of the patio. This will give you a clear outline to work within.
Next, remove any obstacles from the area, such as rocks, branches, or debris. It’s important to have a clean and level surface for the best results. If you have any large bumps or depressions in the grass, consider leveling the area using a garden rake or a shovel.
Once the area is cleared, it’s a good idea to mark the location of any underground utilities, such as irrigation lines or electrical cables. This will help you avoid damaging them during the excavation process.
Now, you’re ready to move on to the next step: excavating the grass.
Step 2: Excavating the Grass
Excavating the grass is a crucial step in preparing the area for your patio pavers. This process involves removing the top layer of grass and creating a level base for the pavers.
Using a garden shovel or a sod cutter, start cutting through the grass along the marked boundaries of your patio. Dig down to a depth of about 4-6 inches, removing the grass and the underlying soil.
While excavating, it’s important to maintain a slight slope away from any nearby structures or buildings. This will ensure proper drainage and prevent water from pooling on your patio.
Once you have excavated the grass, use a garden rake to smooth out the soil and remove any remaining grass roots or clumps. Take your time to ensure the area is level and free of any obstructions.
If you encounter any soft spots or areas with poor soil quality during the excavation process, consider adding a layer of gravel or crushed stone to improve stability and drainage.
With the grass excavated and the area properly leveled, you’re ready to move on to the next step: leveling the ground.
Step 3: Leveling the Ground
Once you have excavated the grass and created a level base, the next step in laying patio pavers on grass is to ensure the ground is properly leveled. This will help to ensure a stable and even surface for your pavers.
Start by using a hand tamper or a plate compactor to compact the soil in the excavated area. This will help to stabilize the ground and prevent any future settling.
After compacting the soil, check the levelness of the ground using a long straightedge or a level. This will help you identify any high or low spots that need to be addressed.
If you encounter any high spots, use a shovel or a garden rake to remove excess soil and bring the ground level. For low spots, add soil or gravel to raise the level and create a smooth surface.
Continue checking the levelness of the ground and making adjustments as needed until you have a uniformly level surface. This step is crucial for ensuring that your patio pavers will sit evenly and provide a stable foundation.
Once the ground is properly leveled, it’s time to move on to the next step: adding a base layer.
Step 4: Adding a Base Layer
Adding a base layer is an important step in the process of laying patio pavers on grass. The base layer serves as a foundation for the pavers and helps to distribute the weight evenly.
Start by spreading a layer of crushed gravel or aggregate over the leveled ground. This layer should be about 2-3 inches deep. Use a rake or shovel to spread and level the gravel, ensuring it covers the entire area of your patio.
Once the gravel is evenly spread, use a hand tamper or a plate compactor to compact the base layer. This will help to create a solid and stable surface for your pavers.
After compacting the base layer, check the levelness once again using a straightedge or a level. Make any necessary adjustments by adding or removing gravel until the entire area is level.
Adding a base layer is crucial for preventing the pavers from shifting or sinking over time. The compacted gravel base provides a stable and firm foundation that helps to distribute the weight of the pavers.
With the base layer in place, you’re one step closer to completing your patio. The next step is to install edging to keep the pavers in place and create a clean edge for your patio.
Before laying patio pavers on grass, make sure to clear the area of any vegetation and use a landscape fabric to prevent weeds from growing through the pavers. This will help create a stable and long-lasting patio surface.
Read more: How To Lay Pavers On Grass
Step 5: Installing Edging
Installing edging is an essential step in laying patio pavers on grass. Edging helps to keep the pavers in place and creates a defined border for your patio.
Start by selecting the type of edging you want to use for your patio. There are various options available, including plastic or metal edging, concrete curbs, or even natural stone borders.
Once you have chosen your edging material, follow these steps to install it:
- Outline the perimeter of your patio using stakes and string. This will help you maintain a straight and consistent edge.
- Dig a trench along the outline, deep enough to accommodate the height of the edging material.
- Place the edging material into the trench, making sure it is level and aligned with the string.
- Secure the edging by driving stakes through pre-drilled holes in the material.
- Backfill the trench with soil or gravel to hold the edging in place.
Make sure that the edging is firmly set and level with the surrounding ground. This will help to keep the pavers in place and prevent them from shifting.
Installing edging not only provides a professional finish to your patio but also helps to prevent the pavers from spreading or sinking into the surrounding grass over time.
With the edging securely in place, you’re now ready to move on to the exciting step of laying the actual patio pavers.
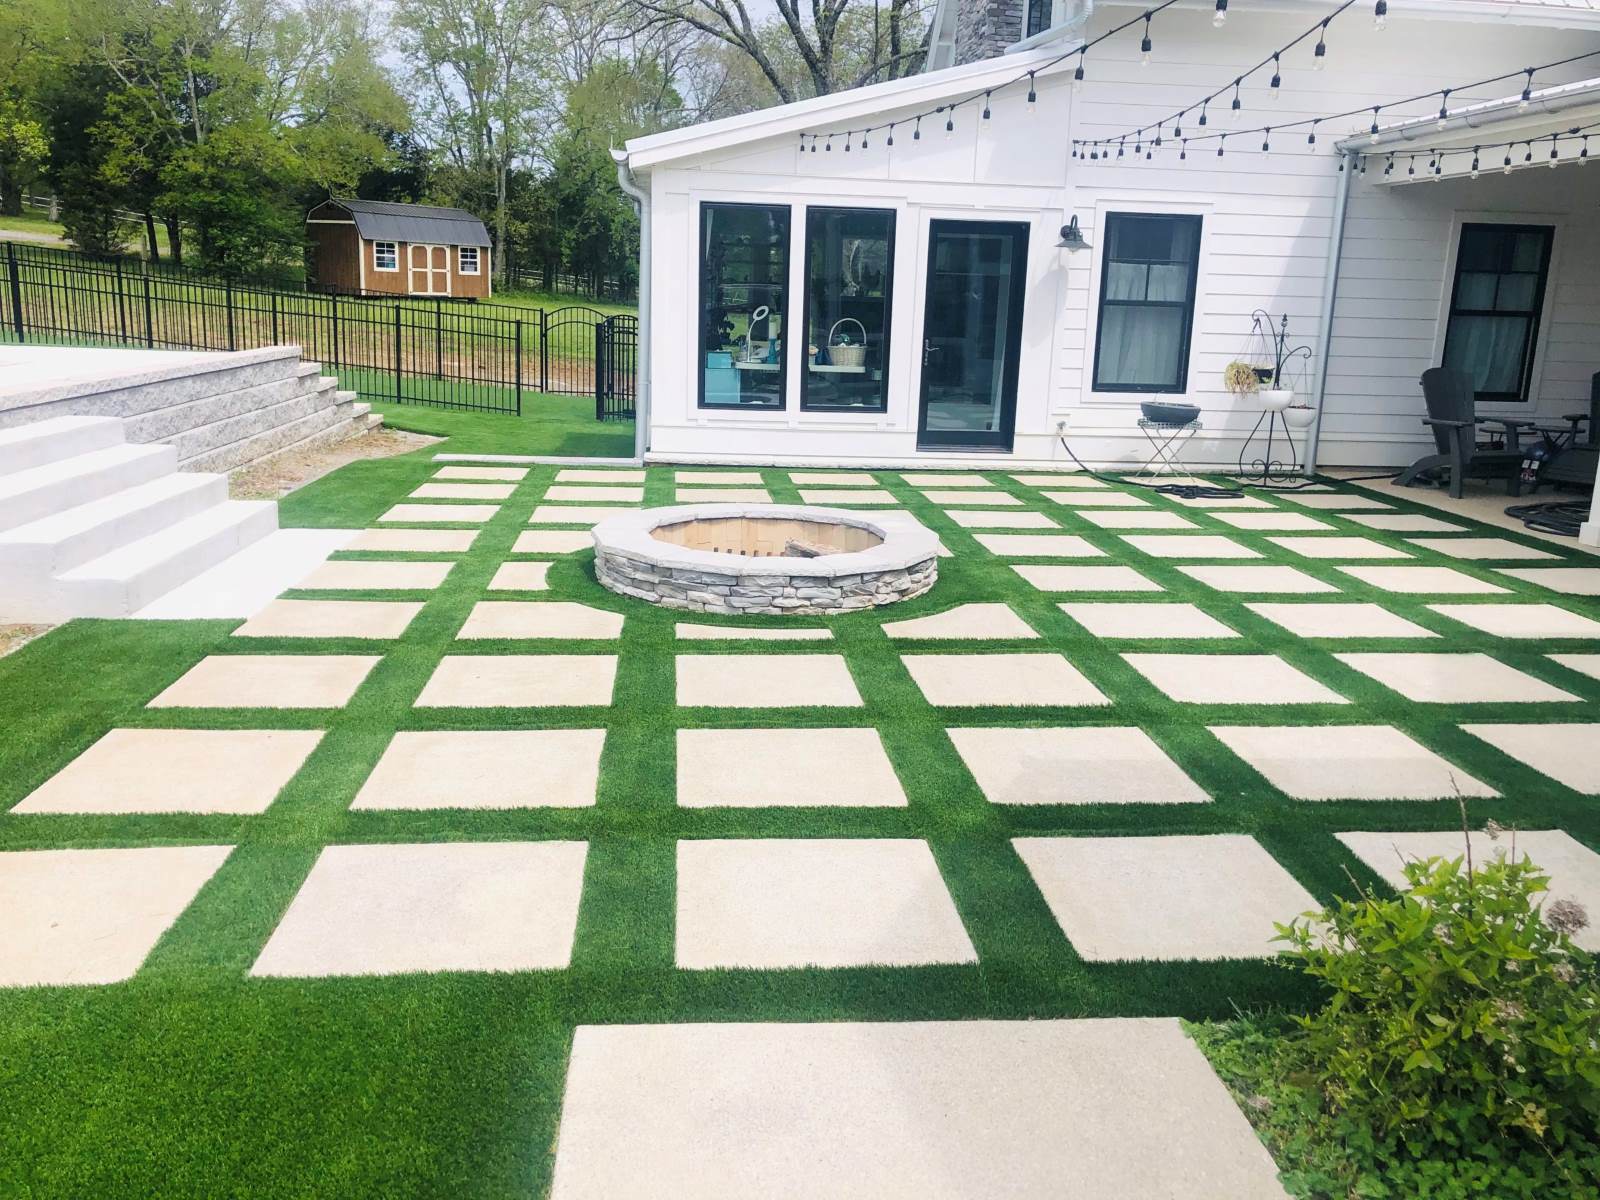
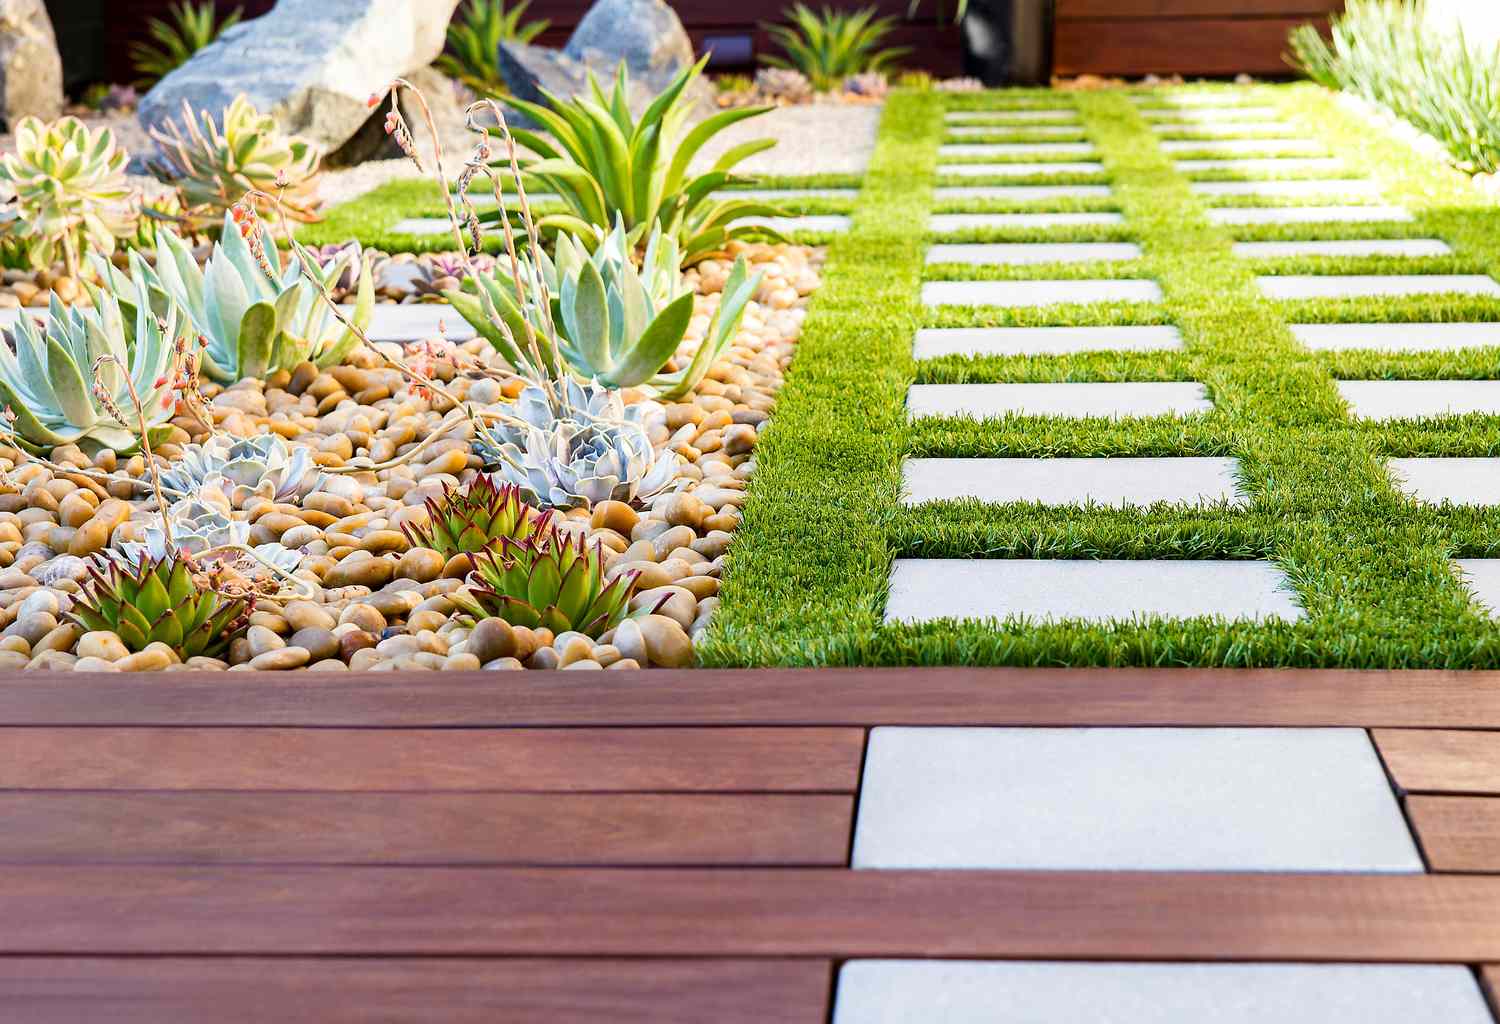
Step 6: Laying the Pavers
Now that you have prepared the area, leveled the ground, added a base layer, and installed the edging, it’s time to start laying the patio pavers on the grass. This step is where your vision starts to come to life, as you create the layout and design of your patio.
Before you begin, it’s important to plan the pattern and arrangement of the pavers. This will help you ensure a visually appealing layout and minimize the need for cutting or adjusting the pavers.
Start by placing the first paver in one corner of the patio. Gently press it into the base layer, ensuring it sits level and snug against the edging. Use a rubber mallet or a wooden block to tap it into place if needed.
Continue placing the rest of the pavers, working from one corner to the opposite corner of the patio. Leave a small gap, typically around 1/8 to 1/4 inch, between each paver to allow for jointing material.
As you lay the pavers, periodically check the levelness and alignment of the entire surface using a level or a straightedge. This will help you maintain a consistent and even surface throughout.
If necessary, you can cut the pavers to fit along the edges or around obstacles using a wet saw or a chisel. Be sure to wear safety goggles and gloves when cutting pavers, and follow all safety guidelines provided by the tool manufacturer.
Continue laying the pavers until the entire patio area is covered. Take your time to ensure each paver is properly placed, level, and aligned with the adjacent ones.
With the pavers laid, your patio is really starting to take shape. The next step is to fill the gaps between the pavers with jointing material.
Step 7: Filling the Gaps
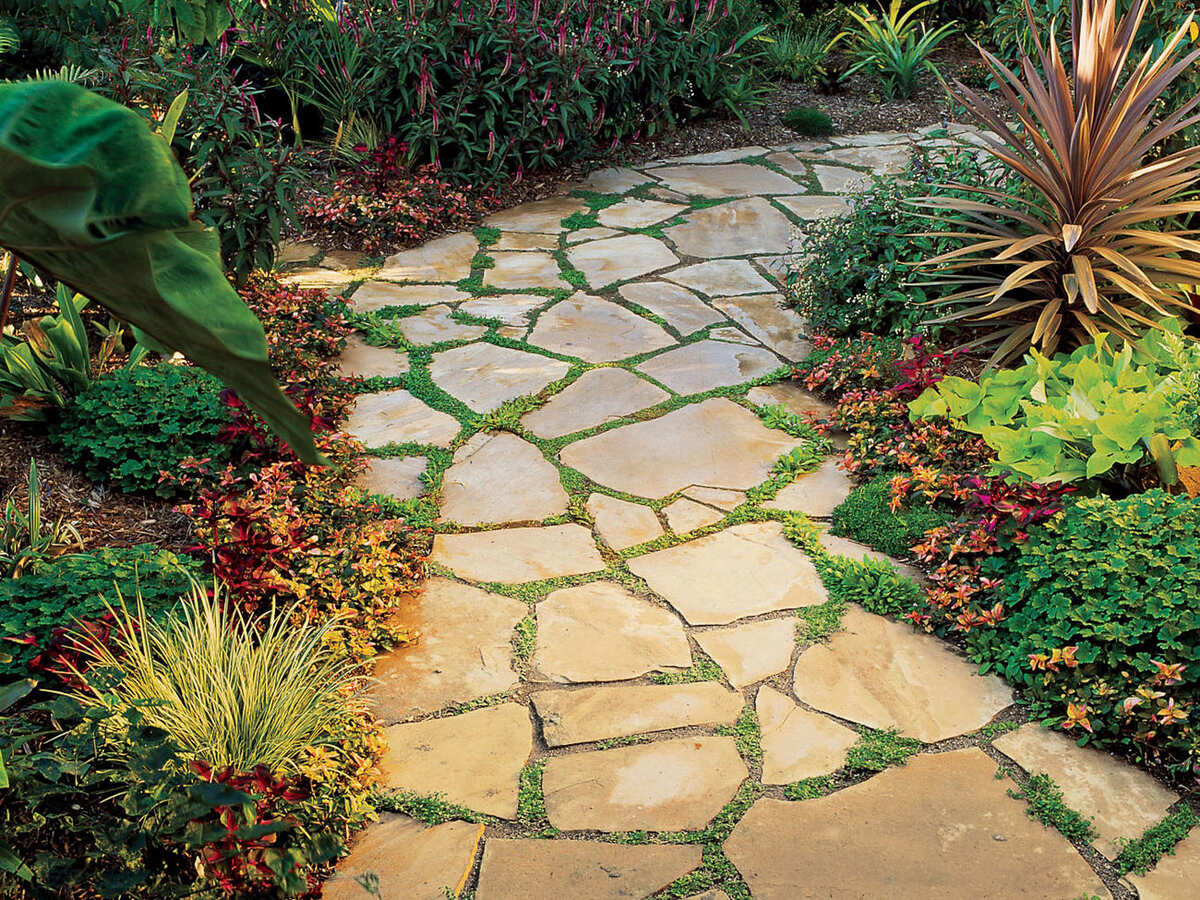
Once the patio pavers are laid, the next step is to fill the gaps between them with jointing material. This helps to stabilize the pavers and prevent weed growth, while also enhancing the overall appearance of the patio.
There are various materials you can use for this purpose, such as fine sand, polymeric sand, or stone dust. Choose a material that is suitable for the type of pavers you are using and the desired effect you want to achieve.
To fill the gaps between the pavers, follow these steps:
- Start by removing any debris or loose sediment from the surface of the pavers.
- Pour the jointing material onto the patio, ensuring it fills the gaps between the pavers. Use a broom or a brush to sweep the material into the joints.
- Continue adding and sweeping the material until the gaps are completely filled. Take care to avoid overfilling or leaving hollow spaces.
- Once all the gaps are filled, use a plate compactor or a rubber mallet to gently compact the pavers. This helps to settle the jointing material and ensure a stable surface.
- After compacting, add more jointing material if necessary to fill any gaps that may have appeared.
Be mindful of any specific instructions provided by the manufacturer of the jointing material you are using. Different materials may have different curing or setting requirements, so follow the recommended guidelines.
Once the gaps are filled and compacted, use a broom or brush to sweep away any excess jointing material from the surface of the pavers. This will help to create a clean and finished look.
With the gaps filled, your patio is almost complete. The final step is to compact the pavers to ensure their stability.
Step 8: Compact the Pavers
After filling the gaps between the pavers, the next and final step in laying patio pavers on grass is to compact them. This will help to ensure the stability and longevity of your patio.
Start by using a plate compactor or a rubber mallet to gently tap each paver. This helps to settle the pavers into the base layer and jointing material, creating a solid surface.
Work your way across the entire patio, ensuring that every paver is compacted. Pay special attention to the edges and corners, ensuring they are securely in place.
If you are using a plate compactor, follow the manufacturer’s instructions to ensure safe and effective use. Be sure to wear appropriate safety gear, such as ear protection and safety glasses.
After compacting, check the levelness of the pavers once again using a straightedge or a level. Make any necessary adjustments by tapping the pavers or adding/subtracting jointing material.
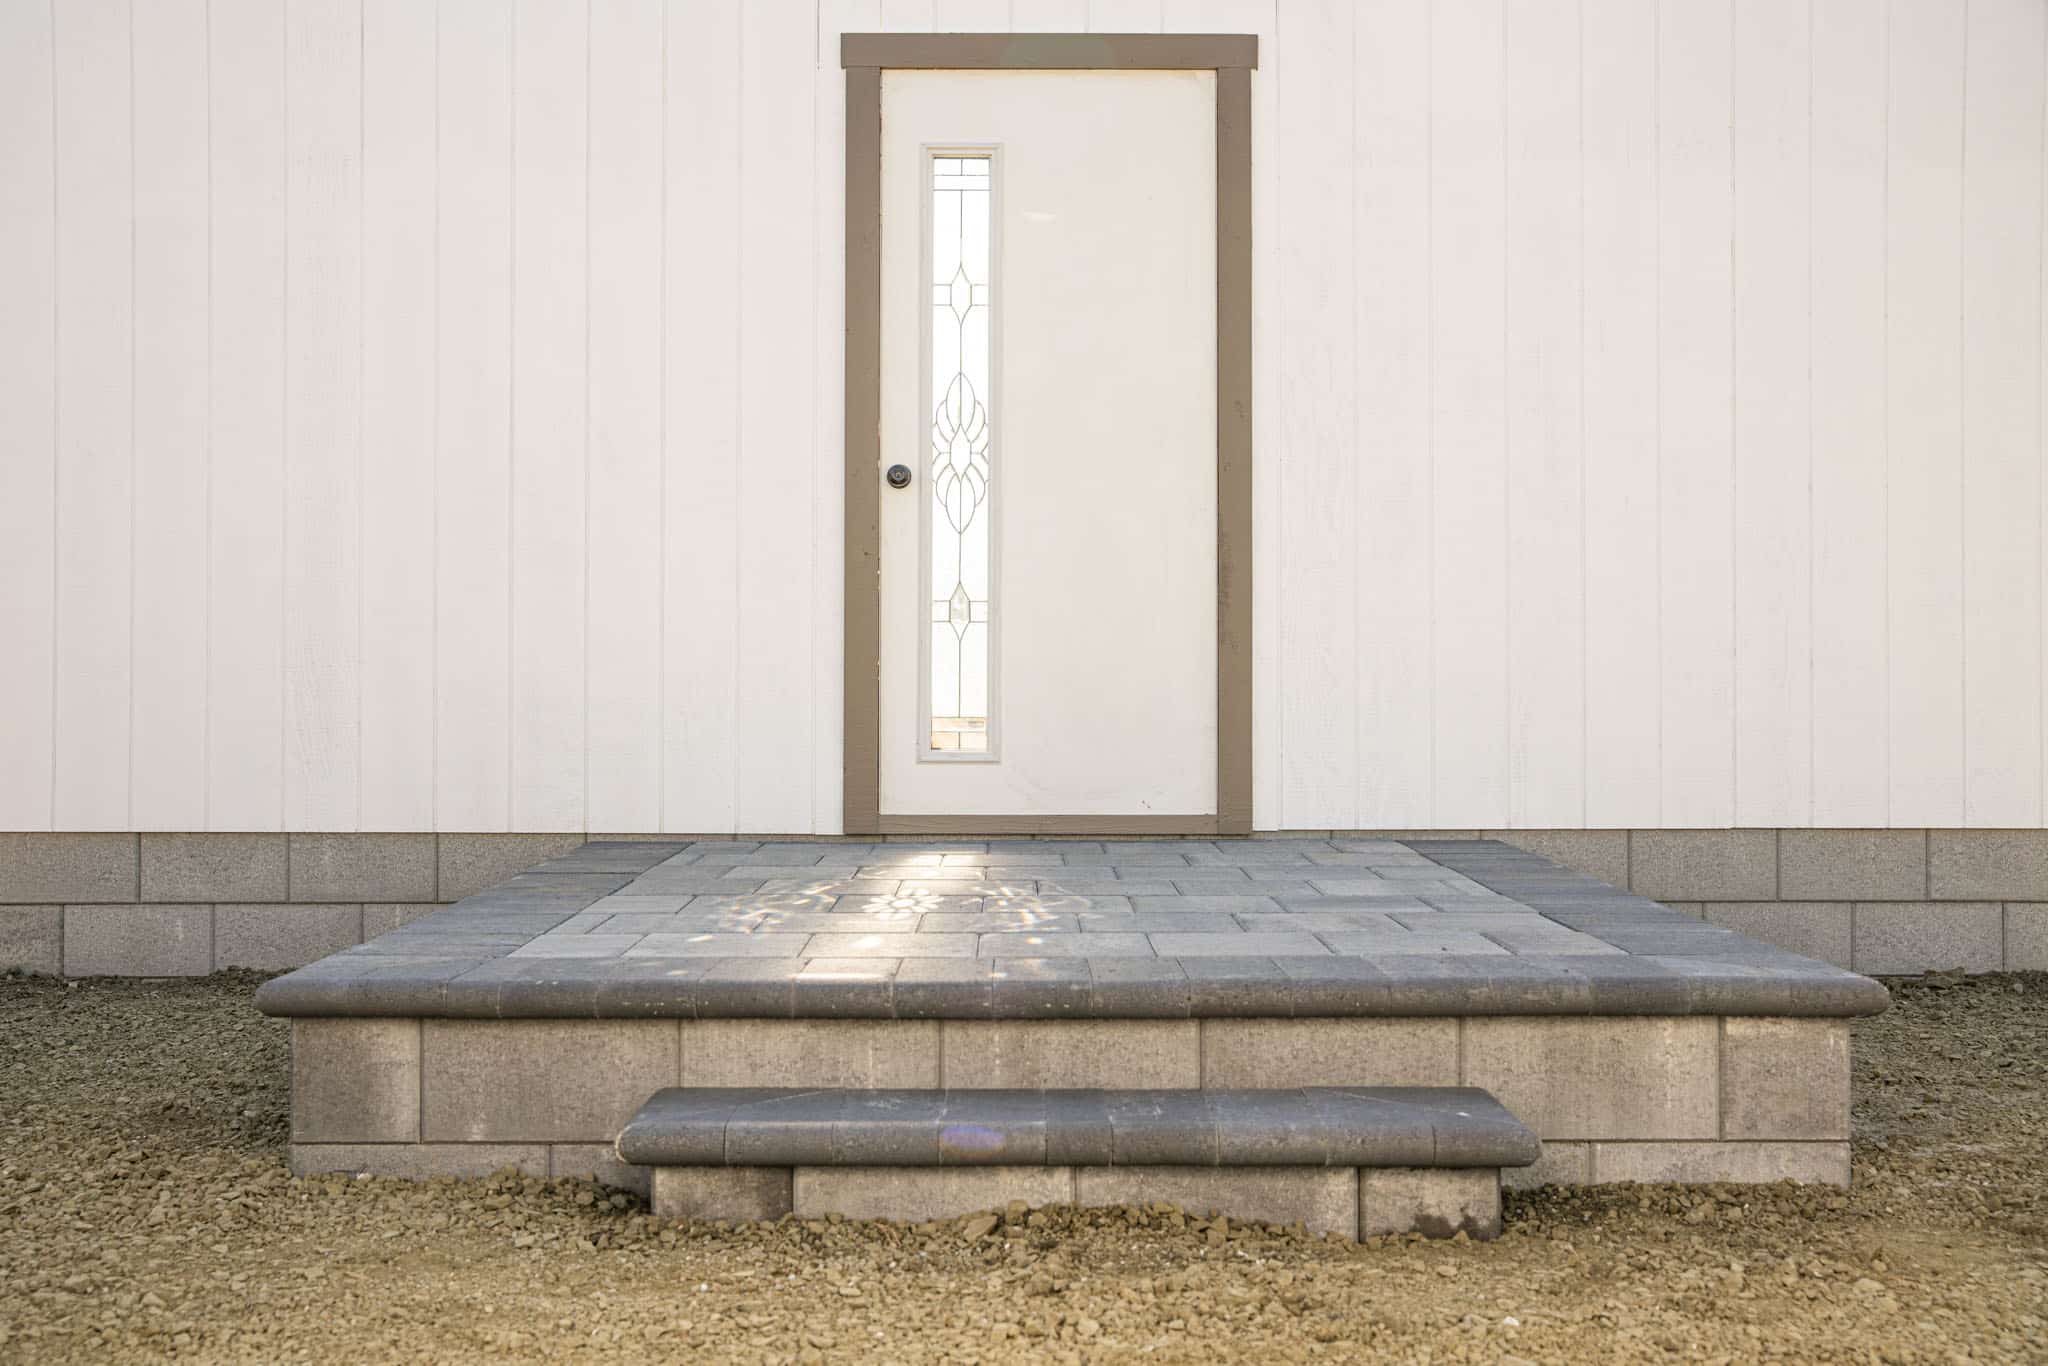
Once the pavers are compacted and leveled, you’re done! Take a step back and admire your newly laid patio pavers on grass.
Keep in mind that regular maintenance is key to preserving the beauty and integrity of your patio. Sweep the surface regularly to remove debris and prevent the buildup of dirt and grime. Additionally, consider applying a sealer to protect the pavers from stains and weather damage.
Now it’s time to enjoy your outdoor oasis. Whether you’re hosting barbecues, relaxing with a book, or dining al fresco, your patio will provide a beautiful and functional space for outdoor living.
Thank you for following this guide on how to lay patio pavers on grass. We hope you found it helpful and that you enjoy your new patio for years to come!
Read more: What Is A Paver Patio
Conclusion
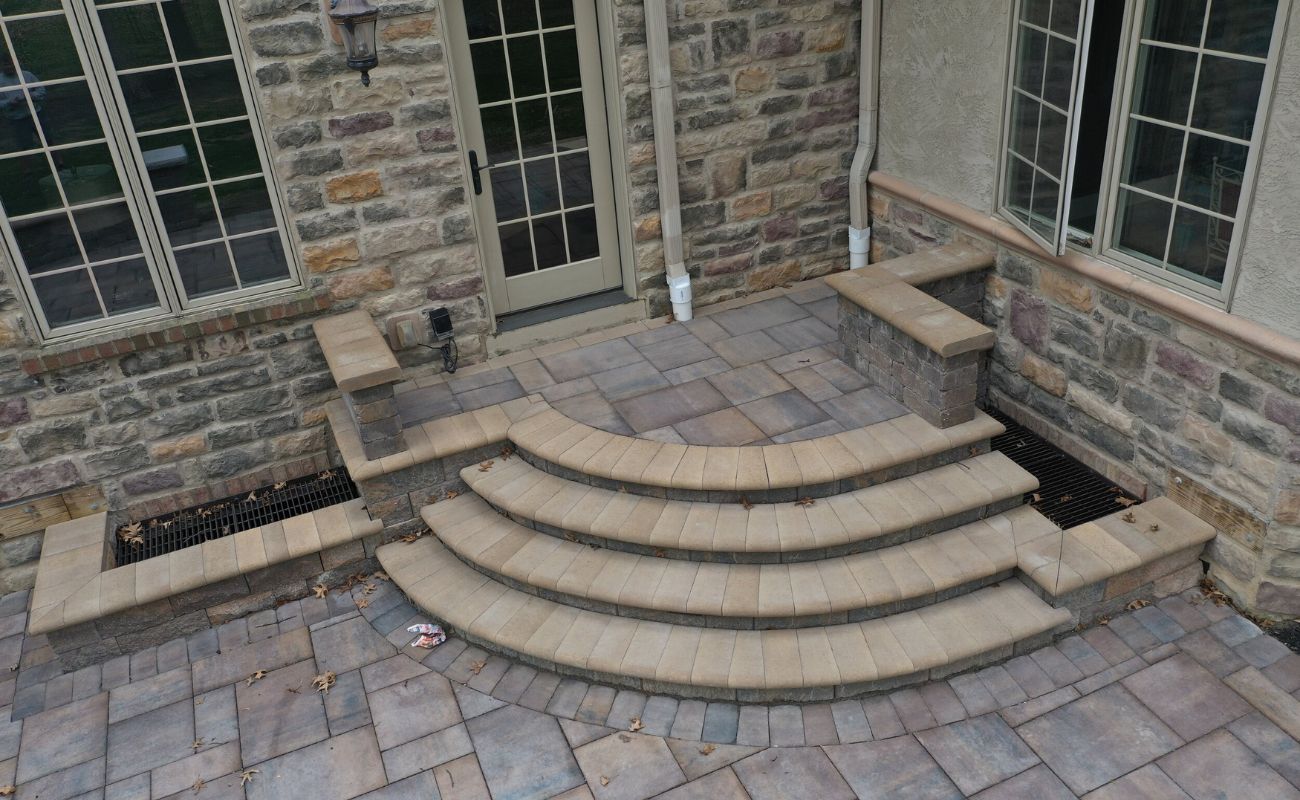
Congratulations, you have successfully learned how to lay patio pavers on grass! By following the step-by-step instructions in this guide, you have transformed your grassy area into a stunning outdoor patio.
From preparing the area and excavating the grass, to leveling the ground, adding a base layer, installing edging, laying the pavers, filling the gaps, and compacting the surface, each step has contributed to creating a solid and visually appealing patio.
Remember, proper preparation and installation are key to ensuring the longevity and stability of your patio. Take your time, follow the guidelines, and pay attention to the details. This will help you achieve a patio that not only enhances your outdoor living space but also adds value to your home.
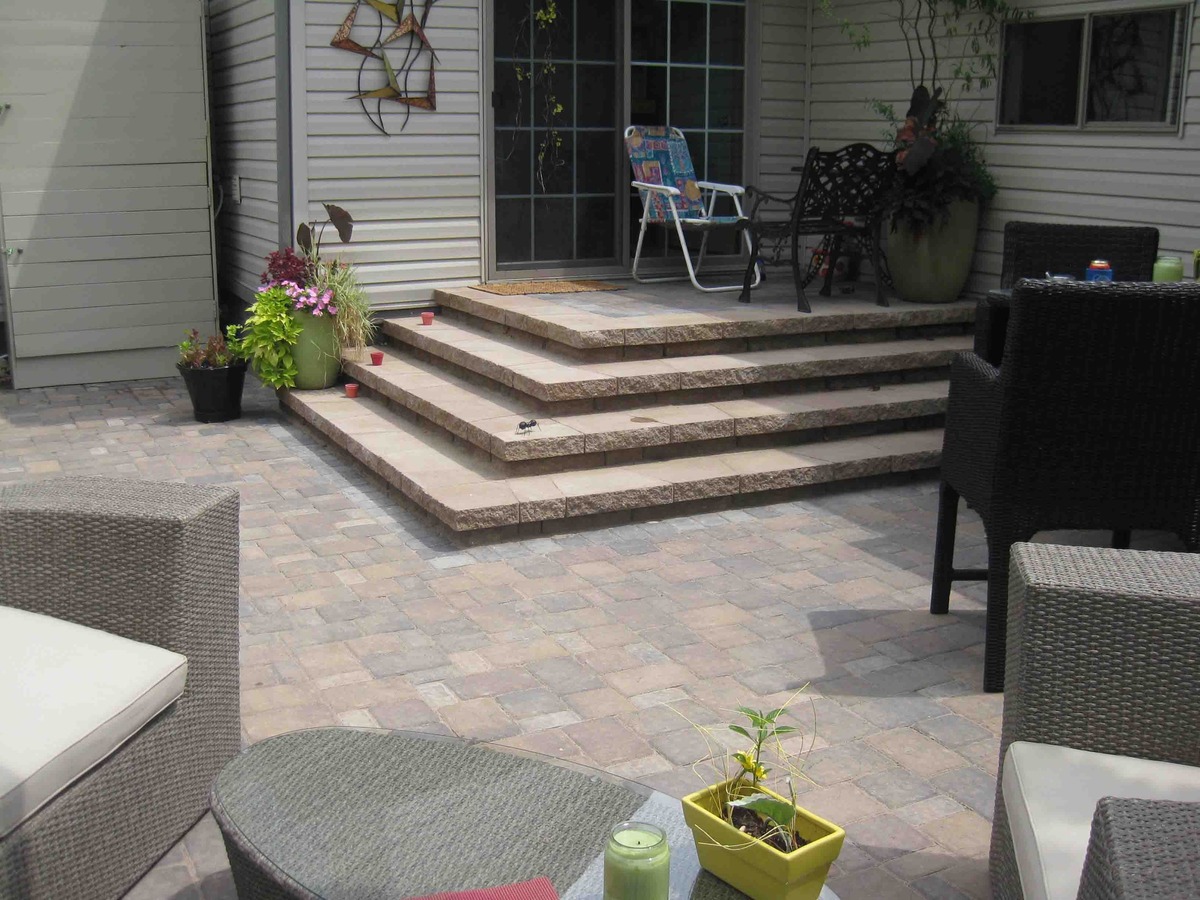
Now that your patio is complete, it’s time to make it your own. Add some comfortable outdoor furniture, vibrant cushions, and decorative elements to create an inviting and cozy atmosphere. Personalize the space with potted plants, string lights, or a fire pit, depending on your style and preferences.
Don’t forget to maintain your patio regularly. Sweep away debris, hose off any stains or dirt, and reapply jointing material as needed. By taking care of your patio, you can ensure that it remains a beautiful and functional space for years to come.
Thank you for following this guide and we hope that you enjoy your new patio. Whether you’re hosting gatherings, enjoying quiet moments alone, or simply soaking up the fresh air, your patio will provide a delightful extension of your living space.
Get ready to create unforgettable memories and take full advantage of your outdoor oasis. Cheers to your new patio and the joy it will bring to your life!
Frequently Asked Questions about How To Lay Patio Pavers On Grass
Was this page helpful?
At Storables.com, we guarantee accurate and reliable information. Our content, validated by Expert Board Contributors, is crafted following stringent Editorial Policies. We're committed to providing you with well-researched, expert-backed insights for all your informational needs.


0 thoughts on “How To Lay Patio Pavers On Grass”