Home>Furniture>Outdoor Furniture>How To Lay Patio Stones On Grass
Outdoor Furniture
How To Lay Patio Stones On Grass
Modified: September 1, 2024
Learn how to lay patio stones on grass and create a beautiful outdoor space with our step-by-step guide. Get expert tips on using outdoor furniture to enhance your patio's appeal.
(Many of the links in this article redirect to a specific reviewed product. Your purchase of these products through affiliate links helps to generate commission for Storables.com, at no extra cost. Learn more)
Introduction
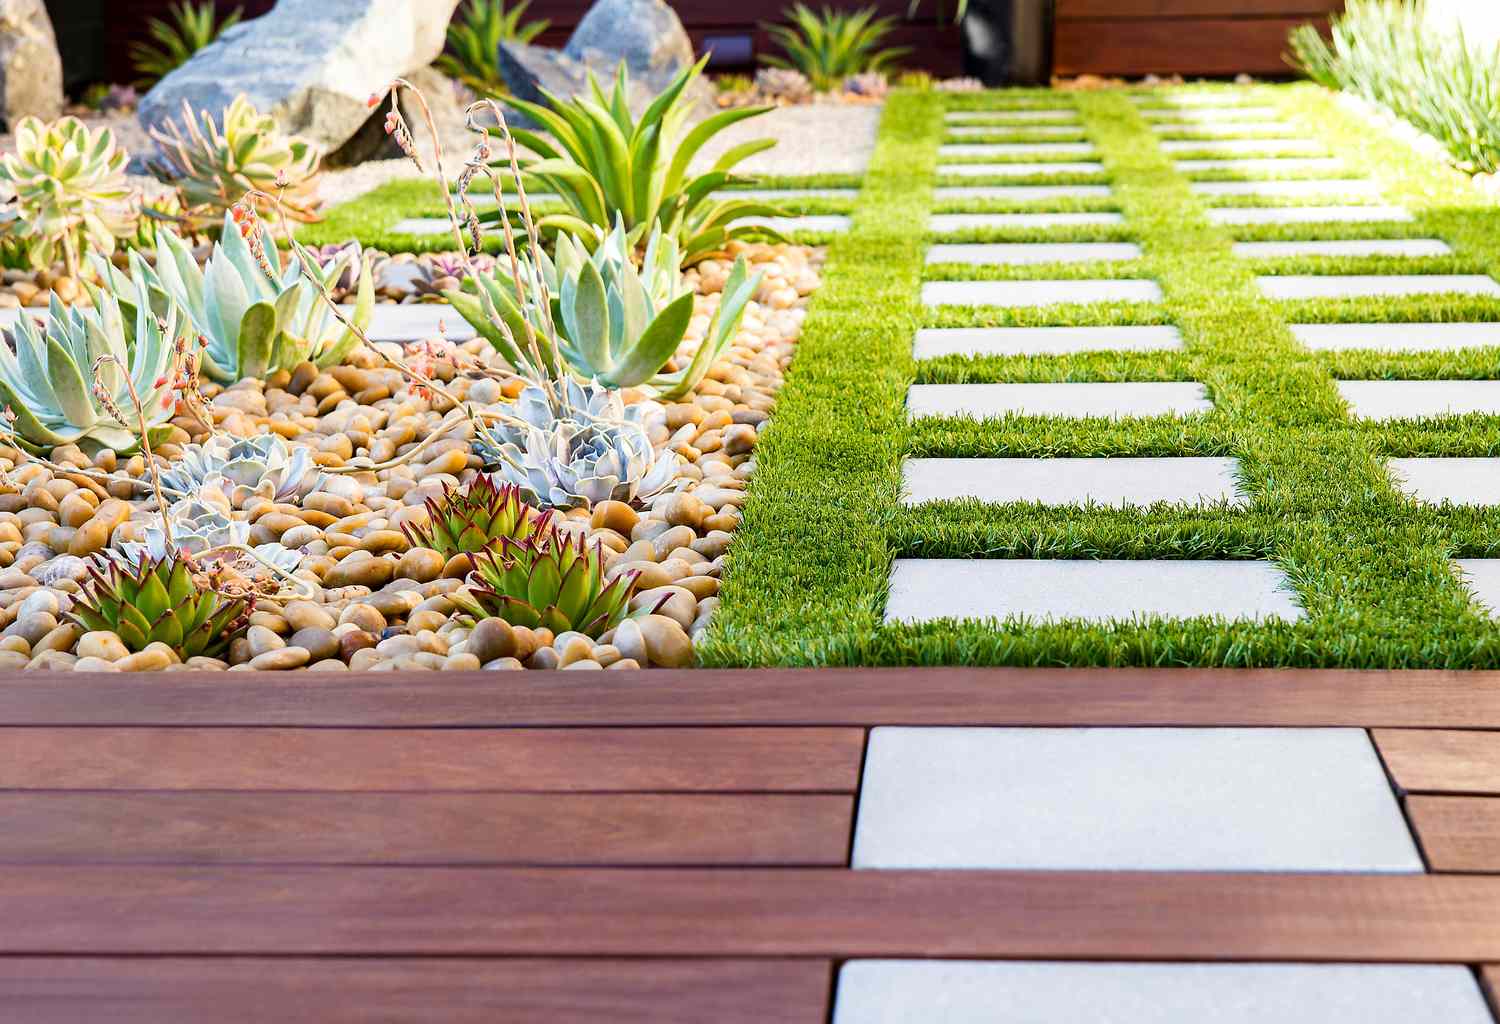
Welcome to our comprehensive guide on how to lay patio stones on grass. If you’re looking to transform your outdoor space and create a stunning patio area, this article is for you. Whether you want to add a cozy spot for outdoor dining or a relaxing space to lounge, laying patio stones on your grass is a fantastic option that can instantly elevate the look and functionality of your backyard.
While it may seem like a daunting task at first, with proper planning and the right tools, you can easily tackle this project yourself. This guide will take you through each step of the process, providing you with all the necessary information to successfully lay patio stones on your grass. So, let’s dive in!
Key Takeaways:
- Transform your backyard by laying patio stones on grass. Follow our guide to create a stunning and functional patio area, perfect for outdoor dining or relaxing with family and friends.
- Proper preparation, planning, and maintenance are key to successfully laying patio stones on grass. Enjoy your new patio oasis and create cherished memories with loved ones.
Read more: How To Lay A Stepping Stone Patio
Step 1: Prepare the Grass Area
The first step in laying patio stones on grass is to prepare the area where you want to create your patio. Start by marking out the desired shape and size of your patio using stakes and string or spray paint. This will help you visualize the final layout and ensure accuracy during the installation process.
Next, you’ll need to remove any obstacles such as rocks, plants, or debris from the grass area. Use a garden rake or shovel to clear the surface and create a clean canvas for your patio.
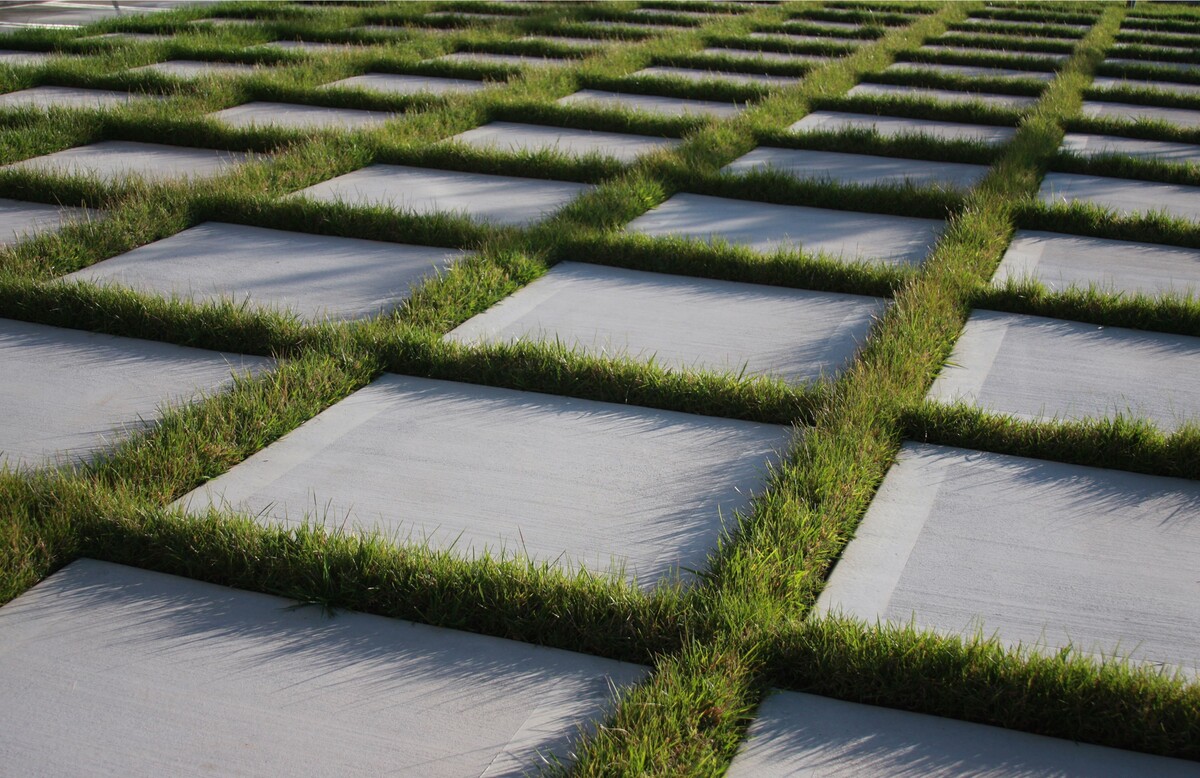
If the grass is lush and healthy, you have two options: removing the grass or keeping it in place. If you choose to remove the grass, use a sod cutter or a sharp spade to cut and remove the top layer of grass and roots. This will create a level surface for your patio base. Alternatively, you can opt to keep the grass in place and proceed with the installation. In this case, you will need to ensure proper preparation to prevent the grass from growing in between the patio stones.
If your grass is thin, patchy, or in poor condition, you may want to consider removing it entirely. This will provide a better foundation for your patio and prevent any issues with unevenness or future growth.
Once the grass is cleared or prepared, use a garden hose or sprinkler to thoroughly water the area. This will help settle the soil and provide stability for the patio stones.
Now that your grass area is prepared, it’s time to move on to the next step: measuring and planning the patio layout.
Step 2: Measure and Plan the Patio Layout
Before you start installing patio stones, it’s important to carefully measure and plan the layout of your patio. This step will ensure that you have the correct amount of materials and that your patio is symmetrical and visually appealing.
Start by measuring the length and width of the marked patio area. Use a tape measure or measuring wheel to get accurate measurements. Take note of any irregularities or obstacles, such as trees, flower beds, or existing structures, that may affect the layout of your patio.
Consider the shape and design of your patio. Do you want a square or rectangular shape, or are you looking for something more curved or irregular? Use your measurements and take into account any design preferences to create a scaled drawing of your patio layout.
Take this opportunity to plan the placement of your patio stones. Consider the size and shape of the stones you’ll be using, and determine how they will fit together to create an attractive pattern. You can opt for a traditional grid layout or get creative with a diagonal or herringbone pattern.
Once you have a clear plan in place, mark the layout on the ground using stakes and string or spray paint. This will serve as a guide during the installation process.
By measuring and planning ahead, you’ll save time and ensure that your patio turns out just the way you envisioned it. Now, it’s time to move on to the next step: clearing the grass and topsoil.
Step 3: Clear the Grass and Topsoil
Now that you have measured and planned your patio layout, it’s time to clear the grass and topsoil from the designated area. This step is essential to create a level surface and provide a stable foundation for your patio stones.
Start by removing the top layer of grass, typically referred to as the sod. You can use a sod cutter, which is a specialized tool designed to cut through the grass and root system. Alternatively, you can use a sharp spade or shovel to carefully dig up and remove the grass and roots. Be sure to remove any weeds or debris as well.
Once the grass is removed, you may need to excavate the area to remove any remaining topsoil. Use a shovel or garden hoe to dig out the topsoil to a depth of approximately 4-6 inches. This will create space for your base materials.
As you remove the grass and topsoil, periodically check the levelness of the area using a long, straight board or a level. The goal is to create a flat and even surface for your patio stones.
After clearing the grass and topsoil, it’s a good idea to compact the exposed ground. You can use a hand tamper or rent a plate compactor to firmly compact the soil. This will help prevent the ground from settling over time and ensure the stability of your patio base.
Once the area is cleared, leveled, and compacted, you’re ready to move on to the next step: preparing the ground for the patio stones.
Step 4: Prepare the Ground for the Patio Stones
Now that you have cleared the grass and topsoil, it’s time to prepare the ground for the patio stones. This step involves creating a solid base layer that will support the weight of the stones and ensure a long-lasting and stable patio.
Start by adding a layer of compactable base material, such as crushed gravel or crushed stone, to the excavated area. The base material should be approximately 4-6 inches deep. Use a rake or shovel to spread the material evenly across the entire area.
Next, use a hand tamper or rent a plate compactor to firmly compact the base material. This will help create a solid foundation and prevent the patio stones from shifting or sinking over time. Compact the base material in multiple passes, making sure to cover the entire area.
After compacting the base material, it’s important to check the levelness of the ground again. Use a level or a straight board to ensure that the surface is even and flat. Make any necessary adjustments by adding or removing base material.
If you have any particularly low or uneven spots, you can add additional base material and compact it until the area is level. On the other hand, if you have any high spots, you can remove some of the base material to achieve a smoother surface.
Creating a solid and level base is crucial for the longevity and stability of your patio. It will ensure that the patio stones are properly supported and that they won’t shift or sink over time. With the ground prepared, you’re ready to move on to the next step: installing a landscape fabric.
Read more: How To Lay Paving Stones On Grass
Step 5: Install a Landscape Fabric
Installing a landscape fabric is an essential step in the process of laying patio stones on grass. The landscape fabric acts as a barrier to prevent weed growth and helps to maintain the stability of your patio.
Start by rolling out the landscape fabric over the compacted base material. Ensure that it fully covers the entire area of your patio. Trim any excess fabric using scissors or a utility knife.
Secure the landscape fabric in place using landscape fabric staples or heavy-duty ground pegs. Place the staples or pegs along the edges and in the center of the fabric, ensuring that it is taut and firmly anchored to the ground.
Once the landscape fabric is secured, use a utility knife to make small cuts or slits in the fabric where any existing plants or trees will be located. This will allow them to continue receiving nutrients and moisture while preventing weed growth.
The landscape fabric serves two important purposes. First, it acts as a barrier against weeds, preventing them from growing through the cracks between your patio stones. Second, it helps to stabilize the base material, providing additional support and preventing it from shifting.
Now that you have installed the landscape fabric, you’re ready to move on to the next step: laying the base material for your patio stones.
Before laying patio stones on grass, make sure to clear the area of any grass and roots. Then, use a base material like sand or gravel to create a level surface for the stones to sit on. Finally, place the stones in your desired pattern and fill the gaps with more base material to secure them in place.
Step 6: Lay the Base Material
With the landscape fabric in place, it’s time to lay the base material for your patio stones. The base material provides a stable and level surface for the stones to be laid upon.
Start by spreading a layer of coarse sand or paver base evenly over the landscape fabric. The thickness of this layer will vary depending on the size of your patio stones, typically ranging from 1 to 2 inches.
Use a rake or shovel to distribute the base material evenly across the entire area. Make sure the layer is smooth and level, as this will ensure that your patio stones will be properly supported.
As you lay the base material, periodically check the levelness using a long, straight board or a level. Adjust the base material as needed to achieve a flat and even surface.
Be sure to also pay attention to the slope of your patio. Ideally, the patio should have a slight slope away from your house to ensure proper drainage. Aim for a slope of approximately 1/8 inch per foot.
Once the base material is spread and level, use a hand tamper or plate compactor to firmly compact the layer. This will help to further stabilize the base material and create a solid foundation for your patio stones.
Continue compacting the base material until it feels firm and secure beneath your feet. This step is crucial for the stability and longevity of your patio, so take your time to ensure that the base material is properly compacted.
With the base material laid and compacted, you’re now ready to move on to the next step: arranging and laying the patio stones.
Step 7: Compact the Base Material
After laying the base material for your patio stones, it’s crucial to properly compact the material. This step ensures that the base is stable and provides a solid foundation for your patio.
Start by using a hand tamper or a plate compactor to compact the base material. Begin at one end of the patio area and work your way towards the other end. Apply firm, even pressure to the tamper or compactor as you go.
Make multiple passes over the entire area, overlapping each pass slightly to ensure even compaction. This will help to remove any air pockets or gaps within the base material, creating a stable surface for the patio stones.
As you compact the base material, periodically check the levelness of the surface using a long, straight board or a level. This will help you identify any low or high areas that may require adjustments.
If you notice any uneven spots, add or remove base material as needed to achieve a level surface. Take your time during this process to ensure that the entire area is properly compacted and level.
Properly compacting the base material is crucial for the stability and longevity of your patio. It helps to prevent any settling, shifting, or sinking of the patio stones over time.
Once you are satisfied with the levelness and compaction of the base material, you can move on to the exciting part: arranging and laying the patio stones.
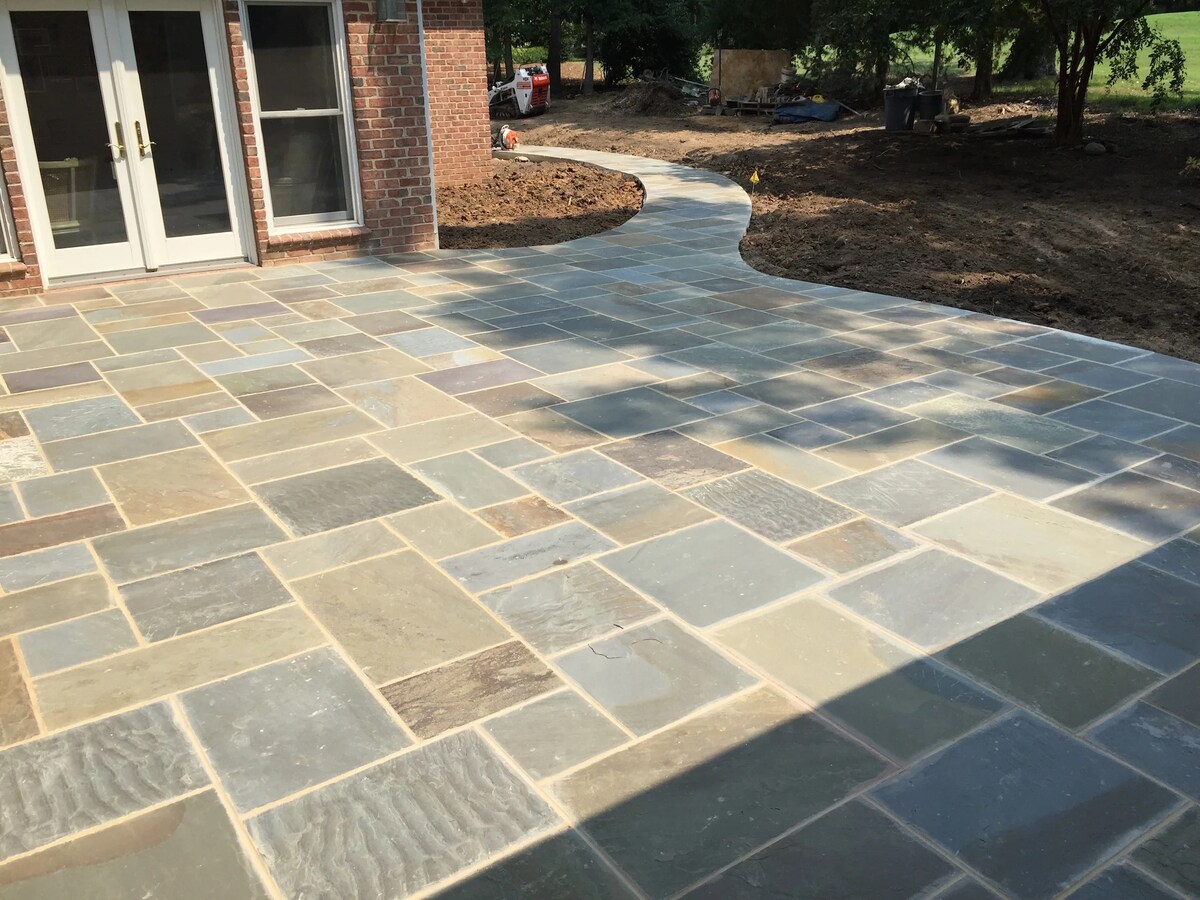
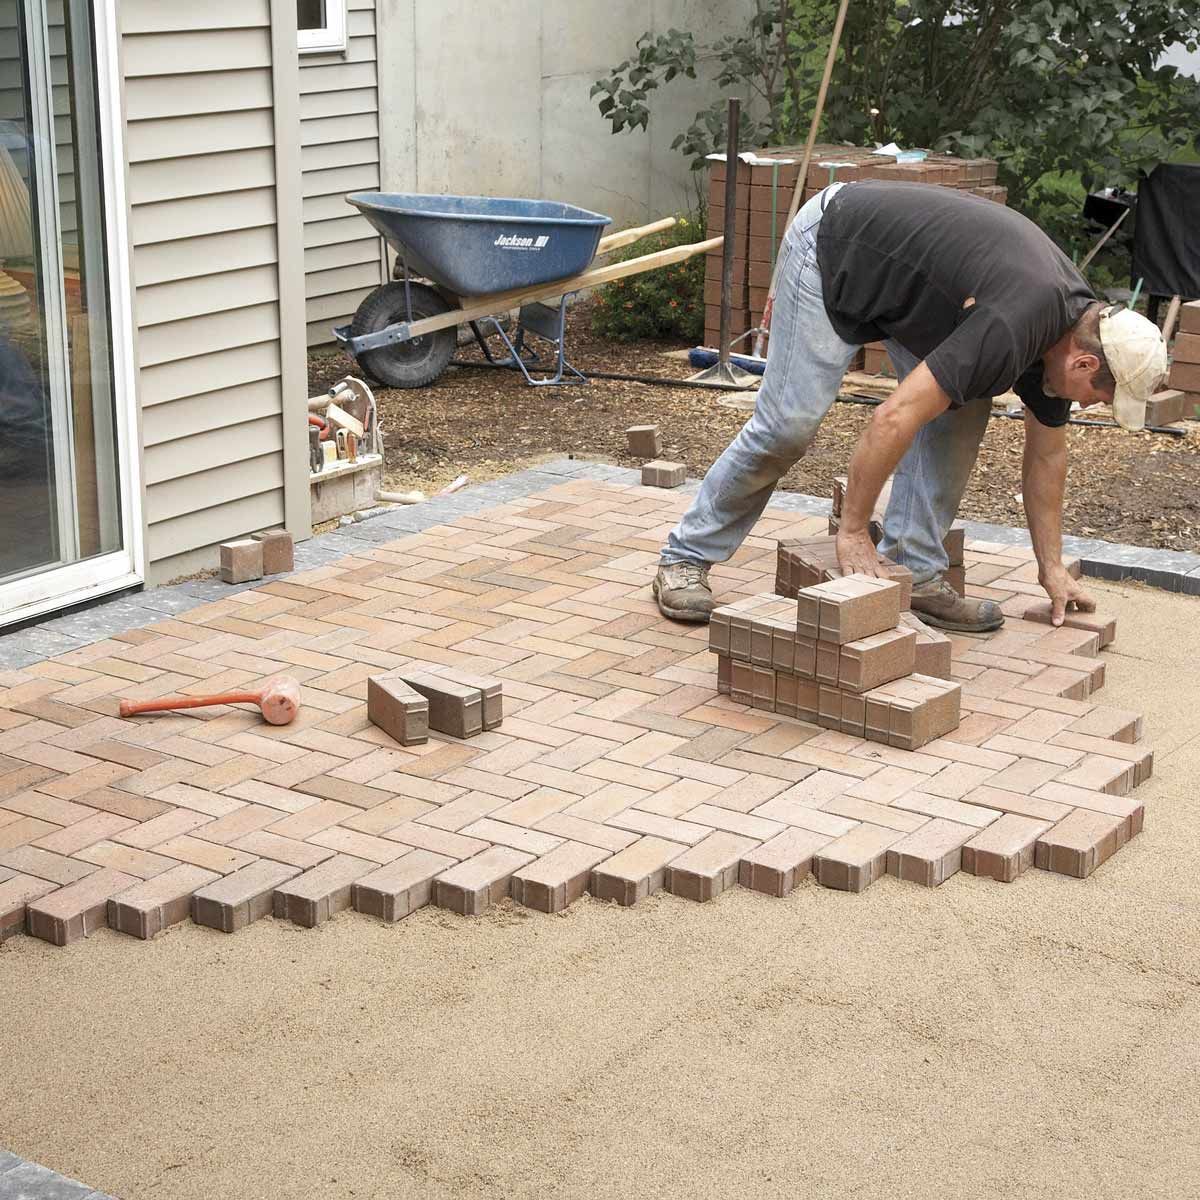
Step 8: Arrange and Lay the Patio Stones
Now that the base material is compacted, it’s time to bring your patio to life by arranging and laying the patio stones. This step allows you to showcase your creativity and create a beautiful and functional outdoor space.
Start by selecting the patio stones that you’ll be using. Choose stones that are of uniform thickness and size to ensure a level surface. You can opt for natural stone, concrete pavers, or even brick, depending on your personal preference and the style you want to achieve.
Begin by placing the first patio stone in the corner or edge of your patio. Use a rubber mallet to gently tap it into place, ensuring that it sits firmly on the base material.
Continue laying the patio stones, fitting them closely together. Use a level to check the stones for evenness and adjust as necessary. You can tap the stones with a rubber mallet or use a slight wiggling motion to help them settle securely in place.
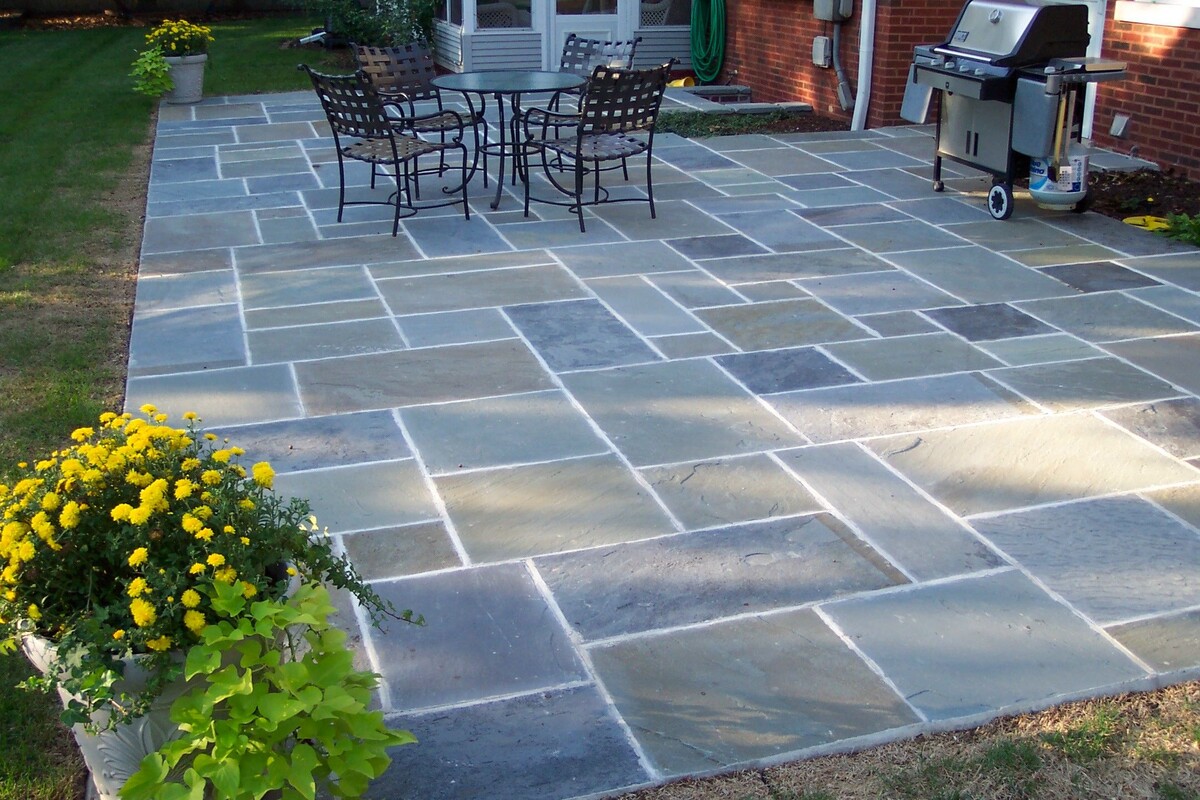
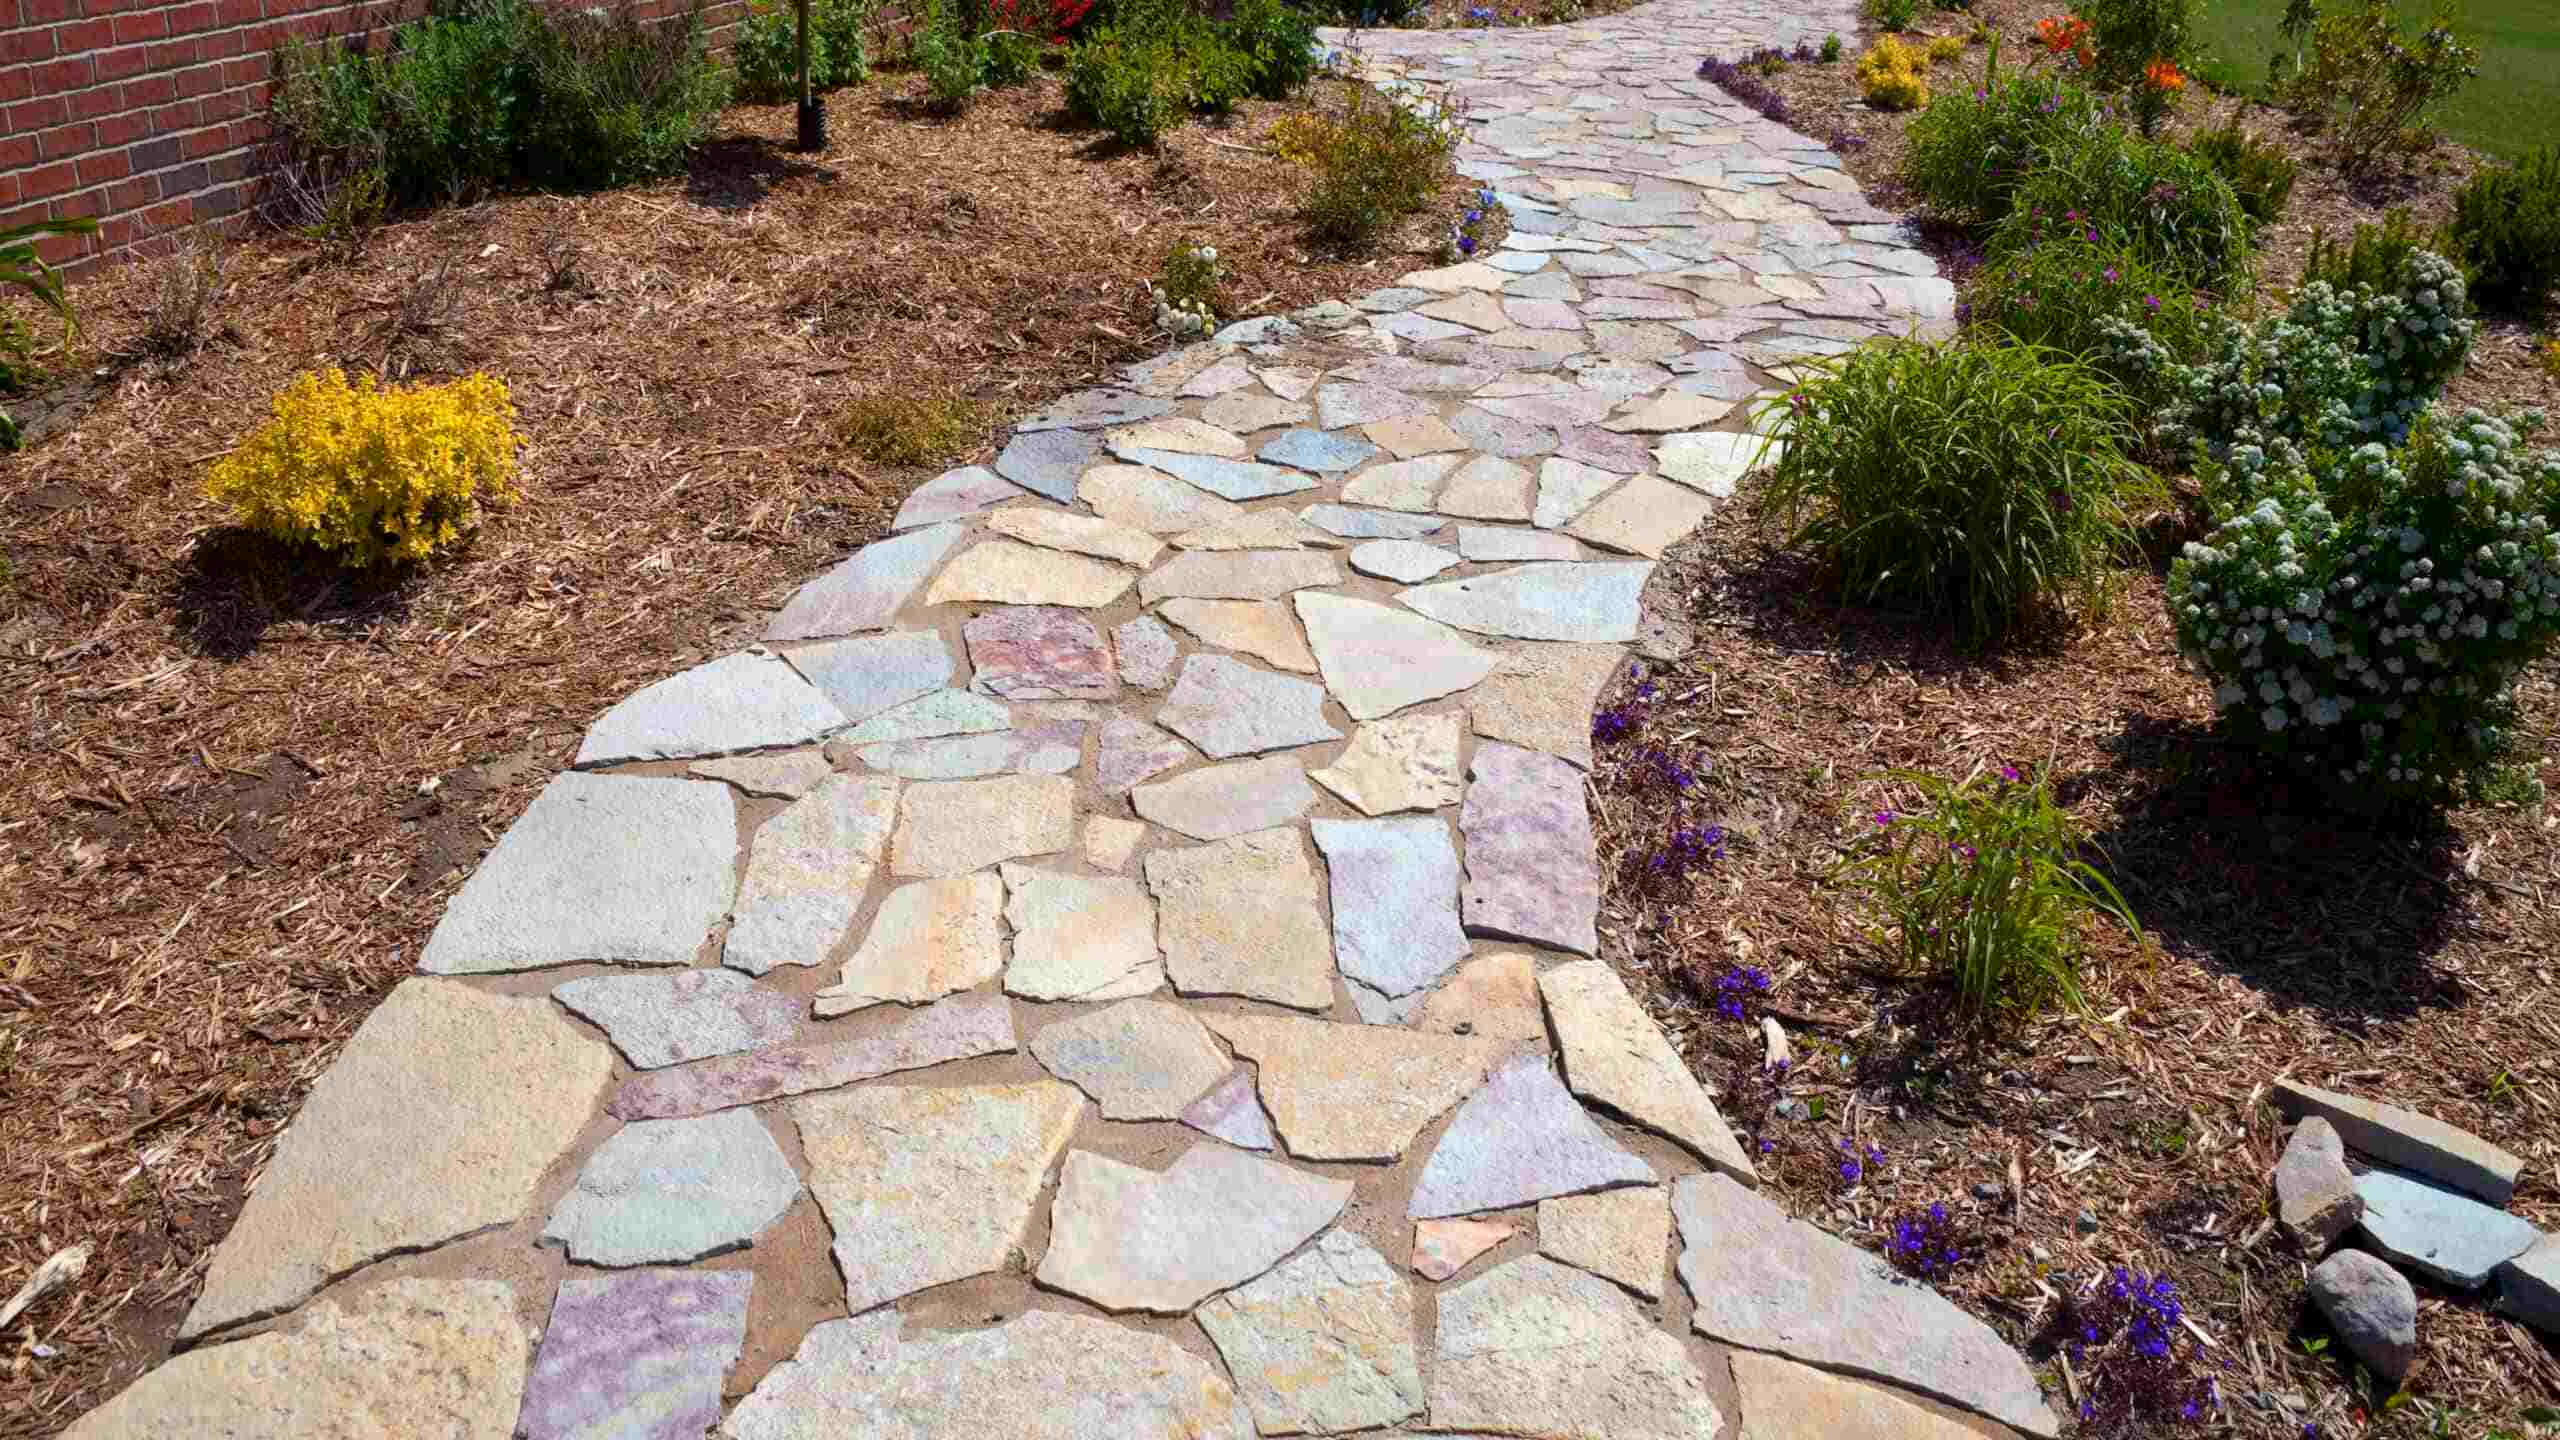
Consider different patterns and arrangements for your patio stones. You can opt for a traditional grid pattern, a random pattern, or even create a unique design using different sizes or shapes of stones.
As you lay the stones, ensure that they are level with each other and with the surrounding area. This will provide a smooth and seamless surface for your patio.
For larger patio stones or irregularly shaped stones, you may need to use a chisel and hammer to trim or shape them to fit the desired space. Take your time during this step to ensure a precise fit.
Once all the patio stones are laid, step back and assess the overall appearance. Make any necessary adjustments to the positioning or alignment of the stones to achieve the desired look.
Congratulations! You’ve successfully arranged and laid the patio stones. Now, let’s move on to the next step: filling the gaps between the stones.
Read more: How To Lay Stone Pavers On Grass
Step 9: Fill the Gaps Between Stones
After laying the patio stones, it’s important to fill the gaps between them to enhance the overall appearance and stability of your patio. The filling material helps to prevent weed growth, minimize erosion, and create a cohesive look.
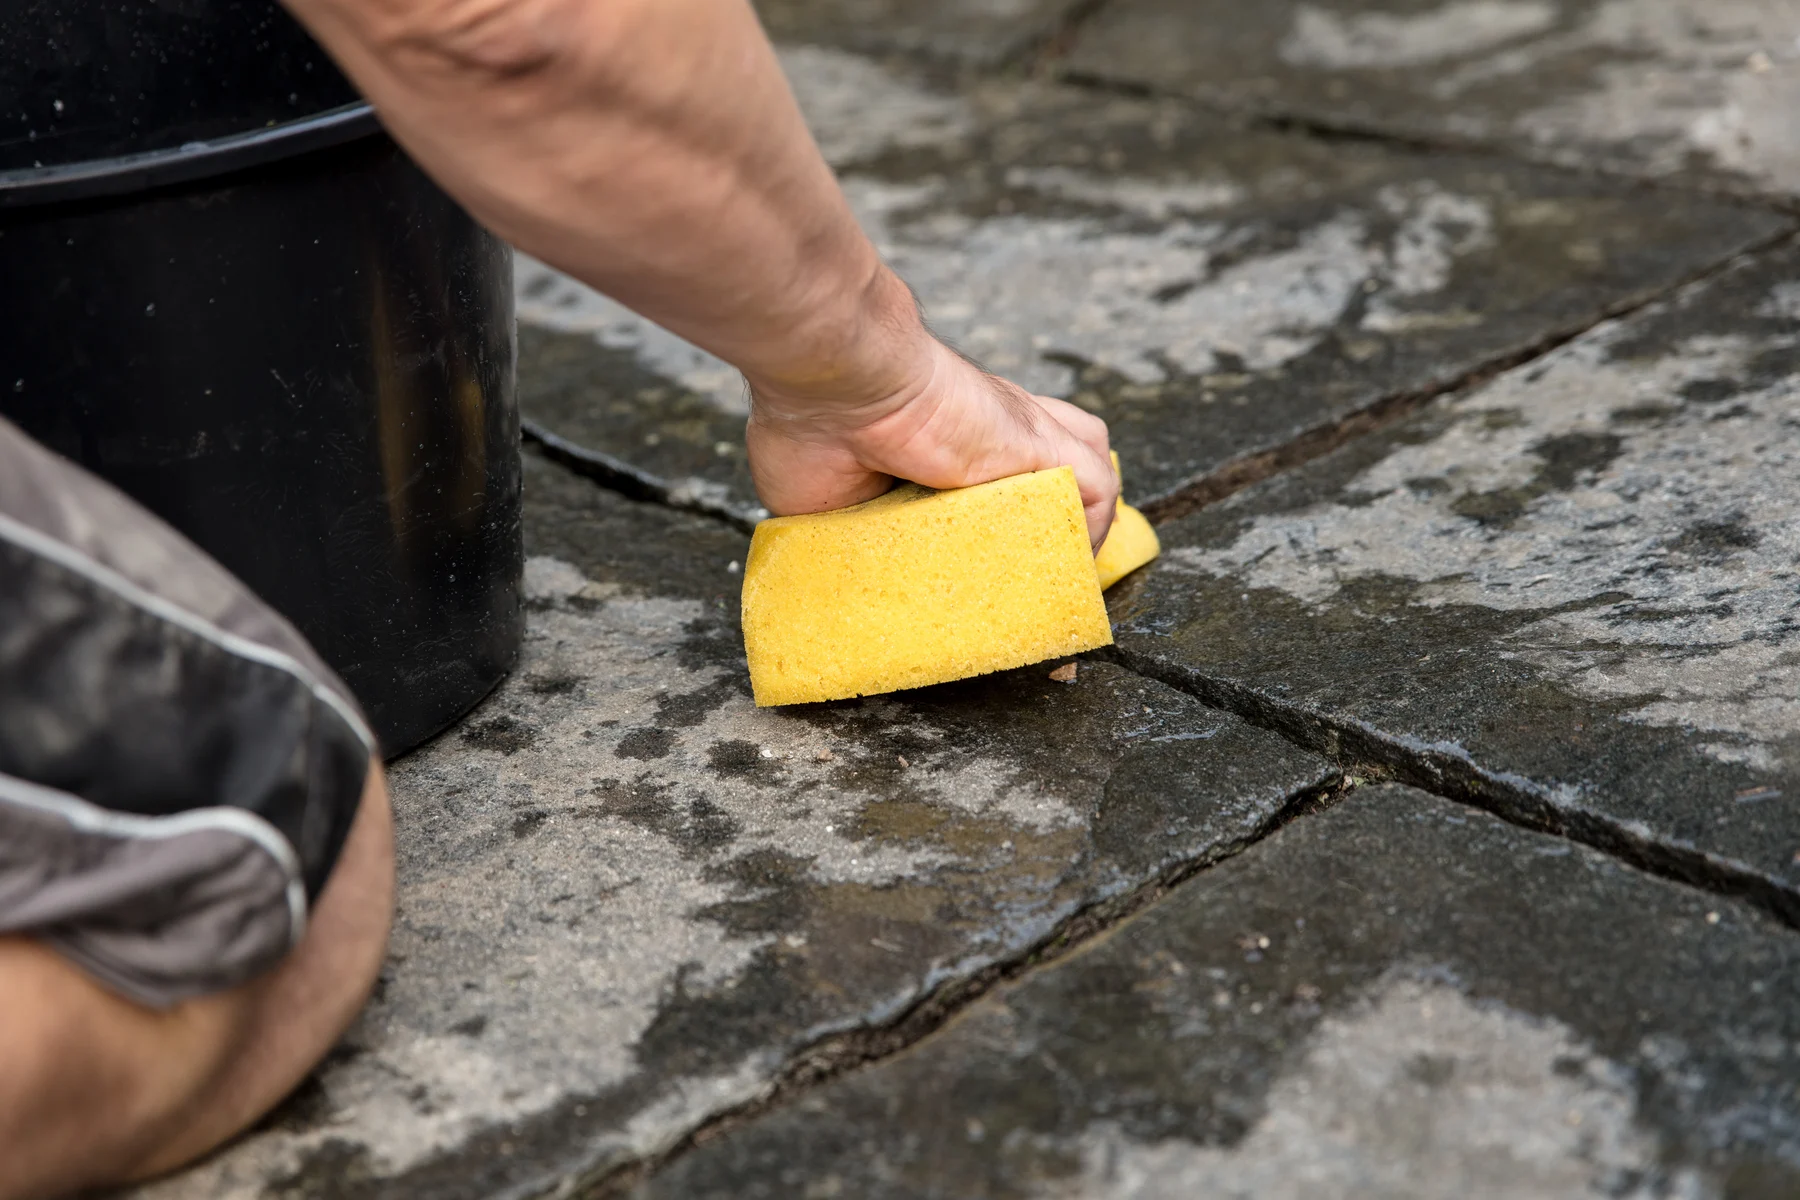
Start by sweeping fine polymeric sand or polymeric jointing sand onto the surface of the patio, making sure it fills the gaps between the stones. Use a broom to evenly distribute the sand and ensure that it reaches all the narrow spaces between the stones.
Once the gaps are filled with sand, use a leaf blower or a stiff-bristled brush to remove any excess sand from the surface of the stones. This will help to prevent the sand from staining the stones and leave a clean finish.
Next, lightly mist the patio with water, allowing the water to slowly soak into the sand-filled gaps. This activates the bonding agents in the polymeric sand, causing it to harden and create a solid surface.
Follow the manufacturer’s instructions for curing time, which typically ranges from a few hours to a day. During this period, avoid walking on the patio to allow the sand to fully harden and set.
After the curing process, inspect the patio for any remaining gaps or areas that might need additional sand. Fill these areas as needed until all gaps are properly filled and stabilized.
Once the polymeric sand sets and the gaps are fully filled, your patio will have a finished and polished look. The sand filling not only improves the aesthetic appeal of the patio but also provides additional support and prevents the stones from shifting.
Congratulations! You have successfully filled the gaps between the patio stones. Now, let’s move on to the final step: adding the finishing touches and maintenance.
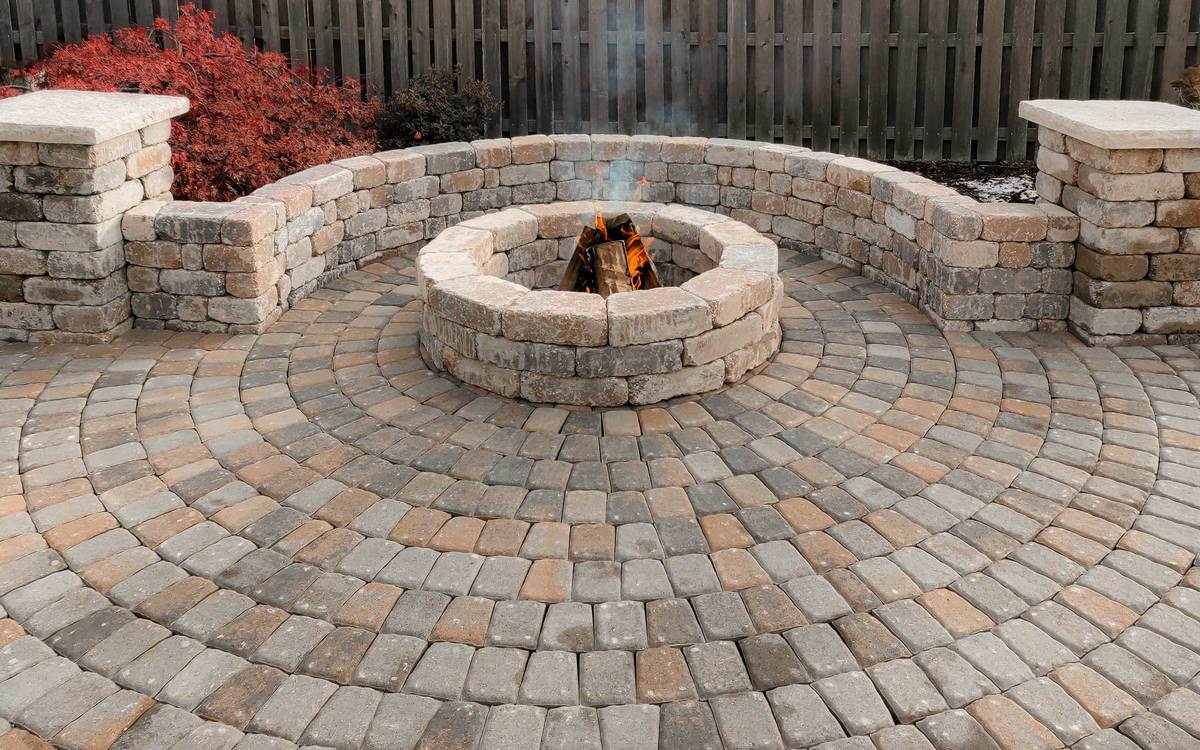
Step 10: Finishing Touches and Maintenance
With the patio stones laid and the gaps filled, it’s time to add the finishing touches to your outdoor space. These final touches will enhance the overall appearance and ensure the longevity of your patio.
To complete the look of your patio, consider adding edge restraints. These are typically made of plastic, metal, or stone and are placed along the outer perimeter of the patio. Edge restraints help to keep the patio stones in place and prevent them from shifting over time.
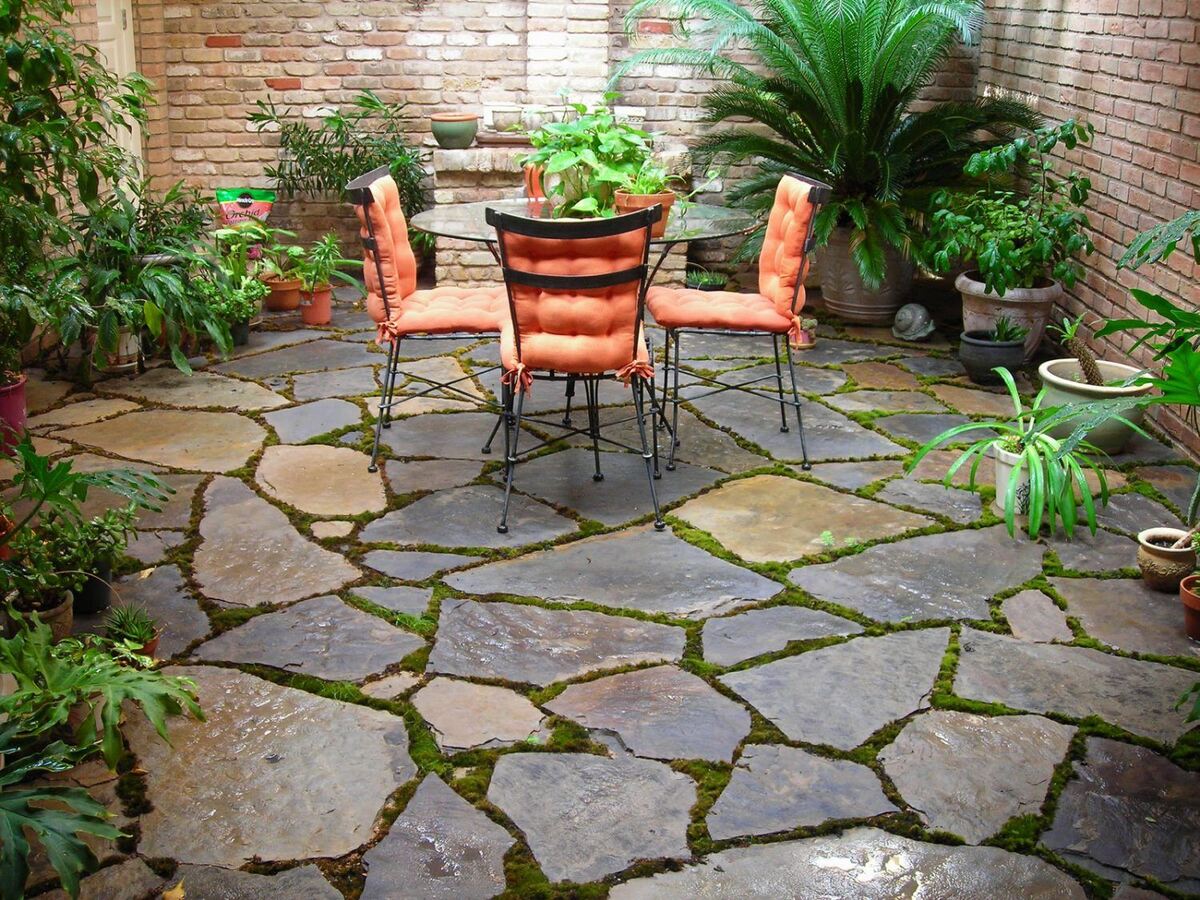
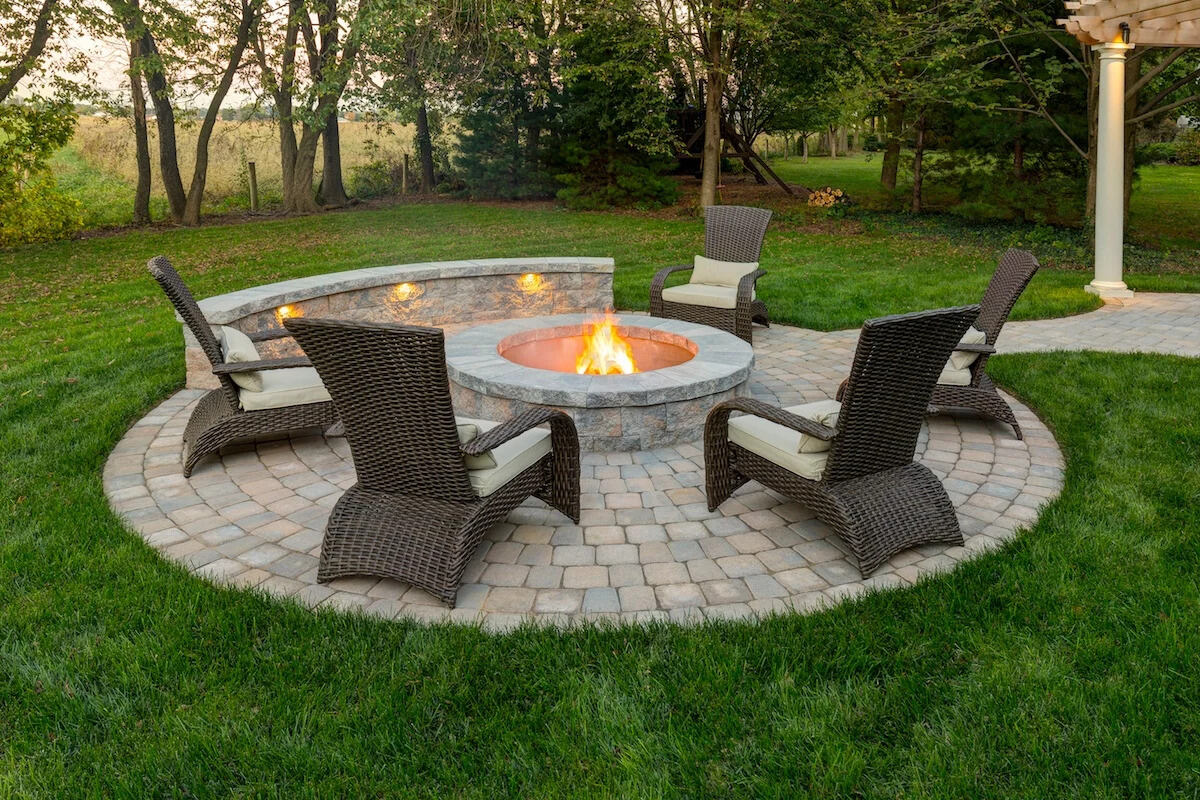
Additionally, you can add decorative elements such as outdoor furniture, planters, or string lights to personalize your patio and create a cozy and inviting atmosphere.
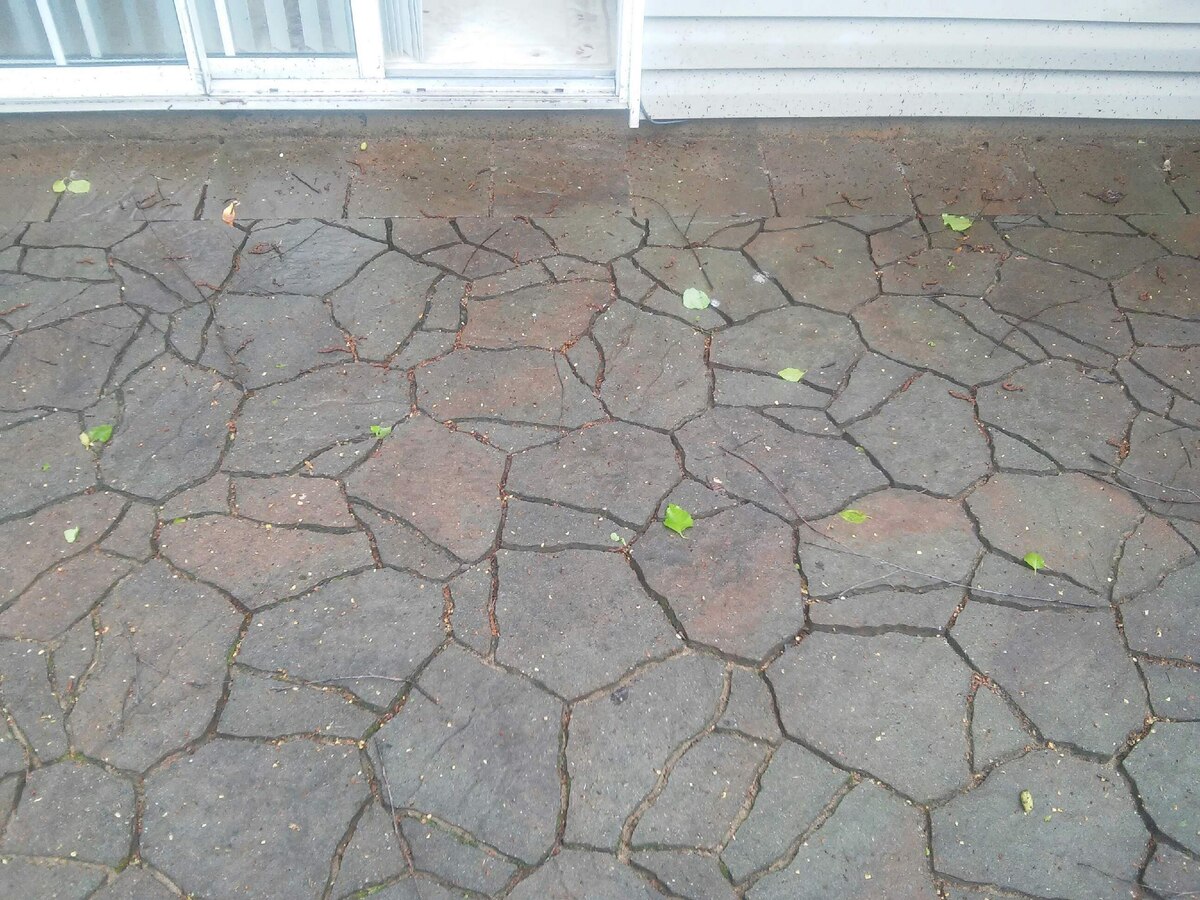
Maintenance is key to keeping your patio in pristine condition. Regularly sweep the surface to remove any debris or leaves that may accumulate. This prevents staining and keeps the patio looking clean. For stubborn stains, you can use a mild detergent and a soft brush to gently scrub the affected area.
If weeds do manage to sprout between the patio stones, carefully remove them by hand or use a targeted herbicide. It’s important to address weed growth promptly to prevent them from damaging the patio surface.
In colder climates, it’s essential to protect your patio during winter months. Consider covering it with a breathable patio cover or tarp to prevent snow and ice accumulation. Avoid using salt-based deicers on the patio surface, as these can cause damage. Instead, use sand or sawdust to provide traction and prevent slippery conditions.
Regularly inspect the patio for any signs of damage, such as cracked or loose stones. Address any issues promptly to prevent further damage and ensure the longevity of your patio.
By adding the finishing touches and following a consistent maintenance routine, you can enjoy a beautiful and functional patio for years to come.
Congratulations on completing the final step! You have successfully laid patio stones on grass and transformed your outdoor space. Now it’s time to sit back, relax, and enjoy your new patio!
Conclusion
Congratulations on successfully completing the process of laying patio stones on grass! By following the steps outlined in this comprehensive guide, you have transformed your outdoor space into a beautiful and functional patio area.
Throughout the process, you learned how to prepare the grass area, measure and plan the patio layout, clear the grass and topsoil, and prepare the ground for the patio stones. You also discovered how to install a landscape fabric, lay the base material, arrange and lay the patio stones, fill the gaps between them, and add the finishing touches.
Remember, a properly laid patio provides a stable and level surface, enhances the aesthetic appeal of your outdoor area, and contributes to the overall value of your property. With regular maintenance and care, your patio stones will remain in excellent condition for years to come.
Now it’s time to enjoy your new patio! Whether you use it for outdoor dining, entertaining guests, or simply relaxing with a book, your patio will become a favorite gathering spot for family and friends.
So let the transformative power of your newly laid patio stones become the backdrop for countless special moments and cherished memories in your outdoor oasis.
Thank you for joining us on this journey of creating a beautiful patio space. We hope this guide has been helpful and inspiring. Happy patio lounging!
Frequently Asked Questions about How To Lay Patio Stones On Grass
Was this page helpful?
At Storables.com, we guarantee accurate and reliable information. Our content, validated by Expert Board Contributors, is crafted following stringent Editorial Policies. We're committed to providing you with well-researched, expert-backed insights for all your informational needs.


0 thoughts on “How To Lay Patio Stones On Grass”