Home>Gardening & Outdoor>Outdoor Entertaining>How To Make Your Own Fire Pit Table
Outdoor Entertaining
How To Make Your Own Fire Pit Table
Modified: September 2, 2024
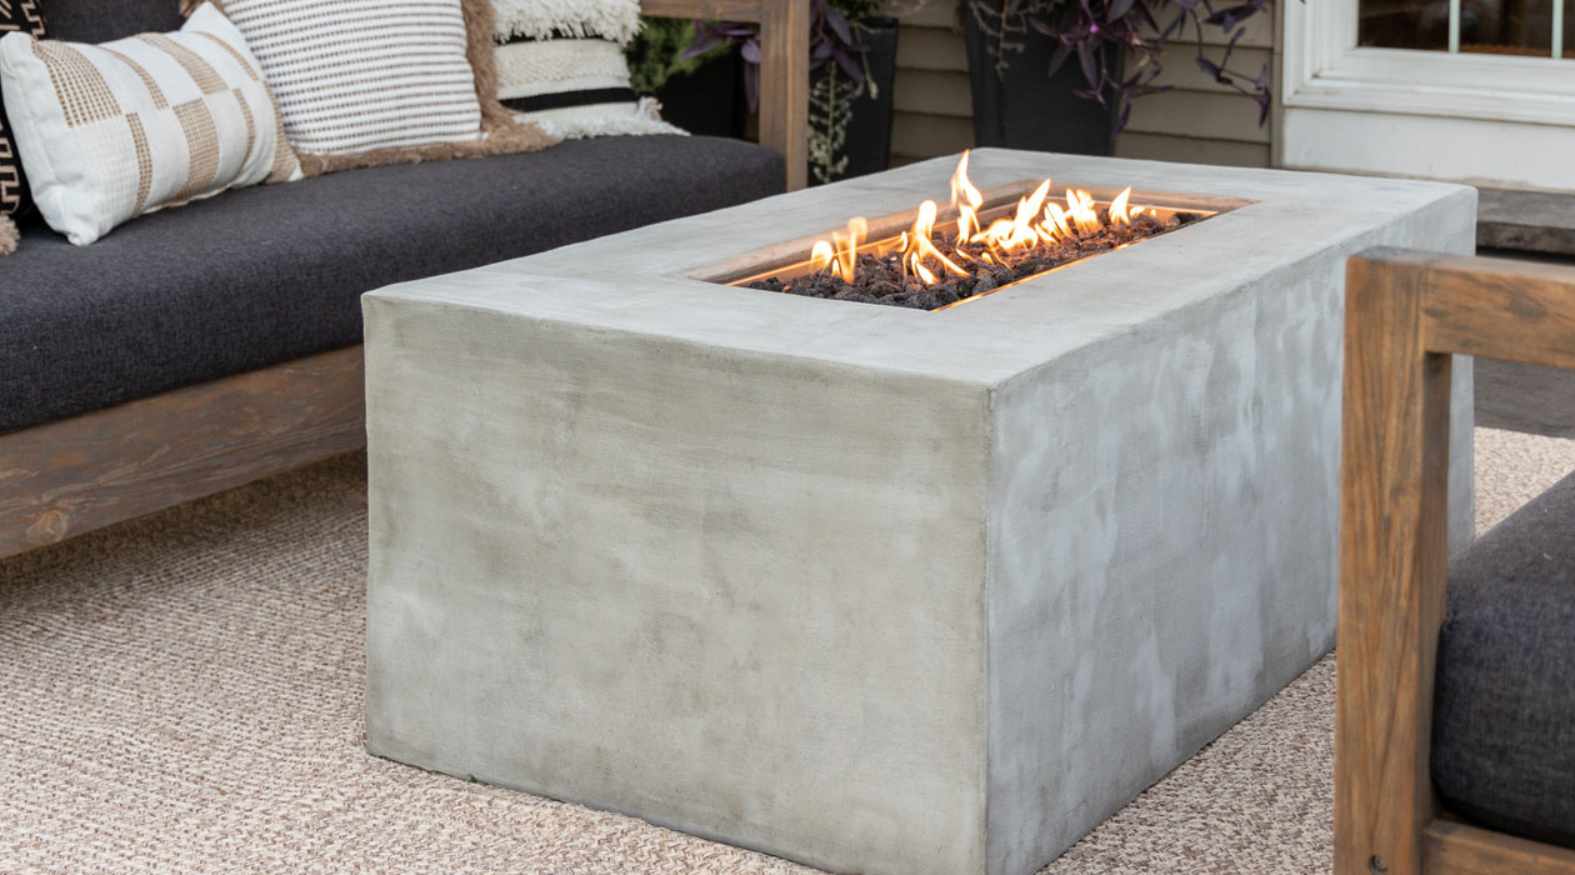
Create the perfect outdoor entertaining space with a DIY fire pit table. Learn how to make your own stylish and functional centerpiece for your patio. Ideal for cozy gatherings and summer nights.
(Many of the links in this article redirect to a specific reviewed product. Your purchase of these products through affiliate links helps to generate commission for Storables.com, at no extra cost. Learn more)
Introduction
Are you looking to elevate your outdoor entertaining experience? Imagine gathering around a cozy fire pit table with friends and family, sharing stories and laughter under the stars. Building your own fire pit table is not only a rewarding DIY project but also a fantastic way to enhance your outdoor living space. Whether you’re a seasoned DIY enthusiast or new to crafting, creating a fire pit table can be an enjoyable and fulfilling endeavor.
In this guide, we will walk you through the step-by-step process of constructing your very own fire pit table. From selecting the perfect location to adding the finishing touches, we’ll cover everything you need to know to bring this inviting and functional centerpiece to life. With the right materials, tools, and a dash of creativity, you can transform your outdoor space into a warm and welcoming haven for gatherings and relaxation. So, roll up your sleeves and let’s get started on this exciting journey to craft your own fire pit table!
Key Takeaways:
- Building a fire pit table is a fun DIY project that can enhance outdoor gatherings. From selecting the right location to adding finishing touches, it’s a creative way to create a cozy and inviting space for friends and family.
- By following the steps in this guide, you can craft a durable and stylish fire pit table. It’s not just a construction project; it’s a way to add warmth, charm, and functionality to your outdoor environment.
Read more: How To Make Your Own Propane Fire Pit
Materials and Tools
Before embarking on your fire pit table project, it’s essential to gather all the necessary materials and tools. Here’s what you’ll need:
Materials:
- Pressure-treated lumber or cedar for the table base
- Fire pit insert or bowl
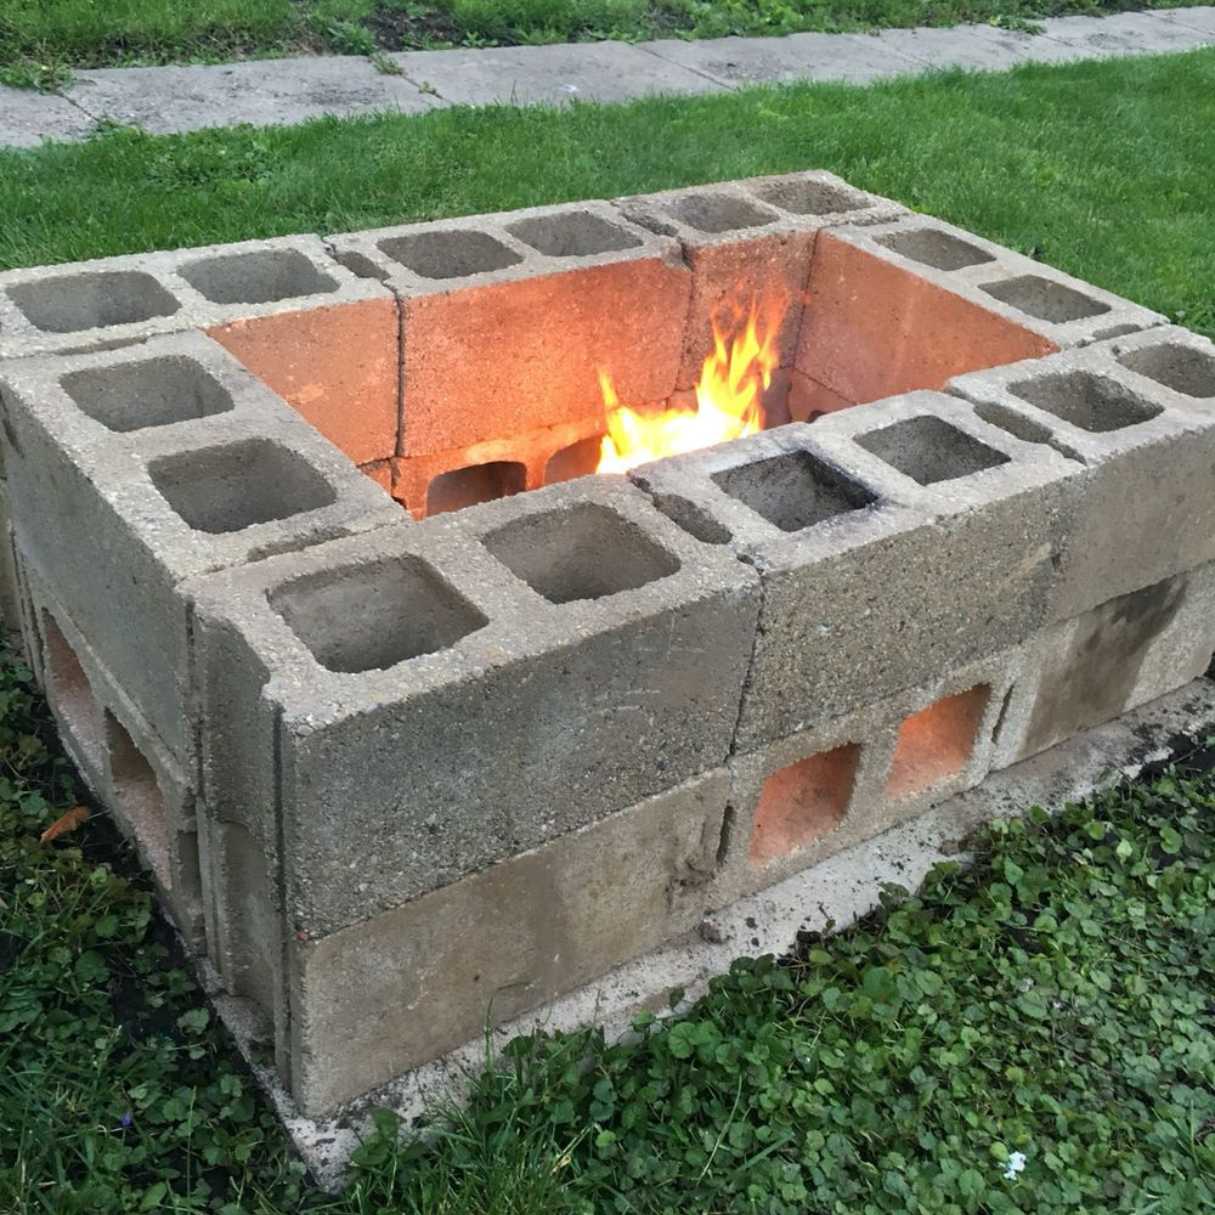
- Fireproof bricks or pavers
- Fireproof mortar
- Concrete mix
- Gravel
- Fire glass or lava rocks
- Wood for table surface (such as cedar or redwood)
- Wood screws
- Wood glue
- Stain or paint (if desired)
- Protective sealant
- Fire pit cover
- Leveling sand (if needed)
Tools:
- Measuring tape
- Saw (circular saw or miter saw)
- Drill and drill bits
- Shovel
- Trowel
- Level
- Rubber mallet
- Work gloves
- Safety glasses
- Pencil or marker
- Paintbrushes or stain applicators
Having these materials and tools at your disposal will set the stage for a smooth and efficient construction process. Once you’ve gathered everything, you’ll be ready to move on to the exciting phase of building your fire pit table.
Step 1: Selecting a Location
Choosing the right location for your fire pit table is crucial for both safety and ambiance. Here are some key considerations to keep in mind:
1. Safety First: Ensure that the location you choose complies with local fire safety regulations and building codes. Keep the fire pit table a safe distance away from any structures, overhanging branches, or flammable materials.
2. Ventilation: Select an area with proper ventilation to allow smoke and heat to disperse easily. This will contribute to a more comfortable and enjoyable outdoor environment.
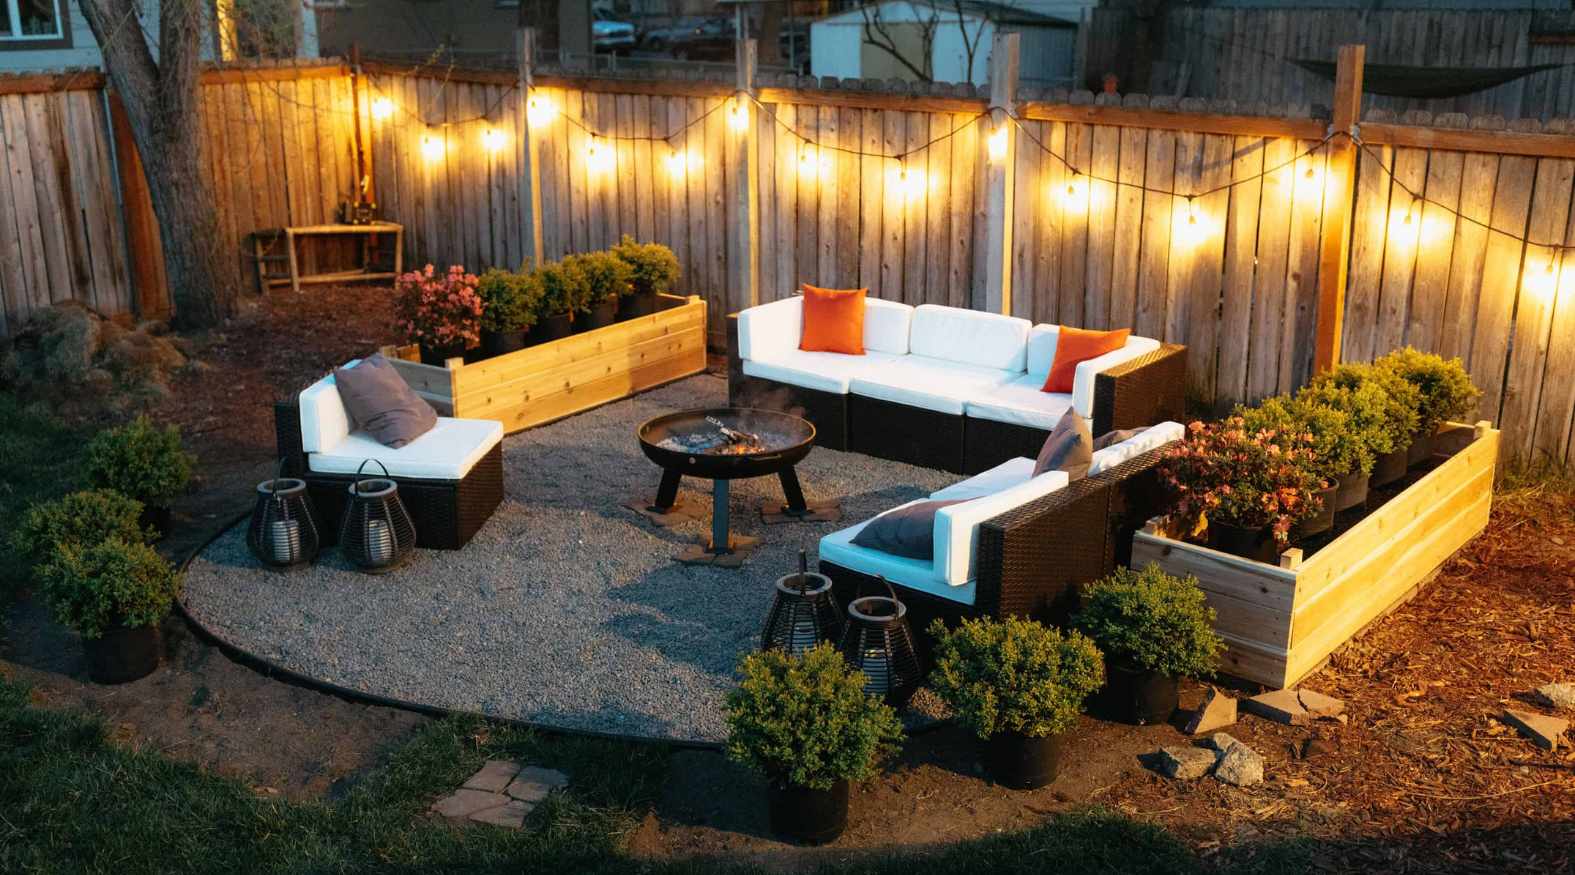
3. Aesthetic Appeal: Consider the overall layout of your outdoor space. The fire pit table should serve as a focal point while harmonizing with the surrounding landscape and seating areas.
4. Level Ground: It’s essential to place the fire pit table on a level surface to ensure stability and safety. If the ground is uneven, you may need to make adjustments using leveling sand or other suitable materials.
Once you’ve identified the perfect spot, mark the location and proceed to prepare the area for the construction of your fire pit table. With the location secured, you’re one step closer to bringing warmth and charm to your outdoor living space.
Read more: How To Make A Portable Fire Pit
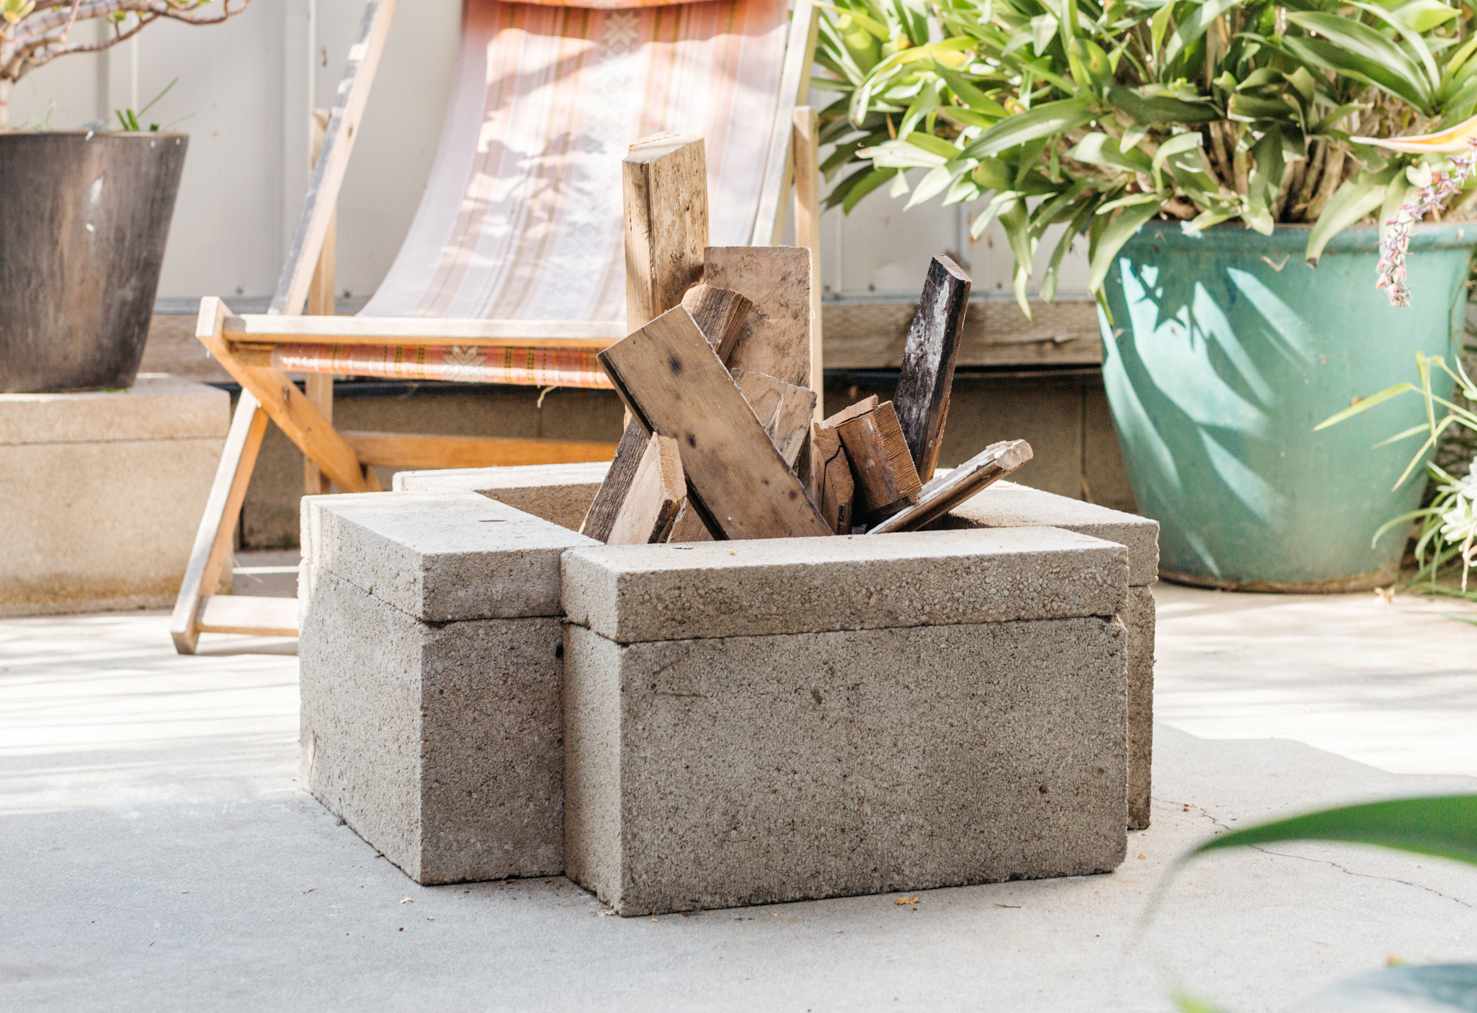
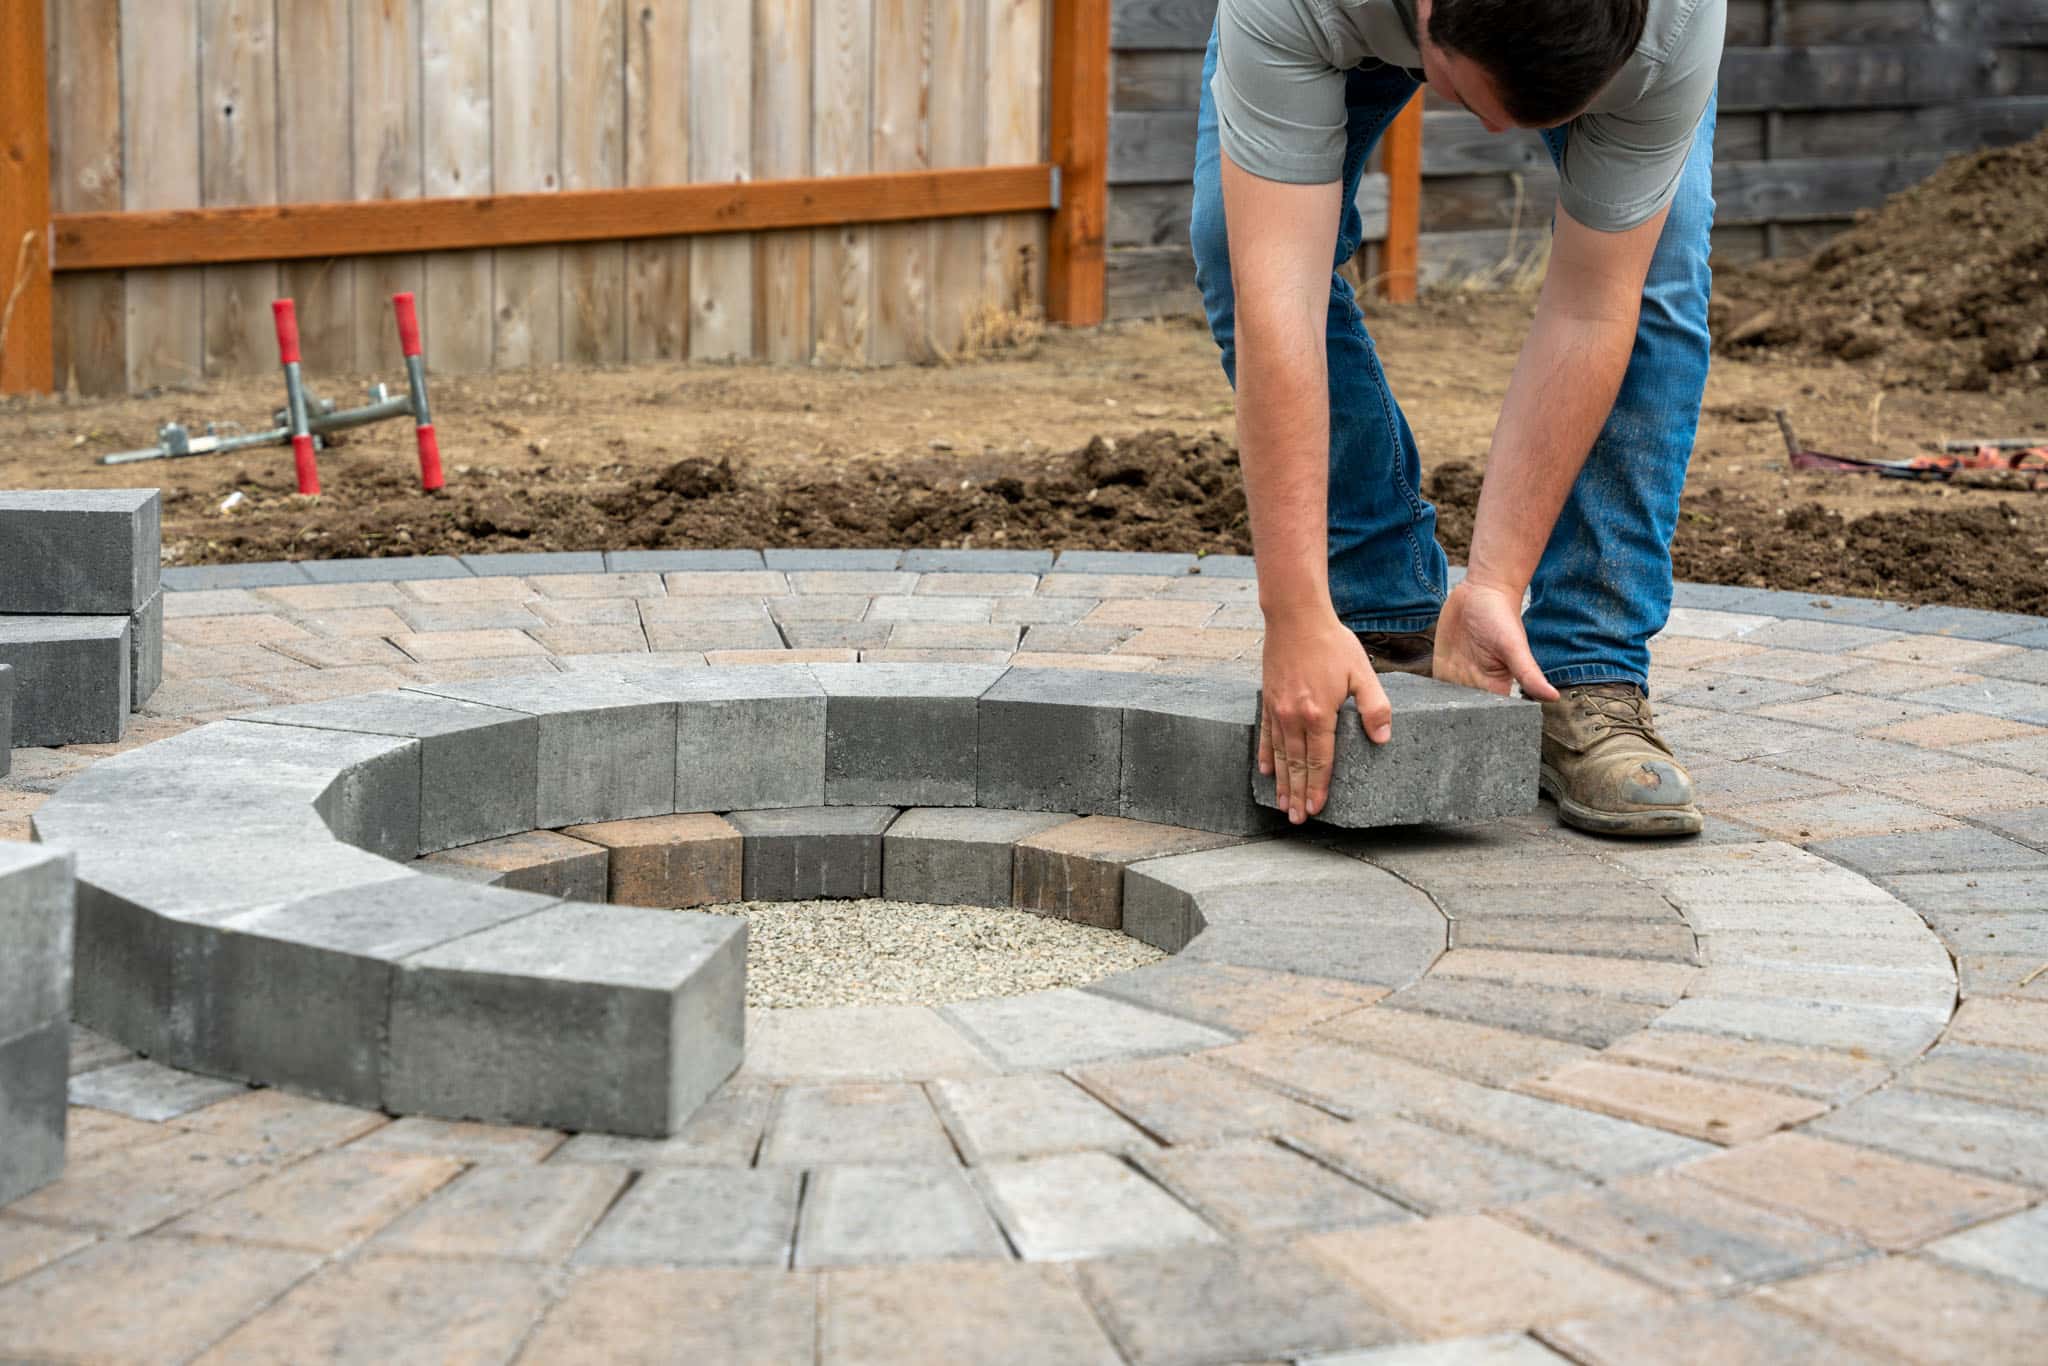
Step 2: Preparing the Area
Preparing the area for your fire pit table is a crucial step that sets the foundation for a successful construction process. Follow these steps to ensure that the site is ready for the next phase:
1. Clear the Space: Begin by clearing the designated area of any debris, vegetation, or obstacles. This will provide a clean canvas for the construction and help prevent potential fire hazards.
2. Mark the Perimeter: Use stakes and string to outline the dimensions of the fire pit table. This will help you visualize the space it will occupy and ensure that it fits seamlessly into your outdoor setting.
3. Excavation: If the area is not already level, you may need to excavate the ground to create a flat surface. Use a shovel to remove any uneven patches and create a level foundation for the table base and fire pit.
4. Add a Base Layer: Once the ground is level, add a layer of gravel to improve drainage and provide a stable base for the fire pit table. Tamp down the gravel to create a firm and even surface.
5. Consider Drainage: If your location is prone to water accumulation, ensure that the area has proper drainage to prevent water from pooling around the fire pit table.
By diligently preparing the area, you’ll create an optimal setting for the construction of your fire pit table. With the groundwork in place, you’re ready to move on to the exciting phase of building the table base and fire pit.
Step 3: Building the Table Base
Constructing a sturdy and visually appealing base for your fire pit table is essential for both functionality and aesthetics. Follow these steps to build the table base:
1. Cut the Lumber: Measure and cut the pressure-treated lumber or cedar to the desired dimensions for the table base. Use a saw, such as a circular saw or miter saw, to achieve precise cuts.
2. Assemble the Frame: Assemble the cut lumber to create the frame of the table base. Use wood screws and wood glue to secure the pieces together, ensuring that the frame is robust and stable.
3. Add Support Braces: To enhance the strength of the base, add support braces at strategic points within the frame. This will contribute to the overall stability of the table.
4. Create the Tabletop Surface: Once the base frame is complete, attach the wood for the tabletop surface. This can be achieved by securing the wood to the frame using appropriate fasteners.
5. Finishing Touches: Sand the tabletop surface to achieve a smooth finish, and apply a stain or paint of your choice to enhance the appearance and protect the wood from outdoor elements. Finish with a protective sealant for added durability.
With the table base constructed, you’ve laid the groundwork for the next phase of adding the fire pit element to your DIY masterpiece. The solid and well-crafted base will serve as a reliable foundation for the fire pit table, bringing both functionality and style to your outdoor space.
When making your own fire pit table, be sure to use heat-resistant materials such as concrete, stone, or metal to ensure safety and durability.
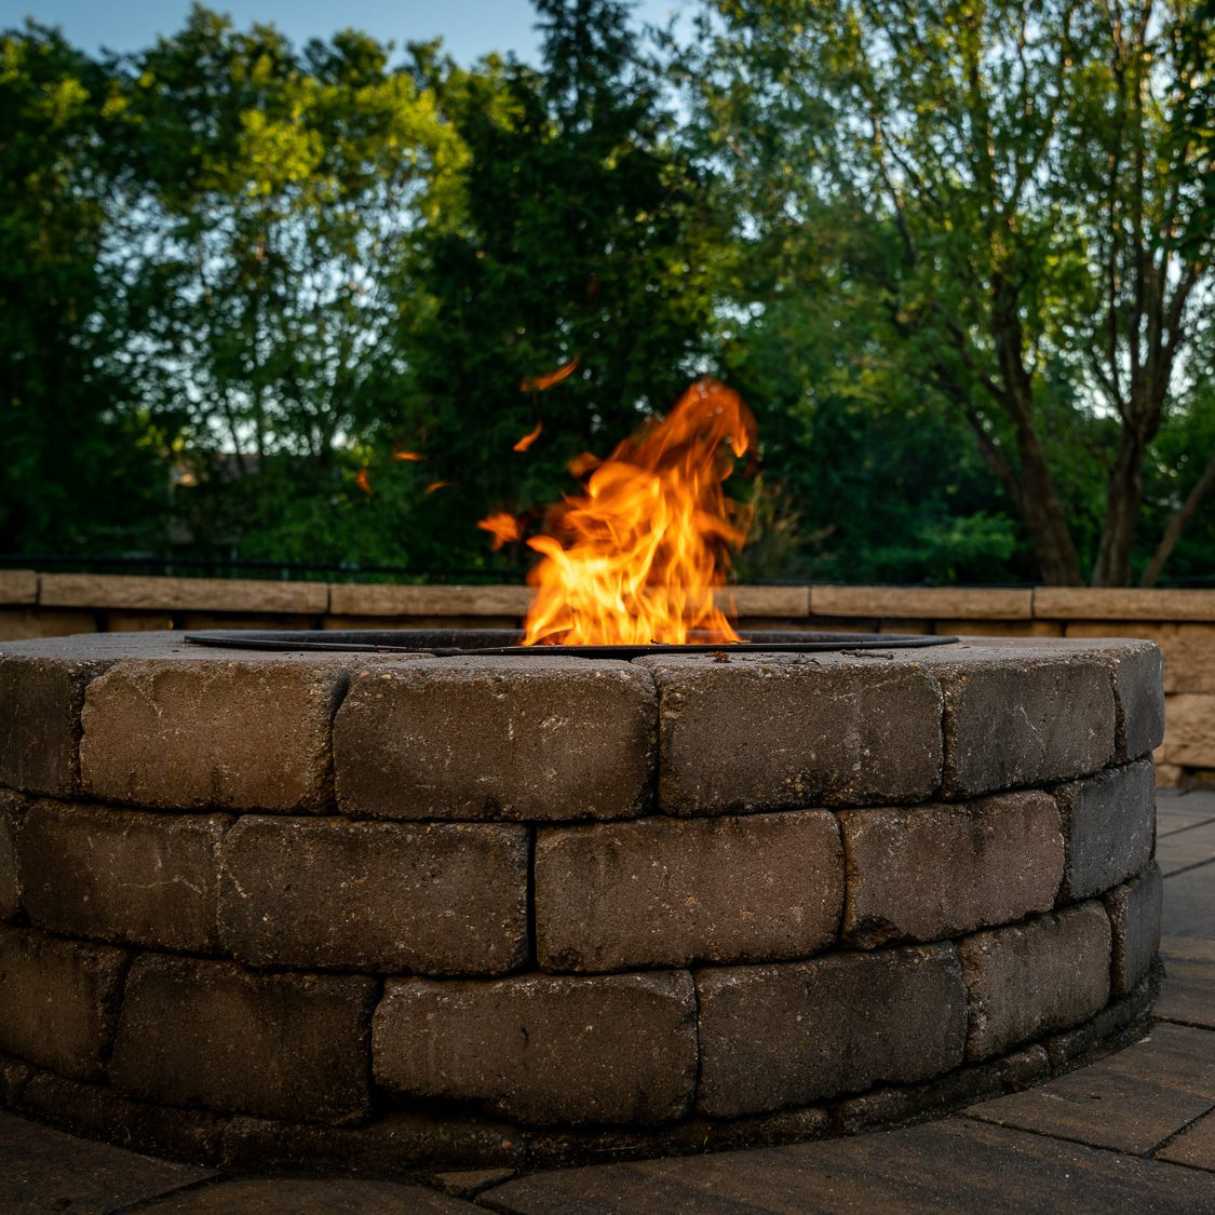
Step 4: Creating the Fire Pit
Integrating the fire pit element into your table is a pivotal step that will infuse warmth and ambiance into your outdoor setting. Here’s how to create the fire pit within your table:
1. Select the Fire Pit Insert: Choose a fire pit insert or bowl that fits the dimensions of your table and aligns with your design preferences. Ensure that the insert is made of durable and heat-resistant materials.
2. Prepare the Fire Pit Area: Create a recessed area within the tabletop surface to accommodate the fire pit insert. This can be achieved by cutting an opening in the tabletop to the size of the insert, allowing it to sit securely within the table.
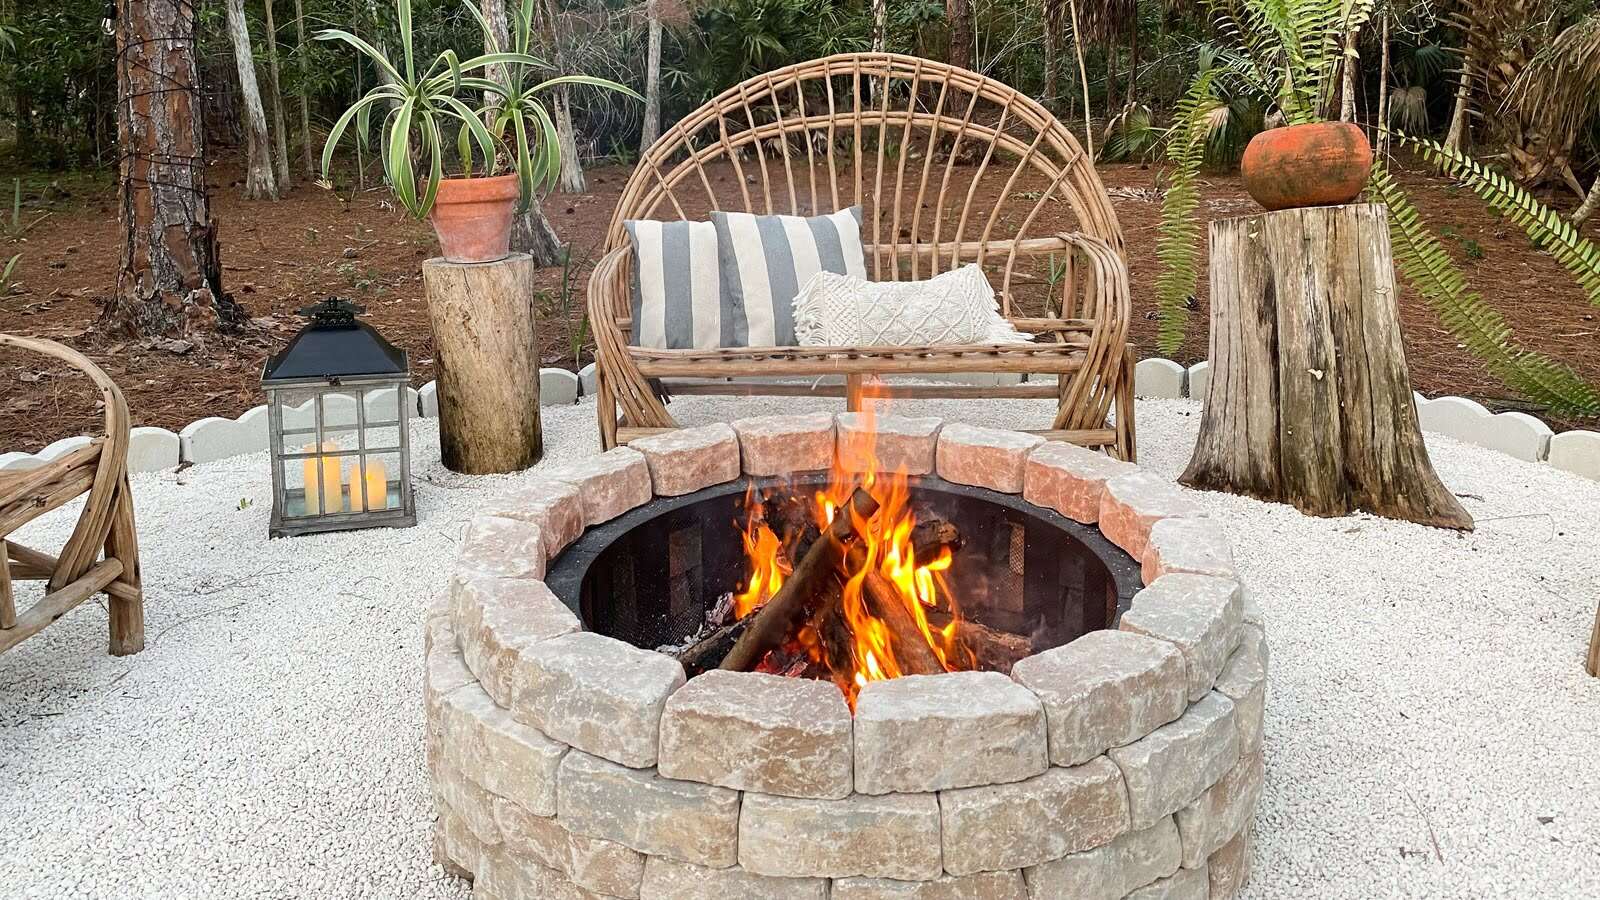
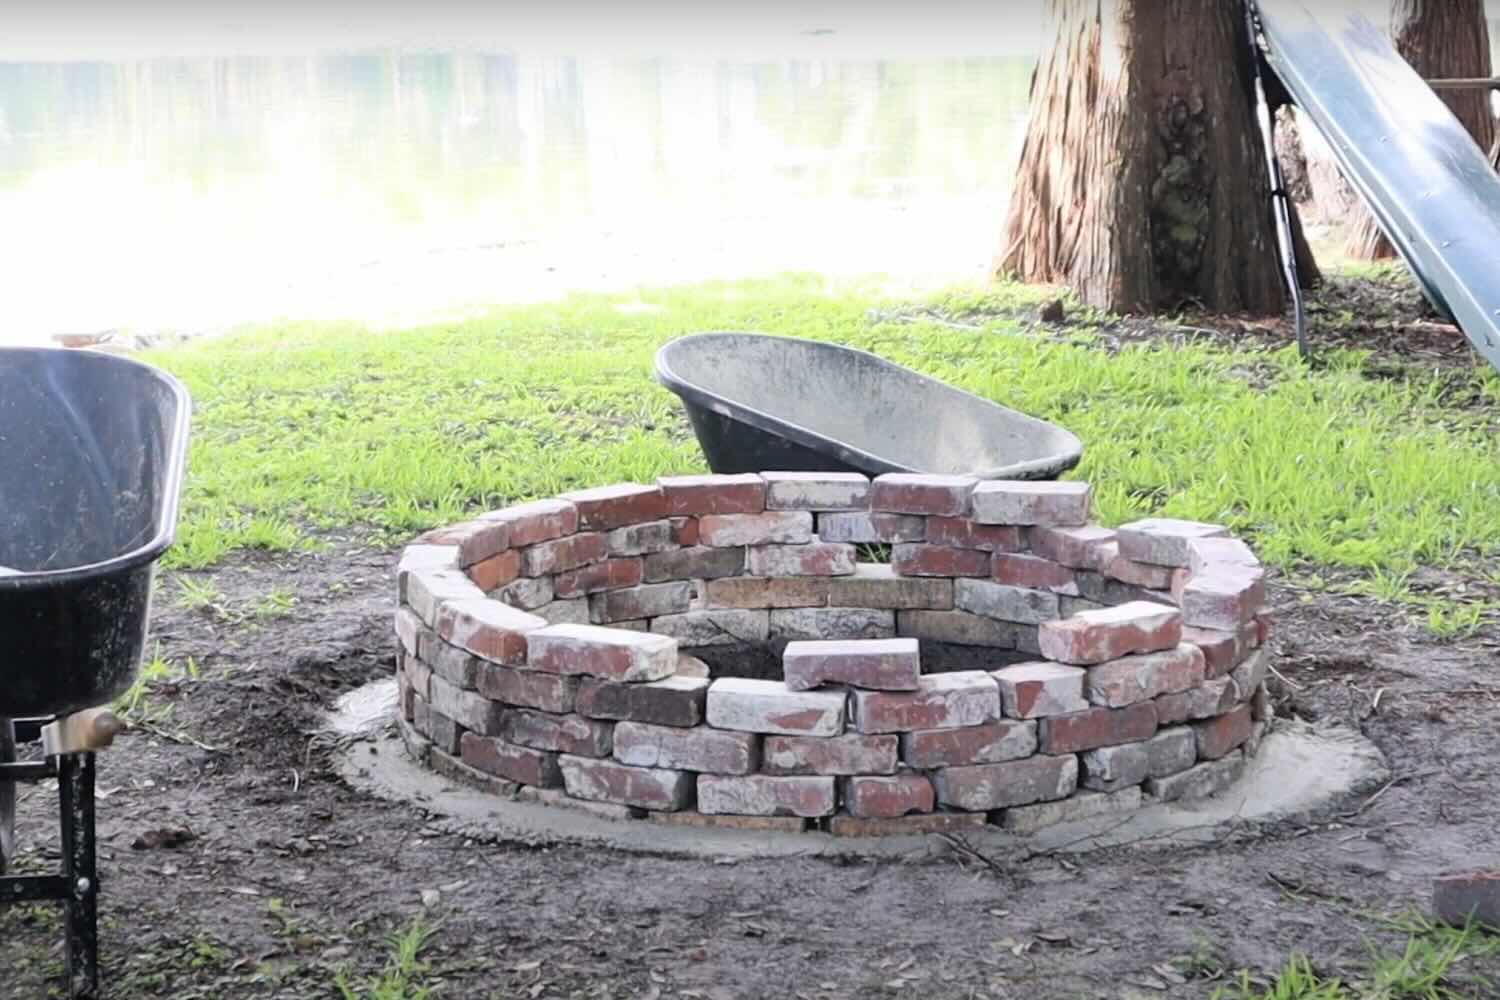
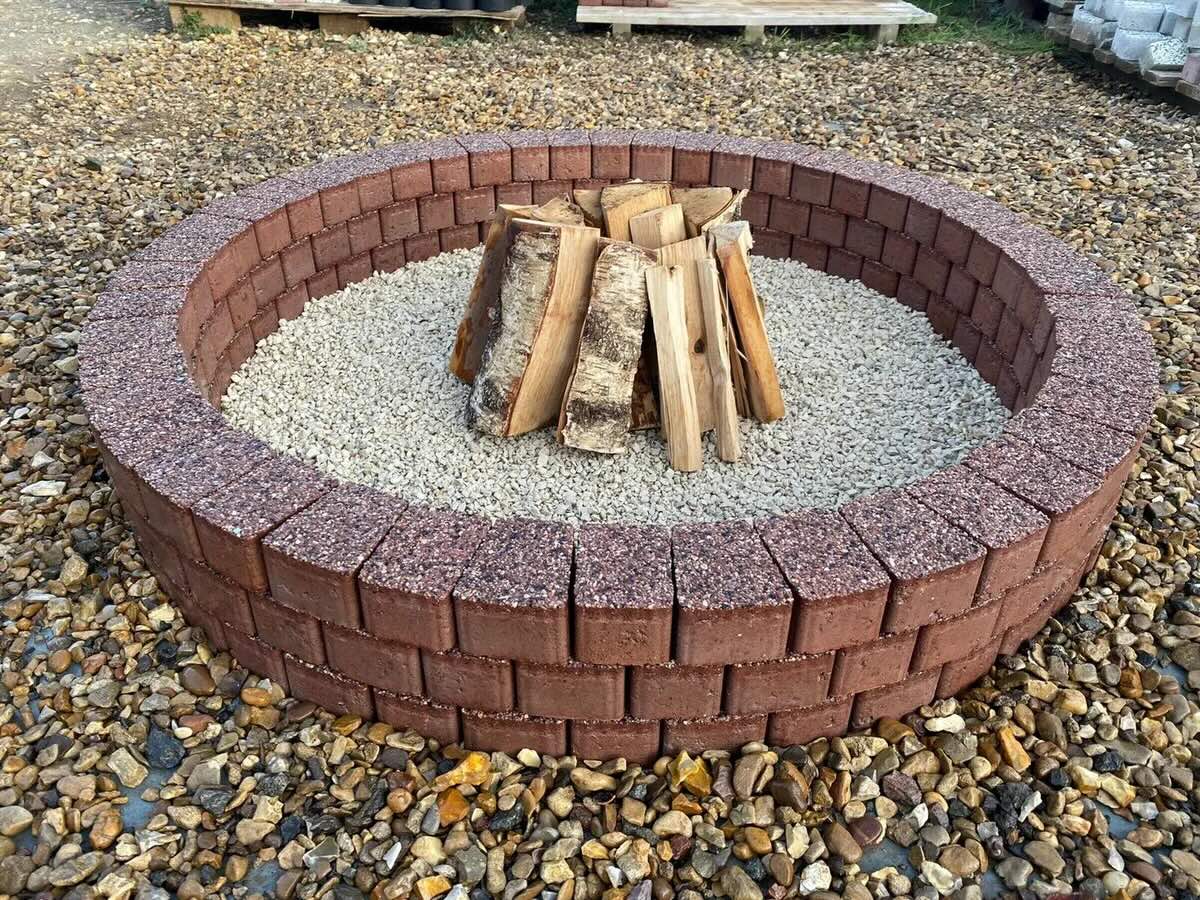
3. Build the Fire Pit Base: Line the recessed area with fireproof bricks or pavers, creating a protective and heat-resistant base for the fire pit insert. Use fireproof mortar to secure the bricks in place, ensuring a stable and safe foundation.
4. Install the Fire Pit Insert: Once the base is prepared, carefully place the fire pit insert into the recessed area. Ensure that it sits securely and level with the tabletop surface, creating a seamless integration.
5. Add Decorative Elements: Enhance the visual appeal of the fire pit by adding fire glass or lava rocks to the insert. These decorative elements not only elevate the aesthetic of the fire pit but also contribute to the dispersion of heat and flame patterns.
By following these steps, you’ll successfully incorporate a captivating fire pit into your table, transforming it into a multifunctional centerpiece for outdoor gatherings and relaxation. With the fire pit in place, your DIY fire pit table is nearing completion, ready to radiate warmth and charm in your outdoor space.
Step 5: Finishing Touches
Adding the finishing touches to your fire pit table will elevate its visual appeal and ensure its durability in outdoor conditions. Here’s how to complete your DIY masterpiece:
1. Apply a Protective Finish: Prioritize the longevity of your fire pit table by applying a protective sealant to the entire structure. This will safeguard the wood from moisture, UV rays, and other outdoor elements, extending the lifespan of your creation.
2. Customization and Personalization: Consider adding personal touches to the table, such as carved designs, a custom finish, or decorative elements that align with your outdoor décor. Let your creativity shine as you tailor the table to your unique style and preferences.
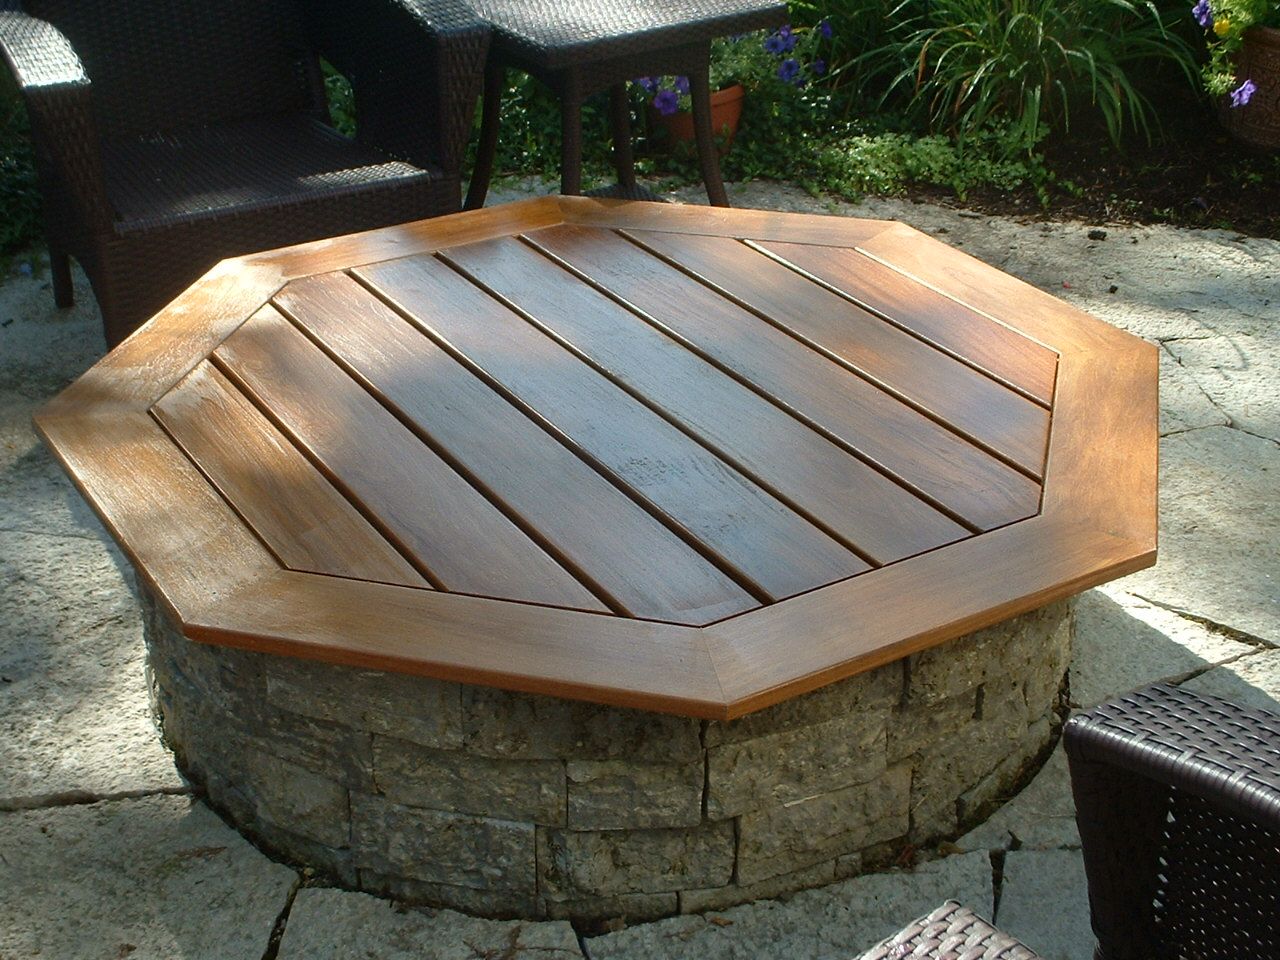
3. Consider a Fire Pit Cover: Invest in a high-quality fire pit cover to protect the fire pit insert from the elements when not in use. This will help maintain the integrity of the fire pit and prolong its functionality over time.
4. Safety Measures: Prioritize safety by incorporating a spark screen or barrier around the fire pit area to prevent embers from escaping. Additionally, ensure that fire extinguishing tools, such as a fire extinguisher or a bucket of sand, are easily accessible in case of emergencies.
5. Regular Maintenance: Establish a routine for inspecting and maintaining your fire pit table. This may include checking for any loose components, cleaning the fire pit insert, and reapplying sealant as needed to preserve its condition.
With these finishing touches, your fire pit table will not only exude charm and functionality but also stand the test of time in your outdoor space. By paying attention to the finer details, you’ll create a captivating and enduring centerpiece for gatherings and relaxation.
Read more: How To Make A Fire Pit Screen
Conclusion
Congratulations on completing your journey to craft your own fire pit table! By following the steps outlined in this guide, you’ve embarked on a fulfilling DIY project that will enrich your outdoor entertaining experiences for years to come. As you bask in the warmth and glow of your fire pit table, remember that its creation is a testament to your creativity, craftsmanship, and dedication to enhancing your outdoor living space.
Building a fire pit table is more than just a construction project; it’s a means of fostering cherished moments with loved ones, creating a cozy retreat for relaxation, and adding a touch of allure to your outdoor environment. The crackling flames and inviting ambiance of your fire pit table will undoubtedly become a focal point for gatherings, storytelling, and making lasting memories.
As you revel in the allure of your DIY creation, take pride in the craftsmanship and attention to detail that have gone into every aspect of the fire pit table. From selecting the ideal location to integrating the fire pit element and adding the finishing touches, your dedication has culminated in a captivating centerpiece that embodies warmth, charm, and functionality.
Embrace the joy of outdoor entertaining as you gather around your fire pit table, savoring the enchanting atmosphere it creates. Whether it’s a lively outdoor soirée or a tranquil evening under the stars, your fire pit table will serve as a beacon of hospitality and comfort, enriching the moments shared with family and friends.
So, as you relish the crackling flames and the inviting glow of your fire pit table, take pride in the craftsmanship, creativity, and passion that have brought this captivating centerpiece to life. Here’s to the countless memories, laughter, and warmth that await around your DIY fire pit table!
Frequently Asked Questions about How To Make Your Own Fire Pit Table
Was this page helpful?
At Storables.com, we guarantee accurate and reliable information. Our content, validated by Expert Board Contributors, is crafted following stringent Editorial Policies. We're committed to providing you with well-researched, expert-backed insights for all your informational needs.


0 thoughts on “How To Make Your Own Fire Pit Table”