Home>Gardening & Outdoor>Outdoor Structures>How To Build A 16X16 Storage Shed
Outdoor Structures
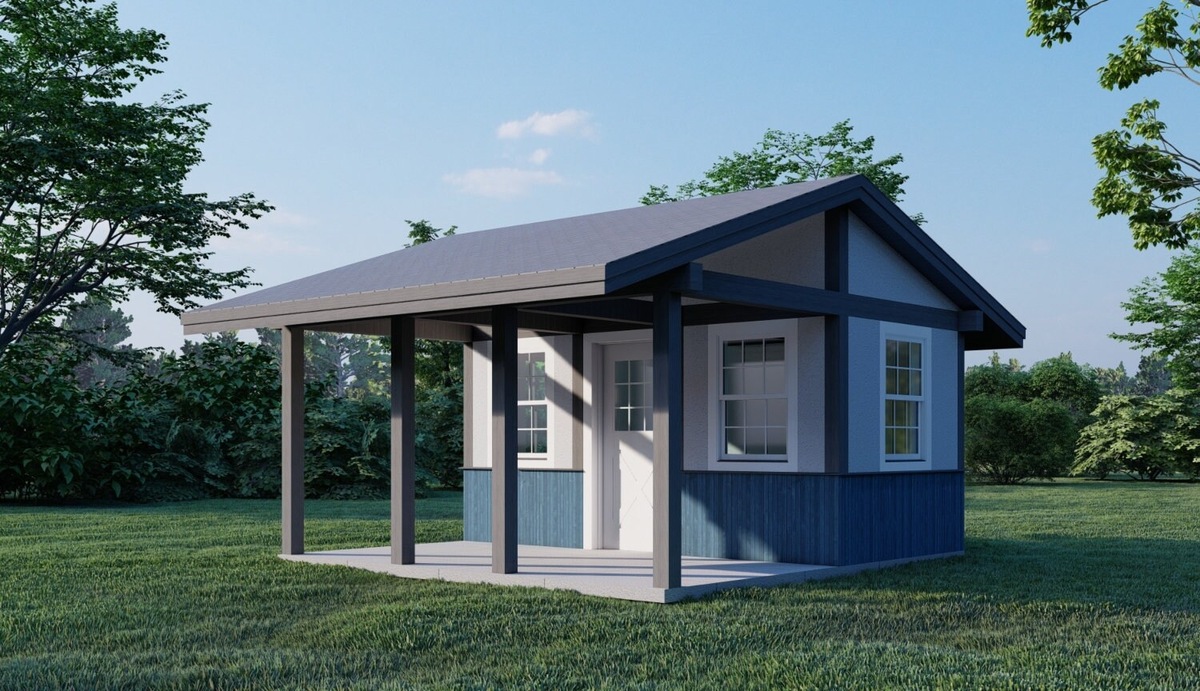
How To Build A 16X16 Storage Shed
Modified: October 20, 2024
Learn how to build a durable 16x16 storage shed for your outdoor space with our expert tips and guidance. Create the perfect outdoor structure for your storage needs.
(Many of the links in this article redirect to a specific reviewed product. Your purchase of these products through affiliate links helps to generate commission for Storables.com, at no extra cost. Learn more)
Introduction
So, you've decided that it's time to declutter your backyard and create some much-needed storage space. Building a 16×16 storage shed is a fantastic way to achieve this goal. Not only will it provide ample room for your gardening tools, lawnmower, and outdoor equipment, but it can also serve as a workshop or a place to store your seasonal items.
In this comprehensive guide, we'll walk you through the step-by-step process of constructing your own 16×16 storage shed. From planning and preparation to the finishing touches, you'll learn everything you need to know to tackle this rewarding project with confidence.
Whether you're a seasoned DIY enthusiast or a novice builder, this guide will equip you with the knowledge and skills to bring your vision to life. So, roll up your sleeves, gather your tools, and let's embark on this exciting journey of creating a functional and aesthetically pleasing storage space right in your own backyard.
Key Takeaways:
- Planning and preparation are crucial for building a 16×16 storage shed. Consider the shed’s purpose, local regulations, materials, and timeline to ensure a smooth and successful construction process.
- Choosing the right location, gathering materials and tools, building a solid foundation, constructing the frame, installing the roof, adding siding and doors, and finishing touches are essential steps in creating a functional and visually appealing 16×16 storage shed.
Read more: How To Build A 12×16 Shed
Planning and Preparation
Before diving into the construction phase, meticulous planning and thorough preparation are essential. Start by envisioning the purpose of your storage shed. Will it solely serve as a storage space, or do you have additional plans such as using it as a workshop or hobby area? Understanding its intended use will help you determine the layout and necessary features.
Next, consider the local building codes and regulations in your area. Obtaining the required permits and adhering to zoning restrictions is crucial to ensure a smooth and compliant building process. Researching these regulations early on will save you from potential setbacks later.
Once you have a clear vision and the necessary permits, it’s time to create a detailed plan for your shed. Sketch out the layout, including the dimensions, door and window placements, and any additional features you intend to incorporate. This blueprint will serve as your roadmap throughout the construction process.
With the plan in hand, make a comprehensive list of materials and tools required for the project. This may include lumber, roofing materials, fasteners, siding, and various construction tools. Having a detailed inventory will streamline the procurement process and prevent unnecessary delays.
Lastly, consider the timeline for the project. Factor in any potential obstacles or weather-related delays, and set a realistic completion date. Allocating ample time for each phase of the construction will help you manage expectations and stay on track.
By meticulously planning and preparing for the construction of your 16×16 storage shed, you’ll lay a solid foundation for a successful and rewarding building experience.
Choosing the Right Location
When it comes to building a 16×16 storage shed, the location plays a pivotal role in its functionality and aesthetic appeal. Begin by surveying your backyard or property to identify the ideal placement for your shed. Consider factors such as sunlight exposure, proximity to other structures, and the natural flow of your outdoor space.
Opting for a location that receives ample natural light throughout the day is beneficial, especially if you plan to use the shed as a workspace or hobby area. Adequate sunlight not only brightens the interior but also helps prevent moisture buildup, preserving the condition of your stored items.
Additionally, assess the terrain and ensure that the chosen location is relatively level. This will facilitate the construction of a stable foundation and minimize the need for extensive land preparation. If the ground is uneven, you may need to consider grading or leveling the area to create a suitable base for the shed.
Furthermore, take into account the shed’s proximity to existing structures, such as your home, fences, or trees. Leave sufficient space around the shed for ventilation, maintenance access, and aesthetic purposes. Avoid positioning the shed too close to trees whose roots may encroach on the foundation over time, potentially causing structural issues.
Consider the visual impact of the shed within your outdoor space. While it should be conveniently accessible, it’s also essential to integrate it harmoniously into the landscape. Thoughtfully choosing a location that complements the overall aesthetics of your property can enhance its appeal and contribute to a cohesive outdoor environment.
By carefully selecting the right location for your 16×16 storage shed, you’ll create a functional, visually pleasing, and structurally sound addition to your outdoor space, ensuring years of utility and enjoyment.
Gathering Materials and Tools
With the location chosen and the plan in place, the next crucial step in building your 16×16 storage shed is gathering the necessary materials and tools. A well-organized inventory and access to the right equipment will streamline the construction process and minimize interruptions.
Begin by sourcing high-quality building materials, including pressure-treated lumber for the foundation and framing, as well as durable siding and roofing materials. Consider the climate in your area and choose materials that are suited to withstand the elements and provide long-term durability.
In addition to the primary construction materials, ensure you have a comprehensive range of fasteners, such as nails, screws, and bolts, to secure the various components of the shed. Having an assortment of sizes and types will accommodate the diverse needs of the project.
Equally important are the tools required to bring your shed to life. Essential tools may include a circular saw, power drill, level, hammer, tape measure, and a framing square. Depending on the complexity of your shed design, you may also need specialized tools for tasks such as roofing installation and siding application.
Safety equipment should not be overlooked. Protective gear such as gloves, safety goggles, and a dust mask will safeguard you during the construction process. Additionally, if electrical work is involved, ensure you have the necessary knowledge and safety measures in place.
Once you’ve compiled the materials and tools, organize them in a designated workspace near the construction site. This will provide easy access to the items as needed and contribute to a more efficient building process.
By thoughtfully gathering the required materials and tools, you’ll set the stage for a smooth and productive construction journey, ensuring that you have everything you need to bring your 16×16 storage shed to fruition.
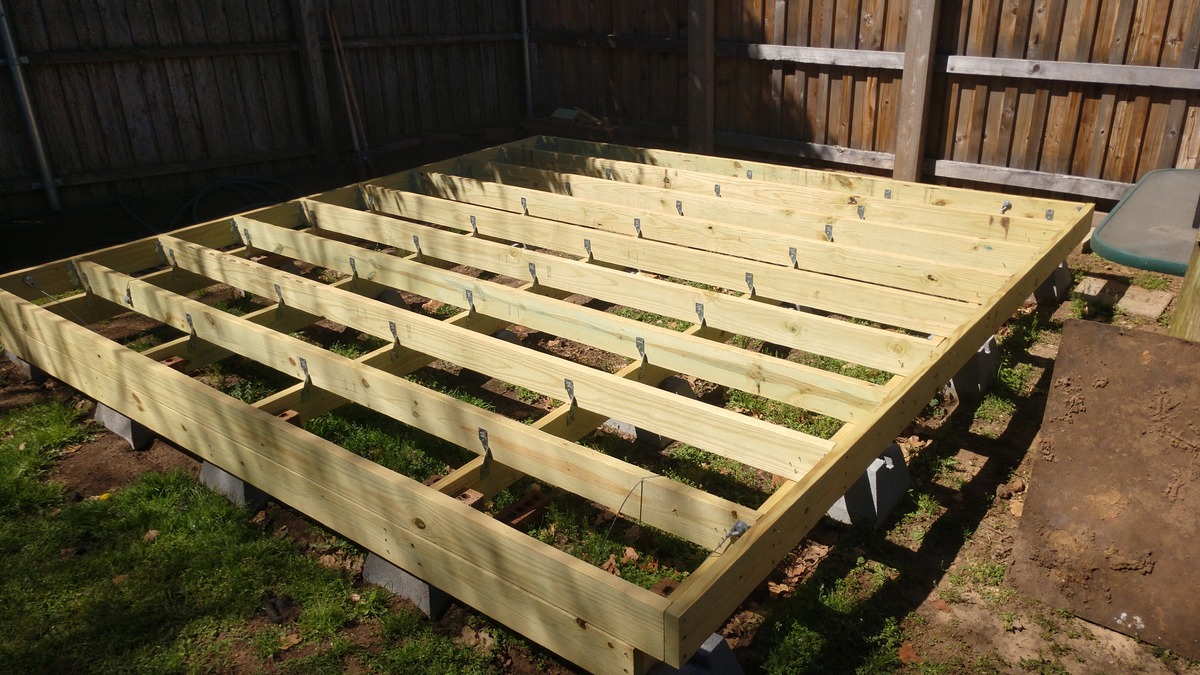
Building the Foundation
The foundation serves as the anchor of your 16×16 storage shed, providing stability and ensuring longevity. A well-constructed foundation not only supports the structure but also helps prevent moisture infiltration and structural damage.
Start by marking the perimeter of the shed’s foundation according to your plan. Excavate the marked area to the required depth, typically below the frost line to prevent shifting due to freezing and thawing. Clear the site of any debris and ensure the ground is level and compacted.
Next, lay down a layer of gravel to promote drainage and prevent water accumulation. Compact the gravel to create a solid and even base for the foundation. This step is crucial for mitigating moisture-related issues and maintaining the integrity of the structure over time.
With the gravel base in place, it’s time to construct the foundation itself. Depending on your preference and local building codes, you may opt for a concrete slab foundation or concrete pier footings to support the shed. Ensure that the foundation is level and square, as any discrepancies at this stage can impact the entire structure.
As the foundation cures, it’s essential to allow ample time for the concrete to set and achieve its full strength. This phase requires patience, as rushing the process can compromise the stability and durability of the foundation.
While the foundation may not be the most visually striking aspect of the shed, its significance cannot be overstated. A well-built foundation provides a solid base for the entire structure, ensuring that your 16×16 storage shed stands the test of time, ready to fulfill its purpose for years to come.
When building a 16×16 storage shed, make sure to start with a solid foundation to support the weight of the structure and its contents. This will ensure the longevity and stability of the shed.
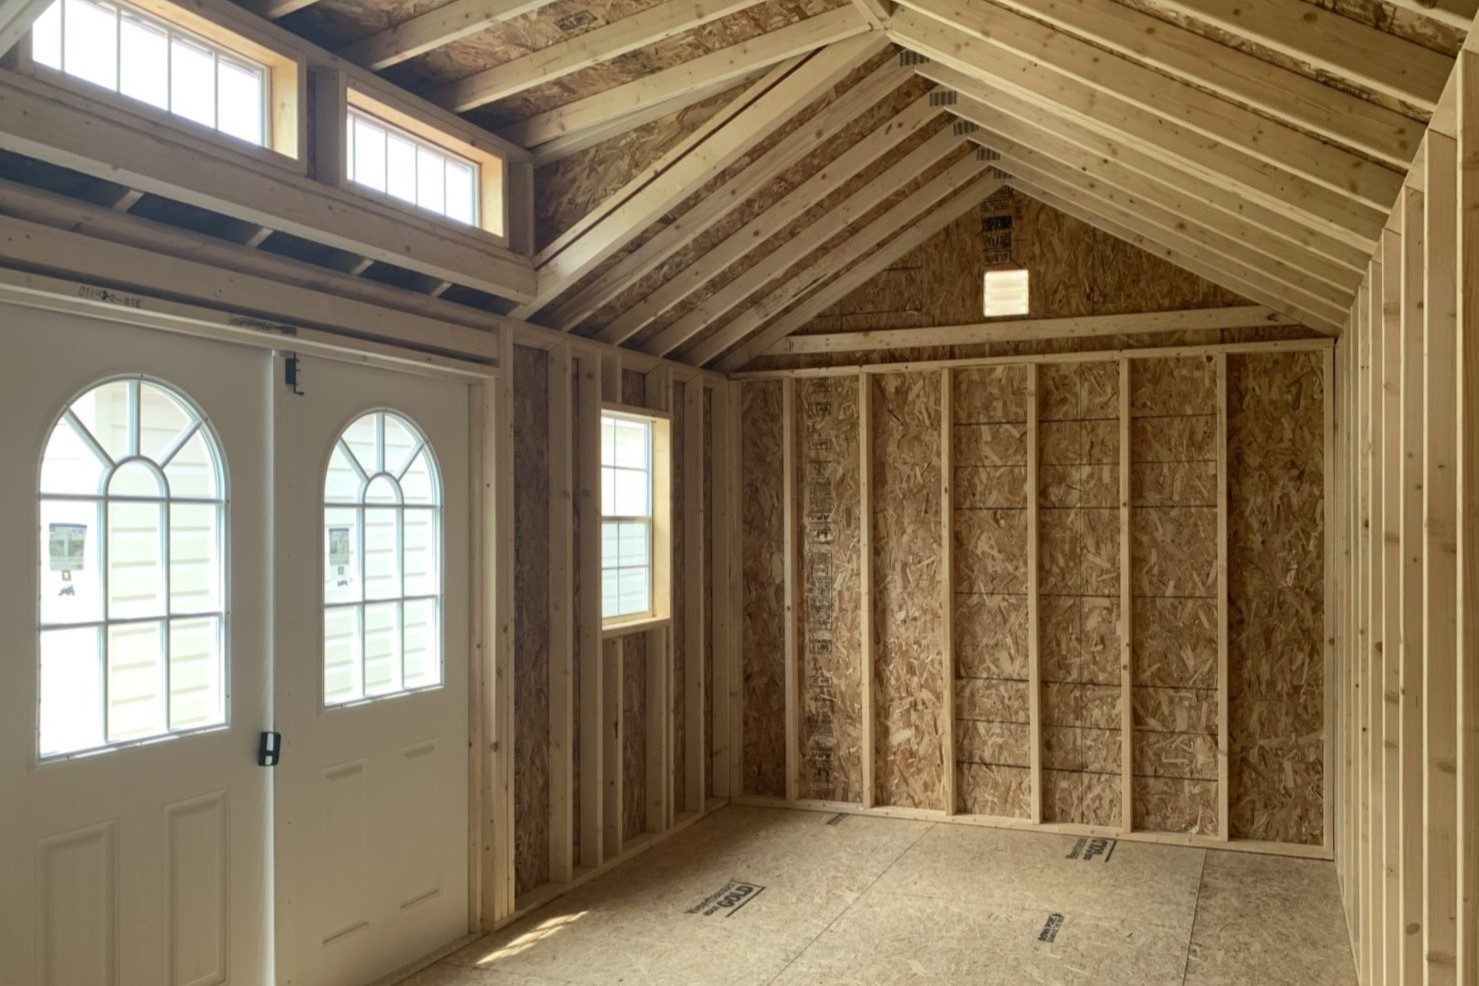
Constructing the Frame
With the foundation in place, it’s time to embark on the exciting phase of constructing the frame for your 16×16 storage shed. The frame forms the skeleton of the structure, providing support for the walls, roof, and overall stability of the shed.
Begin by assembling the treated lumber according to your plan’s specifications. The frame typically consists of vertical studs, horizontal plates, and diagonal bracing to ensure structural integrity. Use a framing square to ensure that the corners are precisely angled, promoting a square and true frame.
As you progress with the frame assembly, periodically check for levelness and plumbness to guarantee that the structure is aligning correctly. This meticulous attention to detail during the framing process will lay the groundwork for a well-constructed and visually appealing shed.
Consider incorporating openings for windows and doors within the frame, ensuring that they align with your initial design. These openings will not only enhance the shed’s functionality but also contribute to its aesthetic appeal and ventilation.
If you’re working on the project solo, securing temporary bracing can aid in stabilizing the frame during construction. This precautionary measure helps prevent structural shifts and misalignments as the frame nears completion.
As the frame takes shape, visualize the transformation from a conceptual blueprint to a tangible structure. Each stud and brace contributes to the shed’s overall strength and resilience, setting the stage for the next phases of construction.
By meticulously constructing the frame of your 16×16 storage shed, you’re laying the foundation for a robust and enduring structure that will fulfill its functional and aesthetic purpose for years to come.
Installing the Roof
As the frame of your 16×16 storage shed nears completion, the next pivotal phase is the installation of the roof. The roof not only provides protection from the elements but also contributes to the overall aesthetic appeal of the structure.
Before commencing the roof installation, carefully select the roofing materials based on your climate and personal preferences. Options may include asphalt shingles, metal roofing, or other durable and weather-resistant materials. Ensure that the chosen material aligns with the shed’s design and complements the overall aesthetic of your property.
Begin by applying a weather-resistant barrier over the roof decking to shield the interior of the shed from moisture infiltration. This protective layer serves as a crucial defense against potential water damage and helps maintain the integrity of the structure.
Next, meticulously install the chosen roofing material according to the manufacturer’s guidelines and best practices. Pay close attention to proper fastening techniques and overlap to ensure a watertight and secure roof that will withstand the elements for years to come.
If your design incorporates roof vents or skylights, carefully integrate these features into the roofing system. Properly installed vents and skylights enhance ventilation and natural light, contributing to a more functional and inviting interior space.
Throughout the roof installation process, prioritize safety by utilizing appropriate fall protection measures and adhering to best practices for working at heights. This precautionary approach ensures a secure and accident-free construction experience.
As the roofing material is meticulously applied and the final shingles or panels fall into place, visualize the shed’s transformation into a weatherproof and visually striking structure. The completed roof marks a significant milestone in the construction process, bringing your vision of a functional and aesthetically pleasing storage space one step closer to reality.
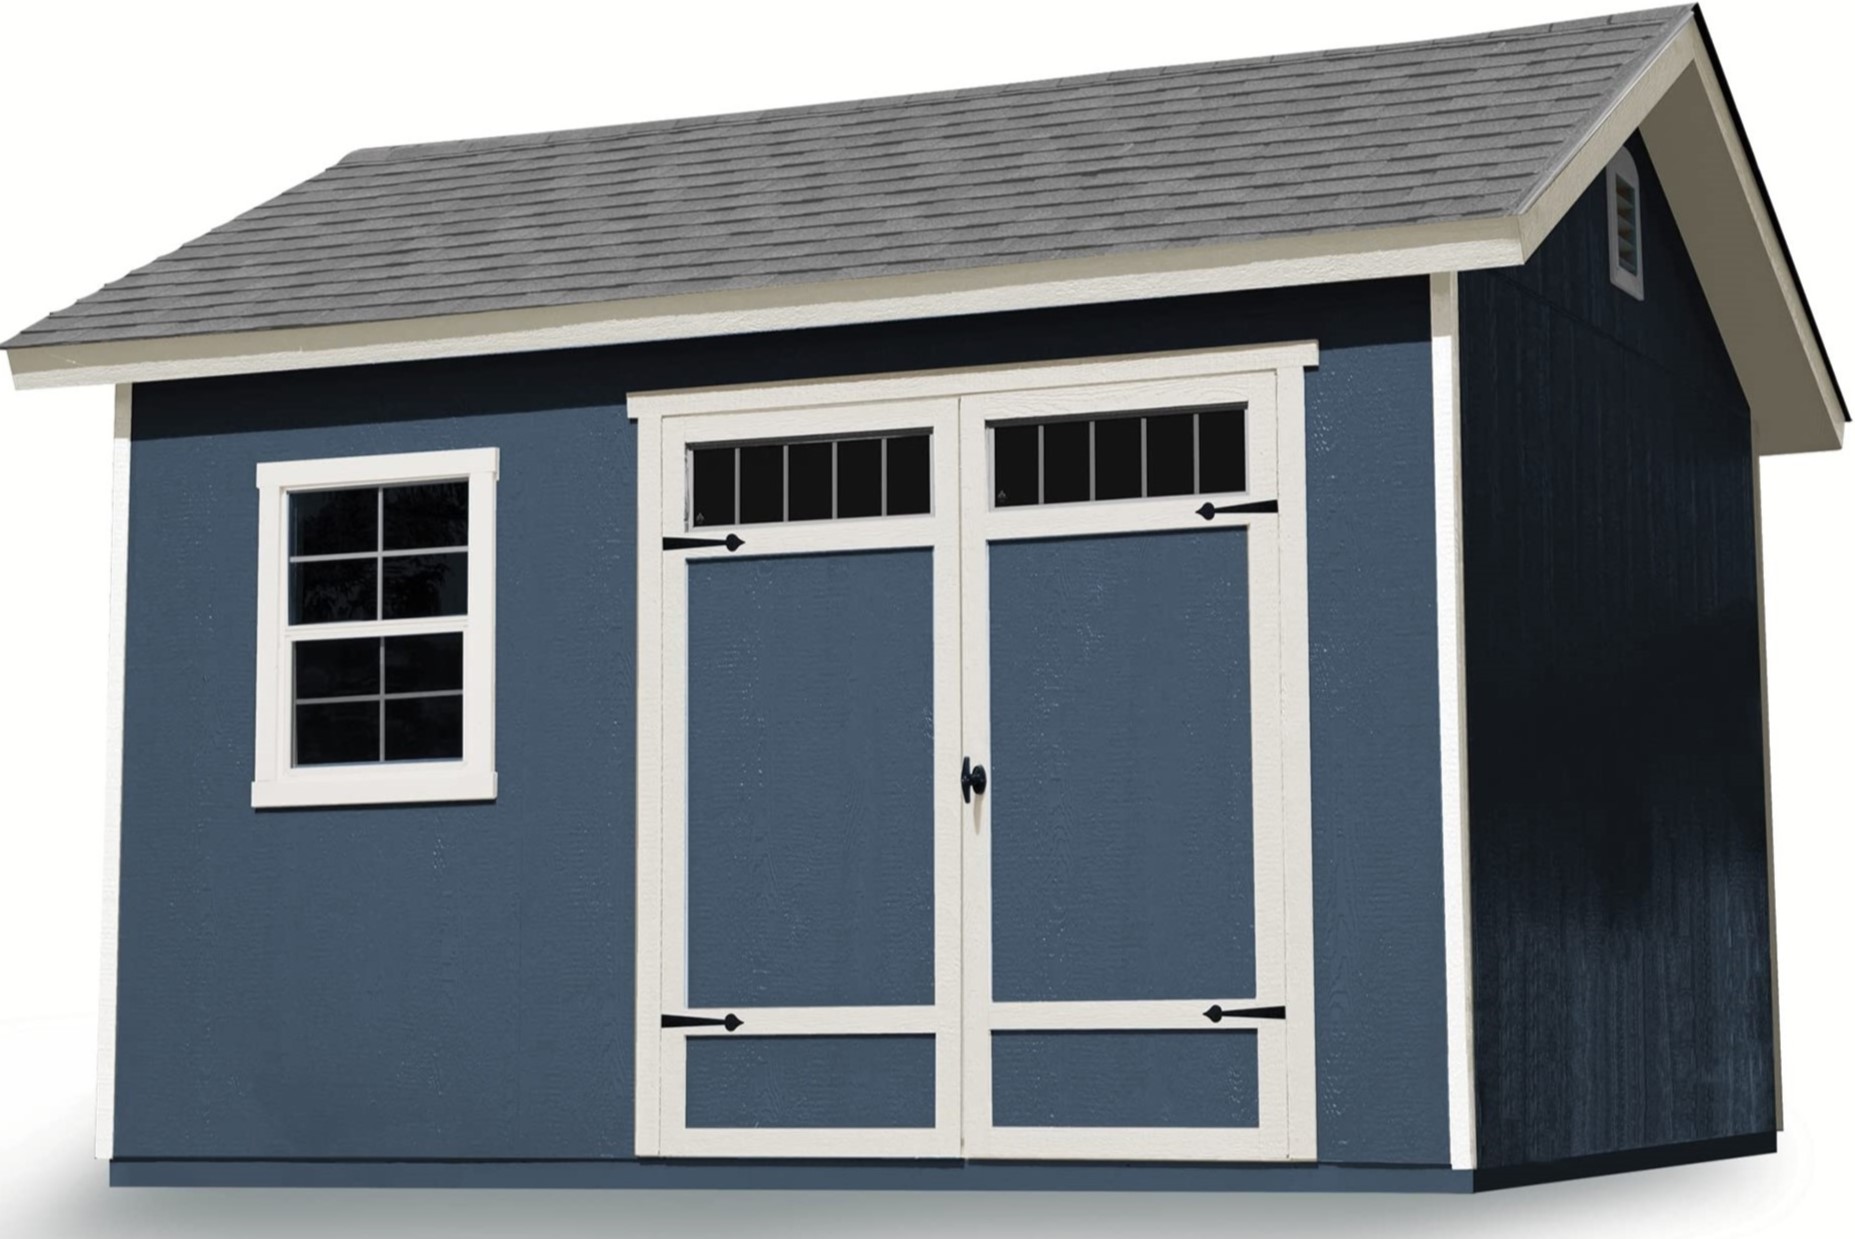
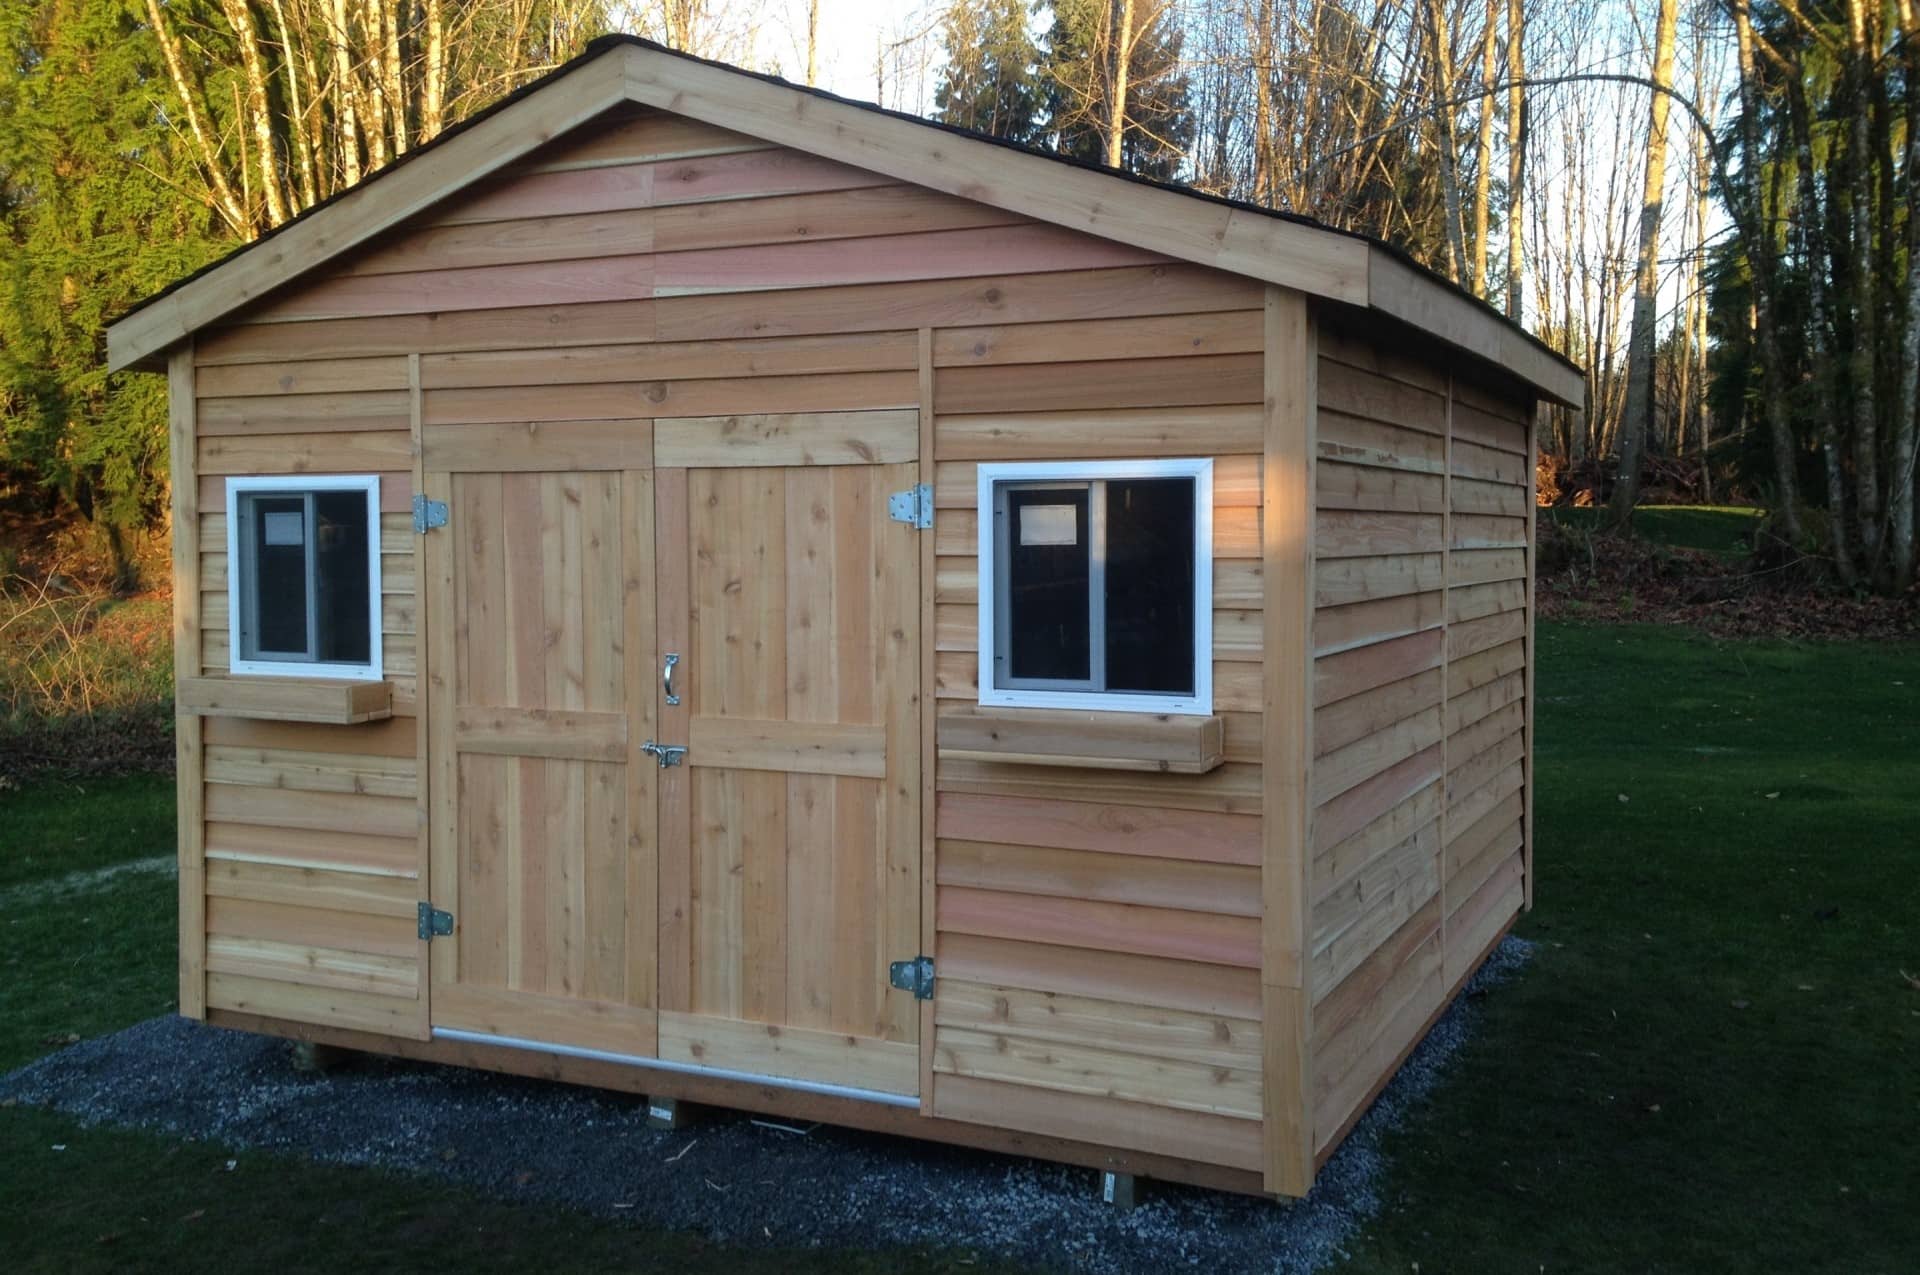
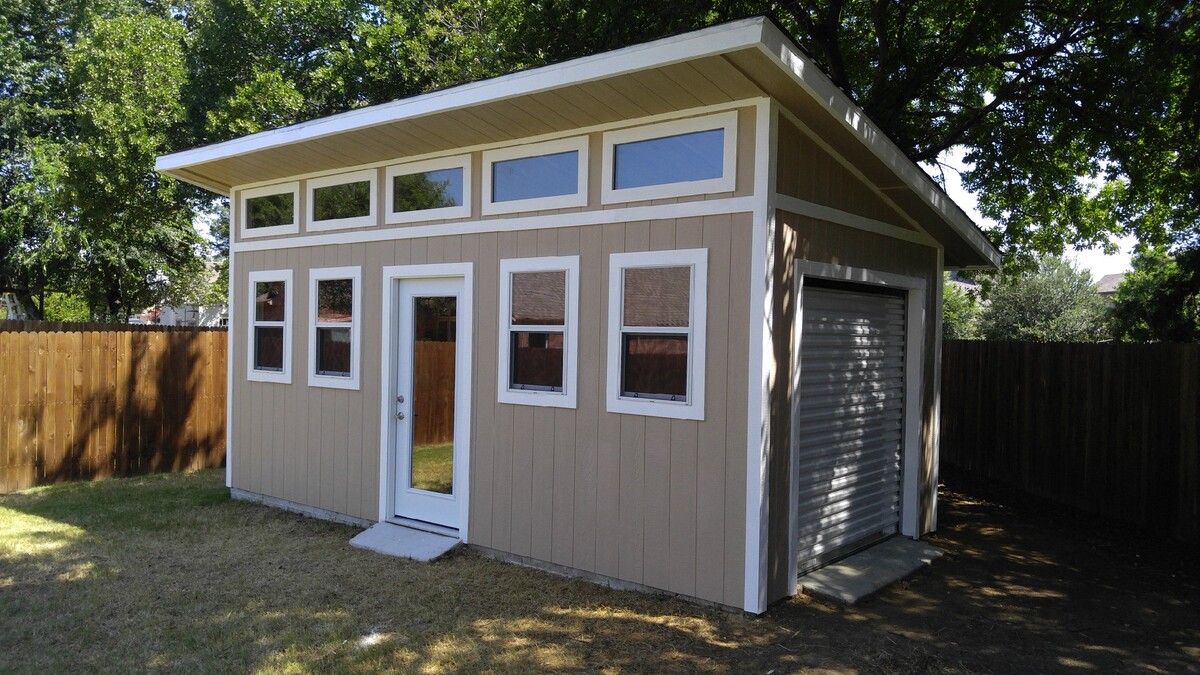
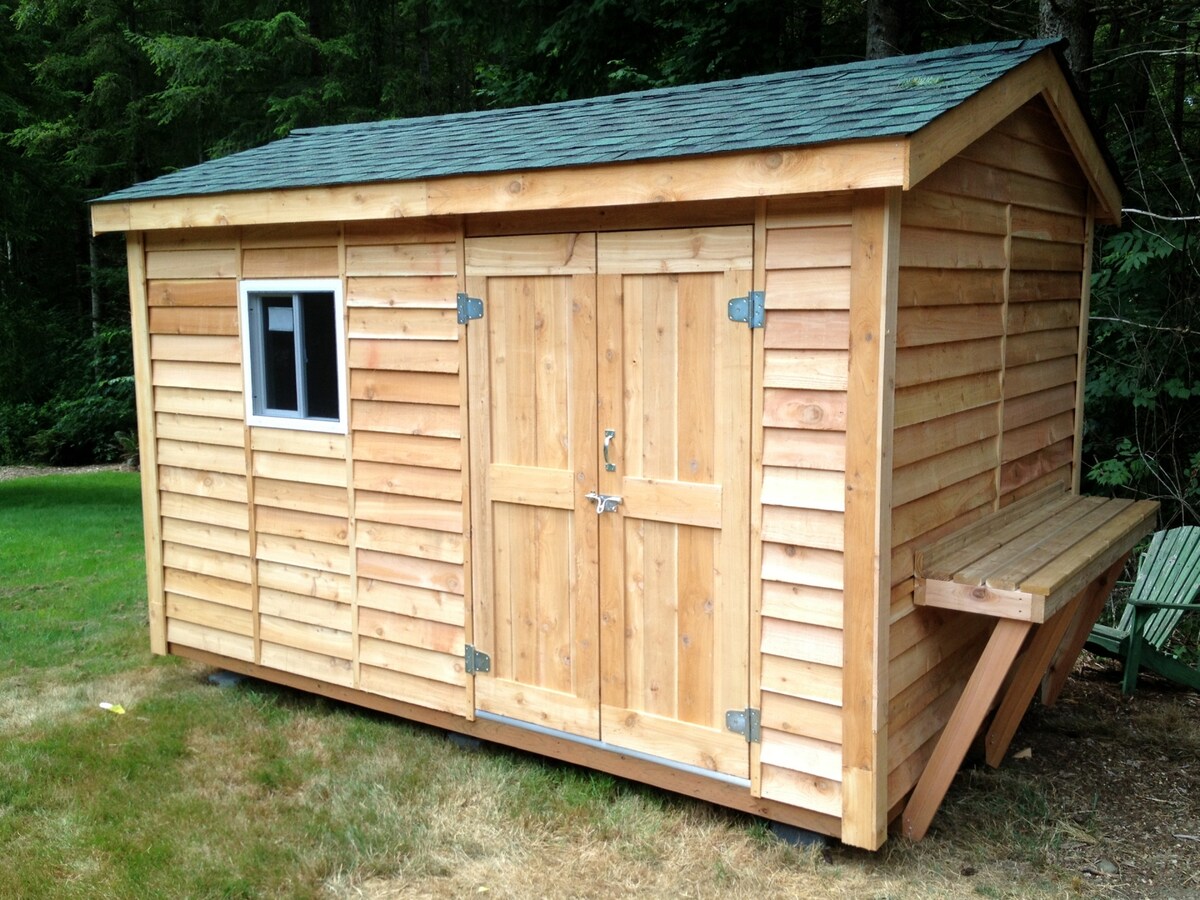
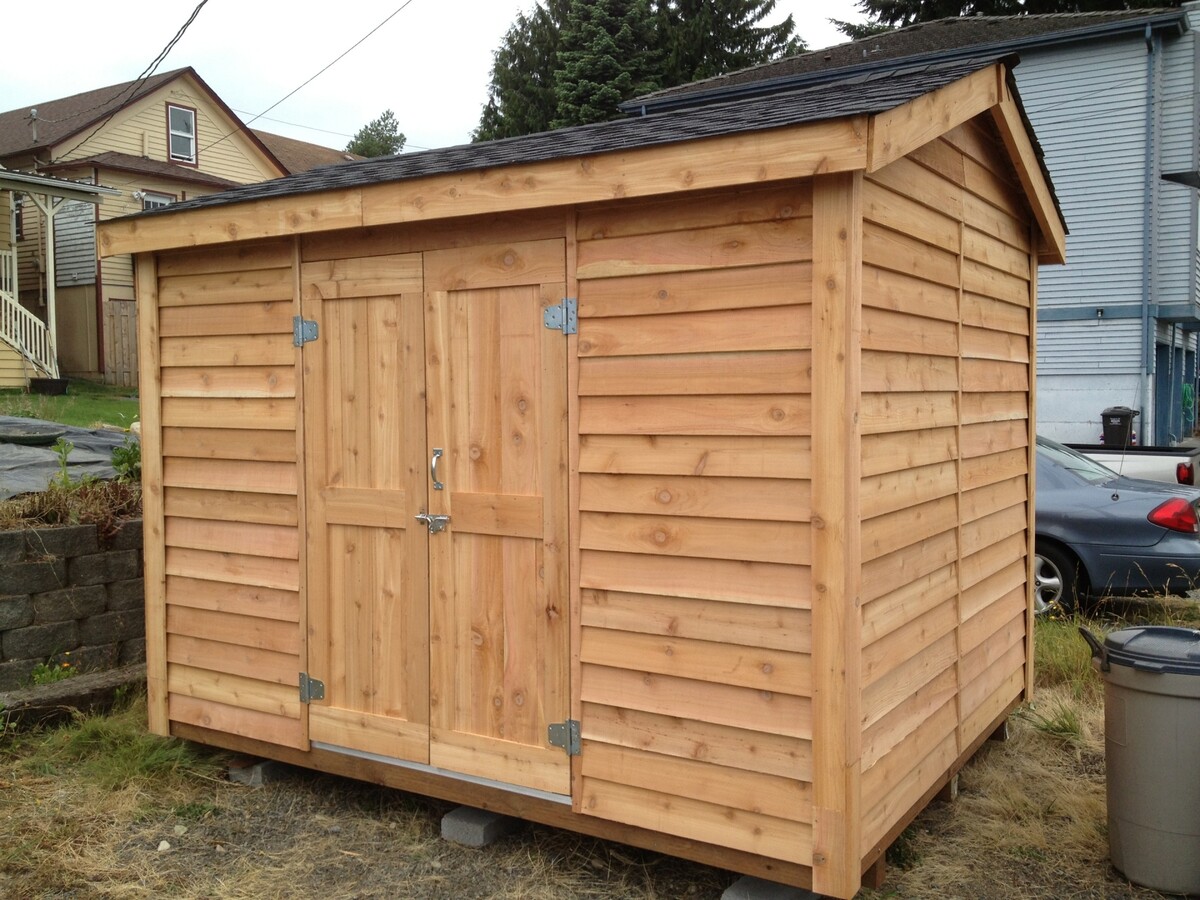
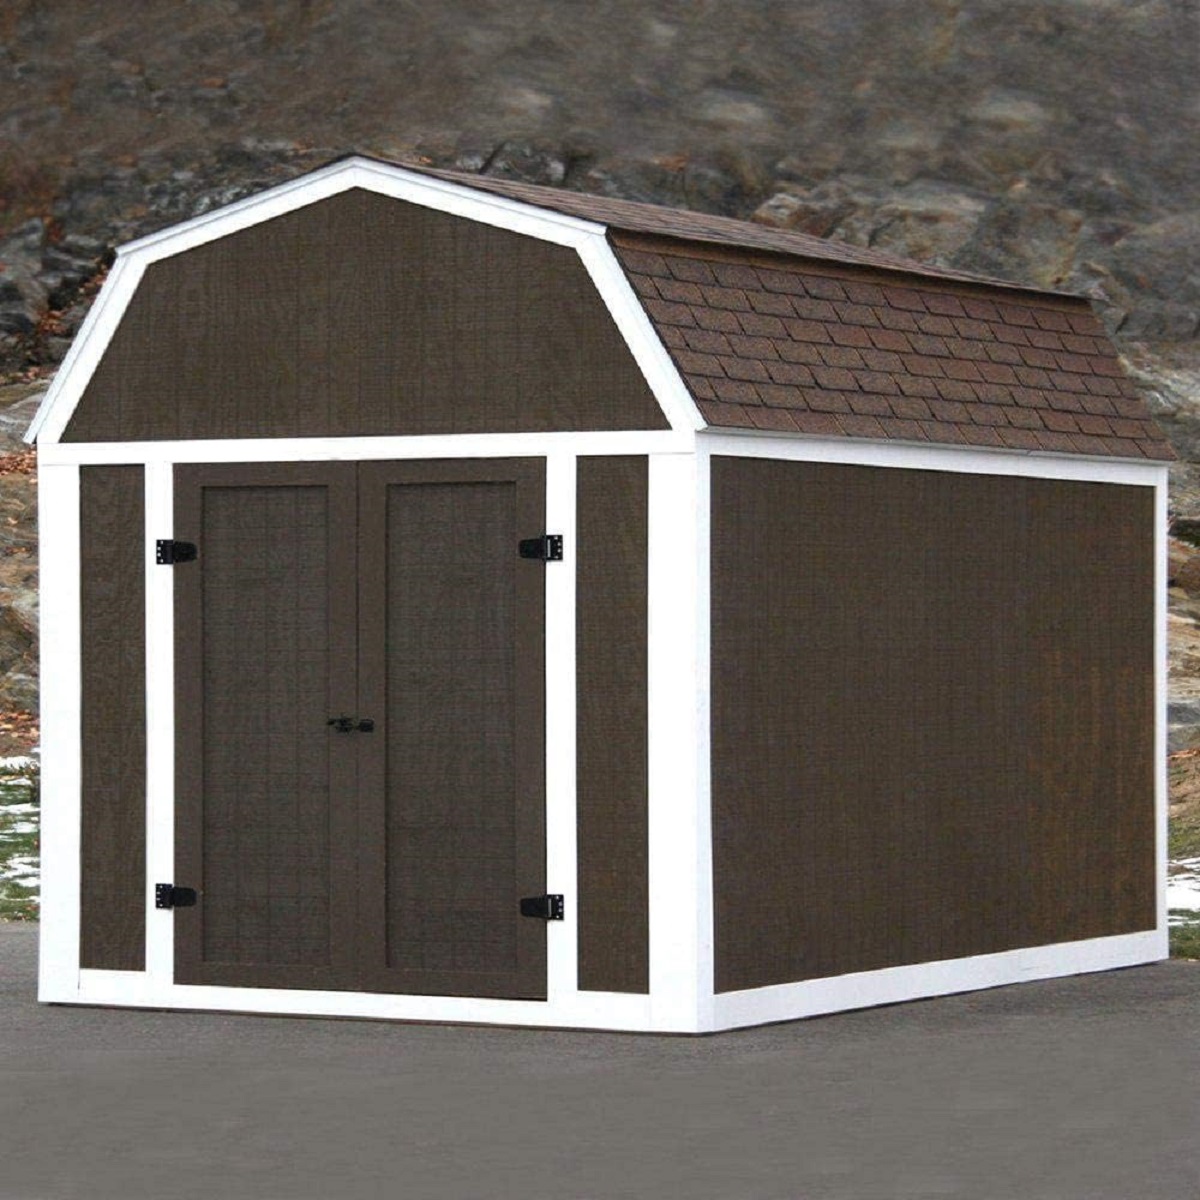
Adding Siding and Doors
With the roof securely in place, the focus shifts to adding siding and installing doors, bringing your 16×16 storage shed one step closer to its finished form. The siding not only enhances the shed’s visual appeal but also provides crucial protection from the elements, while the doors serve as the gateway to its functional interior.
When selecting siding materials, consider options such as vinyl, wood, or engineered wood siding, each offering unique aesthetic and maintenance characteristics. Choose a material that complements your property’s style and provides long-lasting durability against weather exposure.
As you begin the siding installation, ensure that the underlying frame and sheathing are sound and free of any potential moisture damage. Properly fasten the siding according to the manufacturer’s guidelines, allowing for expansion and contraction to maintain its structural integrity over time.
Integrating windows within the siding not only enhances the shed’s visual appeal but also contributes to interior lighting and ventilation. Carefully install the windows, ensuring a weather-tight seal and secure framing to prevent air and moisture infiltration.
Simultaneously, turn your attention to the installation of the shed’s doors. Whether opting for a single or double door configuration, ensure that the doors align correctly within the frame, open and close smoothly, and provide a secure seal when shut. Consider adding weather-stripping to enhance insulation and protect the shed’s interior from the elements.
As the siding and doors are meticulously installed, visualize the shed’s exterior coming to life, reflecting your vision of a functional and visually appealing storage space. The completed siding and doors not only provide essential protection and security but also contribute to the shed’s overall aesthetic, seamlessly integrating it into your outdoor environment.
Finishing Touches
As the construction of your 16×16 storage shed approaches its final stages, attention turns to the finishing touches that will elevate its functionality, aesthetics, and longevity. These details add character and functionality to the shed, transforming it from a basic structure into a fully realized and usable space.
One of the key finishing touches is the application of trim around the doors, windows, and corners of the shed. Trim not only enhances the shed’s visual appeal but also provides protection against moisture and wear, contributing to its overall durability.
Consider incorporating gutters and downspouts to manage rainwater runoff from the roof. Proper drainage helps prevent erosion around the shed’s foundation and protects the exterior siding from water damage, prolonging its lifespan.
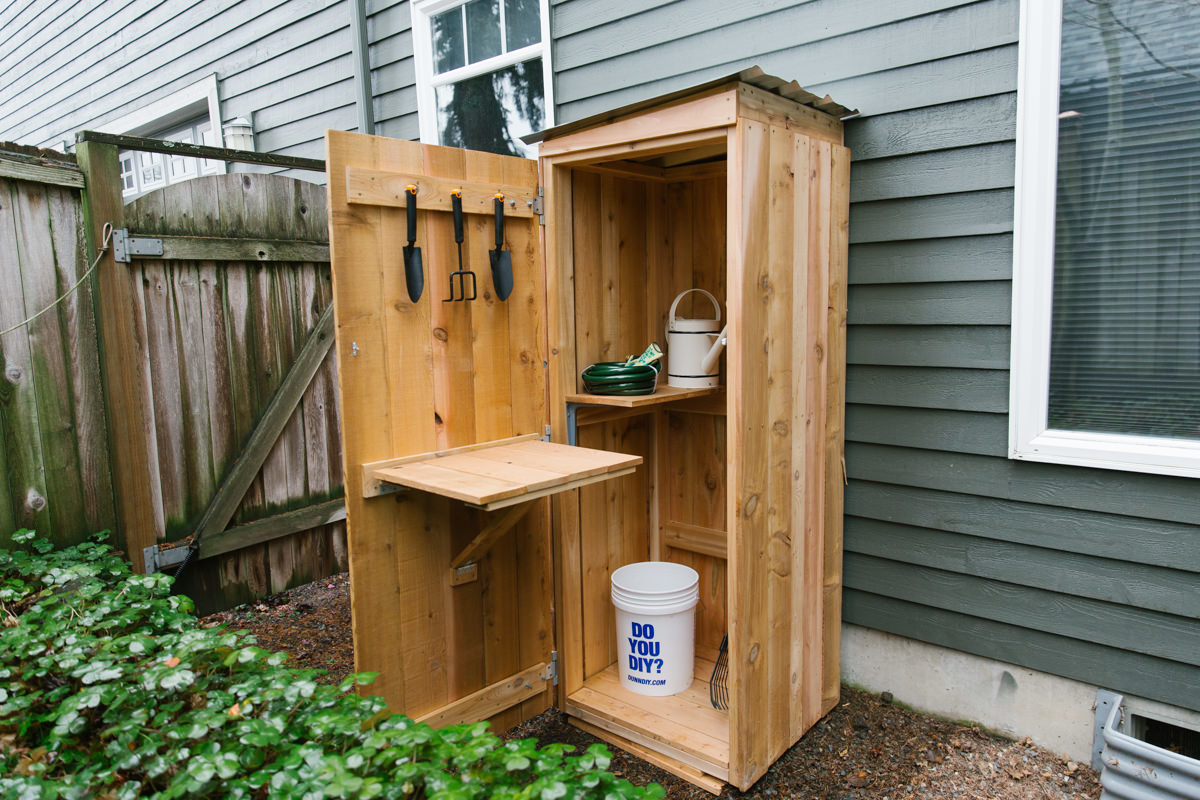
Interior finishing touches may include insulation to regulate temperature and moisture, creating a more comfortable environment for stored items or potential use as a workshop. Additionally, consider installing shelving, hooks, and storage solutions to maximize the shed’s organizational potential.
As you add the final details, take the opportunity to personalize the shed to suit your preferences. Whether it’s adding a fresh coat of paint in a color that complements your property, or incorporating decorative elements that reflect your style, these personal touches infuse the shed with character and charm.
Lastly, prioritize security by installing locks or latches on the doors to safeguard the shed’s contents. This additional layer of protection provides peace of mind, ensuring that your valuable tools and equipment are secure within the shed.
As the finishing touches are meticulously applied, the shed evolves into a fully functional, visually appealing, and personalized space. Each detail contributes to its overall utility and aesthetic, ensuring that it seamlessly integrates into your outdoor environment while serving as a valuable and enduring addition to your property.
Read more: How Many Square Feet In A 10X16 Shed
Conclusion
Congratulations on successfully completing the construction of your 16×16 storage shed! What began as a vision for a functional and aesthetically pleasing outdoor structure has now materialized into a tangible and valuable addition to your property. As you stand back and admire the fruits of your labor, it’s worth reflecting on the journey that brought you to this moment.
Throughout the construction process, you’ve demonstrated patience, perseverance, and a commitment to quality craftsmanship. Every step, from meticulous planning and preparation to the final finishing touches, has contributed to the creation of a space that not only meets your practical needs but also enhances the visual appeal of your outdoor environment.
Building a 16×16 storage shed is more than just a construction project; it’s a testament to your creativity, resourcefulness, and dedication to enhancing your living space. The shed stands as a reflection of your vision and the skills you’ve honed throughout the building process.
As you begin to utilize the shed for storage, hobbies, or any other purpose, take pride in the fact that it is a product of your hard work and ingenuity. It is a space that will serve you well, providing shelter for your belongings and a haven for your projects and passions.
Furthermore, the knowledge and experience gained from this project will undoubtedly empower you for future endeavors. Whether it’s additional outdoor structures, home improvement projects, or other creative pursuits, the skills and confidence you’ve acquired will continue to benefit you in various aspects of your life.
As you enjoy the functionality and beauty of your newly constructed shed, may it also serve as a reminder of the satisfaction that comes from seeing a project through from conception to completion. Your 16×16 storage shed is not just a physical structure; it’s a testament to your ability to turn ideas into reality and a source of pride for years to come.
So, take a moment to savor this achievement, and perhaps, let it inspire future projects and endeavors. Your 16×16 storage shed is more than just a building; it’s a symbol of your creativity, determination, and the endless possibilities that come to life through your hands and imagination.
Frequently Asked Questions about How To Build A 16X16 Storage Shed
Was this page helpful?
At Storables.com, we guarantee accurate and reliable information. Our content, validated by Expert Board Contributors, is crafted following stringent Editorial Policies. We're committed to providing you with well-researched, expert-backed insights for all your informational needs.


0 thoughts on “How To Build A 16X16 Storage Shed”