Home>Gardening & Outdoor>Outdoor Structures>How To Build Gambrel Shed Roof Truss
Outdoor Structures
How To Build Gambrel Shed Roof Truss
Modified: August 28, 2024
Learn how to build a durable and stylish gambrel shed roof truss for your outdoor structures. Follow our step-by-step guide for a sturdy and attractive roof design.
(Many of the links in this article redirect to a specific reviewed product. Your purchase of these products through affiliate links helps to generate commission for Storables.com, at no extra cost. Learn more)
Introduction
So, you’ve decided to build a shed, and you want to give it a classic, barn-like appearance with a gambrel roof. A gambrel roof not only provides extra storage space in the attic area but also adds a charming aesthetic to the structure. In this article, we will guide you through the process of building a gambrel shed roof truss, from gathering the necessary materials and tools to assembling and attaching the truss to the shed frame.
Building a gambrel shed roof truss might seem like a daunting task, but with the right guidance and a bit of determination, you can successfully construct a sturdy and visually appealing truss for your shed. Whether you’re a seasoned DIY enthusiast or a novice looking to take on a new challenge, this guide will equip you with the knowledge and confidence to tackle this project.
Throughout this article, we will break down the process into clear, manageable steps, ensuring that you understand each stage of the construction. By the end, you’ll have the expertise to create a gambrel shed roof truss that not only meets your functional needs but also enhances the overall look of your outdoor space. So, roll up your sleeves, gather your tools, and let’s embark on this rewarding construction journey together.
Key Takeaways:
- Building a gambrel shed roof truss requires precise measurements, sturdy lumber, and careful assembly. It adds storage space and rustic charm to your shed, enhancing its functionality and visual appeal.
- Constructing a gambrel shed roof truss is a rewarding DIY project that demands attention to detail and craftsmanship. With the right materials and tools, you can create a sturdy and visually appealing truss to enhance your outdoor space.
Read more: How To Build Roof Trusses
Materials and Tools Needed
Before you begin constructing your gambrel shed roof truss, it’s essential to gather all the necessary materials and tools. Here’s a comprehensive list of what you’ll need:
Materials:
- 2×4 or 2×6 lumber (depending on the size of the shed and truss)
- Plywood or oriented strand board (OSB) for gussets
- Wood screws
- Roofing materials (shingles, metal panels, etc.)
- Wood glue
- Metal hangers or hurricane ties for securing the truss to the shed frame
- Waterproofing sealant
Tools:
- Tape measure
- Circular saw or miter saw
- Power drill with screwdriver bits
- Clamps
- Hammer
- Roofing nail gun (if using shingles)
- Safety goggles and gloves
Having these materials and tools on hand will streamline the construction process and ensure that you can work efficiently and safely. Additionally, it’s advisable to have a spacious, well-lit work area to lay out and assemble the truss components. With everything in place, you’ll be ready to move on to the next phase: measuring and cutting the wood for your gambrel shed roof truss.
Measuring and Cutting the Wood
Now that you have all the necessary materials and tools, it’s time to dive into the initial stages of building your gambrel shed roof truss. Accurate measurements and precise cuts are crucial for ensuring that the truss components fit together seamlessly. Let’s walk through the key steps involved in this phase:
Read more: How To Build A Roof For A Shed
1. Determine the Dimensions:
Begin by deciding on the dimensions of your truss, taking into account the size of your shed and the desired pitch of the roof. The measurements will dictate the length and angles of the truss components.
2. Mark and Cut the Lumber:
Using a tape measure and pencil, mark the lumber according to the measurements you’ve calculated. A circular saw or miter saw will be your primary tools for making precise cuts. Remember to double-check your measurements before cutting to avoid errors.
3. Create Gussets:
The gussets, typically made from plywood or oriented strand board (OSB), are crucial for reinforcing the connections between the truss members. Cut the gussets to the appropriate size and shape, ensuring that they will securely join the lumber components.
4. Label the Components:
To streamline the assembly process, label each cut piece of lumber and its corresponding location within the truss. This simple step will prevent confusion and help you stay organized during the construction phase.
As you measure and cut the wood with precision, envision the truss taking shape, and take pride in the meticulous craftsmanship that will define the structural integrity of your gambrel shed roof. With the lumber components prepared, you’re now ready to move on to the next crucial stage: assembling the truss.
Read more: What Is A Roof Truss
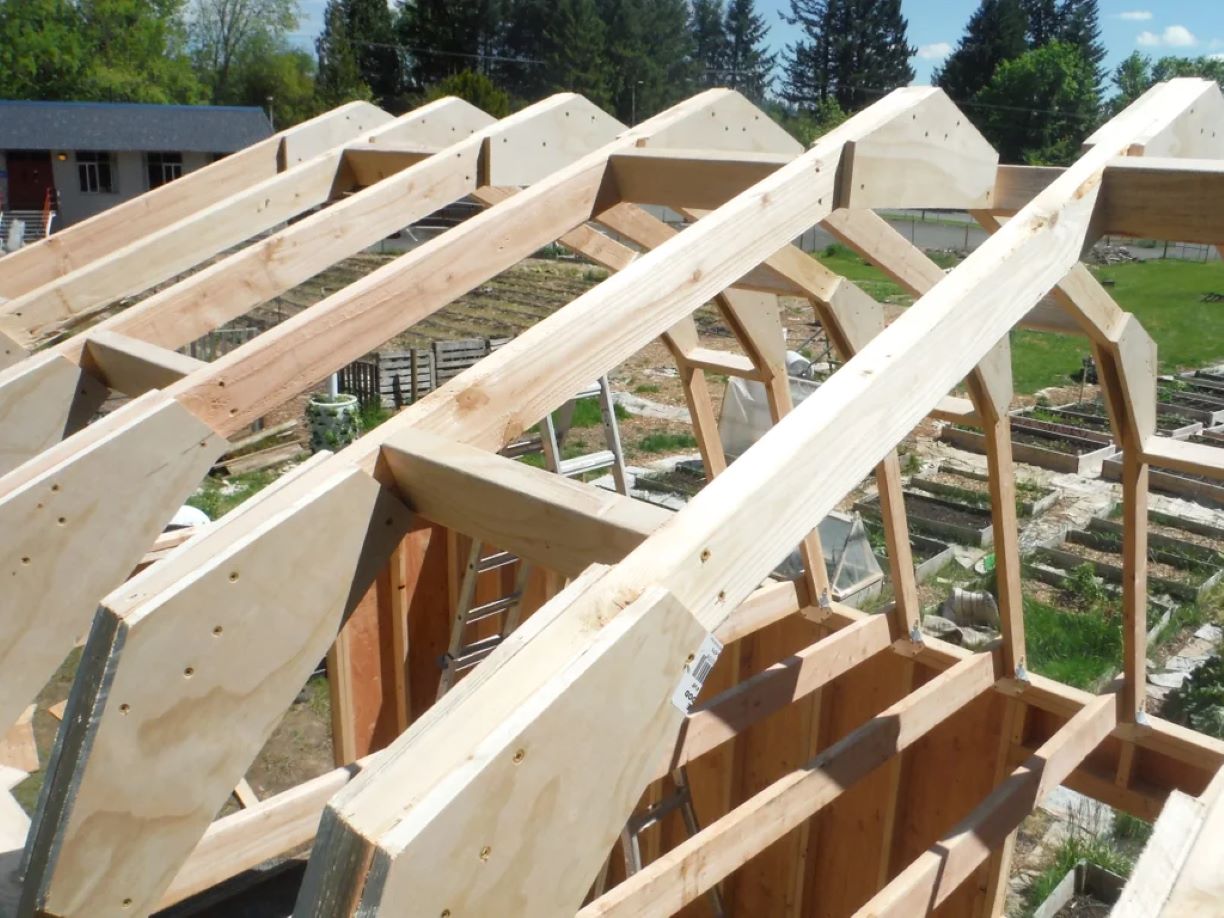
Assembling the Truss
With the lumber components cut to the appropriate dimensions, it’s time to bring your gambrel shed roof truss to life through meticulous assembly. This phase requires attention to detail and a methodical approach to ensure that the truss is structurally sound and capable of withstanding the elements. Here’s a step-by-step guide to assembling the truss:
1. Lay Out the Components:
Begin by laying out all the cut lumber and gussets in your work area. Organize the pieces according to their placement within the truss, making it easy to access each component during assembly.
2. Position the Lumber:
Arrange the lumber pieces according to the truss design, paying close attention to the angles and connections. This is where the precision of your cuts and measurements will determine the accuracy of the truss assembly.
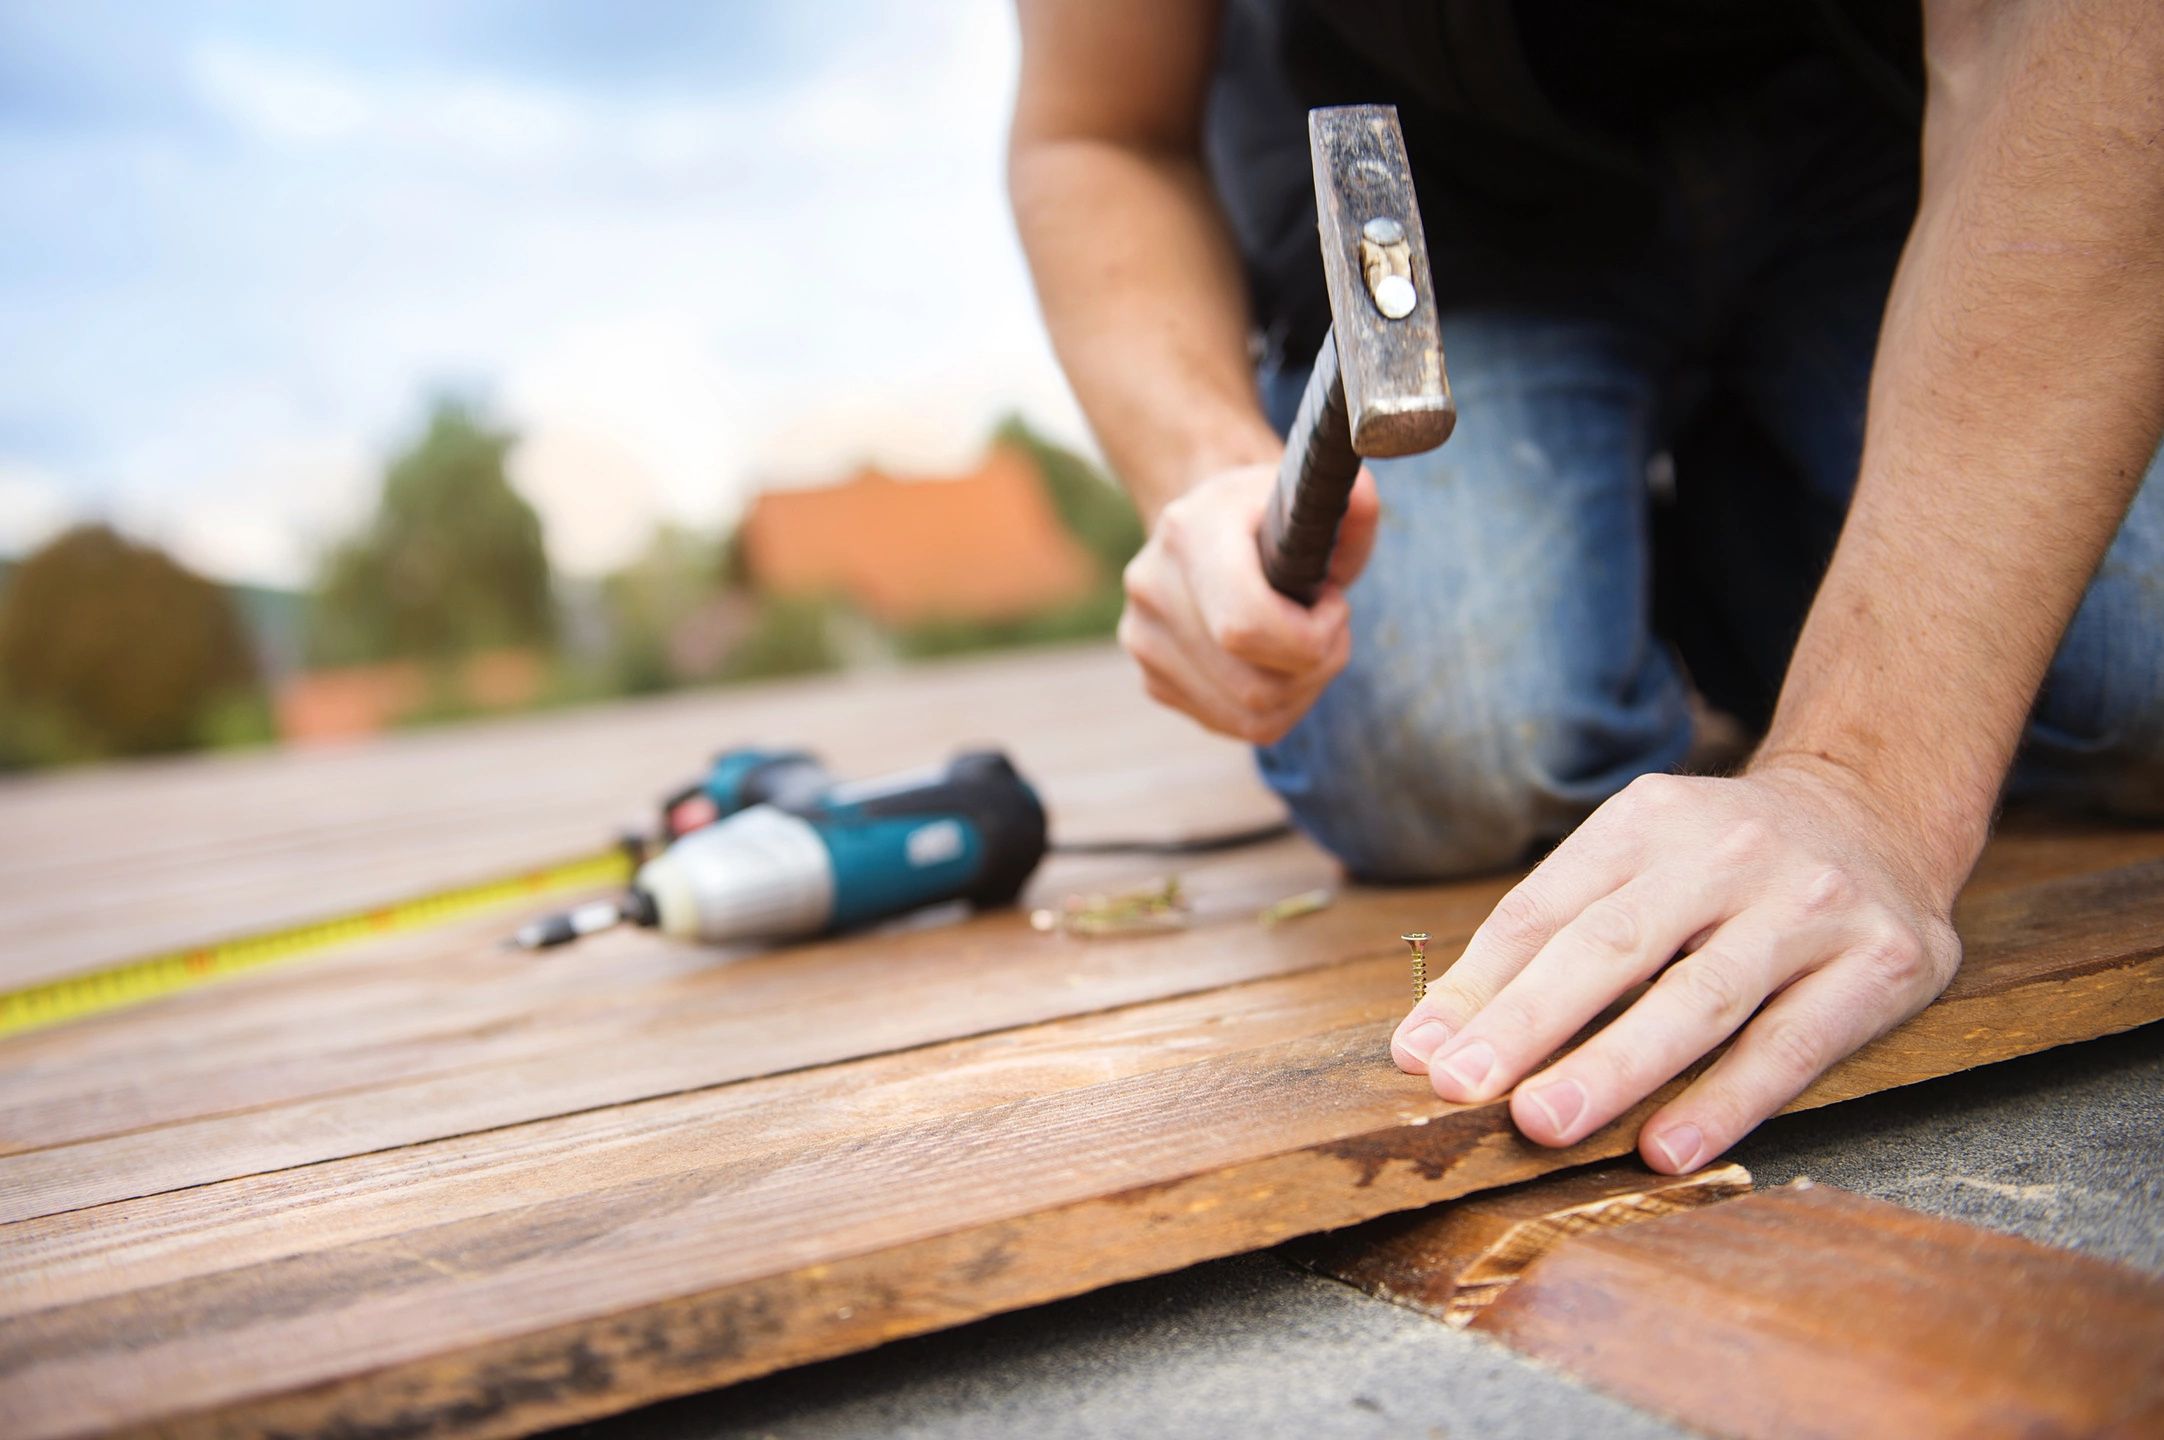
3. Attach the Gussets:
Apply wood glue to the surfaces where the lumber pieces will connect, and then secure the gussets in place using wood screws. The gussets play a critical role in reinforcing the joints and ensuring the stability of the truss.
Read more: How To Build A Lean To Roof On A Shed
4. Check for Alignment:
As you progress with the assembly, periodically check that the components are aligning correctly and that the truss is taking shape as intended. Adjust any misalignments promptly to maintain the structural integrity of the truss.
5. Reinforce the Connections:
Depending on the size of your shed and the intended load-bearing capacity of the truss, you may opt to use metal hangers or hurricane ties to further reinforce the connections between the truss members.
As you methodically assemble the truss, visualize the impact it will have on the overall stability and aesthetic appeal of your shed. Each carefully executed step brings you closer to completing a fundamental component of your shed’s structure. Once the truss is fully assembled, the next phase will involve attaching it to the shed frame, bringing your vision closer to realization.
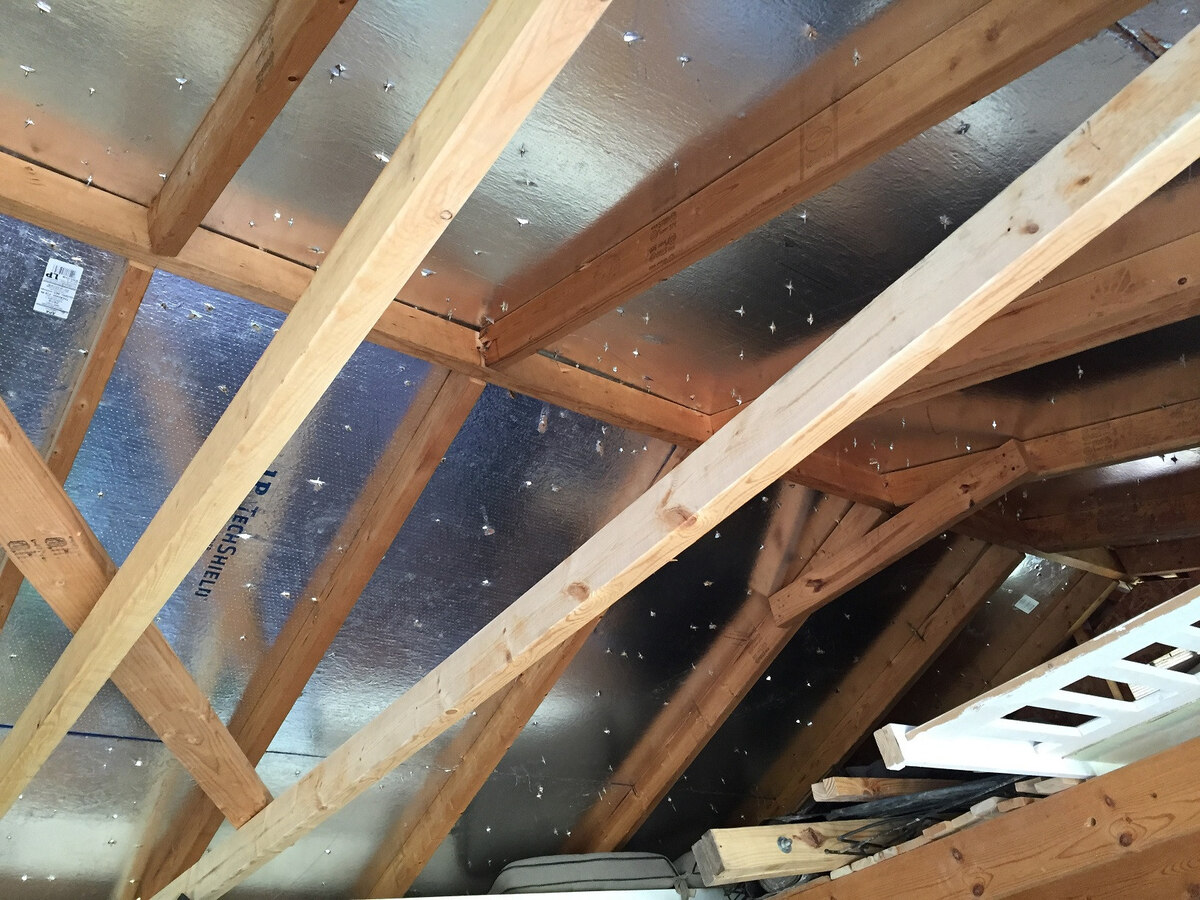
Attaching the Truss to the Shed Frame
As the truss takes shape, it’s time to integrate it into the shed’s framework, a pivotal step that will bring your project one step closer to completion. The secure attachment of the truss to the shed frame is essential for ensuring the structural integrity and stability of the entire shed. Here’s a detailed guide to this crucial phase:
1. Positioning the Truss:
With the help of a friend or family member, carefully position the assembled truss at its designated location within the shed. Ensure that it is aligned correctly and level with the rest of the structure.
Read more: How To Build A Green Roof On A Shed
2. Securing the Truss:
Utilize metal hangers or hurricane ties to firmly secure the truss to the shed frame. These hardware components provide additional reinforcement and minimize the risk of the truss shifting or becoming dislodged over time.
3. Check for Stability:
Once the truss is in place, conduct a thorough inspection to confirm that it is securely fastened to the shed frame. Any signs of instability or misalignment should be addressed promptly to prevent potential issues down the line.
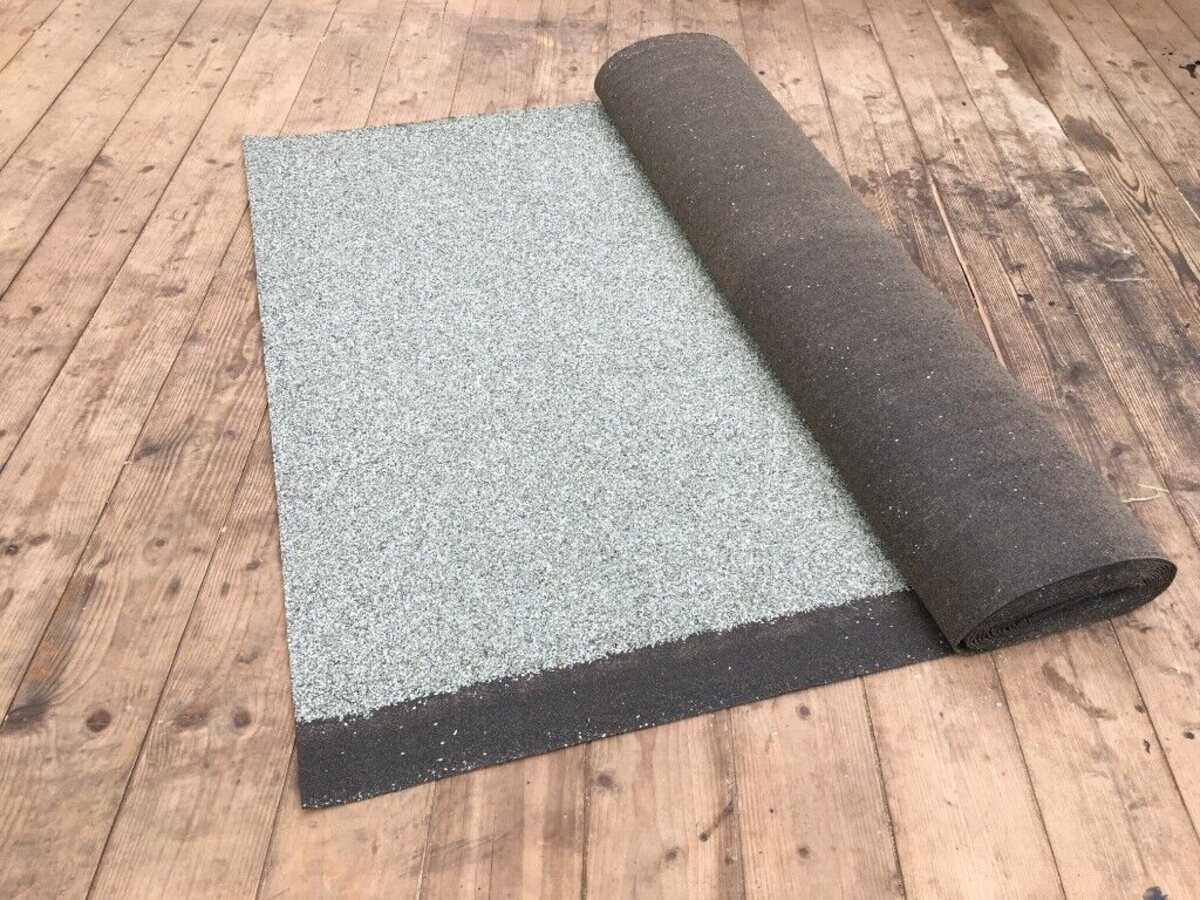
4. Waterproofing and Sealing:
Apply a waterproofing sealant to the areas where the truss connects to the shed frame. This extra layer of protection helps safeguard the wood from moisture and prolongs the lifespan of the truss and the shed as a whole.
5. Prepare for Roofing:
With the truss firmly attached, the shed is now primed for the installation of roofing materials. Whether you opt for shingles, metal panels, or another roofing option, the securely fastened truss provides a stable foundation for the roof.
As you secure the truss to the shed frame, envision the culmination of your efforts, knowing that each step brings you closer to realizing your vision of a functional and visually striking shed. With the truss securely in place, the final phase of the construction process will involve adding the roofing materials and putting the finishing touches on your gambrel shed roof. This exciting stage will mark the transformation of your project from a construction site to a completed outdoor structure.
Read more: How Much Does Roof Trusses Cost
Conclusion
Congratulations on successfully constructing a gambrel shed roof truss! This journey has empowered you to transform a vision into a tangible structure, and the truss you’ve built will serve as a fundamental component of your shed’s framework. As you reflect on the process, consider the skills you’ve honed and the satisfaction of overcoming challenges to create something truly remarkable.
By meticulously measuring and cutting the wood, assembling the truss with precision, and securely attaching it to the shed frame, you’ve demonstrated a commitment to craftsmanship and attention to detail. Each step has contributed to the structural integrity and visual appeal of your shed, showcasing your dedication to quality construction.
As you stand back and admire the truss securely in place, envision the possibilities that lie ahead. The addition of roofing materials will complete the transformation, providing shelter and protection for your belongings while enhancing the aesthetic charm of your outdoor space.
Moreover, the knowledge and experience gained from this project will undoubtedly serve you well in future endeavors. Whether you embark on additional construction projects or share your expertise with others, the skills acquired during the construction of the gambrel shed roof truss will continue to enrich your journey as a DIY enthusiast.
As you move forward, remember the sense of accomplishment and empowerment that this project has instilled in you. Your willingness to take on challenges and see them through to fruition is a testament to your resourcefulness and creativity.
Now, as you prepare to add the finishing touches to your shed, revel in the fulfillment of bringing your vision to life. The truss you’ve constructed stands as a testament to your determination and ingenuity, a solid foundation for the memories and utility that your shed will provide in the years to come.
Embrace the journey, celebrate your achievements, and continue to explore the boundless possibilities of DIY construction. Your gambrel shed roof truss is not just a structure; it’s a testament to your unwavering commitment to craftsmanship and the fulfillment of your vision.
Frequently Asked Questions about How To Build Gambrel Shed Roof Truss
Was this page helpful?
At Storables.com, we guarantee accurate and reliable information. Our content, validated by Expert Board Contributors, is crafted following stringent Editorial Policies. We're committed to providing you with well-researched, expert-backed insights for all your informational needs.


0 thoughts on “How To Build Gambrel Shed Roof Truss”