Home>Gardening & Outdoor>Outdoor Structures>How To Seal A Shed Roof
Outdoor Structures
How To Seal A Shed Roof
Modified: October 18, 2024
Learn how to effectively seal your shed roof to protect it from the elements. Our guide covers the best methods and products for outdoor structures.
(Many of the links in this article redirect to a specific reviewed product. Your purchase of these products through affiliate links helps to generate commission for Storables.com, at no extra cost. Learn more)
Introduction
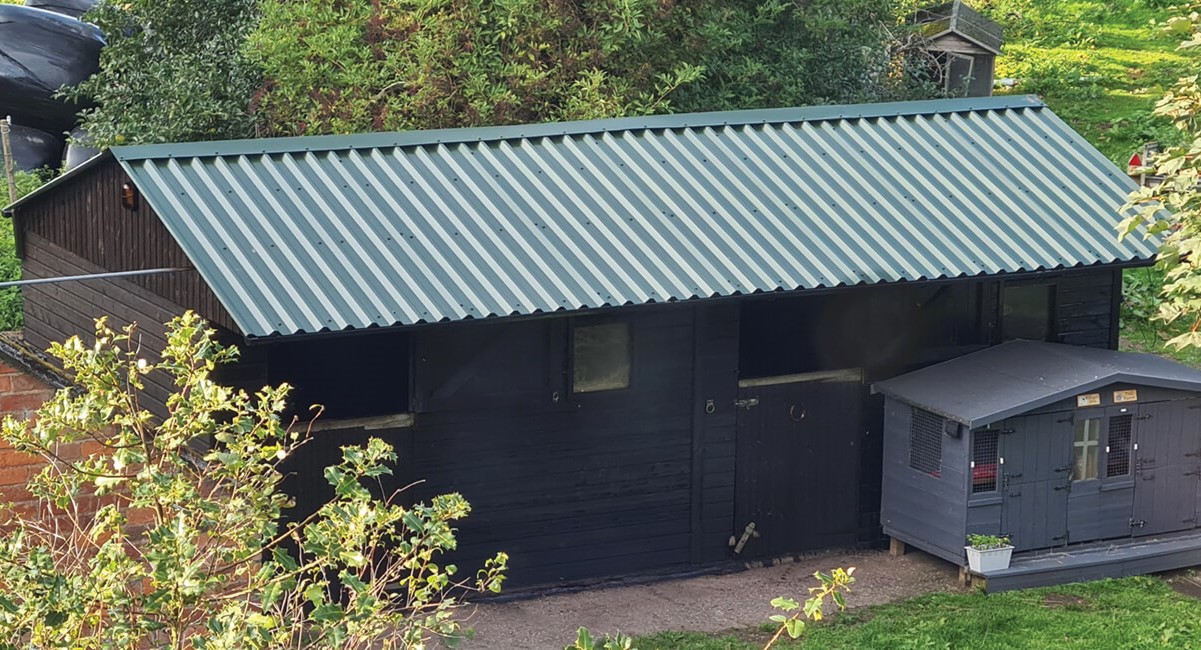
When it comes to maintaining the integrity and longevity of your shed, one crucial aspect that should never be overlooked is the roof. The roof of a shed is constantly exposed to the elements, enduring everything from scorching sun and heavy rain to snow and ice. Over time, this exposure can lead to wear and tear, causing the roof to develop cracks, leaks, or other forms of damage. Fortunately, by taking proactive measures to seal your shed roof, you can protect it from these potential issues and extend its lifespan.
In this comprehensive guide, we will walk you through the step-by-step process of effectively sealing a shed roof. Whether you have an asphalt, metal, or shingle roof, the principles outlined in this guide can be applied to various types of shed roofing materials. By following these instructions, you can safeguard your shed from water damage, mold, and structural deterioration, ensuring that it remains a reliable and durable storage space for years to come.
So, gather your materials and let's dive into the process of sealing your shed roof to keep it in top condition.
Key Takeaways:
- Protect your shed from weather damage by sealing the roof with the right materials and thorough cleaning, ensuring a durable and reliable storage space for years to come.
- Prioritize meticulous preparation, attention to detail during application, and patience during the drying and curing process to achieve a robust and reliable seal that enhances the durability and longevity of your shed roof.
Read more: How To Seal Metal Roof
Step 1: Gather Necessary Materials
Before embarking on the task of sealing your shed roof, it’s essential to ensure that you have all the required materials at your disposal. Gathering these supplies beforehand will streamline the process and minimize interruptions once you begin the actual sealing process.
Here’s a list of the primary materials you’ll need:
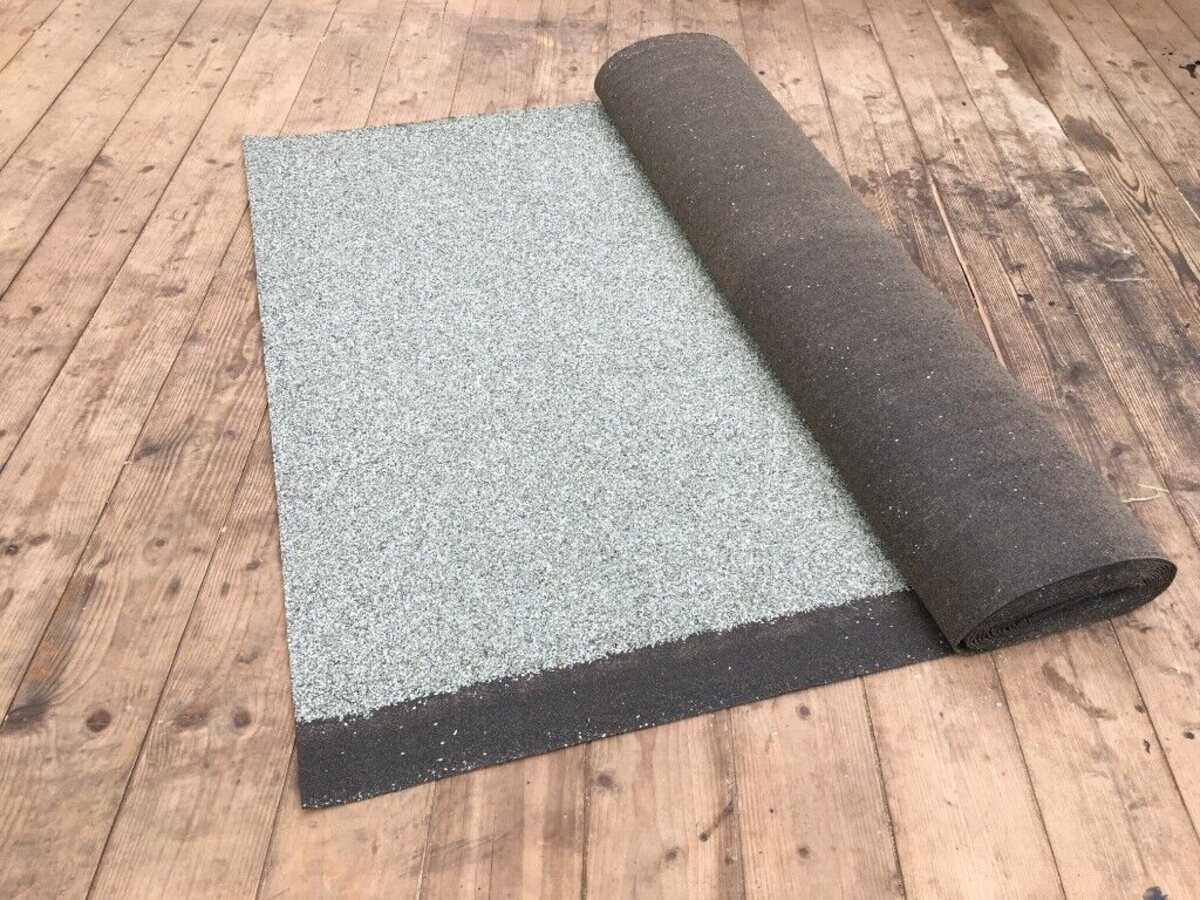
- Roof Sealant: Select a high-quality roof sealant that is compatible with the material of your shed’s roof. Whether it’s asphalt, metal, or shingle, there are specific sealants designed for each type.
- Cleaner: A suitable cleaner or detergent for removing dirt, debris, and any existing sealant from the roof surface. Ensure that the cleaner is safe for the roofing material and won’t cause damage.
- Protective Gear: Prioritize safety by acquiring protective gear such as gloves, safety goggles, and a respirator mask to shield yourself from chemical fumes and debris during the cleaning and sealing processes.
- Applicator: Depending on the type of sealant you choose, you’ll need an appropriate applicator. This could be a paintbrush, roller, or sprayer. Ensure that the applicator is clean and in good condition for an even application of the sealant.
- Repair Materials: In case your roof has visible damage, gather materials for repairs, such as roofing cement, patches, or flashing, to address any cracks or leaks before applying the sealant.
- Ladder: A sturdy, well-maintained ladder is essential for safe access to the roof. Ensure that it’s the appropriate height to reach all areas of the roof without stretching or overreaching.
- Weather Forecast: While not a material, checking the weather forecast is crucial. Plan to seal your shed roof during a period of dry weather with no rain in the forecast, allowing the sealant to properly cure without interference.
By ensuring that you have these materials on hand, you’ll be well-prepared to proceed with the subsequent steps of cleaning, repairing, and sealing your shed roof effectively.
Step 2: Clean the Roof Surface
Before applying any sealant to your shed roof, it’s imperative to start with a clean and debris-free surface. Over time, dirt, mold, algae, and other contaminants can accumulate on the roof, hindering the proper adhesion of the sealant and potentially compromising its effectiveness. By thoroughly cleaning the roof surface, you’ll create an optimal foundation for the sealant to adhere and form a robust protective barrier.
Here’s a systematic approach to cleaning your shed roof:
- Clear Debris: Begin by removing any loose debris such as leaves, twigs, and branches from the roof. Use a broom or a leaf blower to clear the surface, ensuring that the gutters and drainage channels are also free of debris to prevent water backup.
- Choose the Right Cleaner: Select a suitable cleaner or detergent specifically formulated for cleaning roofs. Be sure to follow the manufacturer’s instructions and dilution ratios to prepare the cleaning solution.
- Apply the Cleaner: Using a sprayer or a soft-bristled brush, apply the cleaning solution evenly across the entire roof surface. Work in manageable sections to ensure thorough coverage.
- Scrub and Rinse: With a long-handled scrub brush or a low-pressure power washer, gently scrub the roof to dislodge any stubborn dirt, stains, or algae growth. Take care not to use excessive force, which could damage the roofing material. After scrubbing, thoroughly rinse the roof with clean water to remove the cleaning solution and loosened debris.
- Inspect for Lingering Debris: Once the roof has been cleaned and rinsed, visually inspect the surface for any remaining debris or areas that may require additional attention. Address any lingering dirt or stains with targeted cleaning as needed.
By diligently cleaning the roof surface, you’ll ensure that the sealant can bond effectively and provide maximum protection against the elements. Additionally, a clean roof presents a more aesthetically pleasing appearance, enhancing the overall appeal of your shed.
Step 3: Repair Any Damaged Areas
Inspecting and addressing any existing damage on your shed roof is a critical preparatory step before applying the sealant. Even minor issues, if left unattended, can exacerbate over time, leading to water infiltration and structural compromise. By promptly repairing any damaged areas, you’ll fortify the roof’s integrity and prevent potential leaks and deterioration.
Here’s a systematic approach to identifying and repairing damaged areas on your shed roof:
- Thorough Inspection: Carefully examine the entire roof surface for signs of damage, including cracks, punctures, missing shingles, rust spots (for metal roofs), or areas of deteriorated sealant. Pay close attention to the flashing around vents, chimneys, and edges, as these are common areas for leaks to develop.
- Addressing Cracks and Punctures: If you encounter small cracks or punctures in the roofing material, use a suitable roofing cement to fill and seal these imperfections. Ensure that the cement is compatible with your specific roofing material and apply it according to the manufacturer’s instructions.
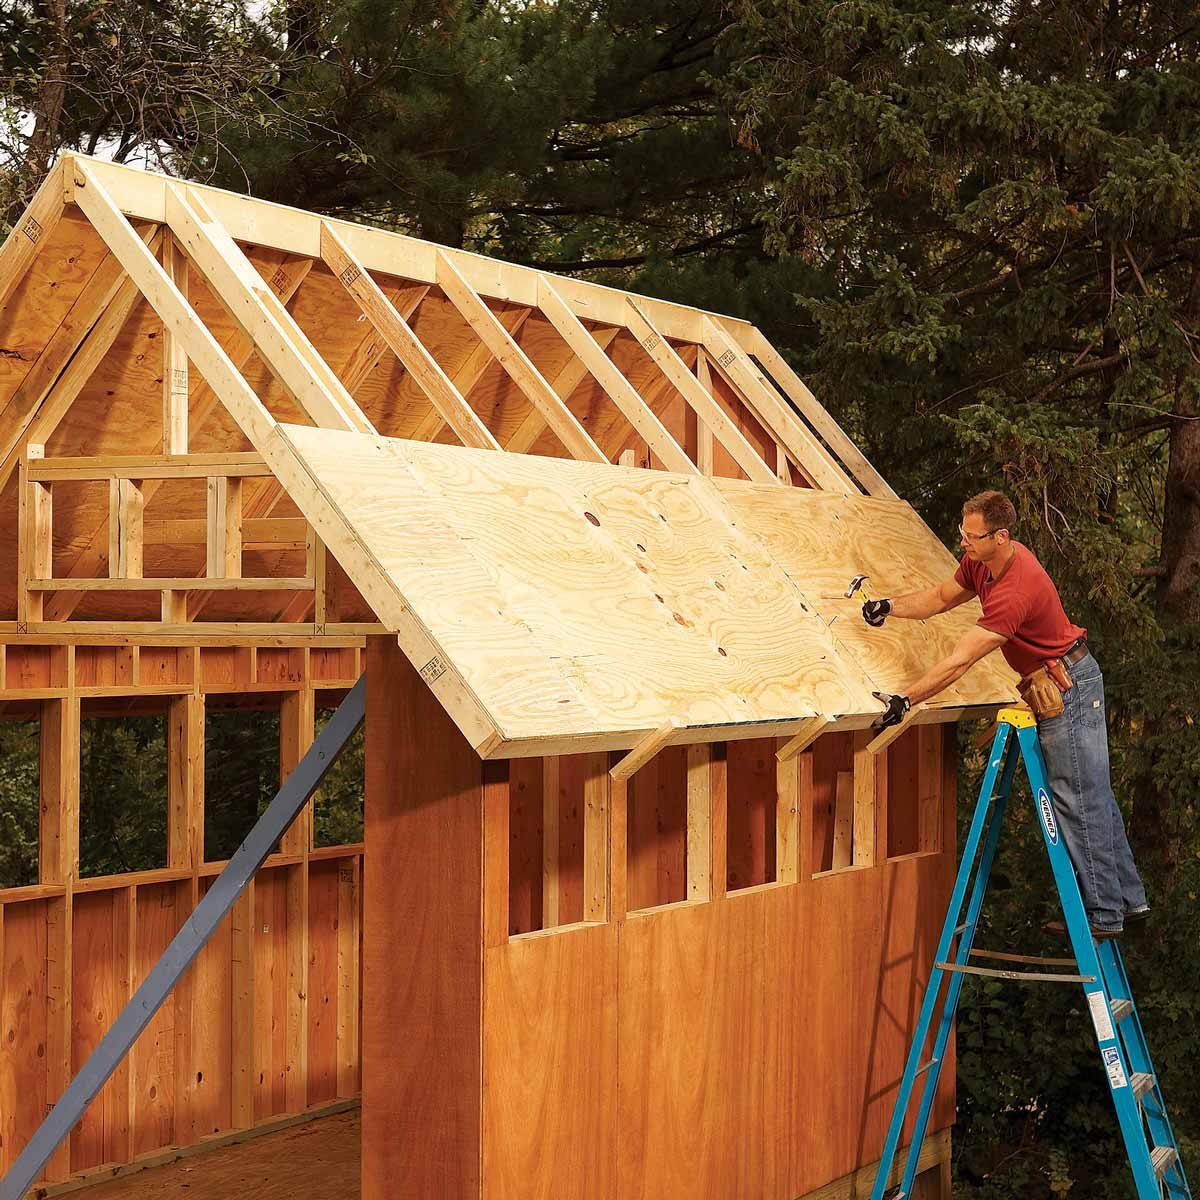
- Replacing Missing Shingles or Panels: For sheds with shingle or panel roofing, replace any missing or damaged components to maintain a uniform and watertight surface. Secure new shingles or panels in place according to the manufacturer’s guidelines, ensuring proper overlap and fastening.
- Repairing Flashing and Joints: Check the flashing and seals around protrusions and joints on the roof. Any signs of deterioration or gaps should be promptly addressed using appropriate sealants or flashing materials to prevent water intrusion.
- Ensuring Secure Fastenings: Verify that all fasteners, such as screws or nails, securing the roofing material are in place and tightly secured. Replace any missing or loose fasteners to prevent uplift during strong winds.
By diligently addressing these potential vulnerabilities, you’ll reinforce the structural integrity of your shed roof and create a sound foundation for the subsequent application of the sealant. Proper repairs will mitigate the risk of water infiltration and contribute to the long-term durability of the roof.
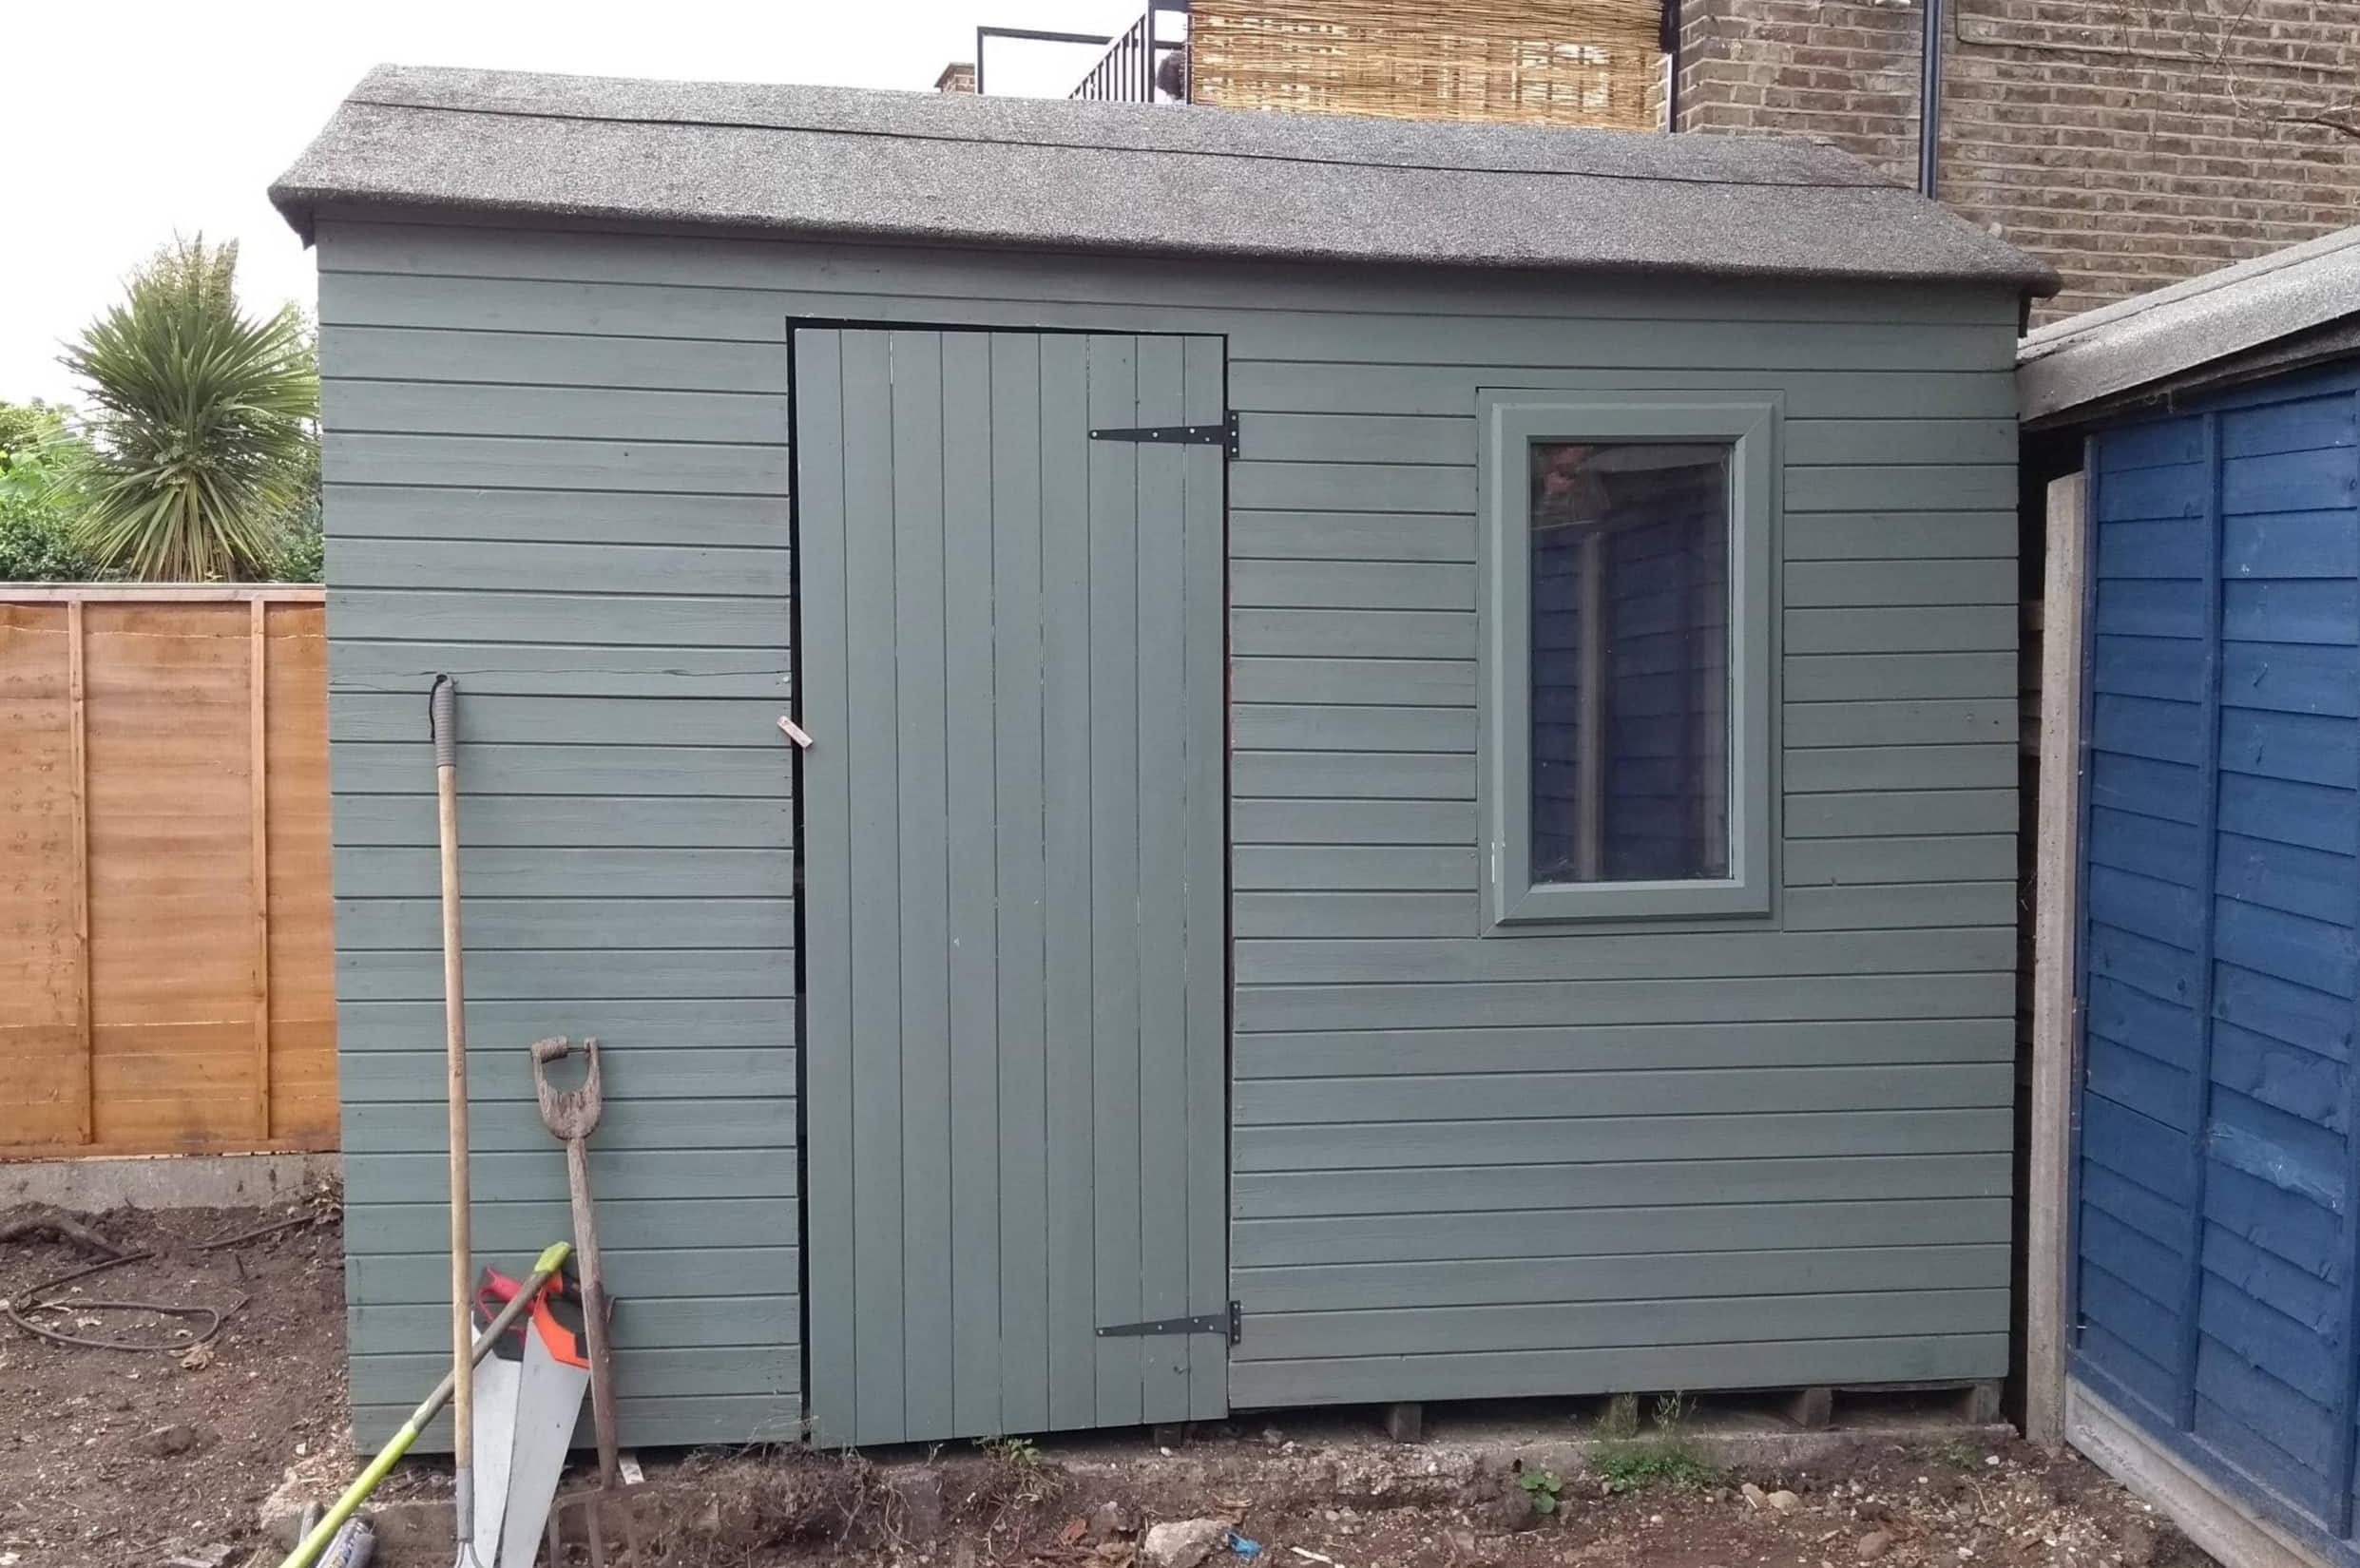
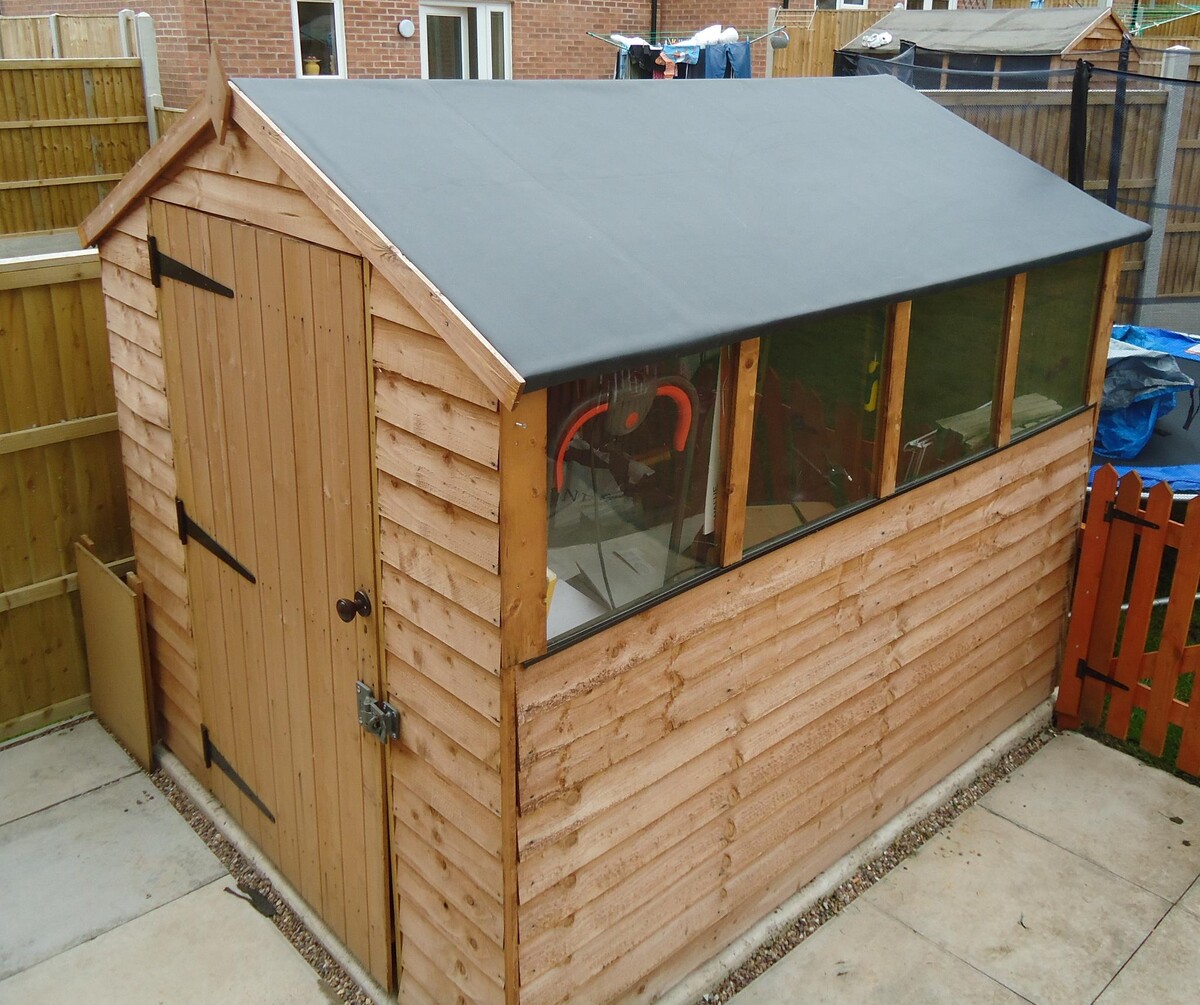
Apply a silicone-based roof sealant to the seams and edges of the shed roof to prevent leaks. Make sure to clean and dry the surface before applying the sealant for best results.
Step 4: Apply Sealant
With a clean and repaired roof surface, you are now ready to apply the sealant, creating a protective barrier that safeguards your shed from the elements. The application of the sealant is a crucial step in the process of sealing your shed roof, and it requires attention to detail to ensure thorough coverage and adhesion.
Follow these steps for the effective application of sealant on your shed roof:
- Prepare the Sealant: If using a liquid sealant, thoroughly mix the product according to the manufacturer’s instructions. Ensure that the sealant is at the appropriate temperature for application, as extreme heat or cold can affect its consistency and performance.
- Start at the Top: Begin applying the sealant at the highest point of the roof and work your way downward. This ensures that you can step on areas that have already been sealed, minimizing the risk of disturbing the freshly applied sealant.
- Use an Even Application: Whether using a brush, roller, or sprayer, strive for an even and consistent application of the sealant across the entire roof surface. Pay particular attention to seams, joints, and areas of previous repairs to ensure comprehensive coverage.
- Work in Sections: Divide the roof into manageable sections to ensure that each area receives sufficient attention and coverage. This approach also helps maintain a systematic application process, reducing the likelihood of missing spots or overlapping sealant excessively.
- Follow Manufacturer’s Guidelines: Adhere to the specific guidelines provided by the sealant manufacturer regarding the application rate, recommended thickness, and any additional coats or priming requirements. These instructions are crucial for achieving the optimal performance of the sealant.
- Exercise Caution on Sloped Roofs: If your shed roof has a significant slope, take appropriate safety precautions to prevent slipping or losing footing during the application process. Utilize safety harnesses, non-slip footwear, and work during favorable weather conditions to minimize risks.
By methodically applying the sealant in accordance with these guidelines, you’ll create a robust protective layer that shields your shed roof from moisture, UV exposure, and other environmental stressors. This proactive measure will contribute to the longevity and resilience of your shed’s roofing system.
Read more: How To Roof A Flat Roof Shed
Step 5: Allow Sealant to Dry
After the thorough application of the sealant on your shed roof, it’s essential to allow an adequate drying and curing period for the product to achieve its optimal protective properties. The drying process is a critical phase that ensures the sealant forms a durable and resilient barrier, capable of withstanding the rigors of weather and environmental exposure.
Follow these important considerations for allowing the sealant to dry effectively:
- Check Drying Time: Refer to the manufacturer’s instructions to determine the recommended drying time for the specific sealant product you’ve used. Factors such as temperature, humidity, and the number of applied coats can influence the drying duration.
- Weather Conditions: Plan the application of the sealant during a period of dry weather with minimal wind. Avoid sealing the roof if rain or high humidity is expected, as moisture can interfere with the drying process and compromise the sealant’s effectiveness.
- Observe Visual Cues: Some sealants undergo a color or texture change as they dry, providing visual indicators of the drying progress. Take note of these cues to gauge the drying status and determine when the sealant has reached the desired consistency.
- Restrict Foot Traffic: Prevent foot traffic or any physical contact with the freshly sealed roof during the drying period. This precaution ensures that the sealant surface remains undisturbed and allows for uniform drying without disruptions.
- Monitor Curing Time: While the sealant may dry to the touch within a specified timeframe, it’s important to recognize that complete curing, where the sealant reaches its maximum strength and durability, may take longer. Adhere to the recommended curing time before subjecting the roof to normal use or exposure.
- Exercise Patience: Recognize that the drying and curing process is a crucial aspect of achieving an effective seal. Exercise patience and allow ample time for the sealant to fully set and provide the intended protective barrier for your shed roof.
By observing these guidelines and allowing the sealant to dry thoroughly, you’ll ensure that your shed roof receives the full benefits of the applied protective coating, enhancing its resilience and longevity in the face of environmental challenges.
Step 6: Apply Second Coat (If Necessary)
Applying a second coat of sealant can further enhance the protective capabilities of your shed roof, providing an additional layer of defense against moisture intrusion and environmental elements. While a single coat of sealant may suffice for some roofing materials and sealant types, opting for a second coat can offer added assurance, especially for roofs exposed to harsh weather conditions.
Consider the following factors when determining the need for a second coat of sealant:
- Evaluate Coverage: Assess the uniformity and thickness of the initial sealant application. If there are areas where the sealant appears thin or coverage seems inadequate, applying a second coat can address these potential vulnerabilities.
- Weather Exposure: If your shed is situated in a region prone to extreme weather, such as heavy rainfall, intense sunlight, or frequent temperature fluctuations, an extra layer of sealant can provide added resilience against these challenging conditions.
- Long-Term Protection: Consider the long-term protection and durability of your shed roof. Applying a second coat of sealant can contribute to extended longevity, reducing the frequency of maintenance and resealing efforts in the future.
- Manufacturer’s Recommendations: Refer to the sealant manufacturer’s guidelines regarding the recommended number of coats for optimal performance. Some products may explicitly recommend or require a second coat to achieve the desired level of protection.
- Application Timing: If you opt to apply a second coat, ensure that it is done within the appropriate timeframe specified by the manufacturer. Applying the second coat too soon or too late can impact the adhesion and compatibility between the layers.
- Consistency of Application: Maintain a consistent method of application for the second coat, ensuring that it matches the coverage and thickness of the initial application. Pay particular attention to areas that may have been missed or undercoated during the first application.
By judiciously assessing these considerations and deciding to apply a second coat if deemed necessary, you can fortify your shed roof with an additional layer of protection, bolstering its ability to withstand environmental challenges and maintain its structural integrity over time.
Conclusion
Sealing your shed roof is a proactive and essential measure to safeguard this vital structure from the damaging effects of weather and environmental exposure. By following the systematic steps outlined in this guide, you can effectively seal your shed roof, fortifying it against moisture infiltration, UV radiation, and other potential sources of deterioration.
From gathering the necessary materials to the meticulous application of sealant, each step plays a crucial role in ensuring the long-term resilience and functionality of your shed roof. By prioritizing thorough cleaning, diligent repairs, and strategic sealant application, you can bolster the roof’s ability to withstand the elements and maintain its protective barrier for years to come.
Remember, the key to a successful roof sealing endeavor lies in meticulous preparation, attention to detail during application, and patience during the drying and curing process. By adhering to these principles, you can achieve a robust and reliable seal that enhances the durability and longevity of your shed roof.
As you complete the sealing process, take pride in knowing that your efforts will contribute to the sustained integrity and functionality of your shed, providing a secure and resilient space for storage, shelter, and various activities. Regular maintenance and periodic inspection of the sealed roof will further ensure its continued effectiveness in protecting your shed from the elements.
With a well-sealed and fortified roof, your shed will stand as a stalwart structure, ready to weather the seasons and serve its intended purposes for years to come.
Frequently Asked Questions about How To Seal A Shed Roof
Was this page helpful?
At Storables.com, we guarantee accurate and reliable information. Our content, validated by Expert Board Contributors, is crafted following stringent Editorial Policies. We're committed to providing you with well-researched, expert-backed insights for all your informational needs.


0 thoughts on “How To Seal A Shed Roof”