Home>Gardening & Outdoor>Outdoor Structures>How To Install A Metal Roof On A Shed
Outdoor Structures
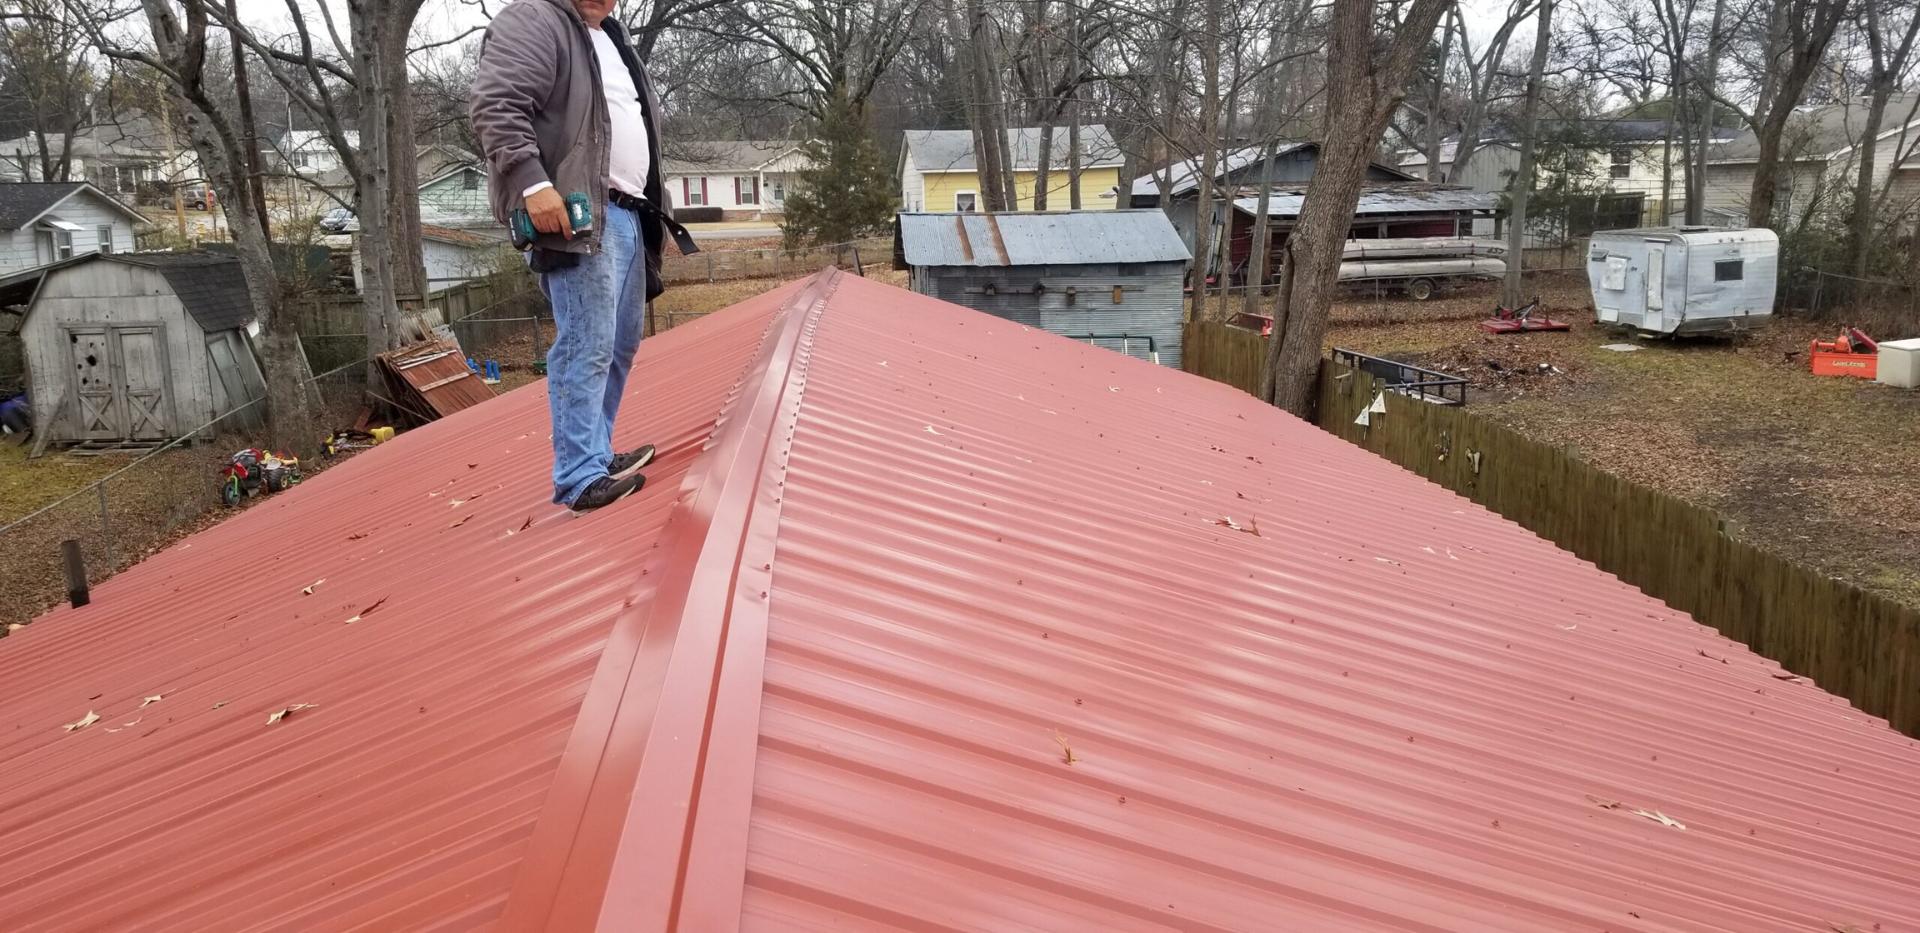
How To Install A Metal Roof On A Shed
Modified: August 22, 2024
Learn how to install a durable metal roof on your shed with our step-by-step guide. Protect your outdoor structures with this DIY project.
(Many of the links in this article redirect to a specific reviewed product. Your purchase of these products through affiliate links helps to generate commission for Storables.com, at no extra cost. Learn more)
**
Introduction
**
When it comes to enhancing the durability and aesthetics of your shed, installing a metal roof can be a wise and rewarding decision. Not only does it provide reliable protection against the elements, but it also adds a touch of modernity to the structure. Whether you're a seasoned DIY enthusiast or a novice looking to embark on a new project, the process of installing a metal roof on a shed can be both fulfilling and straightforward when approached with the right knowledge and tools.
In this comprehensive guide, we will walk you through the step-by-step process of installing a metal roof on your shed. From gathering the necessary materials and tools to executing the installation with precision, we'll cover each stage in detail, equipping you with the confidence and expertise needed to undertake this project successfully.
So, roll up your sleeves, gather your supplies, and let's dive into the world of metal roof installation. By the end of this guide, you'll have the insights and skills to transform your shed into a resilient and visually appealing space that stands the test of time.
**
Key Takeaways:
- Installing a metal roof on your shed not only protects it from the elements but also adds a modern touch. With the right tools and steps, it’s a fulfilling and straightforward DIY project.
- By meticulously preparing, installing, and finishing the metal roof, you’ll transform your shed into a resilient and visually appealing space. Celebrate your achievement and enjoy the durable results!
Read more: How To Put On A Metal Roof On A Shed
Materials and Tools Needed
**
Before commencing the installation process, it’s essential to ensure that you have all the necessary materials and tools at your disposal. Here’s a comprehensive list of items you’ll need to gather:
Materials:
- Metal roof panels
- Underlayment
- Roofing screws
- Ridge cap
- Butyl tape
- Closure strips
- Roofing nails
- Roofing felt
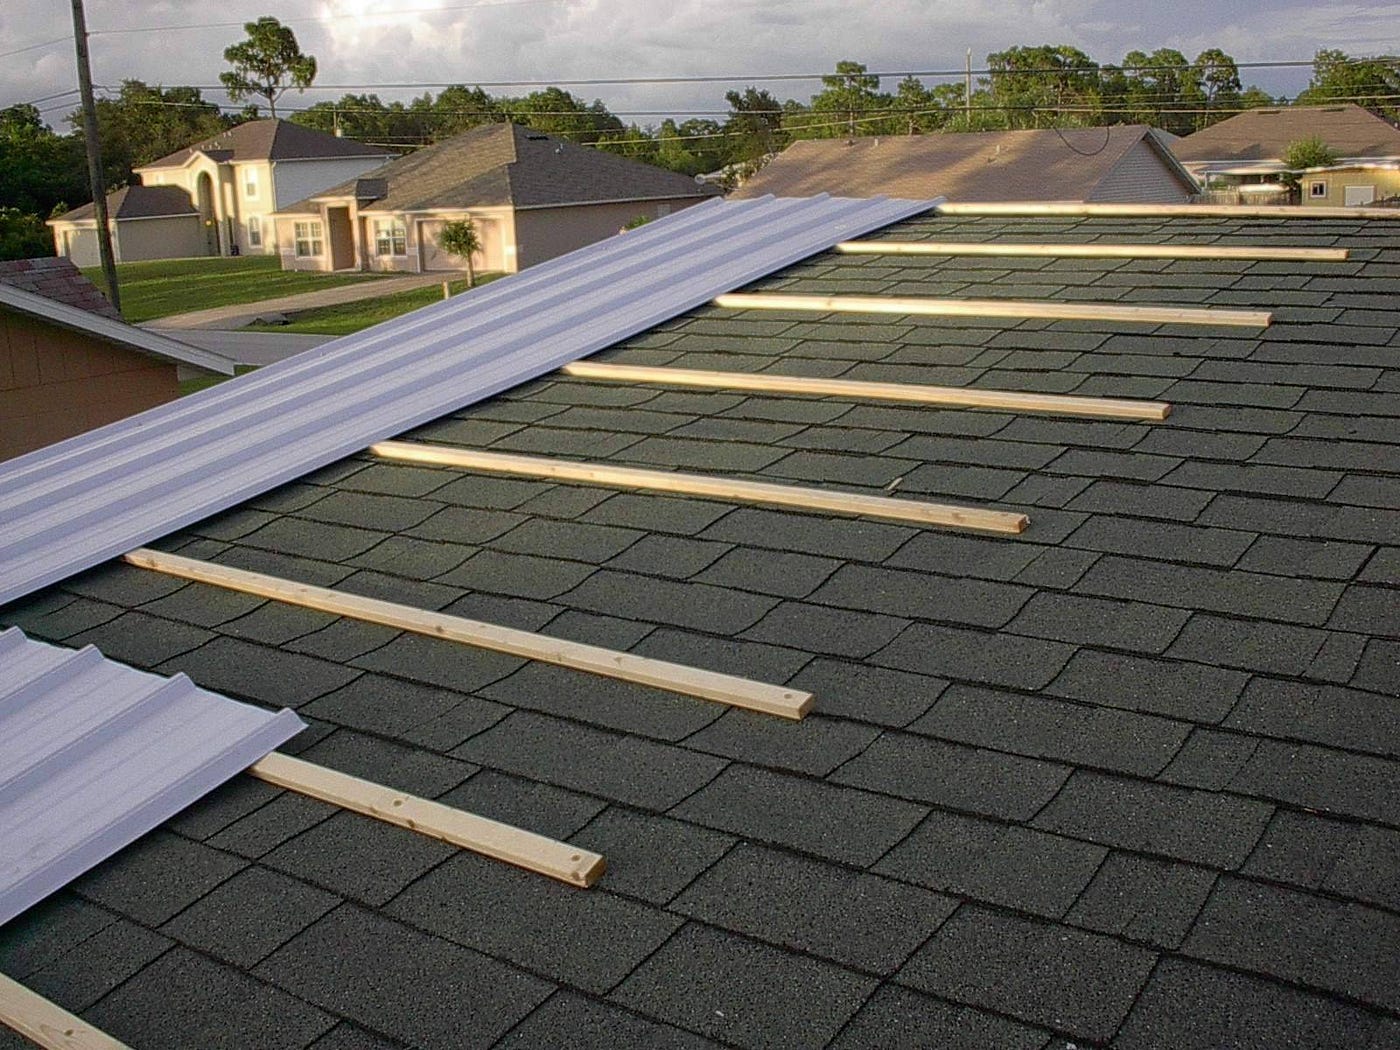
- Wood strips or purlins
- Flashing
- Sealant
- Paint (if desired for aesthetics)
Tools:
- Measuring tape
- Chalk line
- Hammer
- Screw gun
- Tin snips
- Roofing nail gun
- Roofing shovel
- Roofing brackets or jacks
- Ladder or scaffolding
- Protective gear (gloves, safety glasses, etc.)
- Utility knife
- Caulking gun
- Seam roller
Having these materials and tools readily available will streamline the installation process and ensure that you can tackle each step efficiently and effectively. With everything in place, you’re now prepared to move on to the next phase: preparing the shed for the metal roof installation.
**
Preparing the Shed
**
Before diving into the installation of the metal roof, it’s crucial to prepare the shed to ensure a smooth and successful process. Here’s a step-by-step guide to preparing the shed for the upcoming installation:
1. Clear the Roof: Begin by removing any existing roofing materials, such as shingles or old metal panels. Use a roofing shovel to carefully detach the old roofing, taking care to avoid damaging the underlying structure.
2. Inspect the Roof Deck: Once the old roofing is removed, inspect the roof deck for any signs of damage, rot, or decay. Replace any compromised sections to provide a solid foundation for the new metal roof.
3. Install Underlayment: Next, apply roofing felt or synthetic underlayment to the roof deck. This layer acts as a protective barrier, shielding the structure from moisture and enhancing the overall resilience of the roof.
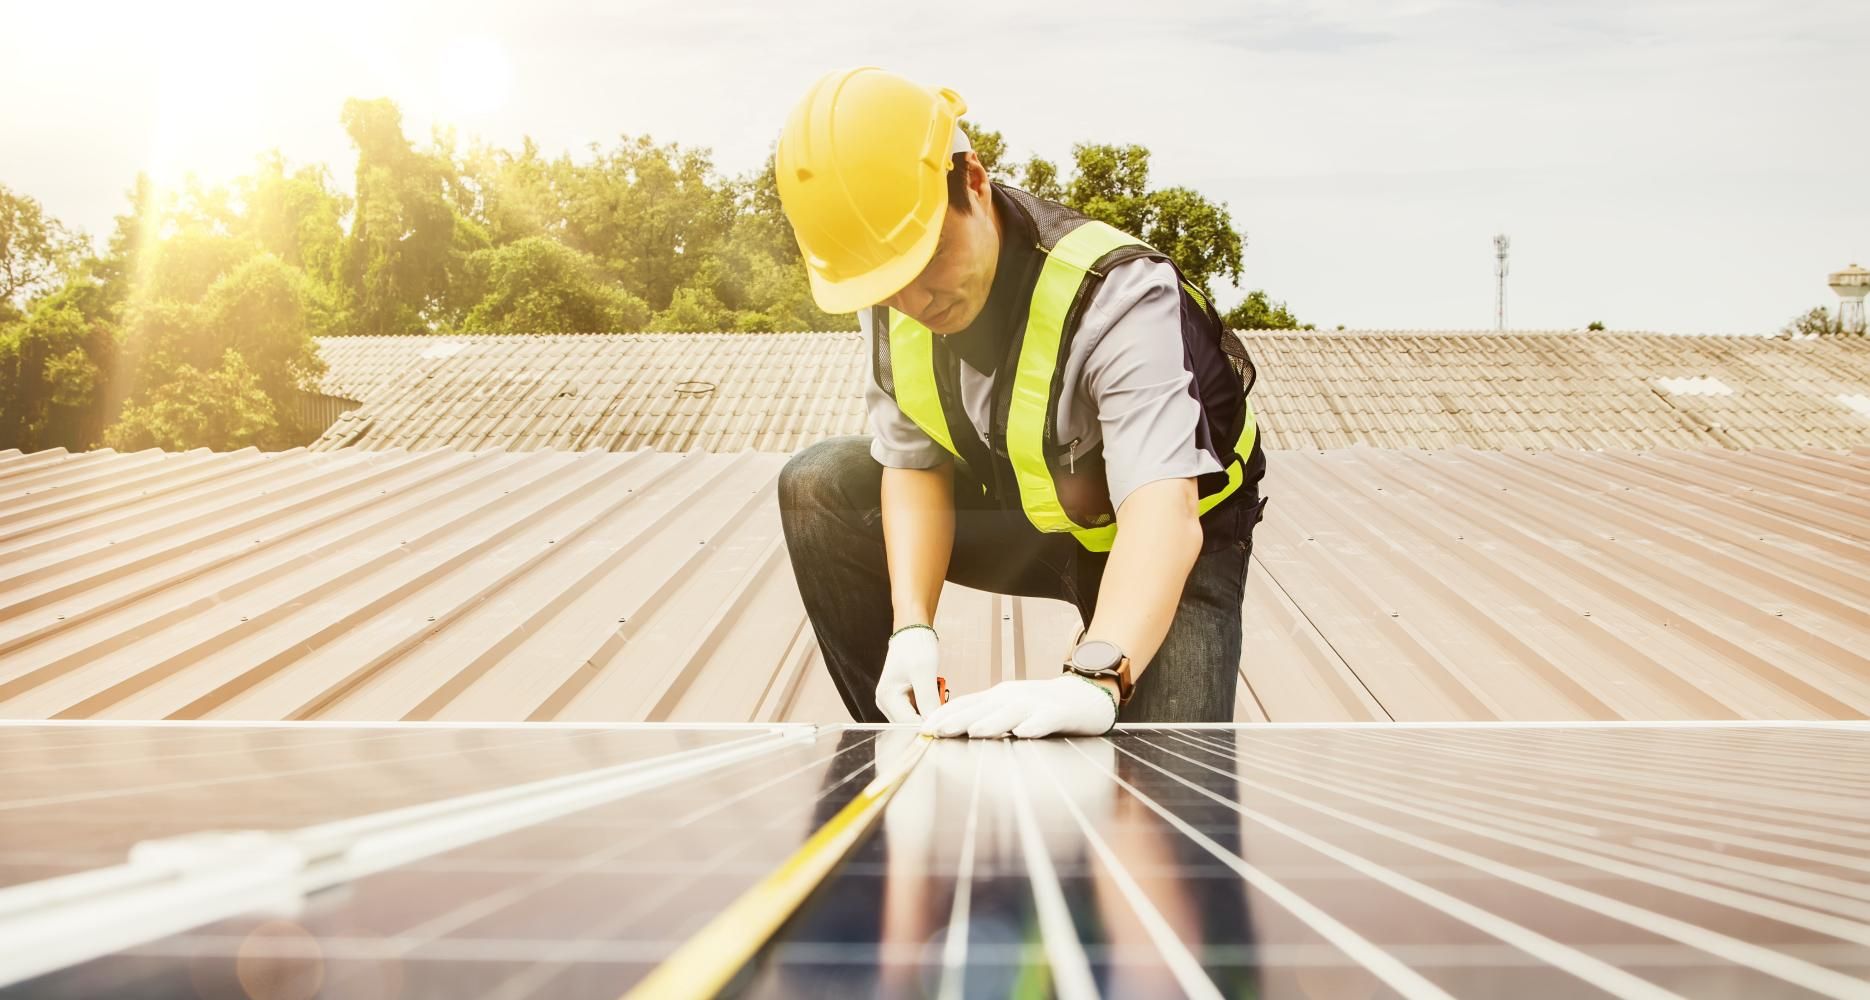
4. Measure and Mark: Use a measuring tape and chalk line to mark the roof, ensuring precise placement of the metal panels. Accuracy at this stage is crucial for achieving a professional and polished end result.
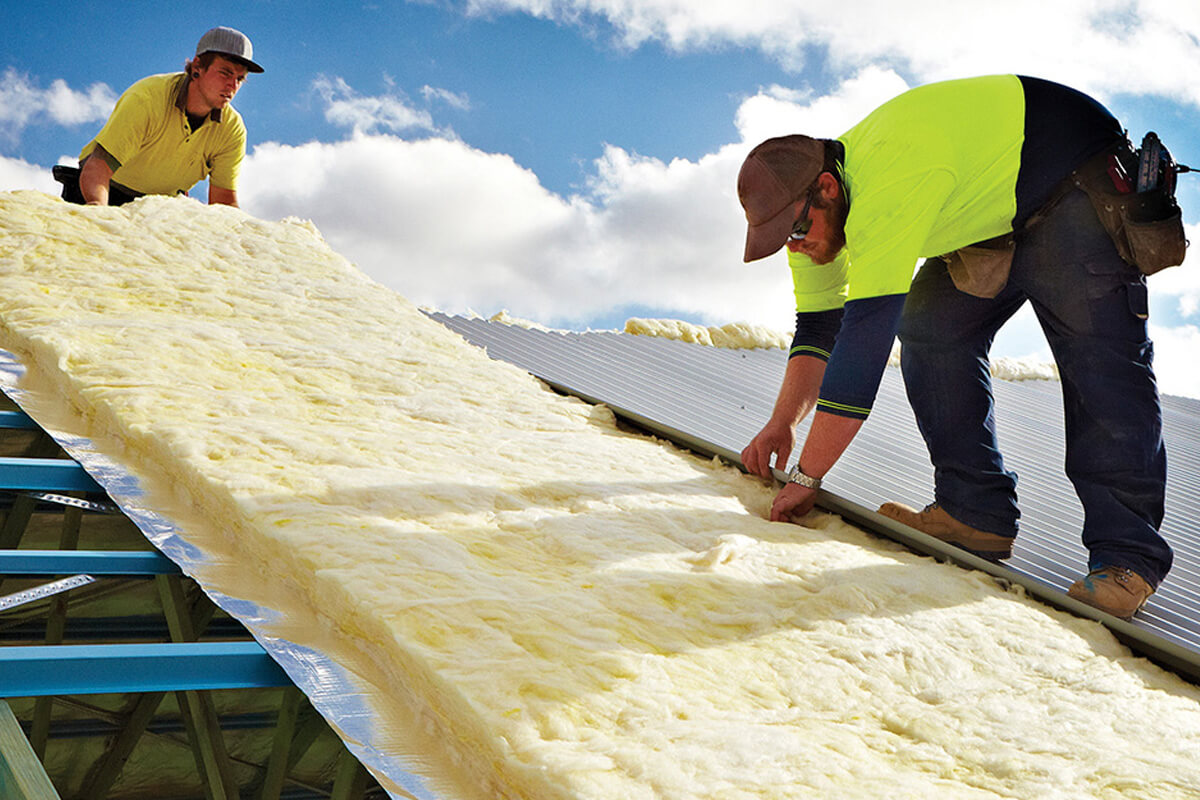
5. Address Ventilation and Insulation: Evaluate the shed’s ventilation and insulation needs. Depending on the design and purpose of the shed, you may need to incorporate vents or insulation to optimize the climate control within the structure.
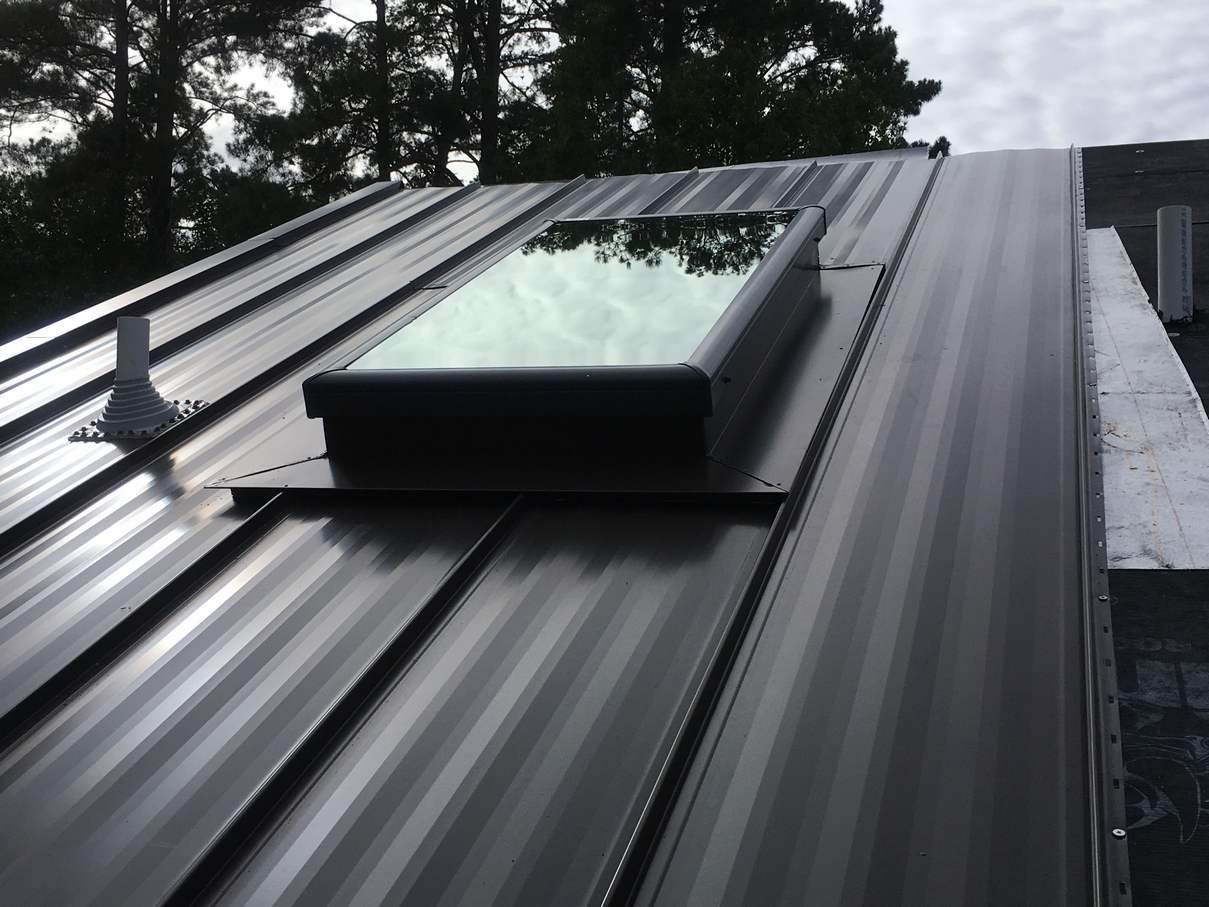
6. Address Flashing and Trim: Inspect the shed for any areas that require flashing or trim to ensure proper water drainage and a seamless transition between the roof and other structural elements.
By meticulously preparing the shed, you’ll lay a solid foundation for the metal roof installation, setting the stage for a durable and visually appealing final product. With the shed primed and ready, it’s time to move on to the next phase: installing the underlayment.
**
Installing the Underlayment
**
With the shed prepared for the metal roof installation, the next crucial step is to apply the underlayment. This protective layer serves as a barrier against moisture and enhances the overall resilience of the roof. Here’s a detailed guide to installing the underlayment:
1. Begin at the Bottom: Start at the bottom edge of the roof and roll out the underlayment horizontally, ensuring that each subsequent row overlaps the previous one to prevent water infiltration.
2. Secure the Underlayment: Use roofing nails or staples to secure the underlayment to the roof deck, ensuring that it lays flat and taut across the surface. Pay special attention to the edges and corners to prevent any lifting or flapping in windy conditions.
3. Trim Excess Underlayment: Trim any excess underlayment along the edges and around protrusions, such as vents or chimneys, to create a clean and uniform surface for the metal panels.
4. Address Penetrations: Around any roof penetrations, such as vents or pipes, carefully cut and seal the underlayment to create a watertight barrier. This step is crucial for preventing leaks and maintaining the integrity of the roof.
5. Inspect for Wrinkles and Bubbles: Thoroughly inspect the underlayment for any wrinkles, bubbles, or imperfections. Smooth out any irregularities to ensure a seamless and flat surface for the metal roof installation.
6. Verify Proper Overlap: Double-check that the underlayment rows have the appropriate overlap, typically around 4 to 6 inches, to guarantee effective water shedding and protection.
By meticulously installing the underlayment, you’re fortifying the shed’s roof with an essential layer of defense against the elements. This sets the stage for the next significant phase: attaching the metal roof panels, where the shed’s new protective covering truly takes shape.
**
When installing a metal roof on a shed, make sure to use the correct type and size of screws to secure the panels. Using the wrong screws can lead to leaks and damage to the roof.
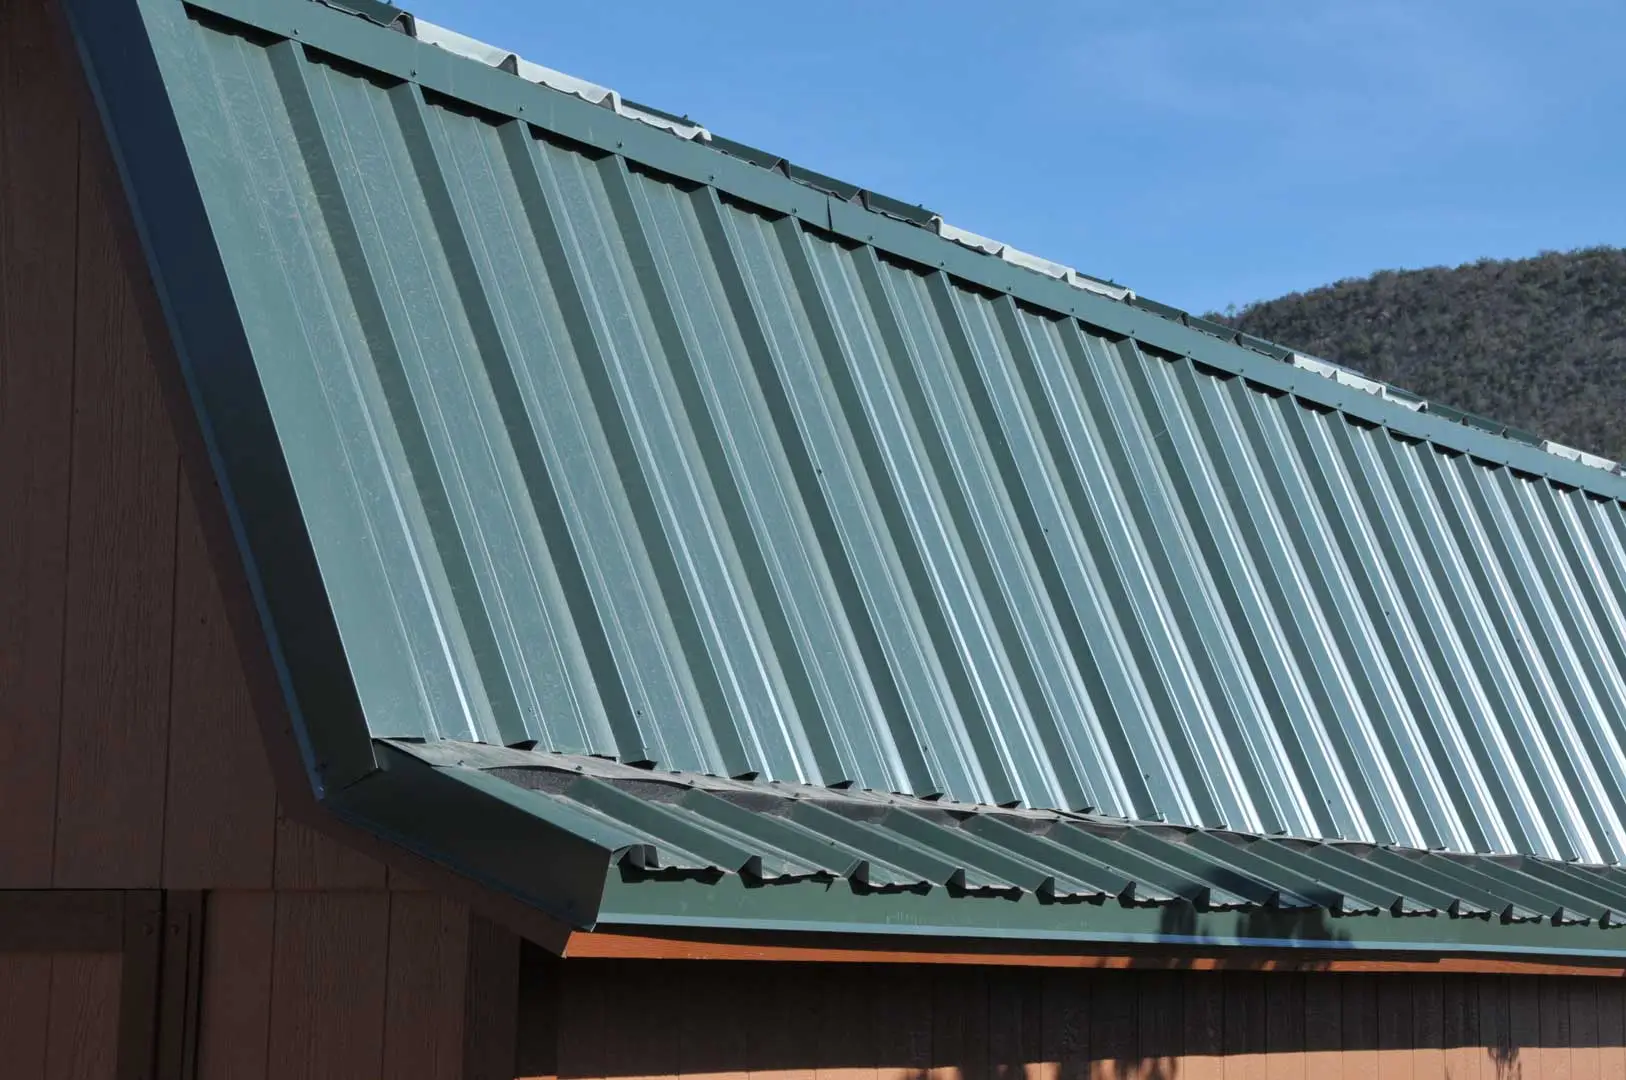
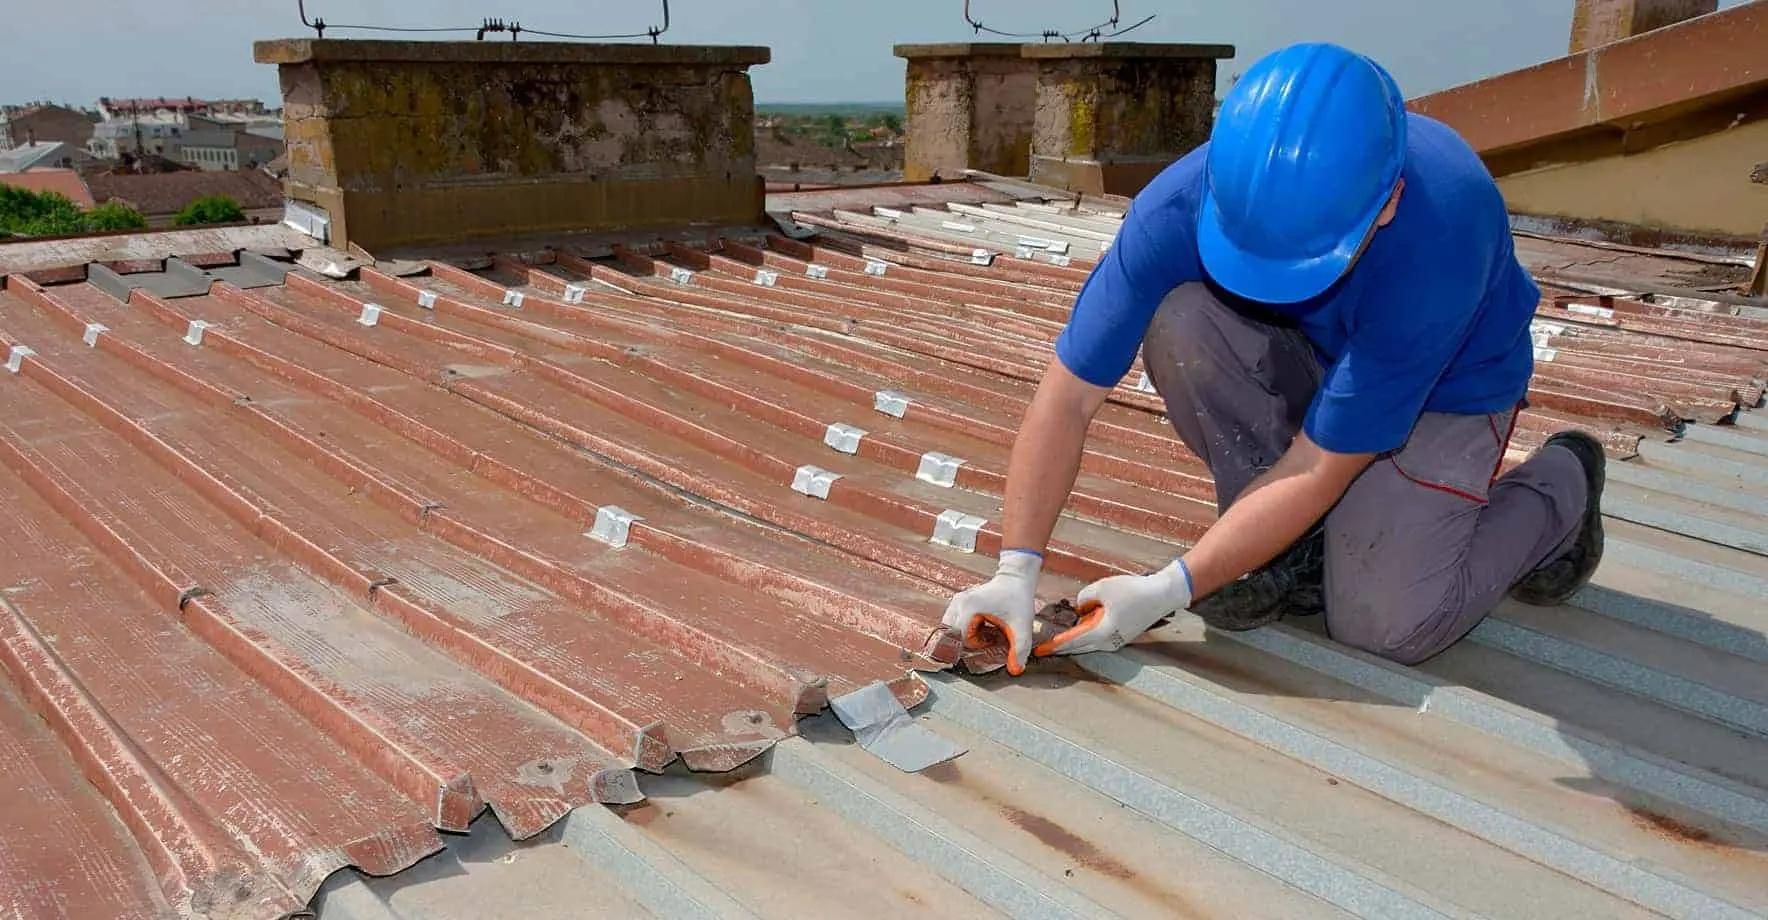
Attaching the Metal Roof Panels
**
With the underlayment securely in place, it’s time to embark on the transformative process of attaching the metal roof panels to the shed. This phase brings the project one step closer to completion, imparting both durability and visual appeal to the structure. Here’s a comprehensive guide to executing this pivotal stage with precision:
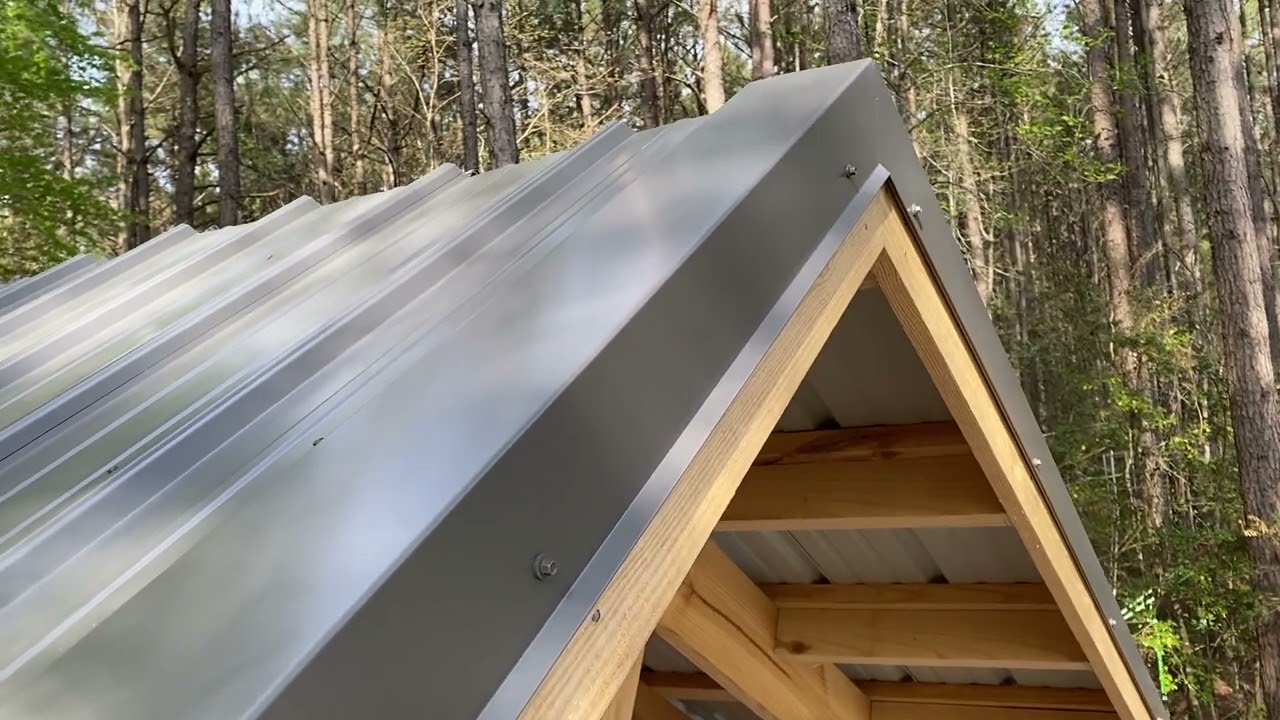
1. Positioning the First Panel: Begin by aligning the first metal roof panel at the bottom edge of the shed’s roof, ensuring that it overhangs the eave by the specified amount. This initial positioning sets the stage for the seamless installation of the subsequent panels.
2. Securing the Panel: Use roofing screws to secure the first panel to the roof deck, driving the screws through the designated locations on the panel and into the underlying structure. Ensure that the panel is snug and level, maintaining a uniform appearance across the surface.
3. Installing Subsequent Panels: Progressively install the remaining metal roof panels, overlapping each one to create a watertight barrier. Pay close attention to the manufacturer’s guidelines regarding overlap dimensions and fastening methods to guarantee optimal performance.
4. Cutting and Trimming: When necessary, use tin snips or a metal cutting tool to trim the panels to the appropriate size, accommodating for any protrusions or irregularities on the roof’s surface. This step ensures a precise fit and a polished final outcome.
5. Addressing Ridge Cap Installation: Once the main panels are in place, install the ridge cap at the peak of the shed’s roof. This specialized component provides a protective and visually appealing finish, completing the installation with finesse.
6. Quality Assurance and Final Checks: After all the panels and ridge caps are installed, conduct a thorough inspection of the roof to ensure that each component is securely fastened, free of defects, and aligned correctly. This meticulous attention to detail is key to a successful and long-lasting metal roof installation.
By proficiently attaching the metal roof panels, you’re not only fortifying the shed with robust protection against the elements but also elevating its aesthetic appeal. With the panels securely in place, the project enters its final phase: adding the finishing touches to complete the transformation.
**
Read more: How To Install A Metal Shed
Finishing Touches
**
As the installation of the metal roof panels nears completion, attention to the finishing touches is paramount to ensure a polished and resilient outcome. These final steps add a layer of finesse and functionality to the shed’s new roof, elevating its overall performance and visual appeal. Here’s a detailed guide to the essential finishing touches:
1. Sealant Application: Apply a high-quality sealant to all exposed fasteners, panel overlaps, and trim areas. This step reinforces the weatherproofing of the roof, preventing water infiltration and enhancing its long-term durability.
2. Inspect and Secure Flashing: Thoroughly inspect all flashing components, ensuring that they are securely fastened and effectively diverting water away from vulnerable areas, such as valleys and roof transitions.
3. Evaluate and Enhance Ventilation: Assess the shed’s ventilation system and make any necessary enhancements to optimize airflow and prevent moisture buildup within the structure. Proper ventilation is crucial for preserving the integrity of the roof and the shed’s interior environment.
4. Paint and Aesthetic Considerations: If desired, consider applying a coat of paint to the metal roof to enhance its visual appeal and complement the overall aesthetic of the shed. Choose a high-quality, weather-resistant paint that provides both protection and style.
5. Clean-Up and Inspection: Conduct a thorough clean-up of the work area, removing any debris and ensuring that the shed and its surroundings are left tidy and safe. Following the clean-up, perform a final inspection to verify that all components are in place and functioning as intended.
6. Document and Celebrate: Take pride in your accomplishment by documenting the completed project with photographs. Share your success with friends and family, and take a moment to appreciate the transformation you’ve brought to your shed through the installation of a resilient and visually striking metal roof.
By attending to these critical finishing touches, you’re not only enhancing the performance and longevity of the shed’s new metal roof but also infusing it with a touch of craftsmanship and attention to detail. With the finishing touches in place, the project draws to a close, leaving you with a structurally fortified and aesthetically pleasing shed that’s ready to stand the test of time.
**
Conclusion
**
Embarking on the journey of installing a metal roof on your shed is a gratifying endeavor that yields both practical and aesthetic rewards. Throughout this comprehensive guide, we’ve navigated each phase of the installation process, equipping you with the knowledge and insights needed to undertake this project with confidence and precision.
From gathering the essential materials and tools to meticulously preparing the shed, installing the underlayment, attaching the metal roof panels, and adding the finishing touches, every step has contributed to fortifying your shed with a resilient and visually appealing roofing solution.
As you reflect on the completed project, take pride in the transformation you’ve brought to your shed. The durable and sleek metal roof not only enhances the shed’s protection against the elements but also elevates its overall aesthetic appeal, adding a touch of modernity and sophistication to the structure.
Furthermore, by embracing this DIY endeavor, you’ve not only enhanced the functionality and durability of your shed but also cultivated valuable skills and craftsmanship. The knowledge and experience gained from this project can serve as a foundation for future endeavors, empowering you to tackle new challenges with confidence.
As you admire the newly installed metal roof, take a moment to celebrate your achievement. Whether you’ve embarked on this project solo or with the assistance of friends and family, the result stands as a testament to your dedication and ingenuity.
With the shed now equipped with a robust and visually striking metal roof, you’ve created a space that’s poised to endure the elements and serve its purpose with resilience and style. Whether it’s a storage shed, a workshop, or a creative sanctuary, the enhanced protection and allure of the metal roof elevate the shed into a space that’s truly a reflection of your vision and craftsmanship.
As you move forward, may this project inspire you to continue exploring new opportunities for enhancing your living spaces with creativity and practicality. The journey of DIY improvements is one filled with discovery and accomplishment, and your metal roof installation stands as a testament to the transformative power of hands-on ingenuity.
Congratulations on completing the installation of a metal roof on your shed. May it stand as a symbol of your dedication, skill, and the enduring value of crafting spaces that are both resilient and visually captivating.
Frequently Asked Questions about How To Install A Metal Roof On A Shed
Was this page helpful?
At Storables.com, we guarantee accurate and reliable information. Our content, validated by Expert Board Contributors, is crafted following stringent Editorial Policies. We're committed to providing you with well-researched, expert-backed insights for all your informational needs.


0 thoughts on “How To Install A Metal Roof On A Shed”