Home>Gardening & Outdoor>Outdoor Structures>How To Assemble A Rubbermaid Tool Shed
Outdoor Structures
How To Assemble A Rubbermaid Tool Shed
Modified: March 2, 2024
Learn how to easily assemble a Rubbermaid tool shed for your outdoor structures. Follow our step-by-step guide for a hassle-free setup. Ideal for your outdoor storage needs.
(Many of the links in this article redirect to a specific reviewed product. Your purchase of these products through affiliate links helps to generate commission for Storables.com, at no extra cost. Learn more)
Introduction
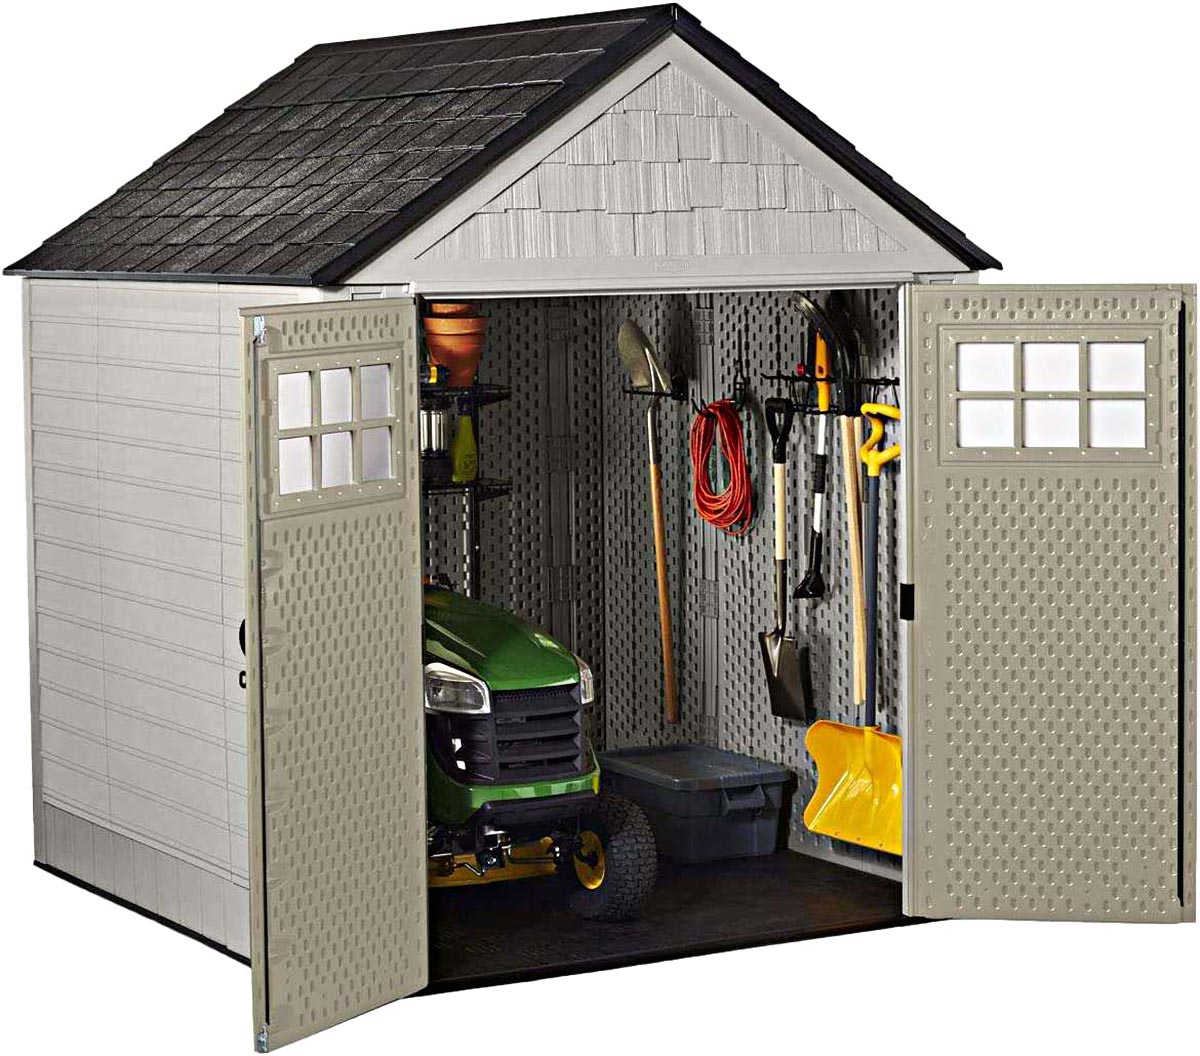
So, you've decided to add a Rubbermaid tool shed to your outdoor space. Congratulations! This addition will not only provide valuable storage for your gardening tools, outdoor gear, and more, but it will also enhance the overall organization and aesthetics of your yard or garden. Assembling a Rubbermaid tool shed may seem like a daunting task, but with the right tools, materials, and a clear plan, you can tackle this project with confidence.
In this comprehensive guide, we will walk you through the step-by-step process of assembling your Rubbermaid tool shed. From gathering the necessary tools and materials to securing the shed to the foundation, we've got you covered. By following these instructions, you'll be well on your way to enjoying the benefits of a sturdy and functional outdoor storage solution.
So, roll up your sleeves, put on your DIY hat, and let's dive into the exciting world of assembling your very own Rubbermaid tool shed. Whether you're a seasoned DIY enthusiast or a novice looking to expand your skills, this guide will equip you with the knowledge and confidence to complete this project successfully. Let's get started!
Key Takeaways:
- Assembling a Rubbermaid tool shed requires careful preparation, step-by-step construction, and securing the shed to the foundation for a sturdy and functional outdoor storage solution.
- By following the comprehensive guide, you’ll gain valuable DIY skills, enhance your outdoor space, and enjoy the satisfaction of completing a practical and visually appealing project.
Read more: How To Assemble A Rubbermaid Shed
Step 1: Gather the Necessary Tools and Materials
Before diving into the assembly process, it’s essential to gather all the tools and materials you’ll need to ensure a smooth and efficient build. Here’s a comprehensive list to help you prepare:
Tools:
- Power drill
- Level
- Work gloves
- Safety glasses
- Tape measure
- Step ladder
- Adjustable wrench
- Utility knife
- Hammer
Materials:
- Rubbermaid tool shed kit
- Pressure-treated 2×4 lumber for the foundation
- Concrete blocks or pavers for the foundation
- Exterior-grade plywood for leveling the foundation
- Corrosion-resistant screws
- Shims
Having these tools and materials at the ready will streamline the assembly process and minimize interruptions. Additionally, ensure that all components of the Rubbermaid shed kit are present and in good condition before proceeding. If any parts are missing or damaged, contact the manufacturer to obtain replacements. With everything in place, you’ll be well-equipped to move on to the next step with confidence.
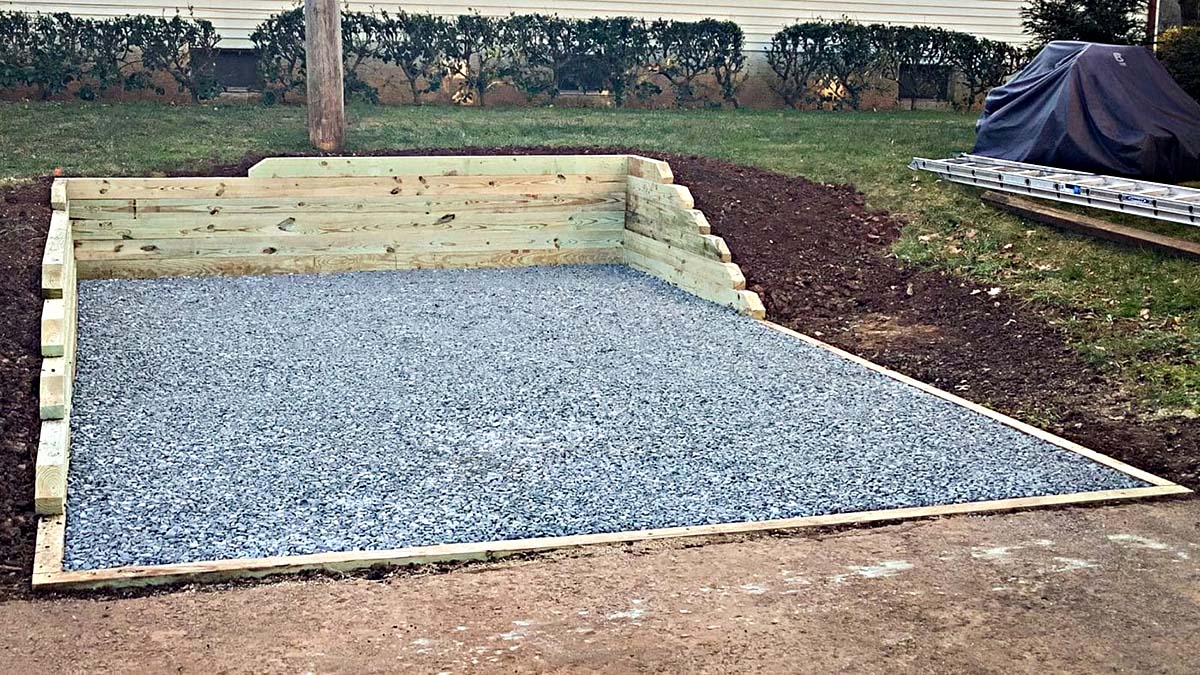
Step 2: Prepare the Site for Assembly
Before you start assembling your Rubbermaid tool shed, it’s crucial to prepare the site to ensure a stable and long-lasting foundation. Here’s how to get the site ready for the shed:
Read more: How To Assemble An Arrow Shed
Choose the Location:
First, select a suitable location for the shed. Ensure the ground is level and free of any obstructions. It’s also wise to place the shed in an area that provides easy access and complements the overall layout of your outdoor space.
Prepare the Foundation:
Once you’ve chosen the location, it’s time to prepare the foundation. If you’re installing the shed on a concrete slab or existing foundation, ensure that it’s level and in good condition. If you’re creating a new foundation, use pressure-treated 2×4 lumber to construct a frame that matches the dimensions of the shed’s base. Place concrete blocks or pavers within the frame to provide stable support for the shed.
Level the Foundation:
After the foundation is in place, use a level to ensure that it’s perfectly horizontal in all directions. This step is critical for the stability and structural integrity of the shed. If the foundation is uneven, use exterior-grade plywood or shims to level it accordingly.
Clear the Area:
Before laying out the shed components, clear the area of any debris, rocks, or other items that could interfere with the assembly process. A clean and organized work area will facilitate a smoother and more efficient build.
By meticulously preparing the site for assembly, you’ll establish a solid foundation for your Rubbermaid tool shed. This groundwork sets the stage for a successful and durable outdoor storage solution that will serve you well for years to come.
Read more: How To Take Apart A Rubbermaid Shed
Step 3: Lay Out the Shed Components
With the site prepared, it’s time to lay out the components of your Rubbermaid tool shed. This step sets the stage for the assembly process and allows you to familiarize yourself with the various parts of the shed kit. Here’s how to proceed:
Organize the Components:
Begin by organizing the shed components according to the manufacturer’s instructions. Group similar parts together and ensure that all necessary pieces are accounted for. This proactive approach will streamline the assembly and minimize the chances of overlooking essential elements.
Review the Instruction Manual:
Take a moment to review the instruction manual provided with the shed kit. Familiarize yourself with the assembly steps, diagrams, and any specific guidelines or precautions outlined by the manufacturer. Understanding the sequence of assembly and the function of each component will empower you to proceed with confidence.
Identify Key Components:
Identify the key components of the shed, including the walls, roof panels, doors, windows, and any additional features specific to your model. By recognizing these elements upfront, you’ll be better prepared to visualize the assembly process and anticipate how the components will come together to form the completed shed.
Read more: How To Put Together A Rubbermaid Shed
Arrange the Components Near the Assembly Site:
Once the components are organized and understood, arrange them near the assembly site for easy access. This strategic placement will minimize the need to shuttle back and forth to retrieve parts during the assembly process, saving time and effort.
By laying out the shed components methodically, you’ll establish a clear starting point for the assembly and set the stage for a structured and efficient build. This preparatory phase paves the way for a successful and rewarding assembly experience.
Step 4: Assemble the Shed Walls and Roof
As you embark on the assembly process, the construction of the shed walls and roof marks a significant milestone in bringing your Rubbermaid tool shed to life. Follow these steps to seamlessly assemble these crucial components:
Construct the Walls:
Begin by assembling the walls of the shed according to the manufacturer’s instructions. Align the wall panels and secure them in place using the provided fasteners. Pay close attention to the orientation of each panel and ensure that they are level and plumb as you progress through the assembly.
Attach the Roof Panels:
Once the walls are in place, it’s time to attach the roof panels. Carefully position the roof sections and secure them to the walls, following the designated assembly sequence. Take care to ensure a snug and secure fit, as the roof plays a critical role in providing protection from the elements.
Read also: 15 Best Rubbermaid Storage Shed For 2024
Check for Alignment and Stability:
After assembling the walls and roof, perform a thorough check to ensure that all components are aligned correctly and that the structure is stable. Use a level to verify that the walls are plumb, and inspect the roof panels for proper alignment and secure attachment. Address any discrepancies promptly to maintain the structural integrity of the shed.
Verify the Integrity of Seams and Joints:
Inspect the seams and joints where the walls and roof panels meet, ensuring that they are tightly connected and sealed as per the manufacturer’s specifications. This step is crucial for safeguarding the shed against water infiltration and maintaining a weather-resistant enclosure for your stored items.
By methodically assembling the shed walls and roof, you’re one step closer to completing your Rubbermaid tool shed. This phase of the assembly process sets the stage for the enclosure to take shape, providing a secure and protective space for your outdoor essentials.
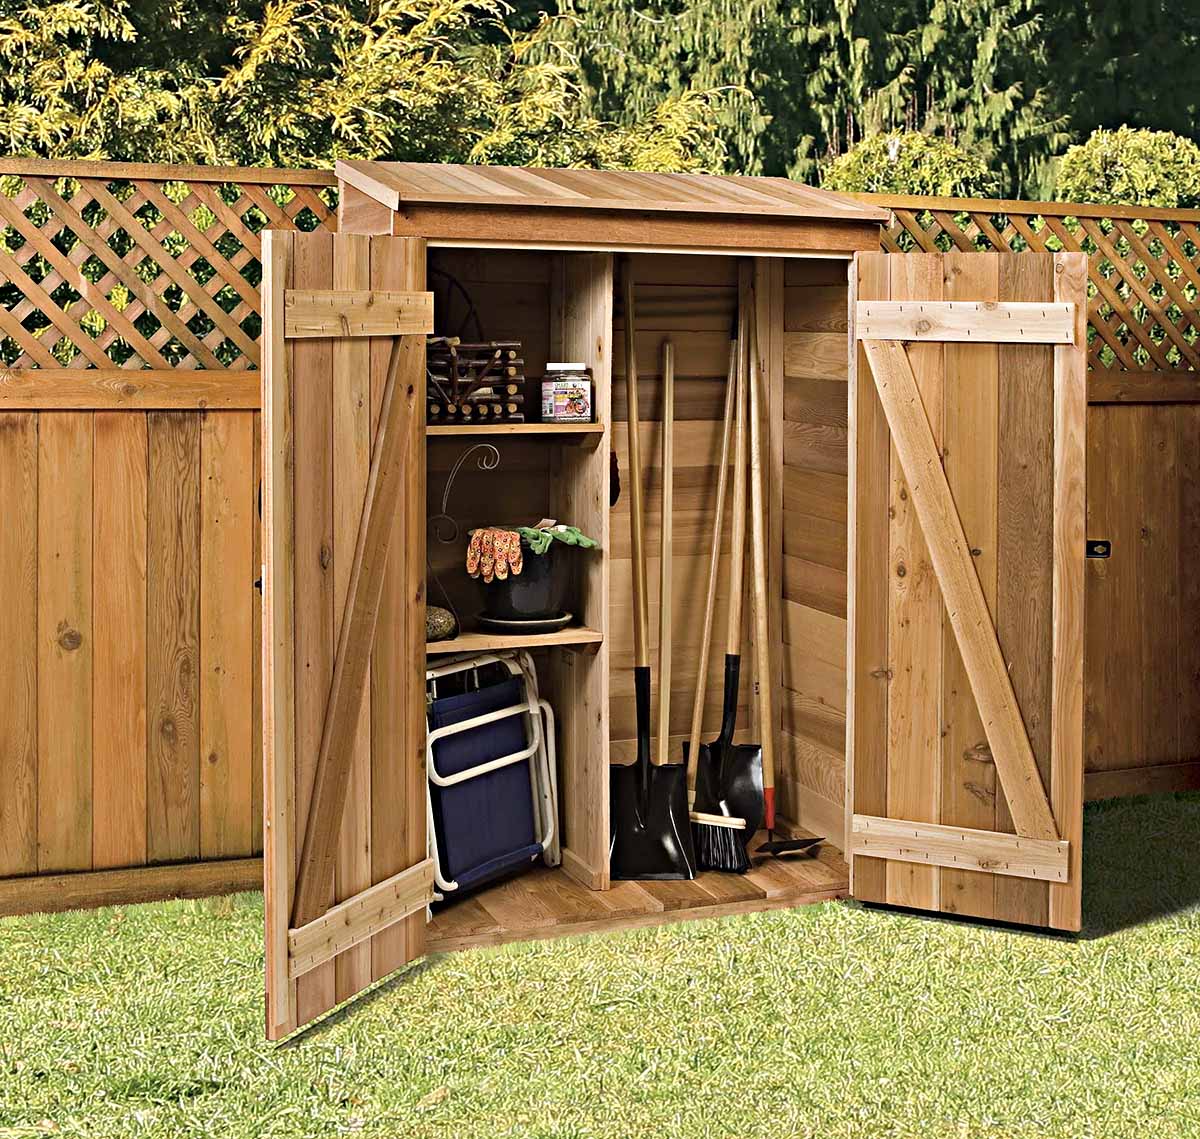
Step 5: Install the Doors and Windows
As you progress through the assembly of your Rubbermaid tool shed, the installation of doors and windows adds functionality and aesthetic appeal to the structure. Follow these steps to seamlessly incorporate these essential elements into your shed:
Install the Doors:
Begin by installing the doors according to the manufacturer’s instructions. Position the door components within the designated openings and secure them in place using the provided hardware. Take care to ensure that the doors operate smoothly and securely latch when closed, providing convenient access to the shed’s interior.
Read more: How To Make A Tool Shed
Integrate Windows, if Applicable:
If your Rubbermaid shed includes windows, proceed to integrate them into the designated openings. Follow the manufacturer’s guidelines to secure the windows in place, ensuring a snug fit and proper sealing to prevent drafts and moisture infiltration. Windows not only enhance natural light within the shed but also contribute to its overall visual appeal.
Verify Functionality and Weatherproofing:
After installing the doors and windows, verify their functionality and weatherproofing. Open and close the doors to confirm smooth operation and proper alignment. Inspect the windows to ensure that they are securely in place and effectively sealed to maintain a weather-resistant enclosure for your stored items.
Enhance Security, if Desired:
If additional security features, such as locks or latches, are included with the doors and windows, consider integrating them to enhance the security of the shed. These measures offer peace of mind by safeguarding your stored belongings and ensuring that the shed remains a secure storage solution.
With the doors and windows installed, your Rubbermaid tool shed is well-equipped to provide convenient access and natural light while maintaining a secure and weather-resistant environment for your stored items. This phase of the assembly process brings the shed closer to its functional and visually appealing completion.
Step 6: Secure the Shed to the Foundation
As you near the completion of assembling your Rubbermaid tool shed, securing the structure to the foundation is a crucial step to ensure stability and longevity. Follow these essential guidelines to anchor your shed securely:
Read more: How To Dismantle A Tool Shed
Position the Shed Over the Foundation:
Carefully position the assembled shed over the prepared foundation, ensuring that it aligns precisely with the designated location. Take time to verify the placement, as this initial positioning is pivotal for securing the shed effectively to the foundation.
Fasten the Shed to the Foundation:
Utilize the recommended fastening method specified by the manufacturer to secure the shed to the foundation. Whether using anchor bolts, screws, or other approved fasteners, ensure that the connection is firm and stable, effectively anchoring the shed to the foundation to withstand external forces and environmental conditions.
Check for Stability and Alignment:
After fastening the shed to the foundation, perform a comprehensive check to confirm its stability and alignment. Ensure that the shed rests securely on the foundation without any noticeable shifts or wobbles. This step is critical for maintaining the structural integrity of the shed and safeguarding its long-term durability.
Inspect and Adjust as Needed:
Thoroughly inspect the fastening points and connections, verifying that they are secure and properly engaged. If any adjustments are necessary to enhance stability or alignment, address them promptly to fortify the shed’s attachment to the foundation and mitigate the risk of displacement.
By securely anchoring your Rubbermaid tool shed to the foundation, you establish a solid and reliable foundation that enhances the shed’s resilience and longevity. This final step in the assembly process ensures that your shed is steadfastly positioned to serve as a dependable storage solution for your outdoor needs.
Read more: How To Organize A Tool Shed
Conclusion
Congratulations on successfully assembling your Rubbermaid tool shed! By following the comprehensive steps outlined in this guide, you’ve transformed a collection of components into a functional and reliable outdoor storage solution. As you admire the completed shed standing proudly in your outdoor space, take a moment to appreciate the effort and dedication you’ve invested in this project.
Not only does your newly assembled shed offer a secure and organized home for your gardening tools, outdoor equipment, and seasonal items, but it also enhances the visual appeal of your yard or garden. The seamless integration of doors and windows, along with the secure attachment to the foundation, ensures that your shed is well-equipped to meet your storage needs while withstanding the elements.
As you reflect on your assembly journey, remember the importance of meticulous preparation, attention to detail, and the satisfaction that comes with completing a DIY project. The knowledge and skills you’ve gained from assembling your Rubbermaid tool shed will serve you well in future endeavors, empowering you to tackle new projects with confidence and proficiency.
Whether you’re a seasoned DIY enthusiast or a newcomer to the world of hands-on projects, the successful assembly of your Rubbermaid tool shed is a testament to your capability and determination. Embrace the sense of accomplishment that accompanies the completion of this project, and take pride in the valuable addition you’ve made to your outdoor space.
As you fill your new shed with your outdoor essentials, from gardening tools to sports gear, may it serve as a testament to your resourcefulness and creativity. With your Rubbermaid tool shed standing as a testament to your dedication and craftsmanship, you’re well-prepared to embark on future projects and continue enhancing your living space with practical and visually appealing solutions.
Now, take a moment to savor the satisfaction of a job well done and envision the countless ways your well-organized and sturdy Rubbermaid tool shed will enrich your outdoor lifestyle for years to come.
Frequently Asked Questions about How To Assemble A Rubbermaid Tool Shed
Was this page helpful?
At Storables.com, we guarantee accurate and reliable information. Our content, validated by Expert Board Contributors, is crafted following stringent Editorial Policies. We're committed to providing you with well-researched, expert-backed insights for all your informational needs.


0 thoughts on “How To Assemble A Rubbermaid Tool Shed”