Home>Gardening & Outdoor>Outdoor Structures>How To Weatherproof A Tool Shed Floor
Outdoor Structures
How To Weatherproof A Tool Shed Floor
Published: December 21, 2023
Learn how to weatherproof your outdoor tool shed floor to protect it from moisture and damage. Follow our step-by-step guide for durable and long-lasting results. Ideal for outdoor structures.
(Many of the links in this article redirect to a specific reviewed product. Your purchase of these products through affiliate links helps to generate commission for Storables.com, at no extra cost. Learn more)
Introduction
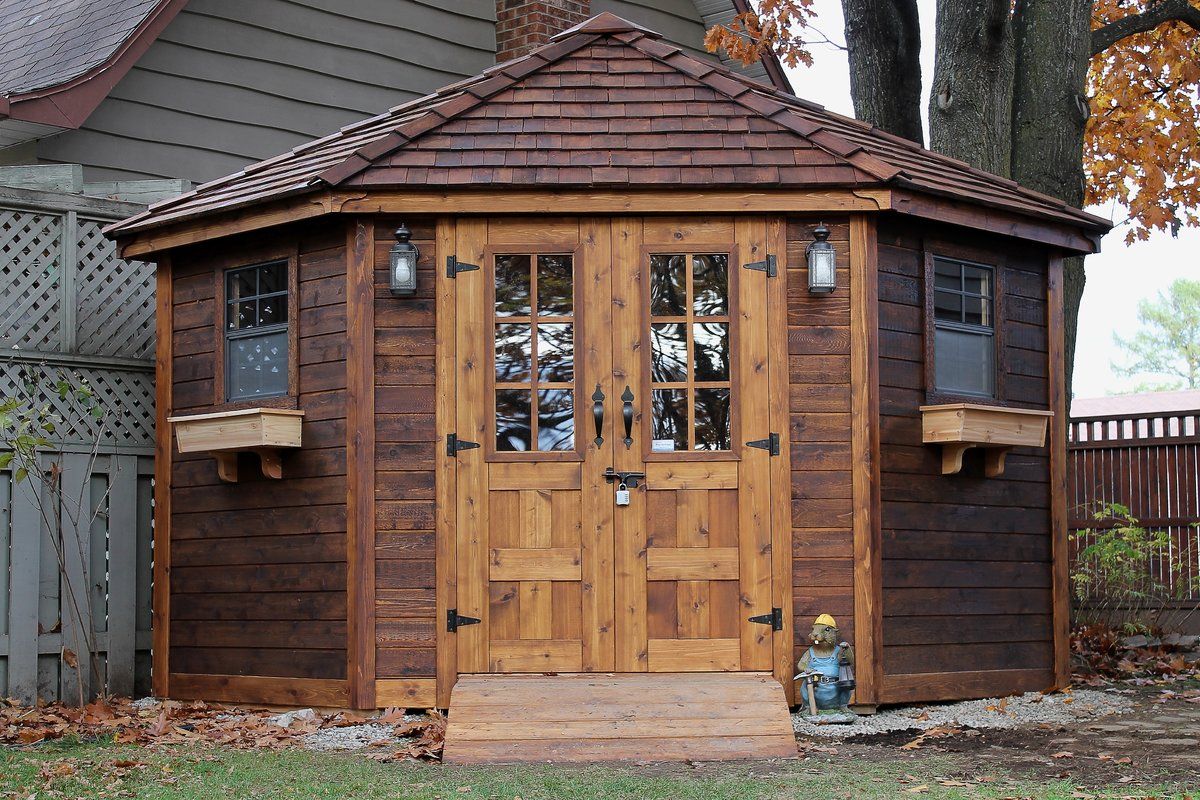
Welcome to the world of outdoor maintenance, where the humble tool shed stands as a bastion of organization and protection for your valuable equipment. However, the floor of your tool shed is often subjected to the harshest treatment from foot traffic, heavy tools, and the relentless assault of the elements. To ensure the longevity and functionality of your tool shed, it's crucial to weatherproof its floor effectively.
In this comprehensive guide, we will delve into the art of weatherproofing a tool shed floor, equipping you with the knowledge and techniques to safeguard this vital structure against moisture, temperature fluctuations, and wear and tear. By following these steps, you will not only fortify the floor against potential damage but also prolong the lifespan of your tools and equipment.
So, let's roll up our sleeves and embark on this transformative journey to weatherproof your tool shed floor. Whether you're a seasoned DIY enthusiast or a novice homeowner, this guide will provide valuable insights and practical tips to elevate the resilience and durability of your tool shed floor. Let's dive in and discover the secrets to a weatherproofed and reliable tool shed floor that will stand the test of time.
Key Takeaways:
- Assess the current condition of your tool shed floor by inspecting for damage, moisture, and environmental factors. This will help you tailor a weatherproofing strategy to protect your tools and equipment.
- Choose the right weatherproofing materials, such as concrete sealers, wood sealers, and epoxy coatings, to shield your tool shed floor from moisture, wear, and environmental impact. Make eco-friendly choices for minimal harm to the environment.
Read more: How To Replace A Shed Floor
Assessing the Current Condition of the Tool Shed Floor
Before diving into the weatherproofing process, it’s essential to thoroughly assess the current state of your tool shed floor. This evaluation will provide valuable insights into the existing challenges and determine the most suitable weatherproofing approach. Here are the key steps to effectively assess the condition of your tool shed floor:
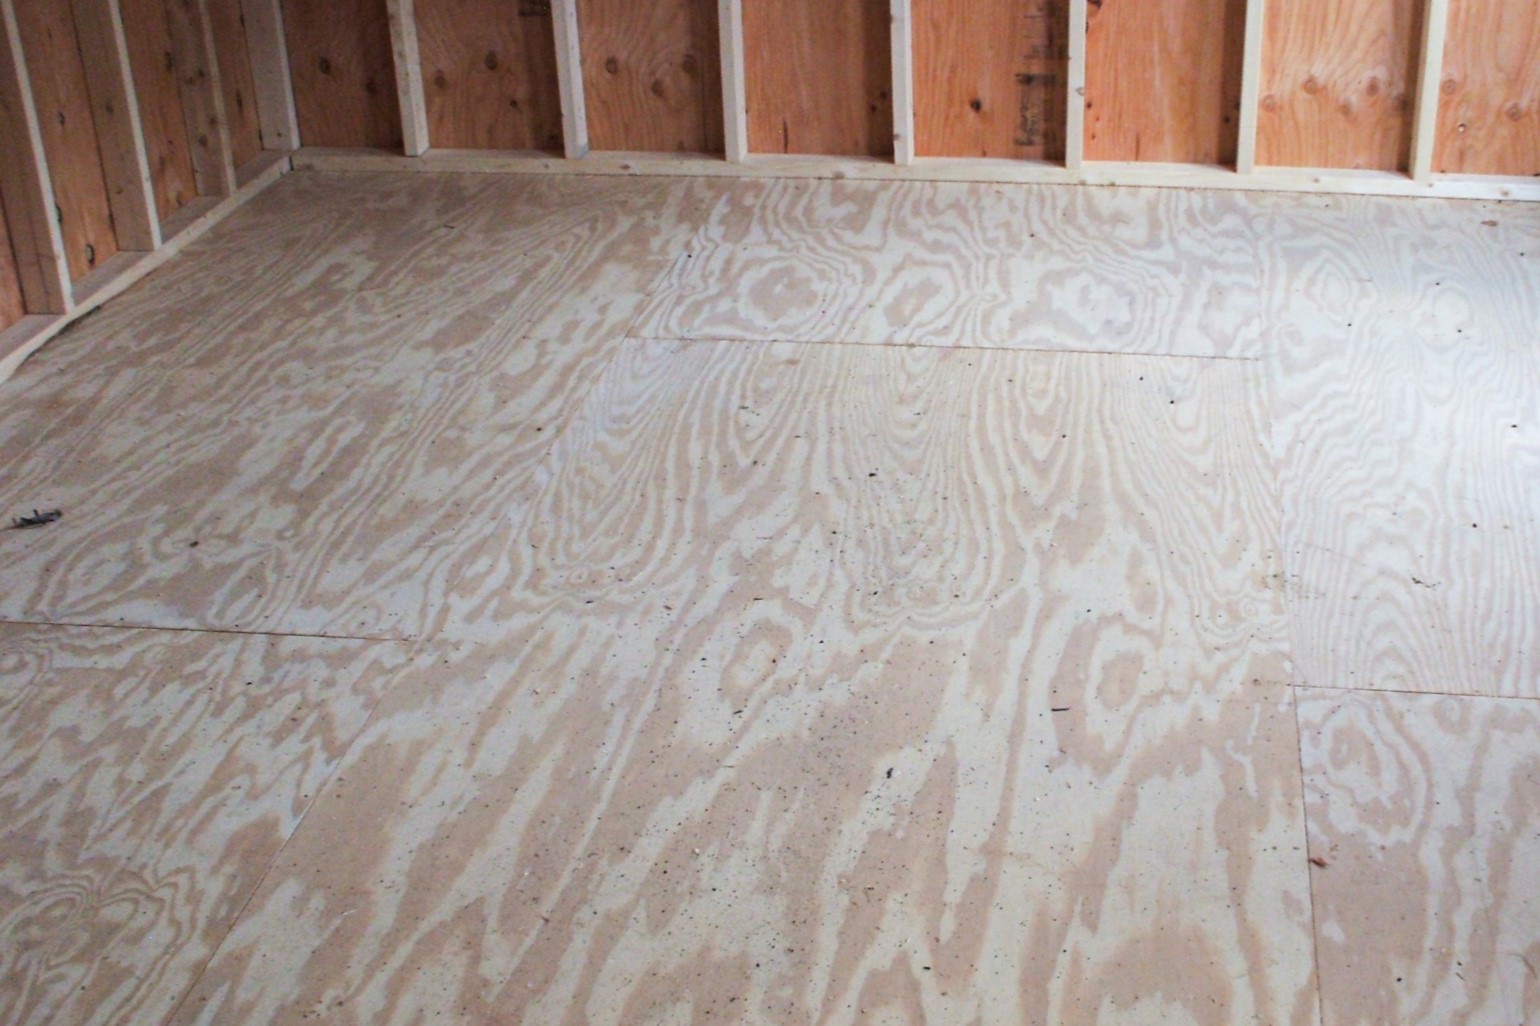
- Surface Inspection: Begin by conducting a visual inspection of the entire floor surface. Look for signs of water damage, cracks, uneven areas, or any existing weatherproofing treatments. Note any areas with noticeable wear and tear, as these will require special attention during the weatherproofing process.
- Moisture Analysis: Use a moisture meter to assess the level of moisture present in the concrete or wood of the tool shed floor. Excessive moisture can lead to mold, mildew, and structural deterioration, making it imperative to address this issue before applying weatherproofing materials.
- Structural Integrity: Check for any structural weaknesses or damage, such as rotting wood or compromised concrete. Addressing structural issues is crucial before proceeding with weatherproofing, as it ensures a solid foundation for the treatment.
- Environmental Factors: Consider the climate and environmental conditions surrounding your tool shed. Factors such as heavy rainfall, snow, extreme temperatures, and humidity levels can significantly impact the floor’s resilience. Understanding these environmental influences will guide your choice of weatherproofing materials.
By meticulously assessing the current condition of your tool shed floor, you’ll gain a comprehensive understanding of its vulnerabilities and strengths. This knowledge will serve as the cornerstone for devising a tailored weatherproofing strategy that addresses specific challenges while enhancing the floor’s overall durability and longevity.
Choosing the Right Weatherproofing Materials
When it comes to weatherproofing a tool shed floor, selecting the appropriate materials is paramount to achieving long-lasting protection and resilience. The choice of weatherproofing products should be informed by the specific characteristics of your tool shed floor, as well as the prevailing environmental conditions. Here are the key considerations to guide you in choosing the right weatherproofing materials:
- Concrete Sealers: For concrete tool shed floors, penetrating or film-forming concrete sealers are popular choices. Penetrating sealers penetrate the concrete to form a protective barrier against moisture, oil, and other contaminants, while film-forming sealers create a protective film on the surface. Consider the porosity of the concrete and the desired level of sheen when selecting a sealer.
- Wood Sealers and Stains: If your tool shed floor is constructed from wood, opt for high-quality wood sealers or stains designed specifically for outdoor use. Look for products that offer UV protection, moisture resistance, and durability to shield the wood from the elements and prevent decay.
- Epoxy Coatings: Epoxy coatings are ideal for enhancing the durability and aesthetics of tool shed floors. They provide a tough, resilient surface that is resistant to chemicals, abrasion, and moisture. Epoxy coatings are available in various colors and finishes, allowing you to customize the appearance of your tool shed floor while fortifying it against damage.
- Anti-Slip Additives: In areas prone to moisture or where slip resistance is a priority, incorporating anti-slip additives into the weatherproofing treatment is essential. These additives enhance traction and safety, particularly in regions with frequent rain, snow, or high humidity.
- Environmental Compatibility: Consider the environmental impact and compatibility of the weatherproofing materials with the surrounding ecosystem. Opt for eco-friendly products that minimize harm to the environment while delivering effective weatherproofing performance.
By carefully evaluating these factors and consulting with experts at your local hardware store or building supply center, you can make informed decisions regarding the most suitable weatherproofing materials for your tool shed floor. The right materials will not only shield the floor from the elements but also enhance its aesthetic appeal and overall functionality, ensuring a well-protected and visually pleasing space for your tools and equipment.
Preparing the Tool Shed Floor for Weatherproofing
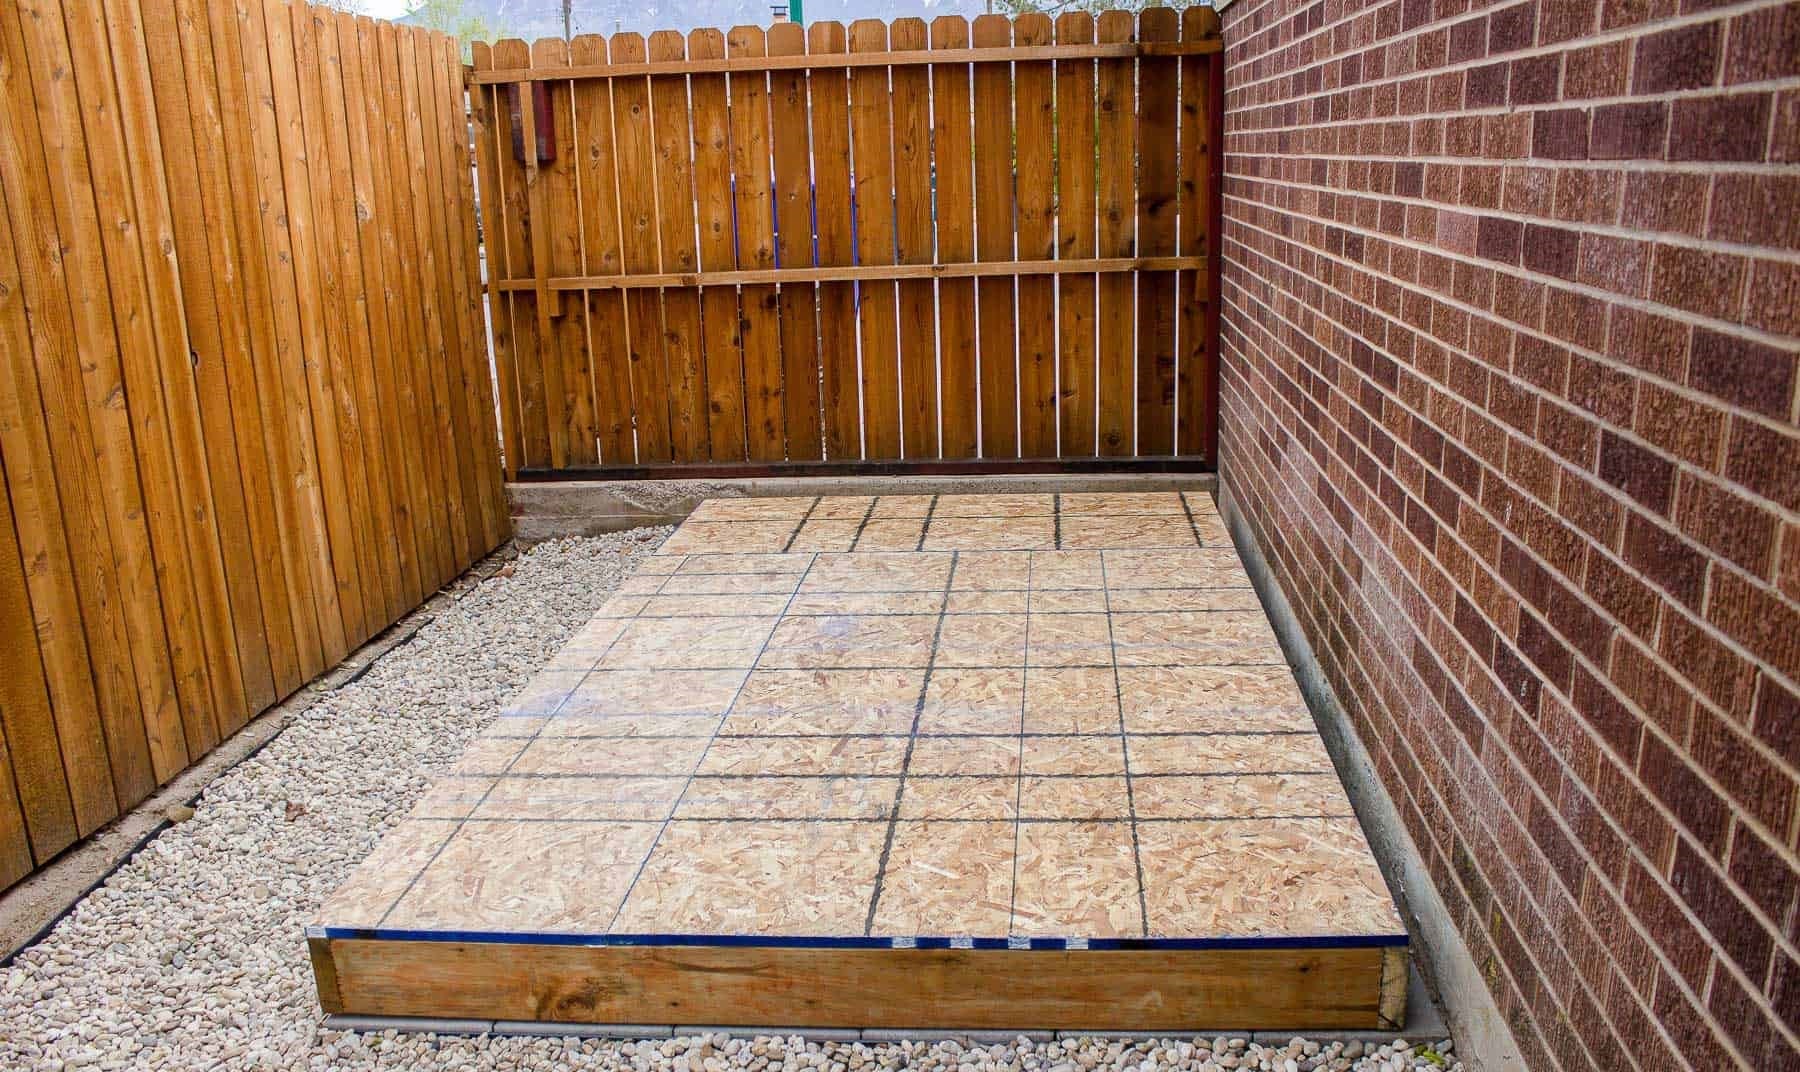
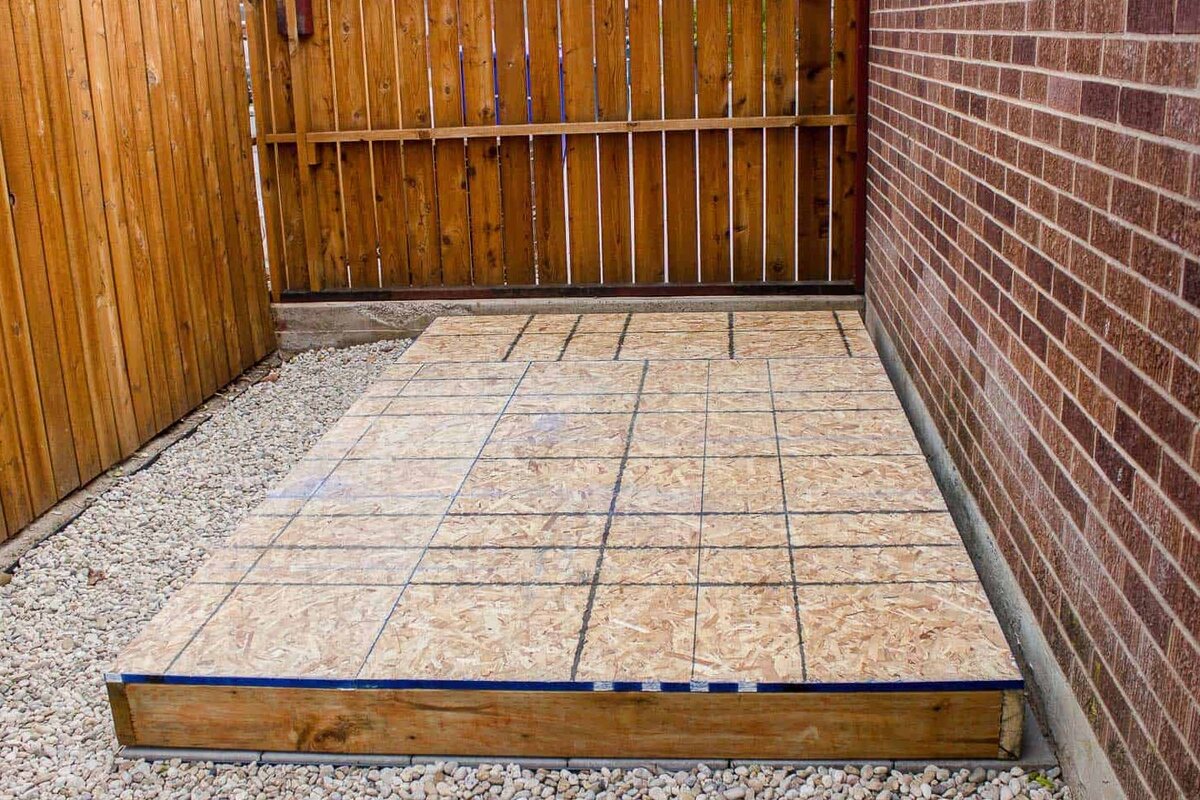
Proper preparation of the tool shed floor is a critical precursor to the successful application of weatherproofing treatments. By meticulously preparing the surface, you can optimize the adhesion and effectiveness of the chosen weatherproofing materials, ensuring long-term protection and durability. Here’s a comprehensive guide to preparing your tool shed floor for weatherproofing:
- Clean the Surface: Begin by thoroughly cleaning the entire floor surface to remove dirt, dust, grease, and any existing coatings or sealants. Use a stiff-bristled broom, a pressure washer, or a suitable cleaning solution to achieve a clean and debris-free surface. Pay special attention to corners, edges, and areas with heavy soiling.
- Repair Damaged Areas: Inspect the floor for cracks, holes, or uneven surfaces, and address any structural or cosmetic damage. Fill in cracks and voids with appropriate patching compounds or repair materials, ensuring a level and uniform surface for the weatherproofing treatment. For wooden floors, replace any rotted or damaged sections before proceeding.
- Remove Moisture and Contaminants: If moisture is present in the concrete or wood, allow the floor to dry completely before applying the weatherproofing materials. Additionally, eliminate any contaminants or residues that could interfere with the adhesion of the weatherproofing products, such as oil, grease, or chemical spills.
- Etch or Sand the Surface (Concrete Floors): For concrete tool shed floors, consider etching the surface with a concrete etching solution or mechanically sanding it to enhance the adhesion of the weatherproofing sealer or coating. This step promotes a stronger bond between the concrete and the weatherproofing material, ensuring greater longevity and effectiveness.
- Protect Adjacent Surfaces: Safeguard the walls, doors, and any adjacent surfaces from inadvertent contact with the weatherproofing materials. Use painter’s tape, drop cloths, or protective barriers to prevent unintended application and to maintain the visual integrity of surrounding areas.
By diligently preparing the tool shed floor in accordance with these guidelines, you will create an optimal foundation for the weatherproofing process, maximizing the performance and durability of the applied treatments. This preparatory phase sets the stage for a successful weatherproofing endeavor, ensuring that your tool shed floor remains resilient and protected for years to come.
Consider using a waterproof sealant or paint to protect the tool shed floor from moisture. Make sure to clean and dry the floor thoroughly before applying the sealant for best results.
Applying the Weatherproofing Treatment
With the tool shed floor meticulously prepared, it’s time to embark on the transformative process of applying the weatherproofing treatment. This pivotal step will fortify the floor against moisture, abrasion, and environmental factors, ensuring its longevity and resilience. Here’s a comprehensive guide to effectively applying the weatherproofing treatment to your tool shed floor:
- Choose an Optimal Application Time: Select a time for application when the weather conditions are conducive to the drying and curing of the weatherproofing materials. Avoid extremely hot or cold temperatures, high humidity, or direct sunlight, as these factors can impact the application and drying process.
- Follow Manufacturer’s Guidelines: Carefully read and adhere to the manufacturer’s instructions for the specific weatherproofing product you are using. This includes recommended application techniques, coverage rates, drying times, and safety precautions. Following these guidelines will optimize the performance and longevity of the weatherproofing treatment.
- Apply Even Coats: Whether using sealers, stains, coatings, or other weatherproofing products, strive to apply even and uniform coats across the entire tool shed floor. Use brushes, rollers, or sprayers as recommended by the product manufacturer to achieve consistent coverage and a professional finish.
- Allow for Sufficient Drying Time: After each coat of the weatherproofing treatment is applied, allow ample time for drying and curing as per the product’s specifications. Adequate drying time is essential to ensure the formation of a durable and resilient protective layer that effectively shields the floor from moisture and other damaging elements.
- Implement Additional Protective Measures: In areas where slip resistance is a concern, consider incorporating anti-slip additives into the final coat of the weatherproofing treatment. This extra layer of protection enhances safety and traction, especially in regions prone to moisture or where foot traffic is frequent.
By meticulously following these steps and exercising patience throughout the application process, you will effectively weatherproof your tool shed floor, enhancing its durability and resistance to environmental stressors. The application of the weatherproofing treatment represents a transformative stage in fortifying the floor against the elements, ensuring a reliable and long-lasting foundation for your valuable tools and equipment.
Read more: How To Dismantle A Tool Shed
Maintaining the Weatherproofed Tool Shed Floor
Having weatherproofed your tool shed floor, it’s essential to implement a proactive maintenance regimen to preserve the effectiveness and longevity of the applied treatments. Regular maintenance not only safeguards the floor against wear and tear but also ensures that it continues to provide optimal protection for your valuable tools and equipment. Here’s a comprehensive guide to maintaining the weatherproofed tool shed floor:
- Establish a Cleaning Routine: Implement a regular cleaning schedule to remove dirt, debris, and any potential contaminants from the weatherproofed floor. Use a soft-bristled broom, a mop, or a gentle cleaning solution to maintain the cleanliness of the surface without compromising the integrity of the weatherproofing treatment.
- Address Spills and Stains Promptly: Accidental spills or stains should be promptly addressed to prevent them from compromising the protective layer of the weatherproofing treatment. Use appropriate cleaning methods and products recommended for the specific type of weatherproofing material to effectively remove spills and maintain the floor’s resilience.
- Monitor Wear and Tear: Regularly inspect the tool shed floor for signs of wear, particularly in high-traffic areas or zones where heavy tools are frequently placed. Address any areas showing wear and tear by applying touch-up treatments or reapplying weatherproofing materials as needed to maintain the floor’s protective qualities.
- Perform Periodic Maintenance Checks: Conduct periodic assessments of the weatherproofed floor to evaluate its overall condition and effectiveness. Look for any areas where the protective layer may be compromised, and take proactive measures to reinforce these areas to prevent moisture infiltration or structural deterioration.
- Reapply Weatherproofing Treatments as Necessary: Over time, the protective qualities of the weatherproofing treatments may diminish due to environmental exposure and regular use. As part of the maintenance regimen, consider reapplying weatherproofing materials at recommended intervals to ensure continuous protection and resilience.
By diligently adhering to these maintenance practices, you will uphold the integrity and effectiveness of the weatherproofed tool shed floor, safeguarding it against the rigors of daily use and environmental factors. A proactive approach to maintenance not only prolongs the lifespan of the weatherproofing treatments but also ensures that your tool shed floor remains a reliable and resilient foundation for your valuable tools and equipment.
Conclusion
Congratulations on embarking on the transformative journey of weatherproofing your tool shed floor. By prioritizing the resilience and longevity of this vital space, you have taken a proactive step toward safeguarding your valuable tools and equipment from the relentless forces of nature. As we conclude this comprehensive guide, let’s recap the key insights and essential steps that will empower you to maintain a weatherproofed and reliable tool shed floor:
- Assessment and Preparation: Thoroughly assess the current condition of the tool shed floor, addressing any structural issues and preparing the surface through cleaning, repairs, and moisture management.
- Material Selection: Choose weatherproofing materials tailored to the specific characteristics of your tool shed floor, considering factors such as the material composition, environmental influences, and long-term durability.
- Application Process: Meticulously apply the chosen weatherproofing treatment, following manufacturer’s guidelines and ensuring even coverage to fortify the floor against moisture, abrasion, and environmental stressors.
- Maintenance Regimen: Implement a proactive maintenance routine, including regular cleaning, prompt spill management, periodic assessments, and reapplication of weatherproofing treatments as necessary to uphold the floor’s protective qualities.
By embracing these principles and practices, you are not only enhancing the resilience and longevity of your tool shed floor but also elevating the overall functionality and visual appeal of this essential space. As a result, your tools and equipment will be housed in a secure and weather-resistant environment, ensuring their continued reliability and performance.
Remember, the process of weatherproofing your tool shed floor is a transformative endeavor that transcends mere maintenance—it is a testament to your commitment to preserving the integrity of your outdoor space and the valuable contents within. With this guide as your ally, you are equipped with the knowledge and techniques to weatherproof your tool shed floor effectively, ensuring that it remains a steadfast guardian of your tools and equipment for years to come.
So, as you venture forth on this journey, may your tool shed floor stand as a testament to resilience, protection, and unwavering reliability—a testament to your dedication to safeguarding the tools and equipment that empower your outdoor pursuits.
Frequently Asked Questions about How To Weatherproof A Tool Shed Floor
Was this page helpful?
At Storables.com, we guarantee accurate and reliable information. Our content, validated by Expert Board Contributors, is crafted following stringent Editorial Policies. We're committed to providing you with well-researched, expert-backed insights for all your informational needs.


0 thoughts on “How To Weatherproof A Tool Shed Floor”