Furniture
How To Extend Chandelier Wire
Modified: September 2, 2024
Discover the easiest way to extend chandelier wire for your furniture. Follow our step-by-step guide and enhance the lighting of your living space today!
(Many of the links in this article redirect to a specific reviewed product. Your purchase of these products through affiliate links helps to generate commission for Storables.com, at no extra cost. Learn more)
Introduction
Chandeliers are not only beautiful decorative pieces but also functional lighting fixtures that can add elegance and charm to any room. However, there may be instances where the existing wire of a chandelier is not long enough to properly hang it in your desired location. In such cases, it becomes necessary to extend the chandelier wire to ensure proper installation and functionality.
Extending chandelier wire may seem like a daunting task, especially if you have limited knowledge of electrical systems. However, with the right tools and proper guidance, you can easily extend the wire and safely hang your chandelier in your preferred location.
In this article, we will guide you through the process of extending chandelier wire. We will discuss the necessary tools and materials you will need, the proper steps to follow, and important safety precautions to keep in mind.
So, whether you are moving into a new home, redecorating a room, or simply desire to give your chandelier a new home, read on to learn how you can extend chandelier wire and create a stunning focal point in your space.
Key Takeaways:
- Safely extend chandelier wire using basic tools and materials, ensuring proper functionality and elegance in any room. Prioritize safety, follow steps, and enjoy a stunning focal point in your space.
- Understand chandelier wiring, gather necessary tools, and follow step-by-step instructions to confidently extend chandelier wire. Prioritize safety, test thoroughly, and consult a professional if needed for a successful installation.
Read more: How To Hide Chandelier Wires
Understanding Chandelier Wiring
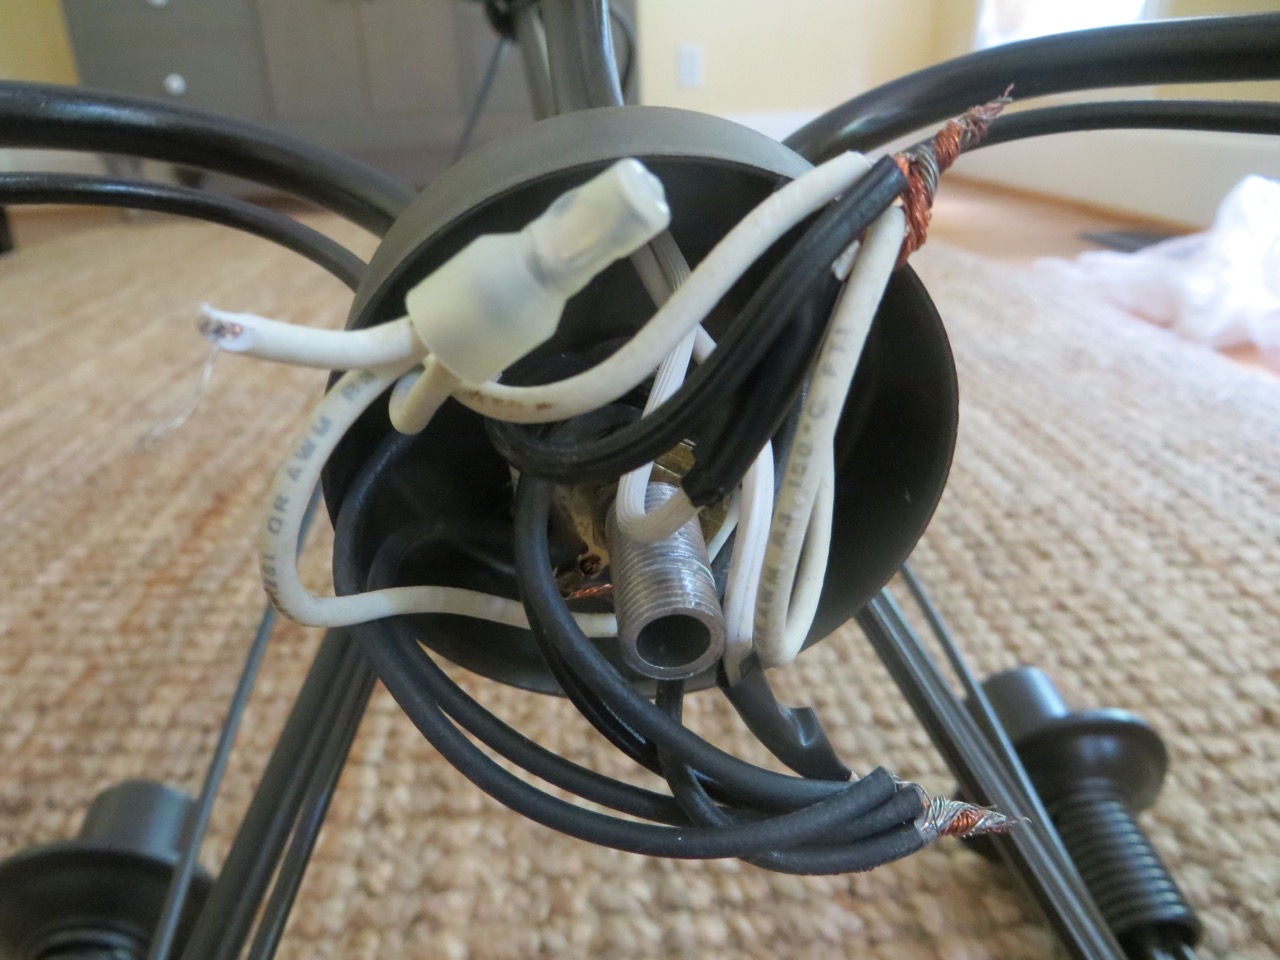
Before we dive into the process of extending chandelier wire, it’s important to have a basic understanding of chandelier wiring. Chandeliers are typically powered by electrical wires that connect to a junction box or ceiling outlet. These wires consist of a hot wire, a neutral wire, and, in some cases, a ground wire.
The hot wire carries the electrical current from the power source to the chandelier, allowing it to illuminate when the switch is turned on. The neutral wire completes the electrical circuit, while the ground wire provides an additional safety measure by grounding any excess electrical current.
Chandeliers usually have multiple arms or branches, each requiring its own connection to the electrical wiring. These branches are often connected using a central connector or hub, which allows electricity to flow to each individual light bulb. Understanding how chandelier wiring works will help you navigate the process of extending the wire and ensure a safe and functioning installation.
It’s important to note that working with electrical wiring can be dangerous if you don’t have the necessary knowledge and experience. If you are unsure about any aspect of chandelier wiring or feel uncomfortable handling electrical work, it is always best to hire a professional electrician to ensure a safe and successful installation.
Now that you have a basic understanding of chandelier wiring, let’s move on to the tools and materials you’ll need to extend the chandelier wire.
Tools and Materials Needed
Before you can begin extending chandelier wire, it’s important to gather all the necessary tools and materials. Having the right equipment on hand will make the process smoother and ensure that you can complete the task efficiently.
Here are the tools and materials you will need:
- Wire cutters: These will be used to cut the existing chandelier wire to the desired length.
- Wire strippers: You will need wire strippers to remove the insulation from the ends of the wire.
- Wire connectors: These connectors will be used to join the extended wire to the existing chandelier wire.
- Electrical tape: Electrical tape is essential for insulating and securing the wire connections.
- Wire nuts: Wire nuts are used to secure the wire connections. Make sure to choose the appropriate size for your wire gauge.
- Extension cord: An extension cord will be used to extend the length of the chandelier wire. Choose a cord with the appropriate wire gauge for your chandelier’s power requirements.
- Ladder or step stool: Depending on the height of the chandelier, you may need a ladder or step stool to safely access the installation area.
- Safety goggles: Protect your eyes from any debris or potential hazards by wearing safety goggles throughout the process.
- Gloves: It’s always a good idea to wear gloves to protect your hands while working with electrical wiring.
Make sure to gather all these tools and materials before getting started. Having everything within reach will save you time and prevent unnecessary interruptions during the process of extending chandelier wire.
Now that you have everything you need, let’s move on to the steps for extending the chandelier wire.
When extending chandelier wire, be sure to use wire nuts to securely connect the new wire to the existing wire. Make sure to match the gauge of the wires for a safe and secure connection.
Steps to Extend Chandelier Wire
Now that you have all the necessary tools and materials, let’s proceed with the steps to extend chandelier wire:
- Turn off the power: Before beginning any electrical work, turn off the power to the chandelier at the main circuit breaker. This step is crucial for your safety.
- Remove the chandelier: If the chandelier is already installed, carefully remove it from its current location. Make sure to support the weight of the chandelier and disconnect any electrical connections.
- Determine the desired length: Measure the distance from the junction box or ceiling outlet to the desired location where you want to hang the chandelier. Add a few extra feet to this measurement to ensure you have enough wire length to work with.
- Cut the wire: Use wire cutters to cut the existing chandelier wire to the desired length. Make sure to cut the wire cleanly and without damaging the insulation. Set the chandelier aside for now.
- Prepare the extension cord: Cut the male end of the extension cord, leaving a few inches of wire. Strip the insulation from the end of the extension cord wires using wire strippers.
- Connect the wires: Twist together the exposed end of the extension cord wires with the corresponding wires of the existing chandelier wire. Use wire nuts to secure the connections, making sure they are tight and well-insulated. If necessary, wrap the connections with electrical tape for added security.
- Secure the wires: Use electrical tape to secure the wire connections. Wrap the tape around the wire nuts, creating a tight and insulated seal.
- Hang the chandelier: Carefully hang the chandelier in its desired location using the appropriate hardware. Make sure the junction box or ceiling outlet is securely fastened and can support the weight of the chandelier.
- Restore power and test: Turn the power back on at the main circuit breaker and test the chandelier to ensure it is functioning properly. If everything is in working order, you have successfully extended the chandelier wire!
Remember to follow any additional instructions or guidelines provided by the manufacturer of your specific chandelier and consult a professional electrician if you have any doubts or concerns.
With these steps, you can confidently extend chandelier wire and enjoy your beautifully illuminated space.
Testing and Safety Precautions
After extending the chandelier wire, it is crucial to perform thorough testing and follow appropriate safety precautions to ensure a safe and functional installation.
Here are some important testing and safety precautions to keep in mind:
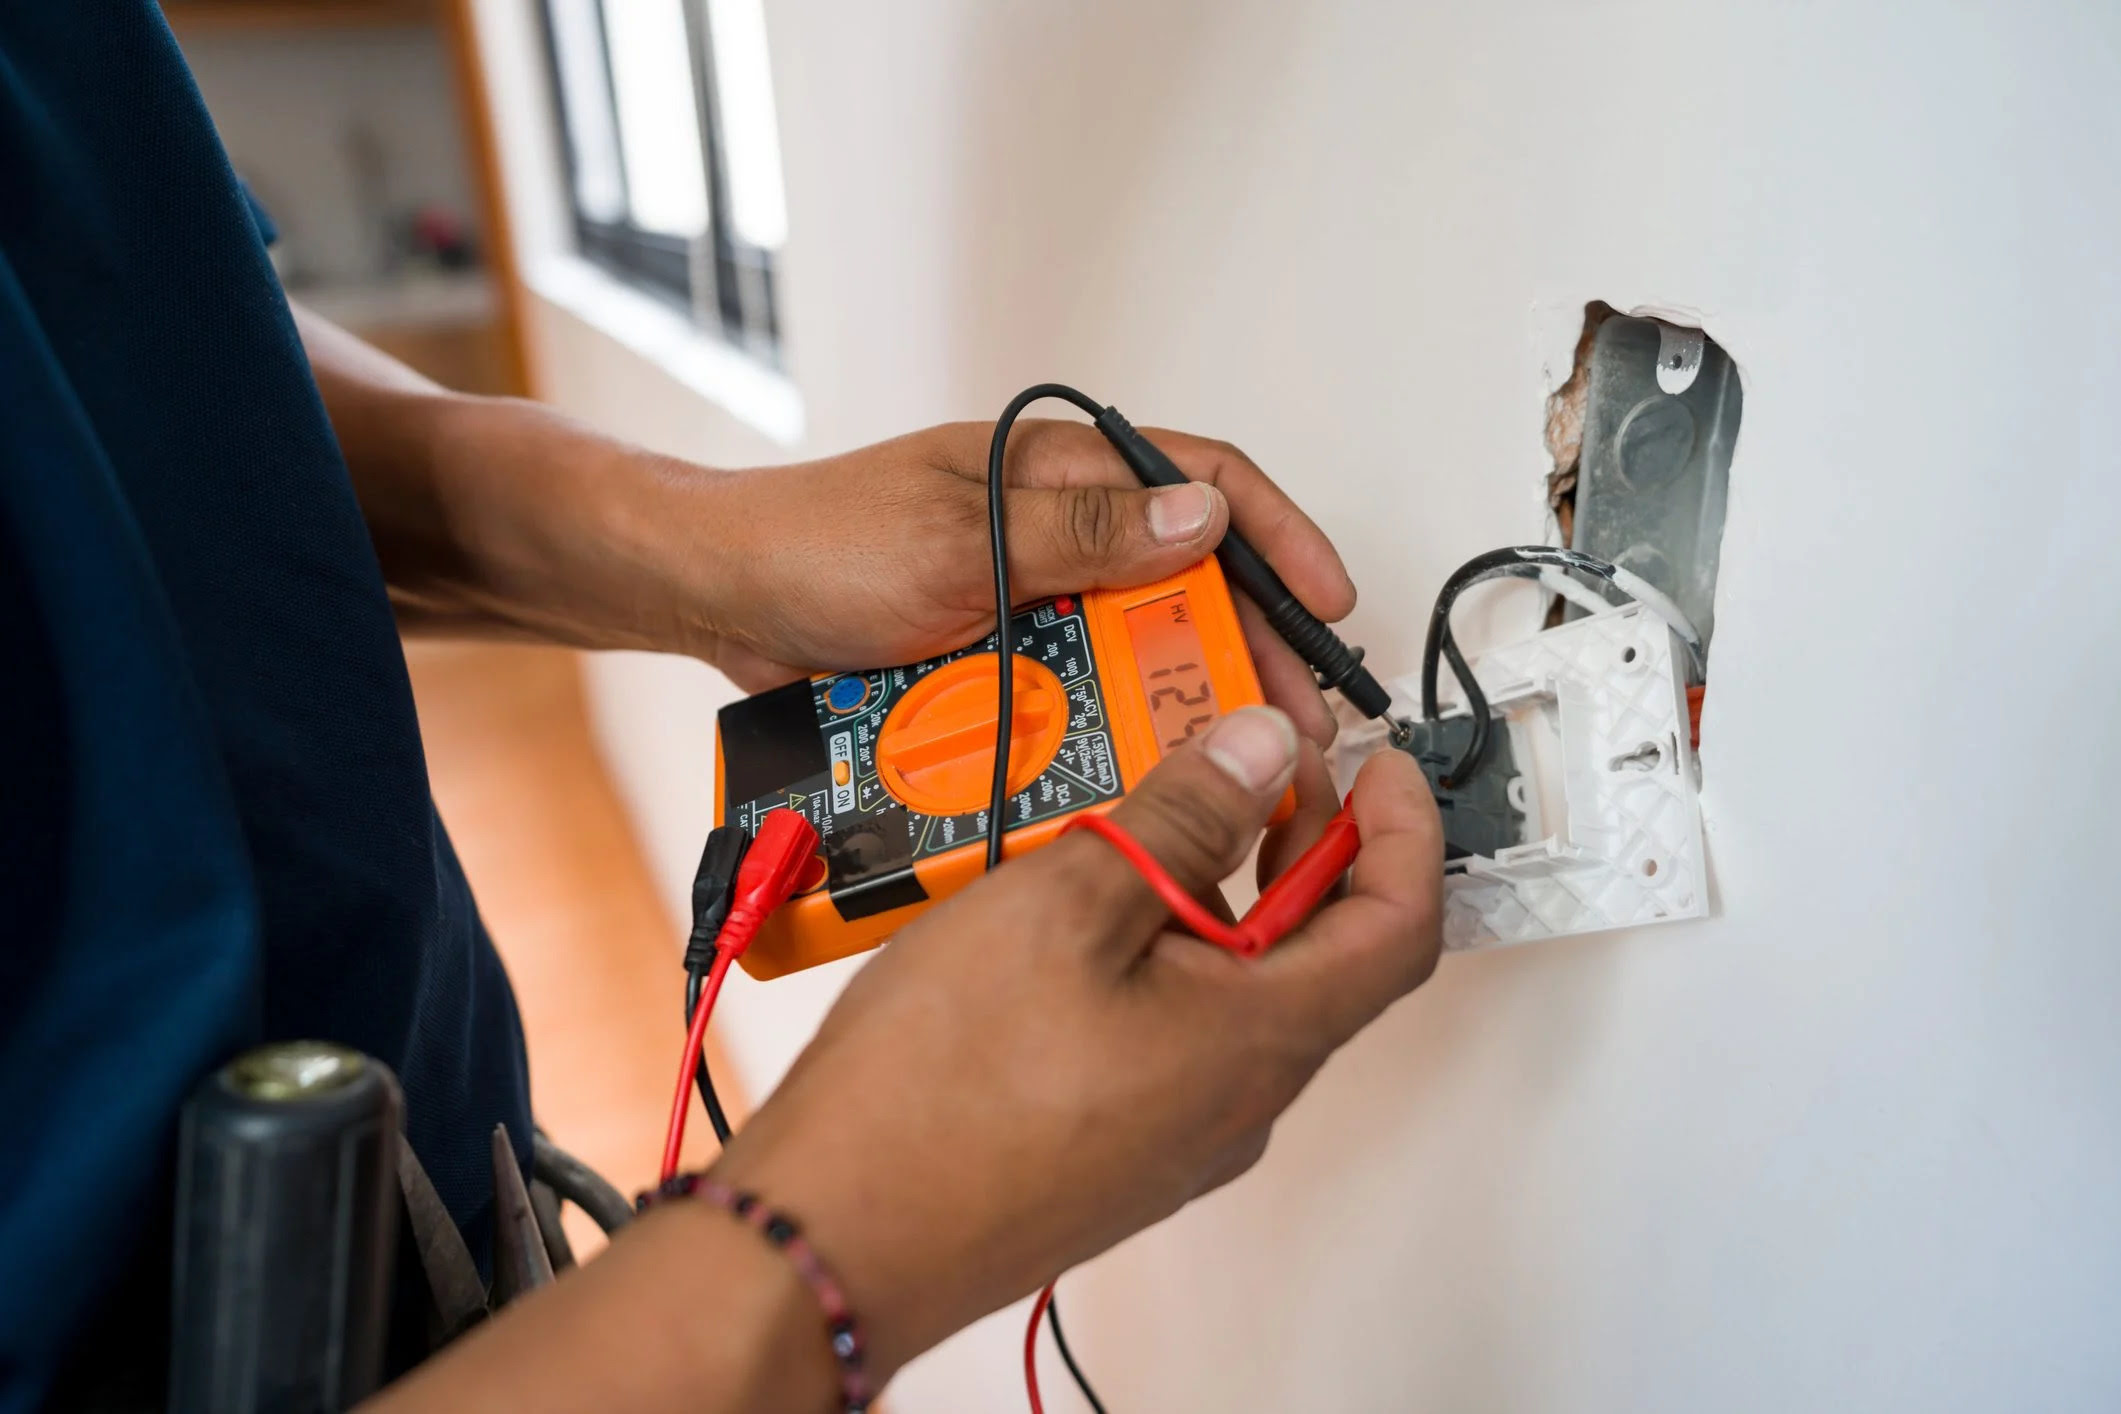
- Test the electrical connections: Once the chandelier is hanging and the power is restored, test each individual light bulb to ensure they illuminate properly. If any bulbs are not working, double-check the wire connections and make sure they are secured tightly.
- Check for any signs of damage: Inspect the wire connections, insulation, and overall condition of the wires for any signs of damage or wear. This includes checking for frayed wires, loose connections, or exposed wiring. If you notice any issues, it’s important to address them immediately and consider consulting a professional electrician.
- Ensure the chandelier is properly supported: Check that the chandelier is securely fastened and properly supported by the junction box or ceiling outlet. Ensure it is not wobbling or at risk of falling. If you notice any instability, consider reinforcing the hardware or contacting a professional for assistance.
- Follow safety guidelines: Always follow safety guidelines when working with electrical systems. This includes turning off the power at the main circuit breaker before starting any work, using appropriate safety equipment like gloves and safety goggles, and avoiding working alone if possible.
- Consult a professional if needed: If you have any doubts about your ability to extend chandelier wire or encounter any complex electrical issues during the process, it is always best to consult a professional electrician. They have the knowledge and expertise to ensure the job is done safely and correctly.
By following these testing and safety precautions, you can ensure the proper functionality and safety of your extended chandelier wire installation.
Now that you are familiar with the testing and safety precautions, let’s wrap up the article.
Read more: How To Wire A Chandelier With A Ground Wire
Conclusion
Extending chandelier wire may seem like a daunting task, but with the right tools, materials, and guidance, it can be accomplished safely and successfully. By following the steps outlined in this article, you can extend the wire of your chandelier and hang it in your desired location, adding beauty and ambiance to any room.
Remember to always prioritize safety when working with electrical systems. Turn off the power at the main circuit breaker, use appropriate safety equipment, and consult a professional if you have any doubts or complex electrical issues.
By understanding chandelier wiring, gathering the necessary tools and materials, and following the proper steps, you can confidently extend chandelier wire and enjoy the fruits of your labor.
So, whether you’re moving into a new home, redecorating a room, or simply want to give your chandelier a new home, take the time to extend the wire and create a stunning focal point in your space.
Now, armed with the knowledge and tools necessary, it’s time to go forth and elevate your chandelier installation. Happy wiring!
Frequently Asked Questions about How To Extend Chandelier Wire
Was this page helpful?
At Storables.com, we guarantee accurate and reliable information. Our content, validated by Expert Board Contributors, is crafted following stringent Editorial Policies. We're committed to providing you with well-researched, expert-backed insights for all your informational needs.


0 thoughts on “How To Extend Chandelier Wire”