Home>Gardening & Outdoor>Outdoor Structures>How To Get Wi-Fi In A Shed
Outdoor Structures
How To Get Wi-Fi In A Shed
Modified: March 2, 2024
Learn how to get Wi-Fi in your shed and other outdoor structures with our easy-to-follow guide. Stay connected no matter where you are!
(Many of the links in this article redirect to a specific reviewed product. Your purchase of these products through affiliate links helps to generate commission for Storables.com, at no extra cost. Learn more)
Introduction
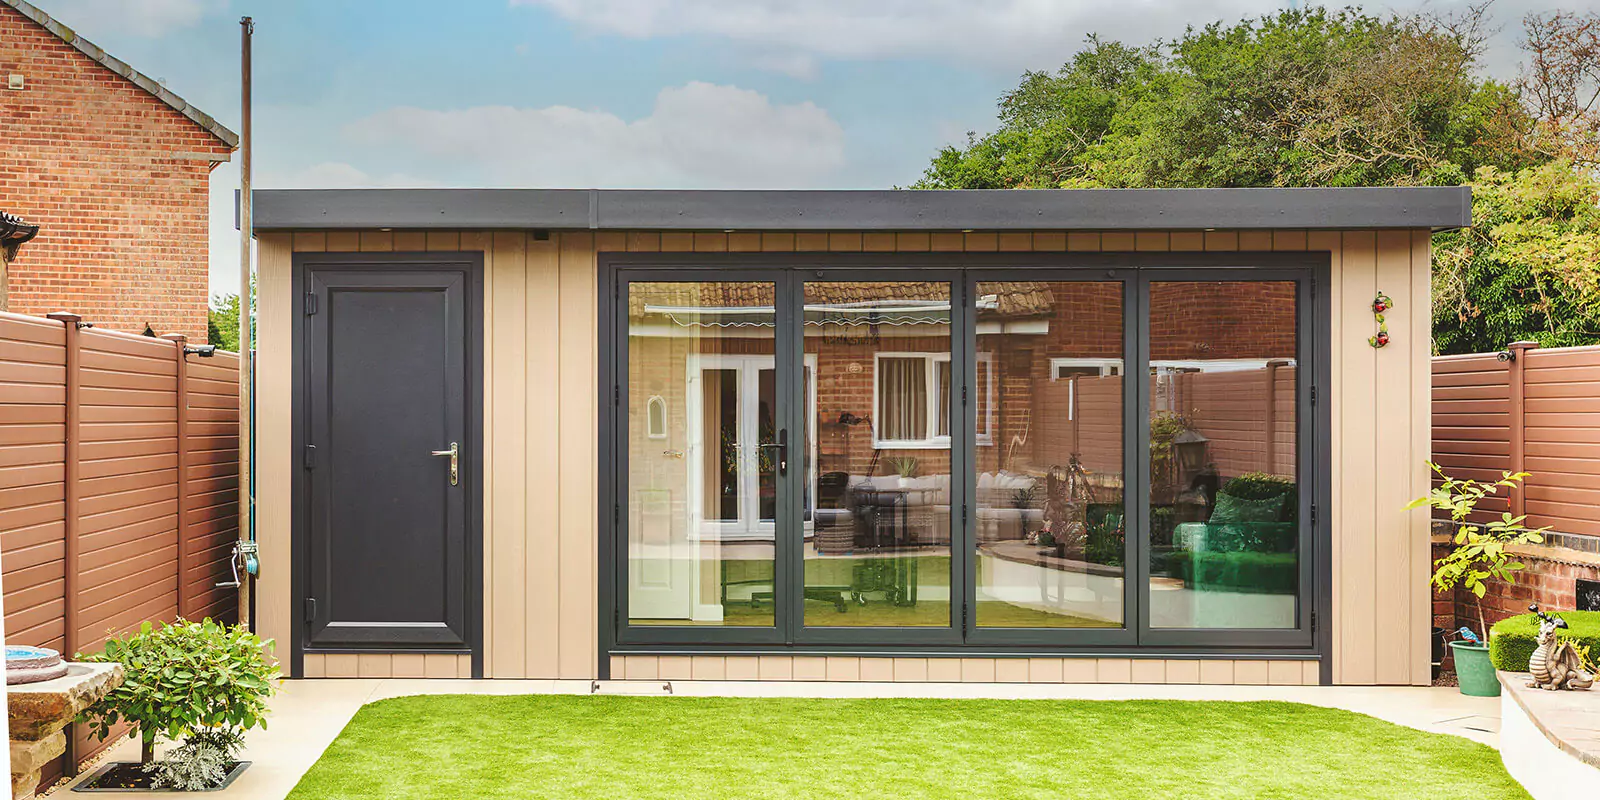
So, you've got a cozy shed nestled in your backyard, a perfect spot to escape the hustle and bustle of daily life. Whether you're using it as a workshop, a home office, or simply a peaceful retreat, having a reliable Wi-Fi connection in your shed can greatly enhance its functionality. Imagine streaming your favorite music while working on a DIY project or catching up on emails without interruption.
In this comprehensive guide, we will explore various methods to bring Wi-Fi to your shed, ensuring that you can stay connected and productive in your secluded haven. From assessing the Wi-Fi signal strength to setting up a Wi-Fi repeater or a powerline adapter, we've got you covered. So, let's dive in and transform your shed into a well-connected oasis.
Key Takeaways:
- Transform your shed into a well-connected oasis by assessing Wi-Fi signal strength and choosing the best method to extend the range, whether it’s a repeater, powerline adapter, or range extender.
- With a stable Wi-Fi connection in your shed, you can enjoy seamless streaming, productive DIY projects, and virtual meetings, creating a connected and inspiring space that complements your outdoor lifestyle.
Read more: How To Get Better WiFi In The Basement
Assessing the Wi-Fi Signal
Before delving into the process of extending your Wi-Fi to the shed, it’s crucial to assess the strength of the existing Wi-Fi signal. This step will help determine the most effective method for achieving a stable and reliable connection in your shed.
Start by taking your smartphone, tablet, or laptop to the shed and checking the Wi-Fi signal strength. Walk around the perimeter of the shed and note any areas with weak or no signal. This will give you a clear idea of the extent of the Wi-Fi coverage and the areas where the signal is strongest and weakest.
Several smartphone apps are available for both Android and iOS devices that can provide detailed information about Wi-Fi signal strength. These apps can display signal strength in real-time, allowing you to identify the optimal location for your Wi-Fi extender or repeater.
If you notice significant signal degradation as you move farther from your home, it’s likely that the Wi-Fi signal is struggling to reach the shed. In such cases, it’s essential to explore solutions for extending the Wi-Fi range to ensure seamless connectivity in your shed.
Understanding the current Wi-Fi signal strength is the first step in the process of bringing Wi-Fi to your shed. Armed with this knowledge, you can now explore the various options for extending the Wi-Fi range and enhancing connectivity in your outdoor sanctuary.
Extending the Wi-Fi Range
Extending the Wi-Fi range to cover your shed involves deploying specialized equipment designed to amplify and distribute the existing Wi-Fi signal. There are several effective methods to achieve this, each with its own advantages and considerations.
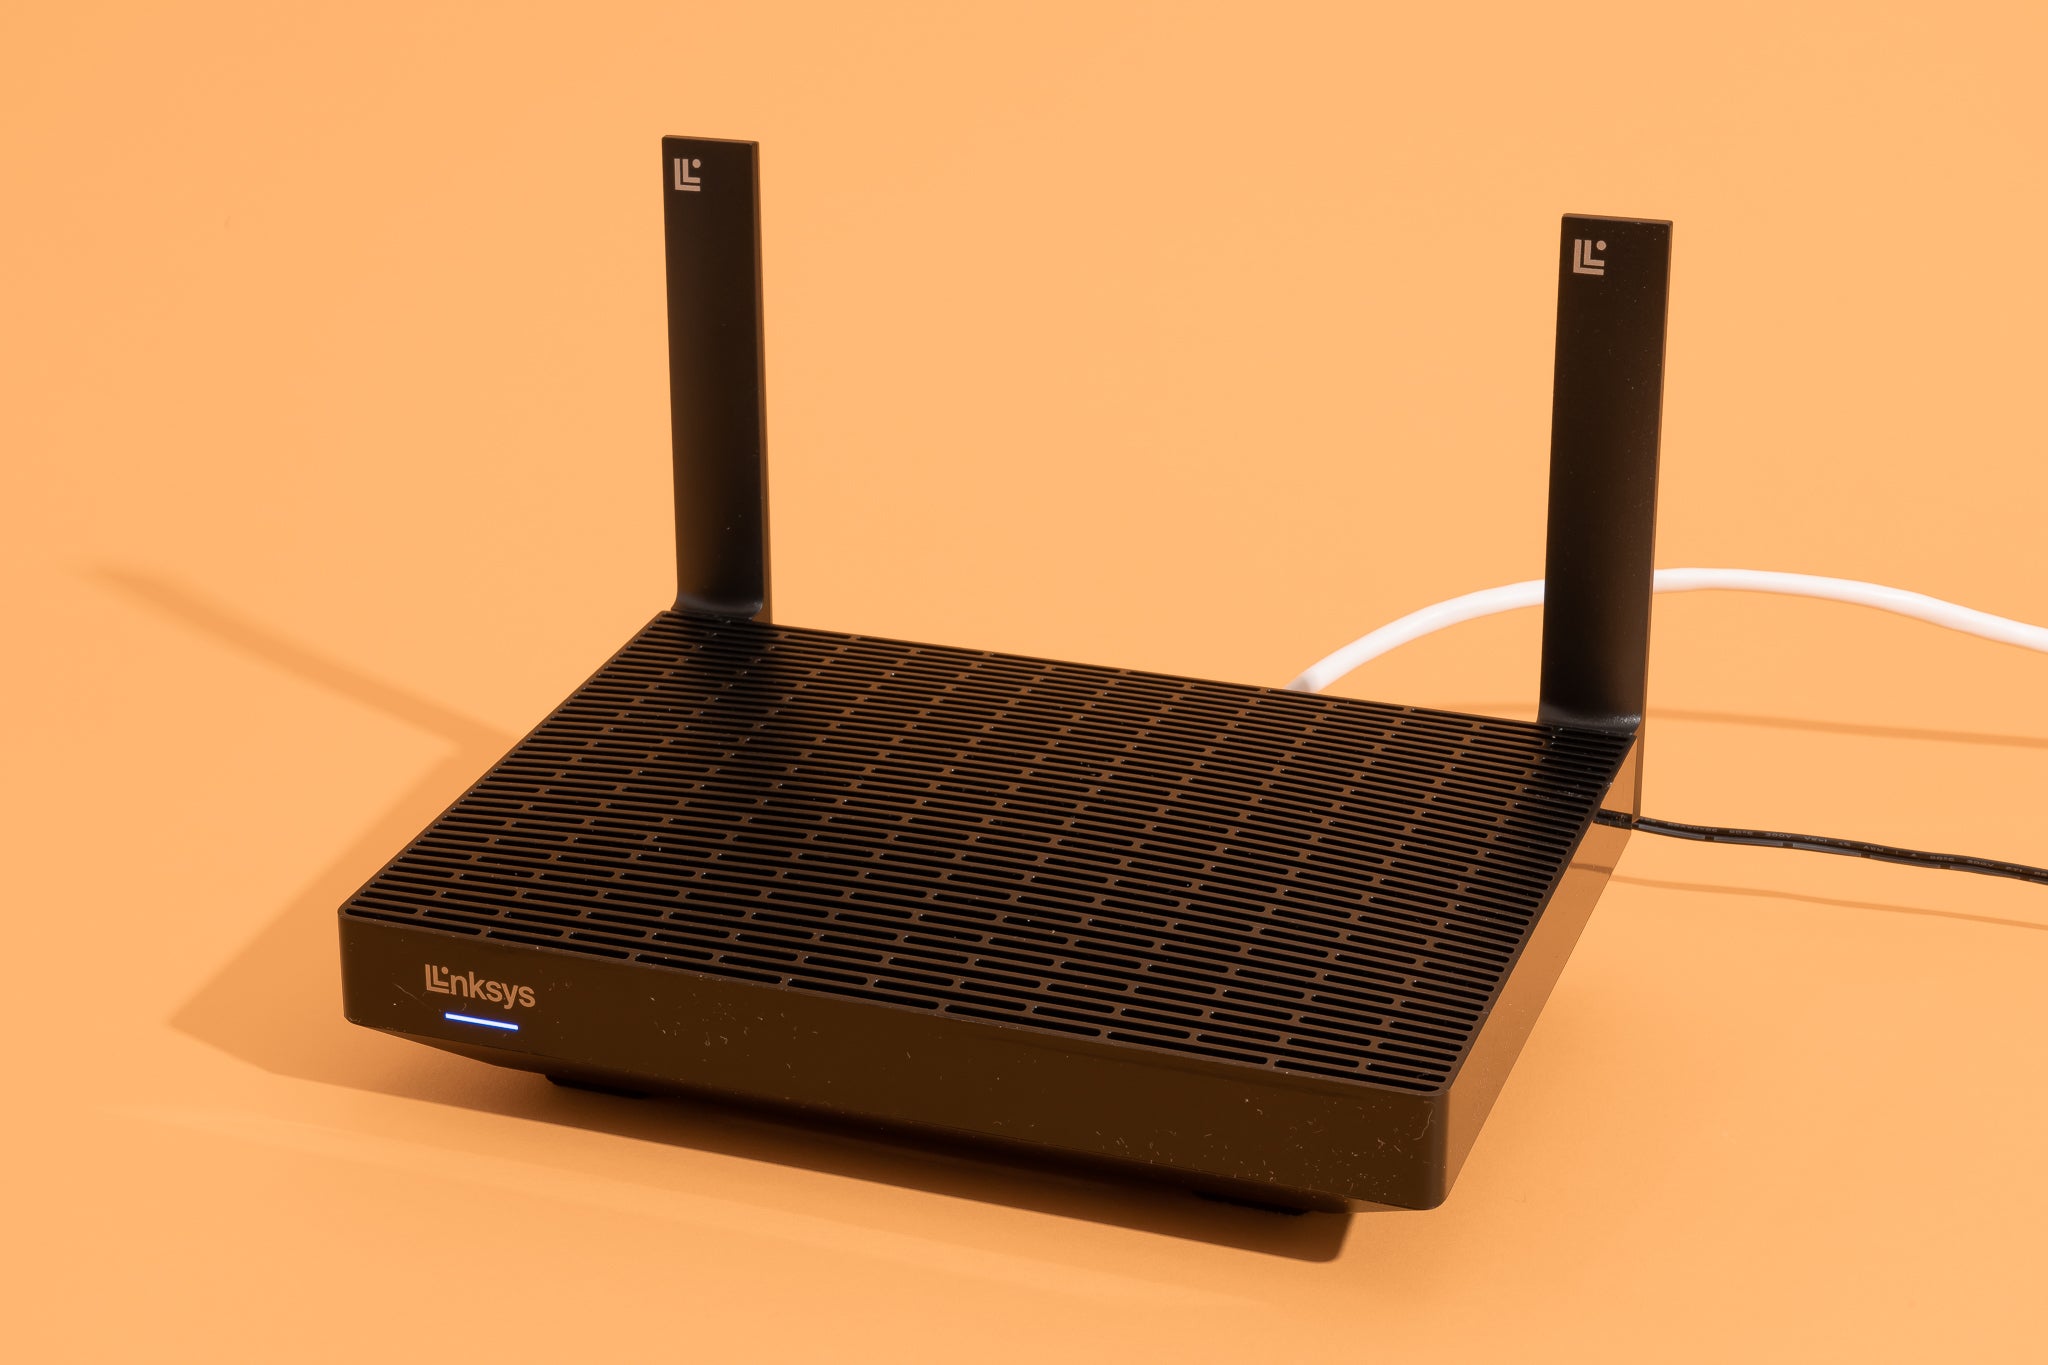
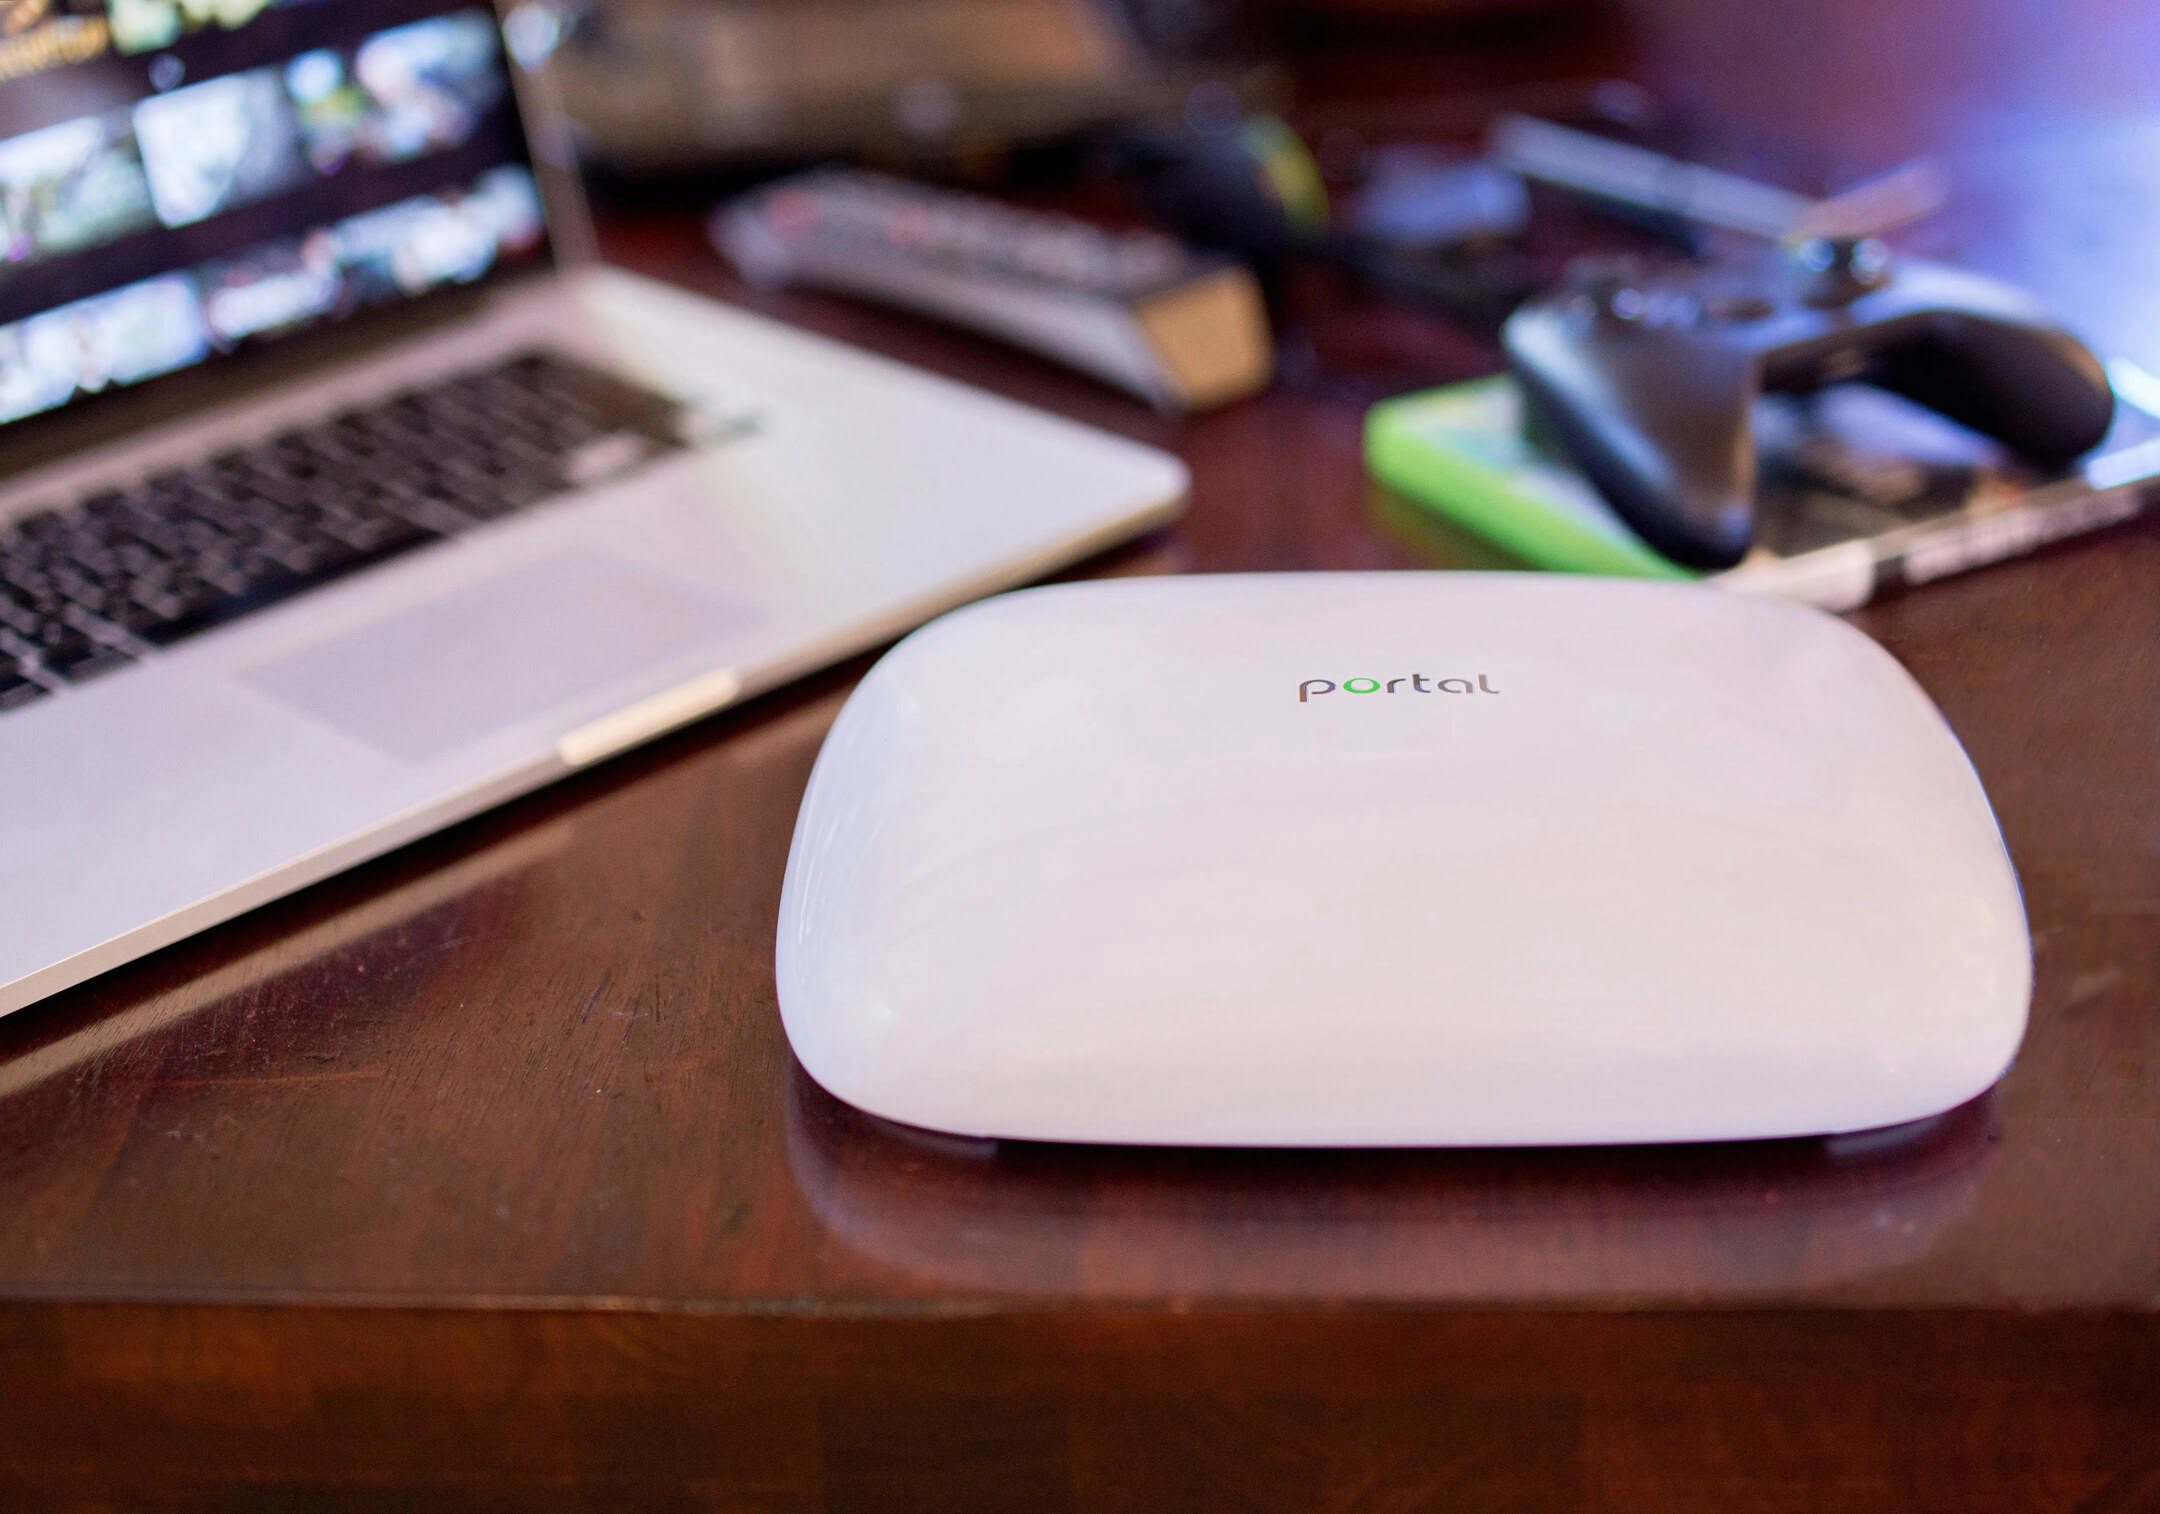
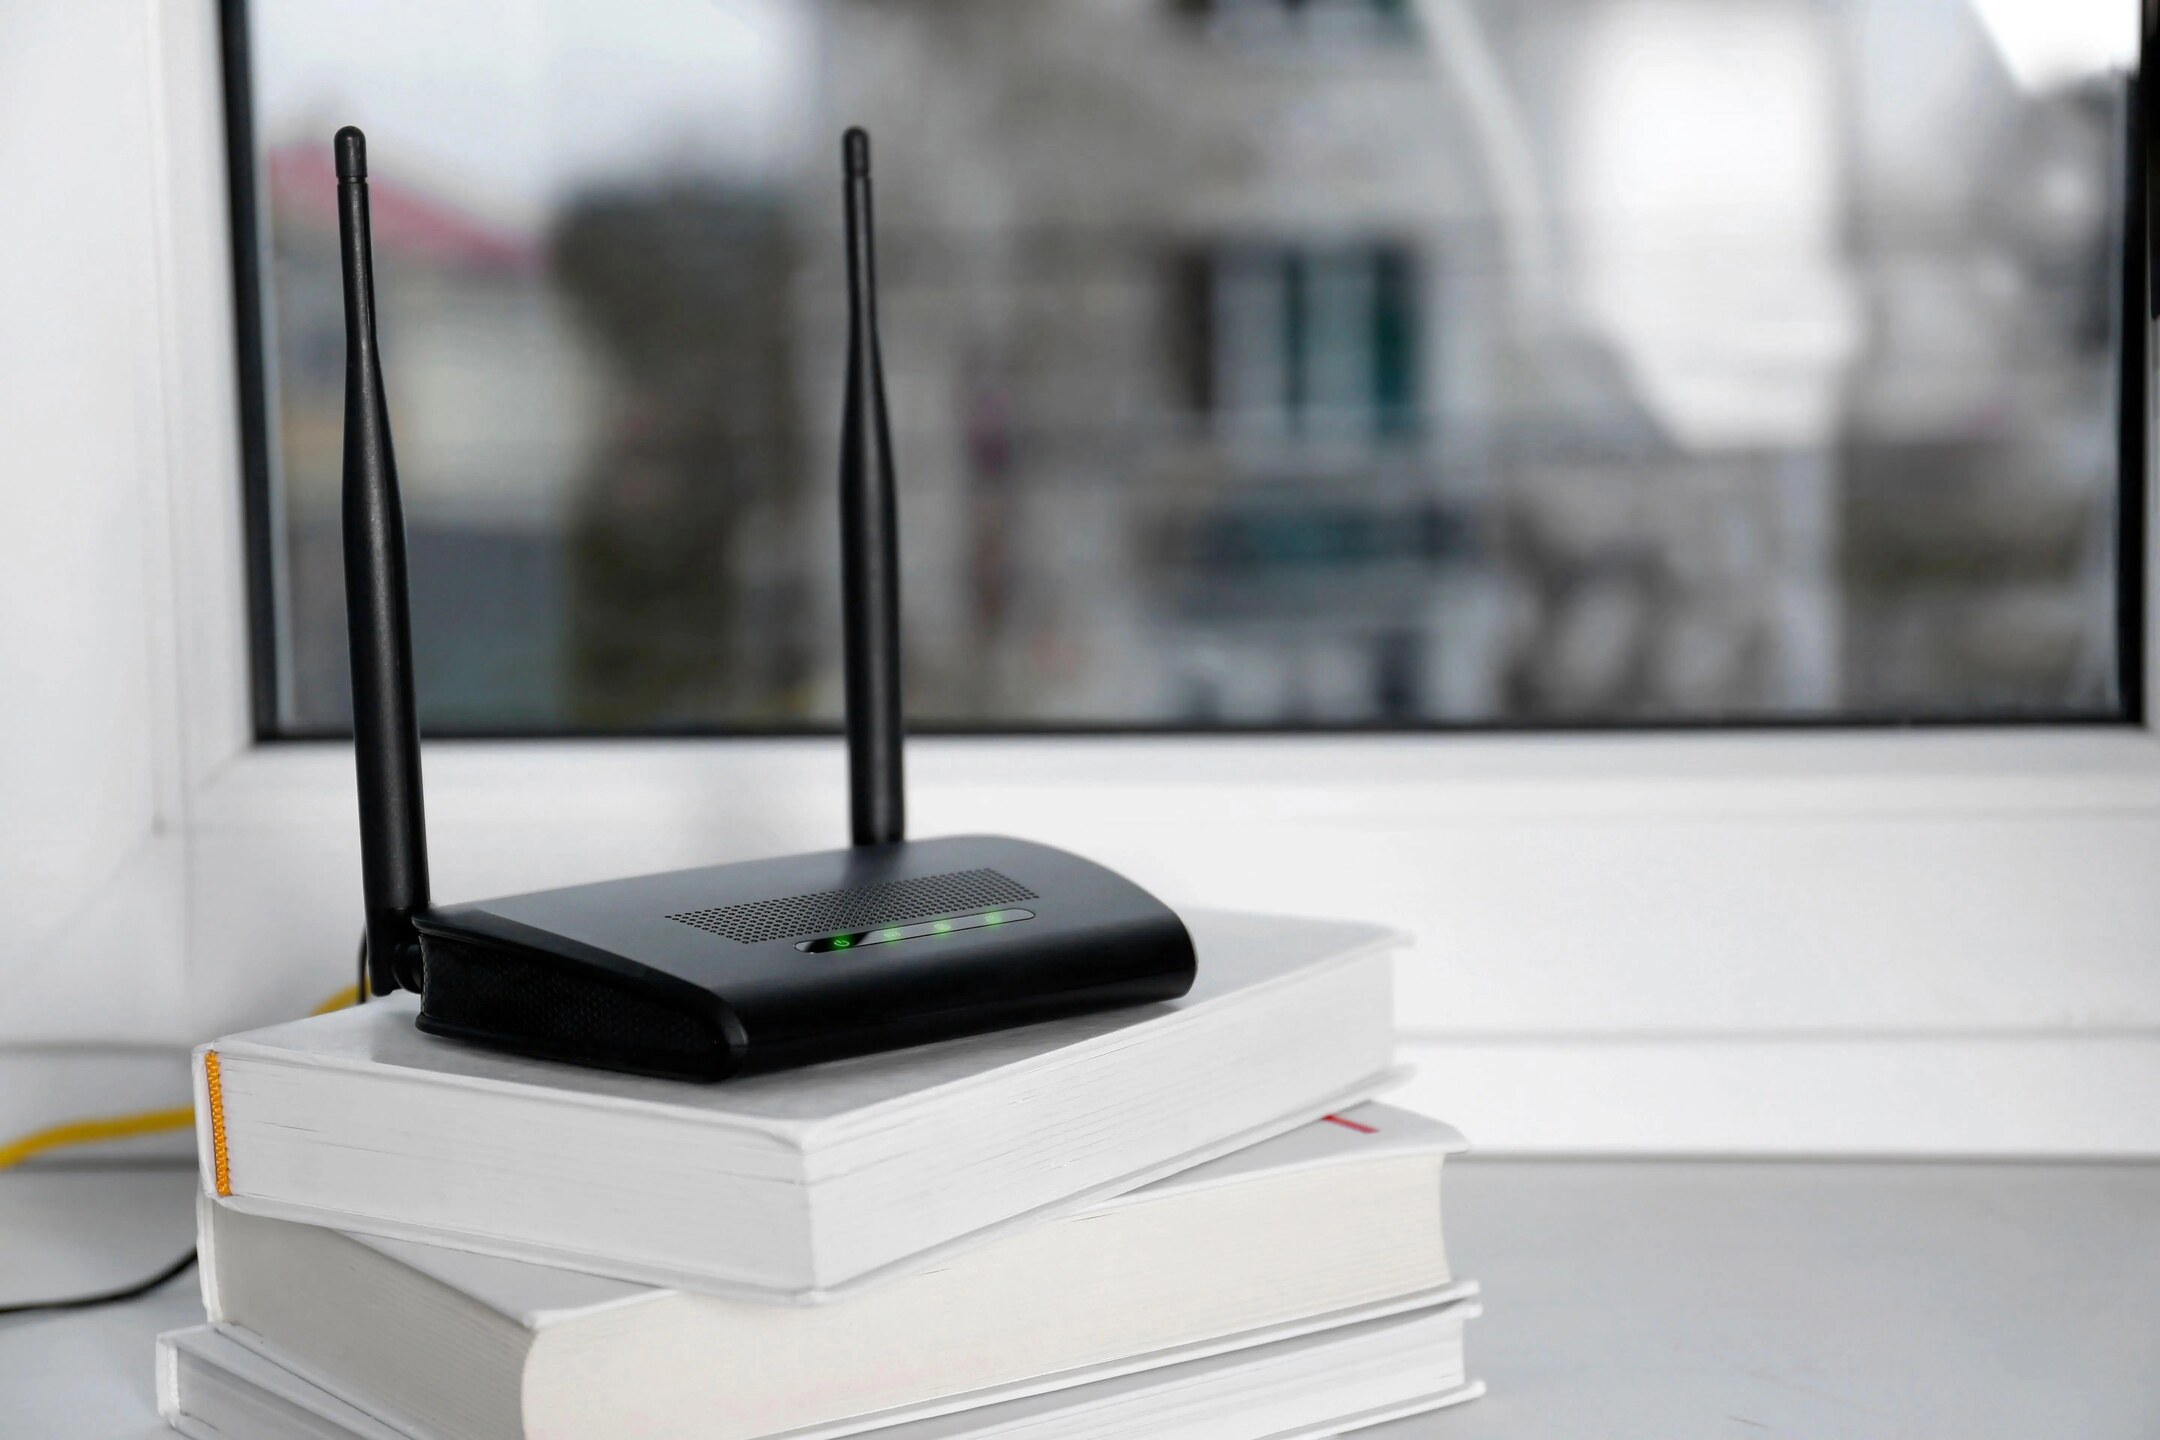
One popular approach is to set up a Wi-Fi repeater, also known as a range extender, which captures the existing Wi-Fi signal and rebroadcasts it to extend coverage. This device effectively amplifies the signal, providing a wider reach and stronger connectivity in areas where the original signal is weak.
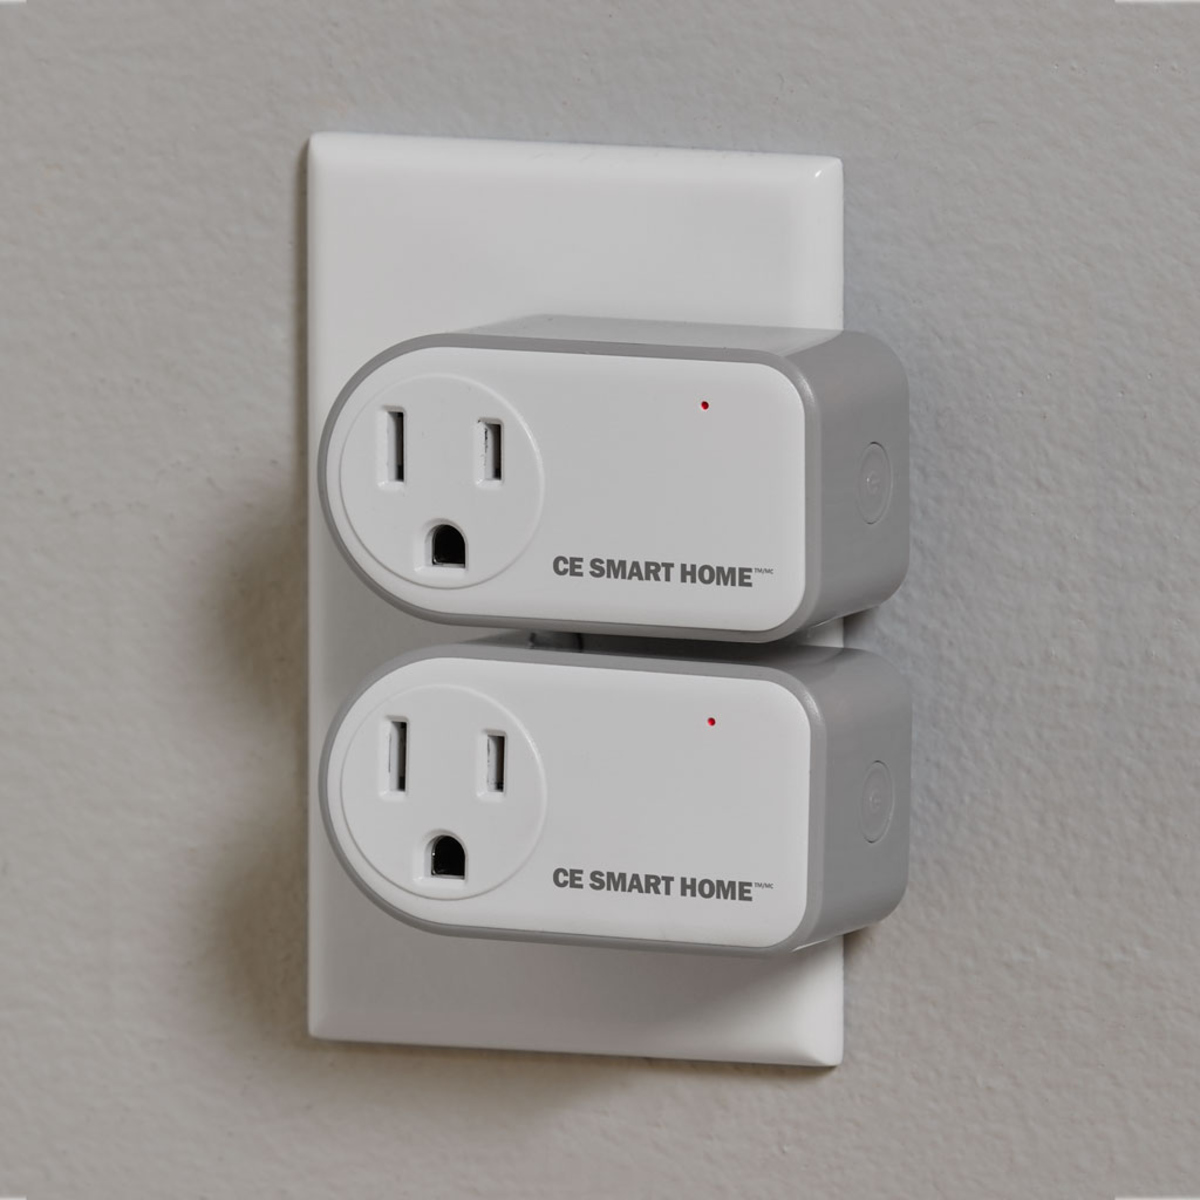
Another option is a powerline adapter, which utilizes your home’s electrical wiring to transmit the Wi-Fi signal to the shed. By connecting one adapter to your router and another to a Wi-Fi access point in the shed, you can establish a reliable connection without the need for extensive cabling or signal loss.
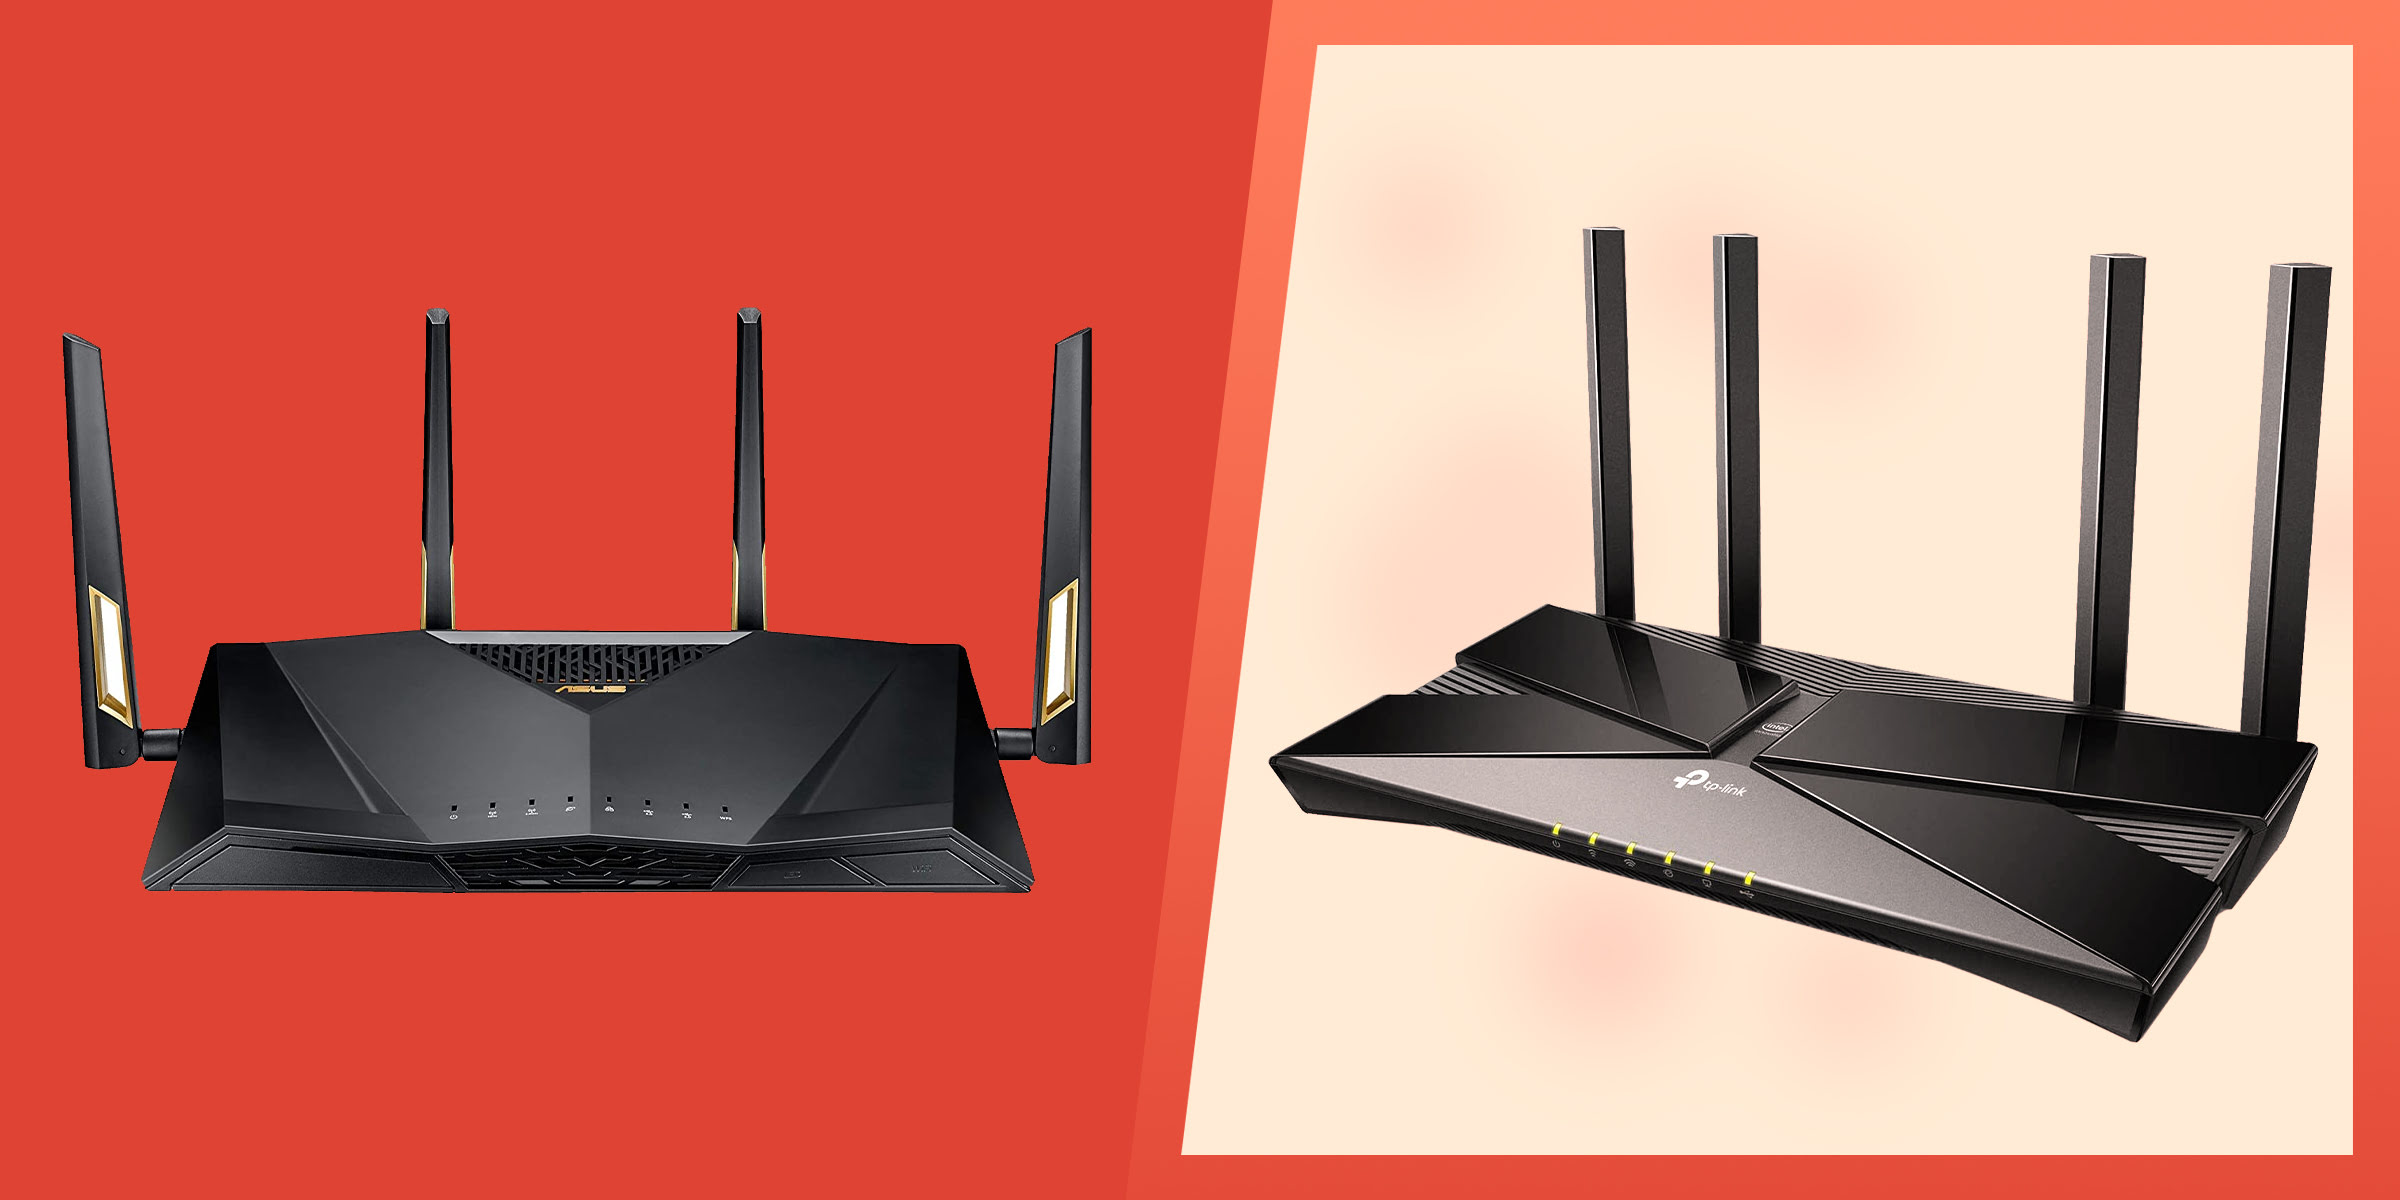
Alternatively, you can install a Wi-Fi range extender, a dedicated device designed to enhance the Wi-Fi coverage area. These devices are equipped with powerful antennas and advanced signal amplification technology, making them ideal for extending Wi-Fi to outlying structures such as sheds, garages, or outdoor workspaces.
When considering these options, it’s essential to evaluate factors such as the distance between your home and the shed, potential obstructions that may interfere with the Wi-Fi signal, and the desired speed and reliability of the connection. By carefully assessing these considerations, you can determine the most suitable method for extending the Wi-Fi range to your shed.
With a clear understanding of the available options for extending the Wi-Fi range, you can now explore the specific setup and installation processes for each method. Whether you opt for a Wi-Fi repeater, a powerline adapter, or a dedicated range extender, the goal remains the same: to establish a robust Wi-Fi connection that seamlessly covers your shed, enabling you to stay connected and productive in your outdoor retreat.
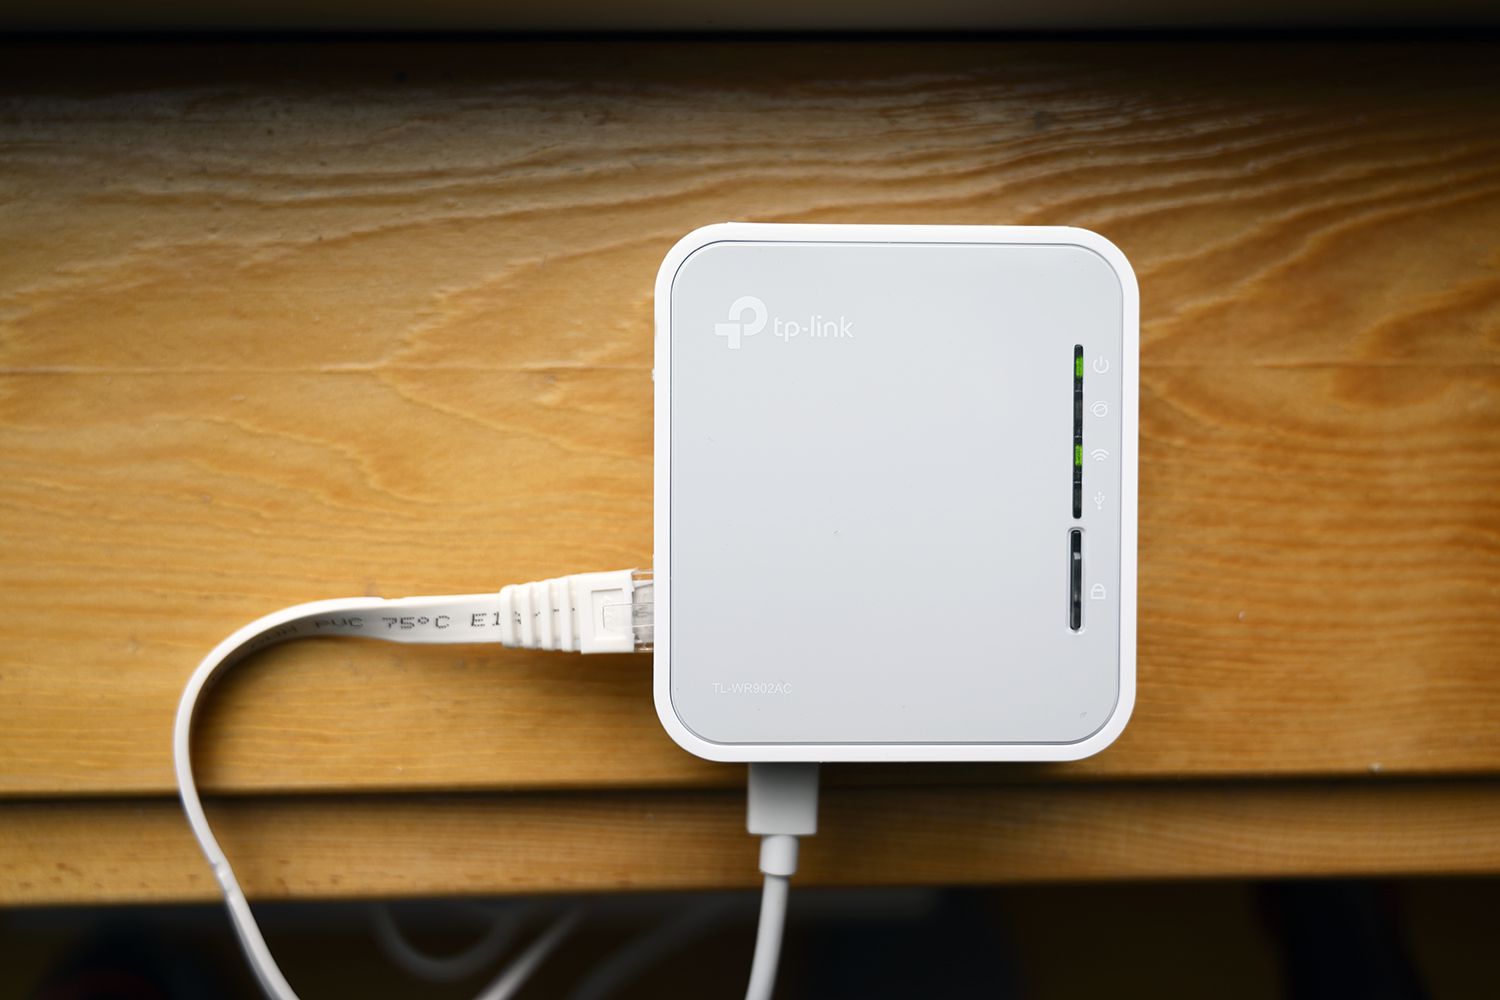
Setting Up a Wi-Fi Repeater
Setting up a Wi-Fi repeater is a straightforward and effective way to extend the Wi-Fi range to your shed. This device works by capturing the existing Wi-Fi signal from your home and rebroadcasting it to amplify coverage in areas with weak connectivity. Here’s a step-by-step guide to help you set up a Wi-Fi repeater:
- Choose an Optimal Location: Identify a location in your home that is in close proximity to both the existing Wi-Fi router and the shed. This will ensure that the repeater can capture a strong signal and effectively distribute it to the shed.
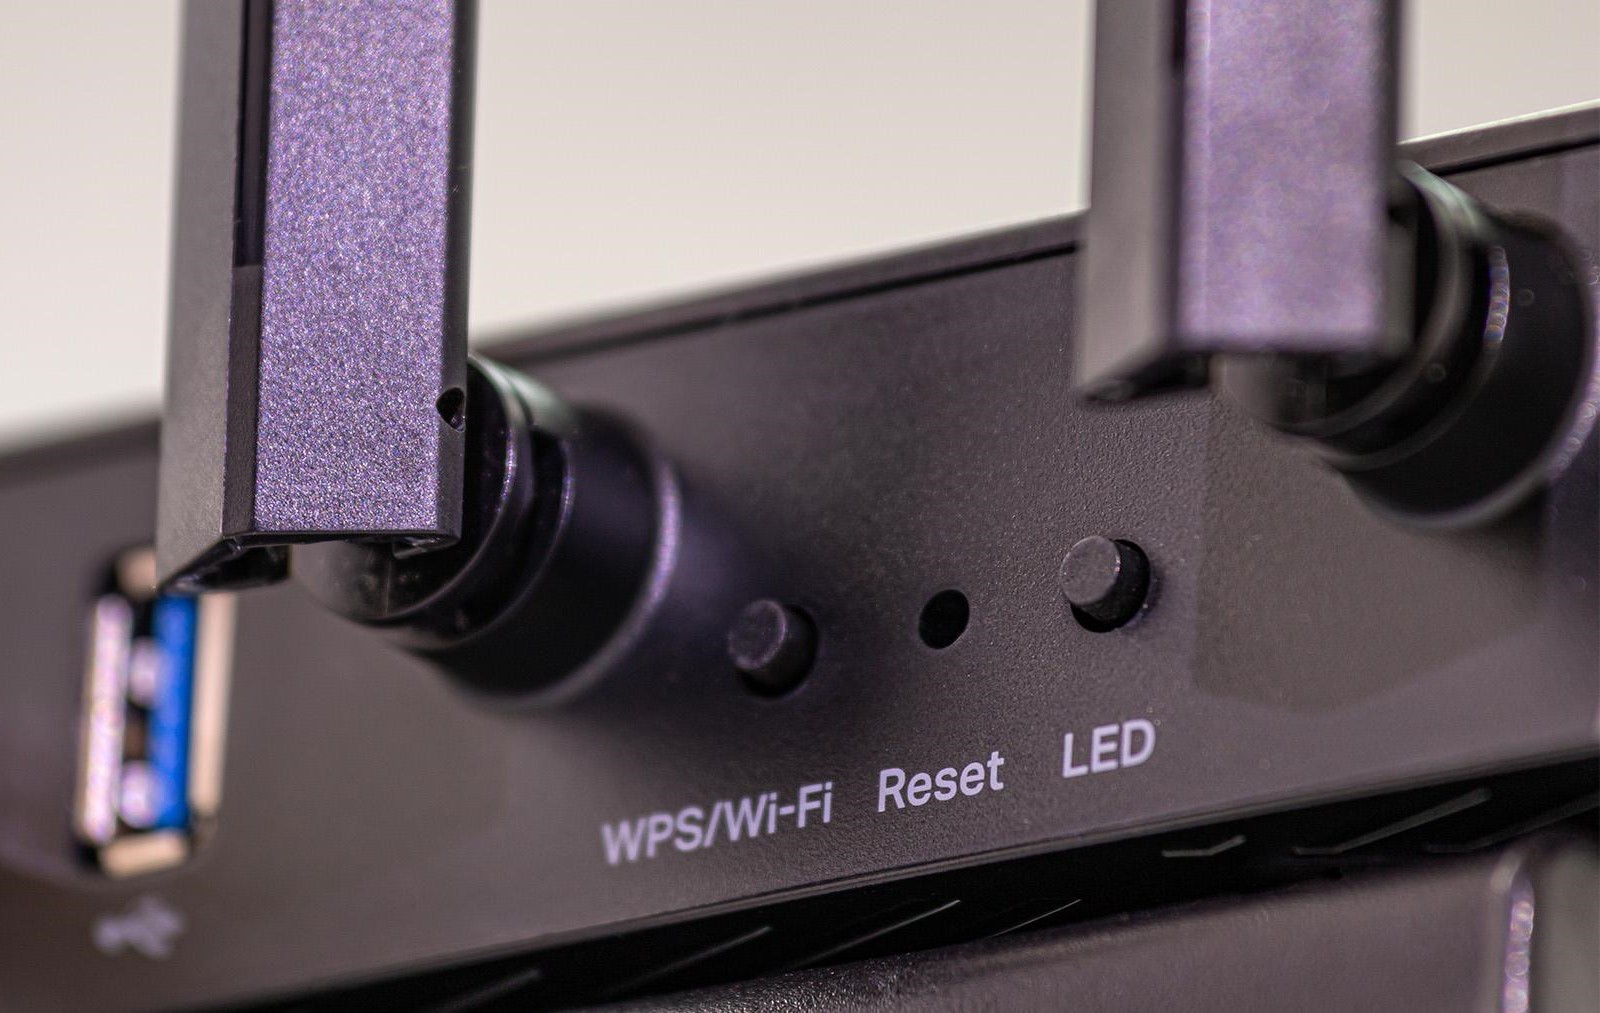
- Configure the Repeater: Follow the manufacturer’s instructions to configure the Wi-Fi repeater. This typically involves connecting the repeater to a power source and accessing its settings through a web interface or a dedicated mobile app.
- Connect to the Home Network: Use the repeater’s interface to connect it to your home’s Wi-Fi network. This step establishes a secure connection between the repeater and your existing Wi-Fi router, allowing the repeater to capture and amplify the signal.
- Position the Repeater: Install the repeater in a location that maximizes its coverage area, ensuring that it can effectively transmit the amplified signal to the shed. Experiment with different placements to find the optimal position for the repeater.
- Test the Signal: Use a smartphone, tablet, or laptop to test the Wi-Fi signal strength in the shed. Walk around the shed and verify that the signal is strong and consistent, indicating successful extension of the Wi-Fi range.
- Optimize the Placement: Fine-tune the repeater’s position based on the signal strength in the shed. Small adjustments can significantly impact the coverage area, so take the time to optimize the placement for optimal performance.
By following these steps, you can effectively set up a Wi-Fi repeater to extend the Wi-Fi range to your shed. This solution provides a cost-effective and versatile way to ensure reliable connectivity in your outdoor workspace or retreat.
Consider using a Wi-Fi range extender or a powerline adapter to bring the Wi-Fi signal from your house to the shed. This can help improve the Wi-Fi coverage in the shed without having to run additional cables.
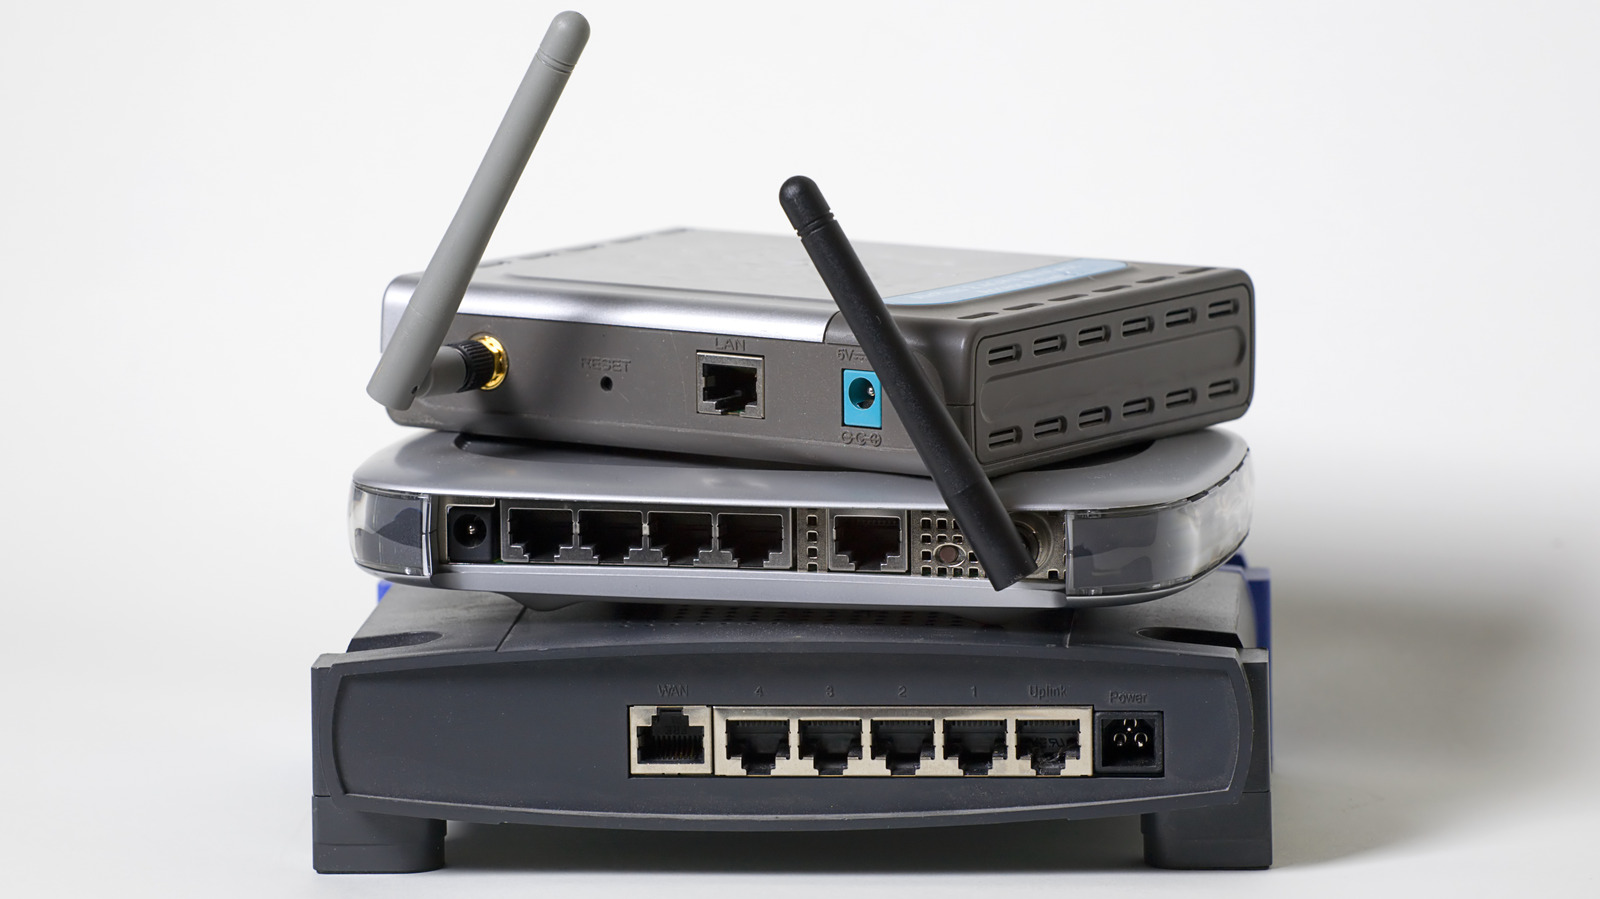
Using a Powerline Adapter
When extending the Wi-Fi range to your shed, a powerline adapter offers a convenient and reliable solution, leveraging your home’s electrical wiring to transmit the Wi-Fi signal. Here’s a comprehensive guide to using a powerline adapter to bring Wi-Fi to your shed:
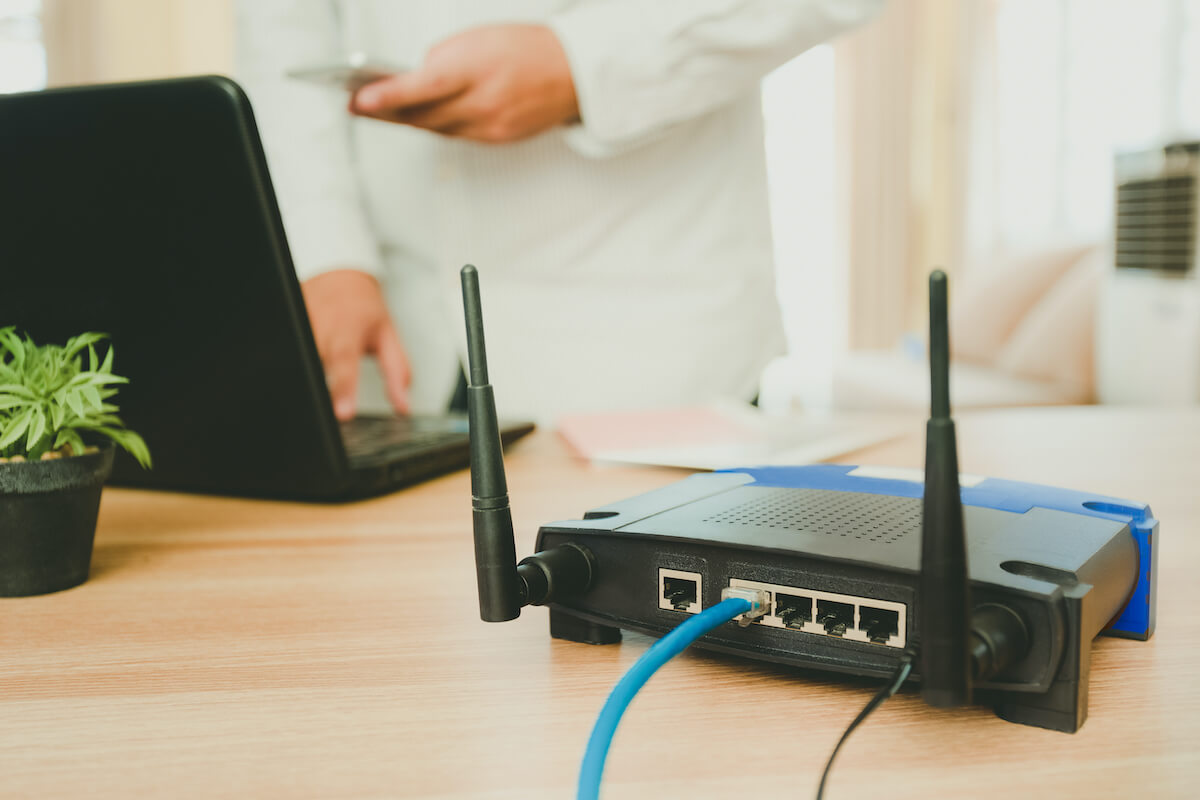
- Acquire a Powerline Adapter Kit: Purchase a powerline adapter kit, which typically includes two adapters. One adapter will be connected to your existing Wi-Fi router, while the other will be placed in the shed to establish a Wi-Fi access point.
- Connect the Adapters: Plug one adapter into a power outlet near your router and connect it to the router using an Ethernet cable. Then, plug the second adapter into a power outlet in the shed, creating a Wi-Fi access point for extending the network.
- Pair the Adapters: Most powerline adapter kits come pre-paired, but if not, follow the manufacturer’s instructions to pair the adapters. This process ensures secure and reliable communication between the two adapters over your home’s electrical wiring.
- Configure the Wi-Fi Access Point: Access the settings of the adapter in the shed to configure it as a Wi-Fi access point. This step involves setting up a unique Wi-Fi network name (SSID) and password for the shed’s Wi-Fi network.
- Test the Connection: Use a Wi-Fi-enabled device to connect to the new Wi-Fi network in the shed. Verify that the connection is stable and that the signal strength meets your requirements for seamless connectivity.
- Optimize the Placement: If necessary, experiment with different power outlets in the shed to find the optimal location for the adapter. This can help maximize the coverage area and ensure consistent Wi-Fi signal strength throughout the shed.
By following these steps, you can effectively utilize a powerline adapter to extend the Wi-Fi range to your shed. This method offers the advantage of leveraging your home’s electrical wiring to create a robust and reliable Wi-Fi network in your outdoor space, enabling you to stay connected and productive in your shed.
Installing a Wi-Fi Range Extender
When aiming to extend the Wi-Fi range to your shed, a Wi-Fi range extender serves as a dedicated device designed to amplify and extend the existing Wi-Fi signal. Here’s a comprehensive guide to installing a Wi-Fi range extender to bring reliable connectivity to your shed:
- Select an Ideal Location: Identify a strategic location in your home that is within range of your existing Wi-Fi router and provides a strong signal to the shed. This spot will serve as the placement for your Wi-Fi range extender.
- Power Up the Extender: Plug the Wi-Fi range extender into a power outlet in the chosen location. Ensure that it’s positioned at an optimal height and free from obstructions to maximize its signal distribution capabilities.
- Access the Extender’s Settings: Use a smartphone, tablet, or laptop to connect to the range extender’s default Wi-Fi network. This will enable you to access the extender’s settings and configuration interface.
- Configure the Extender: Follow the manufacturer’s instructions to configure the range extender. This typically involves connecting the extender to your home’s Wi-Fi network and setting up a unique SSID and password for the extended Wi-Fi network.
- Position for Optimal Coverage: Fine-tune the position of the range extender based on the signal strength in the shed. Test the Wi-Fi signal using a Wi-Fi-enabled device and make adjustments to ensure consistent and reliable coverage throughout the shed.
- Secure the Extender: Once the optimal position is determined, secure the range extender in place to maintain a stable and consistent Wi-Fi signal. This may involve mounting the extender on a wall or using other securing mechanisms provided by the manufacturer.
By following these steps, you can effectively install a Wi-Fi range extender to extend the Wi-Fi range to your shed. This method provides a dedicated solution for amplifying the Wi-Fi signal, ensuring seamless connectivity in your outdoor workspace or retreat.
Conclusion
Bringing Wi-Fi to your shed opens up a world of possibilities, allowing you to stay connected, productive, and entertained in your outdoor sanctuary. By assessing the Wi-Fi signal strength, exploring options for extending the Wi-Fi range, and implementing the most suitable solution, you can transform your shed into a well-connected oasis.
Whether you opt for a Wi-Fi repeater, a powerline adapter, or a dedicated range extender, the key lies in understanding your specific requirements and the nuances of your shed’s environment. Each method offers its own set of advantages, allowing you to tailor the solution to best suit your needs.
As you embark on this journey to bring Wi-Fi to your shed, consider factors such as signal strength, distance from your home, potential obstructions, and the desired speed and reliability of the connection. Armed with this knowledge, you can confidently select and implement the most effective method for extending the Wi-Fi range to your shed.
With a stable and reliable Wi-Fi connection in your shed, you can seamlessly stream music, tackle DIY projects while following online tutorials, attend virtual meetings, or simply unwind with your favorite online content. The possibilities are endless, and with the right approach, you can create a connected and inspiring space that complements your lifestyle and interests.
So, go ahead and embark on this journey to enhance your shed with Wi-Fi connectivity. With the right tools and a clear understanding of the available options, you can create a well-connected haven that perfectly balances the tranquility of the outdoors with the convenience of modern technology.
Now, armed with the knowledge and insights shared in this guide, you’re ready to embark on the journey of bringing Wi-Fi to your shed, transforming it into a versatile and connected space that complements your lifestyle and interests.
Frequently Asked Questions about How To Get Wi-Fi In A Shed
Was this page helpful?
At Storables.com, we guarantee accurate and reliable information. Our content, validated by Expert Board Contributors, is crafted following stringent Editorial Policies. We're committed to providing you with well-researched, expert-backed insights for all your informational needs.

0 thoughts on “How To Get Wi-Fi In A Shed”