Home>Gardening & Outdoor>Outdoor Structures>How To Seal A Shed Floor
Outdoor Structures
How To Seal A Shed Floor
Modified: February 18, 2024
Learn how to effectively seal your shed floor to protect it from outdoor elements. Follow our step-by-step guide for sealing outdoor structures.
(Many of the links in this article redirect to a specific reviewed product. Your purchase of these products through affiliate links helps to generate commission for Storables.com, at no extra cost. Learn more)
Introduction
When it comes to maintaining your shed, ensuring the longevity and durability of its floor is paramount. Whether your shed is used for storage, as a workspace, or as a hobby haven, a well-sealed floor can protect it from moisture, mold, and damage caused by the elements. Sealing the shed floor not only enhances its resilience but also elevates the overall aesthetic appeal of the space.
In this comprehensive guide, we will walk through the step-by-step process of sealing a shed floor. From cleaning the surface to applying the sealant, each stage is crucial in fortifying the floor against wear and tear. By following these steps, you can safeguard your shed floor, prolong its lifespan, and create a more resilient and inviting environment for your activities.
Let's dive into the details of how to effectively seal a shed floor, ensuring that your valuable outdoor structure remains in top condition for years to come.
Key Takeaways:
- Protect your shed floor by sealing it to prevent moisture, mold, and damage. Follow the steps to clean, fill cracks, apply primer, seal, and allow drying for a resilient and visually appealing surface.
- Sealing your shed floor is an investment in its longevity and functionality. By following the steps, you create a durable foundation that enhances the quality and utility of your outdoor structure.
Read more: How To Seal A Shed Roof
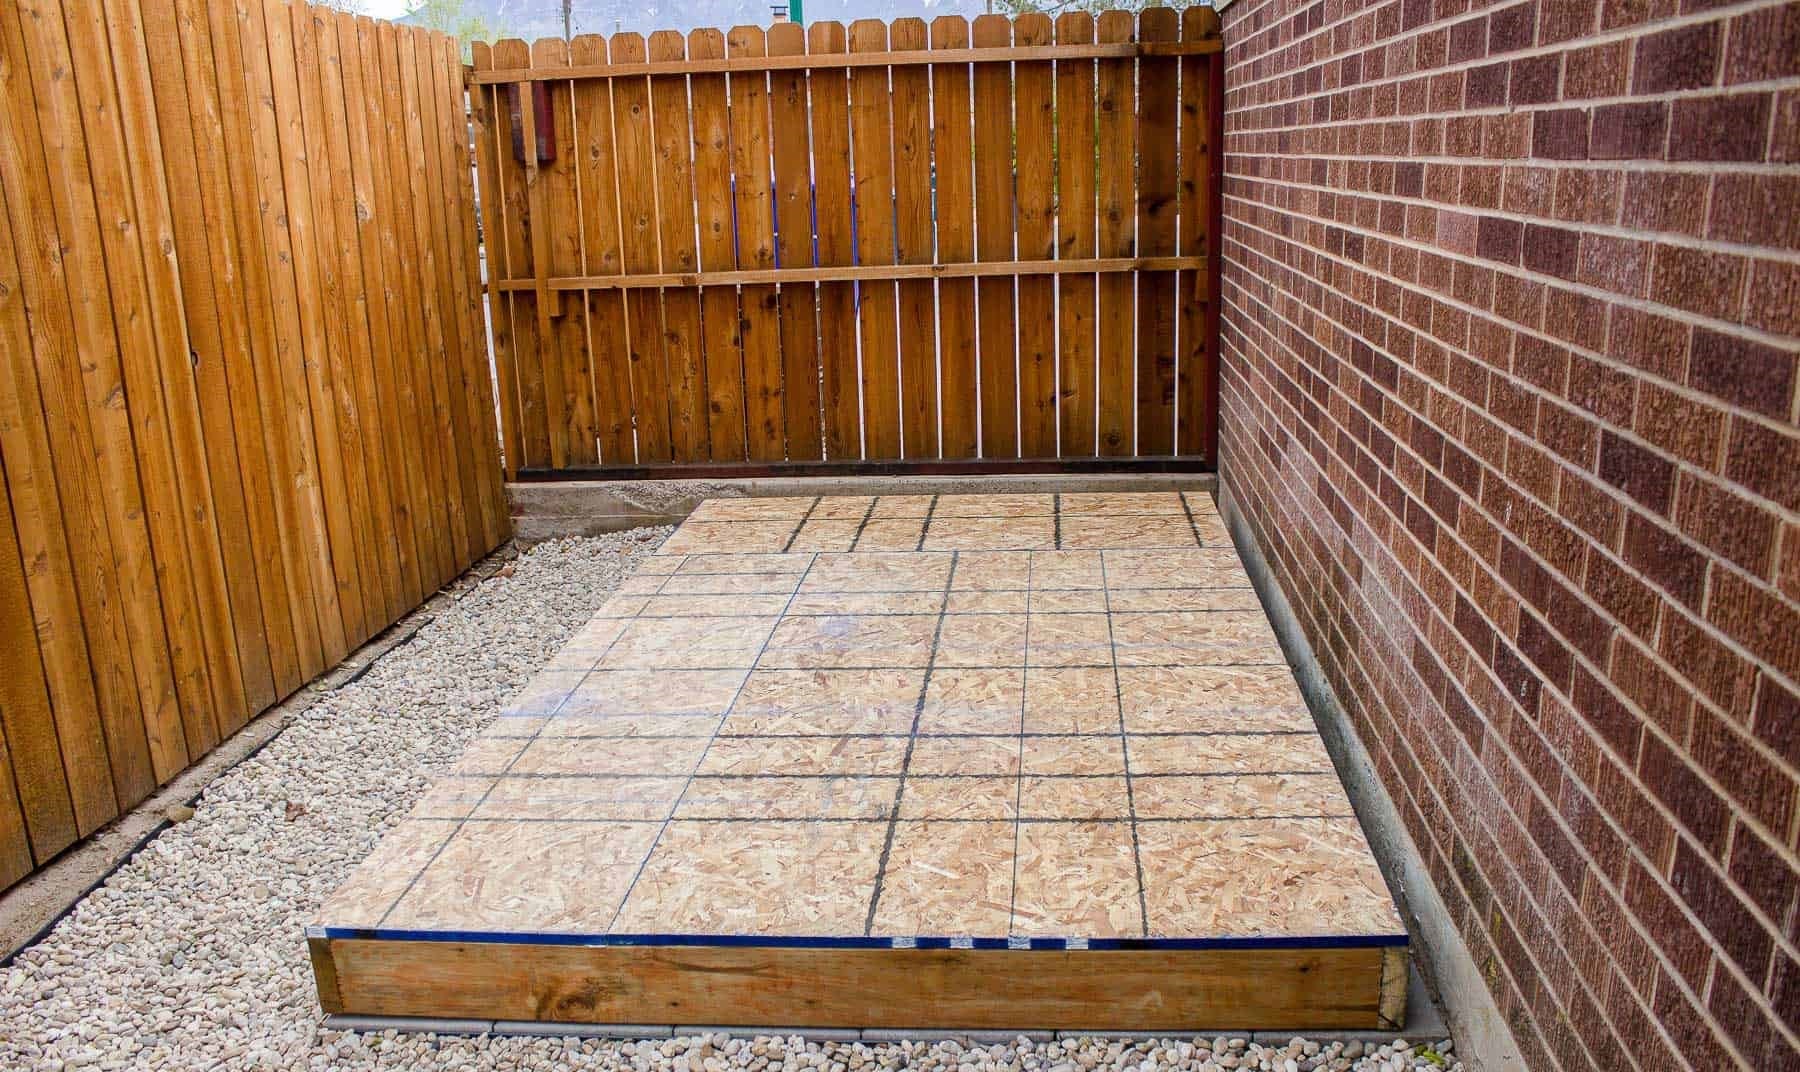
Step 1: Clean the Shed Floor
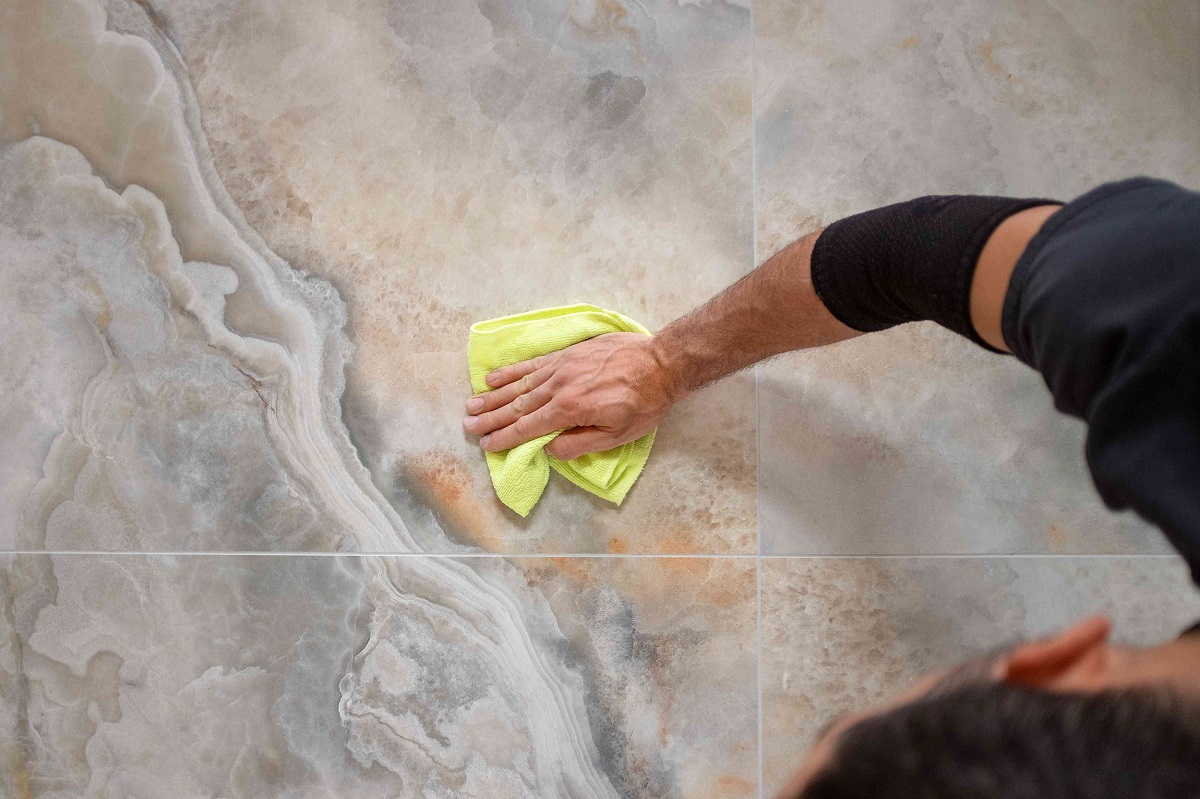
The first and most crucial step in the process of sealing a shed floor is to thoroughly clean the surface. Begin by removing any items or equipment from the shed to create a clear working space. Sweep the floor diligently to eliminate dirt, debris, and loose particles. For stubborn dirt or stains, consider using a pressure washer or a stiff-bristled brush to ensure a deep clean.
After removing loose dirt and debris, it’s essential to address any existing mold or mildew. Mix a solution of water and mild detergent, then scrub the affected areas with a stiff brush. For more stubborn mold or mildew, a mixture of water and white vinegar can be highly effective. Once the floor is scrubbed clean, rinse it thoroughly to remove any remaining cleaning solution.
Once the shed floor is clean and free from dirt, debris, and mold, allow it to dry completely before proceeding to the next step. This ensures that the sealant will adhere effectively to the surface, creating a strong and long-lasting bond.
By dedicating time and effort to thoroughly clean the shed floor, you set the stage for a successful sealing process. A clean surface not only allows the sealant to adhere properly but also prevents dirt and contaminants from becoming trapped beneath the sealant, ensuring a smooth and professional finish.
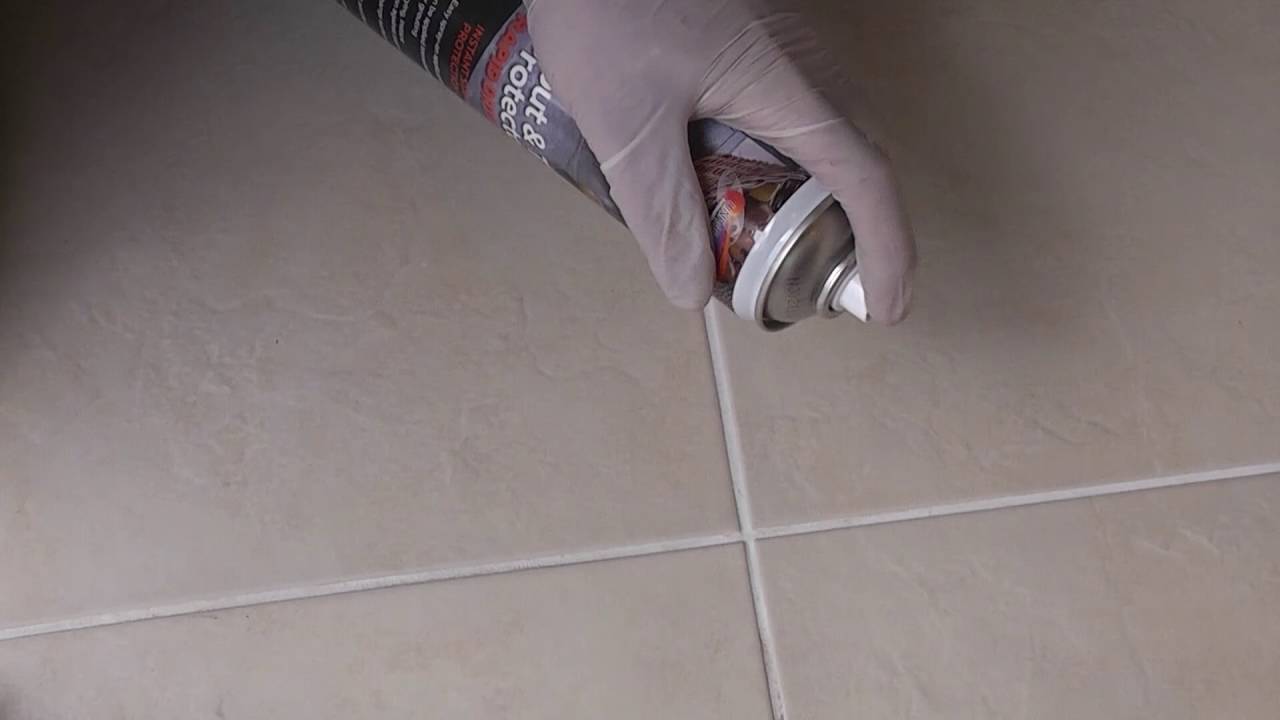
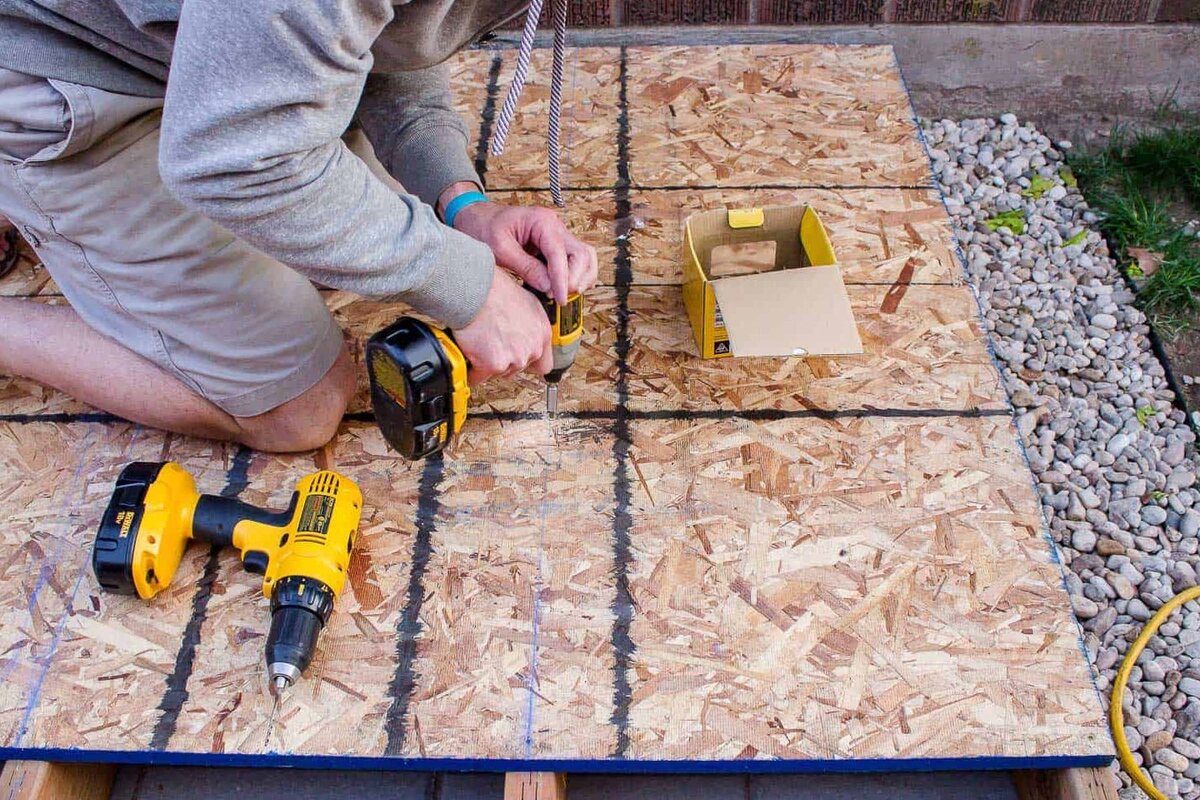
Step 2: Fill in Cracks and Holes
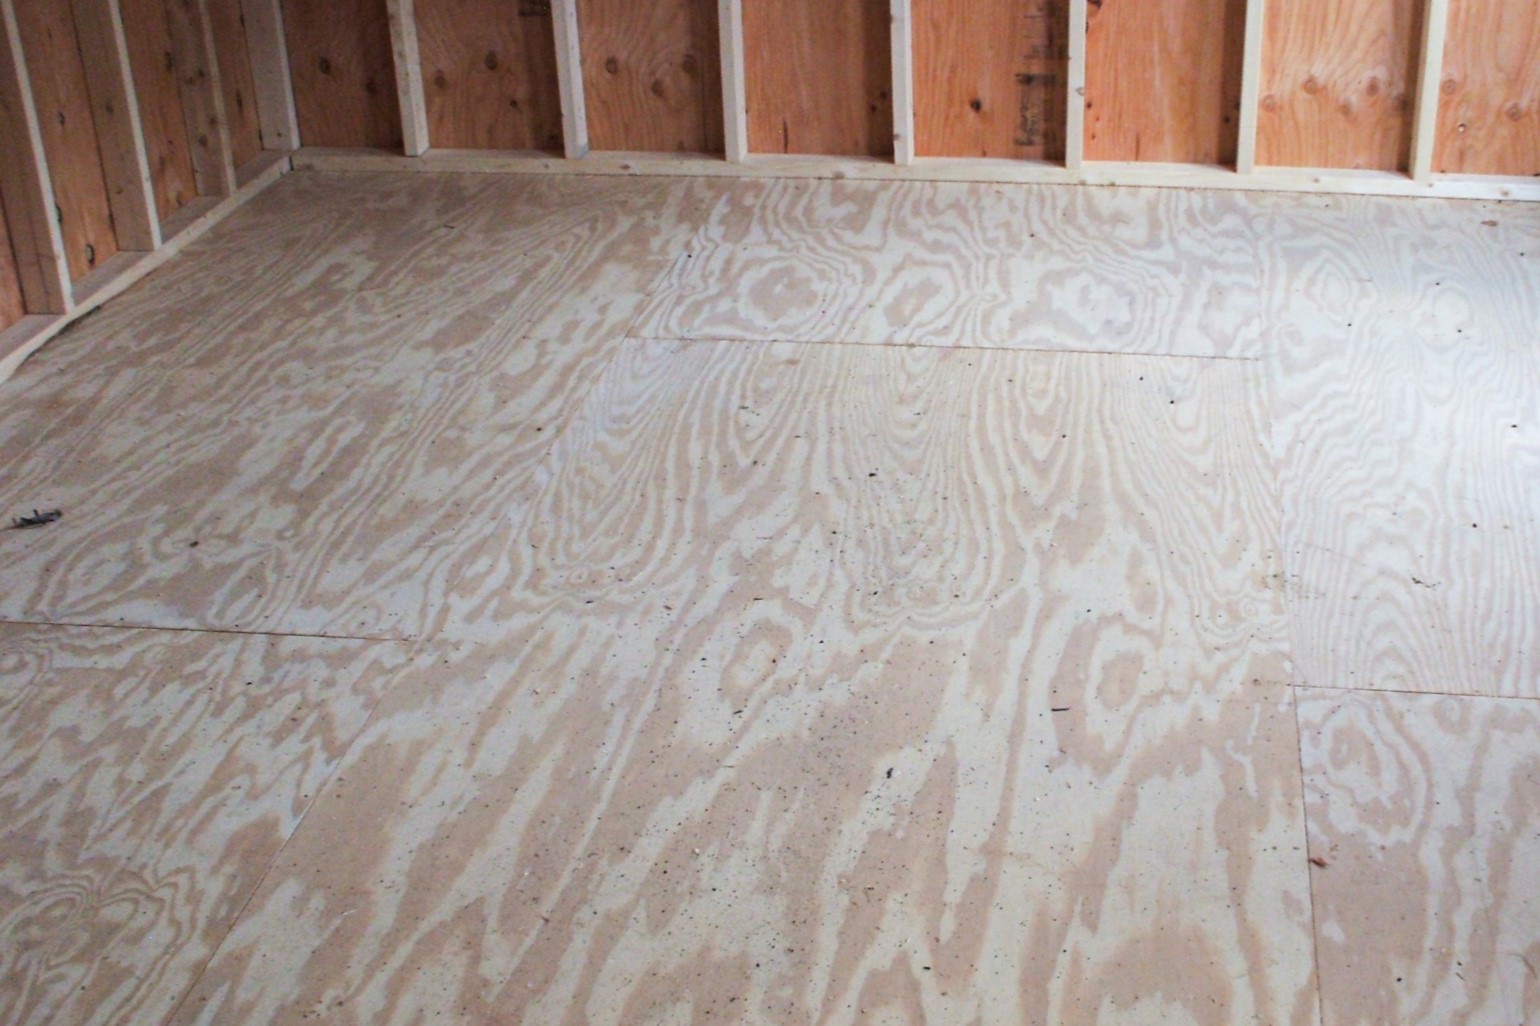
Before applying a sealant to the shed floor, it’s essential to address any cracks or holes that may compromise the effectiveness of the sealing process. Inspect the entire floor surface carefully, paying close attention to areas where the floor may have developed cracks or where holes have formed.
To fill in small cracks and shallow holes, use a high-quality concrete patching compound. This compound can be applied with a trowel, ensuring that it fills the damaged areas completely. Smooth the patched areas with the trowel to create a level surface, allowing the compound to dry according to the manufacturer’s instructions.
For larger cracks or deeper holes, consider using a concrete repair mortar. This specialized mortar is designed to provide a strong and durable repair, effectively restoring the integrity of the floor surface. Apply the mortar to the damaged areas, following the product’s guidelines for proper application and drying time.
By addressing cracks and holes before applying the sealant, you prevent moisture and other damaging elements from penetrating the shed floor. This proactive approach not only strengthens the floor but also ensures that the sealant can effectively protect the entire surface, creating a robust barrier against wear and tear.
By taking the time to fill in cracks and holes, you set the stage for a successful sealing process, fortifying the shed floor and enhancing its resilience for years to come.
Step 3: Apply a Primer
Before sealing the shed floor, it’s crucial to apply a high-quality primer to enhance the adhesion and effectiveness of the sealant. The primer acts as a preparatory layer, ensuring that the sealant bonds securely to the floor, creating a durable and long-lasting barrier against moisture and other damaging elements.
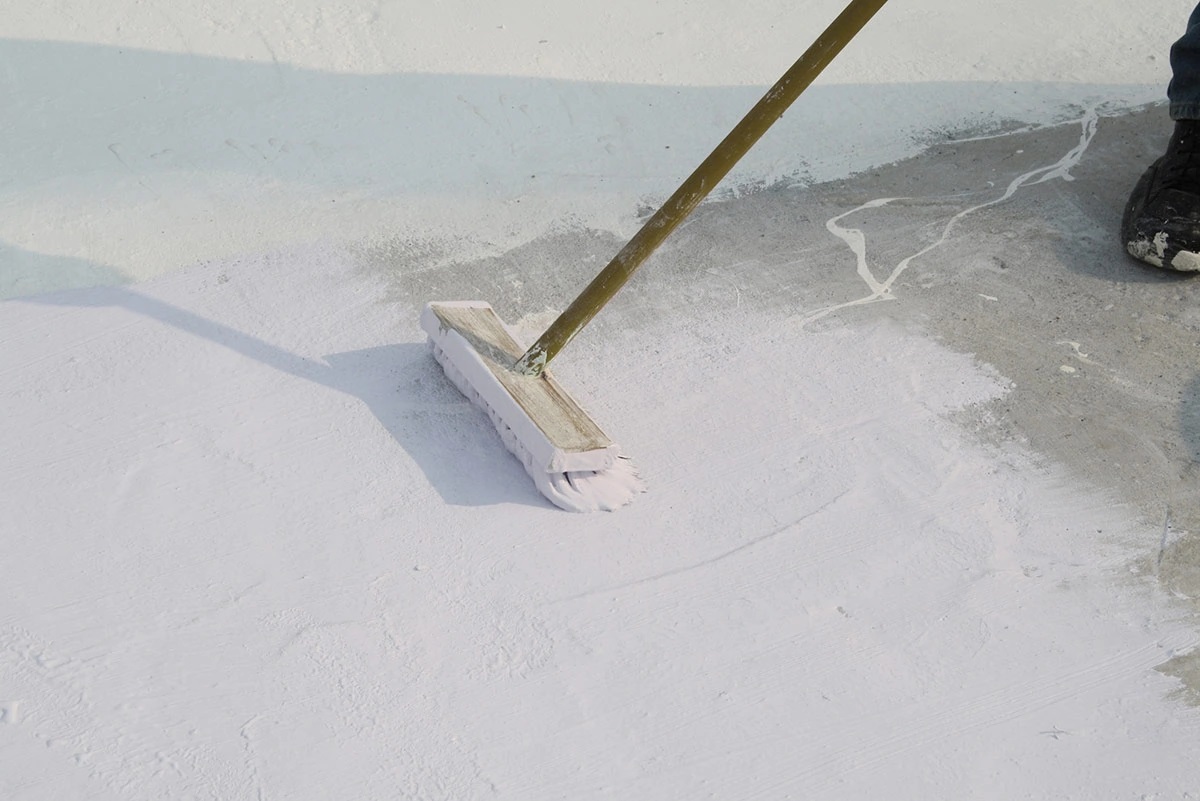
Choose a primer specifically formulated for the type of material your shed floor is made of, whether it’s concrete, wood, or another surface. Follow the manufacturer’s instructions for the application of the primer, ensuring that it is spread evenly across the entire floor surface. Use a paint roller or brush to apply the primer, working methodically to cover the entire area effectively.
Allow the primer to dry completely according to the product’s recommended drying time. This step is crucial, as it sets the stage for the successful application of the sealant. The primer creates a strong bond between the shed floor and the sealant, ensuring that the sealant adheres effectively and provides robust protection against moisture and damage.
By applying a primer before sealing the shed floor, you enhance the overall effectiveness and longevity of the sealing process. The primer acts as a foundational layer, optimizing the bond between the floor and the sealant, and ultimately fortifying the entire surface against the elements.
With the primer in place, the shed floor is now prepared for the final step: the application of the sealant, which will provide comprehensive protection and durability for the entire floor surface.
Before sealing a shed floor, make sure to clean the surface thoroughly to remove any dirt or debris. Use a concrete sealer for concrete floors, and a wood sealer for wooden floors. Apply the sealer evenly with a brush or roller, and allow it to dry completely before using the shed.
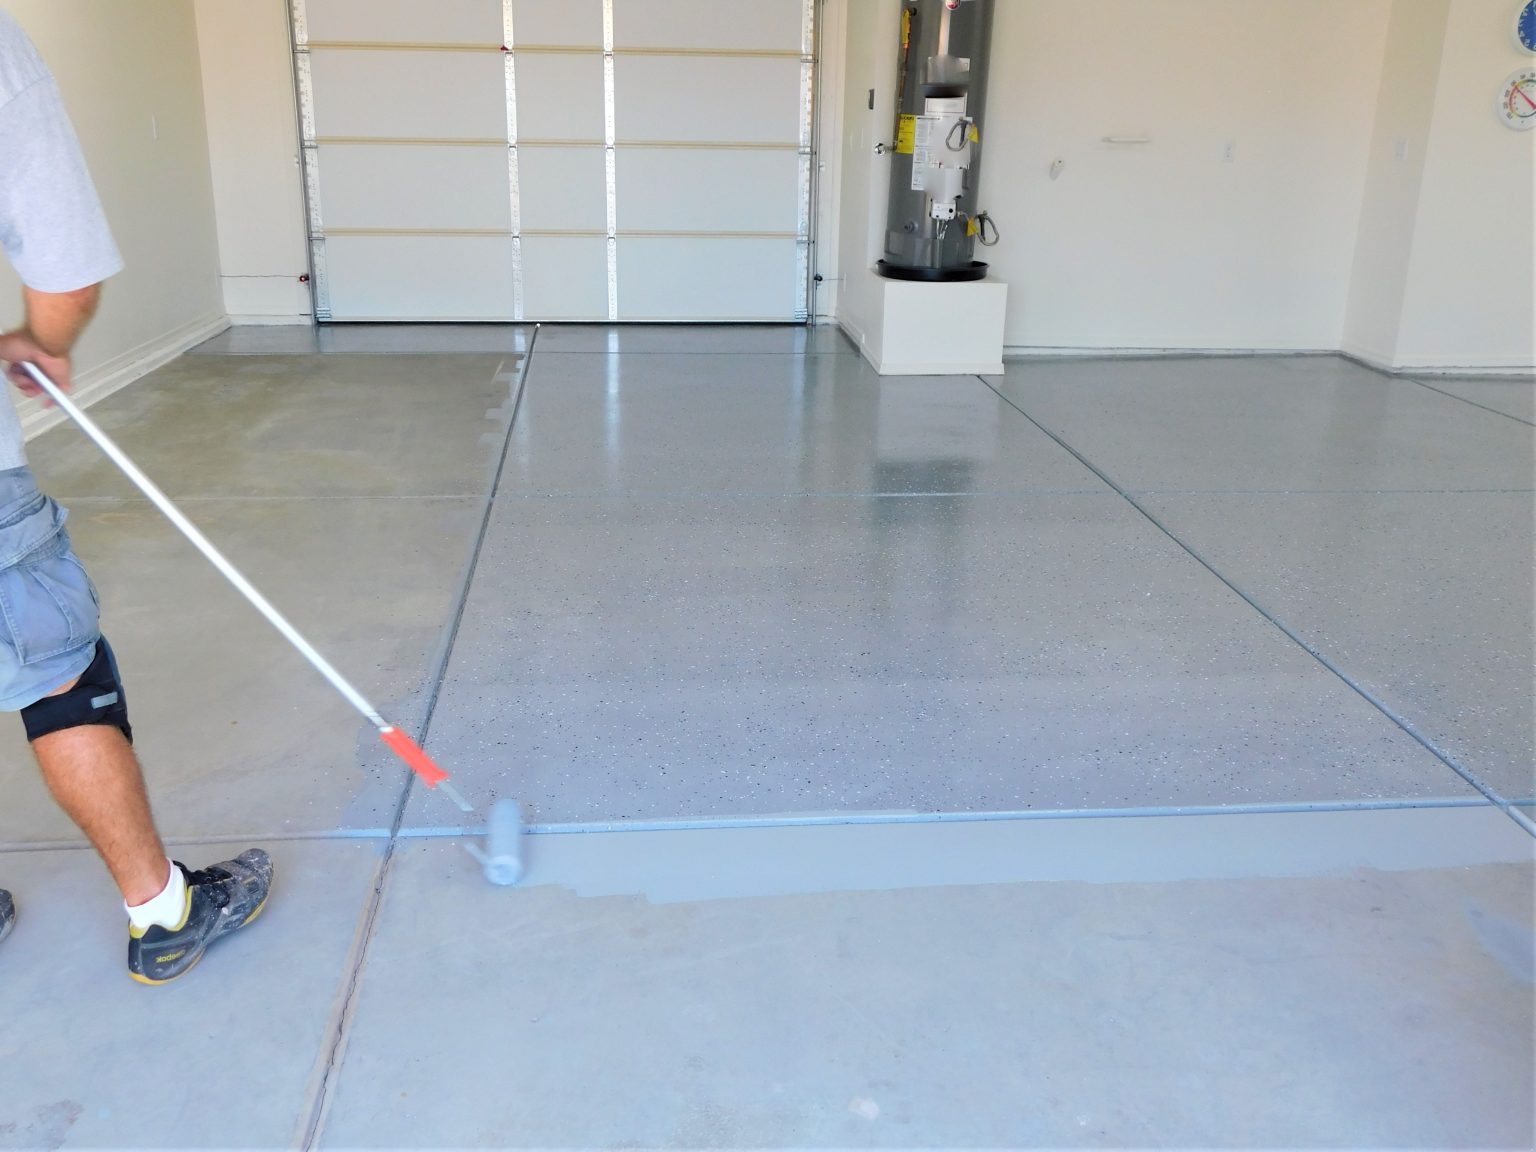
Step 4: Seal the Shed Floor
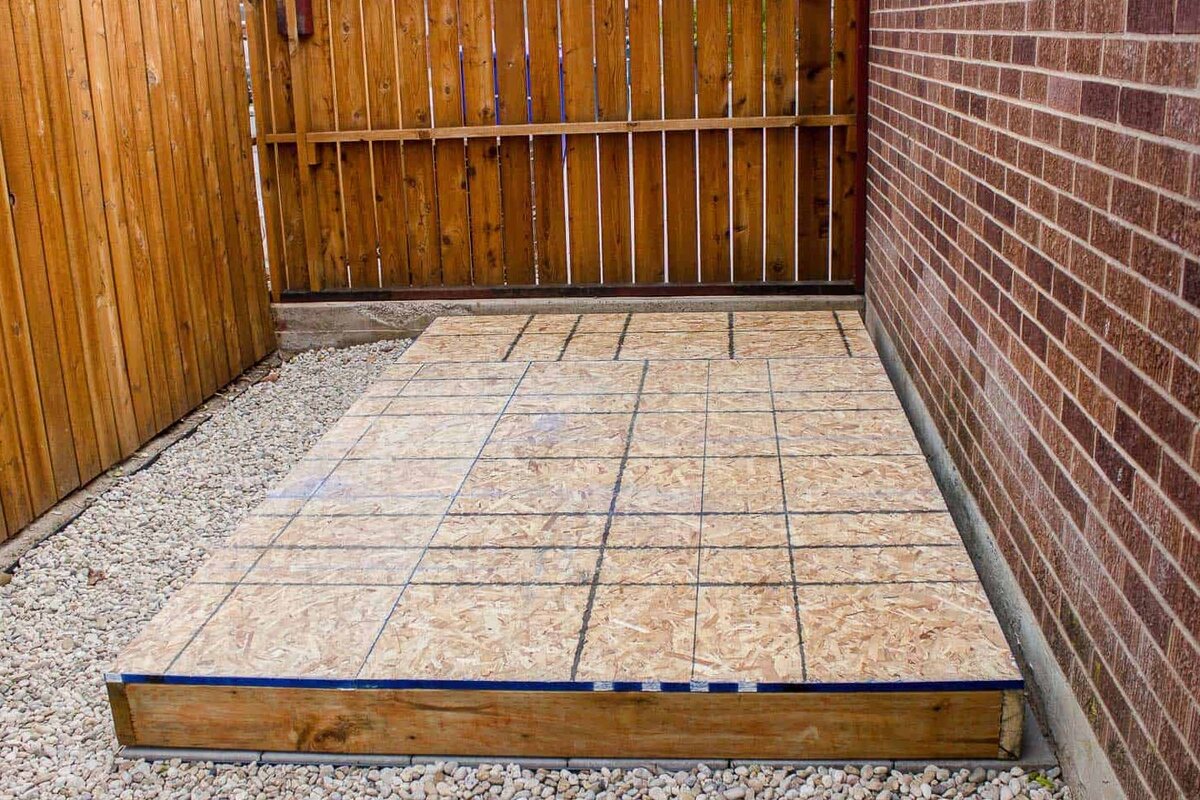
Sealing the shed floor is a critical step in fortifying its resilience and protecting it from moisture, stains, and wear. The sealant forms a protective barrier that enhances the durability and longevity of the floor, ensuring that it can withstand the demands of daily use and the impact of the elements.
Choose a high-quality sealant designed for the specific material of your shed floor, whether it’s concrete, wood, or another surface. Consider factors such as the level of foot traffic the shed floor experiences and the prevailing weather conditions in your area when selecting the most suitable sealant. Ensure that the sealant is compatible with the primer applied in the previous step, as this promotes optimal adhesion and effectiveness.
Apply the sealant evenly across the entire shed floor, working methodically to cover the surface completely. Use a paint roller or brush to ensure thorough and consistent coverage, paying attention to any specific application instructions provided by the sealant manufacturer. Take care to avoid leaving puddles or uneven patches, as these can compromise the integrity of the sealant layer.
Once the sealant has been applied, allow it to dry according to the manufacturer’s recommendations. This crucial drying period ensures that the sealant forms a strong and resilient barrier, effectively safeguarding the shed floor against moisture, stains, and other potential sources of damage.
By sealing the shed floor, you create a protective shield that enhances its durability and resilience, prolonging its lifespan and maintaining its visual appeal. The sealant provides comprehensive protection, ensuring that the shed floor remains in optimal condition and can withstand the rigors of regular use and exposure to the elements.
With the shed floor effectively sealed, the final step is to allow the sealant to dry completely, setting the stage for the floor to be ready for use once again.
Read more: How To Seal A Shed Door
Step 5: Allow the Sealant to Dry
After applying the sealant to the shed floor, it is crucial to allow an adequate drying period for the sealant to cure and form a strong, protective layer. This final step is essential in ensuring that the sealant effectively safeguards the floor against moisture, stains, and other potential sources of damage.
Refer to the manufacturer’s instructions for the recommended drying time of the sealant. Factors such as temperature and humidity can influence the drying process, so it is important to account for these variables when determining the appropriate duration for the sealant to cure fully.
During the drying period, it is advisable to restrict foot traffic and the placement of heavy items on the sealed floor. This precaution helps prevent any potential disruptions to the sealant’s curing process, ensuring that it can establish a resilient and durable barrier across the entire shed floor surface.
As the sealant dries, monitor the shed floor closely to ensure that the drying process progresses smoothly and that the sealant forms an even and consistent protective layer. Once the sealant has dried completely, the shed floor will be ready to withstand the demands of regular use and the impact of environmental factors.
By allowing the sealant to dry thoroughly, you finalize the process of fortifying the shed floor, ensuring that it is equipped with a robust and long-lasting protective barrier. This step is essential in preserving the integrity and visual appeal of the shed floor, promoting its longevity and resilience for years to come.
With the sealant fully dried and the shed floor effectively protected, you can now enjoy the peace of mind that comes with knowing your outdoor structure is equipped with a durable and resilient floor, ready to support your activities and withstand the challenges of the elements.
Conclusion
Sealing a shed floor is a fundamental aspect of maintaining and enhancing the durability and resilience of this valuable outdoor structure. By following the comprehensive steps outlined in this guide, you can effectively seal the shed floor, fortifying it against moisture, stains, and wear, and ensuring its longevity and visual appeal.
From the initial stage of cleaning the shed floor to the final step of allowing the sealant to dry, each phase plays a crucial role in creating a robust and protective barrier that safeguards the floor against the impact of the elements and regular use.
By dedicating time and attention to cleaning the floor thoroughly, addressing cracks and holes, applying a primer, and meticulously sealing the surface, you can fortify the shed floor, creating a resilient and long-lasting foundation for your activities and storage needs.
With the shed floor effectively sealed, you can enjoy the peace of mind that comes with knowing your outdoor structure is equipped with a durable and resilient surface, capable of withstanding the challenges of daily use and exposure to the elements.
By incorporating these essential steps into your shed maintenance routine, you can ensure that your shed floor remains in optimal condition, providing a reliable and visually appealing space for your storage, hobbies, and other activities.
Sealing a shed floor is not only a practical maintenance task but also an investment in the longevity and functionality of your outdoor structure. By following these steps, you can create a resilient and enduring foundation that enhances the overall quality and utility of your shed.
With a well-sealed floor, your shed is not only better equipped to withstand the test of time but also provides a more inviting and secure environment for your valuable possessions and activities.
Frequently Asked Questions about How To Seal A Shed Floor
Was this page helpful?
At Storables.com, we guarantee accurate and reliable information. Our content, validated by Expert Board Contributors, is crafted following stringent Editorial Policies. We're committed to providing you with well-researched, expert-backed insights for all your informational needs.


0 thoughts on “How To Seal A Shed Floor”