Home>Gardening & Outdoor>Outdoor Structures>How To Install A Shed Door

Outdoor Structures
How To Install A Shed Door
Modified: February 18, 2024
Learn how to install a shed door and enhance your outdoor structures with our step-by-step guide. Ensure a secure and functional door for your outdoor space.
(Many of the links in this article redirect to a specific reviewed product. Your purchase of these products through affiliate links helps to generate commission for Storables.com, at no extra cost. Learn more)
Introduction
Welcome to the ultimate guide on how to install a shed door! Whether you’re a seasoned DIY enthusiast or just starting to explore the world of outdoor structures, understanding the process of installing a shed door is essential for maintaining the functionality and security of your storage space. A well-installed shed door not only enhances the overall aesthetics of your outdoor area but also provides convenient access to your belongings while keeping them safe from the elements.
In this comprehensive guide, we’ll walk you through each step of the installation process, from gathering the necessary tools and materials to adding the finishing touches. By the end of this journey, you’ll have the knowledge and confidence to tackle this project with ease, ensuring that your shed door operates smoothly and securely for years to come.
So, roll up your sleeves, gather your tools, and let’s dive into the exciting world of shed door installation!
Key Takeaways:
- Installing a shed door requires gathering tools, preparing the door opening, hanging the door, and adding finishing touches. It’s a rewarding DIY project that enhances your outdoor space and provides secure storage.
- By following the steps in this guide, you can confidently install a shed door, adding both functionality and personal flair to your outdoor area. It’s a satisfying accomplishment that enhances your connection to your outdoor environment.
Read more: How To Install Shed Door Hinges
Step 1: Gather the Necessary Tools and Materials
Before embarking on the installation of your shed door, it’s crucial to gather all the essential tools and materials to ensure a smooth and efficient process. Here’s a comprehensive list of what you’ll need:
- Tape Measure: Accurately measuring the door opening and the door itself is essential for a precise fit.
- Level: Ensures that the door is installed evenly and plumb, preventing any issues with operation.
- Screwdriver Set: Both Phillips and flat-head screwdrivers will be necessary for various components of the installation.
- Drill: A power drill equipped with the appropriate drill bits will expedite the installation of screws and hardware.
- Saw: Depending on your specific door and frame, a saw may be required for trimming or adjusting the door’s size.
- Hinges: Ensure you have the correct hinges for your door, typically two or three, depending on the door’s size and weight.
- Door Handle and Lock Set: If not included with the door, select a handle and lock set that complements the style and security needs of your shed.
- Shims: These thin, wedge-shaped pieces are used to ensure the door frame is plumb and level during installation.
- Screws and Fasteners: Have an assortment of screws and fasteners on hand, including wood screws and anchors if you’re mounting the door to a masonry structure.
- Weather Stripping: To seal the door and prevent drafts, have weather stripping ready to install around the door frame.
- Paint or Stain: If you plan to finish the door or touch up the frame, have the appropriate paint or stain and brushes available.
By ensuring you have all these tools and materials at the ready, you’ll be well-prepared to tackle the installation process with confidence and efficiency.
Step 2: Prepare the Door Opening
Preparing the door opening is a crucial step in ensuring the seamless installation of your shed door. Here’s a detailed guide on how to prepare the door opening for a successful installation:
Measure and Mark: Begin by measuring the width and height of the door opening to confirm that it matches the dimensions of the door. Use a tape measure to ensure accuracy, and mark the areas that require adjustments or trimming.
Remove Obstructions: Clear the door opening of any obstructions, debris, or protruding nails that could hinder the installation process. A clean and unobstructed opening will facilitate a smooth installation.
Check for Level and Plumb: Using a level, check the sides and top of the door opening to ensure that they are plumb and level. If necessary, use shims to adjust the positioning and ensure that the door will hang properly.
Trim if Needed: If the door opening is slightly smaller than the door, carefully trim the edges using a saw to achieve a perfect fit. Take precise measurements and exercise caution to avoid over-trimming.
Install Weather Stripping: To prevent drafts and ensure a weather-tight seal, install weather stripping around the perimeter of the door opening. This will help maintain the interior climate of the shed while enhancing energy efficiency.
By meticulously preparing the door opening, you’ll lay the foundation for a seamless installation process, setting the stage for the next steps of hanging the door and adding the necessary hardware.
Step 3: Install the Hinges
Installing the hinges is a critical step in the process of hanging a shed door. Properly mounted hinges ensure smooth operation and long-term durability. Here’s a detailed guide on how to install the hinges for your shed door:
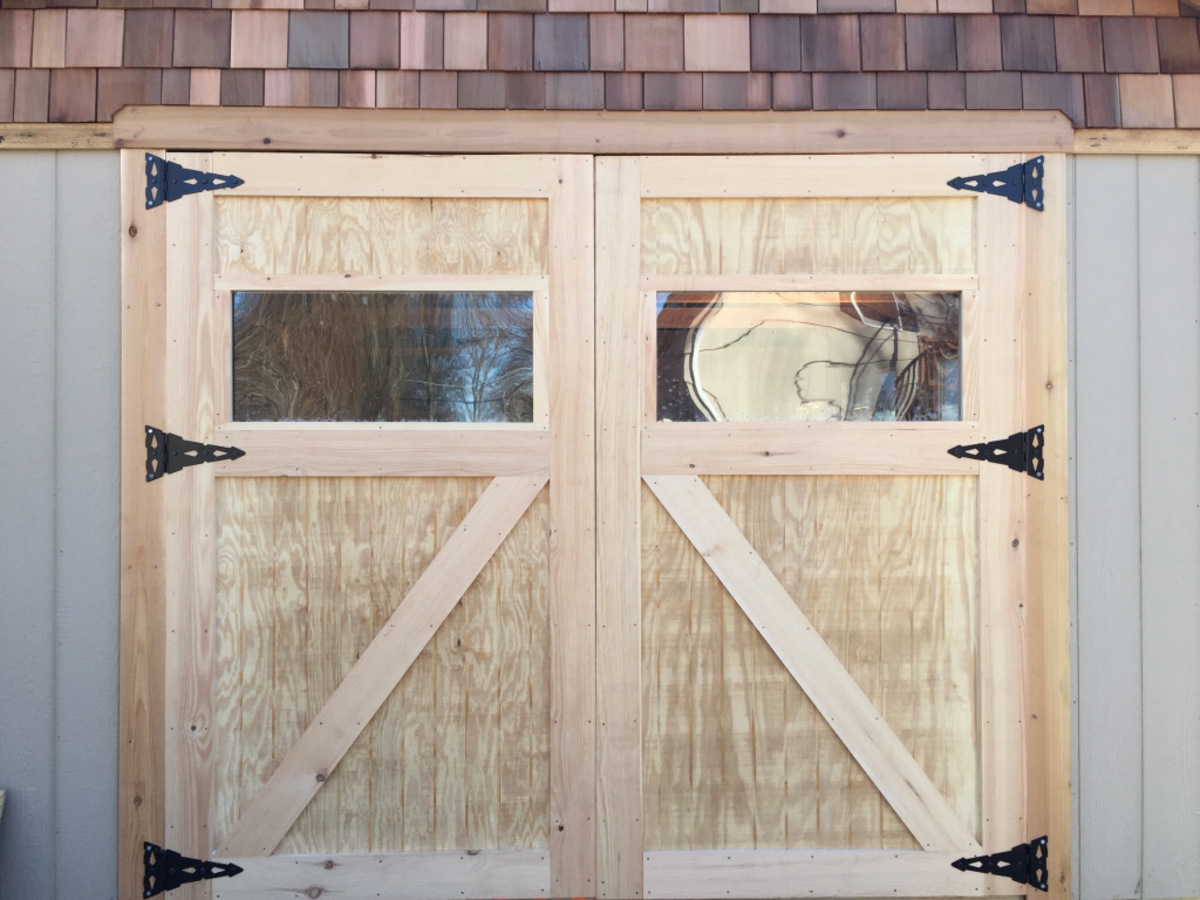
Positioning the Hinges: Begin by positioning the hinges on the door. Depending on the size and weight of the door, you may need two or three hinges. For optimal support, the top hinge should be placed 5 inches from the top of the door, the bottom hinge 10 inches from the bottom, and if applicable, the middle hinge evenly spaced between the top and bottom hinges.
Marking and Pre-Drilling: With the hinges in place, mark the locations of the screw holes on the door. Then, using an appropriately sized drill bit, pre-drill pilot holes for the screws. This step helps prevent the wood from splitting when the screws are inserted.
Attaching the Hinges to the Door: Align the hinges with the pre-drilled pilot holes and secure them to the door using the provided screws. Ensure that the hinges are firmly attached and that the screws are driven in snugly to provide a secure connection.
Positioning the Door in the Opening: With the hinges attached to the door, position the door in the prepared opening. Enlist the help of a friend or family member to assist with holding the door in place while you work on securing the hinges to the door frame.
Attaching the Hinges to the Frame: With the door held in place, align the hinges with the corresponding locations on the door frame. Mark the positions for the screw holes, remove the door, and pre-drill the pilot holes. Finally, secure the hinges to the frame using the appropriate screws.
By meticulously following these steps, you’ll effectively install the hinges, ensuring that your shed door operates smoothly and reliably. With the hinges securely in place, you’re ready to proceed to the next step of hanging the door in the opening.
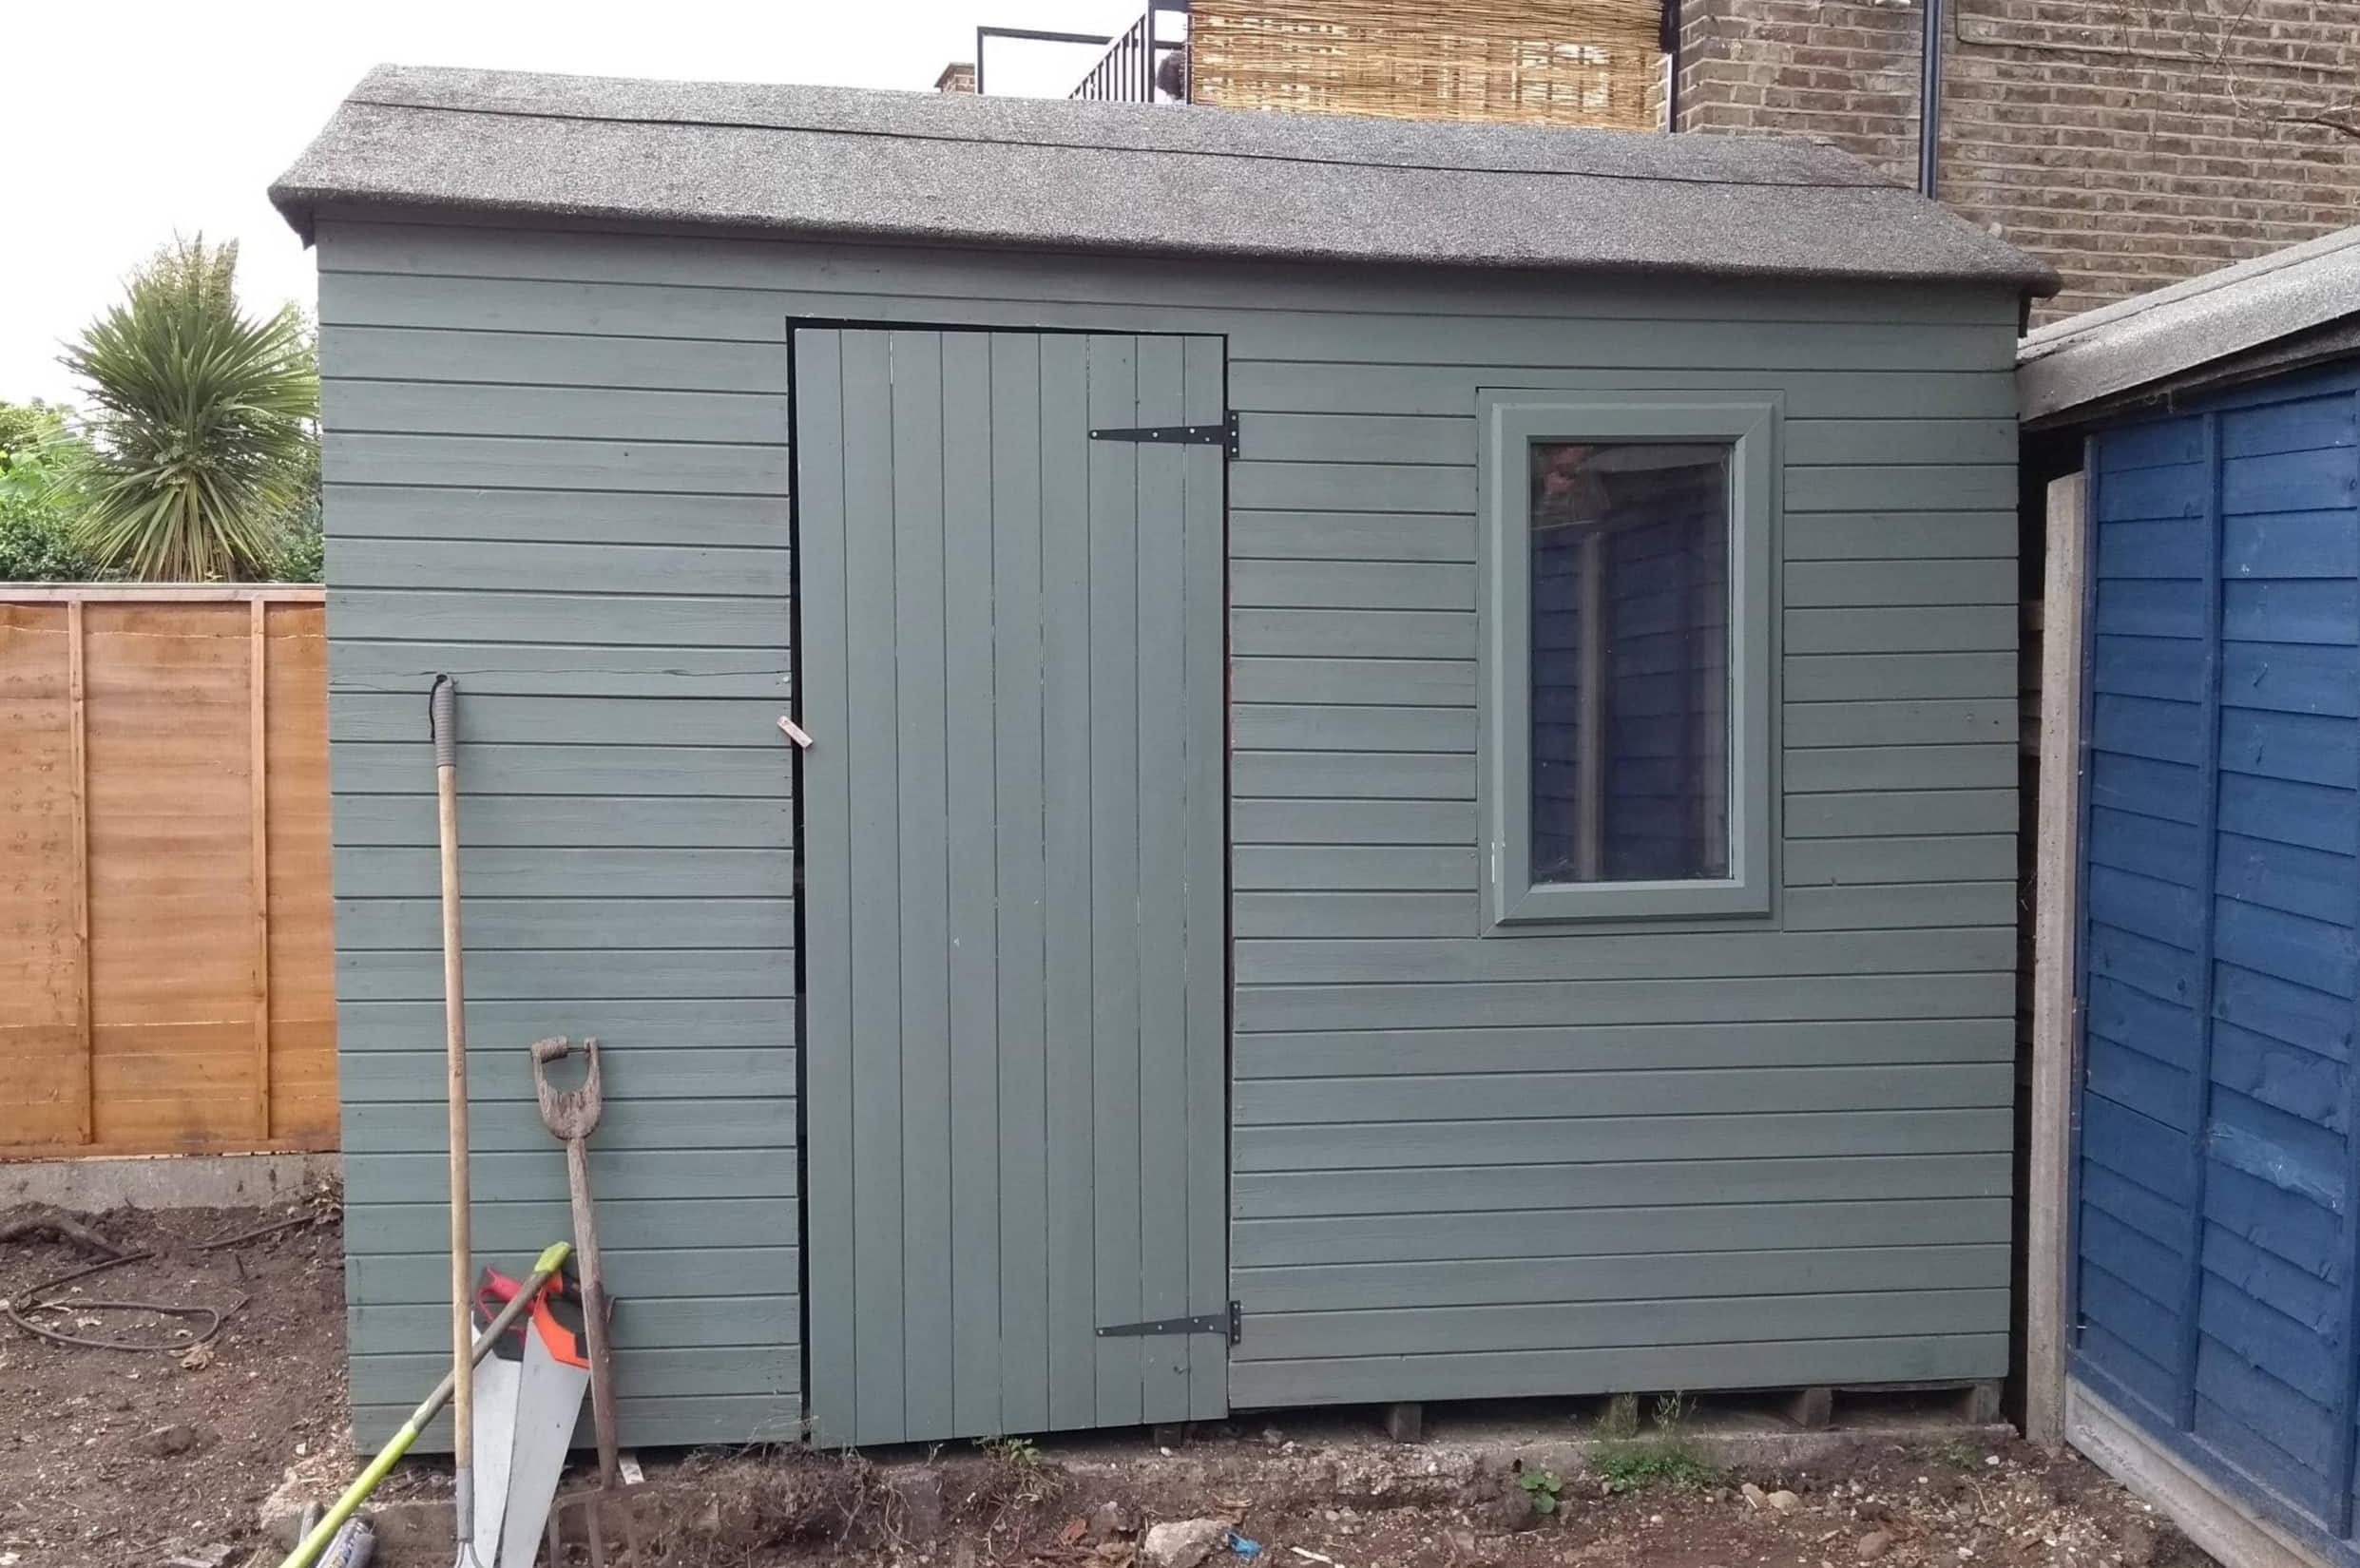
When installing a shed door, make sure to measure the opening accurately and use shims to ensure the door is level and plumb before securing it in place.
Step 4: Hang the Door
Now that the hinges are securely in place, it’s time to hang the door in the opening. Properly hanging the door is essential for ensuring smooth operation and a secure fit. Here’s a detailed guide on how to hang your shed door:
Enlist Assistance: Before attempting to hang the door, enlist the help of a friend or family member to assist with lifting and positioning the door in the opening. This will ensure that the door is handled safely and accurately aligned during installation.
Aligning the Hinges: With your assistant’s help, position the door in the opening, ensuring that the hinges align with the corresponding locations on the door frame. Take the time to ensure that the door is level and plumb before proceeding.
Securing the Hinges: With the door held in place, insert the screws through the hinges and into the frame. Use a screwdriver or drill to secure the hinges firmly to the frame, ensuring that the door is securely attached and properly aligned.
Testing the Operation: Once the door is hung, test its operation by opening and closing it several times. Ensure that it swings smoothly and effortlessly, without any binding or sticking. If necessary, make minor adjustments to the hinges to achieve optimal operation.
Checking the Fit: Close the door and check for an even gap around the perimeter. If the fit is uneven or the door rubs against the frame, adjustments may be necessary to ensure a proper fit. Shims can be used to make minor adjustments to the door’s positioning.
By following these steps, you’ll successfully hang the door in the opening, setting the stage for the final steps of installing the door handle and lock, as well as adding the finishing touches to complete the installation process.
Read more: How To Install Vinyl Siding On A Shed Door
Step 5: Install the Door Handle and Lock
Installing the door handle and lock is the final touch in the shed door installation process, providing both functionality and security. Here’s a detailed guide on how to install the door handle and lock:
Choose the Right Hardware: Select a door handle and lock set that complements the style of your shed and meets your security needs. Ensure that the hardware is designed for outdoor use and provides the level of protection you require.
Marking the Drill Holes: Begin by marking the locations for the drill holes for both the handle and the lock. Use a tape measure and pencil to ensure precision in marking the positions for the hardware.
Drilling the Holes: With the locations marked, use an appropriately sized drill bit to create the necessary holes for the door handle and lock. Exercise caution and precision to prevent splintering or damage to the door surface.
Attaching the Hardware: Once the holes are drilled, position the door handle and lock on the door, aligning them with the drilled holes. Secure the hardware in place using the provided screws, ensuring that the handle and lock are firmly attached to the door.
Testing the Operation: Test the functionality of the door handle and lock to ensure that they operate smoothly and securely. The handle should turn easily, and the lock should engage without resistance, providing reliable security for your shed.
Adjusting as Needed: If the handle or lock feels loose or does not operate smoothly, make any necessary adjustments to ensure a secure and functional fit. Tighten screws as needed and test the hardware again to confirm proper operation.
By following these steps, you’ll successfully install the door handle and lock, adding the final layer of functionality and security to your shed door. With the hardware securely in place, your shed door installation is nearly complete, with just a few finishing touches remaining.
Step 6: Finishing Touches
As you near the completion of the shed door installation, attending to the finishing touches will not only enhance the door’s appearance but also contribute to its long-term durability. Here’s a guide on the final steps to perfecting your shed door installation:
Sealing the Door: Apply a high-quality outdoor sealant or finish to the door, ensuring that all exposed surfaces, including the top and bottom edges, are adequately sealed. This step helps protect the door from moisture and prolongs its lifespan.
Applying Weather Stripping: Double-check the weather stripping around the door frame, ensuring that it provides a snug seal when the door is closed. Make any necessary adjustments to ensure that the stripping effectively prevents drafts and moisture from entering the shed.
Adding a Threshold: Consider installing a threshold at the base of the door to provide a smooth transition and further enhance weather resistance. A well-installed threshold helps prevent water, dirt, and pests from entering the shed.
Applying a Fresh Coat of Paint: If desired, apply a fresh coat of paint or stain to the door and surrounding frame. This not only enhances the visual appeal of the shed door but also provides added protection against the elements.
Testing the Operation: Once all the finishing touches are complete, test the operation of the door, ensuring that it opens and closes smoothly and securely. Address any issues or adjustments as needed to guarantee optimal functionality.
Inspecting for Security: Double-check the door handle and lock, ensuring that they provide the level of security you require. Confirm that the lock engages properly and that the door handle operates smoothly without any issues.
By attending to these finishing touches, you’ll ensure that your shed door not only looks great but also functions optimally and provides the security and protection your outdoor items deserve. With the completion of these steps, your shed door installation journey comes to a satisfying close.
Conclusion
Congratulations on successfully completing the installation of your shed door! By following this comprehensive guide, you’ve gained the knowledge and confidence to tackle this essential project, ensuring that your shed door not only enhances the aesthetics of your outdoor space but also provides secure and convenient access to your belongings.
From gathering the necessary tools and materials to meticulously preparing the door opening, installing the hinges, hanging the door, and adding the final touches of the door handle, lock, and finishing details, you’ve navigated each step with precision and care. As a result, your shed door is now poised to serve its purpose effectively for years to come.
Remember, the successful installation of a shed door is a testament to your dedication to maintaining your outdoor space. By investing time and effort into this project, you’ve not only enhanced the functionality of your shed but also added a personal touch to your outdoor oasis.
As you step back and admire your handiwork, take pride in the fact that you’ve not only installed a door but have also created a gateway to a well-organized and secure storage area. The completion of this project marks a significant accomplishment in your DIY journey, and your shed door now stands as a testament to your skill and determination.
As you enjoy the fruits of your labor, may your shed door serve as a reminder of the satisfaction that comes from taking on and conquering new challenges. Whether it’s the joy of completing a project on your own or the peace of mind that comes from knowing your outdoor items are secure, your shed door stands as a symbol of your capabilities and commitment to creating a functional and beautiful outdoor space.
With your shed door installation complete, take a moment to appreciate the transformation you’ve brought to your outdoor area. Your dedication to this project has not only added value to your property but has also enriched your connection to your outdoor environment. As you move forward, may your shed door continue to be a source of pride and satisfaction, reflecting the care and attention you’ve invested in your outdoor sanctuary.
Frequently Asked Questions about How To Install A Shed Door
Was this page helpful?
At Storables.com, we guarantee accurate and reliable information. Our content, validated by Expert Board Contributors, is crafted following stringent Editorial Policies. We're committed to providing you with well-researched, expert-backed insights for all your informational needs.


0 thoughts on “How To Install A Shed Door”