Home>Gardening & Outdoor>Outdoor Structures>How To Mount Hinges On A Shed Door
Outdoor Structures
How To Mount Hinges On A Shed Door
Modified: February 18, 2024
Learn how to properly mount hinges on your shed door for long-lasting durability and functionality. Get expert tips for outdoor structures.
(Many of the links in this article redirect to a specific reviewed product. Your purchase of these products through affiliate links helps to generate commission for Storables.com, at no extra cost. Learn more)
Introduction
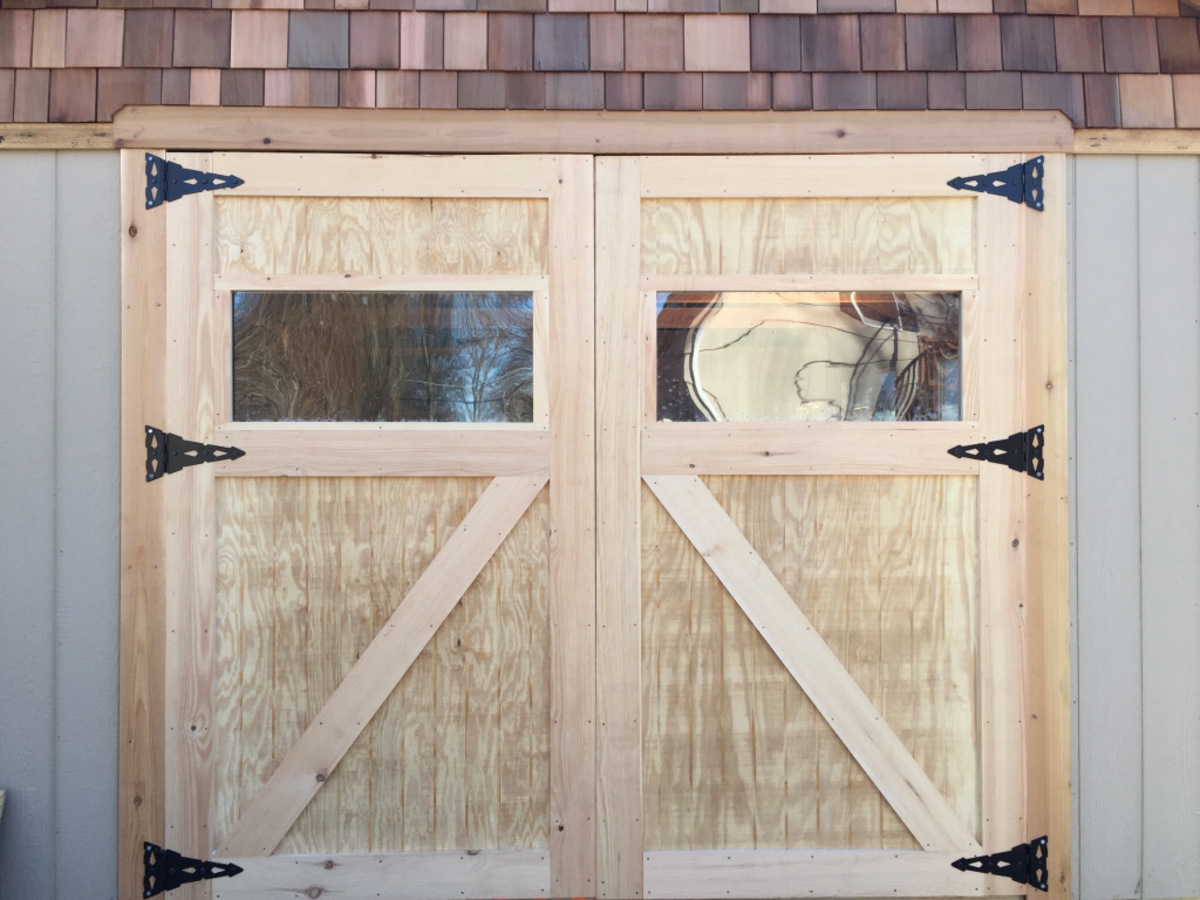
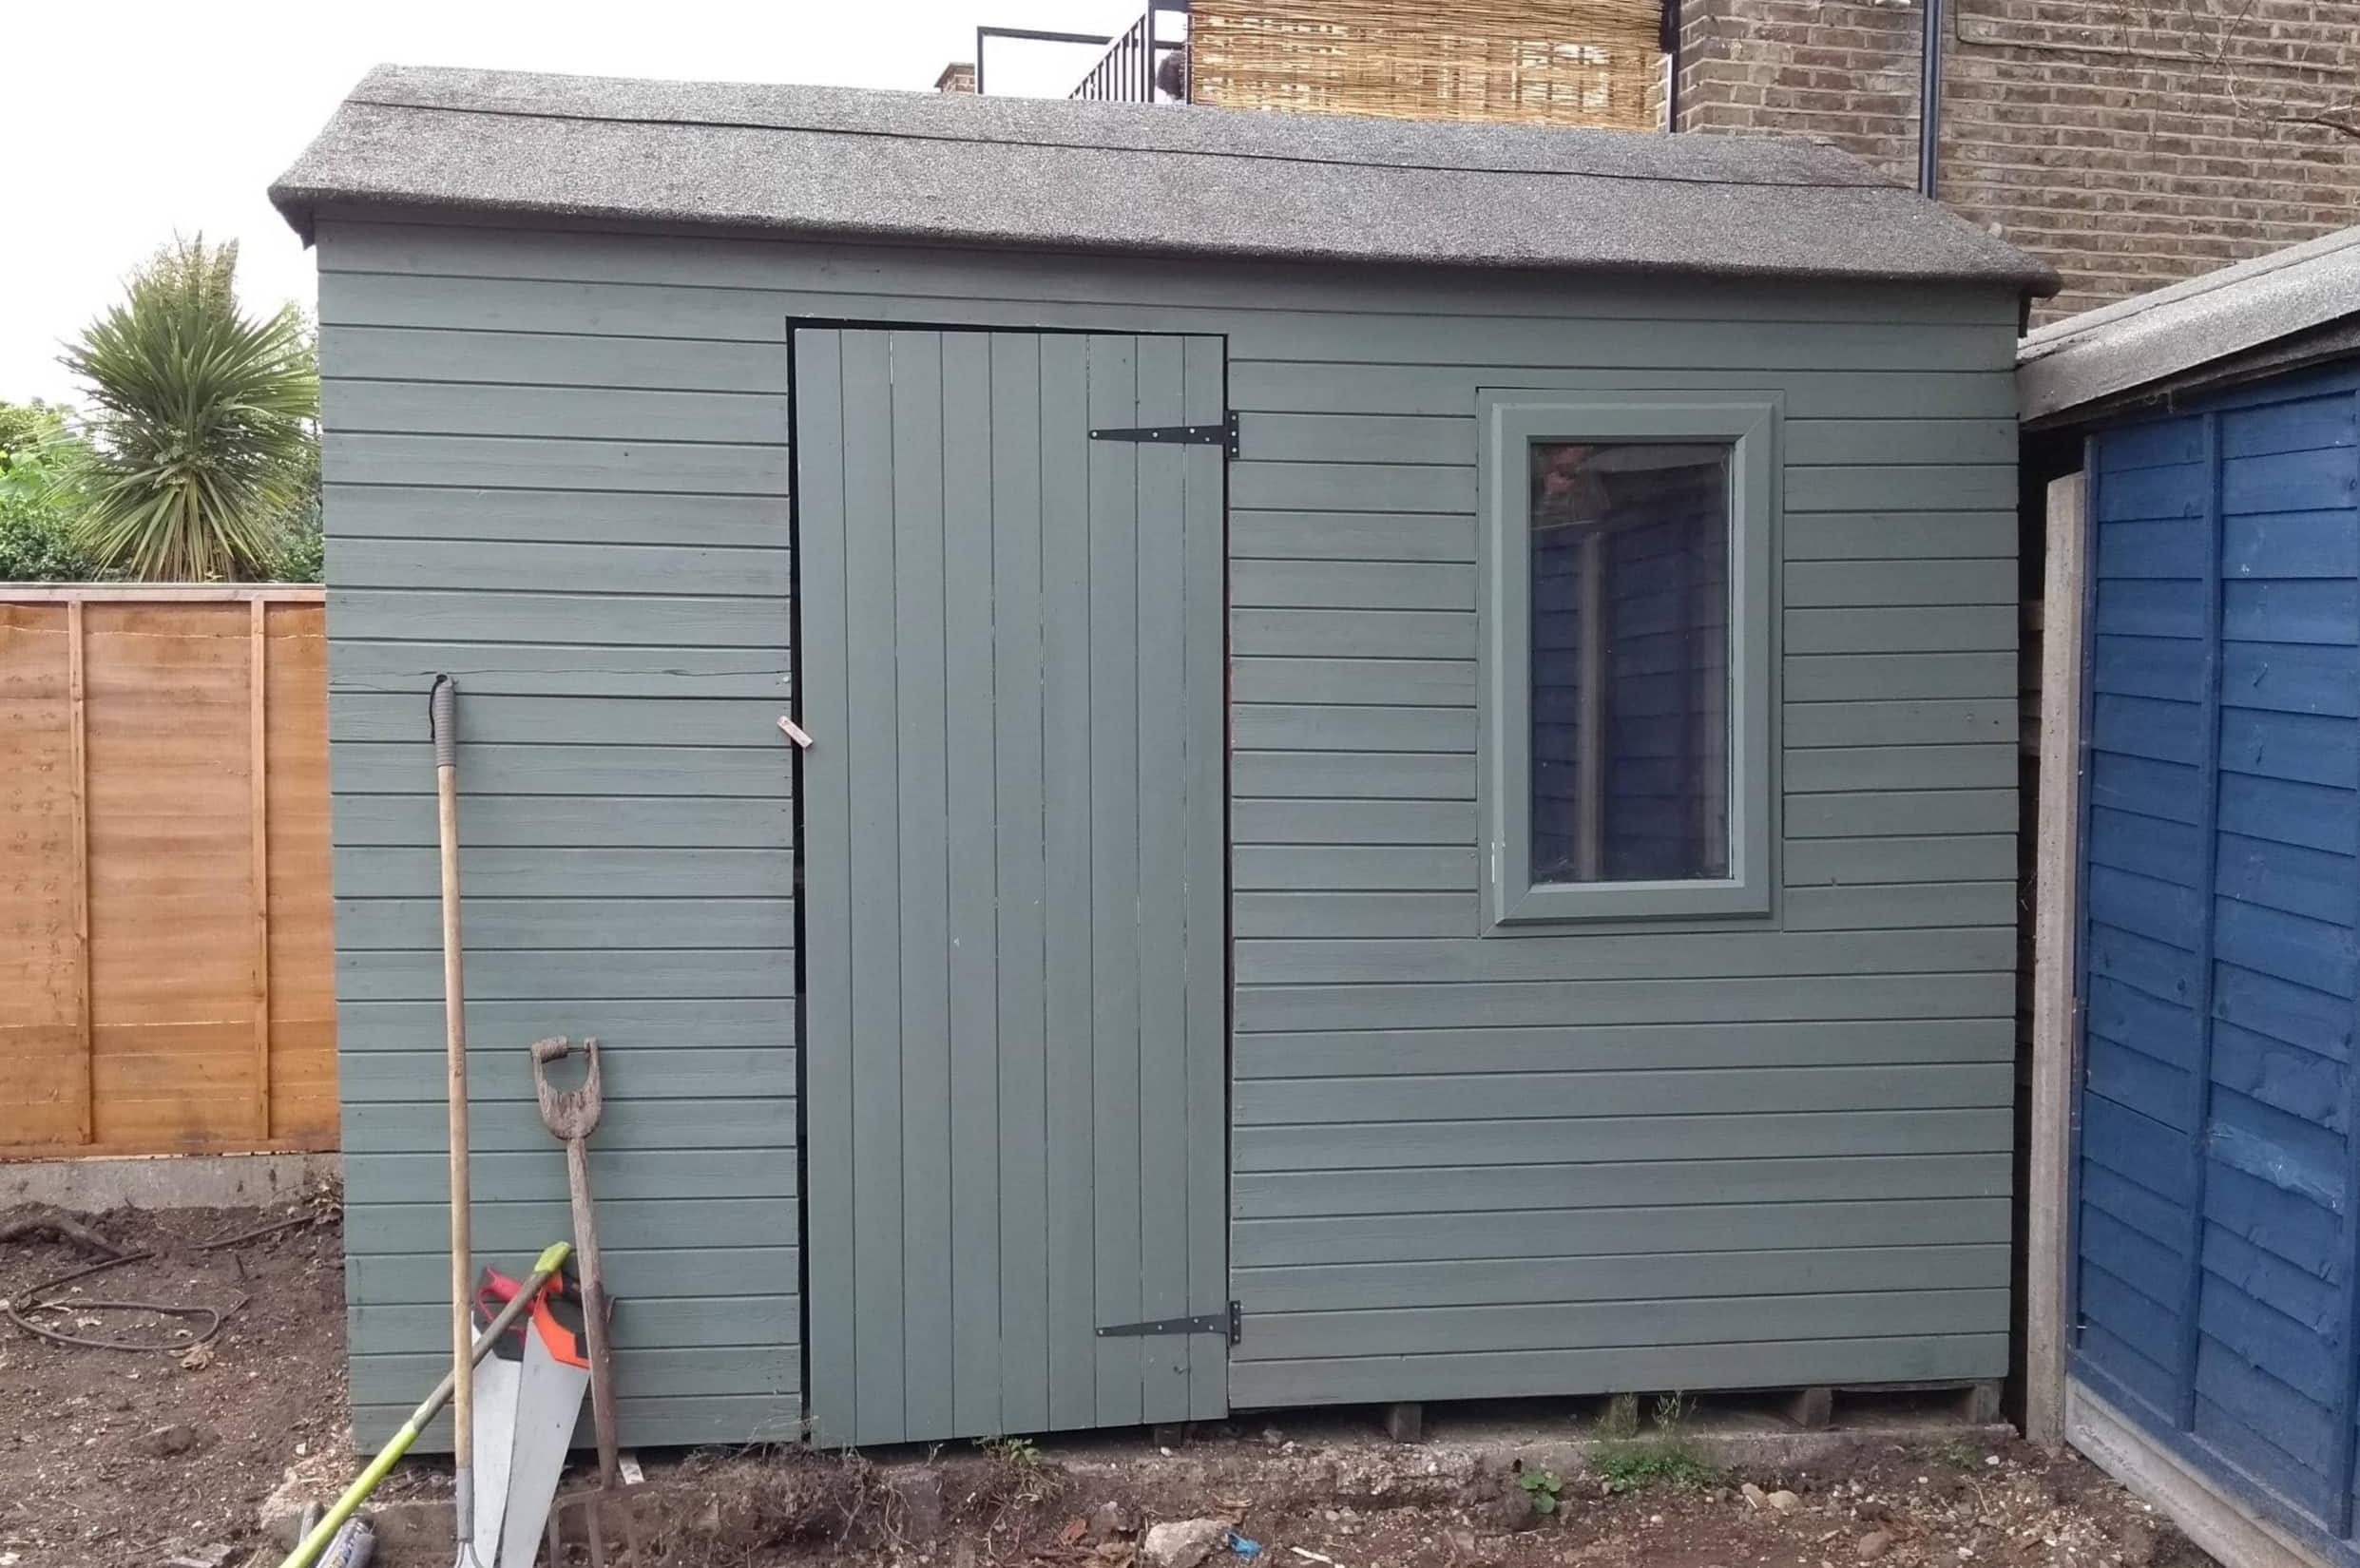
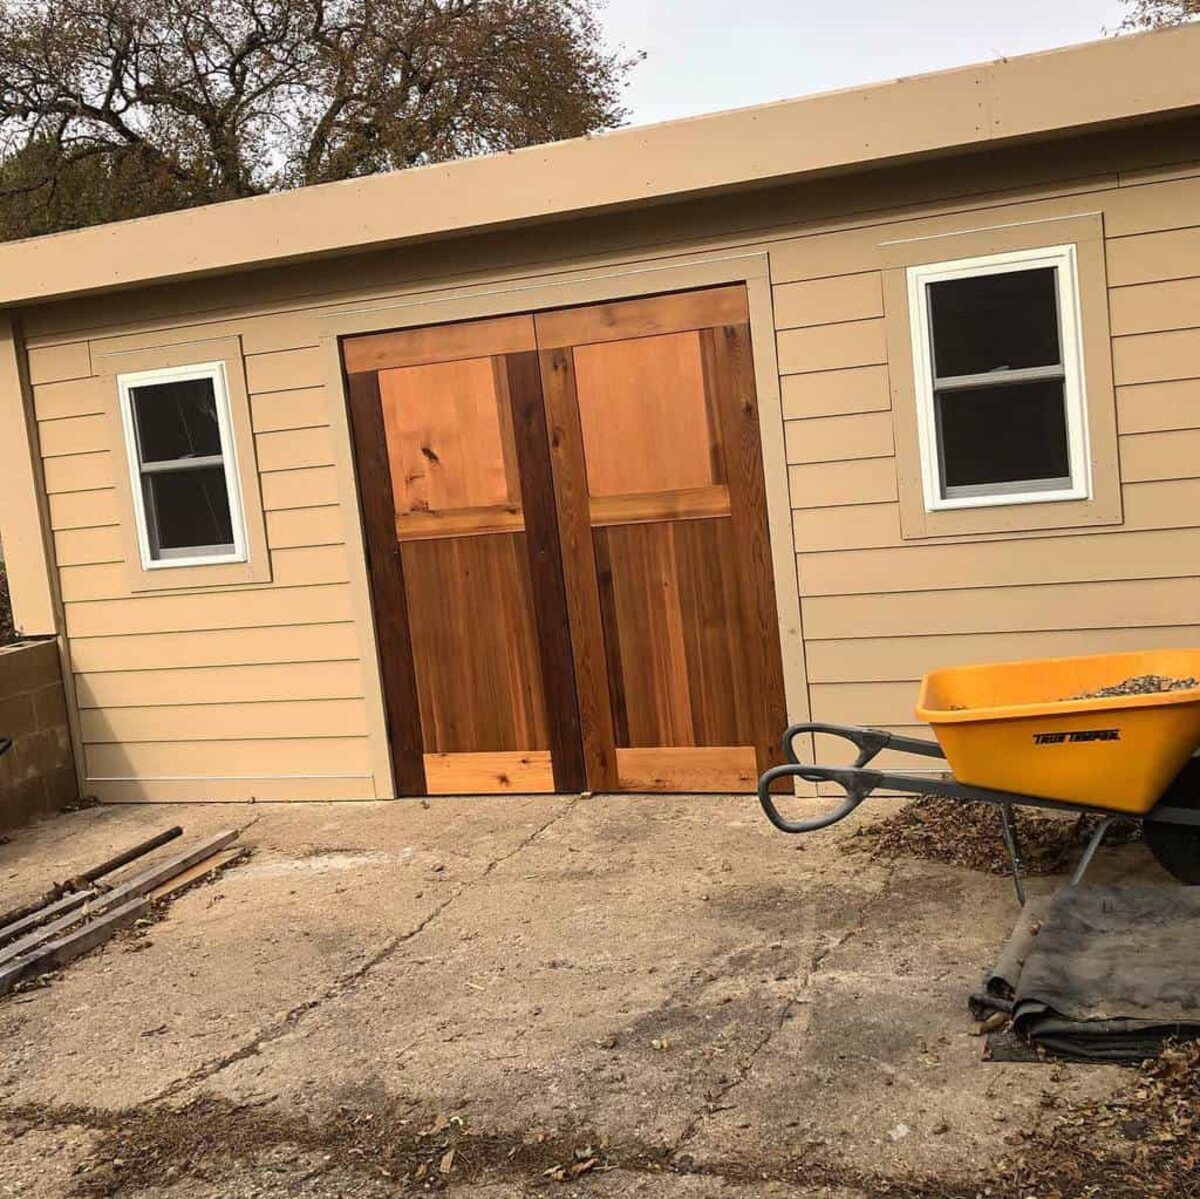
Mounting hinges on a shed door is a crucial step in the construction process, as it ensures the door functions smoothly and securely. Whether you are building a new shed or replacing an existing door, properly mounting hinges is essential for the door’s longevity and functionality. By following these steps, you can ensure that your shed door operates effortlessly, providing convenient access to your outdoor storage space.
Mounting hinges on a shed door may seem like a daunting task, especially for those new to DIY projects. However, with the right tools, materials, and a clear understanding of the process, you can successfully complete this essential aspect of shed construction. In this guide, we will walk you through the steps required to mount hinges on a shed door, providing detailed instructions and valuable tips to help you achieve a professional and durable result.
Before you begin, it’s important to gather the necessary tools and materials, which we will outline in the next section. With these in hand, you’ll be well-prepared to tackle the task of mounting hinges on your shed door and enjoy the satisfaction of a job well done.
Key Takeaways:
- Properly mounting hinges on a shed door is crucial for smooth functionality and longevity. Following the step-by-step process and using the right tools ensures a professional and durable result.
- Attention to detail, accuracy in measurements, and the use of safety gear are essential for a successful hinge installation. With the door securely mounted, convenient access to outdoor storage is guaranteed.
Read more: How To Install Shed Door Hinges
Tools and Materials
Before you embark on the process of mounting hinges on your shed door, it’s essential to have the right tools and materials at your disposal. Here’s what you’ll need to ensure a smooth and successful installation:
Tools:
- Tape measure
- Pencil or marker
- Power drill
- Drill bits
- Screwdriver
- Adjustable wrench
- Level
- Work gloves
- Safety goggles
Materials:
- Shed door hinges (appropriate size and quantity)
- Screws
- Wood shims (if needed for leveling)
- Wood sealant or paint (for finishing the door, if desired)
Having these tools and materials on hand will streamline the hinge-mounting process and ensure that you can proceed without interruptions. Additionally, it’s important to prioritize safety by wearing work gloves and safety goggles when handling tools and materials.
With the necessary tools and materials gathered, you’re ready to move on to the first step of mounting hinges on your shed door: measuring and marking the hinge placement.
Step 1: Measure and Mark Hinge Placement
Before you can mount the hinges on your shed door, it’s crucial to accurately measure and mark the placement of the hinges. This step is essential for ensuring that the door operates smoothly and aligns properly with the door frame. Here’s how to proceed:
Start by positioning the door in the door frame or on a flat, stable surface. Using a tape measure, determine the desired distance from the top and bottom of the door to the top and bottom hinges, respectively. Typically, hinges are placed 5-7 inches from the top and bottom of the door, but this may vary based on the door’s size and design.
Once you’ve determined the hinge placement, use a pencil or marker to mark the precise locations for the hinges on the door. Ensure that the marks are level and evenly spaced to guarantee a balanced and functional door. If your shed door has multiple panels, be sure to mark the hinge placement on each panel accordingly.
After marking the hinge positions on the door, transfer these measurements to the door frame or shed structure. This will guide the placement of the hinges on the shed itself, ensuring alignment between the door and the frame. Use a level to confirm that the hinge markings on the door align with those on the frame, maintaining a straight and balanced orientation.
It’s important to take your time with this step, as accuracy is key to the successful mounting of the hinges. Double-check your measurements and markings to avoid any misalignment issues that could affect the door’s functionality. Once the hinge placement is accurately marked on both the door and the frame, you’re ready to move on to the next step: pre-drilling screw holes.
Read more: Troubleshooting Door Hinge Problems
Step 2: Pre-drill Screw Holes
Pre-drilling screw holes is a crucial preparatory step that ensures the secure attachment of the hinges to the shed door and frame. By pre-drilling the holes, you can prevent the wood from splitting and facilitate the insertion of screws, ultimately contributing to a sturdy and reliable installation. Follow these steps to pre-drill the screw holes for the hinges:
Begin by selecting a drill bit that matches the diameter of the screws you’ll be using to attach the hinges. It’s important to choose a bit that is slightly smaller than the screws to create a pilot hole that guides the screws without compromising the wood’s integrity.
Secure the shed door in a stable position, ensuring that it won’t shift during the drilling process. Using the marks you made for the hinge placement, carefully drill pilot holes at each marked location on the door. Take care to position the drill perpendicular to the surface to create straight and accurately aligned holes.
Once the pilot holes are drilled in the door, repeat the process for the corresponding locations on the door frame or shed structure. Ensure that the pilot holes on the frame align precisely with those on the door to facilitate seamless hinge attachment and proper door operation.
As you pre-drill the screw holes, be mindful of the depth to avoid drilling completely through the door or frame. A helpful tip is to mark the drill bit with a piece of tape to indicate the appropriate depth, preventing accidental over-drilling.
By pre-drilling screw holes, you’ll streamline the hinge attachment process and minimize the risk of errors or damage during installation. With the pilot holes in place, you’re now prepared to move on to the next step: attaching the hinges to the door.
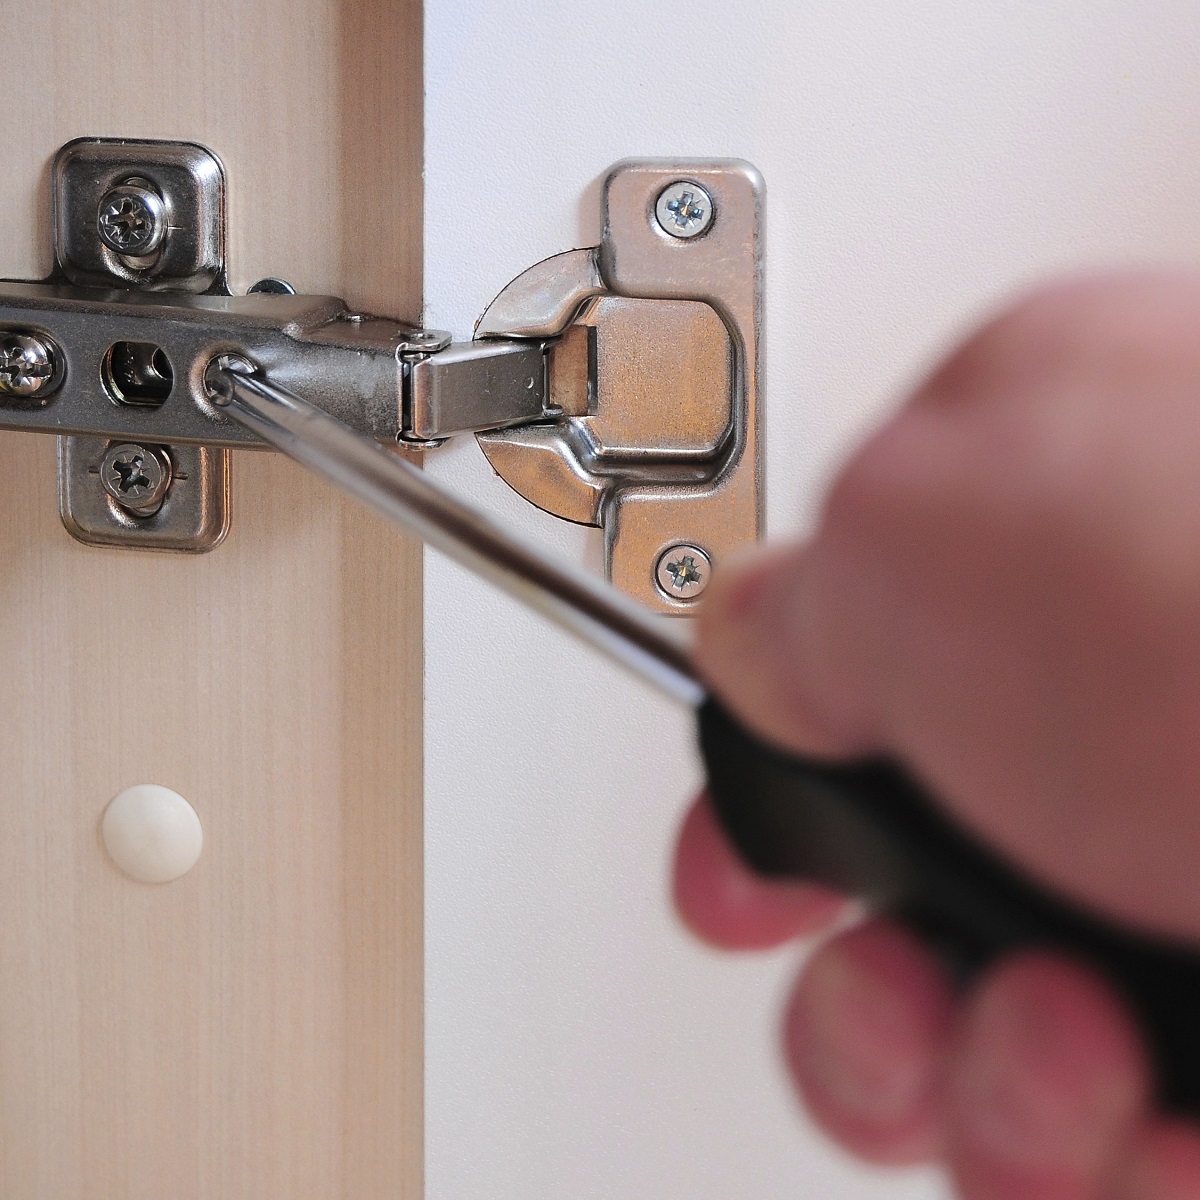
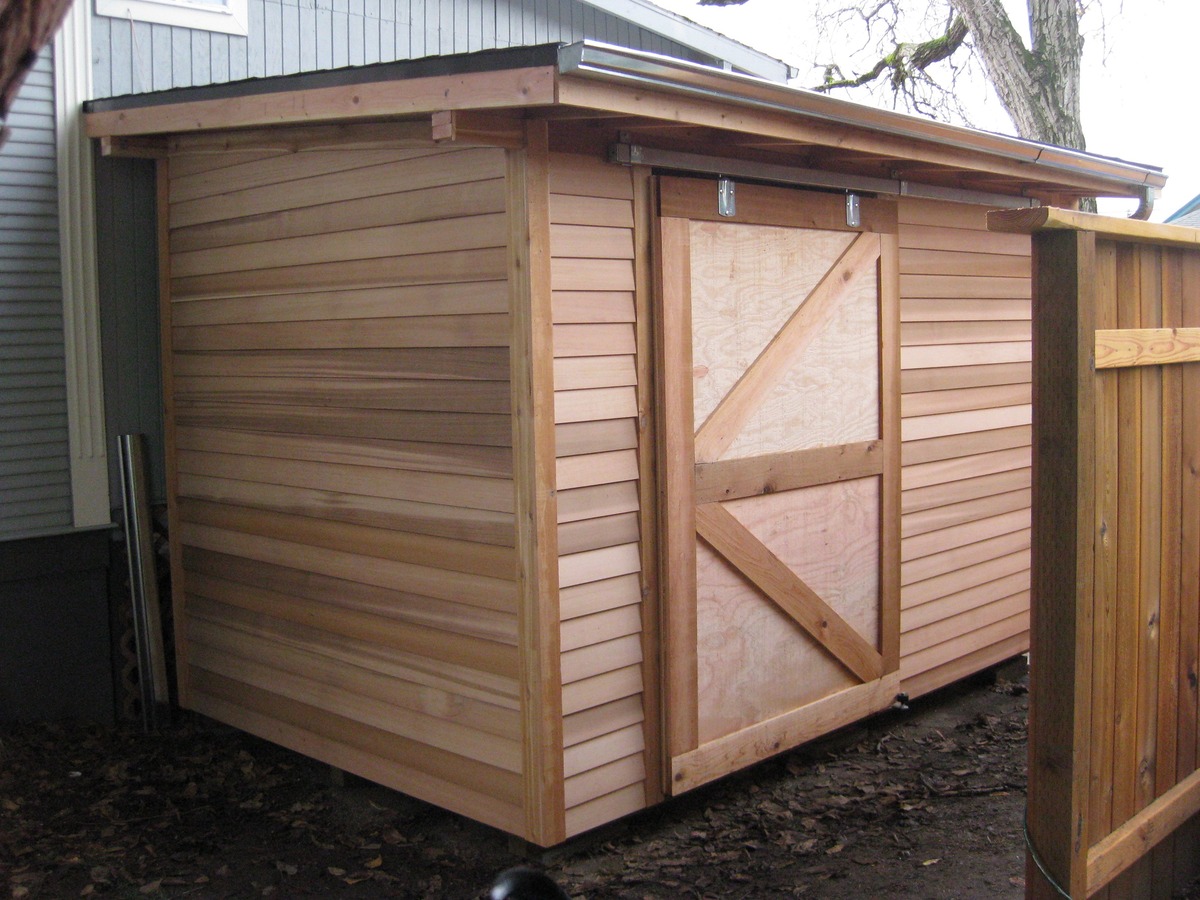
Step 3: Attach Hinges to the Door
Attaching the hinges to the shed door is a pivotal stage in the installation process, as it sets the foundation for the door’s functionality and stability. Properly securing the hinges ensures that the door operates smoothly and aligns correctly with the door frame. Follow these steps to effectively attach the hinges to the door:
Begin by aligning the hinges with the pre-drilled pilot holes on the door. With the hinges in position, insert screws into the holes and tighten them securely using a screwdriver. It’s important to ensure that the screws are driven in straight and flush with the surface to maintain a secure and even attachment.
As you attach the hinges, be mindful of their orientation and ensure that they are positioned correctly to facilitate the desired swing direction for the door. Depending on the design of the shed and the door’s intended opening direction, the hinges should be mounted to accommodate smooth and unhindered movement.
Once the hinges are firmly attached to the door, verify that they operate smoothly and that the door aligns properly with the frame. Open and close the door to test its functionality, making any necessary adjustments to the hinge attachment if the door exhibits resistance or misalignment.
If your shed door consists of multiple panels, repeat the process of attaching hinges to each panel, ensuring that they are aligned and securely fastened. Consistency in hinge attachment across all panels is essential for the uniform operation of the door as a whole.
With the hinges successfully attached to the shed door, you’re now ready to proceed to the final step: mounting the door to the shed and completing the installation process.
When mounting hinges on a shed door, make sure to use heavy-duty screws to secure the hinges to the door and the door frame. It’s important to ensure that the hinges are properly aligned and securely attached to prevent sagging or misalignment over time.
Step 4: Mount the Door to the Shed
Mounting the shed door to the structure is the culminating step in the hinge installation process, bringing together the elements to create a functional and secure entryway to your outdoor storage space. Properly mounting the door ensures that it operates smoothly and aligns accurately with the shed frame. Follow these steps to effectively mount the door to the shed:
Position the shed door within the door frame or opening, ensuring that it aligns correctly and operates smoothly on its hinges. If necessary, use wood shims to level the door and create an even gap around the edges for proper clearance and operation.
With the door in position, secure the hinges to the shed structure using the appropriate screws and a screwdriver. Ensure that the screws are driven in securely, anchoring the hinges to the shed and creating a stable connection between the door and the frame.
Once the hinges are securely fastened to the shed, test the door’s operation by opening and closing it to ensure smooth movement and proper alignment. Make any necessary adjustments to the hinges or shims to optimize the door’s functionality and ensure a snug fit within the frame.
After confirming that the door operates seamlessly and aligns accurately with the shed frame, inspect the entire installation to ensure that all components are secure and properly aligned. This comprehensive check ensures that the door is fully operational and provides secure access to your shed.
Finally, consider applying a wood sealant or paint to the door and frame to provide protection against the elements and enhance the overall appearance of your shed. This finishing touch not only contributes to the door’s longevity but also adds a polished aesthetic to your outdoor space.
With the shed door successfully mounted to the structure, the hinge installation process is complete, providing you with a functional and reliable entryway to your shed. By following these steps, you can ensure that your shed door operates seamlessly, offering convenient access to your outdoor storage space.
Conclusion
Mounting hinges on a shed door is a fundamental aspect of shed construction that directly impacts the door’s functionality and longevity. By following the step-by-step process outlined in this guide, you can confidently undertake the hinge installation, ensuring a smooth and secure operation of your shed door. From measuring and marking hinge placement to mounting the door to the shed, each step contributes to the overall functionality and reliability of the door.
Throughout the installation process, it’s essential to prioritize accuracy and attention to detail, from measuring and marking the hinge placement to pre-drilling screw holes and attaching the hinges securely. By doing so, you can avoid potential issues such as misalignment, uneven operation, or structural instability.
Additionally, the use of the right tools and materials plays a crucial role in the successful mounting of hinges. By ensuring that you have the necessary equipment, you can streamline the installation process and achieve professional results. Safety precautions, such as wearing work gloves and safety goggles, further contribute to a smooth and secure installation experience.
Upon completing the hinge installation, the functionality and aesthetics of your shed door are greatly enhanced, providing convenient access to your outdoor storage space while adding a polished and professional touch to your shed’s overall appearance. The attention to detail and precision invested in mounting the hinges ultimately contribute to the door’s seamless operation and long-term durability.
Whether you are constructing a new shed or replacing an existing door, the proper mounting of hinges is a critical step that should not be overlooked. By following the guidelines outlined in this comprehensive guide, you can confidently and effectively mount hinges on your shed door, ensuring a functional, secure, and visually appealing entryway to your outdoor storage space.
With the completion of the hinge installation, your shed door is now equipped to provide reliable and convenient access, enhancing the functionality and overall appeal of your outdoor structure. By following these steps and incorporating attention to detail, you can take pride in a professionally mounted shed door that serves as a durable and reliable asset to your outdoor space.
Frequently Asked Questions about How To Mount Hinges On A Shed Door
Was this page helpful?
At Storables.com, we guarantee accurate and reliable information. Our content, validated by Expert Board Contributors, is crafted following stringent Editorial Policies. We're committed to providing you with well-researched, expert-backed insights for all your informational needs.


0 thoughts on “How To Mount Hinges On A Shed Door”