Home>Gardening & Outdoor>Outdoor Structures>How To Install Vinyl Siding On A Shed Door
Outdoor Structures
How To Install Vinyl Siding On A Shed Door
Modified: August 27, 2024
Learn how to install vinyl siding on a shed door with our step-by-step guide. Enhance the look of your outdoor structures today!
(Many of the links in this article redirect to a specific reviewed product. Your purchase of these products through affiliate links helps to generate commission for Storables.com, at no extra cost. Learn more)
Introduction
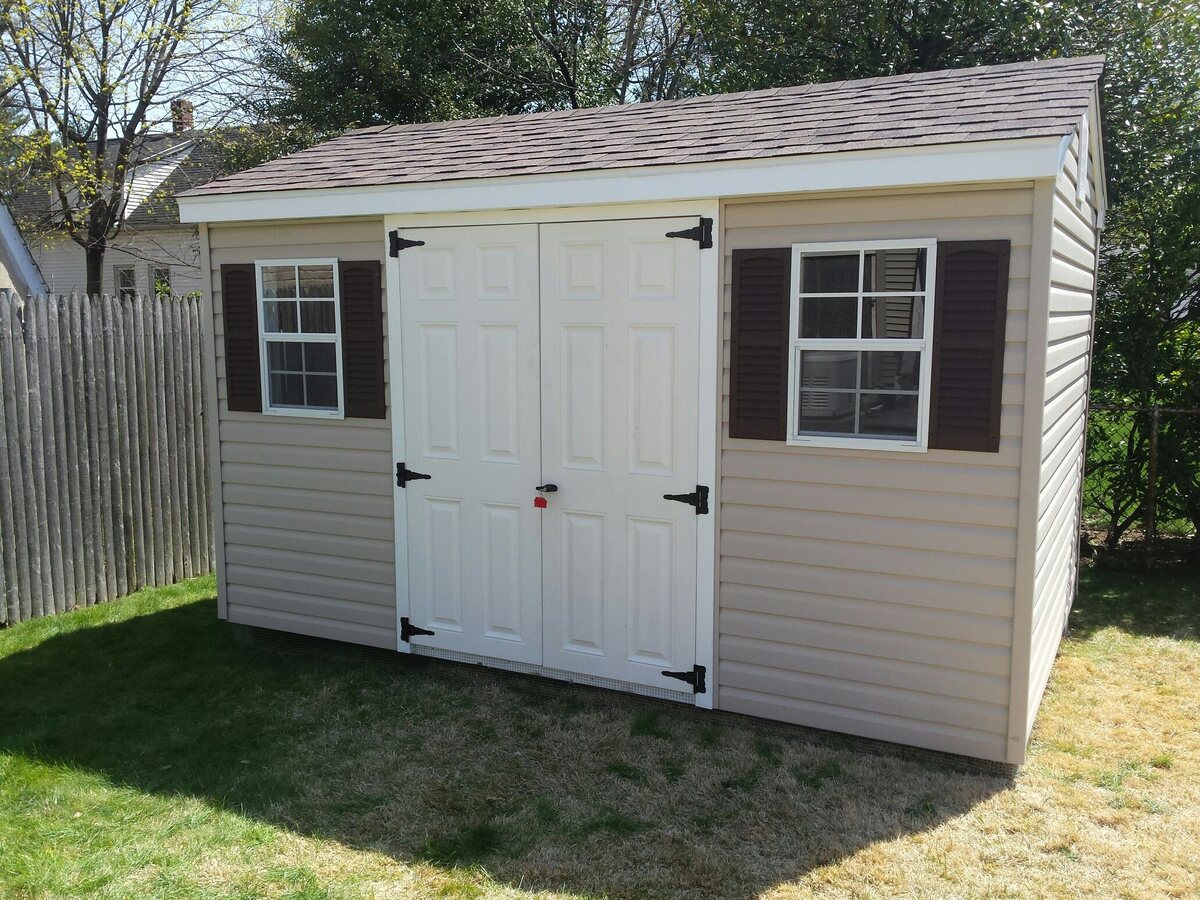
Welcome to the world of outdoor structure enhancement! Vinyl siding is a fantastic option for adding durability and aesthetic appeal to your shed door. Whether you’re a seasoned DIY enthusiast or just embarking on your first home improvement project, installing vinyl siding on a shed door can be a rewarding and satisfying endeavor. Not only does it provide protection against the elements, but it also gives your shed a polished and professional appearance.
In this comprehensive guide, we’ll walk you through the step-by-step process of installing vinyl siding on a shed door. From gathering the necessary materials to the finishing touches, we’ve got you covered. So, roll up your sleeves, gather your tools, and let’s dive into the wonderful world of vinyl siding installation!
Key Takeaways:
- Transform your shed door with durable and visually appealing vinyl siding. Follow the step-by-step guide for a rewarding DIY project that enhances both aesthetics and weather resistance.
- From preparation to finishing touches, installing vinyl siding is a meticulous yet satisfying endeavor. Enjoy the lasting impact of a polished and resilient shed door.
Read more: How To Install Siding On A Shed
Materials Needed
Before getting started, it’s essential to gather all the necessary materials and tools for the vinyl siding installation. Here’s a list of items you’ll need:
- Vinyl siding panels
- J-channel
- Utility knife
- Tape measure
- Straightedge
- Screws
- Nails
- Hammer
- Level
- Power saw or tin snips
- Caulk
- Zip tool
- Safety glasses
- Gloves
Having these materials on hand will ensure a smooth and efficient installation process. Now that you’ve gathered everything you need, it’s time to prepare for the installation.
Preparation
Before diving into the installation process, it’s crucial to prepare the shed door for the vinyl siding. Start by thoroughly cleaning the surface to remove any dirt, debris, or old paint. Use a mild detergent and water to wash the door, and allow it to dry completely before proceeding.
Next, inspect the door for any signs of damage or rot. If you encounter any issues, address them before continuing with the installation. Repairing any structural damage will ensure that the vinyl siding adheres properly and provides the necessary protection.
Once the door is clean and in good condition, take measurements to determine the amount of vinyl siding needed. Accurate measurements are essential for a precise and professional-looking installation. Use a tape measure to record the dimensions of the door, and factor in any necessary allowances for overlapping and trimming.
Lastly, ensure that you have a well-ventilated and well-lit workspace. Proper lighting and ventilation are essential for a safe and efficient installation process. With the shed door cleaned, inspected, and measured, and your workspace ready to go, you’re now prepared to move on to the next steps of the installation process.
Measuring and Cutting
Accurate measurements and precise cutting are crucial for a successful vinyl siding installation. Begin by measuring the dimensions of the shed door, taking into account any necessary allowances for overlapping and trimming. Use a tape measure to record the height and width of the door, and transfer these measurements to the vinyl siding panels.
When cutting the vinyl siding panels, use a straightedge and a pencil to mark the cutting lines. A power saw or tin snips can be used to make the cuts, ensuring clean and accurate edges. It’s essential to wear safety glasses and gloves during the cutting process to protect yourself from any sharp edges or debris.
As you cut the vinyl siding panels to size, be mindful of maintaining a precise fit and ensuring that the panels align with the door’s dimensions. Double-check your measurements and cuts to guarantee that the siding will seamlessly cover the door’s surface. Taking the time to measure accurately and cut with precision will contribute to a professional and visually appealing end result.
With the vinyl siding panels cut to the appropriate size, you’re ready to move on to the next phase of the installation process: installing the J-channel.
Before installing vinyl siding on a shed door, make sure to properly measure and cut the siding to fit the door. Use a level to ensure the siding is straight and secure it with the appropriate nails or screws.
Installing the J-Channel
The J-channel serves as a crucial component for securing the edges of the vinyl siding and providing a clean, finished look. Begin by measuring and cutting the J-channel to fit around the perimeter of the shed door. Use a tape measure to determine the necessary lengths, and cut the J-channel using tin snips or a power saw.
Next, position the J-channel around the door, ensuring that it is level and securely attached. Use a level to confirm that the J-channel is straight and aligned properly. Secure the J-channel in place using screws, placing them at regular intervals to provide adequate support and stability.
When installing the J-channel, pay close attention to the corners and ensure that they are mitered accurately for a seamless and professional appearance. Properly installed J-channel will create a secure and visually appealing framework for the vinyl siding installation.
With the J-channel in place, you’re now ready to move on to the exciting phase of installing the vinyl siding onto the shed door.
Read more: How To Install Awning On Vinyl Siding
Installing the Vinyl Siding
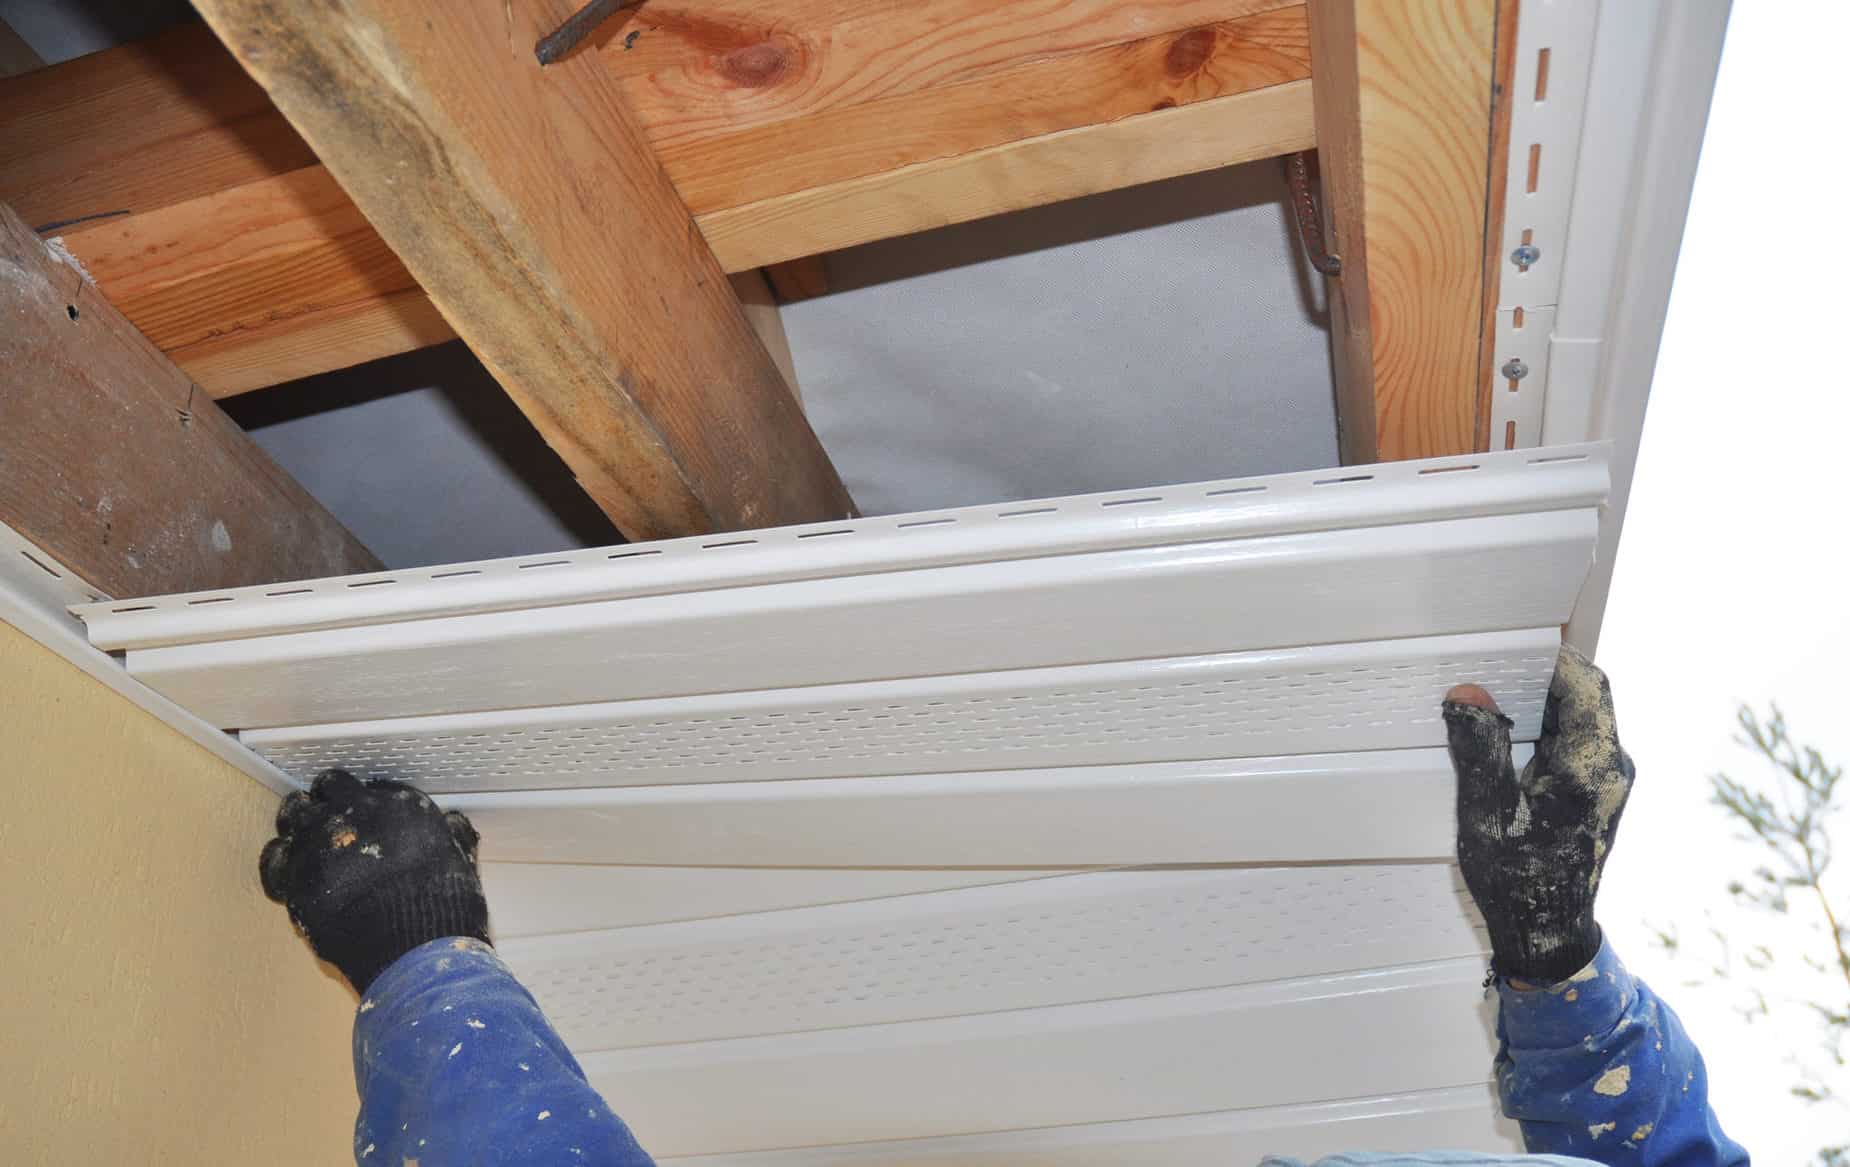
Now comes the exciting part – installing the vinyl siding onto the shed door. Begin by positioning the first piece of siding at the bottom of the door, ensuring that it aligns with the J-channel and overlaps the lower edge of the door. Secure the siding in place using nails, but be sure not to drive the nails in too tightly to allow for expansion and contraction due to temperature changes.
As you progress with the installation, use a zip tool to lock the subsequent pieces of siding into place, ensuring a snug and secure fit. The zip tool will help to interlock the siding panels, providing a seamless and professional finish. Continue to install the siding panels, working your way up the door and overlapping each piece to prevent water infiltration and maintain structural integrity.
Throughout the installation process, periodically step back and assess the alignment and overall appearance of the siding. Ensuring that the panels are level and properly aligned will contribute to a polished and visually appealing outcome. Take your time to guarantee that each piece of siding is securely fastened and complements the overall aesthetic of the shed door.
Once all the vinyl siding panels are in place, take a moment to admire your handiwork. The shed door is now adorned with durable and visually striking vinyl siding, providing enhanced protection and a touch of elegance to your outdoor space.
Finishing Touches
With the vinyl siding securely installed on the shed door, it’s time to add the finishing touches to complete the project. Begin by inspecting the entire installation to ensure that each panel is securely fastened and aligned properly. Any loose panels should be resecured, and any visible gaps or irregularities should be addressed.
Next, apply a bead of caulk along the edges and seams of the vinyl siding to provide an additional layer of protection against moisture and air infiltration. The caulk will help to create a watertight seal and enhance the overall durability of the installation. Be sure to select a high-quality caulk that is designed for outdoor use and compatible with vinyl materials.
After applying the caulk, step back and assess the shed door’s appearance. Take pride in the transformation that the vinyl siding has brought to the door, enhancing its visual appeal and fortifying it against the elements. The finishing touches mark the culmination of your hard work and attention to detail, resulting in a stunning and resilient enhancement to your outdoor structure.
As a final step, clean up any debris or leftover materials from the installation process, leaving your workspace tidy and organized. Dispose of any waste responsibly and store your tools and leftover materials for future use. With the finishing touches complete, stand back and admire the newly adorned shed door, knowing that it is now equipped with durable and attractive vinyl siding.
Conclusion
Congratulations on successfully installing vinyl siding on your shed door! This transformative project has not only enhanced the aesthetic appeal of your outdoor structure but also bolstered its durability and weather resistance. By following the step-by-step process outlined in this guide, you’ve demonstrated your ability to take on a rewarding home improvement endeavor and create a lasting impact on your property.
As you reflect on the journey from preparation to the finishing touches, take pride in the meticulous attention you’ve devoted to each step of the installation. Your commitment to precision and craftsmanship has resulted in a shed door that not only looks impressive but also stands resilient against the elements.
With the vinyl siding in place, your shed door is now equipped to withstand the rigors of weather and time, providing long-lasting protection and visual allure. The durable and low-maintenance nature of vinyl siding ensures that your outdoor structure will maintain its charm for years to come, requiring minimal upkeep and retaining its polished appearance.
As you bask in the satisfaction of a job well done, take a moment to appreciate the impact of your efforts. Your shed door is now a testament to your dedication to quality and aesthetics, adding value and character to your outdoor space.
Thank you for joining us on this journey through the installation of vinyl siding on a shed door. We hope this guide has empowered you to embark on future home improvement projects with confidence and enthusiasm. Your newfound expertise in vinyl siding installation is a testament to your commitment to enhancing and fortifying your living environment.
Now, take a step back, admire your handiwork, and revel in the beauty and resilience of your newly adorned shed door. Here’s to the transformative power of vinyl siding and the enduring allure it brings to your outdoor structures.
Frequently Asked Questions about How To Install Vinyl Siding On A Shed Door
Was this page helpful?
At Storables.com, we guarantee accurate and reliable information. Our content, validated by Expert Board Contributors, is crafted following stringent Editorial Policies. We're committed to providing you with well-researched, expert-backed insights for all your informational needs.


0 thoughts on “How To Install Vinyl Siding On A Shed Door”