Home>Gardening & Outdoor>Outdoor Structures>How To Open A Sunsetter Awning

Outdoor Structures
How To Open A Sunsetter Awning
Modified: February 18, 2024
Learn how to open a Sunsetter awning and enjoy your outdoor space with ease. Find expert tips and guidance on outdoor structures.
(Many of the links in this article redirect to a specific reviewed product. Your purchase of these products through affiliate links helps to generate commission for Storables.com, at no extra cost. Learn more)
Introduction
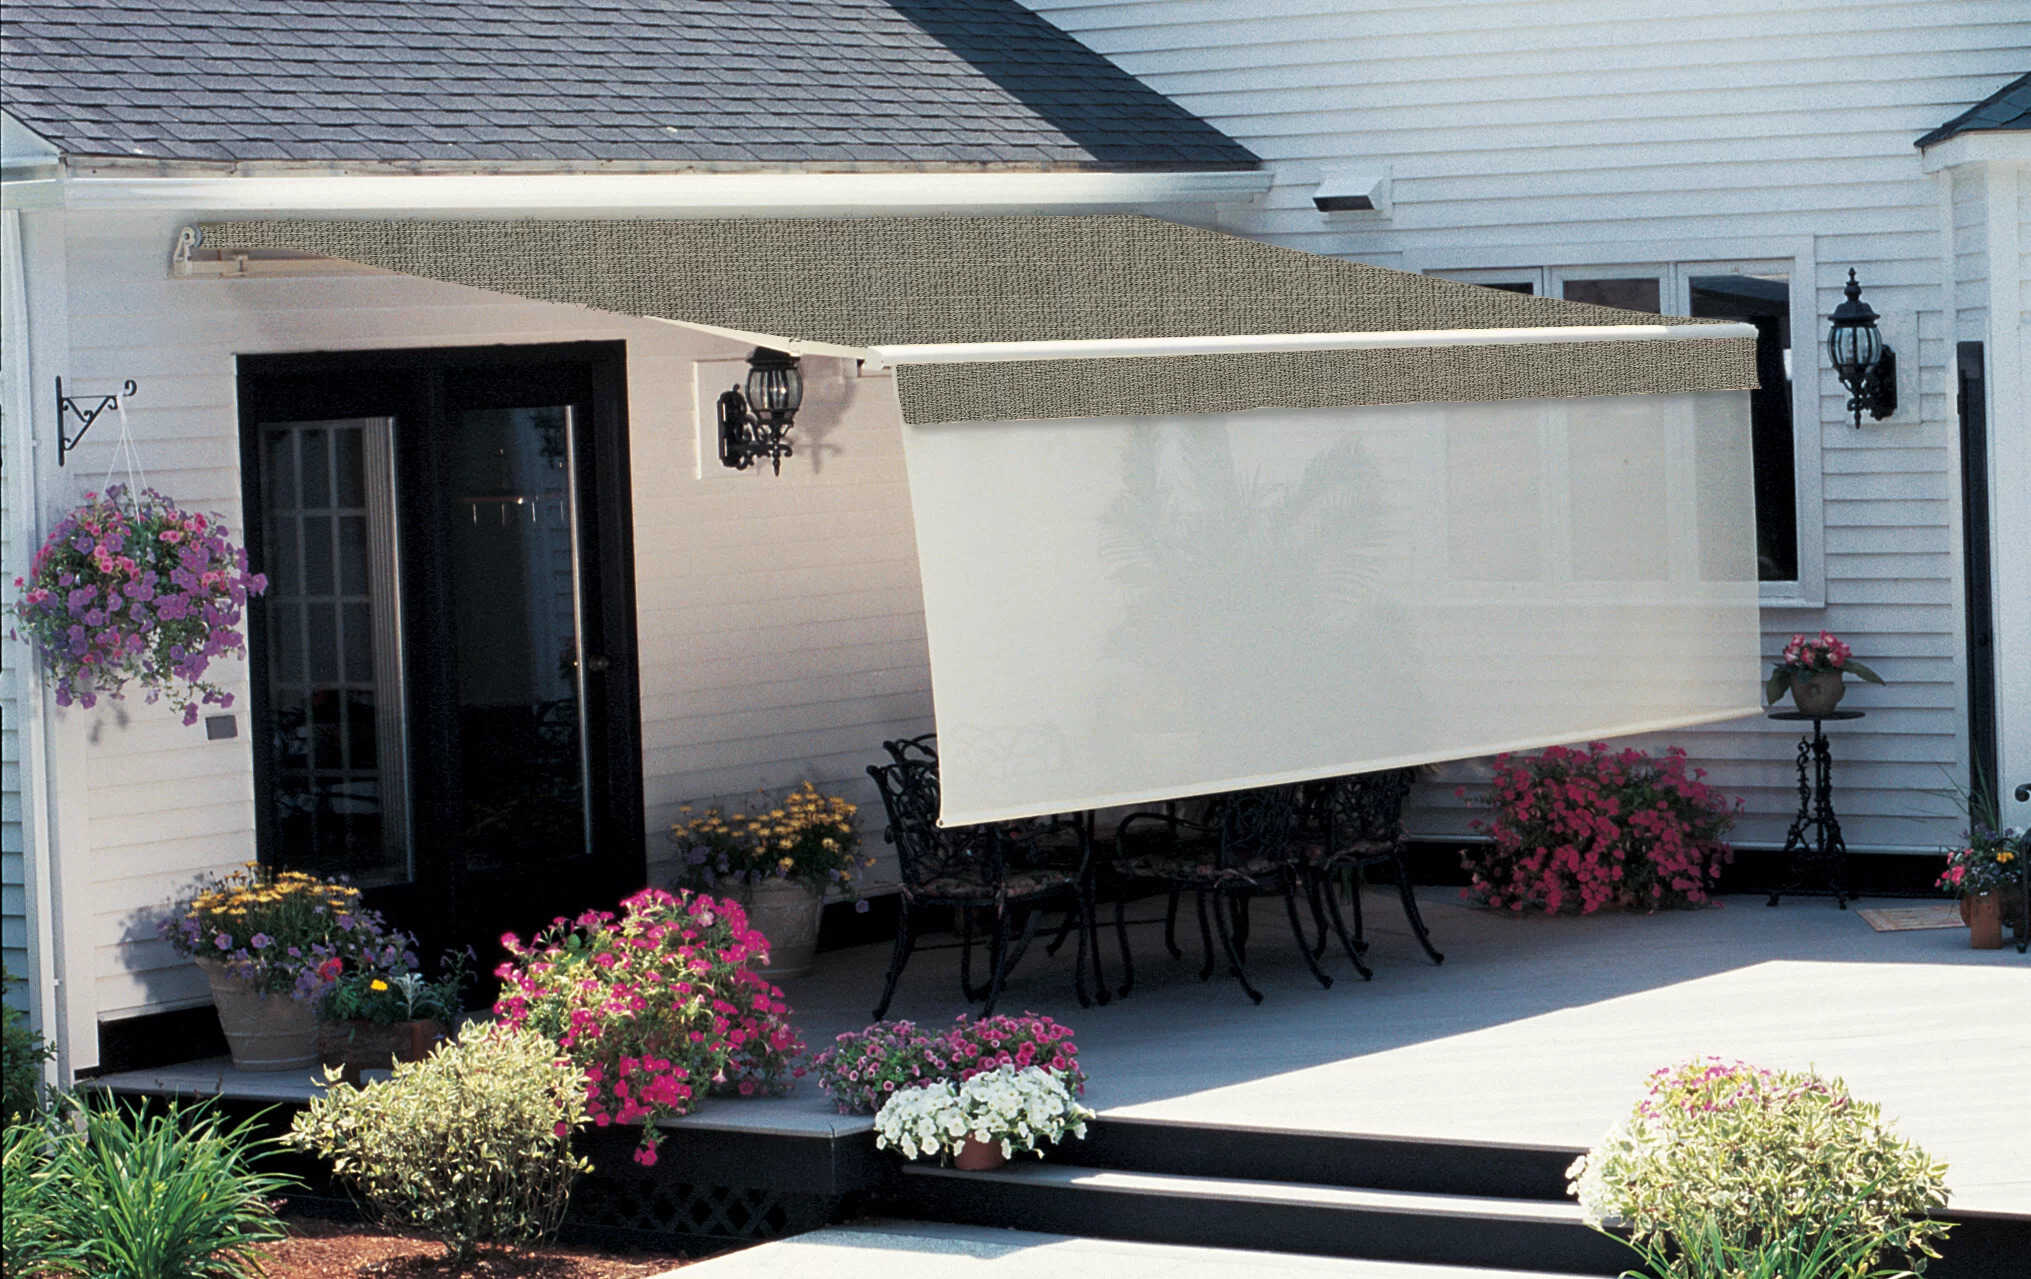
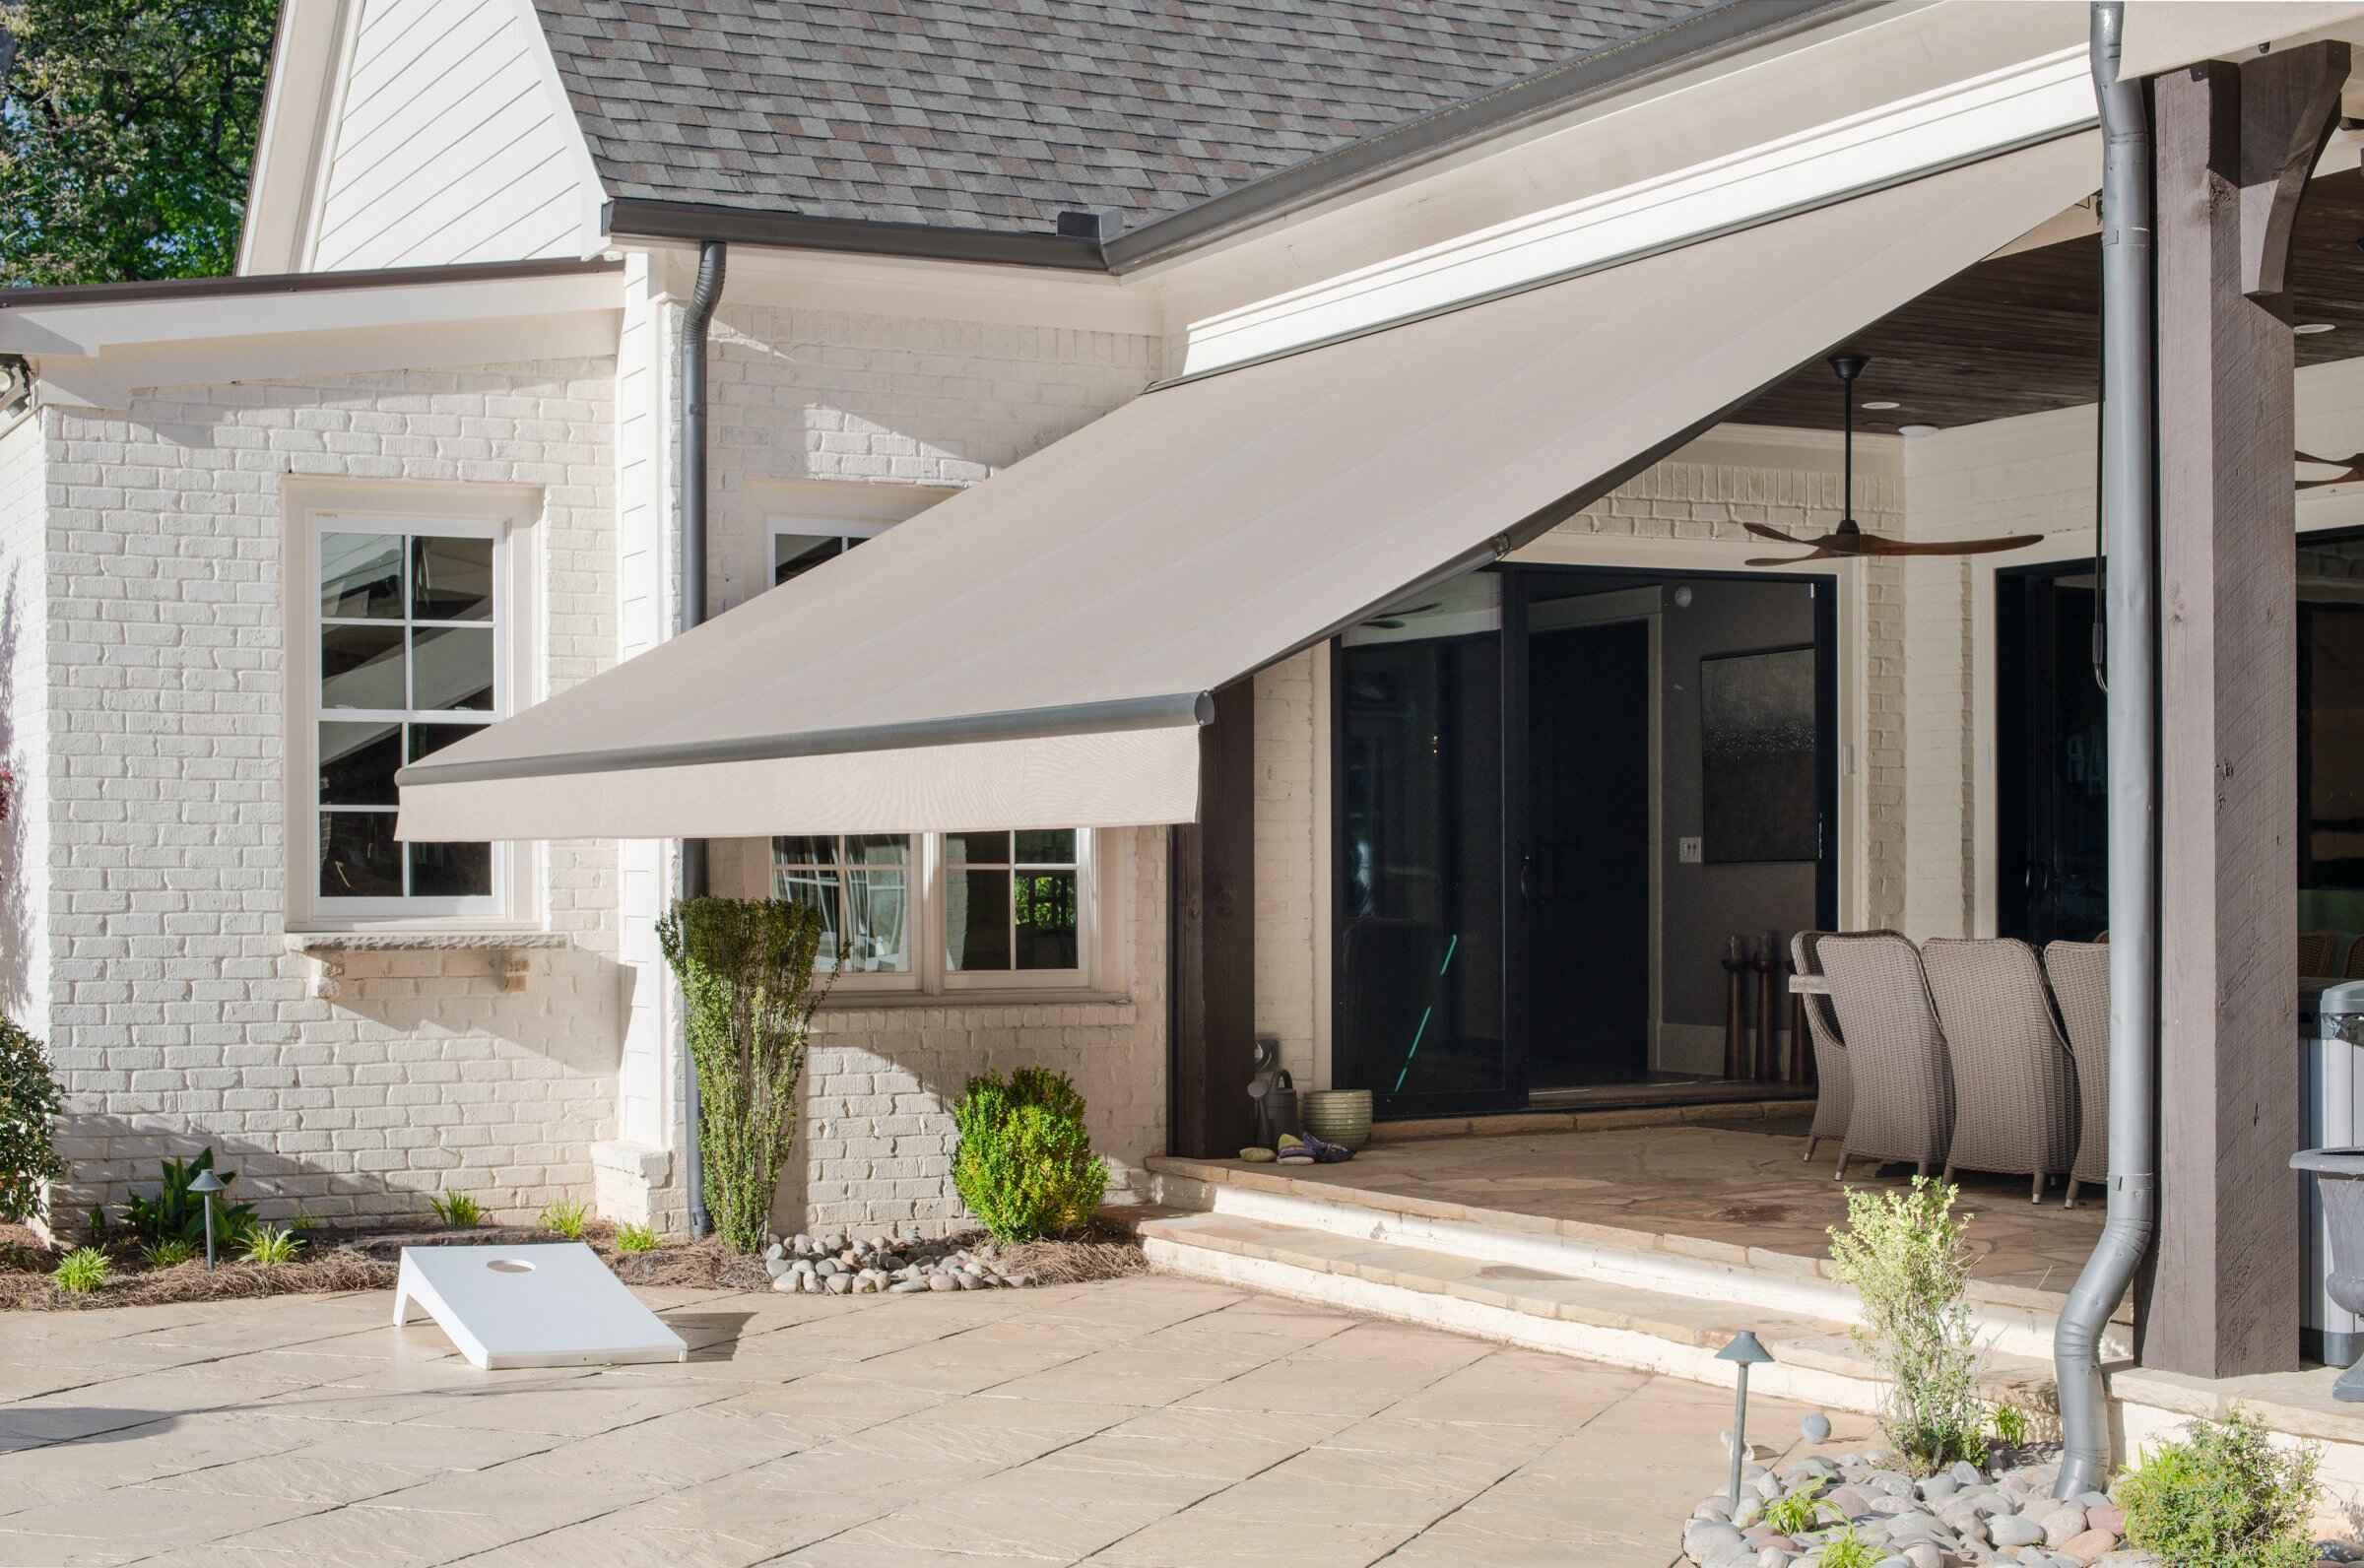
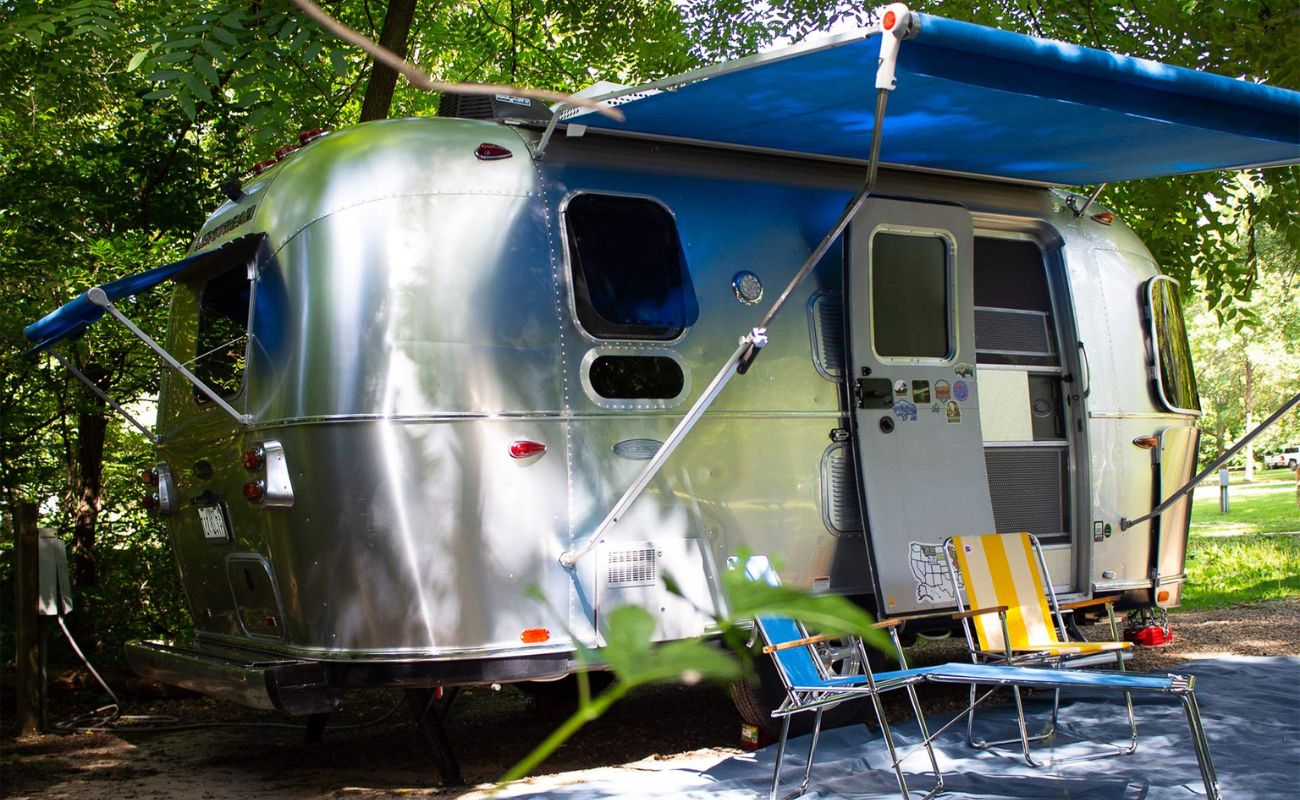
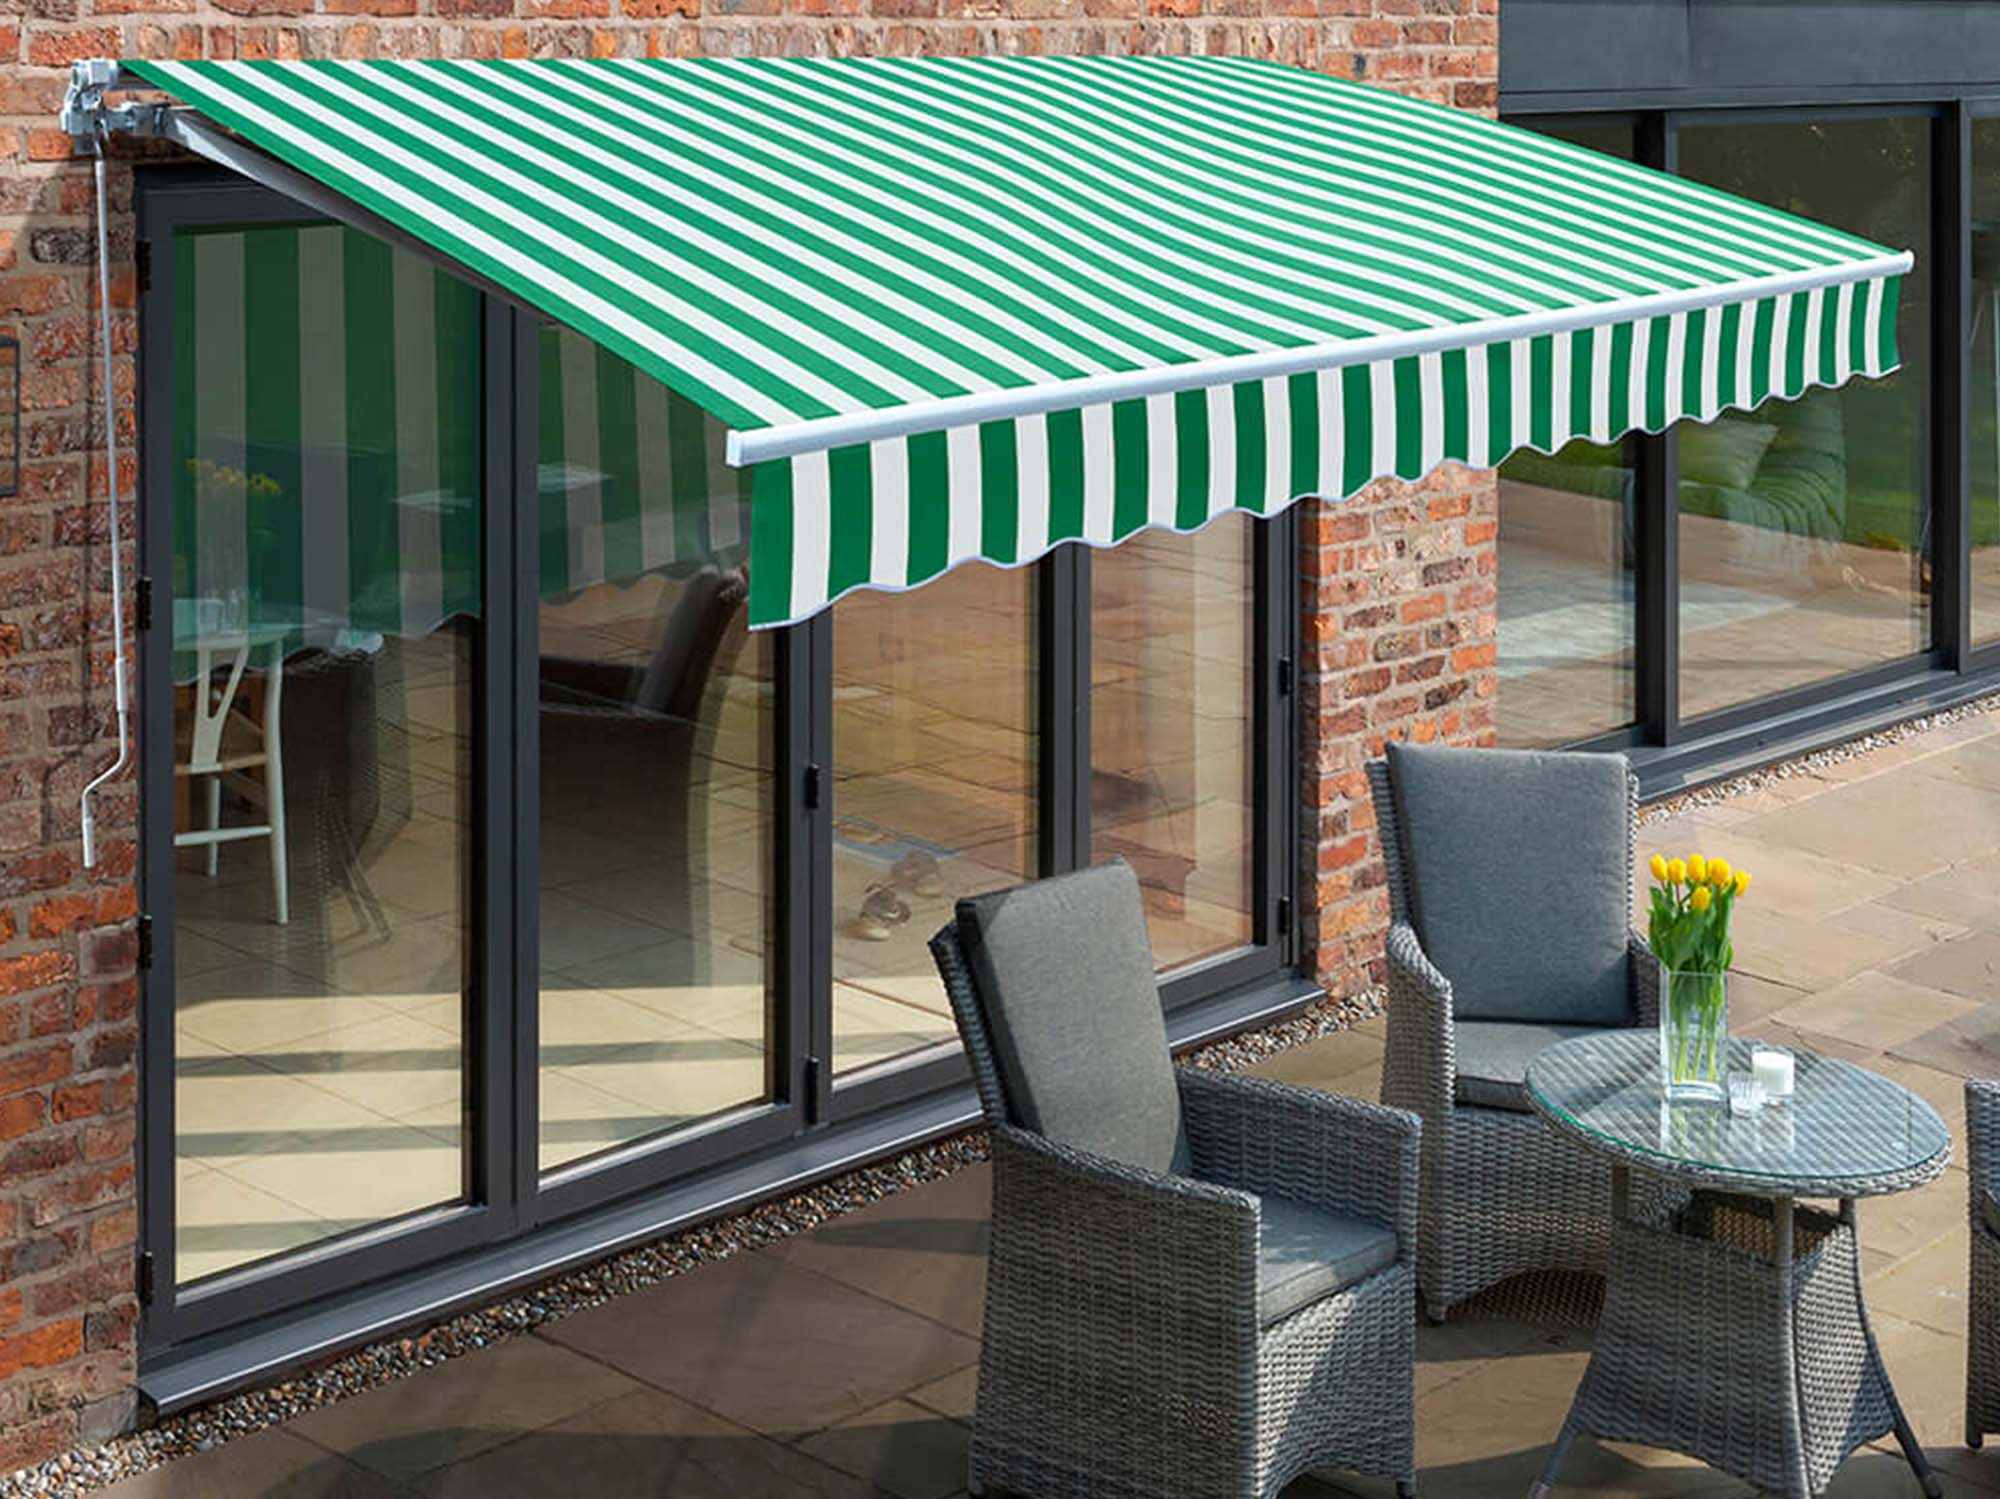
Welcome to the world of outdoor living, where the gentle breeze and warm sunshine beckon you to relax and unwind. Imagine sipping your favorite beverage on a lazy afternoon, shaded by the welcoming canopy of a Sunsetter awning. This versatile and stylish addition to your outdoor space not only provides relief from the sun’s rays but also enhances the aesthetic appeal of your home.
Installing a Sunsetter awning is a rewarding project that allows you to create a comfortable and inviting outdoor retreat. Whether you’re a seasoned DIY enthusiast or a novice looking to embark on your first home improvement endeavor, this guide will walk you through the process of opening a Sunsetter awning with ease and confidence.
From gathering the necessary tools to basking in the satisfaction of a job well done, each step is designed to empower you to make the most of your outdoor oasis. So, roll up your sleeves, and let’s dive into the exciting world of Sunsetter awnings!
Key Takeaways:
- Opening a Sunsetter awning requires gathering tools, preparing the installation area, unpacking the components, installing mounting brackets, attaching the awning, and testing its functionality for a perfect outdoor retreat.
- By following the step-by-step guide, anyone can confidently install a Sunsetter awning, creating a stylish and comfortable outdoor space for relaxation and entertainment.
Read more: How Much Is A Sunsetter Awning
Step 1: Gather Necessary Tools and Equipment
Before you embark on the journey of opening your Sunsetter awning, it’s essential to gather the tools and equipment required for a smooth and efficient installation process. Having the right tools at your disposal will not only streamline the project but also ensure that you can tackle any challenges that may arise along the way.
Here’s a comprehensive list of the tools and equipment you’ll need:
- Power Drill: A reliable power drill will be indispensable for securing the mounting brackets and ensuring a sturdy installation.
- Tape Measure: Accurate measurements are crucial for determining the optimal placement of the awning and mounting brackets.
- Screwdriver Set: A versatile set of screwdrivers, including both flathead and Phillips head varieties, will come in handy for various fastening tasks.
- Ladder: Depending on the height of the installation area, a sturdy ladder will grant you safe access to the mounting location.
- Pencil or Marker: Marking the precise spots for drilling and mounting is essential for a professional and secure installation.
- Level: Ensuring that the awning is perfectly aligned and level during installation is essential for both functionality and aesthetics.
- Assistant: While not a tool in the traditional sense, having an extra set of hands can significantly ease the installation process, especially when it comes to lifting and positioning the awning.
By ensuring that you have these tools and equipment at your disposal, you’ll be well-prepared to tackle the upcoming steps with confidence and precision. Now that you’re equipped with the necessary tools, it’s time to prepare the area for the installation process.
Step 2: Prepare the Area
Preparing the installation area is a crucial precursor to opening your Sunsetter awning. This step sets the stage for a seamless and successful installation process, ensuring that the awning is positioned securely and harmoniously within your outdoor space.
Here’s a detailed guide on how to prepare the area for the installation:
- Choose the Installation Location: Carefully select the ideal location for your Sunsetter awning, considering factors such as sun exposure, clearance from obstructions, and the desired coverage area. The chosen spot should offer a balance of shade and open space, creating a welcoming environment for relaxation and entertainment.
- Clear the Area: Remove any obstacles or debris from the installation site, ensuring that the area is clean and free of obstructions. This will facilitate smooth access and provide a clear workspace for the installation process.
- Verify Structural Integrity: Before proceeding with the installation, assess the structural integrity of the mounting surface, whether it’s a wall, soffit, or roof eave. Ensure that the chosen location can support the weight and stress of the awning, providing a stable and secure foundation for the installation.
- Mark the Mounting Points: Using a pencil or marker, mark the precise locations for the mounting brackets based on the awning’s dimensions and the desired projection. Accurate markings will guide the subsequent steps, facilitating a precise and professional installation.
- Clear Pathways: If necessary, clear pathways for accessing the installation area, especially if you anticipate the need to transport the awning components or maneuver equipment during the installation process.
By meticulously preparing the area for the awning installation, you’ll lay the groundwork for a successful and visually appealing outcome. With the installation location chosen, cleared, and marked, you’re now ready to proceed to the next step: unpacking the Sunsetter awning.
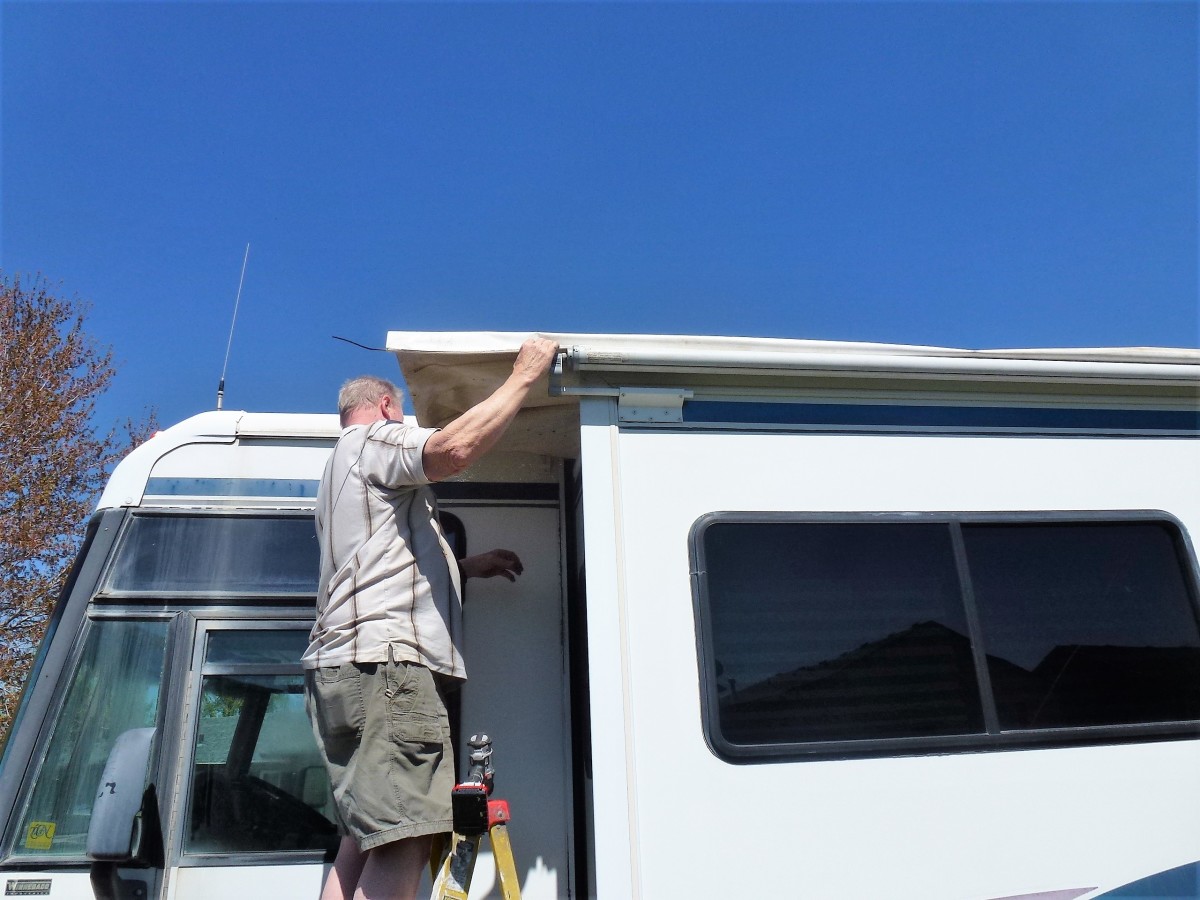
Step 3: Unpack the Sunsetter Awning
As you embark on the journey of opening your Sunsetter awning, the process begins with unpacking the components and familiarizing yourself with the elements that will come together to create your outdoor oasis. Unpacking the awning is an exciting step that brings you one step closer to transforming your outdoor space into a shaded retreat.
Here’s a guide on how to unpack the Sunsetter awning and its components:
- Inspect the Packaging: Carefully examine the packaging for any signs of damage during transit. Ensuring that the components are in good condition is essential for a smooth installation process.
- Identify the Components: Familiarize yourself with the various components of the Sunsetter awning, including the fabric canopy, roller tube, support arms, and mounting brackets. Understanding each part will prepare you for the subsequent installation steps.
- Organize the Components: Lay out the components in an organized manner, grouping related parts together. This will streamline the installation process and prevent confusion when it’s time to assemble the awning.
- Review the Instruction Manual: Take a moment to review the instruction manual provided with the Sunsetter awning. Familiarize yourself with the assembly steps, safety precautions, and any specific guidelines for your awning model.
- Verify Inclusion of Hardware: Ensure that all necessary hardware, such as screws, bolts, and washers, is included in the packaging. Having the required hardware at hand will prevent delays during the installation process.
Unpacking the Sunsetter awning sets the stage for the hands-on installation process, allowing you to visualize how the components will come together to create a functional and stylish outdoor retreat. With the components organized and the instruction manual at your disposal, you’re now prepared to move on to the next step: installing the mounting brackets.
To open a Sunsetter awning, first unlock the hand crank and turn it clockwise to extend the awning. Stop cranking when the awning is fully open and locked in place. Always make sure to follow the manufacturer’s instructions for your specific model.
Step 4: Install the Mounting Brackets
Installing the mounting brackets is a pivotal step in the process of opening your Sunsetter awning. These essential components provide the foundational support for the awning, ensuring a secure and stable attachment to your outdoor space. By following the detailed steps for installing the mounting brackets, you’ll lay the groundwork for a safe and reliable foundation for your awning.
Here’s a comprehensive guide on how to install the mounting brackets for your Sunsetter awning:
- Positioning and Marking: Based on the previously marked mounting points, position the mounting brackets at the designated locations. Use a level to ensure that the brackets are aligned and plumb, marking the spots for drilling with a pencil or marker.
- Drilling Pilot Holes: With the mounting points marked, use a power drill to create pilot holes at the designated spots. Be mindful of the surface material and select the appropriate drill bit size for the pilot holes.
- Secure the Brackets: Align the mounting brackets with the pilot holes and secure them in place using the provided screws and anchors. Ensure that the brackets are firmly attached and that the fasteners are tightened securely.
- Verify Stability: Once the mounting brackets are installed, assess their stability and integrity. Gently apply pressure to ensure that the brackets are securely anchored and capable of supporting the weight of the awning.
- Double-Check Alignment: Use a level to double-check the alignment and orientation of the installed brackets, ensuring that they are perfectly positioned for the subsequent attachment of the awning.
By meticulously following these steps, you’ll establish a solid and dependable foundation for your Sunsetter awning, setting the stage for the seamless attachment of the awning components. With the mounting brackets securely in place, you’re now ready to proceed to the next step: attaching the awning to the mounting brackets.
Read more: How To Adjust A Sunsetter Awning
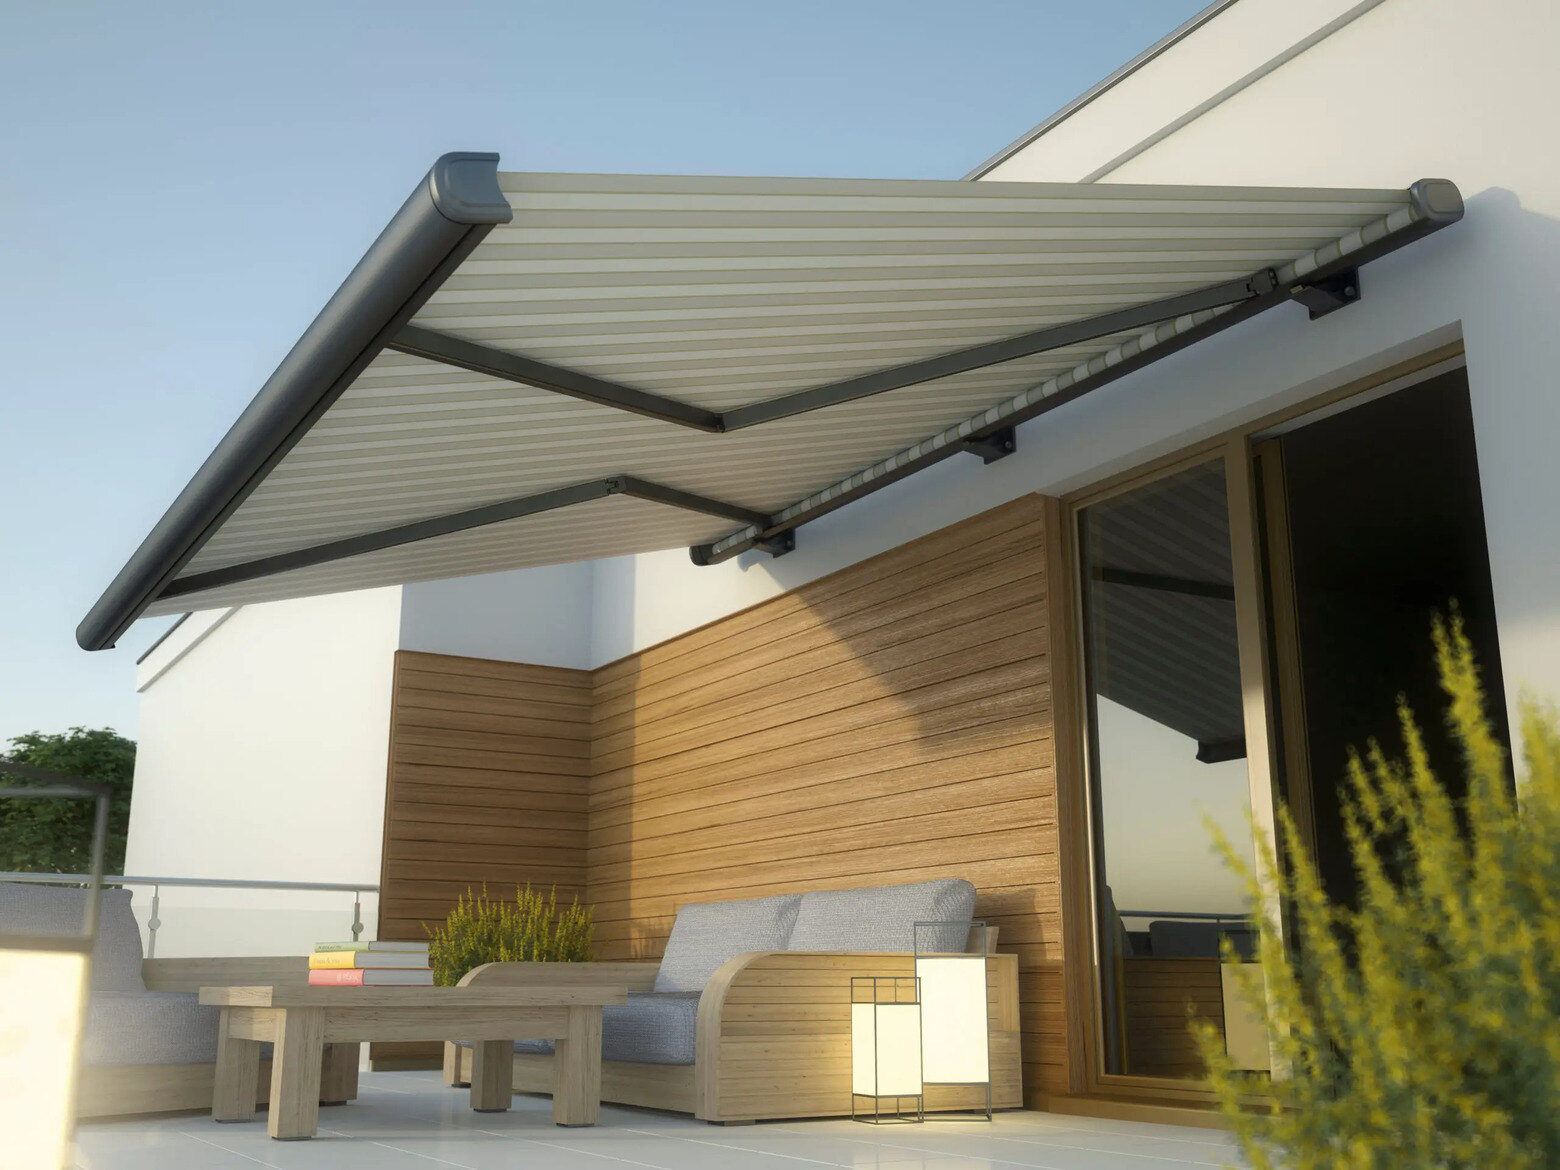
Step 5: Attach the Awning to the Mounting Brackets
As you progress through the installation process of opening your Sunsetter awning, the pivotal moment arrives when you attach the awning to the securely installed mounting brackets. This step brings the vision of your outdoor sanctuary to life, as the awning takes its place, ready to provide shade and comfort in your outdoor space.
Here’s a detailed guide on how to attach the awning to the mounting brackets with precision and care:
- Lift and Position: With the assistance of a partner, carefully lift the assembled awning and position it in alignment with the installed mounting brackets. Take care to position the awning accurately, ensuring that it aligns with the marked mounting points.
- Secure the Awning: Once the awning is positioned correctly, secure it to the mounting brackets according to the manufacturer’s guidelines. Follow the specific instructions for your Sunsetter awning model, ensuring that the attachment is firm and stable.
- Test the Movement: After securing the awning, test its movement by extending and retracting it according to the operational mechanism. Verify that the awning moves smoothly and that it aligns with the intended projection and coverage area.
- Double-Check Alignment: Use a level to double-check the alignment of the awning, ensuring that it is perfectly positioned and levelled for optimal functionality and visual appeal.
- Inspect the Attachment: Thoroughly inspect the attachment of the awning to the mounting brackets, verifying that all fasteners are tightened securely and that the awning is firmly anchored in place.
By following these steps with precision and attention to detail, you’ll successfully attach the Sunsetter awning to the mounting brackets, bringing your outdoor retreat one step closer to completion. With the awning securely in place and functioning as intended, you’re now poised to move on to the final step: testing the Sunsetter awning to ensure its optimal performance.
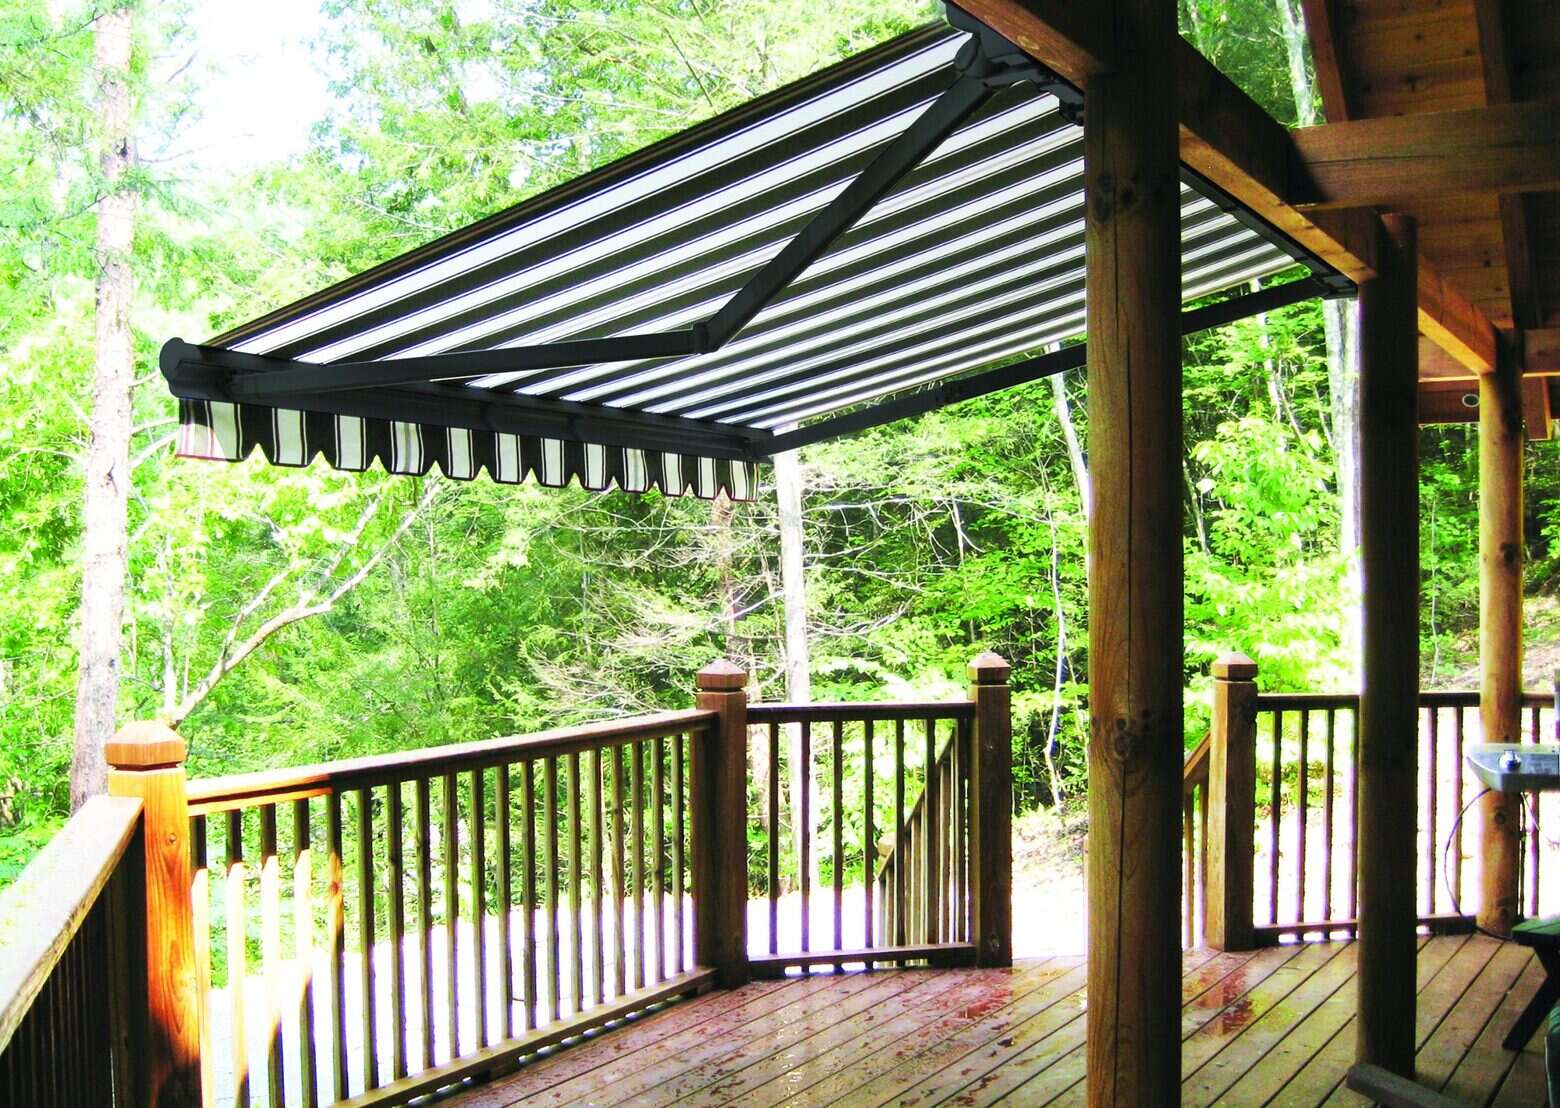
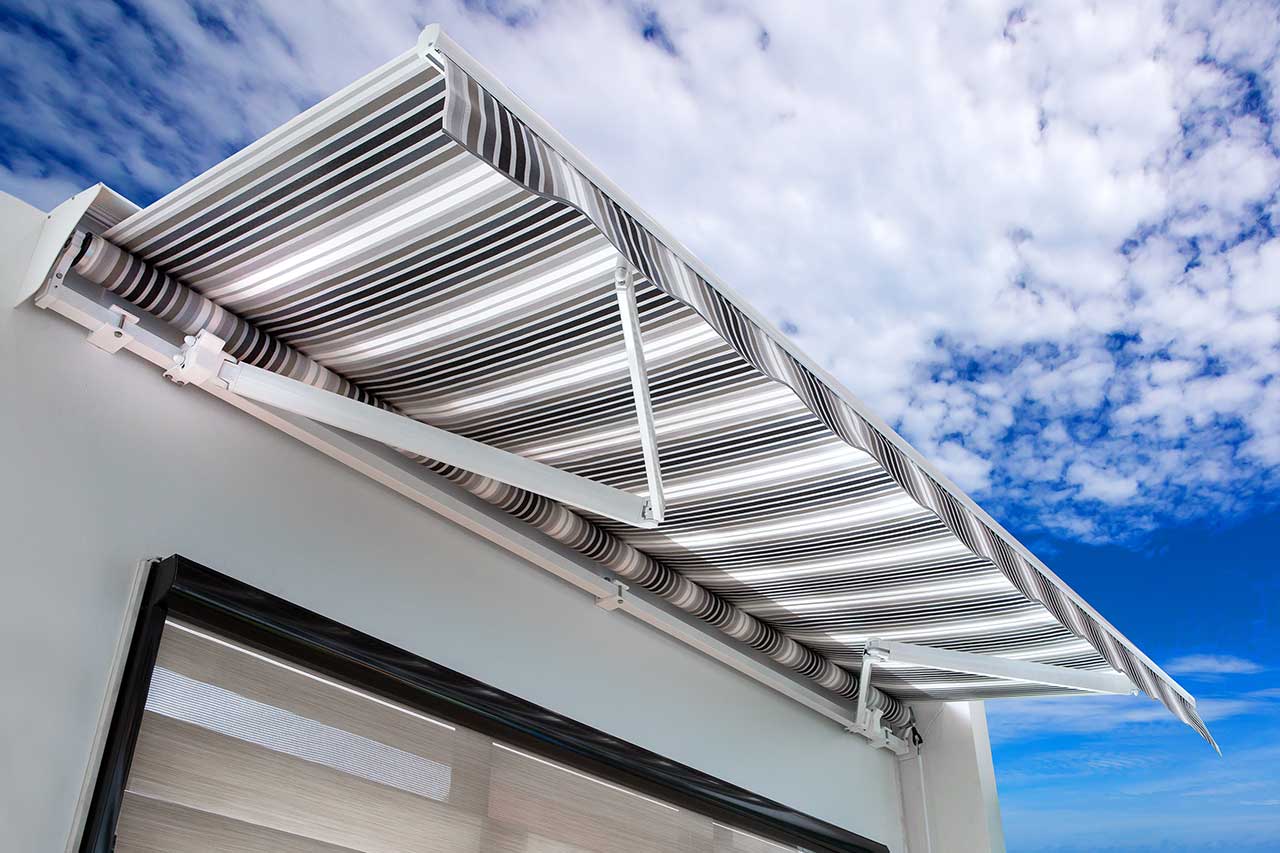
Step 6: Test the Sunsetter Awning
As you near the completion of the installation process for your Sunsetter awning, the final step involves testing the functionality and performance of the awning to ensure that it operates smoothly and provides the desired shade and comfort in your outdoor space. This crucial step allows you to verify that the awning functions as intended, delivering a seamless experience for relaxation and outdoor enjoyment.
Here’s a comprehensive guide on how to test the Sunsetter awning and ensure its optimal performance:
- Extend and Retract: Utilize the operational mechanism of the Sunsetter awning to extend and retract it, observing the movement and functionality of the awning. Verify that it operates smoothly and that the fabric canopy unfurls and retracts without any obstructions or irregularities.
- Assess Stability and Tension: While the awning is extended, assess its stability and the tension of the fabric canopy. Ensure that the awning remains taut and stable, capable of withstanding gentle breezes and providing reliable shade.
- Observe Coverage Area: Evaluate the coverage area provided by the extended awning, ensuring that it aligns with your expectations and offers the desired shade for your outdoor space. Verify that the projection and angle of the awning meet your specific requirements.
- Check for Adjustments: If necessary, make any adjustments to the awning’s positioning, tension, or alignment to optimize its performance. This may involve fine-tuning the projection angle or making minor alterations to ensure the awning’s functionality meets your preferences.
- Verify Retraction and Storage: Test the retraction of the awning, ensuring that it smoothly rolls up and stores securely when not in use. Verify that the retracted awning aligns neatly with the mounting brackets, presenting a tidy and unobtrusive appearance.
By meticulously testing the Sunsetter awning and assessing its performance, you’ll ensure that it meets your expectations for functionality, reliability, and aesthetic appeal. With the awning successfully tested and verified, you can now bask in the satisfaction of a job well done, knowing that your outdoor sanctuary is ready to provide comfort and shade for many enjoyable moments to come.
Conclusion
Congratulations on successfully opening and installing your Sunsetter awning! You’ve embarked on a rewarding journey that has transformed your outdoor space into a welcoming haven of shade and relaxation. By following the step-by-step process outlined in this guide, you’ve not only gained valuable insights into the installation of a Sunsetter awning but also empowered yourself to create an inviting outdoor retreat with ease and confidence.
As you revel in the satisfaction of a job well done, take a moment to appreciate the transformative impact of your new outdoor sanctuary. The Sunsetter awning stands as a testament to your dedication to enhancing your living space, offering a perfect blend of style, functionality, and comfort.
With your Sunsetter awning now adorning your outdoor space, you’re poised to enjoy countless moments of relaxation, entertainment, and connection with nature. Whether you’re hosting al fresco gatherings, savoring quiet moments of solitude, or simply unwinding after a long day, your awning will serve as a versatile and invaluable addition to your home.
As you bask in the shade of your Sunsetter awning, may it become a cherished backdrop for cherished memories and a symbol of the joy found in outdoor living. Embrace the comfort it provides, the style it exudes, and the countless possibilities it unlocks for enriching your outdoor lifestyle.
Thank you for entrusting your Sunsetter awning installation journey to this guide. May your outdoor oasis bring you endless moments of delight and relaxation, creating a space where cherished memories are made and treasured experiences unfold.
Frequently Asked Questions about How To Open A Sunsetter Awning
Was this page helpful?
At Storables.com, we guarantee accurate and reliable information. Our content, validated by Expert Board Contributors, is crafted following stringent Editorial Policies. We're committed to providing you with well-researched, expert-backed insights for all your informational needs.


0 thoughts on “How To Open A Sunsetter Awning”