Home>Gardening & Outdoor>Outdoor Structures>How To Build A Wood Awning
Outdoor Structures
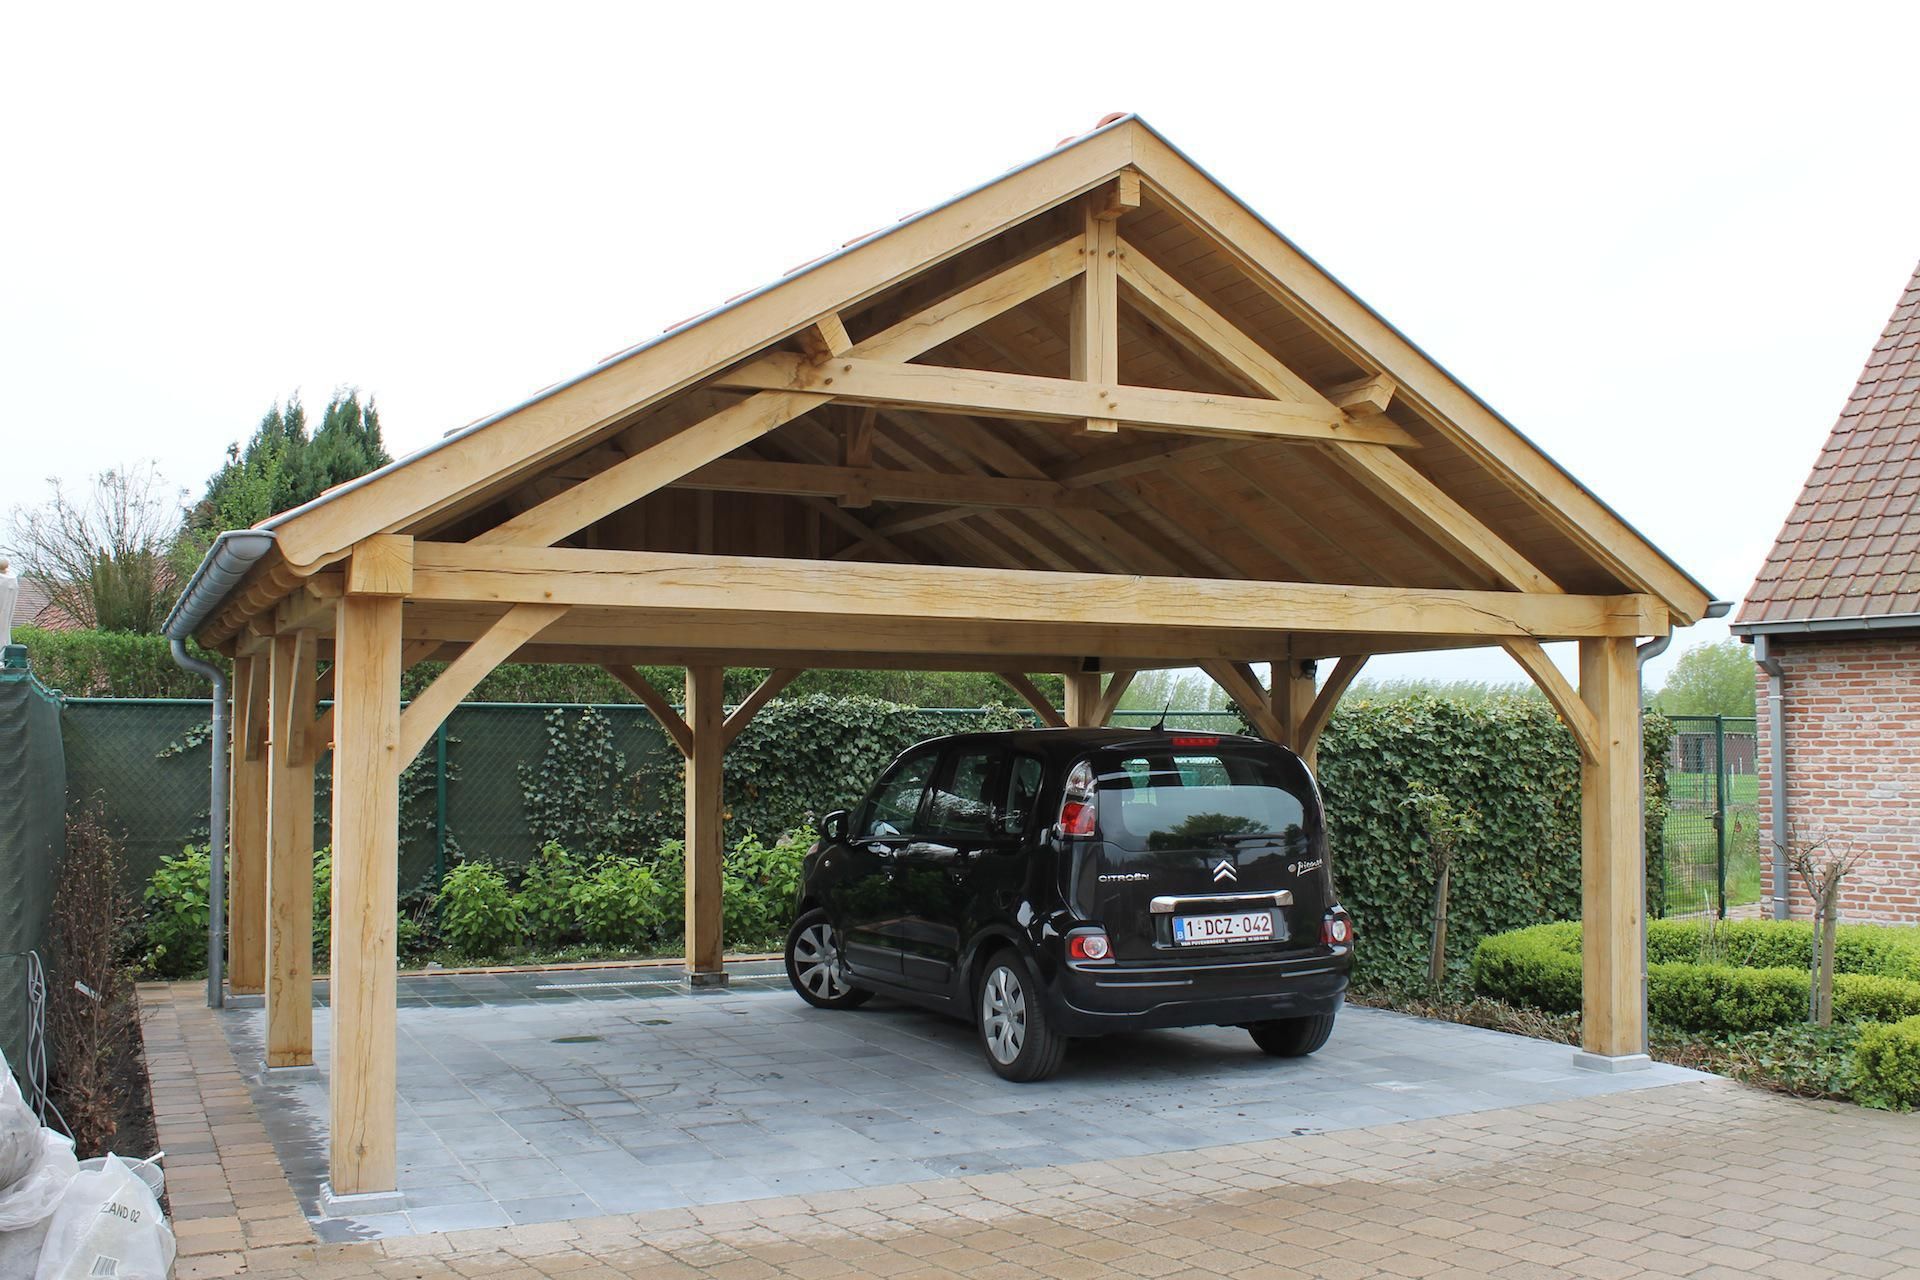
How To Build A Wood Awning
Modified: August 28, 2024
Learn how to build a stylish and durable wood awning for your outdoor space with our expert tips and guidance. Create a functional and attractive outdoor structure with our step-by-step instructions. Ideal for enhancing your outdoor living area.
(Many of the links in this article redirect to a specific reviewed product. Your purchase of these products through affiliate links helps to generate commission for Storables.com, at no extra cost. Learn more)
Introduction
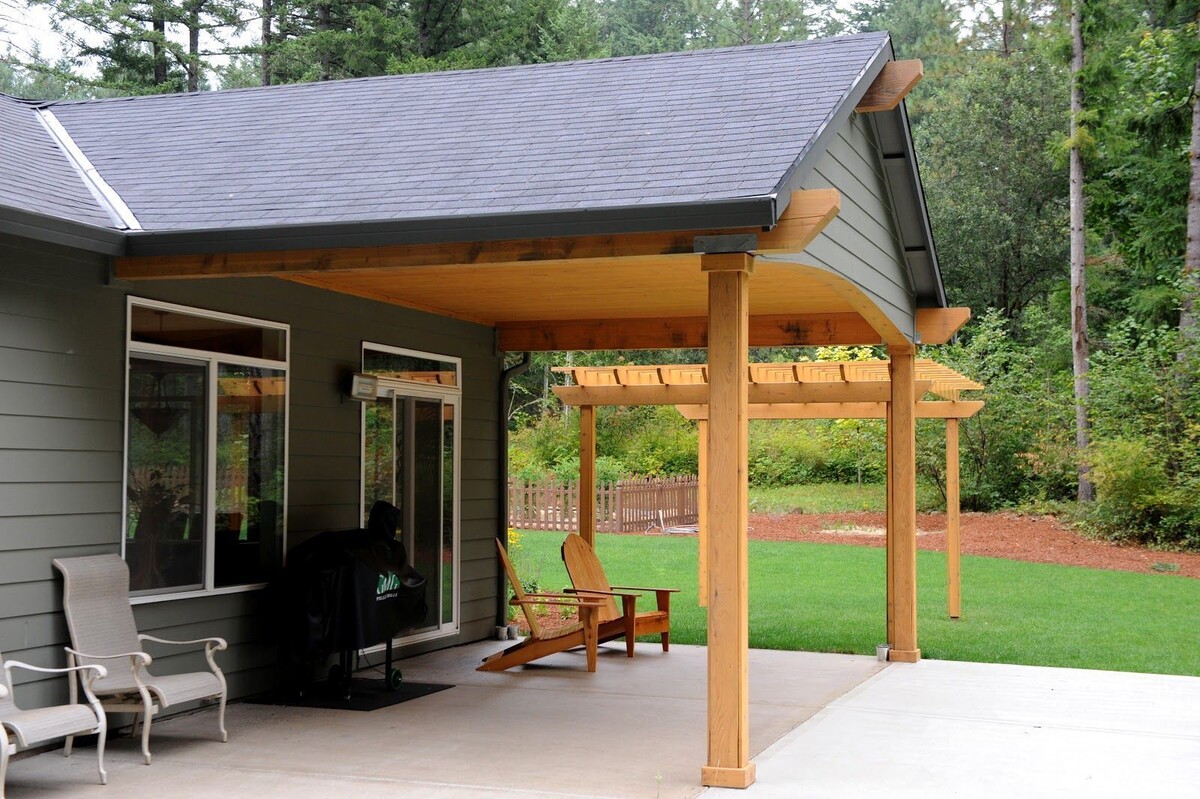
Welcome to the world of outdoor living, where a wooden awning can transform your space into a cozy and inviting retreat. Whether you want to create a shaded area for relaxation, a sheltered spot for outdoor dining, or simply add a touch of rustic charm to your home, building a wood awning is a rewarding and achievable project.
With the right materials, tools, and a dash of DIY spirit, you can craft a custom wood awning that perfectly suits your needs and complements your home’s architecture. This step-by-step guide will walk you through the process, from gathering materials to adding the finishing touches, empowering you to create a stunning and functional addition to your outdoor space.
So, roll up your sleeves, unleash your creativity, and let’s dive into the art of building a wood awning that will elevate your outdoor experience and leave a lasting impression on your guests.
Key Takeaways:
- Building a wood awning allows you to create a personalized outdoor retreat, adding shade, shelter, and rustic charm to your home while showcasing your DIY skills.
- By carefully measuring, assembling, and finishing your wood awning, you’ve crafted a durable, visually appealing structure that enhances your outdoor space and reflects your creativity and dedication.
Read more: How To Build An Awning Frame
Step 1: Gather Materials and Tools
Before embarking on your wood awning project, it’s essential to gather all the necessary materials and tools. Here’s a comprehensive list to kickstart your endeavor:
Materials:
- Pressure-treated lumber or cedar for the frame
- Corrugated metal or polycarbonate panels for the roof
- Galvanized screws and nails
- Wood stain or paint for finishing
- Concrete mix for post footings (if needed)
- Wood sealer for added protection
Tools:
- Tape measure
- Circular saw or miter saw for cutting wood
- Drill with screwdriver bits
- Level for ensuring a straight and balanced structure
- Post hole digger (if using post footings)
- Paintbrushes or sprayer for applying finish
- Safety goggles and work gloves
Once you have all the required materials and tools at your disposal, you’re ready to move on to the next exhilarating phase of this woodworking adventure: measuring and cutting the wood.
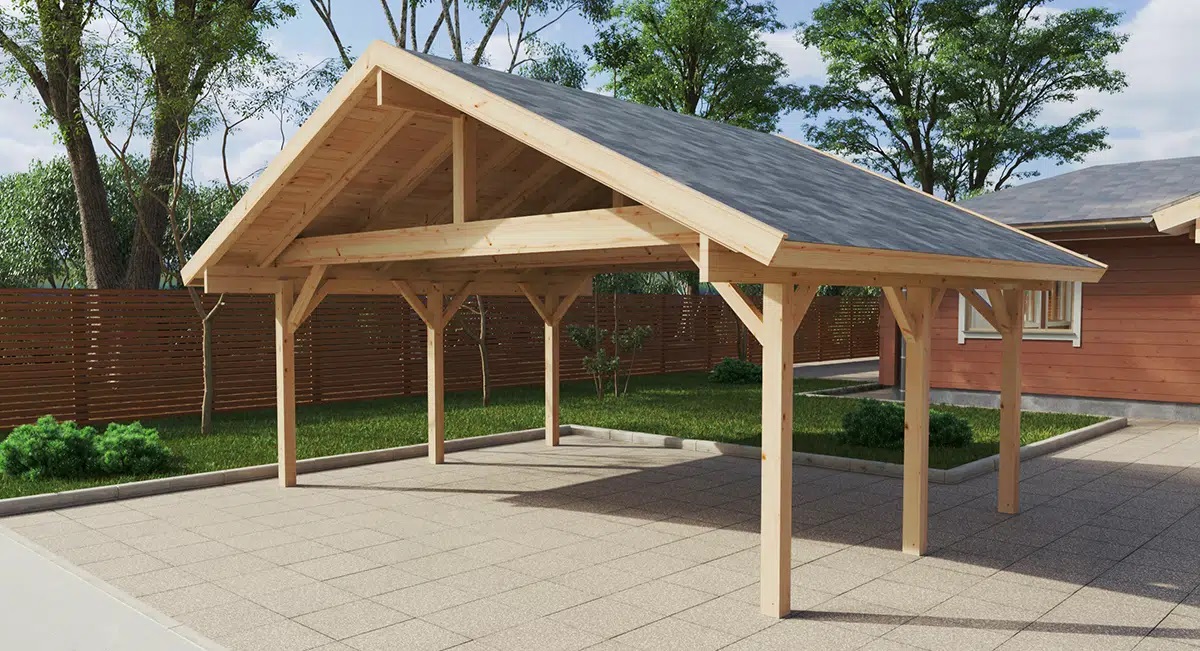
Step 2: Measure and Cut Wood
Accurate measurements and precise cuts are the building blocks of a sturdy and visually appealing wood awning. Take the following steps to ensure your project starts on the right foot:
1. Measure Twice, Cut Once: Using a tape measure, carefully determine the dimensions for the frame components, including the rafters, beams, and posts. Double-check your measurements to avoid costly mistakes.
2. Cut with Care: Utilize a circular saw or miter saw to make clean and accurate cuts. Remember to follow the old adage “measure twice, cut once” to prevent wastage of materials and time.
3. Consider Angled Cuts: Depending on your design, you may need to make angled cuts for the rafters to fit snugly against the house and create a pitched roof effect. Take your time to ensure the angles are precise for a professional finish.
By taking the time to measure meticulously and cut with precision, you’ll lay a solid foundation for the next phase: assembling the frame of your wood awning.
Read more: How To Build A Metal Awning
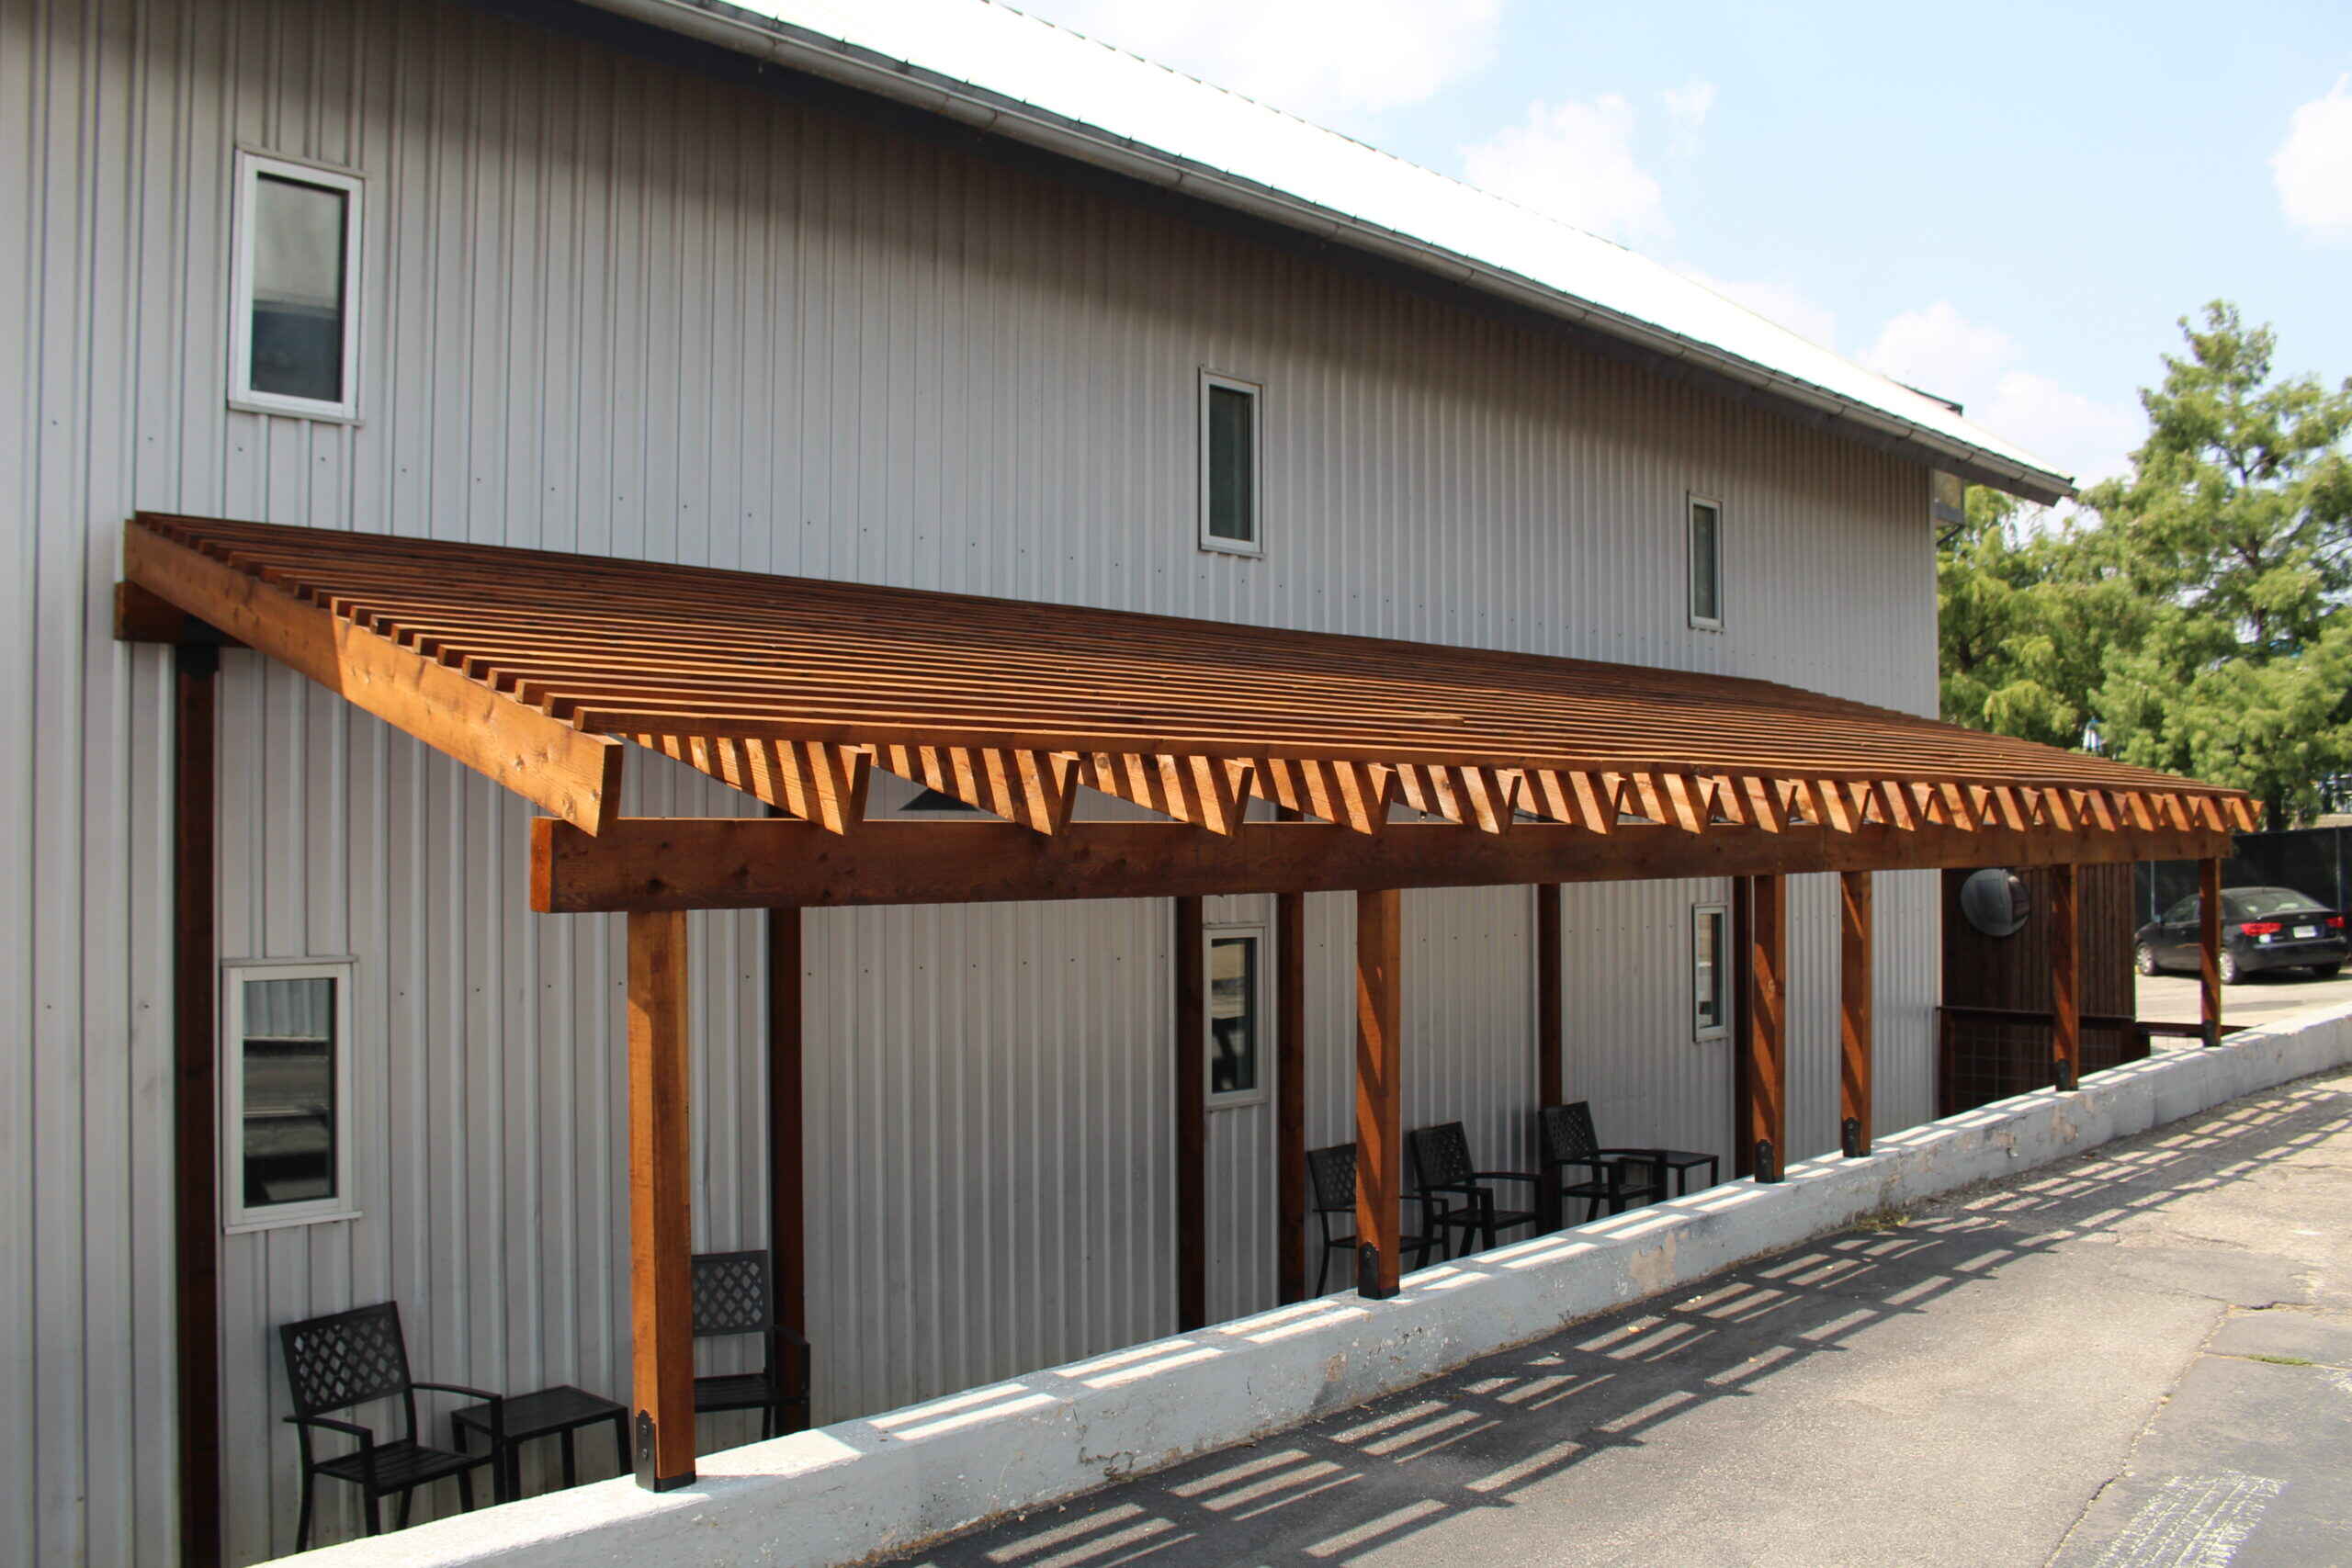
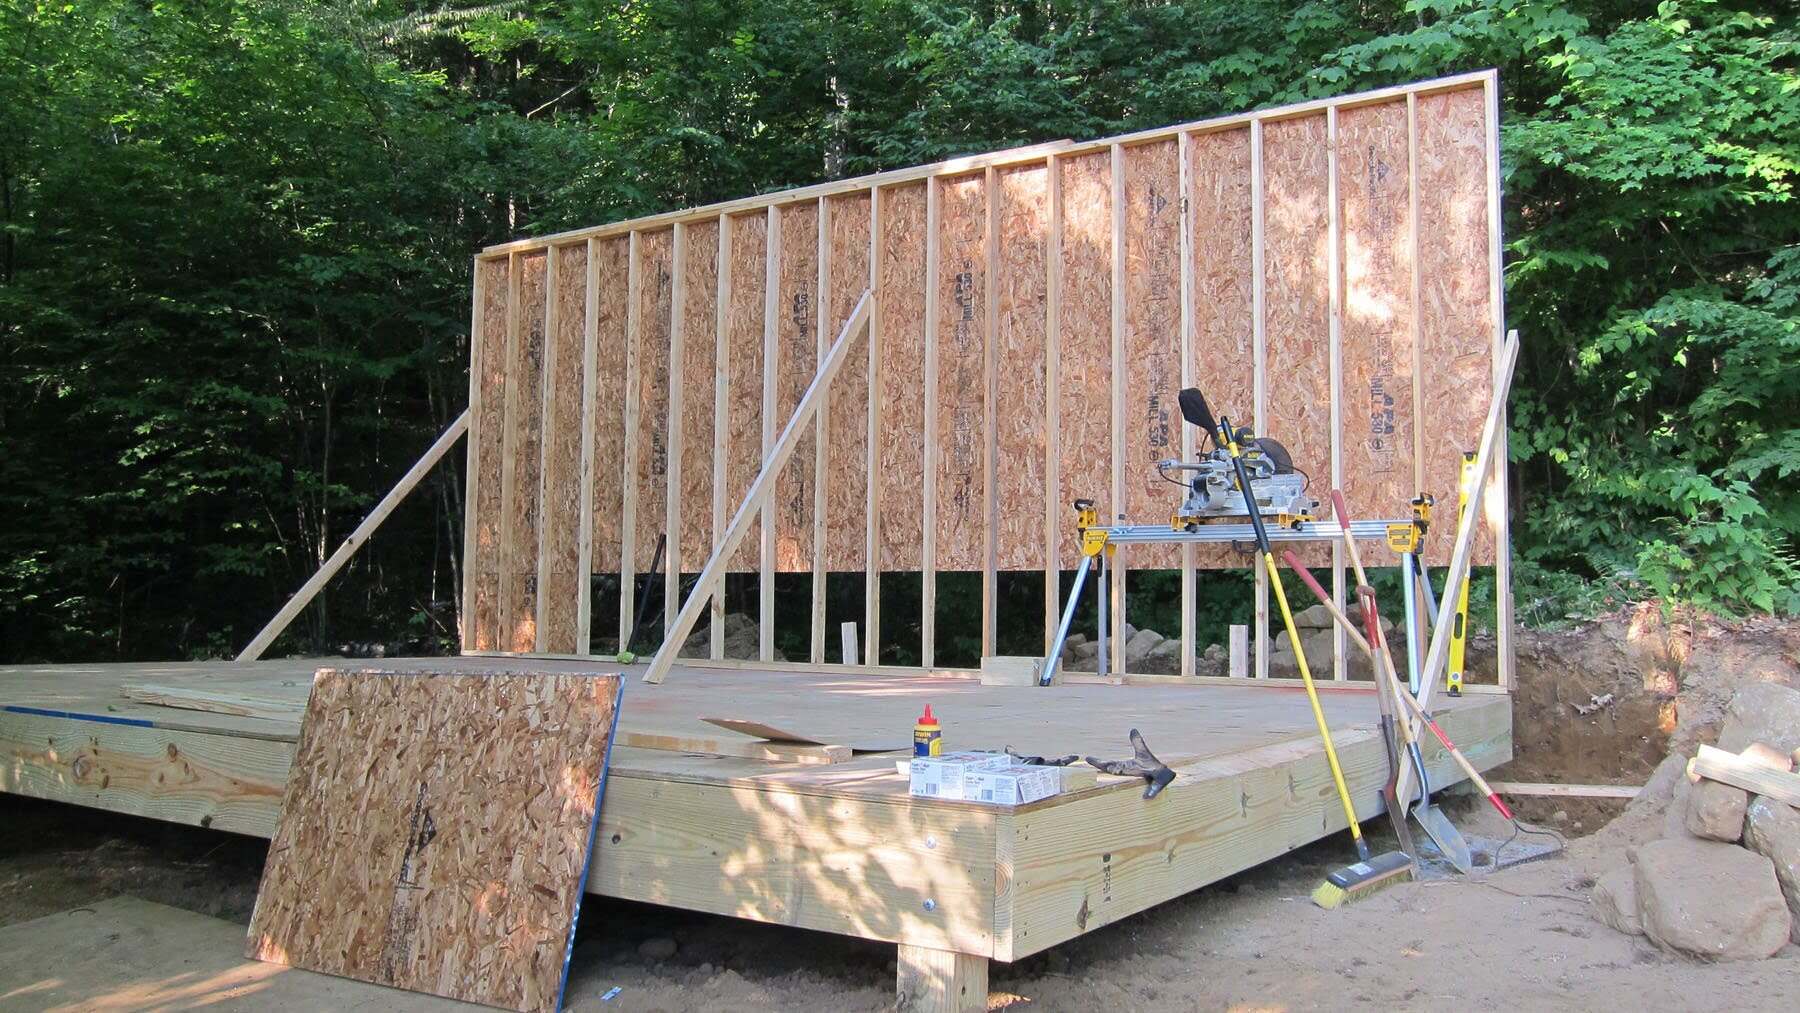
Step 3: Assemble Frame
With the wood pieces cut to the correct dimensions, it’s time to bring your vision to life by assembling the frame of your wood awning. Follow these steps to construct a sturdy and aesthetically pleasing framework:
1. Lay Out the Pieces: Arrange the cut lumber in the designated layout, ensuring that all components fit together seamlessly. This step allows you to visualize the structure before securing the pieces in place.
2. Secure the Joints: Use galvanized screws and nails to join the frame components securely. Pre-drilling pilot holes can prevent wood from splitting and ensure a strong connection.
3. Check for Level and Square: Utilize a level to ensure that the frame is not only level but also square. This crucial step will prevent future complications and guarantee a professional-looking end result.
4. Add Cross Bracing (if necessary): Depending on the size and design of your wood awning, you may need to incorporate cross braces for added stability. These diagonal supports can enhance the structural integrity of the frame.
As the frame takes shape, you’re one step closer to completing your wood awning. The next phase involves attaching the awning to your house, seamlessly integrating it with your outdoor living space.
Step 4: Attach the Awning to the House
Attaching the wood awning to your house is a critical step that demands precision and attention to detail. Here’s how to seamlessly affix your creation to your home:
1. Locate and Mark Attachment Points: Identify and mark the precise spots on your house where the awning will be attached. Ensure that these points align with the structural elements of your home to provide adequate support.
2. Use Proper Fasteners: Select high-quality, weather-resistant fasteners such as lag screws or carriage bolts to secure the awning to your house. These fasteners should penetrate into the house’s framing for maximum stability.
3. Check for Waterproofing: Implement flashing or other waterproofing measures to prevent water intrusion between the awning and the house. This crucial step safeguards your home’s structure from potential water damage.
4. Ensure a Secure Connection: Double-check the alignment and level of the awning before tightening the fasteners. A secure and level attachment is essential for both structural integrity and visual appeal.
By securely attaching the wood awning to your house, you’re not only enhancing the functionality of your outdoor space but also adding a striking architectural element to your home. The next step involves installing the support braces to fortify your awning’s structure.
When building a wood awning, make sure to use pressure-treated lumber to prevent rot and decay. Also, consider adding a waterproof sealant to protect the wood from the elements.
Step 5: Install the Support Braces
Support braces play a pivotal role in reinforcing the stability and strength of your wood awning. By following these steps, you can ensure that your awning stands the test of time:
1. Determine the Placement: Assess the structural requirements of your wood awning to determine the optimal placement for support braces. This positioning will depend on the size and design of your awning.
2. Select Sturdy Materials: Choose durable and weather-resistant materials for the support braces, such as pressure-treated lumber or metal brackets. These components should complement the overall design of your awning.
3. Secure the Braces: Attach the support braces to the awning frame and the supporting structure, ensuring a snug and secure fit. Use appropriate fasteners and hardware to reinforce the connections.
4. Verify Stability: Once the support braces are in place, conduct a thorough assessment of the awning’s stability. Apply pressure and test for any signs of wobbling or instability, making any necessary adjustments to guarantee a solid and secure structure.
With the installation of the support braces, your wood awning gains the necessary reinforcement to withstand various weather conditions and provide enduring support. The final step involves adding the finishing touches to elevate the aesthetic appeal of your creation.
Step 6: Add Finishing Touches
As you near the completion of your wood awning project, it’s time to add the finishing touches that will enhance its visual appeal and durability. Follow these steps to elevate the overall look and functionality of your creation:
1. Apply Protective Finish: Coat the wood surfaces with a high-quality wood stain or outdoor paint to protect against moisture, UV rays, and other environmental factors. This finishing layer not only safeguards the wood but also adds a touch of character to your awning.
2. Consider Decorative Elements: Incorporate decorative elements such as trim, molding, or ornamental brackets to accentuate the aesthetic charm of your wood awning. These embellishments can infuse personality and style into the structure.
3. Install Roofing Material: If you opted for a roof covering such as corrugated metal or polycarbonate panels, ensure that they are securely installed to provide reliable shelter and protection from the elements.
4. Seal Joints and Gaps: Use a high-quality wood sealer or caulk to seal any joints, gaps, or exposed fasteners. This step is crucial for preventing water infiltration and maintaining the structural integrity of your awning.
By adding these finishing touches, you not only enhance the visual appeal of your wood awning but also fortify its resilience against the elements. With the project now complete, you can revel in the satisfaction of creating a functional and captivating outdoor structure that enriches your living space.
Read more: How To Build An Awning Over A Patio
Conclusion
Congratulations on successfully completing the construction of your wood awning! By embarking on this DIY journey, you have not only expanded your outdoor living space but also added a touch of craftsmanship and personalization to your home environment.
Building a wood awning is a testament to the transformative power of creativity and hands-on construction. As you bask in the satisfaction of your completed project, take a moment to appreciate the following key takeaways:
Personalized Functionality: Your wood awning is a custom creation tailored to your specific outdoor needs, whether it’s providing shade for relaxation, shelter for gatherings, or simply enhancing the visual appeal of your home.
Structural Integrity: Through careful planning and meticulous execution, you have crafted a durable and stable outdoor structure that will withstand the test of time and weather conditions.
Aesthetic Enhancement: The finishing touches applied to your wood awning have elevated its visual appeal, adding a touch of charm and character to your outdoor space.
DIY Pride: By taking on this project, you’ve demonstrated resourcefulness, creativity, and a can-do spirit, embodying the rewarding nature of hands-on construction and the fulfillment of bringing a vision to life.
As you enjoy the fruits of your labor, your wood awning stands as a testament to your ingenuity and dedication. Whether you’re lounging beneath its shelter, hosting gatherings, or simply admiring its rustic allure, your wood awning enriches your outdoor experience and leaves a lasting impression.
So, as you relish in the tranquility and charm of your newly constructed wood awning, remember that the possibilities for enhancing your outdoor space are as limitless as your imagination. Embrace the art of woodworking, and let your creativity continue to flourish in the realm of outdoor structures.
Now that you've mastered building a wood awning, why not expand your woodworking skills further? Our next article offers a collection of woodworking projects that are perfect for any skill level. Whether you're looking to tackle something simple or more complex, this guide has plenty of options to keep your tools buzzing and creativity flowing. So, grab your hammer and saw, and let's get crafting!
Frequently Asked Questions about How To Build A Wood Awning
Was this page helpful?
At Storables.com, we guarantee accurate and reliable information. Our content, validated by Expert Board Contributors, is crafted following stringent Editorial Policies. We're committed to providing you with well-researched, expert-backed insights for all your informational needs.

0 thoughts on “How To Build A Wood Awning”