Home>Gardening & Outdoor>Outdoor Structures>How To Build An Awning Frame
Outdoor Structures
How To Build An Awning Frame
Modified: August 27, 2024
Learn how to build a sturdy awning frame for your outdoor space with our comprehensive guide. Create a durable structure for your outdoor-structures.
(Many of the links in this article redirect to a specific reviewed product. Your purchase of these products through affiliate links helps to generate commission for Storables.com, at no extra cost. Learn more)
Introduction
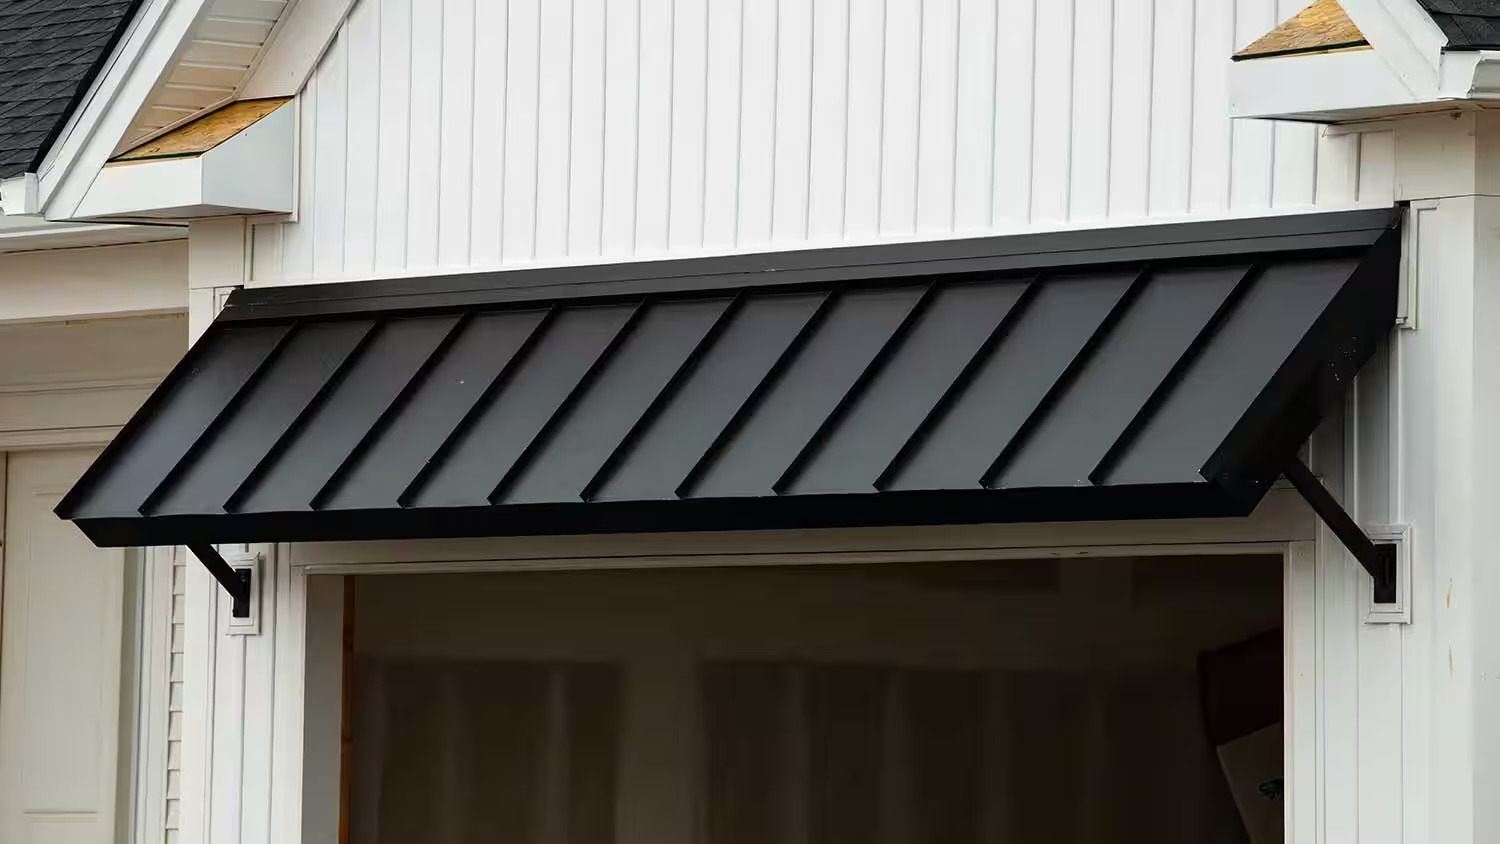
Adding an awning to your outdoor space can significantly enhance its functionality and aesthetic appeal. Whether you want to create a shaded area for relaxation, protect your windows from harsh sunlight, or add a stylish touch to your home's exterior, building an awning frame is a rewarding and practical project. With the right materials, tools, and a solid plan, you can construct a sturdy and visually appealing awning frame that complements your outdoor living area.
In this guide, we will walk you through the step-by-step process of building an awning frame. From gathering the necessary materials and tools to the construction and attachment of the frame, you will gain valuable insights into creating a functional and attractive outdoor structure. By following these instructions, you can customize the design to suit your specific needs and elevate the ambiance of your outdoor space.
So, roll up your sleeves, gather your tools, and let's dive into the exciting world of awning construction. Whether you're a seasoned DIY enthusiast or a newcomer to the world of outdoor projects, this guide will equip you with the knowledge and confidence to embark on this fulfilling endeavor. Let's get started!
Key Takeaways:
- Building an awning frame requires careful planning, precise measurements, and sturdy materials. It’s a rewarding DIY project that adds both functionality and style to your outdoor space.
- By following step-by-step instructions, you can create a durable and visually appealing awning frame. The process involves cutting lumber, attaching the fabric, and ensuring a secure installation for long-lasting enjoyment.
Read more: How To Build A Wood Awning
Materials Needed
Before embarking on the construction of an awning frame, it’s essential to gather all the necessary materials to ensure a smooth and efficient building process. Here’s a comprehensive list of materials you’ll need:
- Pressure-treated lumber or cedar: These materials are ideal for outdoor construction due to their durability and resistance to rot and decay.
- Galvanized screws or nails: Opt for corrosion-resistant fasteners to ensure the longevity of your awning frame.
- Awning fabric: Choose a high-quality, weather-resistant fabric that provides ample shade and complements your outdoor aesthetic.
- Awning hardware: This includes brackets, bolts, and other hardware necessary for securing the awning to your home or support structure.
- Concrete mix: If you’re installing posts for a freestanding awning, concrete will provide a stable foundation.
- Primer and exterior paint: Select a paint that complements your home’s exterior and provides protection against the elements.
- Waterproof sealant: To safeguard the wood from moisture and prolong its lifespan, a high-quality waterproof sealant is essential.
- Sandpaper: This will be used for smoothing rough edges and preparing the wood for painting or sealing.
- Optional accessories: Depending on your design preferences, you may also require decorative elements such as trim pieces, finials, or additional hardware for customization.
By ensuring that you have all the required materials on hand, you can streamline the construction process and minimize interruptions, allowing you to focus on the task at hand and achieve professional-quality results.
Tools Required
Equipping yourself with the right tools is crucial for the successful construction of an awning frame. Here’s a list of essential tools that will facilitate the building process and ensure precision and efficiency:
- Tape measure: Accurate measurements are fundamental to the structural integrity and aesthetic appeal of your awning frame.
- Level: Maintaining a level surface and straight lines is essential for a professional-looking and structurally sound frame.
- Circular saw or miter saw: These tools are indispensable for cutting lumber to the required dimensions with precision.
- Drill/driver: Whether you’re pre-drilling holes or driving screws, a reliable drill/driver will expedite the assembly process.
- Screwdriver or screw gun: For fastening screws securely into place, a screwdriver or screw gun is essential.
- Adjustable wrench: This tool will be necessary for tightening nuts and bolts during the installation of awning hardware.
- Shovel: If you’re installing posts for a freestanding awning, a shovel will be required for digging holes for the foundation.
- Paintbrushes: To apply primer, paint, and sealant to the wood, high-quality paintbrushes are indispensable.
- Safety gear: This includes goggles, gloves, and a dust mask to protect yourself during cutting, drilling, and painting.
- Optional tools: Depending on the specifics of your project, additional tools such as a jigsaw, angle finder, or post hole digger may be beneficial.
By having these tools at your disposal, you’ll be well-prepared to tackle the construction of the awning frame with confidence and efficiency. Additionally, maintaining a clean and organized work area will contribute to a safe and enjoyable building experience.
Planning and Preparation
Before diving into the construction of an awning frame, thorough planning and preparation are essential for a successful and satisfying outcome. Here are the key steps to consider during the planning phase:
- Design and Layout: Begin by envisioning the desired size, shape, and placement of your awning. Consider the architectural style of your home, the intended purpose of the awning, and any specific design features you wish to incorporate.
- Regulations and Permits: Check local building codes and regulations to ensure compliance with any requirements for awning construction. In some areas, a permit may be necessary, especially for larger or freestanding awnings.
- Site Preparation: Evaluate the installation site to determine if any adjustments or preparations are needed. This may include clearing the area of debris, leveling the ground, or assessing the structural integrity of the attachment points.
- Material Sourcing: Procure high-quality materials, including pressure-treated lumber, awning fabric, and necessary hardware. Ensure that the materials align with your design specifications and the environmental conditions of your location.
- Measurement and Marking: Accurately measure and mark the locations for attachment points, ensuring that they align with the intended dimensions and angles of the awning frame.
- Assembly Sequence: Plan the sequence of assembly to streamline the construction process, minimize errors, and ensure that each component fits together seamlessly.
- Safety Considerations: Prioritize safety by identifying potential hazards, preparing a first-aid kit, and establishing a safe work environment for yourself and any helpers.
By investing time in meticulous planning and thorough preparation, you’ll set the stage for a smooth and rewarding construction process. Careful consideration of design elements, regulatory requirements, and logistical details will pave the way for the successful realization of your awning frame project.
When building an awning frame, make sure to use sturdy and weather-resistant materials such as aluminum or treated wood. It’s important to accurately measure and level the frame to ensure a proper fit and stability.
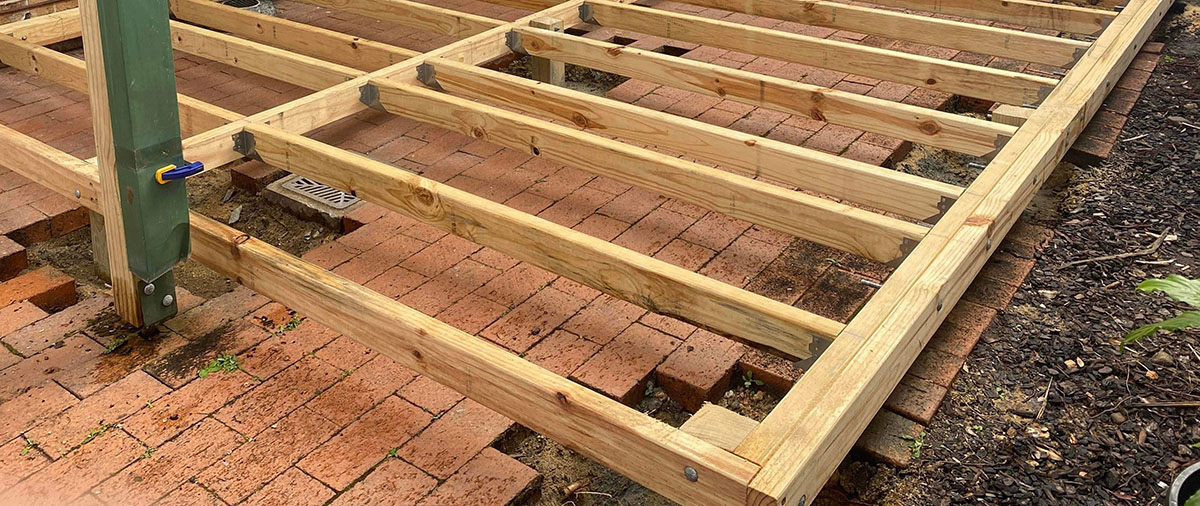
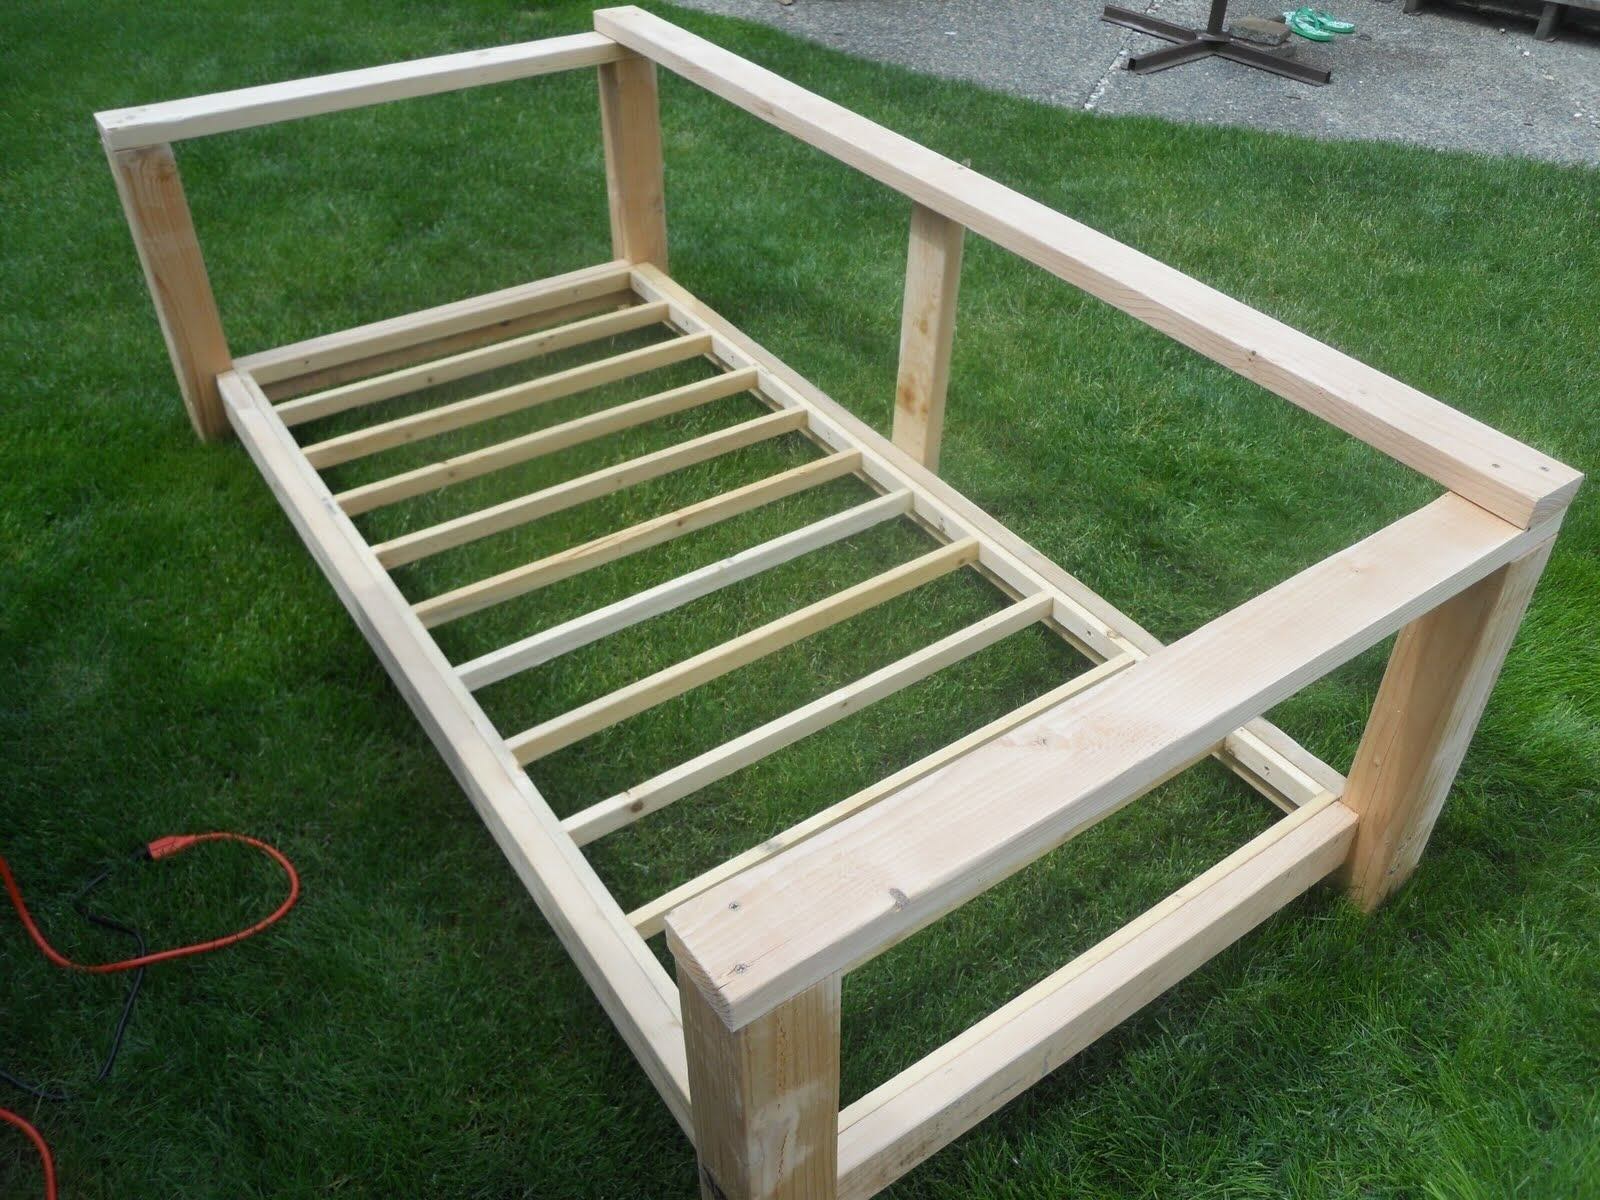
Building the Frame
Constructing the frame is a pivotal phase in the creation of an awning, and attention to detail is paramount to ensure structural integrity and visual appeal. Follow these steps to build a sturdy and attractive frame for your awning:
- Cutting the Lumber: Using a circular saw or miter saw, carefully cut the pressure-treated lumber to the precise dimensions required for the frame components, including the main support beams, cross beams, and any decorative elements.
- Assembly of Frame Components: Lay out the cut lumber according to the planned design and assemble the frame components, ensuring that all joints are secure and well-aligned. Pre-drill holes to prevent splitting and use galvanized screws to fasten the pieces together.
- Adding Decorative Elements: If desired, incorporate decorative elements such as trim pieces or finials to enhance the visual appeal of the frame. Ensure that these elements are securely attached and complement the overall design.
- Priming and Painting: Prior to installation, apply a coat of primer to the frame to protect the wood from moisture and enhance paint adhesion. Once the primer is dry, paint the frame with a high-quality exterior paint in the color of your choice.
- Sealing the Frame: After the paint has fully dried, apply a waterproof sealant to the entire frame to safeguard it from the elements and prolong its lifespan. Pay special attention to exposed end grains and joints to prevent moisture ingress.
- Quality Check: Inspect the completed frame for any imperfections, loose fasteners, or areas that may require additional attention. Make any necessary adjustments to ensure that the frame is structurally sound and aesthetically pleasing.
By meticulously following these steps and exercising precision in the assembly and finishing of the frame, you’ll create a durable and visually appealing foundation for your awning. Attention to detail and craftsmanship during this phase will contribute to the overall quality and longevity of the finished structure.
Read more: How To Build A Metal Awning
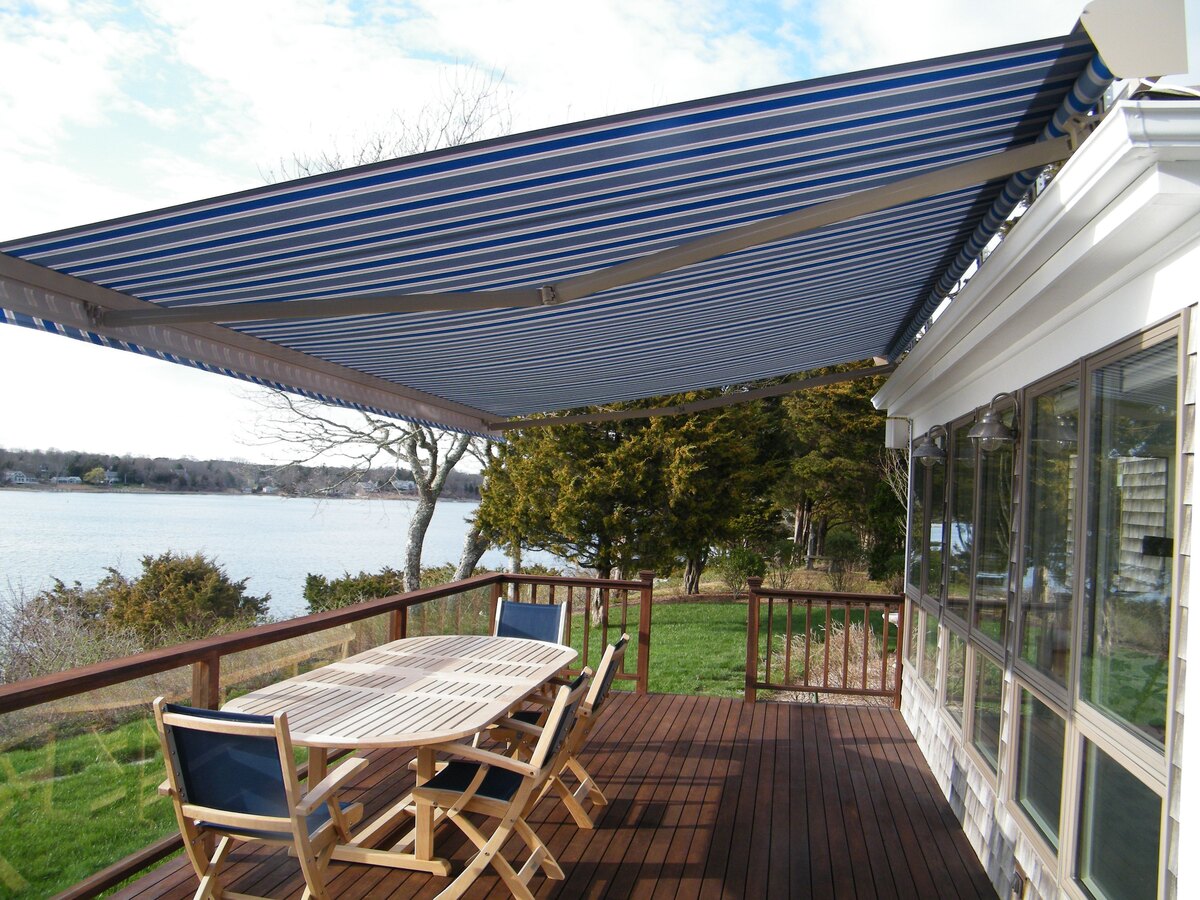
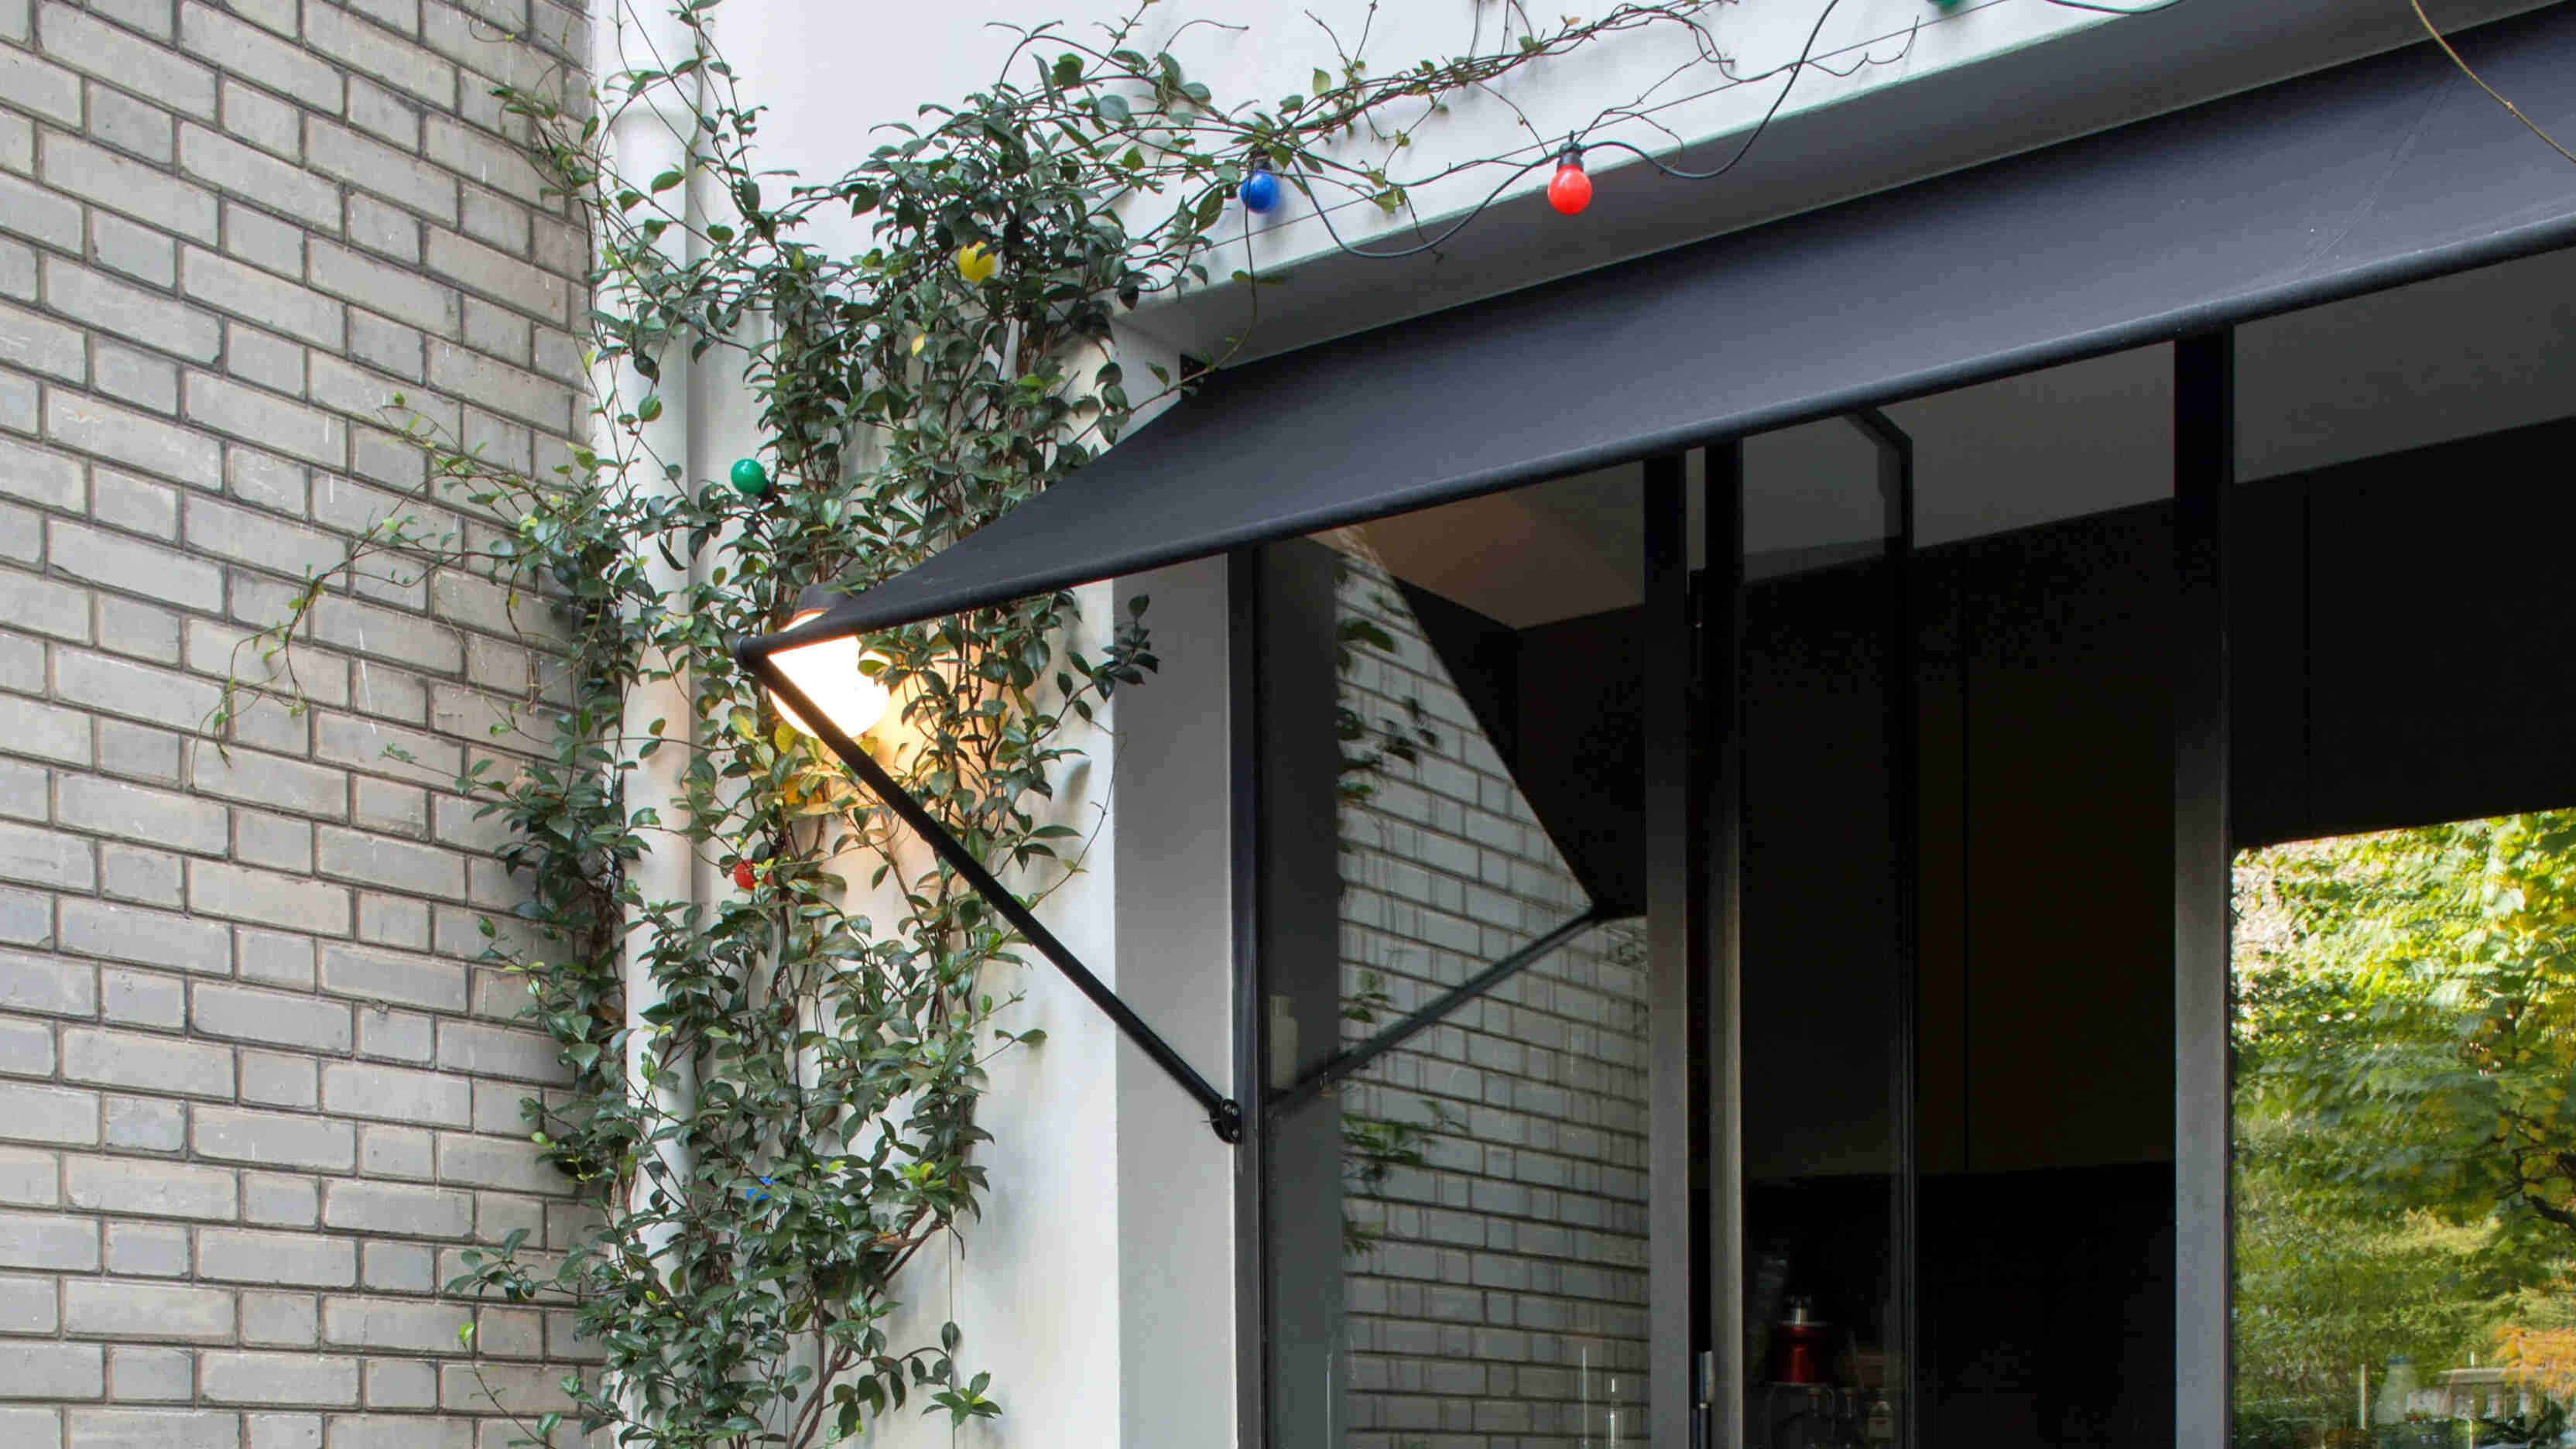
Attaching the Awning
Attaching the awning to the frame and the supporting structure is the final crucial step in completing your outdoor structure. Follow these steps to securely and aesthetically attach the awning fabric to the frame:
- Positioning the Awning Fabric: Lay the awning fabric over the assembled frame, ensuring that it is taut and properly positioned to provide the desired amount of shade and coverage.
- Securing the Fabric: Use awning hardware, including brackets and bolts, to secure the awning fabric to the frame. Ensure that the fabric is evenly tensioned and securely fastened to prevent sagging or flapping in the wind.
- Attachment to the Supporting Structure: If attaching the awning to a building or other supporting structure, use appropriate anchors and fasteners to secure the frame in place. Ensure that the attachment points are robust and capable of withstanding wind and weather conditions.
- Freestanding Awning Installation: If constructing a freestanding awning, follow the manufacturer’s instructions for securely anchoring the posts in concrete footings. Verify that the awning is level and stable before proceeding with the final installation.
- Finishing Touches: Trim any excess fabric and tidy up the edges to create a clean and polished appearance. Inspect the entire assembly to ensure that the fabric is securely attached and free from any wrinkles or imperfections.
- Functional Testing: Open and close the awning to verify that it operates smoothly and that the fabric remains securely in place. Make any necessary adjustments to the tension or fastenings to achieve optimal functionality.
By meticulously following these steps and ensuring that the awning fabric is securely and evenly attached to the frame and supporting structure, you’ll achieve a professional and durable installation. A well-secured awning not only enhances the visual appeal of your outdoor space but also provides reliable shade and protection for years to come.
Conclusion
Congratulations on successfully completing the construction of your awning frame! By following the comprehensive steps outlined in this guide, you’ve not only created a functional and stylish outdoor structure but also honed your DIY skills and craftsmanship. As you admire your handiwork, take pride in the fact that you’ve added a valuable and versatile feature to your outdoor living space.
Building an awning frame is a gratifying project that allows you to tailor an essential outdoor element to your specific needs and aesthetic preferences. Whether you’ve chosen to create a shaded retreat for relaxation, protect your windows from the elements, or enhance the visual appeal of your home’s exterior, your newly constructed awning frame is sure to make a positive impact.
As you enjoy the benefits of your awning, whether it’s shelter from the sun, an inviting outdoor entertainment area, or simply a stylish addition to your home, remember the effort and attention to detail that went into its construction. The durable materials, precise measurements, and skilled assembly will ensure that your awning frame stands the test of time, providing enduring value and enjoyment.
Furthermore, the knowledge and experience gained from this project can be applied to future DIY endeavors, empowering you to take on new challenges with confidence. Whether it’s additional outdoor enhancements, home improvement projects, or entirely new construction ventures, the skills acquired during the construction of your awning frame will serve you well.
Lastly, take a moment to appreciate the transformation your outdoor space has undergone. Your new awning frame has not only expanded the functionality of your home but has also enriched the visual appeal of your property. It’s a testament to your creativity and dedication to enhancing your living environment.
So, as you bask in the comfort and style of your newly constructed awning, remember the satisfaction of a well-executed DIY project and the countless enjoyable moments it will facilitate. Here’s to many years of relaxation, entertainment, and outdoor enjoyment under the shelter of your custom-built awning frame!
Now that you've mastered building an awning frame, why not tackle more DIY projects? Our guide on DIY Projects offers insightful tips that will help you create unique additions to your home. For those interested in enhancing their outdoor areas, our article on Outdoor Structures showcases various designs that not only improve aesthetics but also functionality. And, if you're looking to protect these spaces from harsh sunlight, our solutions on Shade Solutions provide creative and effective ways to keep your outdoor areas cool and comfortable.
Frequently Asked Questions about How To Build An Awning Frame
Was this page helpful?
At Storables.com, we guarantee accurate and reliable information. Our content, validated by Expert Board Contributors, is crafted following stringent Editorial Policies. We're committed to providing you with well-researched, expert-backed insights for all your informational needs.


0 thoughts on “How To Build An Awning Frame”