Home>Gardening & Outdoor>Outdoor Structures>How To Put Skids On A Shed
Outdoor Structures
How To Put Skids On A Shed
Published: January 19, 2024
Learn how to put skids on a shed for easy portability and stability. Get expert tips for outdoor structures and DIY shed projects.
(Many of the links in this article redirect to a specific reviewed product. Your purchase of these products through affiliate links helps to generate commission for Storables.com, at no extra cost. Learn more)
Introduction
When it comes to setting up a shed, ensuring its stability and longevity is paramount. One effective method to achieve this is by installing skids, which are beams placed underneath the shed to elevate it from the ground. Skids not only provide a stable foundation but also help protect the shed from moisture and pests. In this comprehensive guide, we will walk you through the process of putting skids on a shed, from assessing the shed and gathering materials to securing the shed to the skids. By following these steps, you can ensure that your shed remains secure and well-maintained for years to come. Let's dive in and explore the essential steps for installing skids on a shed.
Key Takeaways:
- Elevate your shed’s stability and protect it from moisture and pests by installing skids, creating a durable foundation for long-term use.
- Carefully assess, gather materials, prepare the ground, and secure the shed to the skids for a reliable and enduring shed foundation.
Read more: How To Put Siding On A Shed
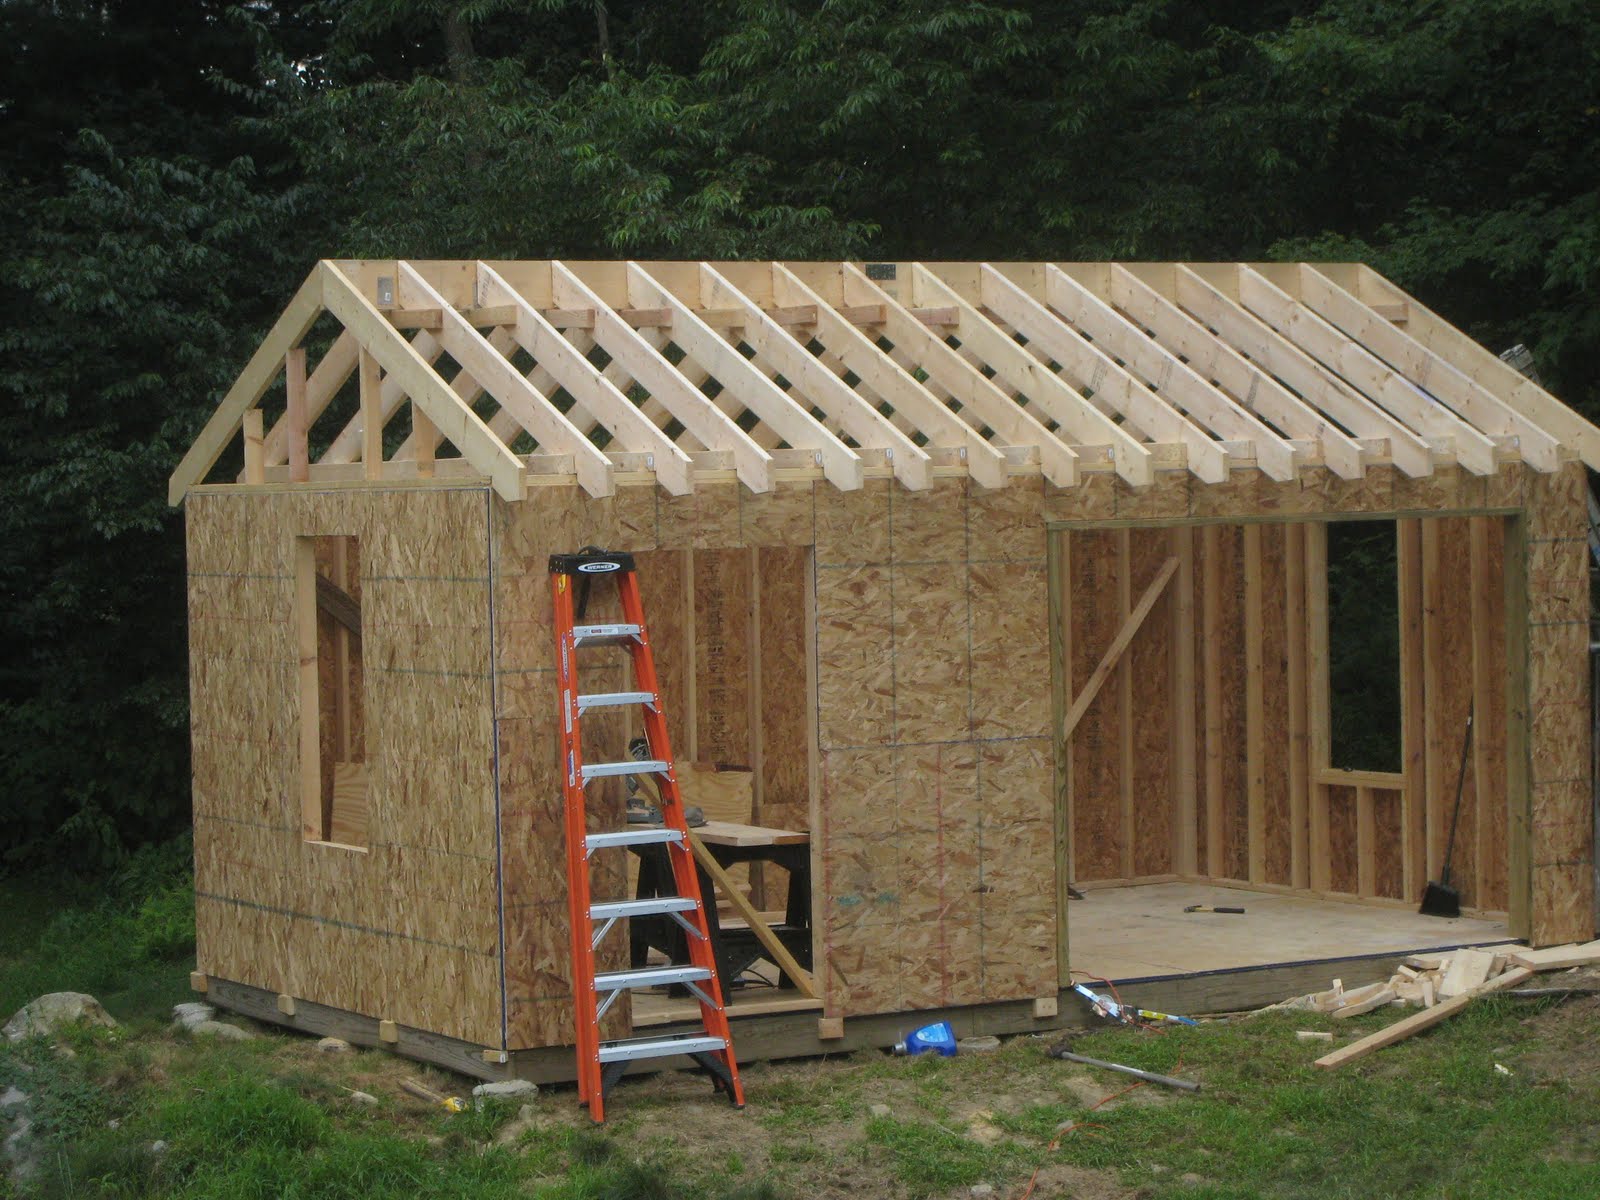
Assessing the Shed
Before embarking on the skid installation process, it’s crucial to thoroughly assess the shed and its surroundings. Start by examining the current foundation of the shed. If the shed is directly in contact with the ground, it is susceptible to moisture and pest damage. Additionally, assess the condition of the shed’s floor. If it shows signs of rot or decay, addressing these issues before installing skids is essential for the shed’s structural integrity.
Furthermore, consider the shed’s location. Ensure that the area where the skids will be placed is level and free from any obstructions. It’s important to account for proper drainage to prevent water accumulation around the shed, which can lead to moisture-related issues.
Assessing the shed also involves evaluating the size and weight of the structure. Different sheds may require varying skid configurations based on their dimensions and intended use. By carefully assessing these factors, you can determine the most suitable skid placement and size to adequately support the shed.
Finally, consider any local building codes or regulations that may impact the installation of skids. Adhering to these guidelines ensures that the shed remains compliant with relevant construction standards.
By thoroughly assessing the shed and its surroundings, you can identify any potential challenges and make informed decisions regarding the installation of skids, setting the stage for a secure and durable shed foundation.
Gathering Materials
Before commencing the installation of skids on your shed, it’s essential to gather the necessary materials and tools. The following items are typically required for this project:
- Pressure-treated lumber: Select high-quality, pressure-treated lumber for the skids. The dimensions of the lumber will depend on the shed’s size and weight, so ensure that you accurately measure the required length and thickness.
- Concrete blocks or gravel: These will be used to create a stable base for the skids, helping to elevate the shed from the ground and prevent moisture-related issues.
- Level: A reliable level will aid in ensuring that the skids are installed on a flat and even surface, promoting the shed’s stability.
- Tape measure: Precise measurements are crucial for determining the appropriate dimensions of the skids and ensuring accurate placement.
- Shovel: To prepare the ground and create a level surface for the skids.
- Fasteners: Nails or screws, depending on the type of lumber used, to securely attach the skids to the shed.
- Protective gear: Safety goggles, work gloves, and appropriate footwear are essential for personal protection during the installation process.
- Power drill: If screws are being used, a power drill will expedite the attachment of the skids to the shed.
By gathering these materials and tools in advance, you can streamline the installation process and ensure that you have everything necessary to complete the project efficiently. Additionally, it’s advisable to double-check the shed’s dimensions and the required quantity of materials to avoid interruptions during the installation.
With the materials assembled and ready, you’re well-equipped to proceed with the next steps of preparing the ground and installing the skids, bringing your shed one step closer to enhanced stability and durability.
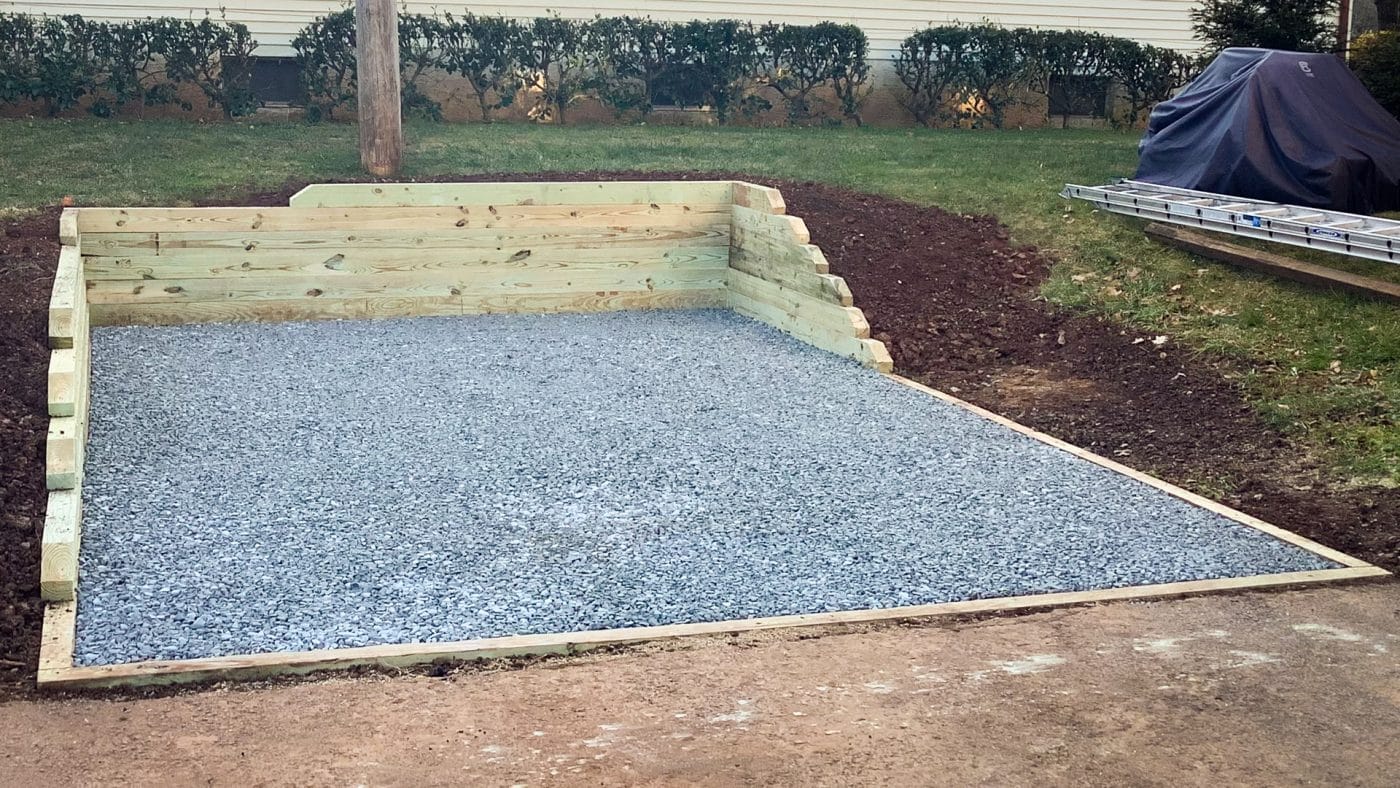
Preparing the Ground
Before installing the skids, it’s crucial to prepare the ground to create a stable and level foundation for the shed. Follow these steps to ensure the ground is ready for the skid installation:
- Clear the Area: Begin by clearing the area where the shed will be positioned. Remove any debris, rocks, or vegetation to create a clean and level surface for the skids.
- Create a Level Base: Use a shovel to level the ground where the skids will be placed. It’s essential to ensure that the ground is even to prevent any potential instability in the shed’s foundation.
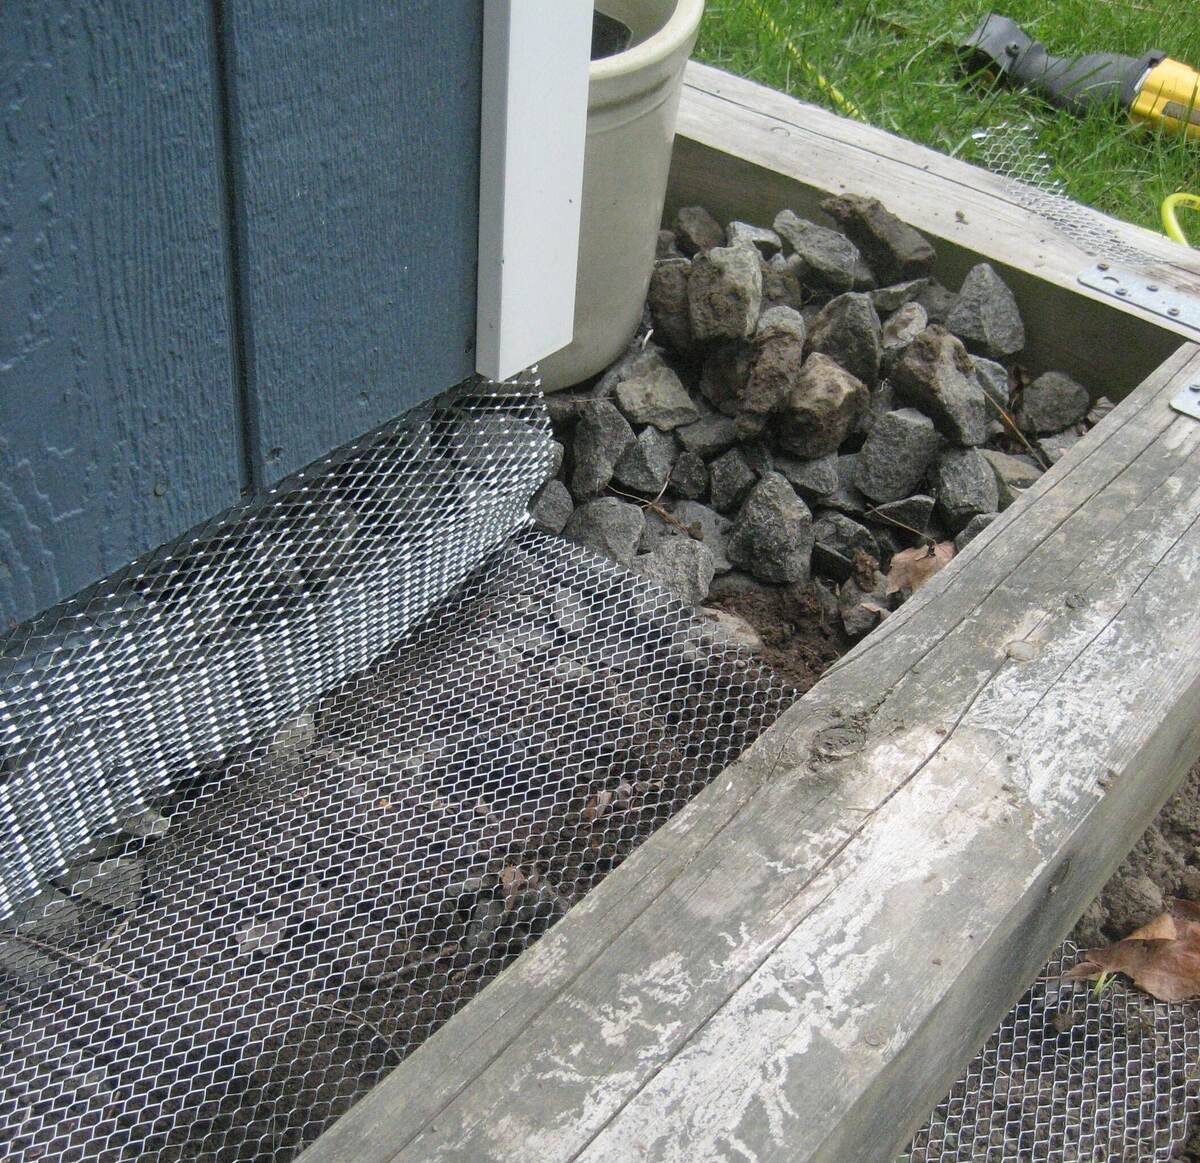
- Add Support: Depending on the soil composition and drainage in the area, consider using concrete blocks or gravel to create a stable base for the skids. This additional support will help elevate the shed from the ground, reducing the risk of moisture damage.
- Verify the Level: Utilize a reliable level to confirm that the ground is even and that the shed’s future foundation will be stable. Making any necessary adjustments at this stage will contribute to the overall stability and longevity of the shed.
By diligently preparing the ground, you can establish a solid foundation for the skids, promoting the stability and durability of the shed. This crucial step sets the stage for the seamless installation of the skids, ensuring that the shed remains secure and well-protected.
When putting skids on a shed, make sure they are level and evenly spaced. Use pressure-treated lumber for durability and place them on a gravel or concrete base for stability.
Installing the Skids
With the ground prepared, it’s time to proceed with the installation of the skids. Follow these steps to ensure the skids are securely and accurately positioned beneath the shed:
- Position the Skids: Place the pressure-treated lumber skids on the prepared ground, ensuring that they are parallel and evenly spaced to adequately support the shed’s structure.
- Check Alignment: Use a tape measure to verify that the skids are positioned at the correct distance apart, corresponding to the shed’s dimensions. Confirm that the skids are aligned and level to provide a stable foundation for the shed.
- Secure the Skids: Once the skids are accurately positioned, secure them in place using fasteners such as screws or nails. Ensure that the skids are firmly attached to the shed’s floor, providing a solid connection between the shed and the skids.
- Verify Stability: After securing the skids, double-check that they are stable and capable of supporting the shed’s weight. Any adjustments required at this stage should be promptly addressed to maintain the shed’s structural integrity.
By meticulously following these steps, you can effectively install the skids, elevating the shed from the ground and establishing a durable and stable foundation. This foundational support is essential for safeguarding the shed against moisture-related damage and ensuring its long-term structural resilience.
Read more: How To Put Gutters On A Shed
Securing the Shed to the Skids
Once the skids are in place, the final crucial step is to secure the shed to the skids, ensuring that the entire structure is firmly anchored and stable. Follow these essential steps to complete the installation process:
- Lift the Shed: With the assistance of others or using appropriate lifting equipment, carefully elevate the shed and position it directly above the installed skids. Take caution to avoid any potential hazards during this process.
- Align the Shed: Ensure that the shed is aligned with the skids, allowing for a seamless connection between the shed’s floor and the installed skids. Verify that the shed is positioned evenly and securely above the skids.
- Secure the Shed: Using appropriate fasteners, attach the shed’s floor to the skids, establishing a strong and stable connection. Depending on the shed’s construction, this may involve driving screws or nails through the shed’s floor and into the skids to secure the structure in place.
- Verify Stability: Once the shed is securely fastened to the skids, confirm that the structure is stable and well-supported. Any signs of instability or movement should be promptly addressed to ensure the shed’s long-term durability.
By diligently securing the shed to the skids, you can fortify the structure, providing crucial support and stability. This final step is essential for safeguarding the shed against potential shifting or displacement, enhancing its resilience against environmental factors and promoting its longevity.
Conclusion
Installing skids on a shed is a fundamental step in ensuring the structure’s stability and longevity. By carefully assessing the shed, gathering the necessary materials, preparing the ground, and methodically installing and securing the skids, you can establish a durable foundation that safeguards the shed against moisture, pests, and structural instability.
Skids play a pivotal role in elevating the shed from the ground, mitigating the risks associated with direct soil contact and moisture accumulation. This not only contributes to the shed’s structural integrity but also enhances its resilience against environmental elements, ultimately prolonging its lifespan.
Furthermore, the process of installing skids presents an opportunity to actively engage in the maintenance and care of your outdoor structure, fostering a sense of ownership and pride in preserving its condition for years to come.
By following the comprehensive steps outlined in this guide, you can effectively install skids on your shed, fortifying its foundation and ensuring that it remains a reliable and enduring asset on your property. Whether the shed serves as a storage space, a workshop, or a recreational area, the installation of skids is a proactive measure that contributes to its overall functionality and resilience.
Ultimately, the installation of skids represents a proactive investment in the structural integrity and longevity of your shed, reflecting a commitment to preserving its value and utility for the foreseeable future.
Embrace the process of installing skids as an opportunity to enhance the stability and durability of your shed, and take pride in creating a secure and resilient foundation that will stand the test of time.
Frequently Asked Questions about How To Put Skids On A Shed
Was this page helpful?
At Storables.com, we guarantee accurate and reliable information. Our content, validated by Expert Board Contributors, is crafted following stringent Editorial Policies. We're committed to providing you with well-researched, expert-backed insights for all your informational needs.


0 thoughts on “How To Put Skids On A Shed”