Home>Gardening & Outdoor>Outdoor Structures>How To Put On A Metal Roof On A Shed
Outdoor Structures
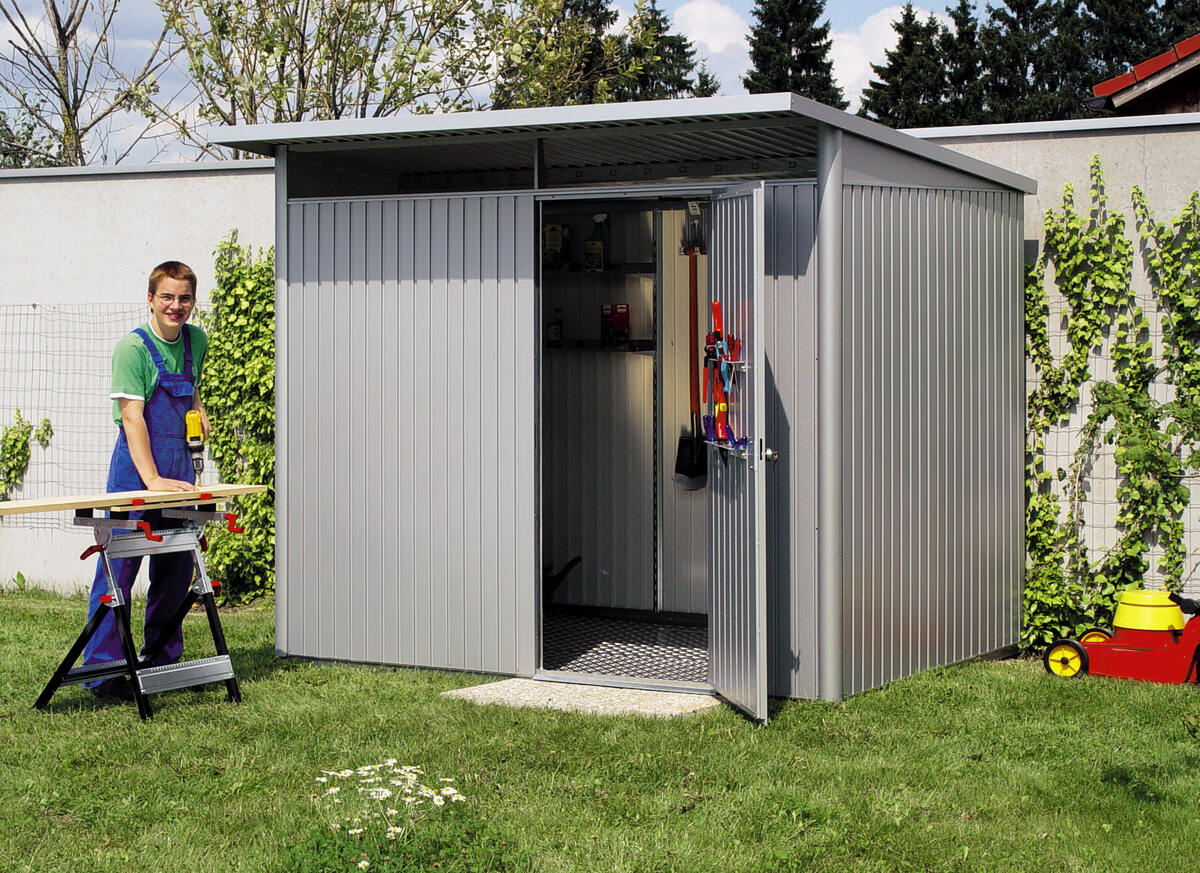
How To Put On A Metal Roof On A Shed
Modified: February 18, 2024
Learn how to install a metal roof on your shed with our step-by-step guide. Protect your outdoor structures with durable and long-lasting roofing.
(Many of the links in this article redirect to a specific reviewed product. Your purchase of these products through affiliate links helps to generate commission for Storables.com, at no extra cost. Learn more)
Introduction
When it comes to enhancing the durability and aesthetics of your shed, installing a metal roof can be a game-changer. Not only does it provide robust protection against the elements, but it also adds a touch of modernity to the overall structure. Whether you're a seasoned DIY enthusiast or a novice looking to embark on a new project, putting on a metal roof for your shed is a rewarding endeavor that can be accomplished with the right guidance and tools.
In this comprehensive guide, we will walk you through the step-by-step process of installing a metal roof on your shed. From gathering the necessary materials and tools to executing the installation with precision, we've got you covered. By the end of this journey, you'll have the knowledge and confidence to elevate your shed's functionality and appeal through the art of metal roofing. So, roll up your sleeves and get ready to embark on this fulfilling DIY adventure!
Key Takeaways:
- Transform your shed with a modern metal roof, enhancing durability and aesthetics while withstanding the elements. Follow the comprehensive guide for a rewarding DIY project.
- Elevate your shed’s functionality and appeal through meticulous preparation and installation of a metal roof. Enjoy a weather-resistant and visually striking shed with a sense of accomplishment.
Read more: How To Install A Metal Roof On A Shed
Materials and Tools Needed
Before diving into the installation process, it’s essential to gather all the necessary materials and tools. Here’s a comprehensive list to ensure you’re well-prepared for the task:
Materials:
- Metal roof panels
- Underlayment
- Ridge cap
- Self-tapping metal screws
- Butyl tape
- Roofing nails
- Wood screws
- Roofing cement
- Flashing
- Sealant
Tools:
- Measuring tape
- Tin snips
- Chalk line
- Drill/driver
- Screw gun
- Roofing hammer
- Safety harness
- Ladder
- Work gloves
- Safety glasses
Having these materials and tools at your disposal will streamline the installation process and ensure that you’re equipped to handle any challenges that may arise. Now that you’re armed with the essentials, it’s time to prepare the shed for the upcoming transformation.
Preparing the Shed
Before you begin the installation of the metal roof, it’s crucial to prepare the shed to ensure a smooth and successful process. Here are the key steps to take when prepping the shed:
Read more: How To Put A Metal Roof On A Pergola
1. Clear the Area:
Start by removing any debris, old roofing materials, or obstructions from the roof and its surroundings. This will provide a clean and safe working environment for the installation.
2. Inspect the Roof Structure:
Check the shed’s roof structure for any signs of damage, rot, or instability. It’s essential to address any structural issues before proceeding with the installation to ensure the roof can support the new metal panels.
3. Measure and Plan:
Take precise measurements of the roof to determine the amount of metal panels needed. Create a detailed plan for the panel layout, ensuring that you account for any roof features such as vents or chimneys.
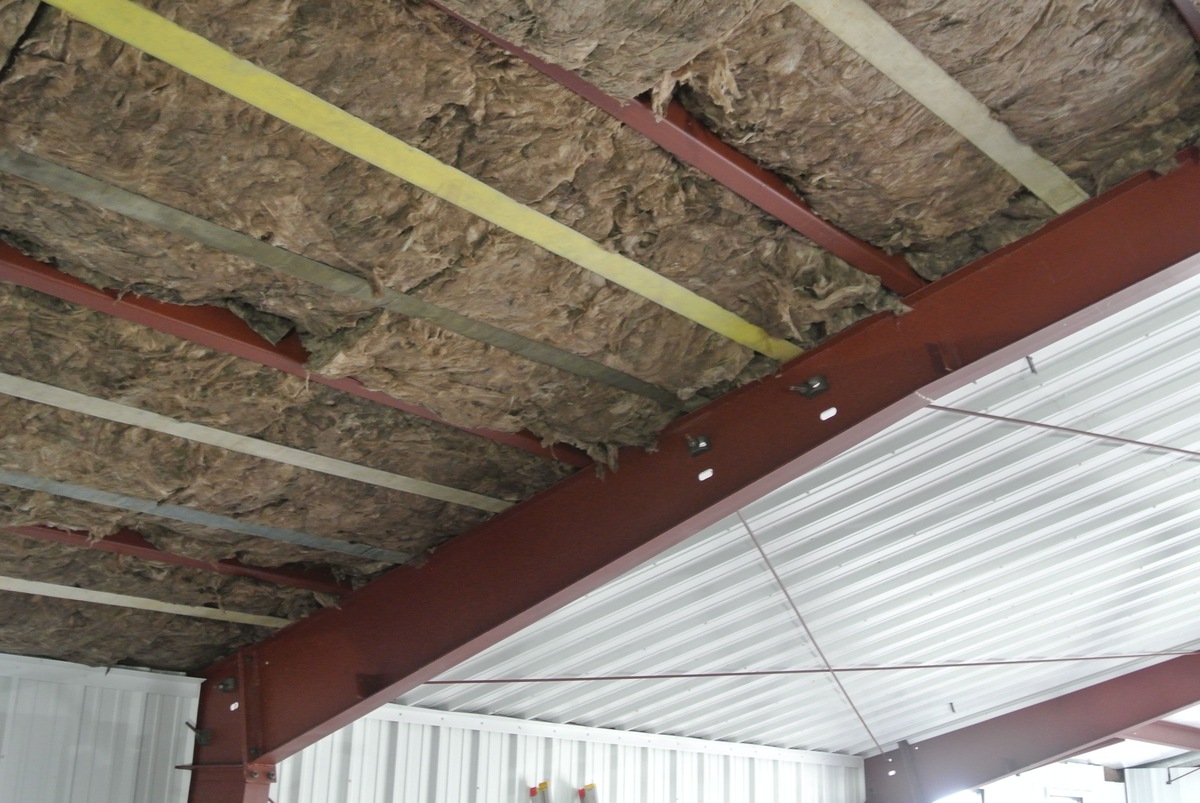
4. Install Underlayment:
Lay down the underlayment material, such as roofing felt, to provide an additional layer of protection against moisture and ensure a weather-tight seal for the roof.
Read more: How To Put Felt On A Shed Roof
5. Secure Flashing:
Install flashing around roof penetrations and edges to prevent water infiltration and reinforce the durability of the roof.
By following these preparatory steps, you’ll set the stage for a successful metal roof installation. With the shed primed and ready, the next phase involves laying the foundation for the metal roof by installing the underlayment.
Installing the Underlayment
As you embark on the journey of installing a metal roof on your shed, the underlayment plays a crucial role in fortifying the roof’s resilience against the elements. Here’s a detailed guide on how to effectively install the underlayment:
1. Begin at the Eaves:
Start at the eaves of the roof and roll out the underlayment horizontally along the entire length. Ensure that each subsequent row overlaps the previous one to prevent water infiltration.
2. Secure the Underlayment:
Use roofing nails or staples to secure the underlayment to the roof deck, ensuring that it lies flat and taut without any wrinkles or creases.
Read more: How To Roof A Flat Roof Shed
3. Address Roof Features:
When encountering roof features such as vents or chimneys, carefully cut and fit the underlayment around these areas to maintain a continuous and watertight barrier.
4. Overlap Joints and Seams:
Pay close attention to overlapping joints and seams, applying roofing cement or sealant to reinforce these areas and prevent water seepage.
5. Trim Excess Material:
Once the underlayment is securely in place, trim any excess material along the edges and around roof protrusions to ensure a neat and professional finish.
By meticulously installing the underlayment, you establish a solid foundation for the metal roof, bolstering its ability to withstand harsh weather conditions and safeguarding the shed’s interior. With the underlayment securely in position, the next step involves the meticulous process of attaching the metal roof panels.
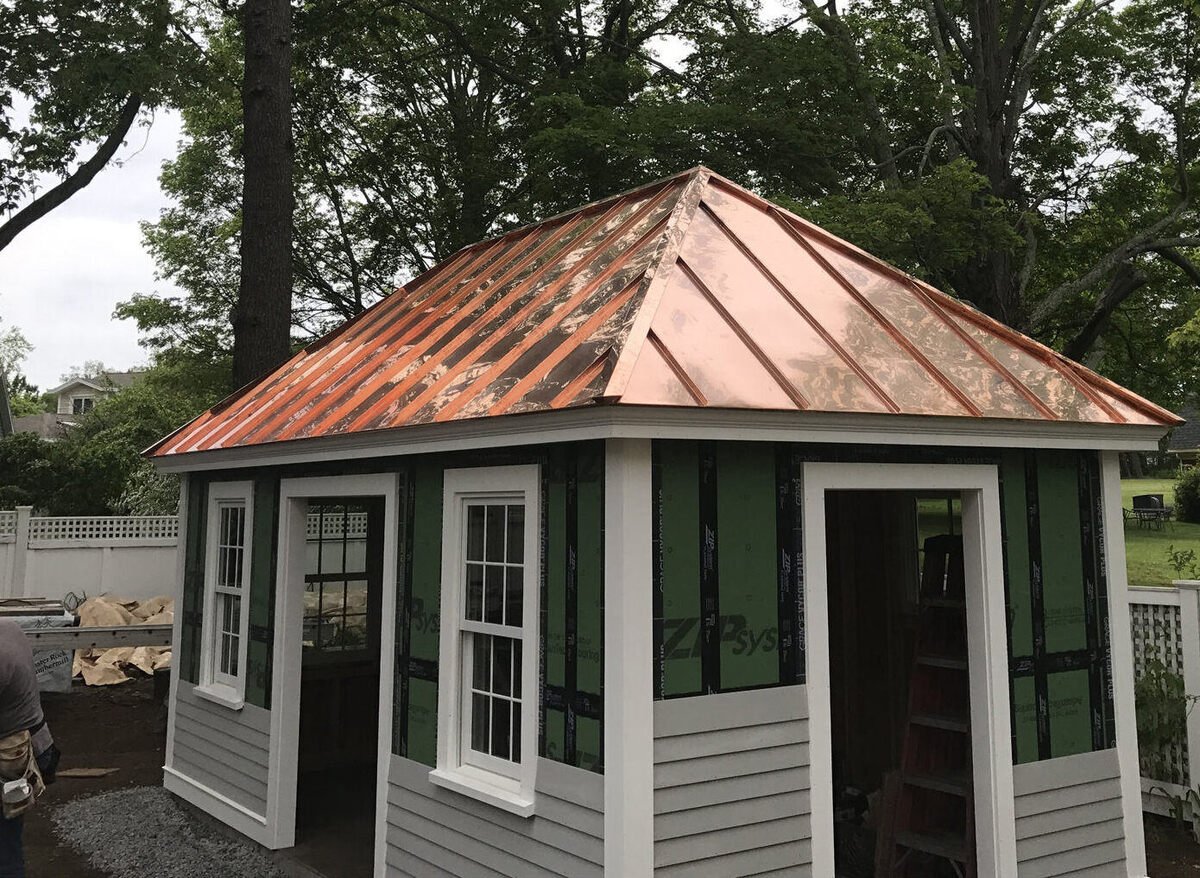
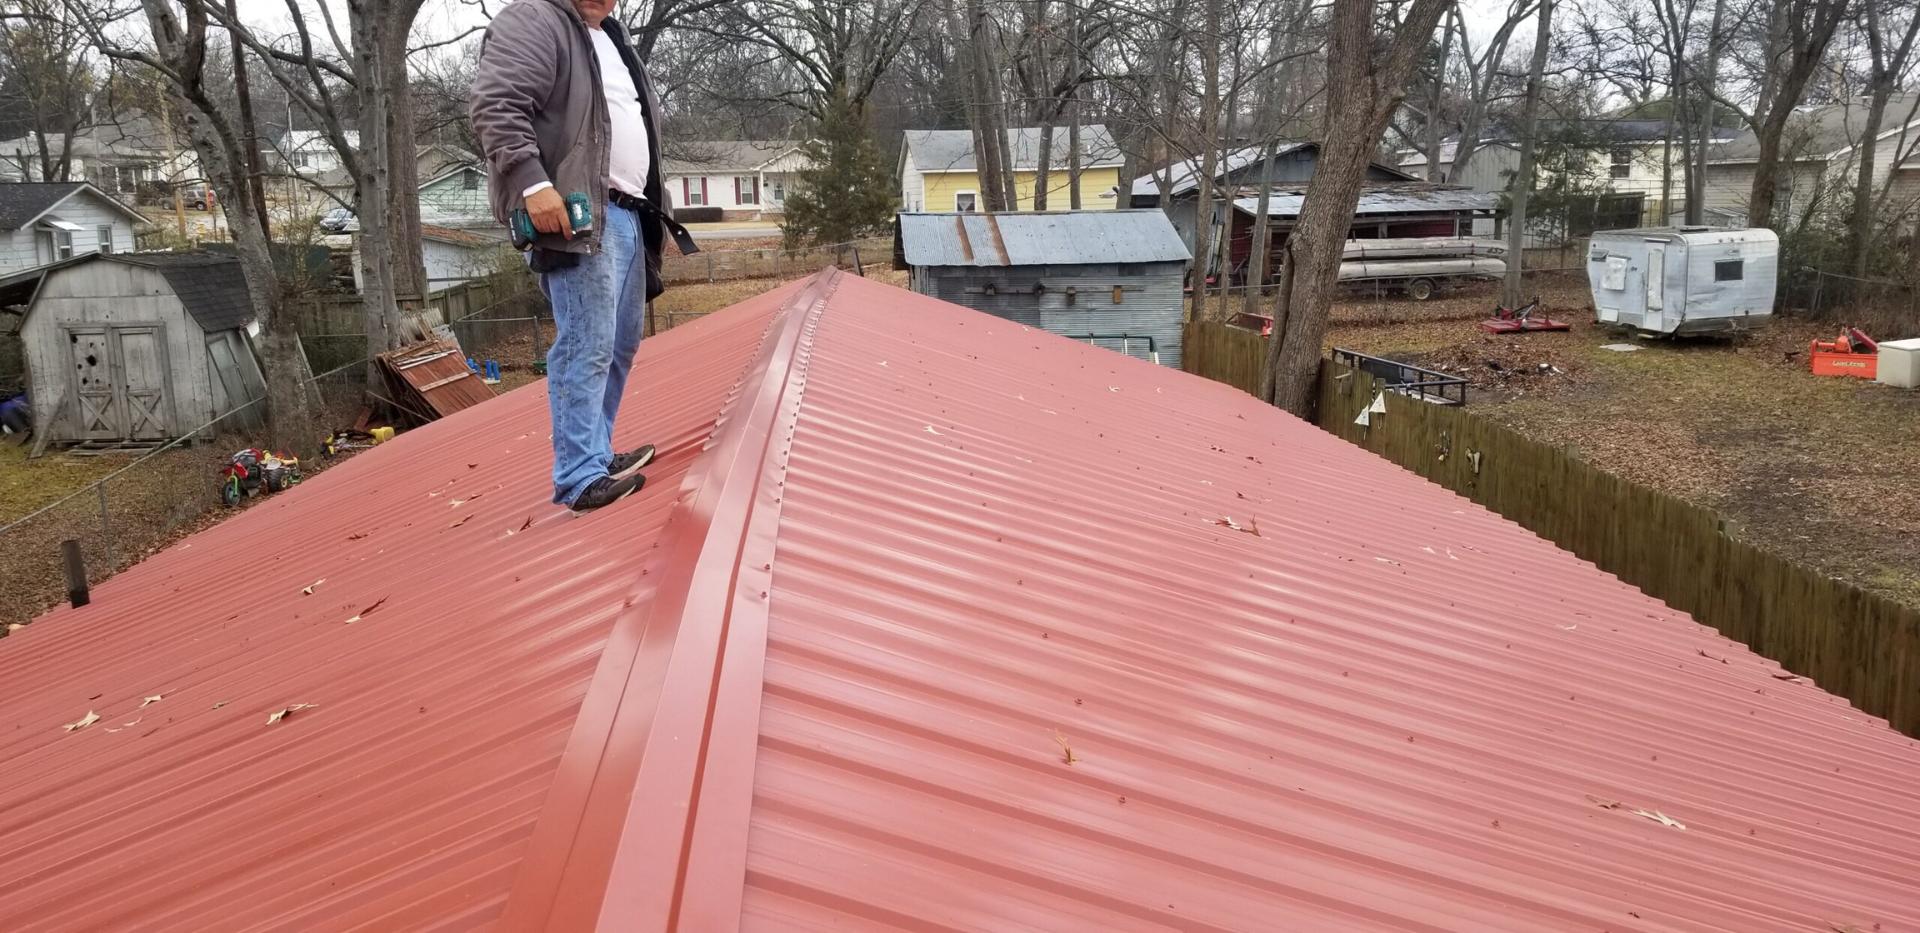
Attaching the Metal Roof Panels
As you progress with the installation of the metal roof on your shed, the meticulous attachment of the metal roof panels is a pivotal phase that demands precision and attention to detail. Here’s a comprehensive guide to effectively attaching the metal roof panels:
1. Begin at the Eaves:
Start by positioning the first metal roof panel at the eaves of the shed, ensuring that it overhangs the edge by the specified amount as per the manufacturer’s guidelines.
2. Secure with Screws:
Use self-tapping metal screws to secure the panel to the roof deck, driving the screws through the designated locations on the panel ribs. Be mindful of not over-tightening the screws to avoid damaging the panels.
3. Align and Overlap:
Position the subsequent panels, aligning them with precision and overlapping the edges according to the manufacturer’s recommendations. This ensures a seamless and watertight connection between the panels.
4. Cut and Trim:
When reaching the end of a roof slope or encountering roof features, use tin snips to cut the panels to the required size and shape. Trim the panels with accuracy to achieve a snug fit around obstacles.
Read more: How To Repair Metal Roof
5. Ensure Proper Ventilation:
Install ridge vents or other ventilation components as per the shed’s ventilation requirements, ensuring adequate airflow beneath the metal roof panels to prevent moisture buildup.
6. Check for Consistency:
Throughout the panel attachment process, consistently check for proper alignment, levelness, and uniform fastening to maintain a professional and structurally sound installation.
By meticulously following these steps, you’ll effectively secure the metal roof panels to the shed, culminating in a robust and visually appealing roofing system. With the panels securely in place, the final phase involves securing the ridge cap to complete the installation.
Securing the Ridge Cap
As you approach the final phase of installing a metal roof on your shed, securing the ridge cap is a critical step that not only enhances the roof’s durability but also adds a polished finishing touch to the overall structure. Here’s a detailed guide on how to effectively secure the ridge cap:
1. Position the Ridge Cap:
Place the ridge cap along the peak of the roof, ensuring that it aligns evenly with the roof slope on both sides. The ridge cap should overhang the edges while maintaining a uniform and symmetrical appearance.
Read more: How To Measure For Metal Roof
2. Fasten with Screws:
Use appropriate screws to secure the ridge cap to the roof structure, driving the screws through the pre-drilled holes in the ridge cap and into the underlying roof deck. Ensure that the screws are evenly spaced and firmly anchored.
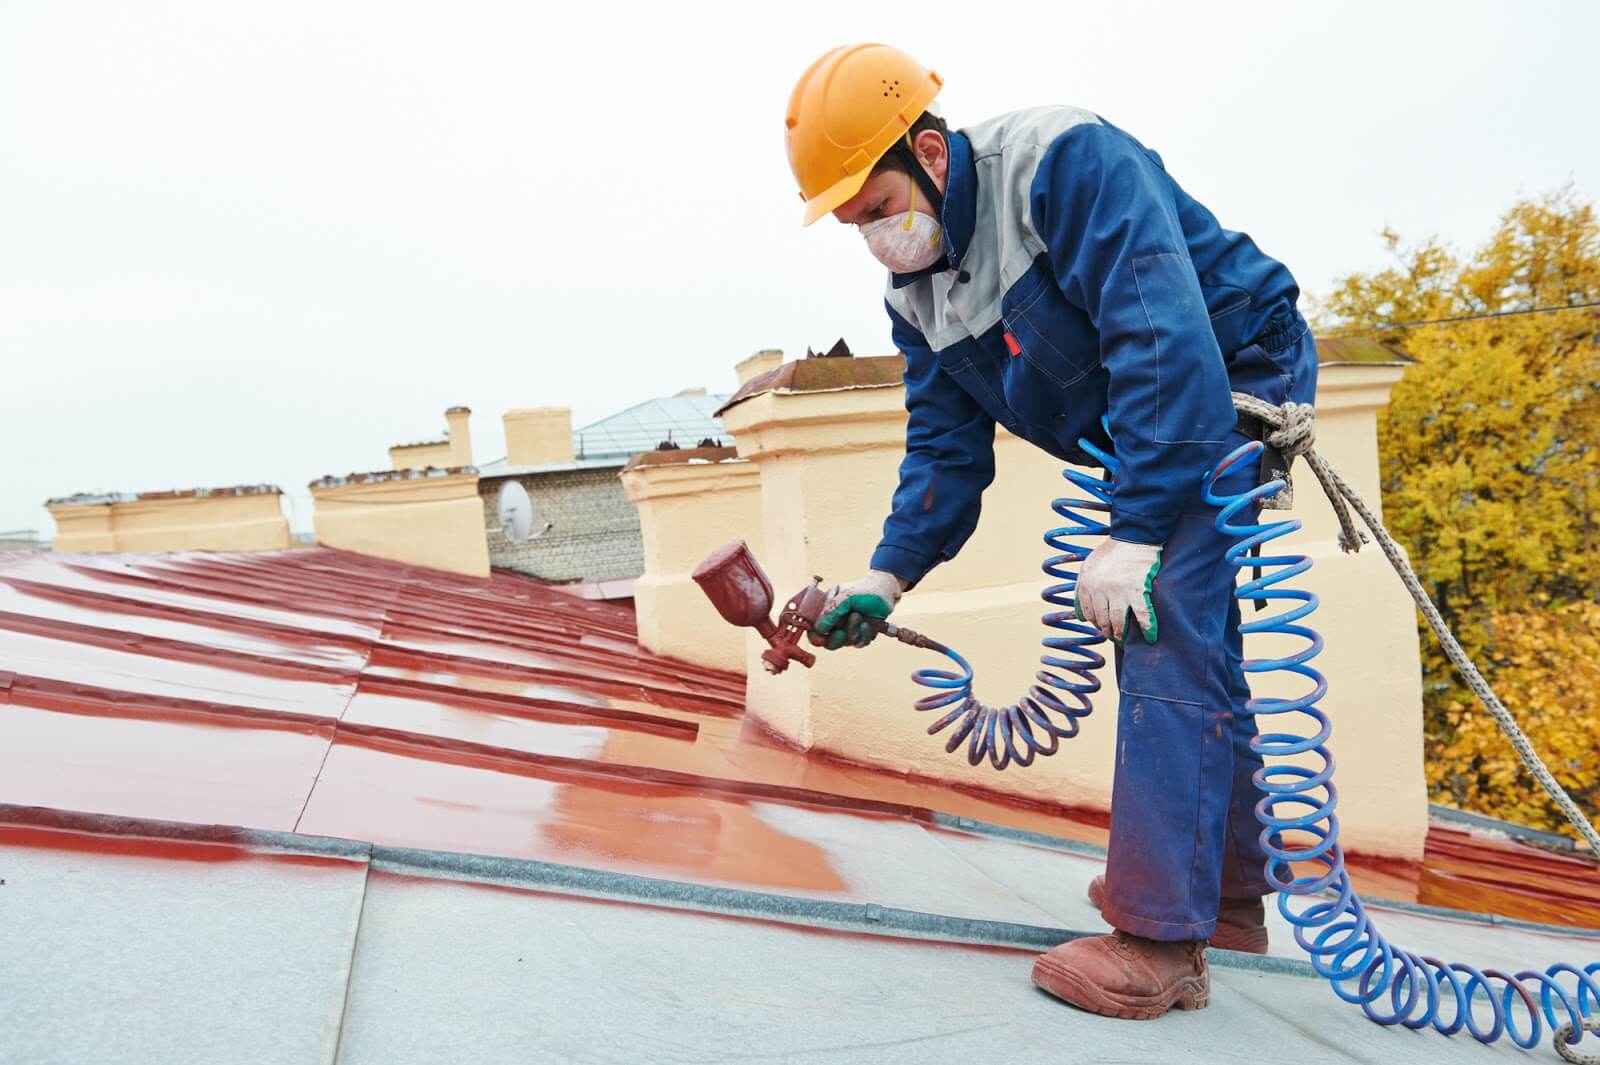
3. Apply Sealant:
Apply a bead of high-quality sealant beneath the ridge cap to create a watertight seal and reinforce the junction between the ridge cap and the metal roof panels. This additional layer of protection safeguards against water infiltration.
4. Trim Excess Material:
Trim any excess material from the ends of the ridge cap to achieve a neat and uniform appearance. Use tin snips or appropriate cutting tools to ensure precise and clean edges.
5. Inspect for Quality:
Thoroughly inspect the secured ridge cap, checking for proper alignment, secure fastening, and a seamless integration with the metal roof panels. This step ensures that the ridge cap serves its dual purpose of functionality and aesthetics.
By meticulously following these steps, you’ll successfully secure the ridge cap, culminating in a professionally finished metal roof installation on your shed. With the ridge cap in place, you can take pride in knowing that your shed is now equipped with a robust and visually impressive roofing system, ready to withstand the elements for years to come.
Read more: How To Insulate A Metal Roof
Conclusion
Congratulations on completing the installation of a metal roof on your shed! By embarking on this DIY journey, you’ve not only enhanced the structural integrity of your shed but also added a touch of modern elegance to its exterior. As you reflect on this accomplishment, it’s essential to acknowledge the transformative impact of a well-installed metal roof.
Through meticulous preparation, including gathering the necessary materials and tools, and diligently executing each phase of the installation, you’ve elevated your shed’s functionality and aesthetic appeal. The robustness of the metal roof, coupled with its resistance to weathering and durability, ensures that your shed is now equipped to weather the elements with confidence.
Moreover, the meticulous attachment of the metal roof panels and the secure placement of the ridge cap signify the attention to detail and craftsmanship invested in this project. The seamless integration of these components not only fortifies the shed’s protection but also contributes to its visual allure.
As you admire the newly installed metal roof, take pride in knowing that your shed has undergone a remarkable transformation, embodying resilience and sophistication. The completion of this project serves as a testament to your DIY prowess and determination to enhance your living space through hands-on initiatives.
With the installation now complete, take a moment to revel in the sense of accomplishment and the tangible impact of your efforts. Whether it’s the satisfaction of a job well done or the anticipation of enjoying a weather-resistant and visually striking shed, this undertaking has undoubtedly left a lasting impression.
As you look ahead, consider sharing your newfound expertise with others who may be contemplating a similar project. Your insights and firsthand experience can serve as a valuable guide, inspiring and empowering fellow DIY enthusiasts to embark on their own metal roofing endeavors.
In closing, the installation of a metal roof on your shed stands as a testament to your dedication to craftsmanship and your commitment to enhancing your living environment. Let this project serve as a source of inspiration for future DIY explorations, igniting a passion for transforming spaces and embracing the art of hands-on construction.
Frequently Asked Questions about How To Put On A Metal Roof On A Shed
Was this page helpful?
At Storables.com, we guarantee accurate and reliable information. Our content, validated by Expert Board Contributors, is crafted following stringent Editorial Policies. We're committed to providing you with well-researched, expert-backed insights for all your informational needs.


0 thoughts on “How To Put On A Metal Roof On A Shed”