Home>Gardening & Outdoor>Outdoor Structures>How To Replace An RV Awning
Outdoor Structures
How To Replace An RV Awning
Modified: February 18, 2024
Learn how to replace an RV awning and keep your outdoor structures in top condition with our step-by-step guide. Ensure your outdoor-structures are protected and functional.
(Many of the links in this article redirect to a specific reviewed product. Your purchase of these products through affiliate links helps to generate commission for Storables.com, at no extra cost. Learn more)
Introduction
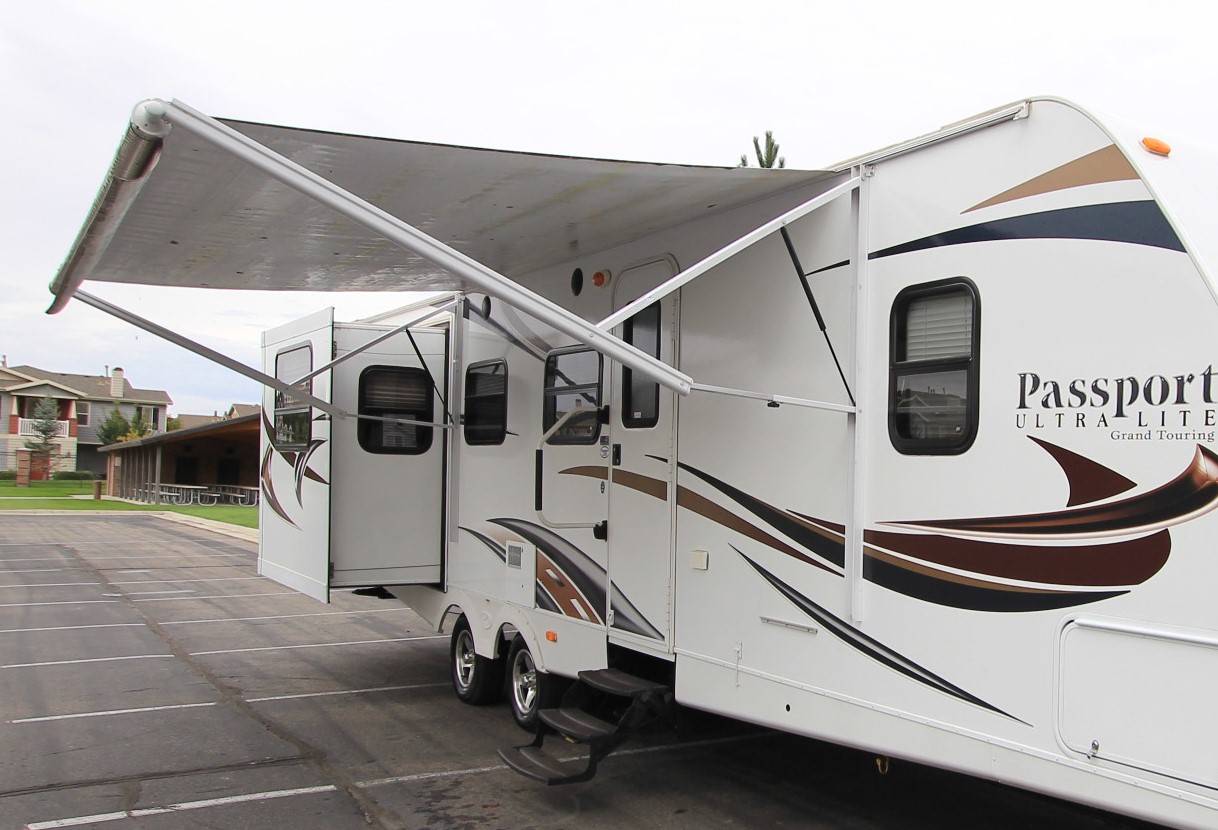
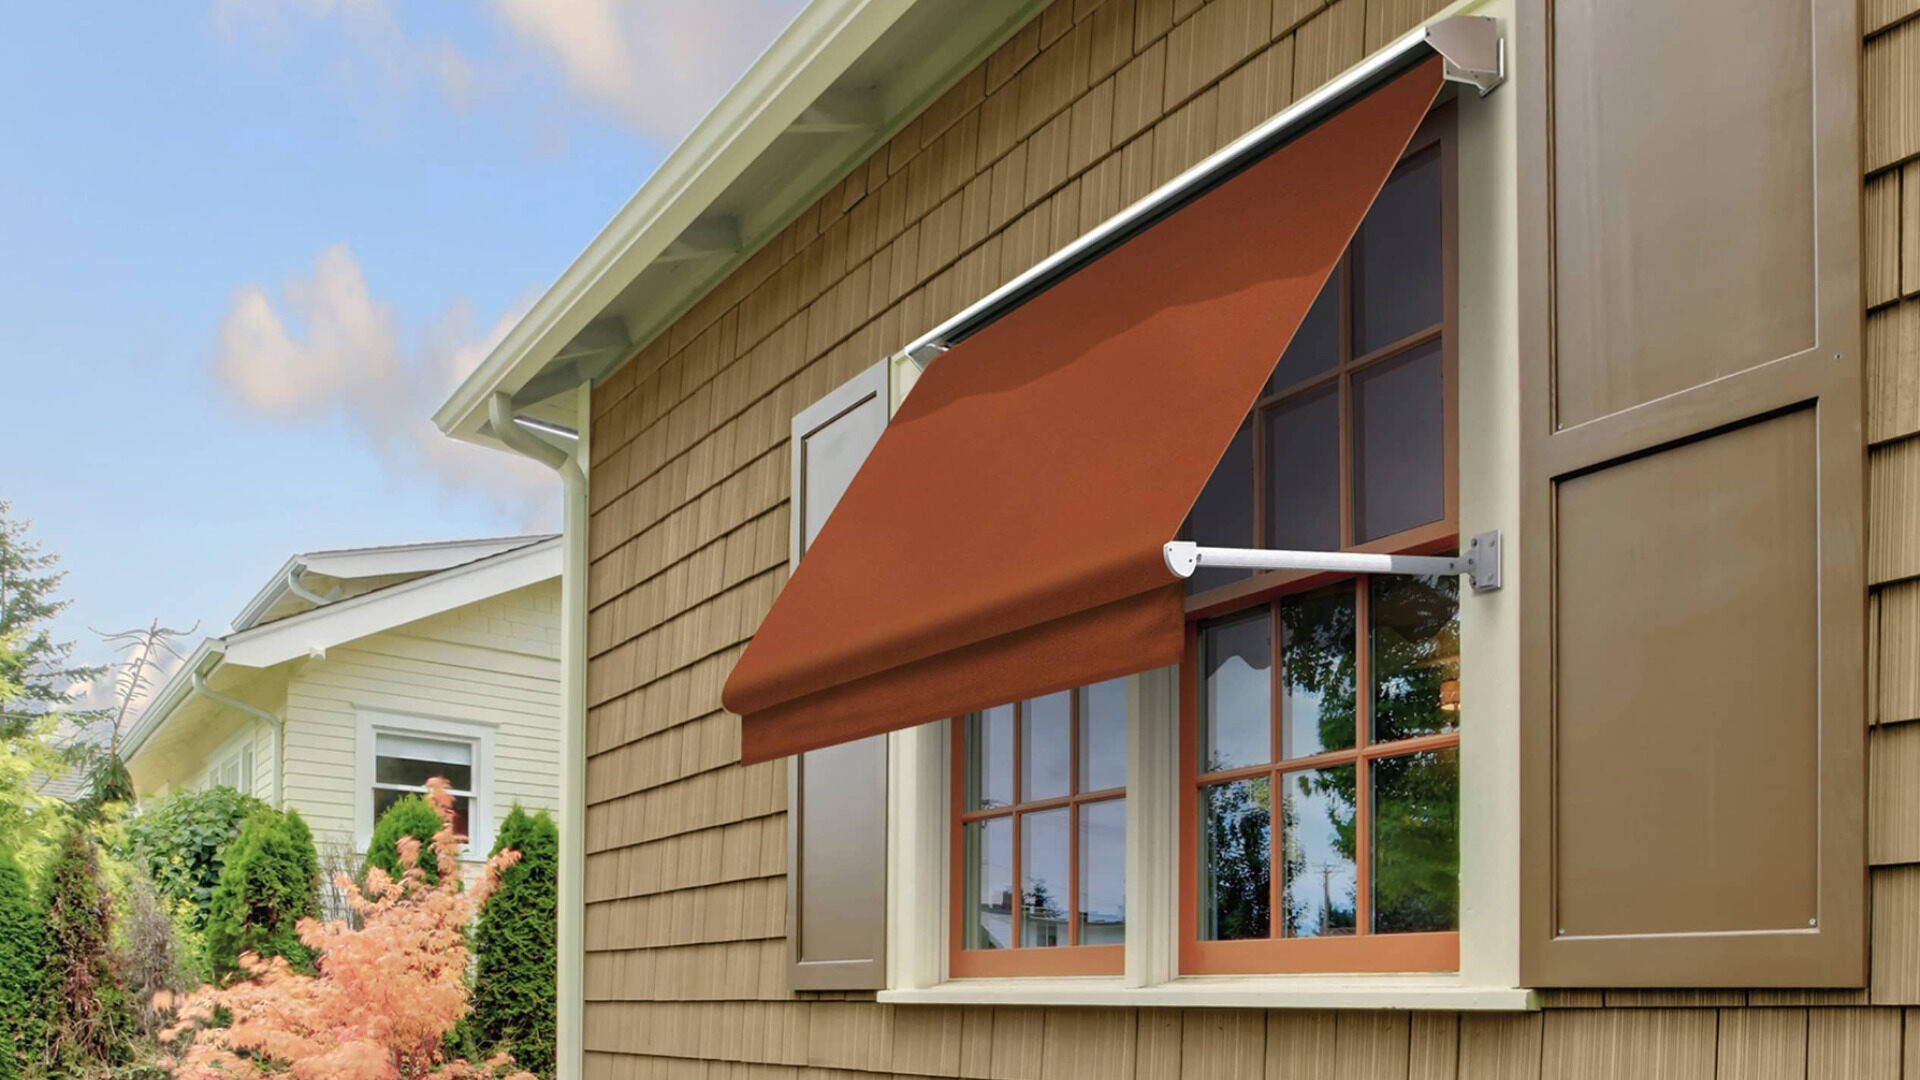
Replacing the awning on your RV can breathe new life into your outdoor adventures. Whether the old awning has succumbed to wear and tear or you simply want to upgrade to a more modern and durable option, this task is a great way to enhance the functionality and aesthetics of your recreational vehicle. While the thought of replacing an RV awning might seem daunting at first, with the right tools, materials, and a clear understanding of the process, it can be a manageable and rewarding project.
In this comprehensive guide, we will walk you through the step-by-step process of replacing your RV awning. From gathering the necessary tools and materials to removing the old awning, installing the new one, and testing it to ensure proper functionality, we've got you covered. By following these instructions, you can revitalize your RV's outdoor space and ensure that you're well-prepared for your next camping trip.
So, roll up your sleeves and get ready to embark on this DIY adventure. With a bit of patience and attention to detail, you'll soon be enjoying the shade and protection provided by your brand-new RV awning. Let's dive into the first step: gathering the necessary tools and materials.
Key Takeaways:
- Replacing an RV awning is a manageable DIY project that can enhance your outdoor adventures. With the right tools and materials, you can revitalize your RV’s outdoor space and prepare for a more enjoyable camping experience.
- By following a step-by-step process, you can successfully remove the old awning, install a new one, and ensure its proper functionality. This DIY endeavor not only improves your RV but also empowers you for future maintenance and upgrades.
Read more: How To Replace Fabric On An RV Awning
Step 1: Gather necessary tools and materials
Before diving into the process of replacing your RV awning, it's crucial to gather all the essential tools and materials. Having the right equipment at your disposal will streamline the replacement process and ensure a successful outcome. Here's a comprehensive list of the items you'll need:
Tools:
- Screwdriver Set: Ensure you have both flat-head and Phillips-head screwdrivers to accommodate various fastener types.
- Pliers: These will come in handy for gripping and manipulating small components during the replacement.
- Utility Knife: A sharp utility knife will be essential for cutting and trimming materials as needed.
- Ladder: Depending on the height of your RV, a sturdy ladder will facilitate safe access to the awning installation area.
- Caulking Gun: You'll need this to apply sealant during the installation process.
- Measuring Tape: Accurate measurements are crucial for ensuring the new awning fits perfectly.
- Adjustable Wrench: This versatile tool will be useful for tightening nuts and bolts.
Materials:
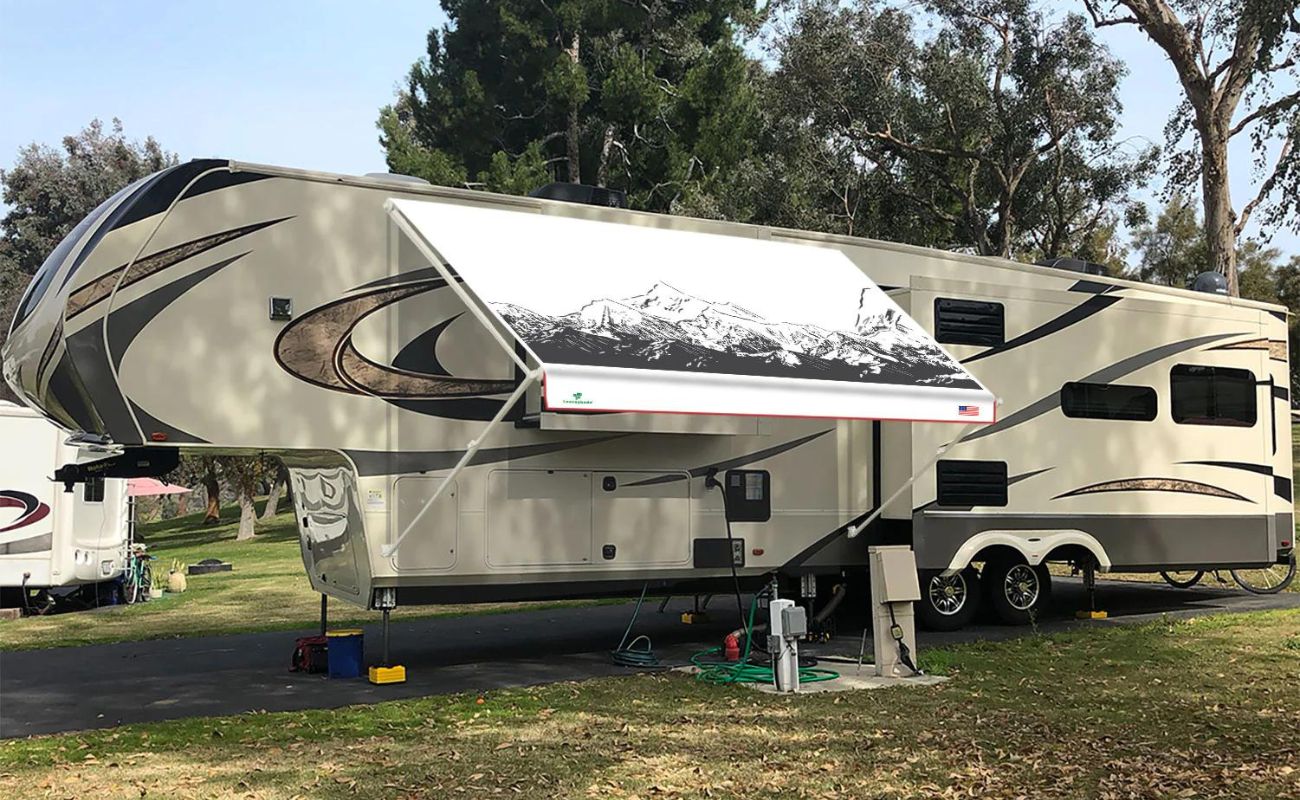
- Replacement Awning: Select a high-quality replacement awning that matches the dimensions and specifications of your RV.
- Sealant: Choose a durable, weather-resistant sealant to protect against leaks and ensure a secure installation.
- Mounting Hardware: If the replacement awning doesn't include mounting hardware, ensure you have the necessary screws, bolts, and brackets.
- Safety Gear: Prioritize safety with protective gloves and safety glasses to shield your hands and eyes during the replacement process.
- Cleaning Supplies: It's a good idea to have cleaning materials on hand to tidy up the installation area and remove any debris.
By gathering these tools and materials, you'll be well-prepared to tackle the RV awning replacement with confidence. With everything in place, you can proceed to the next step: removing the old awning.
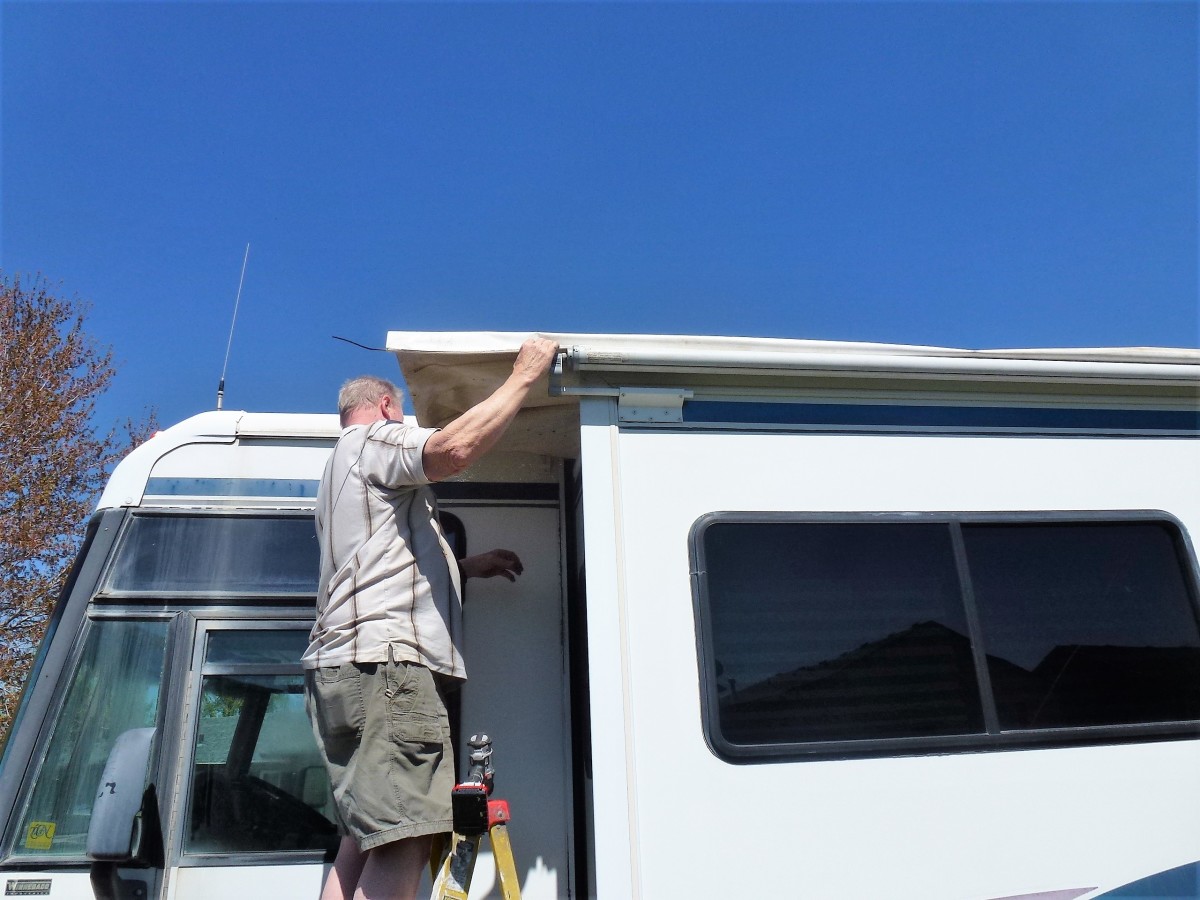
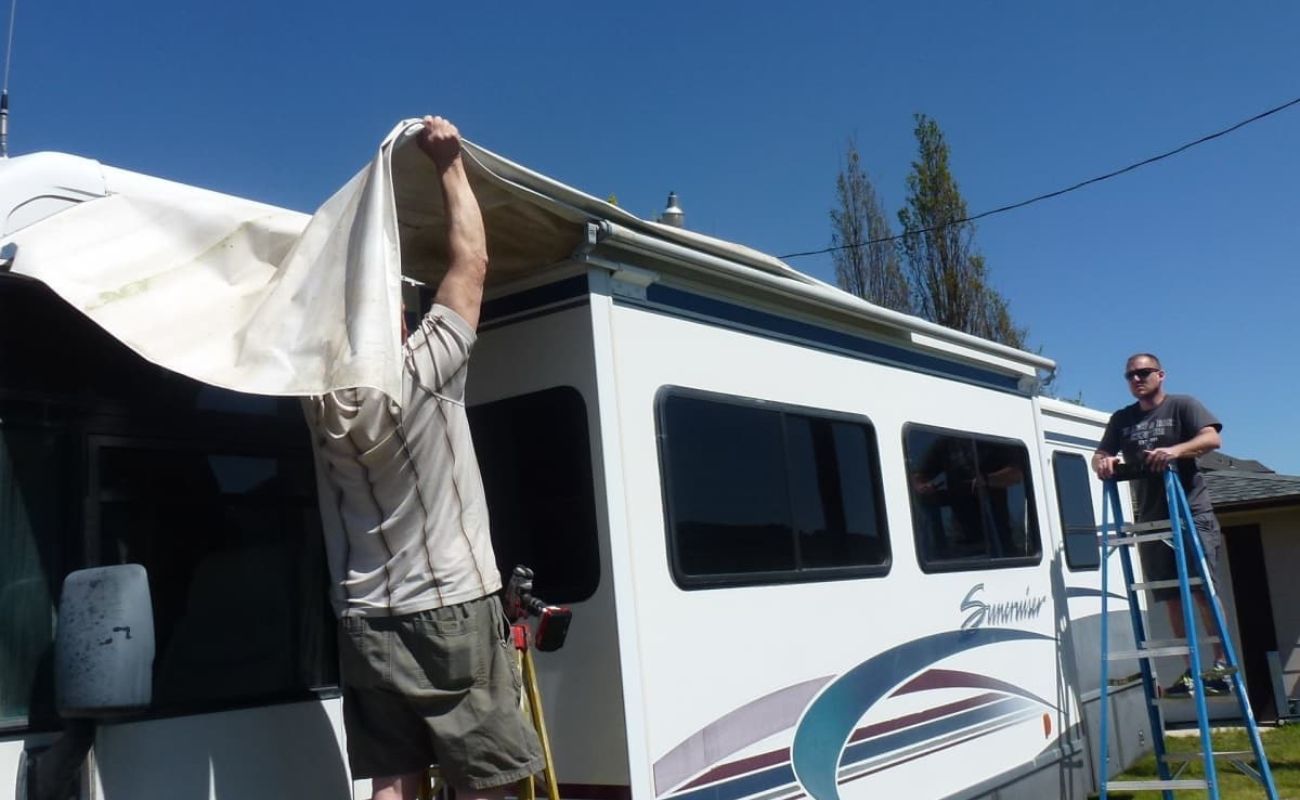
Step 2: Remove the old awning
Removing the old awning is a crucial step in the process of replacing it with a new one. This task requires careful attention to detail and a systematic approach to ensure that the old awning is safely and effectively detached from the RV. Here's a detailed guide on how to remove the old awning:
-
Prepare the Work Area: Start by positioning your RV on a level surface and extending the old awning fully. This will provide better access to the awning and make the removal process more manageable. Additionally, ensure that the area around the awning is clear of any obstacles to create a safe and unobstructed workspace.
-
Disconnect the Awning Arms: Begin by retracting the awning fabric back into the roller tube. Next, carefully detach the awning arms from the RV by removing the bolts or screws securing them in place. It's important to support the awning arms as you loosen the fasteners to prevent them from unexpectedly dropping or causing damage.
-
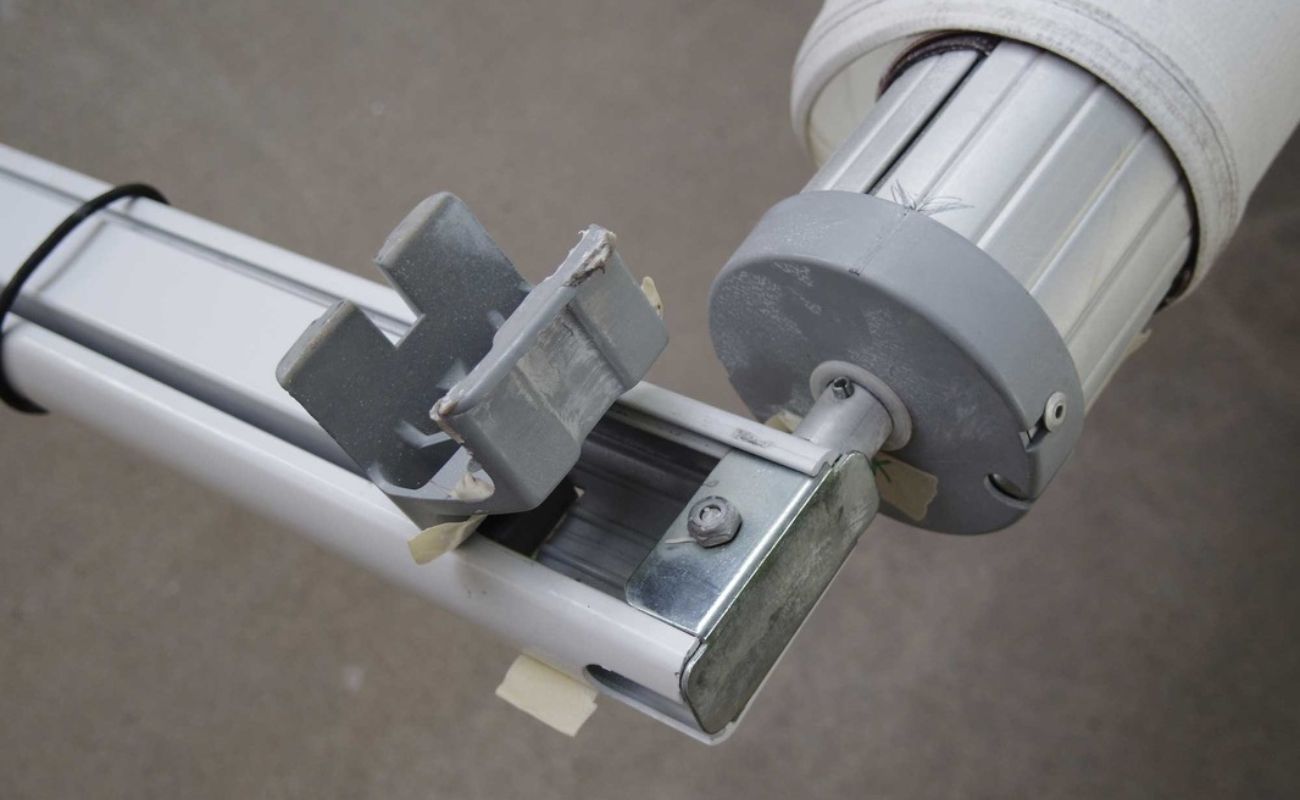
Remove the Mounting Hardware: Once the awning arms are detached, proceed to remove the mounting hardware securing the roller tube to the RV. Depending on the type of awning, this may involve unscrewing brackets or releasing clamps that hold the roller tube in place. Exercise caution and ensure that the roller tube is adequately supported as you remove the mounting hardware.
-
Gently Lower the Roller Tube: With the mounting hardware removed, carefully lower the roller tube to the ground. Enlist the assistance of a partner if needed to ensure a controlled descent. Take care to avoid sudden movements that could cause the roller tube to swing or tip over, potentially causing damage to the RV or surrounding area.
-
Detach the Fabric: Once the roller tube is safely on the ground, proceed to detach the fabric from the roller tube. This may involve removing end caps or other components that secure the fabric in place. Exercise patience and caution to avoid tearing or damaging the fabric during this process.
By following these steps, you can effectively remove the old awning from your RV, paving the way for the installation of a new and improved awning. With the old awning successfully removed, you're now ready to move on to the next step: installing the new awning.
Read more: How To Replace RV Awning Struts
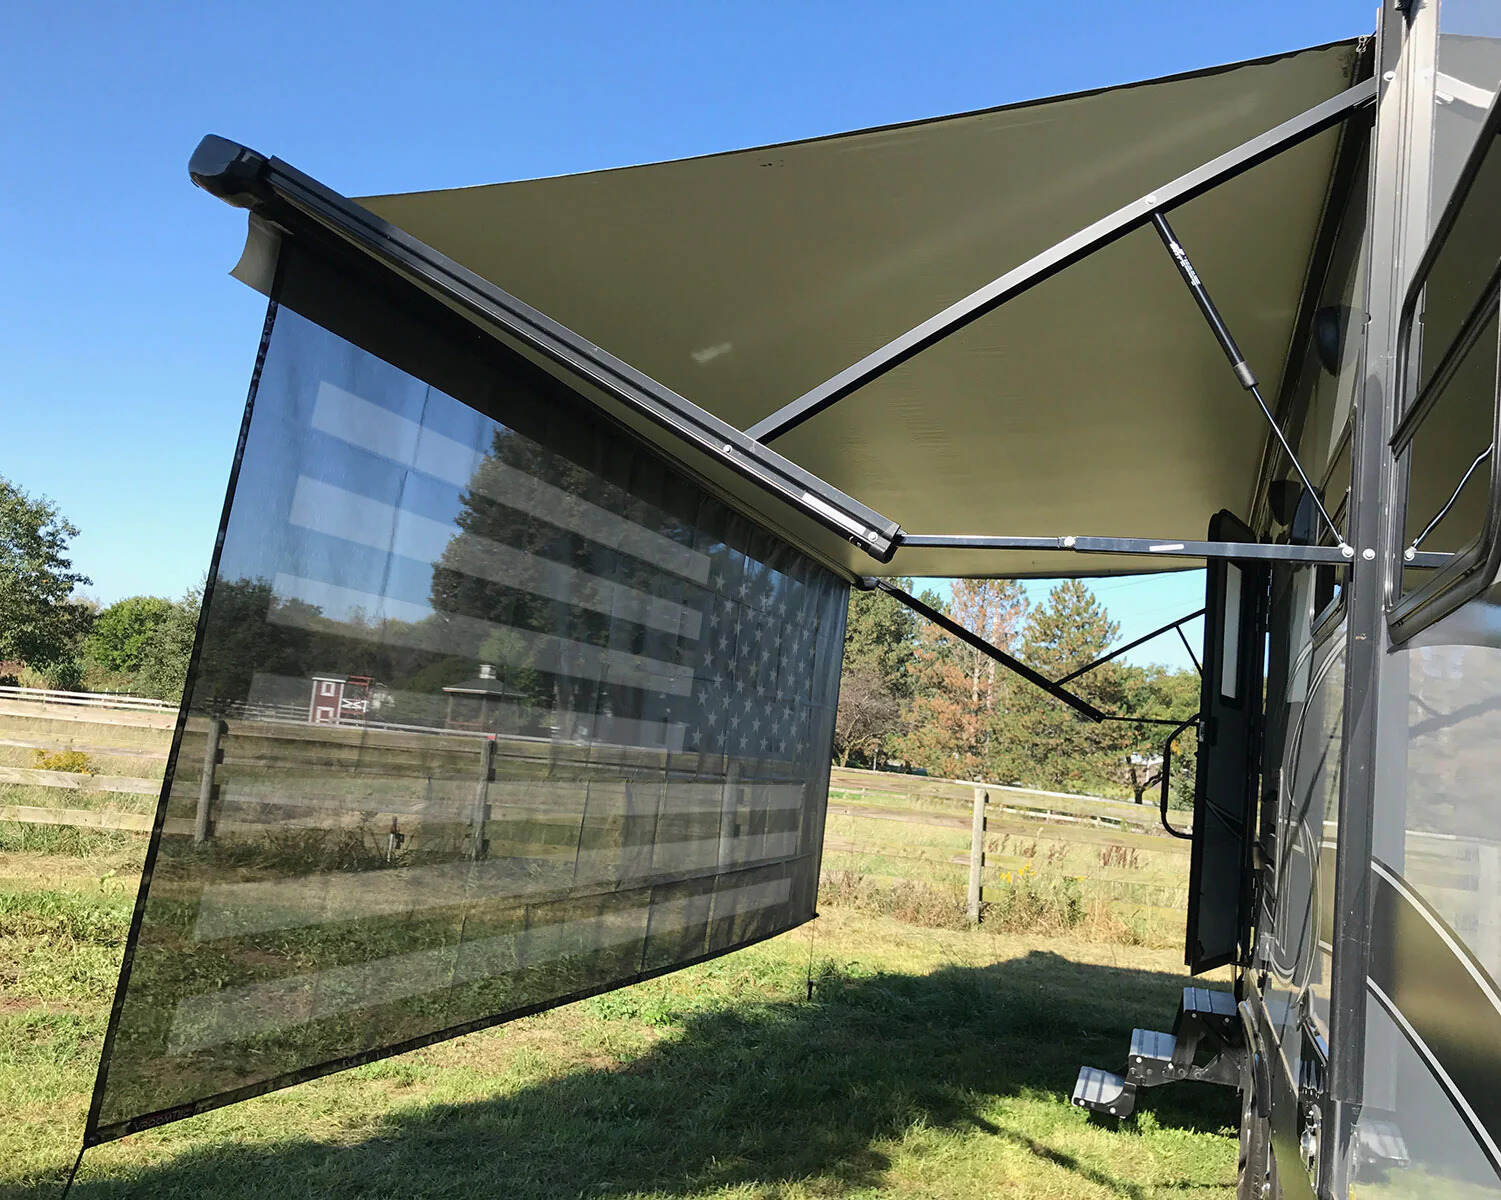
Step 3: Install the new awning
With the old awning successfully removed, it's time to embark on the exciting phase of installing the new awning. This step involves meticulous attention to detail and a systematic approach to ensure that the new awning is securely and precisely fitted to your RV. Here's a comprehensive guide on how to install the new awning:
-
Prepare the Installation Area: Before proceeding with the installation, thoroughly clean and inspect the area where the new awning will be mounted. Remove any debris, old sealant, or remnants from the previous awning to ensure a clean and smooth surface for the installation.
-
Attach the Fabric to the Roller Tube: Begin by attaching the fabric of the new awning to the roller tube. Depending on the specific design of the awning, this may involve sliding the fabric into the groove of the roller tube and securing it in place using the provided mechanisms or fasteners. Take care to align the fabric evenly and smoothly along the length of the roller tube.
-
Mount the Roller Tube: With the fabric securely attached, carefully raise the roller tube into position against the RV. Align the roller tube with the mounting brackets or clamps, ensuring that it is level and properly positioned. Once aligned, proceed to secure the roller tube to the RV using the appropriate mounting hardware, such as screws or bolts. Tighten the fasteners securely to ensure the roller tube is firmly affixed to the RV.
-
Install the Awning Arms: Next, attach the awning arms to the RV by securing them in place with the provided bolts or screws. Ensure that the arms are positioned symmetrically and extend smoothly without any obstructions. Depending on the design of the awning, you may need to adjust the tension settings to achieve the desired extension and retraction functionality.
-
Apply Sealant: To prevent water infiltration and ensure a watertight seal, carefully apply a high-quality sealant around the base of the mounting brackets and any areas where the awning components interface with the RV. This step is crucial for safeguarding against leaks and enhancing the longevity of the installation.
-
Test the Awning: Once the new awning is securely installed, perform a thorough functionality test. Extend and retract the awning several times to verify smooth operation and check for any signs of binding or irregular movement. Additionally, inspect the sealant to ensure that it forms a tight and effective barrier against moisture.
By following these detailed steps, you can successfully install the new awning on your RV, elevating its functionality and aesthetic appeal. With the installation complete, you're now ready to move on to the final step: testing the new awning to ensure proper functionality.
When replacing an RV awning, be sure to measure the existing awning carefully to ensure you purchase the correct size. It’s also important to follow the manufacturer’s instructions for installation to ensure it is done correctly and safely.
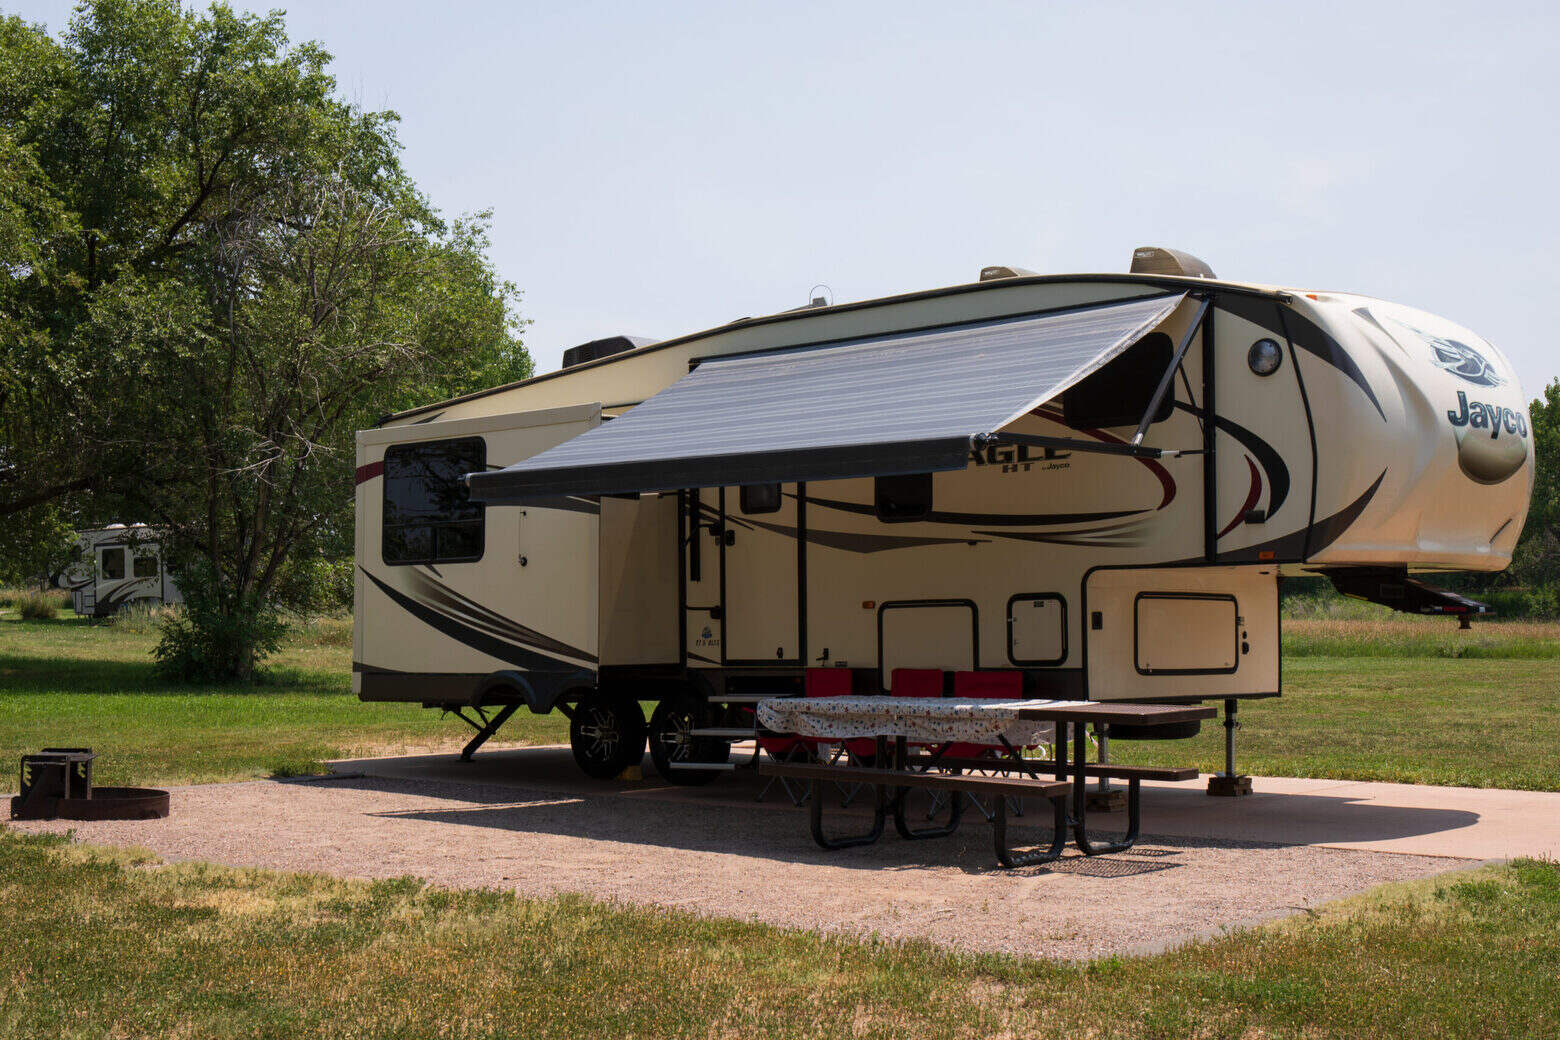
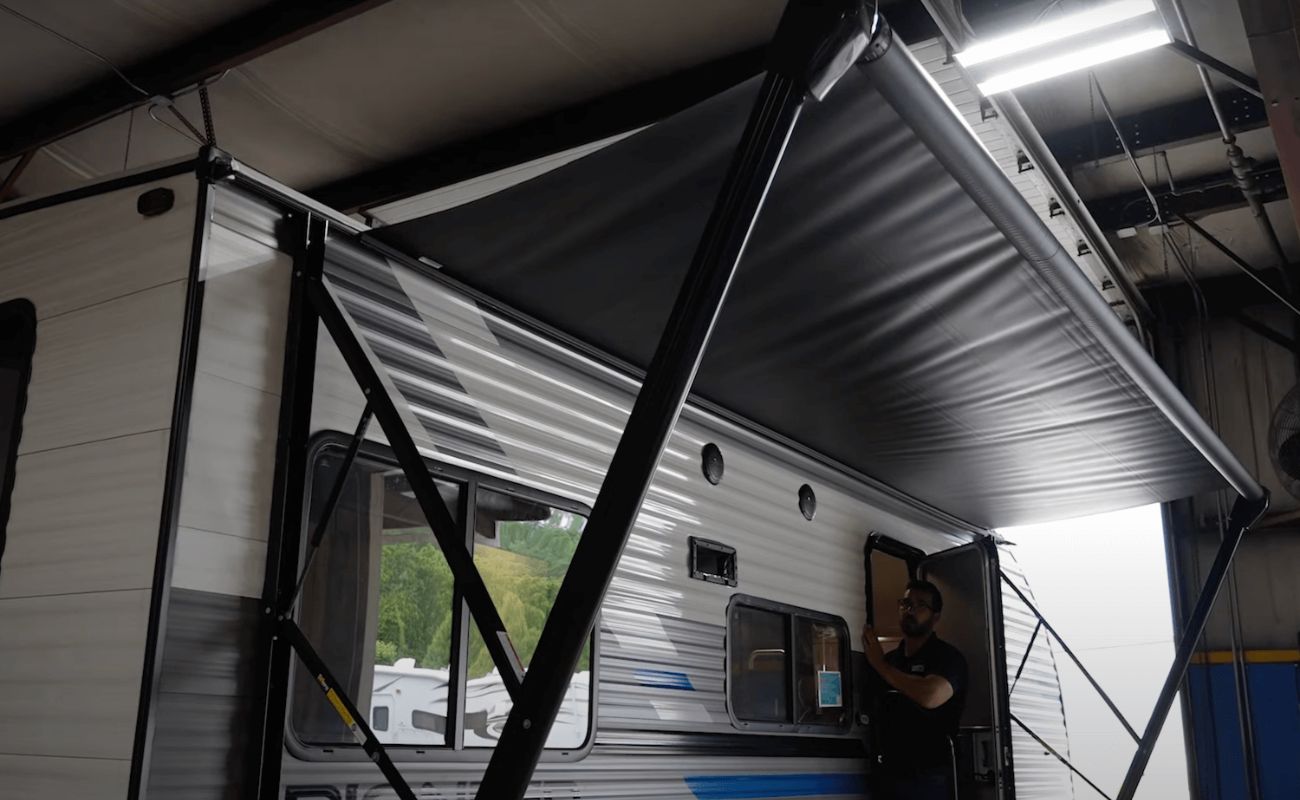
Step 4: Test the new awning
With the new awning securely installed on your RV, it's crucial to conduct a comprehensive testing process to ensure that it functions as intended and delivers the expected performance. Testing the new awning will not only verify its operational efficiency but also provide an opportunity to identify and address any potential issues before hitting the road for your next adventure. Here's a detailed guide on how to test the new awning:
-
Operational Testing: Begin by extending the new awning to its full length, allowing it to lock into position. Observe the extension process closely, ensuring that the movement is smooth and free from any unusual sounds or resistance. Similarly, retract the awning fully and verify that it retracts seamlessly without any binding or irregularities. Pay attention to the alignment and tension of the fabric as it extends and retracts, ensuring that it remains taut and even throughout the process.
-
Wind Resistance: Test the awning's resilience against light to moderate wind conditions. While the awning is extended, introduce gentle airflow to simulate typical outdoor conditions. Observe how the awning responds to the wind, ensuring that it remains stable and securely anchored to the RV. This test will provide valuable insights into the awning's ability to withstand common outdoor elements and its overall stability during inclement weather.
-
Waterproofing Assessment: If possible, conduct a water resistance test to evaluate the effectiveness of the sealant and the fabric's waterproof properties. Using a gentle water spray or a hose, simulate light rainfall over the extended awning. Observe the behavior of the water on the fabric surface and along the awning's edges, ensuring that no leaks or seepage occur. This test will validate the awning's ability to provide reliable protection against rain and moisture, safeguarding your outdoor living space from the elements.
-
Functional Verification: Test the functionality of any additional features or accessories integrated into the new awning, such as built-in LED lighting or motorized extension mechanisms. Ensure that these features operate smoothly and reliably, enhancing the overall convenience and utility of the awning.
-
Visual Inspection: Conduct a thorough visual inspection of the entire awning assembly, checking for any signs of misalignment, loose fasteners, or irregularities. Verify that the fabric is securely attached to the roller tube and that all components are in their proper positions. Additionally, inspect the sealant application to confirm that it forms a tight and uniform seal around the mounting brackets and attachment points.
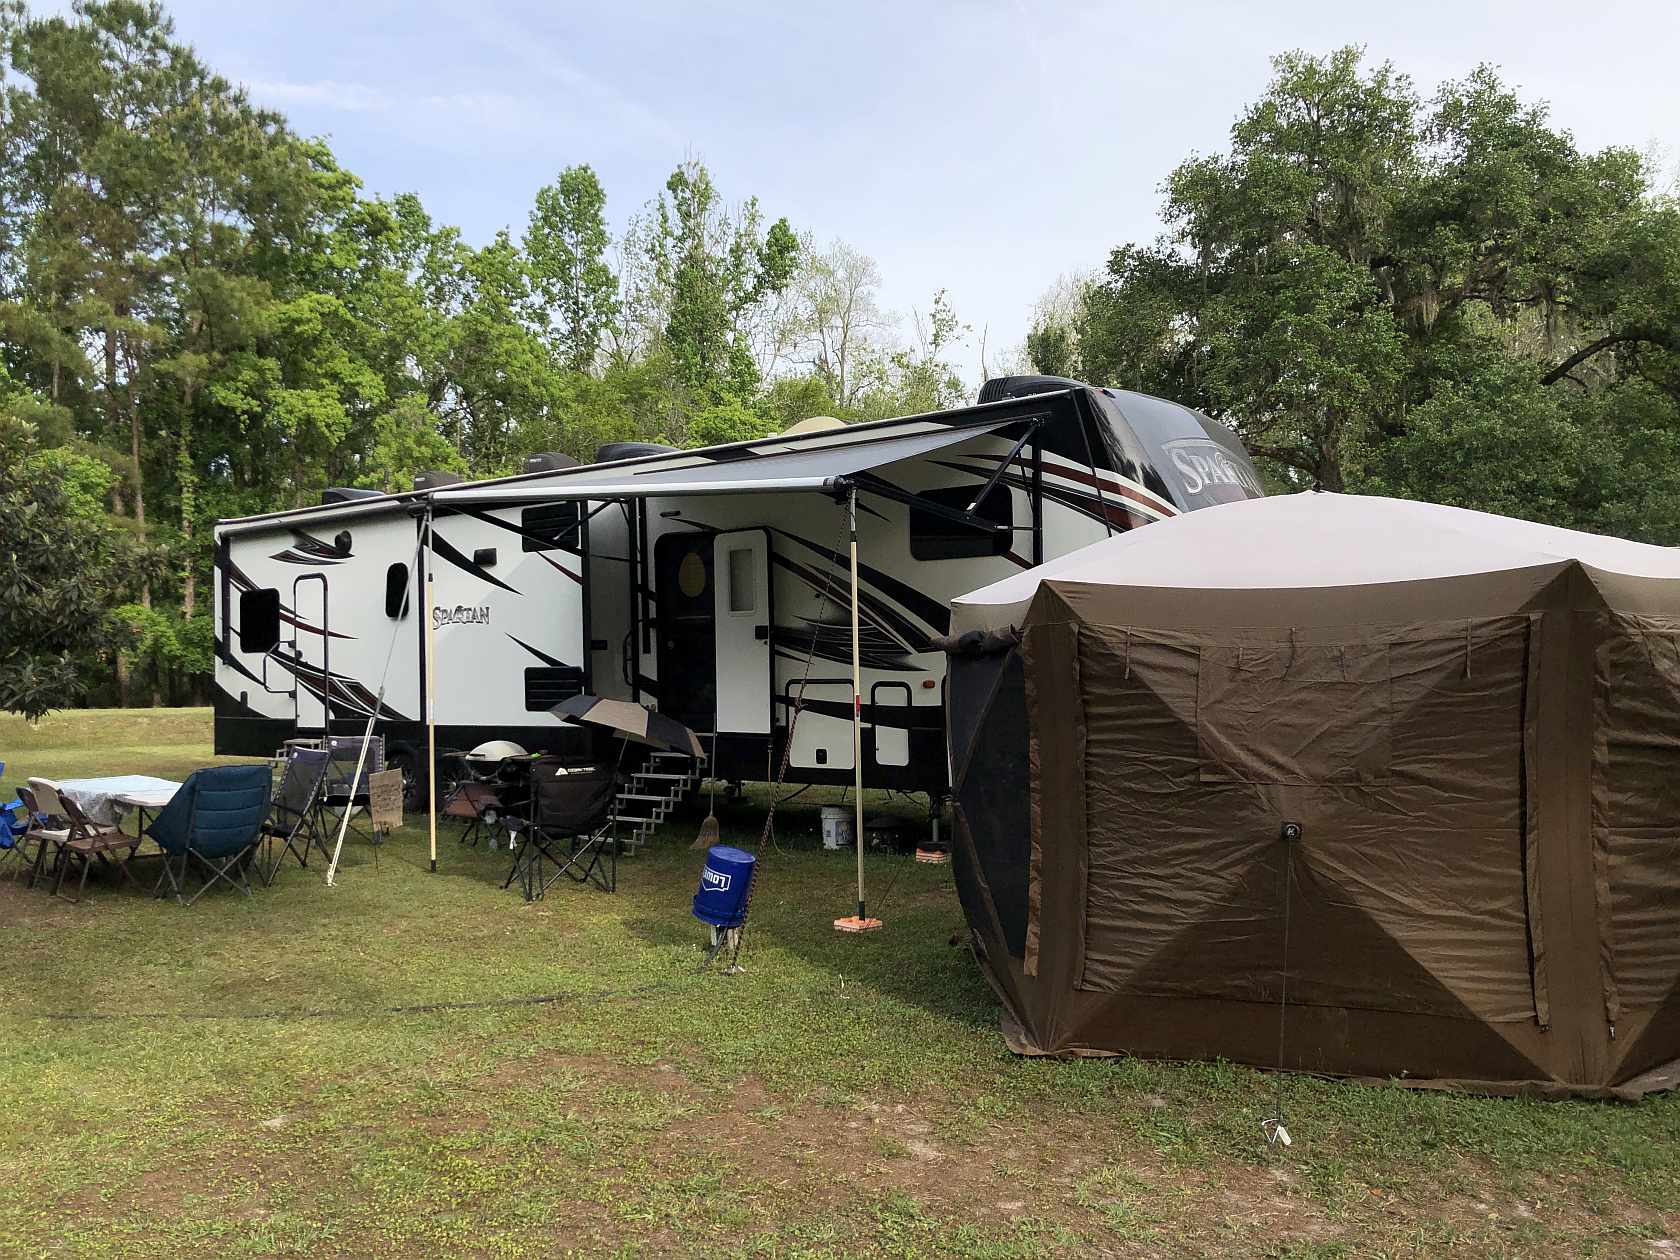
By meticulously testing the new awning using these comprehensive methods, you can gain confidence in its performance and durability, ensuring that it enhances your outdoor experiences for years to come. With the testing process successfully completed, you can look forward to enjoying the shade, comfort, and protection provided by your brand-new RV awning.
Conclusion
Congratulations on successfully replacing the awning on your RV! By following the step-by-step process outlined in this guide, you've not only revitalized your outdoor living space but also equipped your recreational vehicle with a durable and functional awning that will enhance your camping experiences for years to come.
The journey of replacing an RV awning is a testament to the rewarding nature of DIY projects. From gathering the necessary tools and materials to carefully removing the old awning, installing the new one, and conducting comprehensive testing, you've demonstrated patience, attention to detail, and a can-do spirit throughout the entire process.
As you reflect on this accomplishment, take pride in the fact that you've not only mastered a valuable skill but also gained a deeper understanding of your RV's components and functionality. The hands-on experience of replacing the awning has empowered you to take proactive measures in maintaining and improving your RV, setting the stage for future DIY endeavors.
Furthermore, the successful replacement of your RV awning has undoubtedly elevated the aesthetics and functionality of your outdoor space. Whether you're seeking shade on a sunny day, shelter from unexpected rain showers, or simply a cozy spot to relax and unwind, your new awning stands ready to enhance your camping adventures and create lasting memories with family and friends.
As you prepare for your next journey, rest assured that your RV is equipped with a reliable and meticulously installed awning, providing a versatile and comfortable outdoor retreat wherever your travels may take you. With the satisfaction of a job well done and the anticipation of future outdoor escapades, you're now poised to make the most of your RV's enhanced amenities and enjoy the great outdoors to the fullest.
So, as you embark on your next camping trip, take a moment to appreciate the transformation you've brought to your RV with the installation of a new awning. Embrace the comfort, convenience, and style it brings to your outdoor adventures, knowing that you've successfully completed a significant upgrade that will enrich your camping experiences for years to come. Happy camping!
Frequently Asked Questions about How To Replace An RV Awning
Was this page helpful?
At Storables.com, we guarantee accurate and reliable information. Our content, validated by Expert Board Contributors, is crafted following stringent Editorial Policies. We're committed to providing you with well-researched, expert-backed insights for all your informational needs.


0 thoughts on “How To Replace An RV Awning”