Home>Furniture>Outdoor Furniture>How To Build Patio Paver Stairs
Outdoor Furniture
How To Build Patio Paver Stairs
Modified: October 18, 2024
Learn how to build patio paver stairs for your outdoor furniture. Step-by-step guide and tips for creating a sturdy and stylish staircase.
(Many of the links in this article redirect to a specific reviewed product. Your purchase of these products through affiliate links helps to generate commission for Storables.com, at no extra cost. Learn more)
Introduction
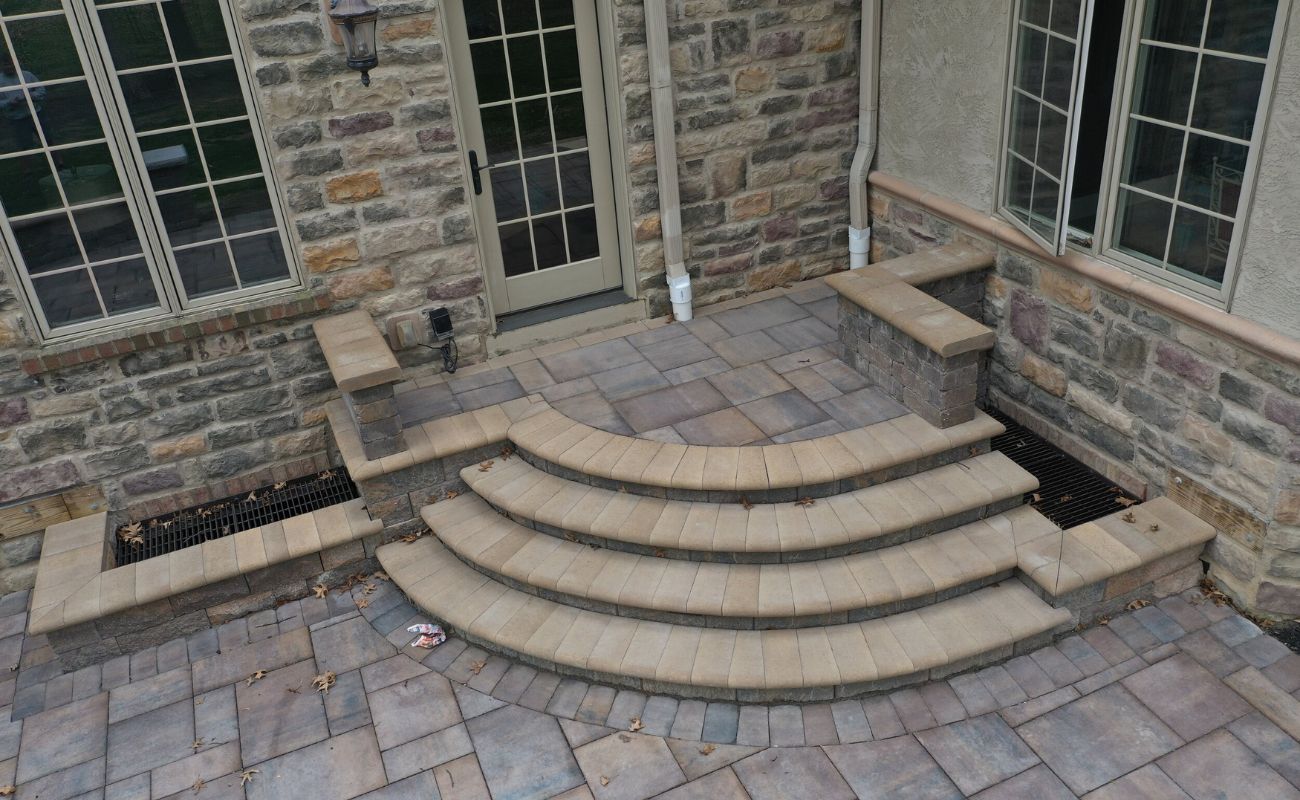
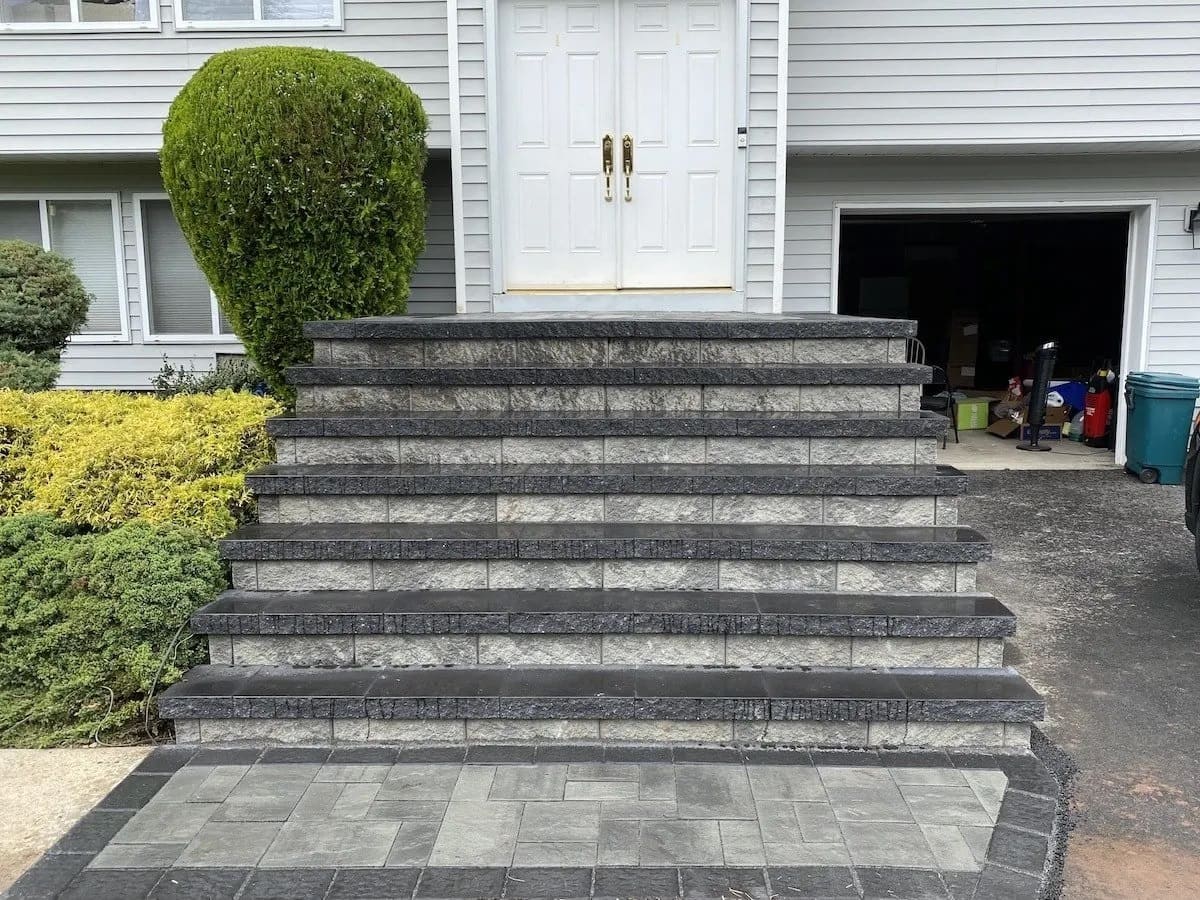
Welcome to our comprehensive guide on how to build patio paver stairs. If you’re looking to enhance your outdoor space with an attractive and functional feature, adding paver stairs is an excellent choice. Not only do they provide easy access to different levels of your patio or landscape, but they also add a touch of elegance to your outdoor area.
Building patio paver stairs may seem like a daunting task, but with the right materials, tools, and guidance, it can be a rewarding DIY project. In this article, we’ll take you through each step of the process, from gathering materials and tools to the finishing touches.
Before we dive into the steps, it’s essential to mention that safety should always be the top priority. Ensure you have the necessary protective gear, such as gloves and safety glasses, and work in a well-ventilated area. Now, let’s get started on creating your beautiful patio paver stairs!
Key Takeaways:
- Building patio paver stairs is a rewarding DIY project that adds elegance and functionality to your outdoor space. With the right materials and tools, you can create a stunning staircase to access different levels of your patio or landscape.
- Safety, precision, and attention to detail are crucial when building patio paver stairs. From gathering materials to adding finishing touches, following the step-by-step guide will help you create a durable and visually appealing outdoor feature.
Read more: How To Build A Raised Paver Patio
Step 1: Gather Materials and Tools
The first step in building patio paver stairs is gathering all the necessary materials and tools. Having everything ready before you begin will save you time and make the process smoother. Here is a list of the materials and tools you will need:
Materials:
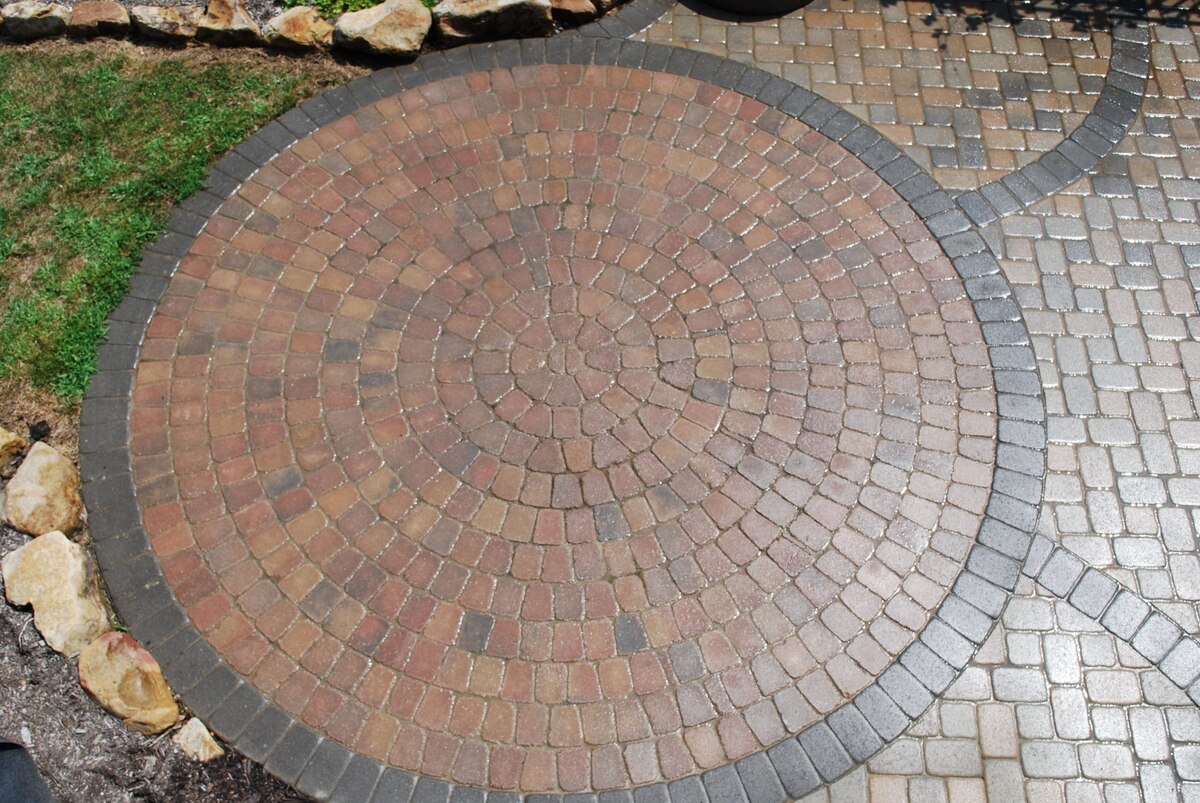
- Paver stones: Choose paver stones that match the style and size you desire for your stairs.
- Gravel: This will be used as a base for your stairs to provide stability.
- Sand: You’ll need sand to create a level surface and fill gaps between the paver stones.
- Concrete adhesive: This will help secure the paver stones in place.
- Edging: Edging materials such as plastic or metal strips will help contain the pavers and keep them in place.
Tools:
- Tape measure: You’ll need this to measure and mark the dimensions of your stairs.
- Shovel: A shovel will be used to clear the area and remove any grass or debris.
- Rake: A rake will help level the ground and spread the gravel and sand.
- Rubber mallet: This will be used to gently tap the paver stones into place.
- Trowel: A trowel is essential for applying the concrete adhesive and smoothing the sand.
- Level: This tool is crucial for ensuring your stairs are even and straight.
- Broom: You’ll need a broom to sweep away excess sand and debris.
Make sure to gather all the materials and tools before you start the project. It’s also a good idea to double-check the measurements and specifications of your stairs to ensure you have the correct amount of materials.
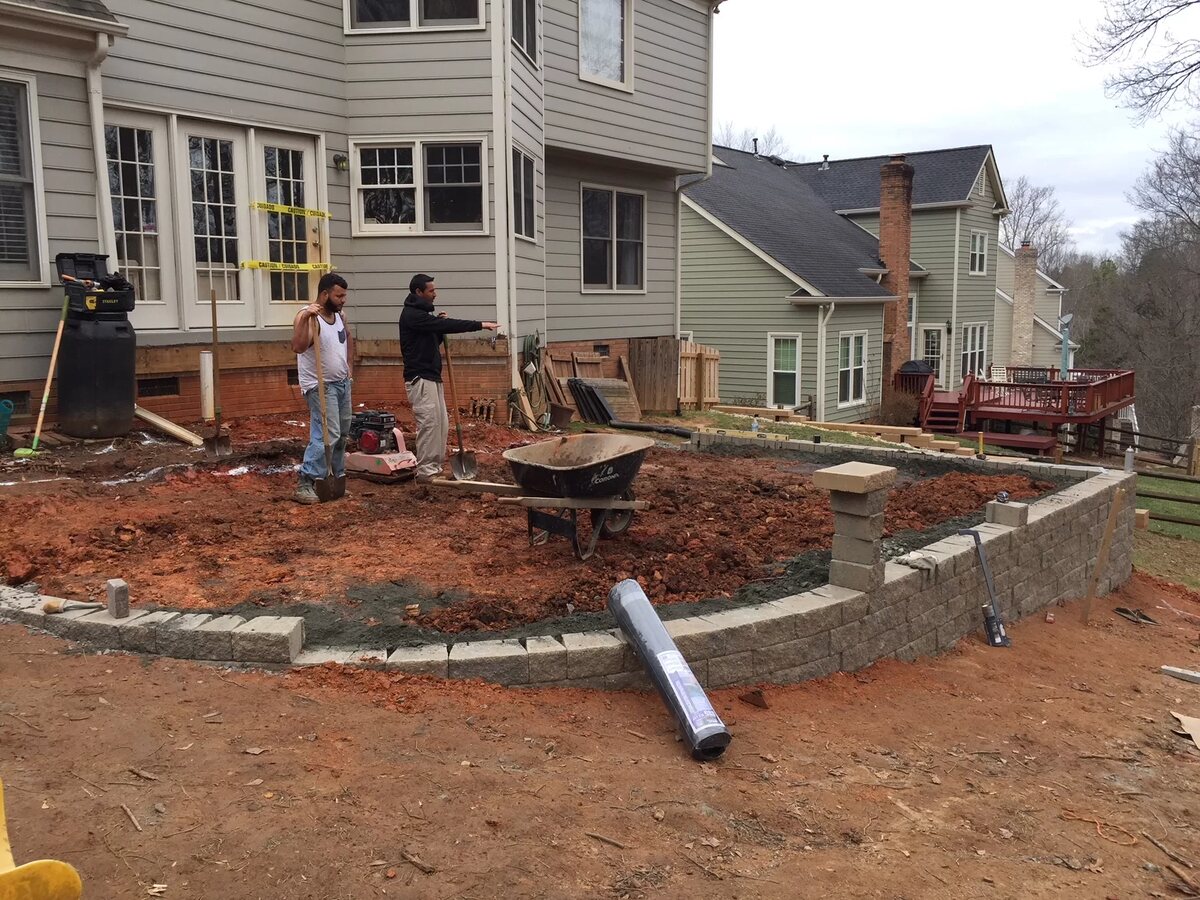
Step 2: Prepare the Area
Once you have gathered all the materials and tools, the next step is to prepare the area where you will be building your patio paver stairs. This involves clearing the space and leveling the ground to provide a stable foundation for your stairs.
Clearing the Space:
Start by removing any plants, grass, or debris from the area where you will be constructing your stairs. Use a shovel to dig up any existing vegetation, and ensure that the area is completely clear. It’s essential to have a clean and level surface for your stairs to ensure stability and longevity.
Leveling the Ground:
Using a rake, level the ground in the area where you will be building your stairs. Remove any rocks or uneven patches and create a smooth surface. It’s crucial to have a level ground to prevent any issues with the stability and alignment of your stairs.
If your ground is not naturally level, you may need to make adjustments by adding or removing soil. Use a level tool to check the ground at various points and ensure it is even. Take your time with this step, as the accuracy of the leveling will directly impact the outcome of your project.
Once you have cleared the space and leveled the ground, you are now ready to move on to the next step of building your patio paver stairs.
Step 3: Build the Base
With the area prepared and leveled, it’s time to move on to building the base for your patio paver stairs. A solid foundation is crucial to ensure the stability and longevity of your stairs. This step involves installing the foundation and adding layers of gravel and sand to create a stable base for the paver stones.
Installing the Foundation:
Begin by outlining the shape and dimensions of your stairs using stakes and string. This will act as a guide as you build the foundation. Dig a trench along the markings, ensuring it is deep enough to accommodate the desired depth of your paver stones and the layers of gravel and sand.
Next, install a landscape fabric or geotextile membrane in the trench. This will help prevent weed growth and provide additional stability to your stairs.
Adding Gravel and Sand:
Start by adding a layer of gravel to the trench. Use a rake to spread it evenly, ensuring a depth of about 2-3 inches. Compact the gravel with a hand tamper or plate compactor to create a firm and stable base.
Following the layer of gravel, add a layer of sand on top. Again, use a rake to level it and ensure an even depth of about 1 inch. Once the sand is in place, use a board or screed to create a smooth and level surface.
Double-check the levelness and alignment of the sand using a level tool. It’s important to achieve a uniform and level base to ensure that your paver stairs sit properly.
With the base in place, you have now created a stable foundation for your patio paver stairs. The next step is to lay the paver stones on top of the prepared base.
When building patio paver stairs, make sure to properly compact the base material to prevent settling. Use a level to ensure each paver is even and secure.
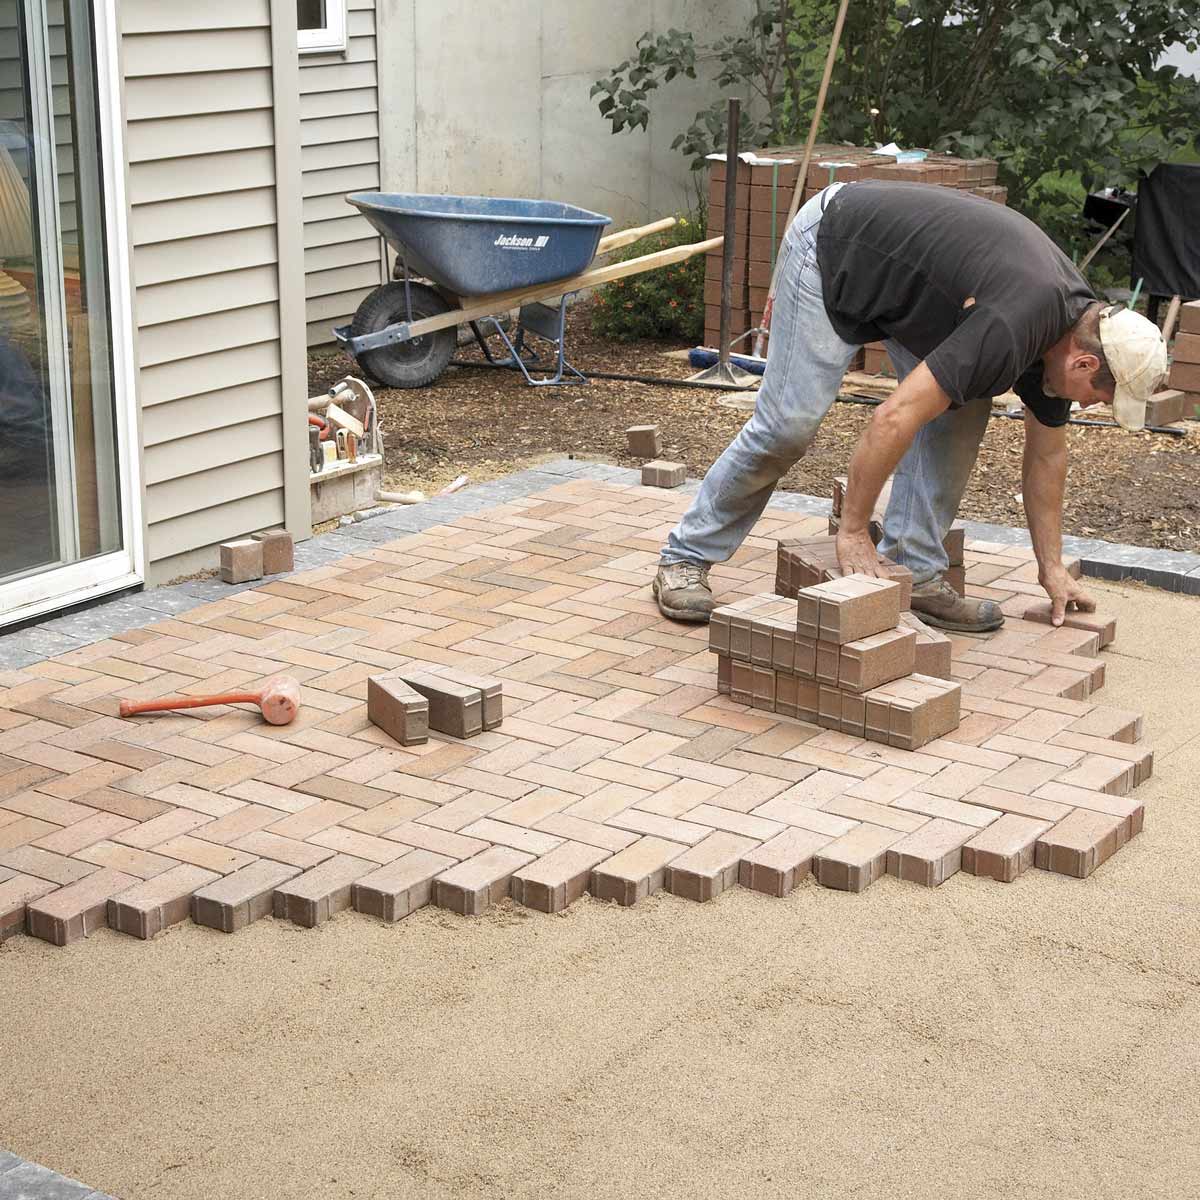
Step 4: Lay the Paver Steps
Now that you have built the base, it’s time to lay the paver steps for your patio. This step involves measuring and marking the steps and then placing the paver stones in the desired pattern and alignment.
Measuring and Marking the Steps:
Start by measuring the dimensions of each step using a tape measure. Determine the width and depth of each step, ensuring that they are consistent throughout the staircase. Mark these measurements on the surface of the sand using chalk or a marker.
Next, mark the locations for the first and last steps, as well as any intermediate steps, based on your design and desired spacing. Use a string and stakes to create guidelines and ensure that the steps are straight and aligned.
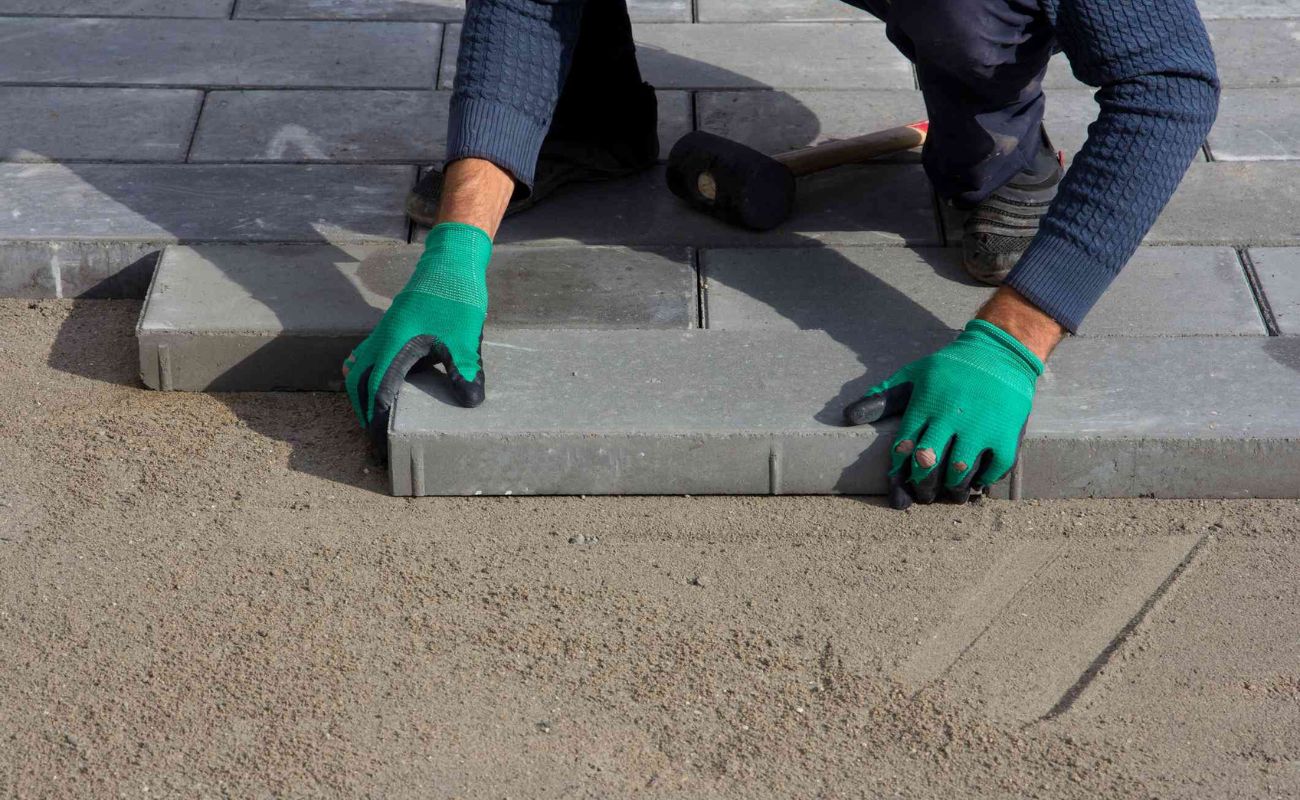
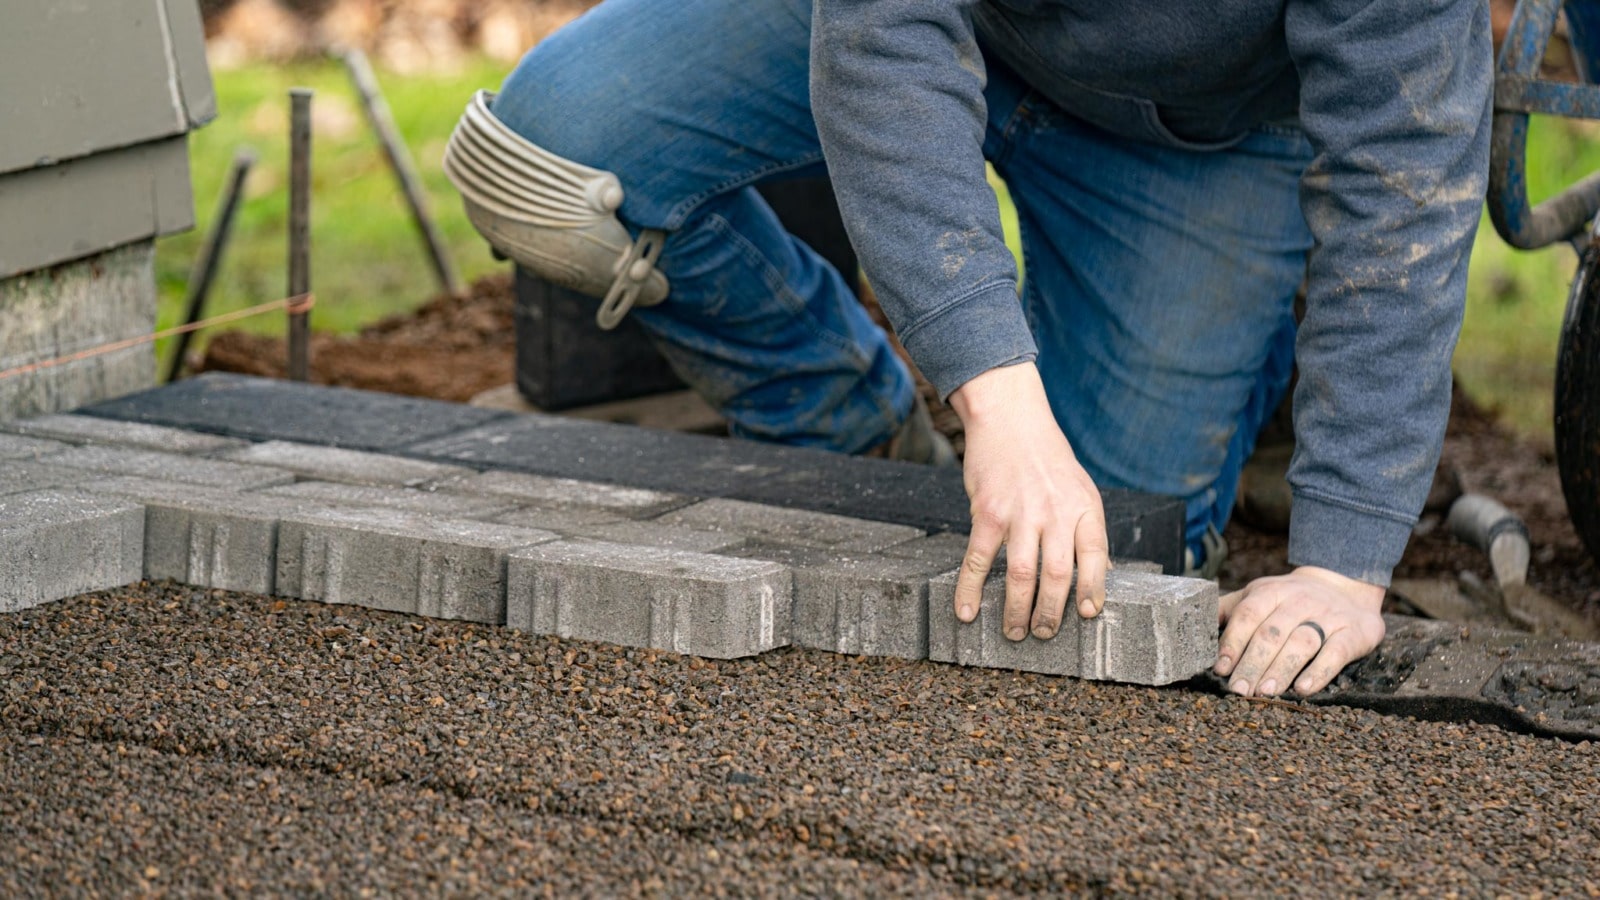
Placing the Pavers:
Begin by placing the first paver stone at the bottom of the staircase. Gently press it into the sand, making sure it is level with the adjacent step and aligned with the guidelines you created.
Continue placing the paver stones one by one, ensuring that they are tightly fitted and snugly aligned. Leave a small space, around 1/8 inch, between each stone to allow for proper drainage and movement.
As you lay the pavers, periodically check for levelness and alignment using a level tool. Adjust the sand beneath the stones if necessary to achieve a smooth and even surface.
If needed, you can cut paver stones to fit any specific dimensions or angles using a masonry or wet saw. Follow the manufacturer’s instructions and take all necessary safety precautions when using power tools.
Repeat this process for each step until you reach the top of the staircase, ensuring that the pavers are securely in place and properly aligned.
Congratulations! You have now successfully laid the paver steps for your patio staircase. The next step is to secure the steps in place to ensure their long-lasting stability.
Read more: How To Build Patio Steps From Pavers
Step 5: Secure the Steps
Now that you have laid the paver steps, it’s time to secure them in place to ensure they stay sturdy and durable over time. This step involves applying adhesive and installing edging to reinforce the stability of your patio stairs.
Applying Adhesive:
Start by applying concrete adhesive to the underside of each paver stone. Follow the manufacturer’s instructions on the adhesive product for the specific application method. Typically, you will need to apply a generous amount of adhesive to ensure a strong bond.
Press each paver stone firmly onto the surface of the sand and wiggle it slightly to help the adhesive spread evenly. Make sure the paver is flush with the adjacent steps and aligns with the guidelines you created during the previous step.
Continue applying adhesive and securing each paver stone until all the steps are bonded firmly to the base.
Installing Edging:
Edging is an important step to enhance the stability and aesthetics of your patio paver stairs. It helps contain the pavers and prevents shifting or displacement over time.
Choose an edging material such as plastic or metal strips that suits your design and preferences. Place the edging along the sides of the staircase, ensuring it is firmly pressed into the ground and aligned with the outer edges of the paver steps.
If required, cut the edging to fit the dimensions of your staircase using a saw or shears. Make sure the edging sits slightly higher than the paver stones to provide a barrier and prevent them from moving out of place.
Secure the edging in place by inserting stakes or anchoring pins into the ground through the pre-drilled holes in the edging material.
Once the adhesive has fully cured and the edging is securely installed, you have successfully secured your paver steps. The next step is to add the finishing touches to complete your beautiful patio paver stairs.
Step 6: Finishing Touches
Congratulations on reaching the final step of building your patio paver stairs! Step 6 involves adding the finishing touches to complete the project and ensure that your stairs are visually appealing and structurally sound.
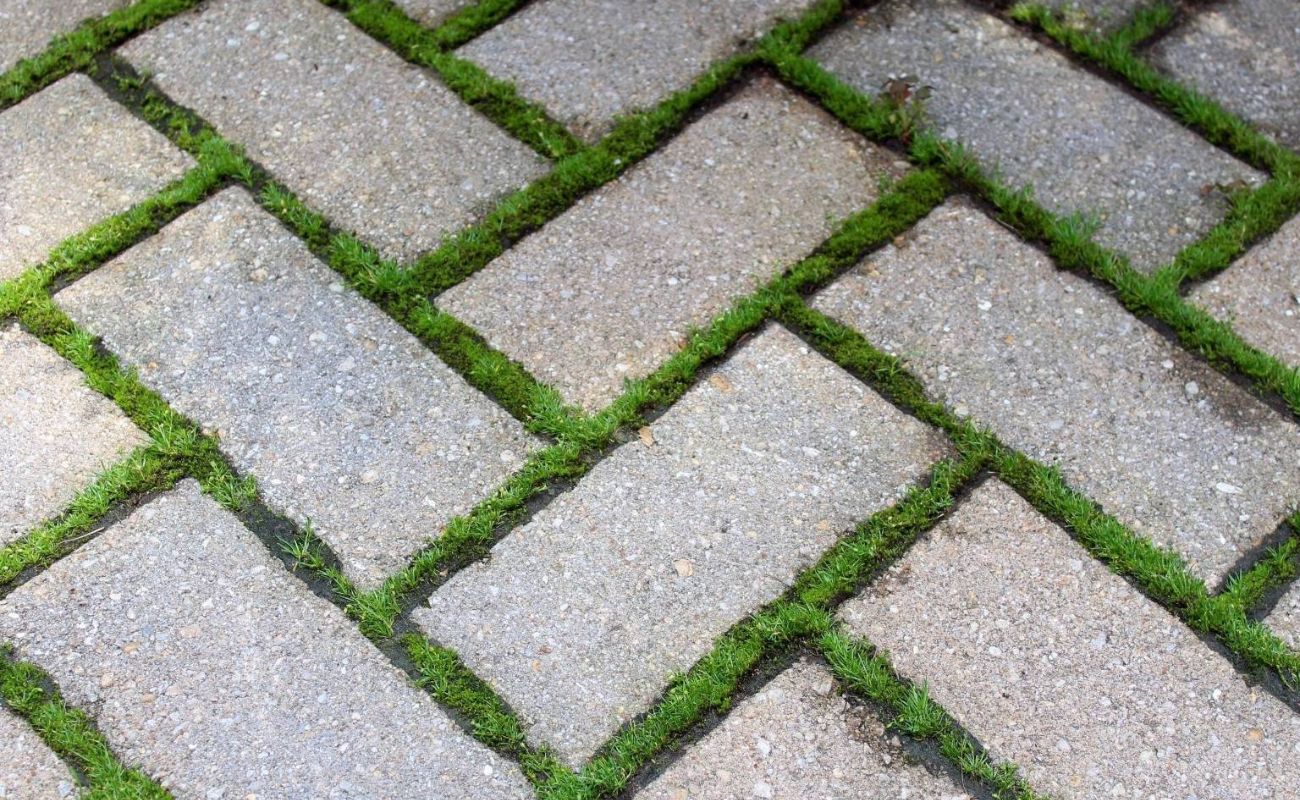
Filling Gaps with Sand:
Start by filling the gaps between the paver stones with sand. Spread the sand evenly over the entire staircase using a broom or a brush, ensuring that it fills all the spaces between the pavers.
Once the gaps are filled, use a plate compactor or a hand tamper to gently compact the sand. This will help stabilize the paver stones and ensure that they are securely in place.
After compacting the sand, add more sand to the gaps and sweep it across the surface with a broom. Continue this process until all the gaps are filled, and the sand is level with the tops of the paver stones.
Compact and Level the Steps:
To ensure the overall stability of your patio paver stairs, use a plate compactor or a hand tamper to compact the entire staircase. Start from the top and work your way down, applying even pressure to the paver stones.
After compacting, check the levelness of each step using a level tool. If any steps are uneven, use a rubber mallet to gently tap them into place until they are level and aligned with the adjacent steps.
Finally, clean the surface of your patio paver stairs by sweeping away any excess sand or debris. This will give your staircase a polished and finished look.
And voila! You have successfully completed the construction of your patio paver stairs. Take some time to admire your handiwork and enjoy the beautiful addition to your outdoor space.
Remember to regularly maintain your paver stairs by cleaning them and inspecting for any signs of damage or displacement. By doing so, you can ensure the longevity and durability of your stairs for years to come.
Thank you for following our guide on how to build patio paver stairs. We hope you found this information helpful, and we wish you the best of luck with your outdoor project!
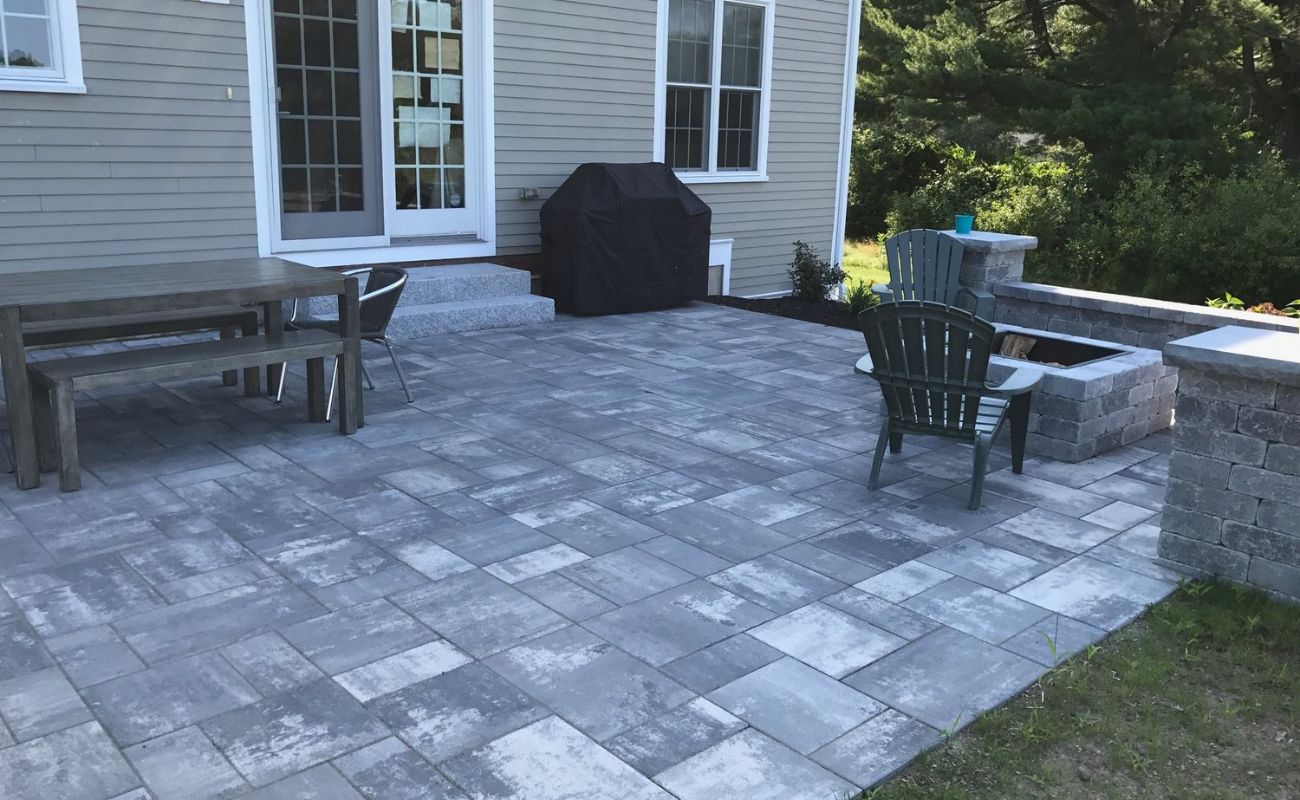
Conclusion
Building patio paver stairs can transform your outdoor space, adding both functionality and visual appeal. By following the step-by-step guide we have provided, you have learned how to create a stunning staircase that will enhance the beauty of your patio or landscape.
Throughout this process, we covered gathering the necessary materials and tools, preparing the area by clearing and leveling the ground, building a solid base with gravel and sand, laying the paver steps with precision, securing them in place with adhesive and edging, and finally adding the finishing touches.
Remember that safety should always be a priority during construction. Ensure you wear the appropriate protective gear and work in a well-ventilated area. Take your time, pay attention to detail, and follow the manufacturer’s instructions for any materials or tools used.
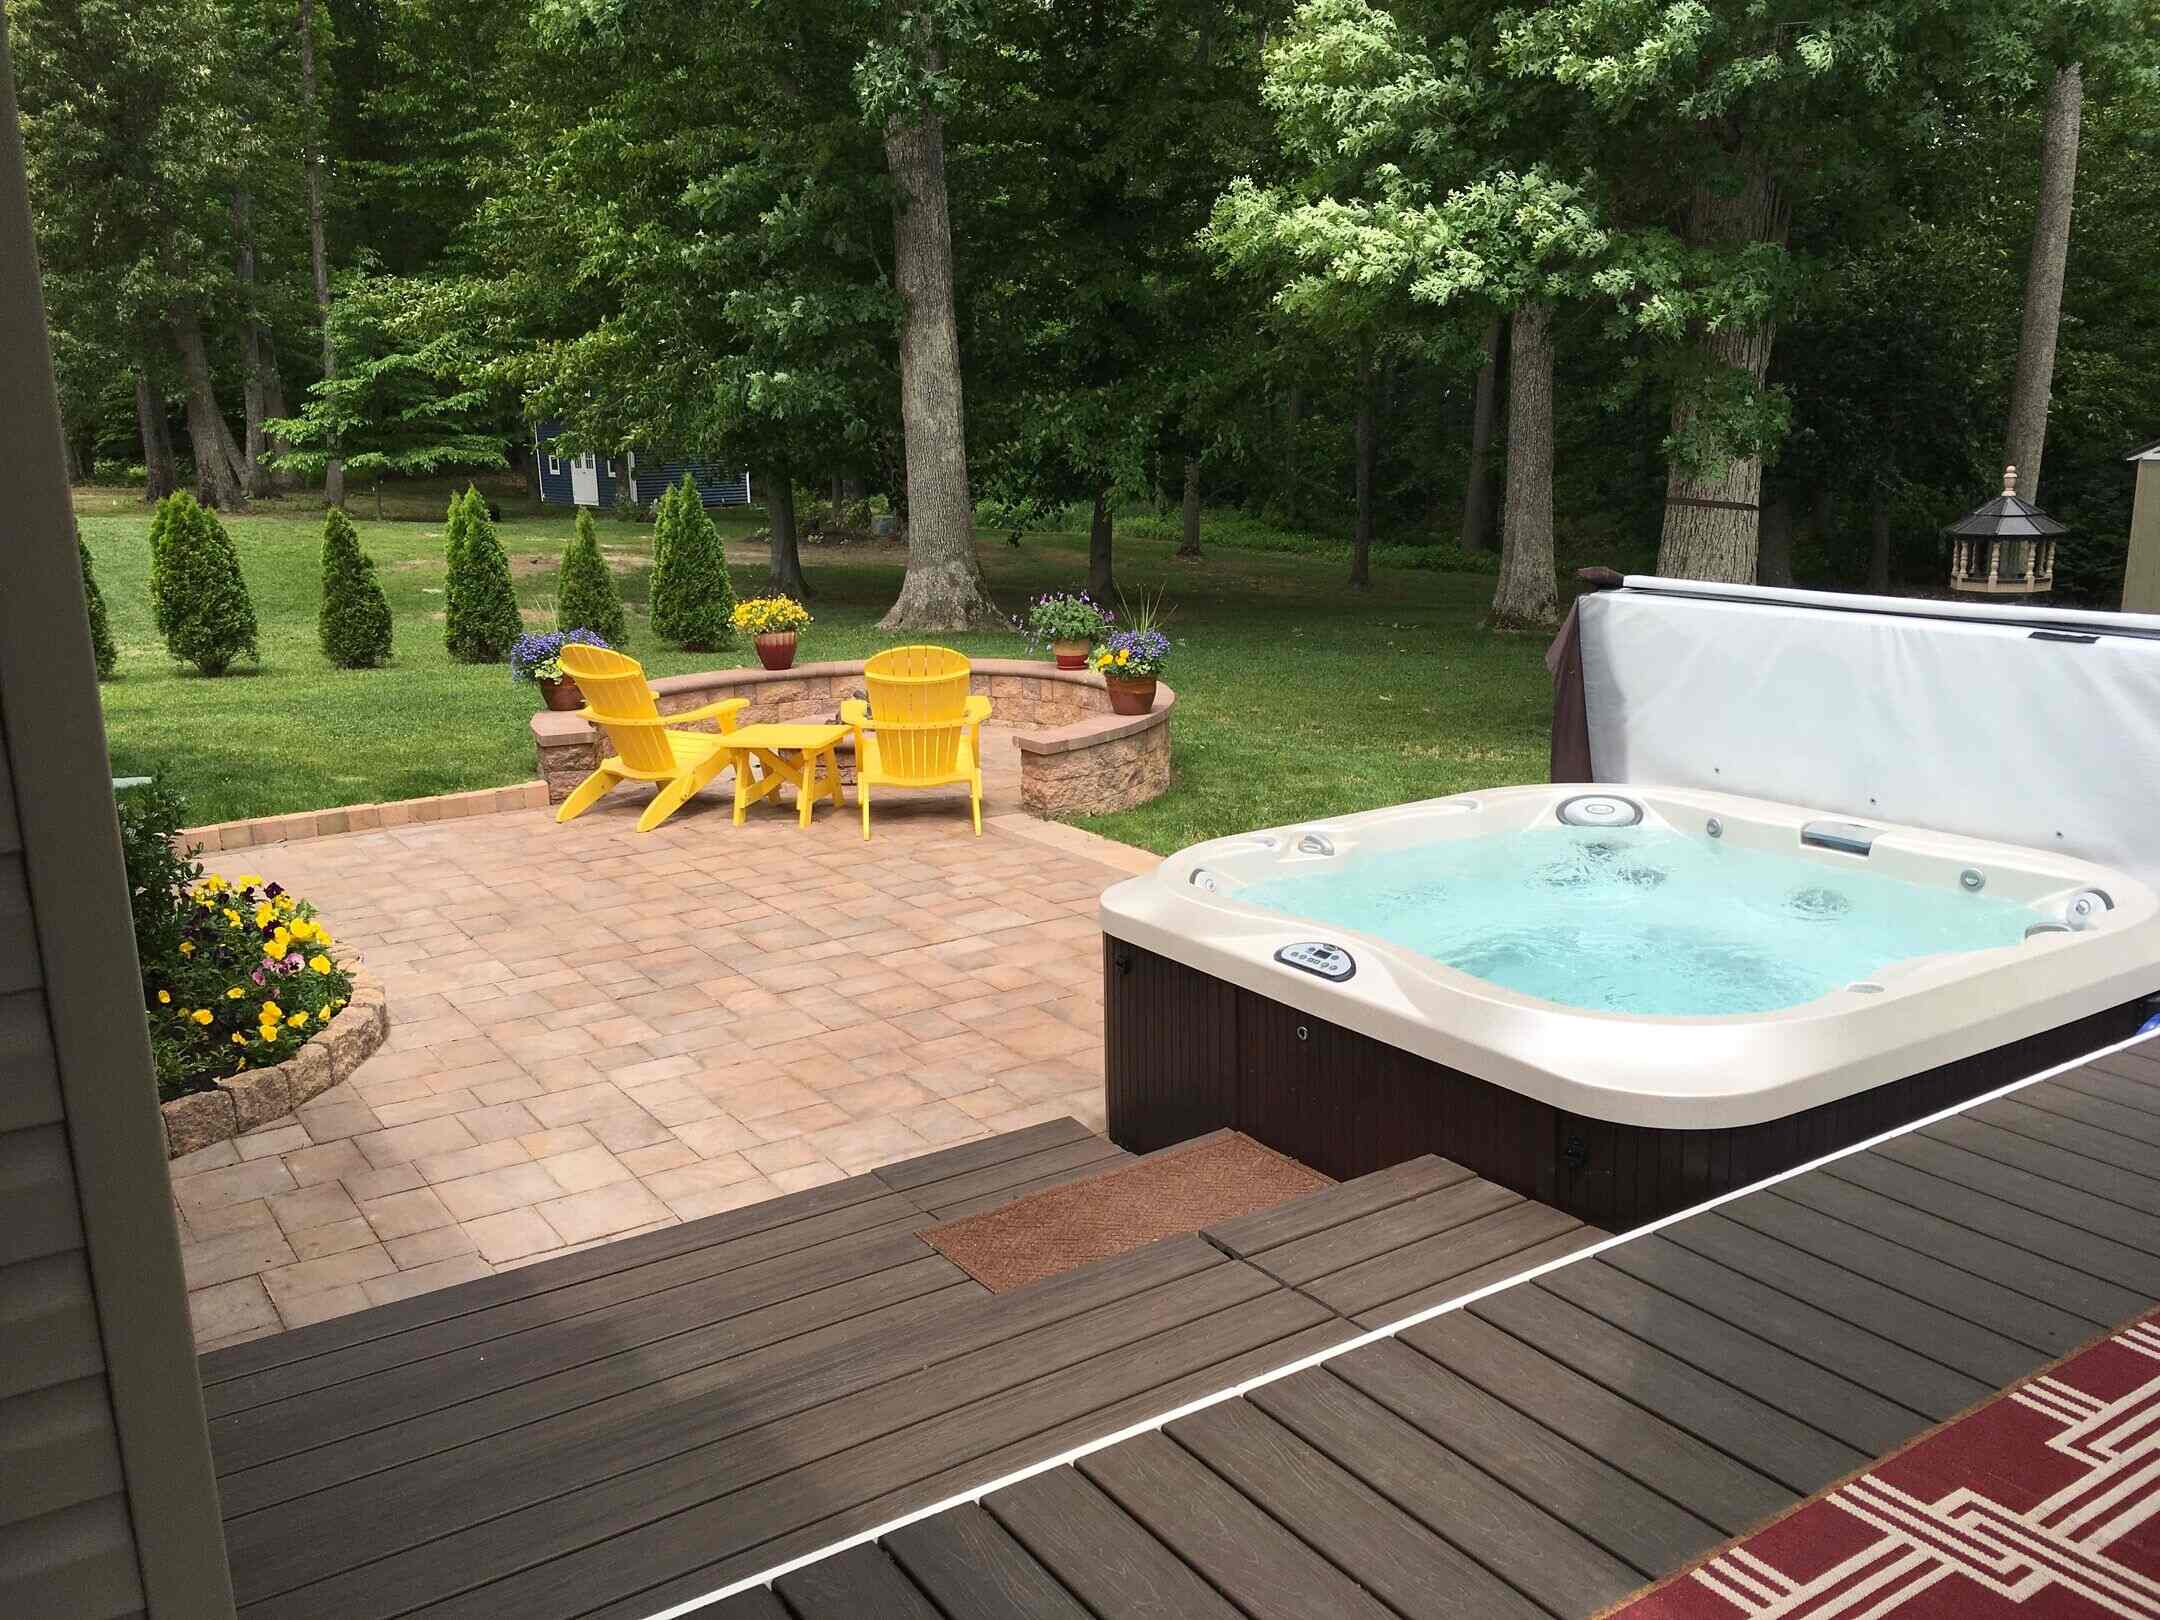
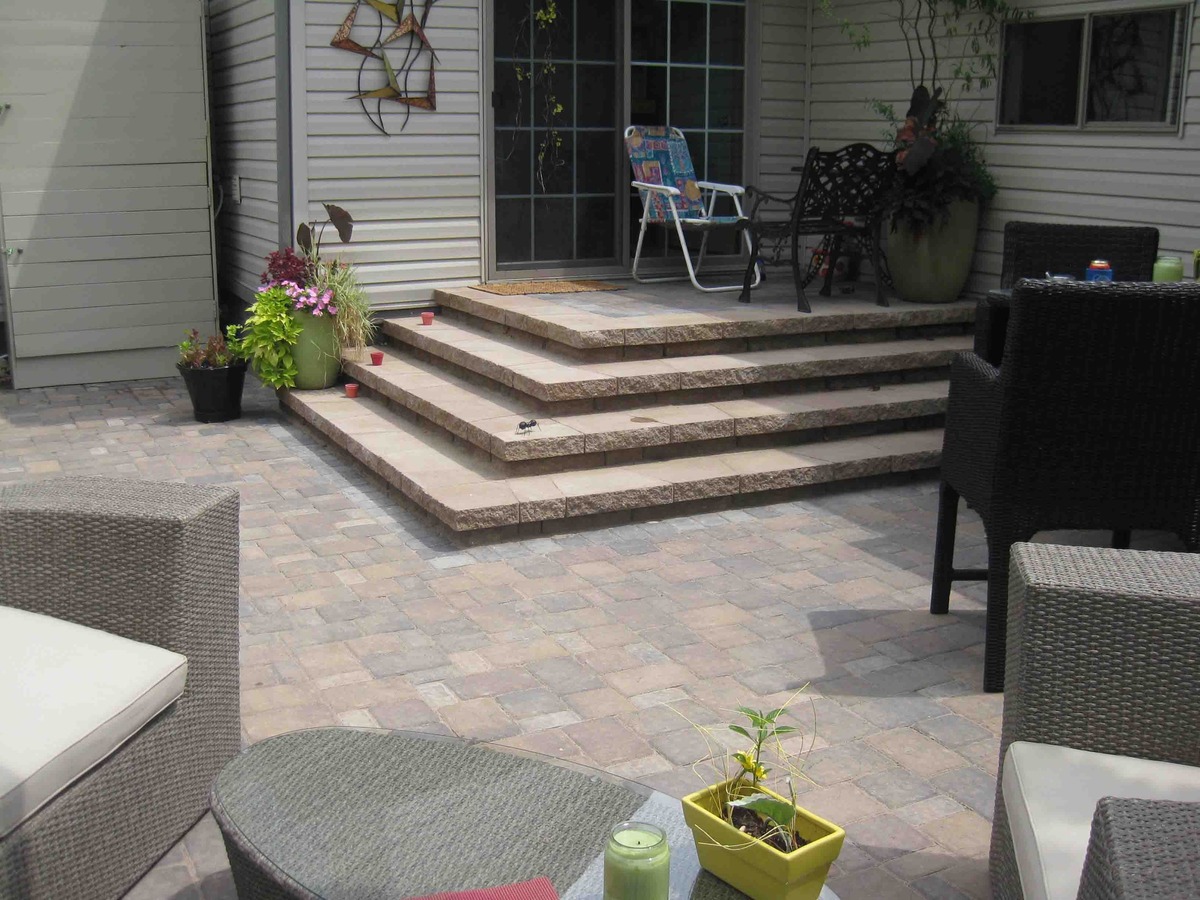
Once your patio paver stairs are complete, you can enjoy a functional and visually appealing outdoor feature. Whether you use them to access different levels of your patio, as a picturesque entrance to your garden, or as a focal point in your landscape design, your new stairs are sure to impress.
Regular maintenance is essential to keep your stairs in top shape. Sweep away debris, inspect for any signs of damage or movement, and reapply sand as needed to fill any gaps. This will ensure the long-term durability and beauty of your patio paver stairs.
We hope that our comprehensive guide has provided you with the knowledge and confidence to take on this exciting DIY project. Building patio paver stairs not only adds value to your property but also allows you to showcase your creativity and craftsmanship.
So, gather your materials, prepare the area, lay the paver steps, secure them in place, add the finishing touches, and enjoy your new outdoor oasis. Happy building!
Frequently Asked Questions about How To Build Patio Paver Stairs
Was this page helpful?
At Storables.com, we guarantee accurate and reliable information. Our content, validated by Expert Board Contributors, is crafted following stringent Editorial Policies. We're committed to providing you with well-researched, expert-backed insights for all your informational needs.


0 thoughts on “How To Build Patio Paver Stairs”