Home>Furniture>Outdoor Furniture>How To Build A Raised Paver Patio
Outdoor Furniture
How To Build A Raised Paver Patio
Modified: March 7, 2024
Learn how to build a stunning raised paver patio for your outdoor furniture. Transform your backyard into a beautiful and functional space today!
(Many of the links in this article redirect to a specific reviewed product. Your purchase of these products through affiliate links helps to generate commission for Storables.com, at no extra cost. Learn more)
Introduction
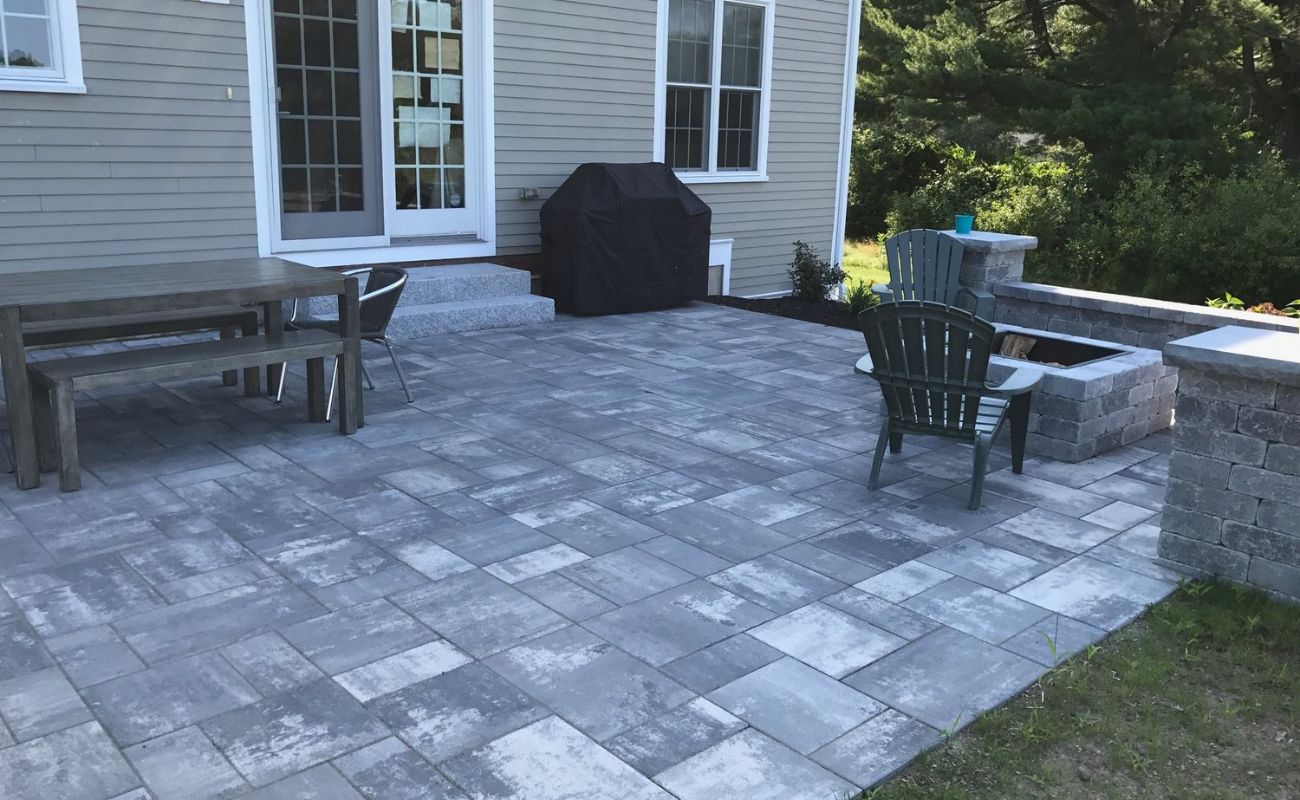
Welcome to the world of outdoor living! Creating a raised paver patio is a fantastic way to transform your outdoor space into a beautiful and functional area for entertaining, dining, or simply enjoying the great outdoors. This versatile project not only adds value to your property, but it also provides a perfect spot to relax and unwind.
Building a raised paver patio may seem like a daunting task, but with proper planning and guidance, it can be a rewarding DIY project. In this article, we will guide you through the step-by-step process of creating a raised paver patio that will surely impress your family and friends.
Before we start, it’s important to note that safety should always be a top priority. Be sure to wear protective gear such as gloves and goggles, and use caution when using tools and equipment. It’s also a good idea to check with your local building codes and regulations before starting any construction project.
Now, let’s dive in and get started on building your dream outdoor space!
Key Takeaways:
- Building a raised paver patio is a fun DIY project that adds value to your home. Plan carefully, gather materials, and follow the steps to create a beautiful outdoor space for relaxation and entertainment.
- From excavation to laying paver stones, each step is crucial for a successful patio. Remember to prioritize safety, maintain your patio, and enjoy the rewarding results of your hard work.
Read more: How To Build A Raised Patio
Step 1: Planning and Preparation
Before you begin building your raised paver patio, it’s important to carefully plan and prepare the area. This step sets the foundation for a successful project and ensures that you create a patio that not only looks great but also functions well.
The first task in the planning phase is choosing the location for your patio. Consider factors such as sunlight exposure, proximity to the house, and the overall layout of your outdoor space. Ideally, you want to select an area that is easily accessible and provides a comfortable and inviting atmosphere.
Once you’ve chosen the location, it’s time to measure and mark the area. Use a measuring tape to determine the dimensions of your patio. Take into account any desired walkways, seating areas, or other features you wish to include. Use stakes and string to mark the corners and outline the shape of your patio.
Before proceeding any further, it’s crucial to check for any utilities or underground obstructions in the area. Contact your local utility companies to have them mark any buried cables, pipes, or other infrastructure that may be present. This step will help you avoid any costly and potentially dangerous accidents during the construction process.
Once you’ve completed the planning and preparation phase, you’re ready to move on to the next step and gather the materials and tools needed for your project.
Step 2: Gathering Materials and Tools
Now that you’ve planned and prepared the area for your raised paver patio, it’s time to gather the necessary materials and tools. Having everything ready before you start will make the construction process smoother and more efficient.
Here are the key items you’ll need:
- Paver stones: Choose pavers that suit your style and preferences. They come in various materials and designs, such as concrete, natural stone, or brick. Consider factors like durability, color, texture, and size when selecting your paver stones.
- Gravel: This serves as the base material for your patio. It provides stability and helps with drainage. Choose a compactable gravel, such as crushed stone or quarry process, which will create a solid foundation for your pavers.
- Sand: You’ll need sand for both the base and the joints between the pavers. Opt for coarse sand that easily compacts and provides adequate stability.
- Edging material: Edging helps define the boundaries of your patio, prevents pavers from shifting, and gives a finished look to your project. Choose a sturdy and durable edging material, such as plastic or metal, that complements the style of your patio.
- Tamper: A tamper is used to compact the base material and ensure a solid foundation for your patio. This tool helps eliminate air pockets and provides stability for the pavers.
- Shovel: You’ll need a shovel for digging the trench, removing soil, and spreading the gravel and sand. Opt for a sturdy shovel with a comfortable grip.
- Level: A level is essential for ensuring that your patio surface is even and properly sloped for drainage. A long, straight level will be useful for accurately checking the base and pavers.
Assemble these materials and tools before you start construction to make the process seamless and efficient. With everything in place, you’re now ready to move on to the next step: excavation.
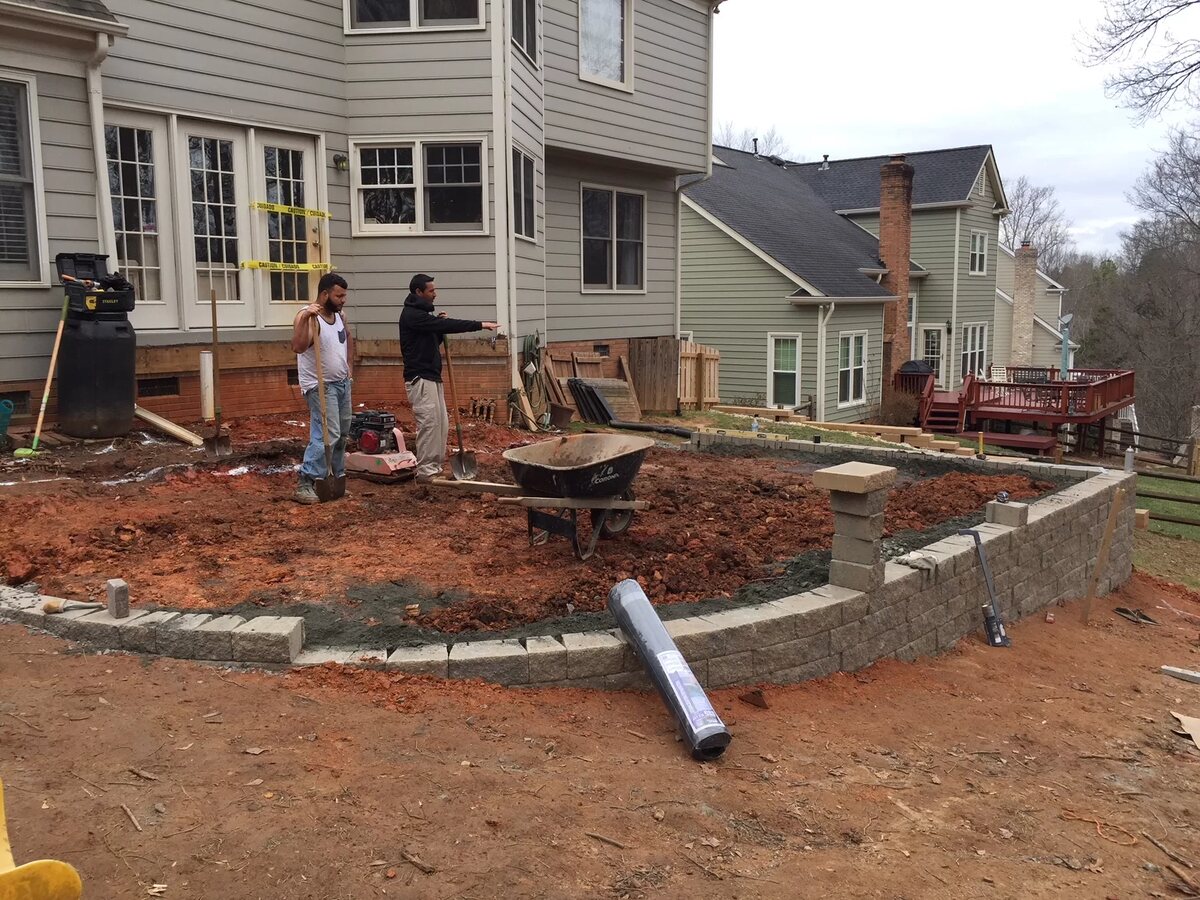
Step 3: Excavation
Excavation is a crucial step in building a raised paver patio. It involves removing existing grass or debris, digging a trench for the paver base, and creating a slope for proper water drainage.
The first task is to clear the area of any vegetation, grass, or debris. Use a shovel or a garden rake to remove these materials, ensuring that you have a clean and level surface for your patio.
Next, you’ll need to dig a trench for the paver base. The depth of the trench will depend on several factors, including the thickness of your paver stones, the layer of gravel, and the layer of sand. A general rule of thumb is to excavate a depth of about 6 to 8 inches (15 to 20 cm) below the final desired height of your patio.
As you dig the trench, make sure to create a slight slope away from your house or any nearby structures. This slope will allow for proper water drainage and prevent any pooling or flooding on your patio. Aim for a slope of about 1/8 inch (3 mm) per foot.
During the excavation process, it’s important to periodically check the depth and slope using a level and a measuring tape. This will help ensure that your patio is level and properly graded for water runoff.
Once you’ve completed the excavation and achieved the desired depth and slope, you’re ready to move on to the next step: creating the base for your patio.
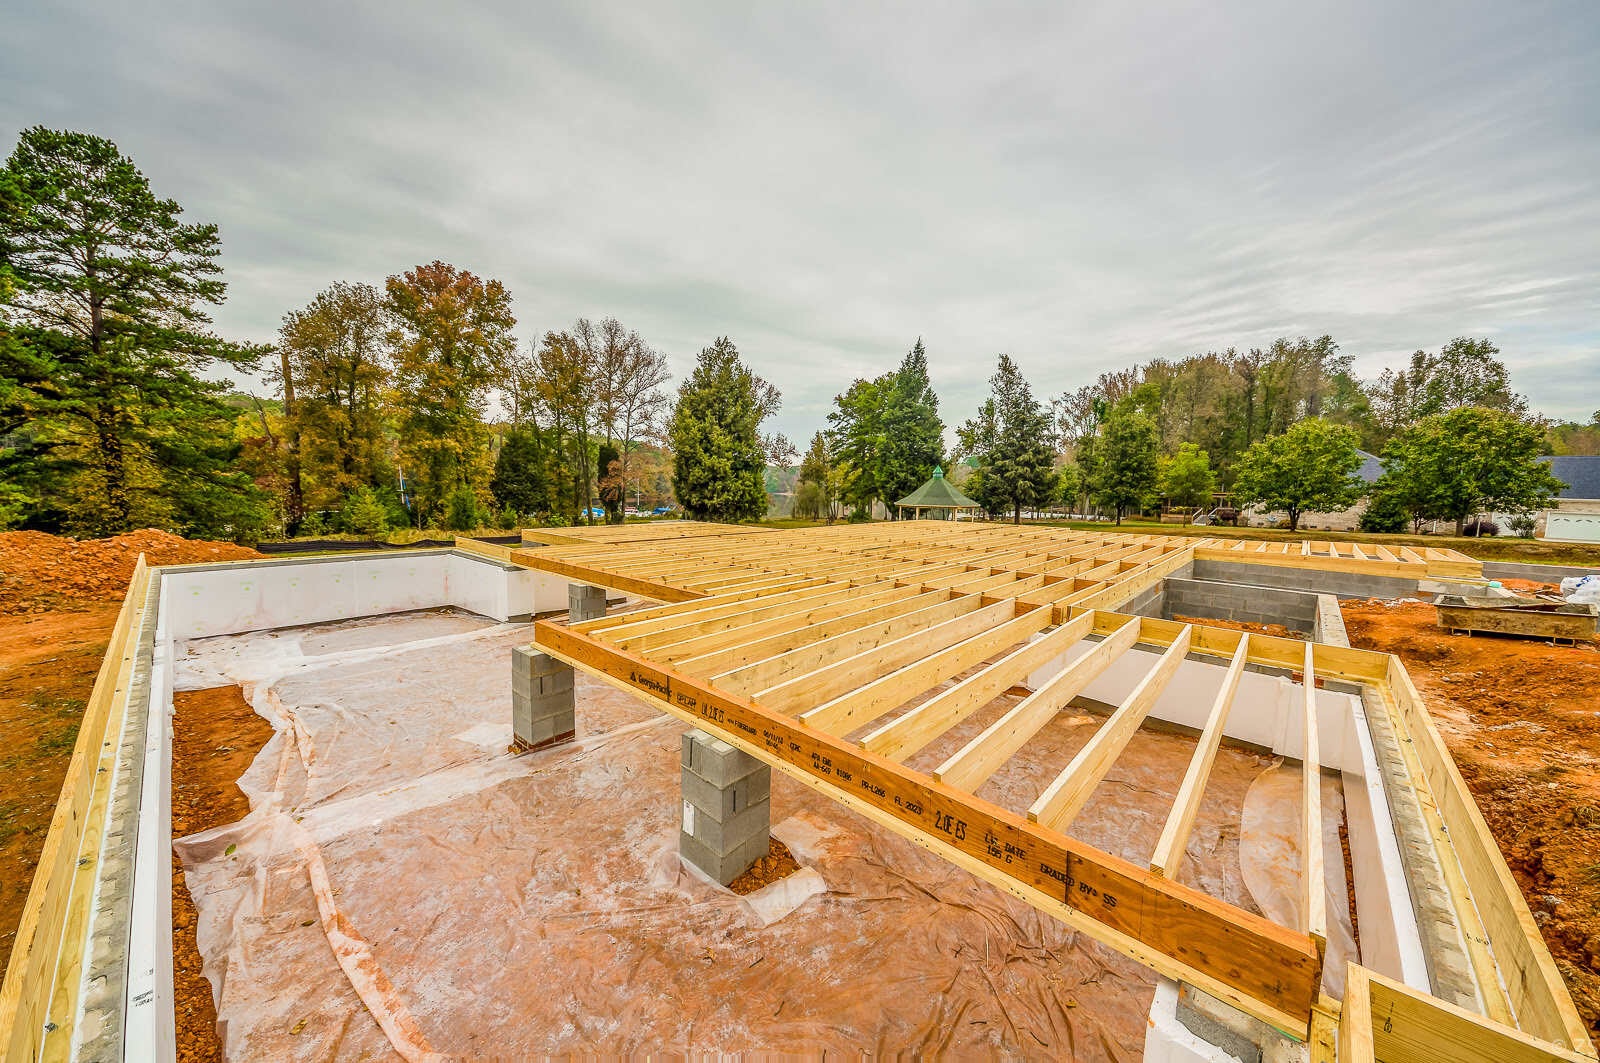
Step 4: Creating the Base
Creating a solid and stable base is vital for the longevity and durability of your raised paver patio. In this step, you will be adding a layer of crushed gravel, compacting the base with a tamper, adding a layer of sand, and leveling the sand to prepare for the paver installation.
The first layer of the base is crushed gravel. Begin by spreading a 2 to 4-inch (5 to 10 cm) layer of crushed gravel evenly across the excavated area. Use a rake or shovel to distribute the gravel, ensuring it covers the entire patio space.
Once the gravel is uniformly spread, use a tamper to compact the gravel. A tamper is a heavy tool with a flat bottom used to pack down the gravel, removing any air gaps or inconsistencies. Start from one corner and work your way across the entire patio, applying firm pressure to ensure a solid and stable base.
The next layer of the base is sand. Spread a 1-inch (2.5 cm) layer of coarse sand over the compacted gravel. Use a rake or screed board to distribute the sand evenly, creating a smooth and level surface. Take care to avoid any footprints or disturbances in the sand during this process.
Once the sand is spread, use a long 2×4 or a level to ensure an even surface. Gently drag the level or board across the sand, starting from one end and moving towards the other. This will help you identify any high or low spots and allow you to adjust accordingly. Make any necessary adjustments and continue leveling until the entire sand surface is even.
With the base created and leveled, you’ve completed a crucial step in the construction of your raised paver patio. The solid foundation sets the stage for the next step: installing the edging materials along the perimeter of your patio.
Before starting your raised paver patio, make sure to properly prepare the base by compacting the soil and adding a layer of gravel for drainage. This will ensure a stable and long-lasting patio.
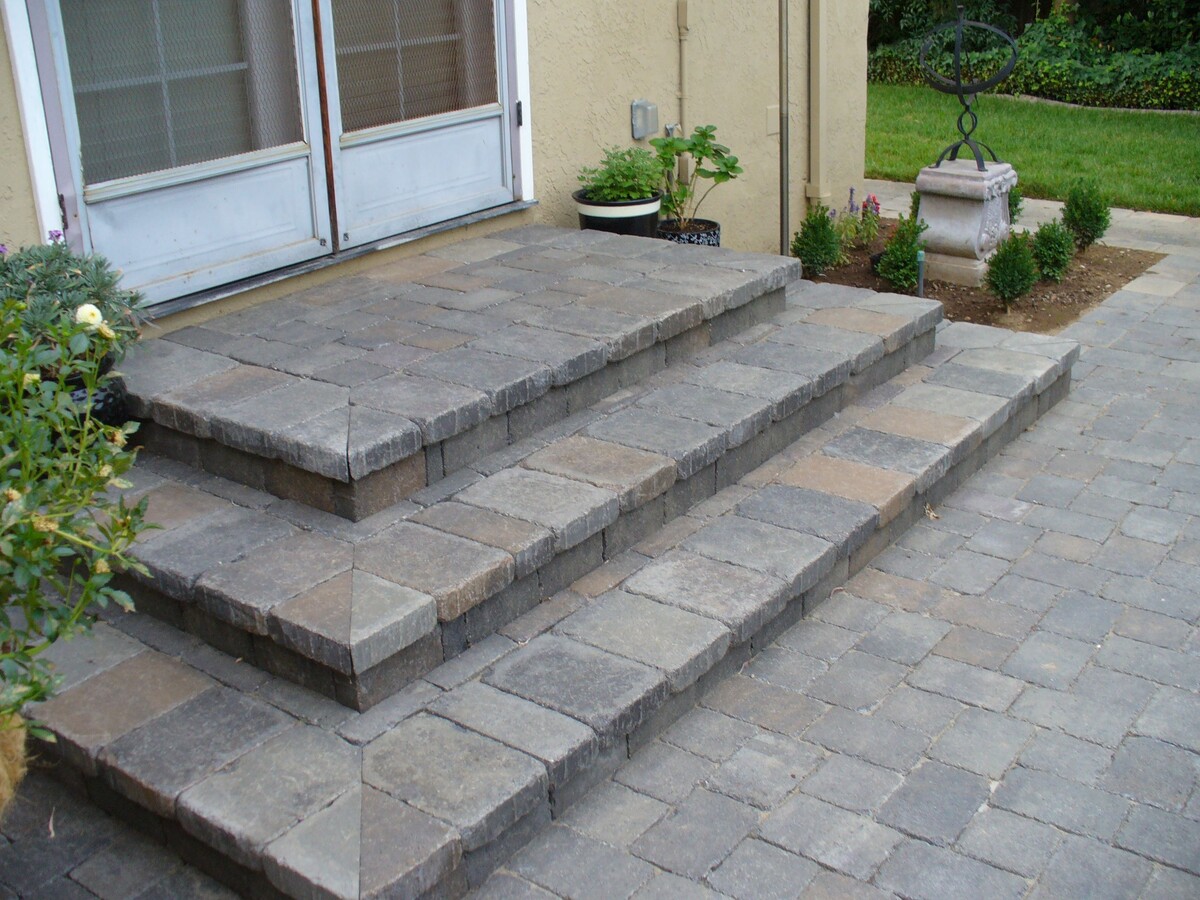
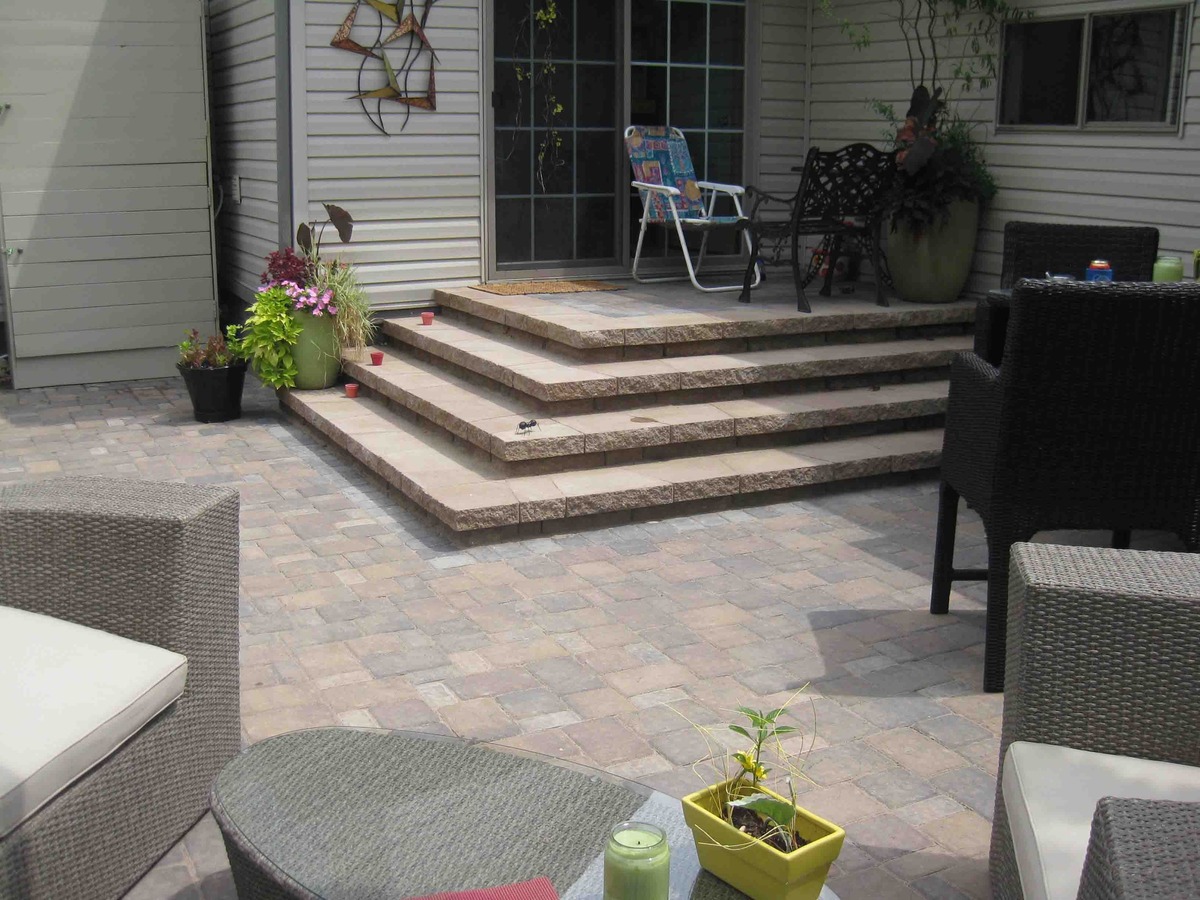
Read more: How To Build Patio Paver Stairs
Step 5: Installing Edging
Installing edging along the perimeter of your raised paver patio serves multiple purposes. It provides a clear boundary for your patio, helps prevent paver shifting, and adds a finished look to your project. In this step, we will guide you through placing the edging material and securing it in place.
Start by positioning the edging material along the outer edges of your patio, following the markings you made during the planning phase. The edging should be placed against the outer edge of the base to create a barrier that holds the pavers in place.
Ensure that the edging sits flush with the surface of the base and is level. Adjust the position, if necessary, to achieve a clean and even alignment. Overlapping edges of the edging material can be trimmed to create a seamless join between sections.
Once the edging is properly positioned, secure it in place by driving stakes into the ground at regular intervals along the length of the edging. Place the stakes on the outer side of the edging, positioning them at a slight angle towards the base of the patio. This helps to provide stability and prevents the edging from shifting.
Use a mallet or a hammer to drive the stakes into the ground, ensuring they penetrate through the edging and into the base material below. Space the stakes approximately every 2 to 3 feet (60 to 90 cm) along the edging.
After securing the edging with stakes, double-check to ensure that it is straight, level, and tightly in place. This step is critical for maintaining the integrity of your patio and preventing any movement or displacement of the pavers.
With the edging installed, you’re now ready to move on to the exciting part – laying the paver stones.
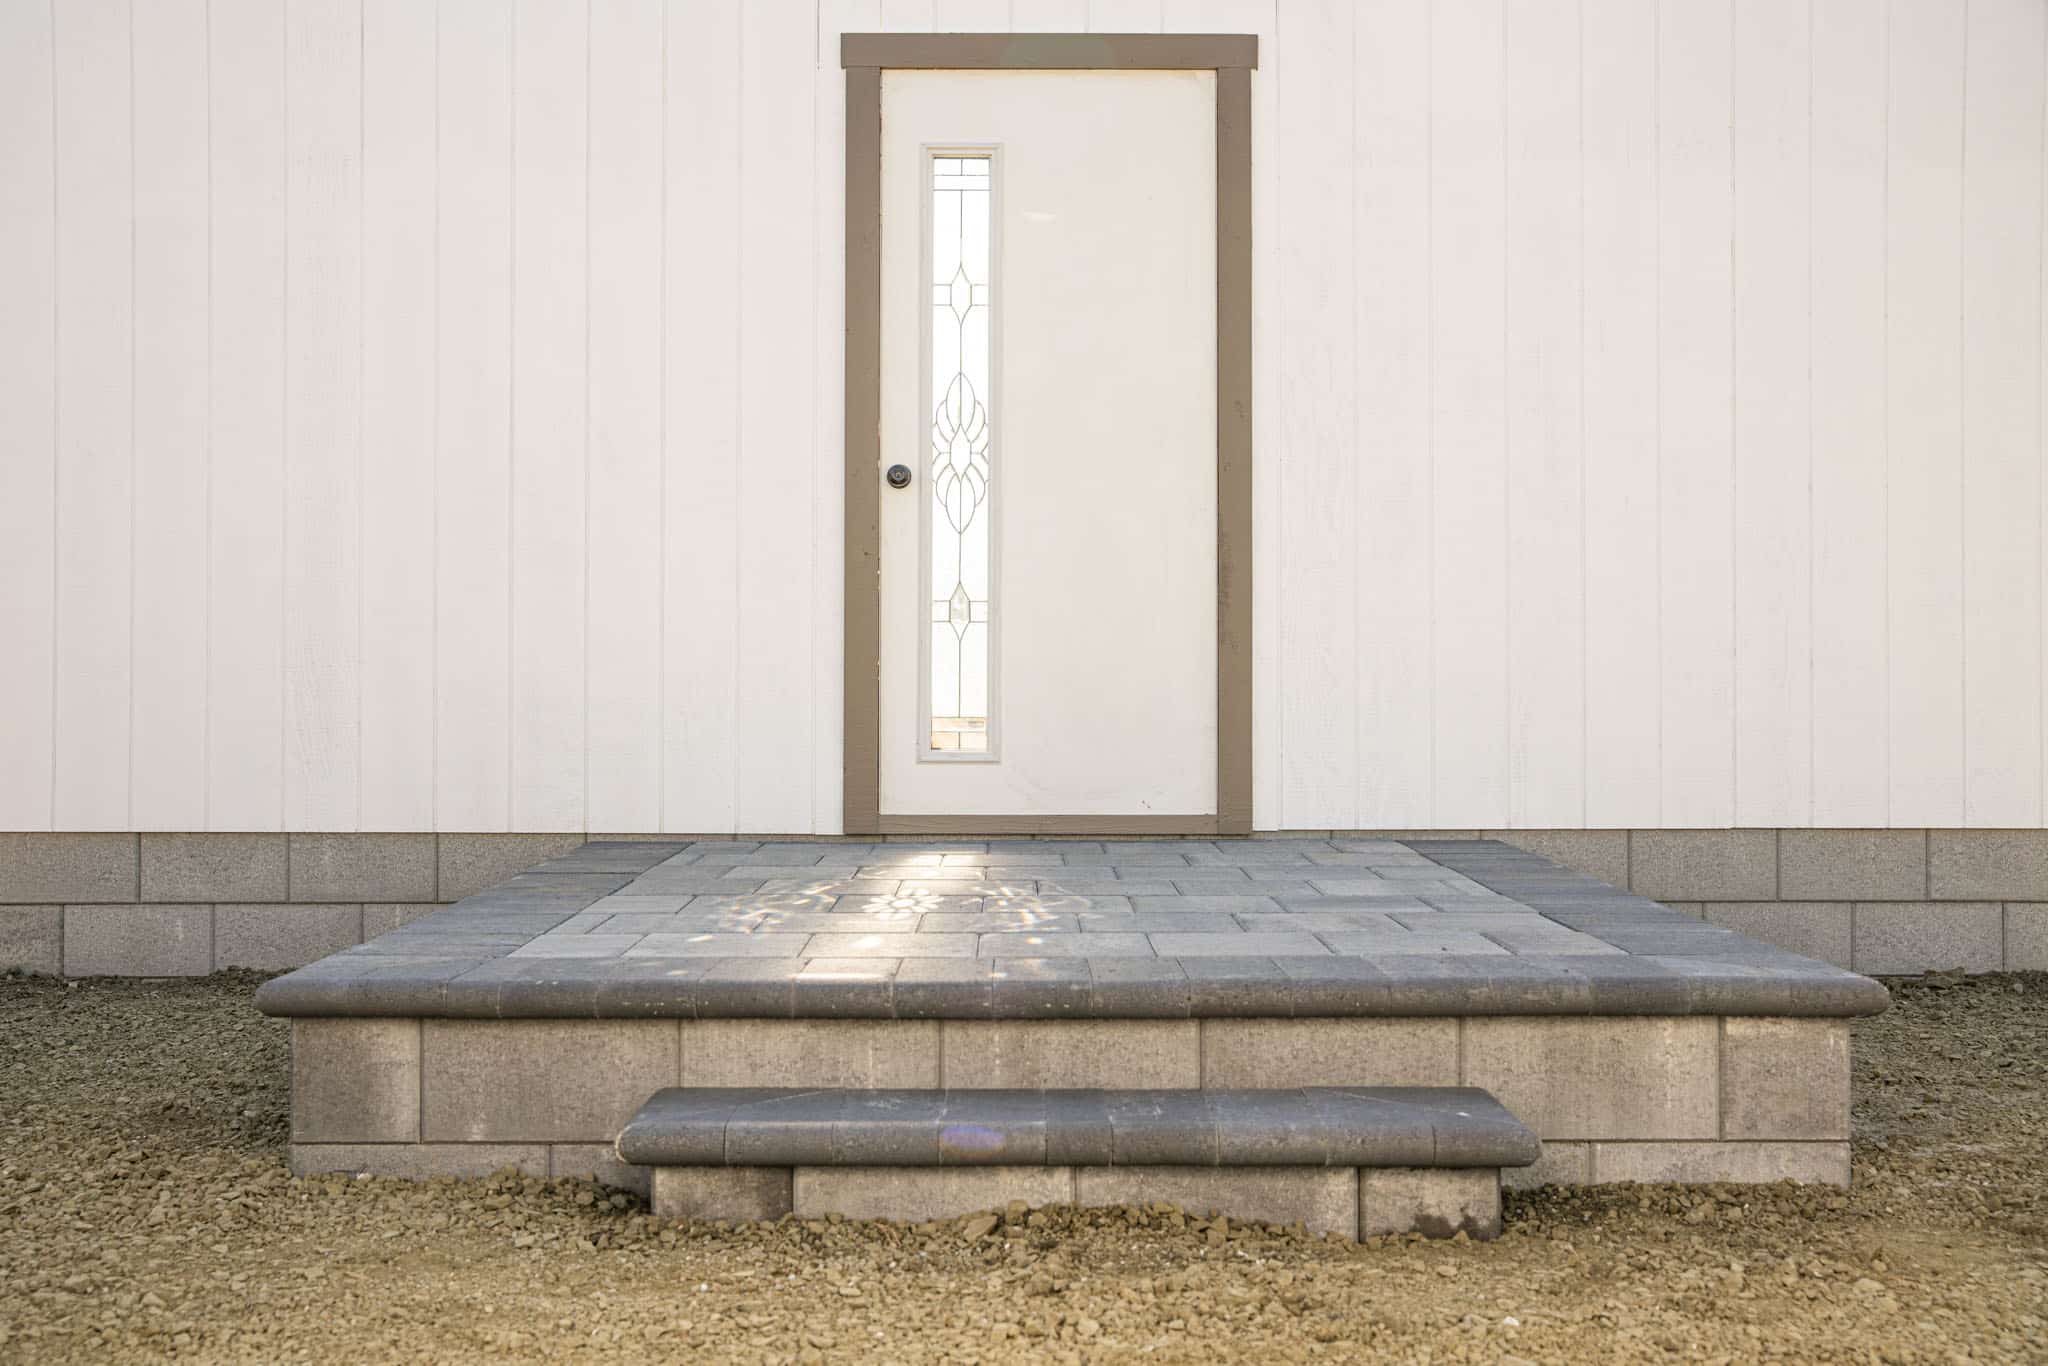
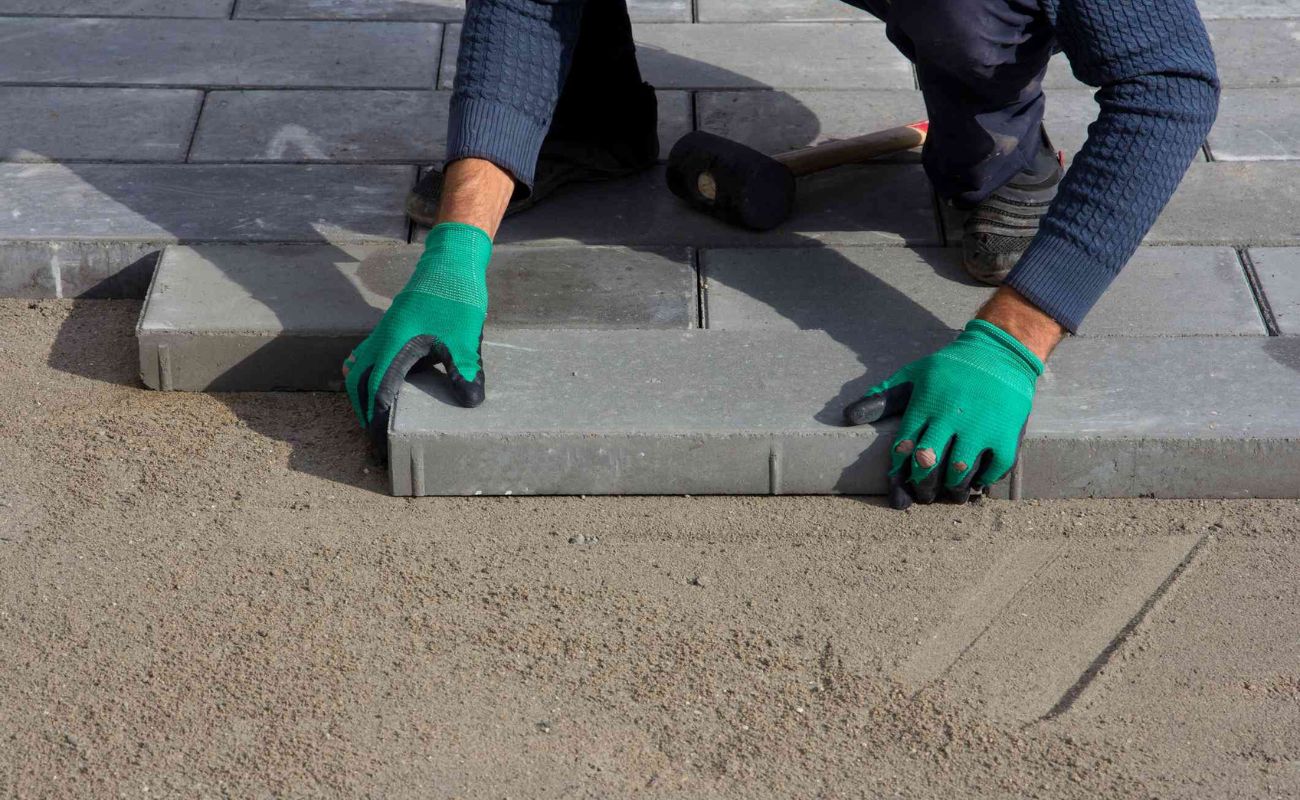
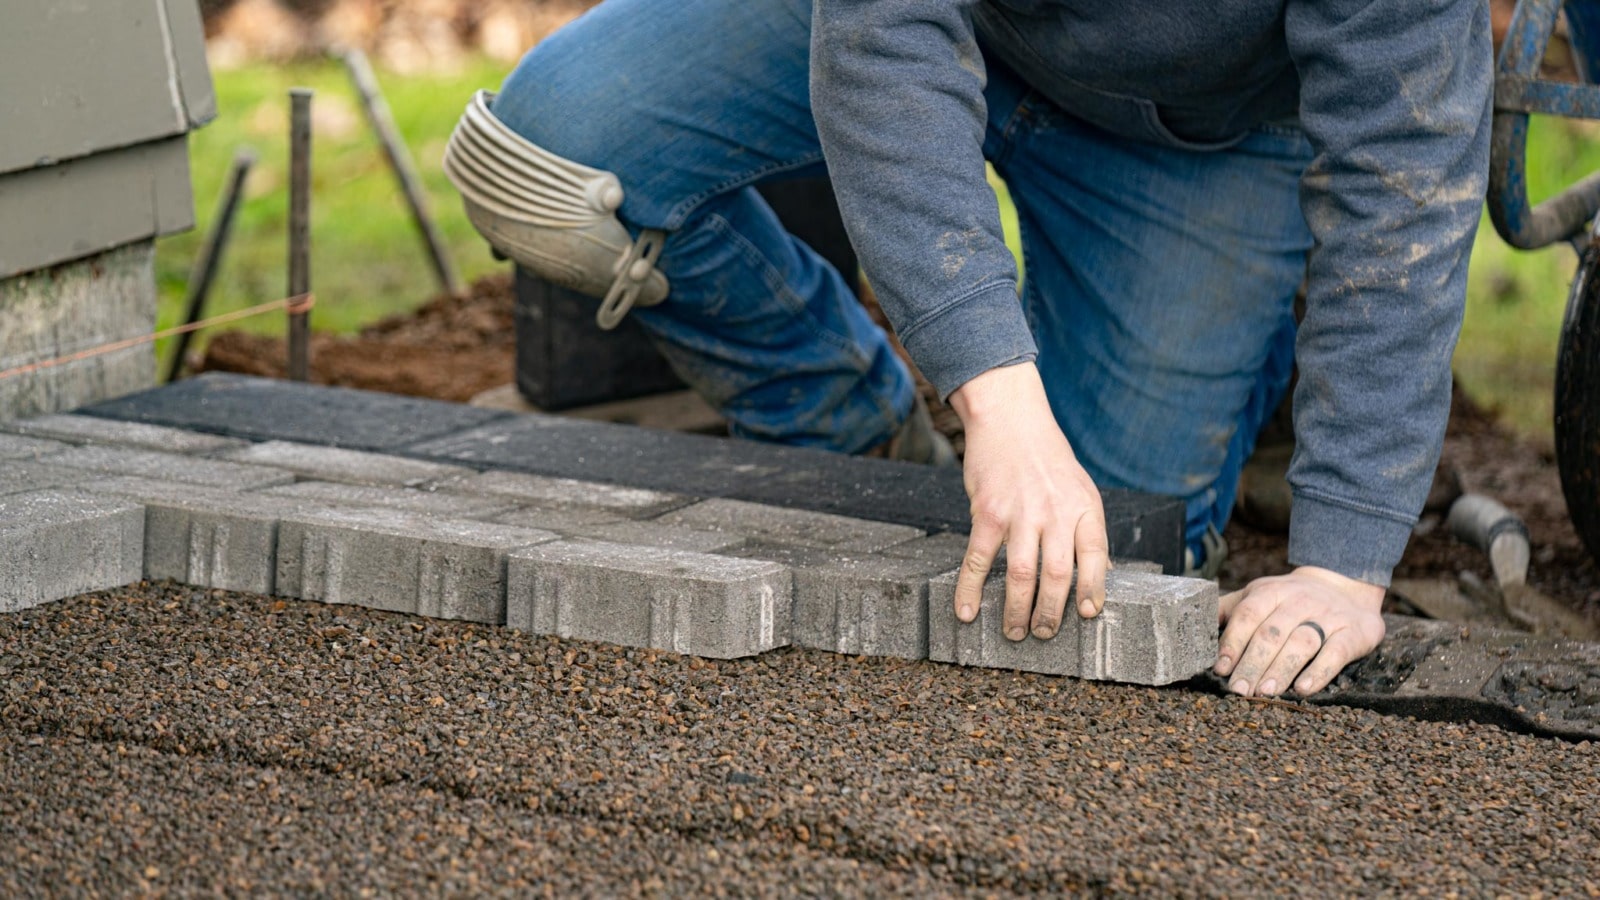
Step 6: Laying the Paver Stones
The moment has arrived to start laying the paver stones on your raised patio. This step requires careful attention to detail to ensure a professional-looking finish. Let’s dive in and guide you through the process.
Begin by starting at one corner of your patio and laying the first paver stone. Place it gently on the sand surface, ensuring it fits snugly against the edging material. Take the time to make any necessary adjustments to ensure the stone is level and aligned properly.
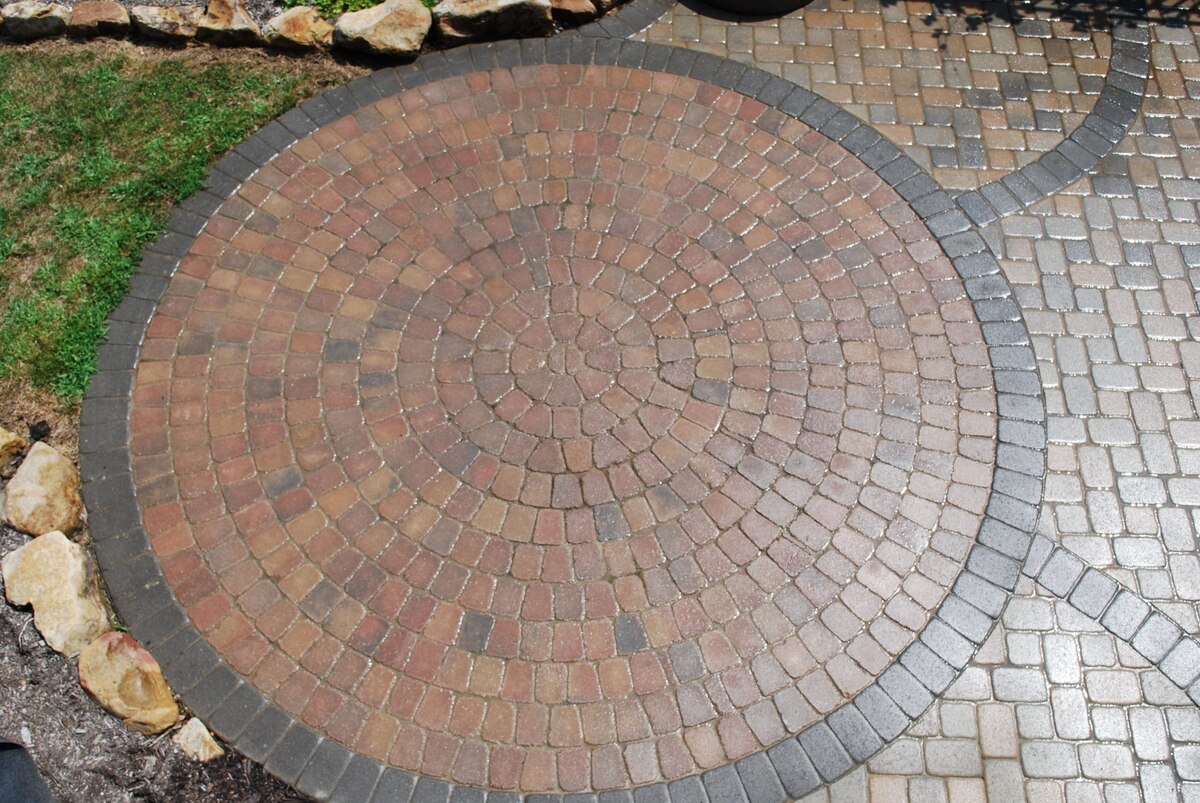
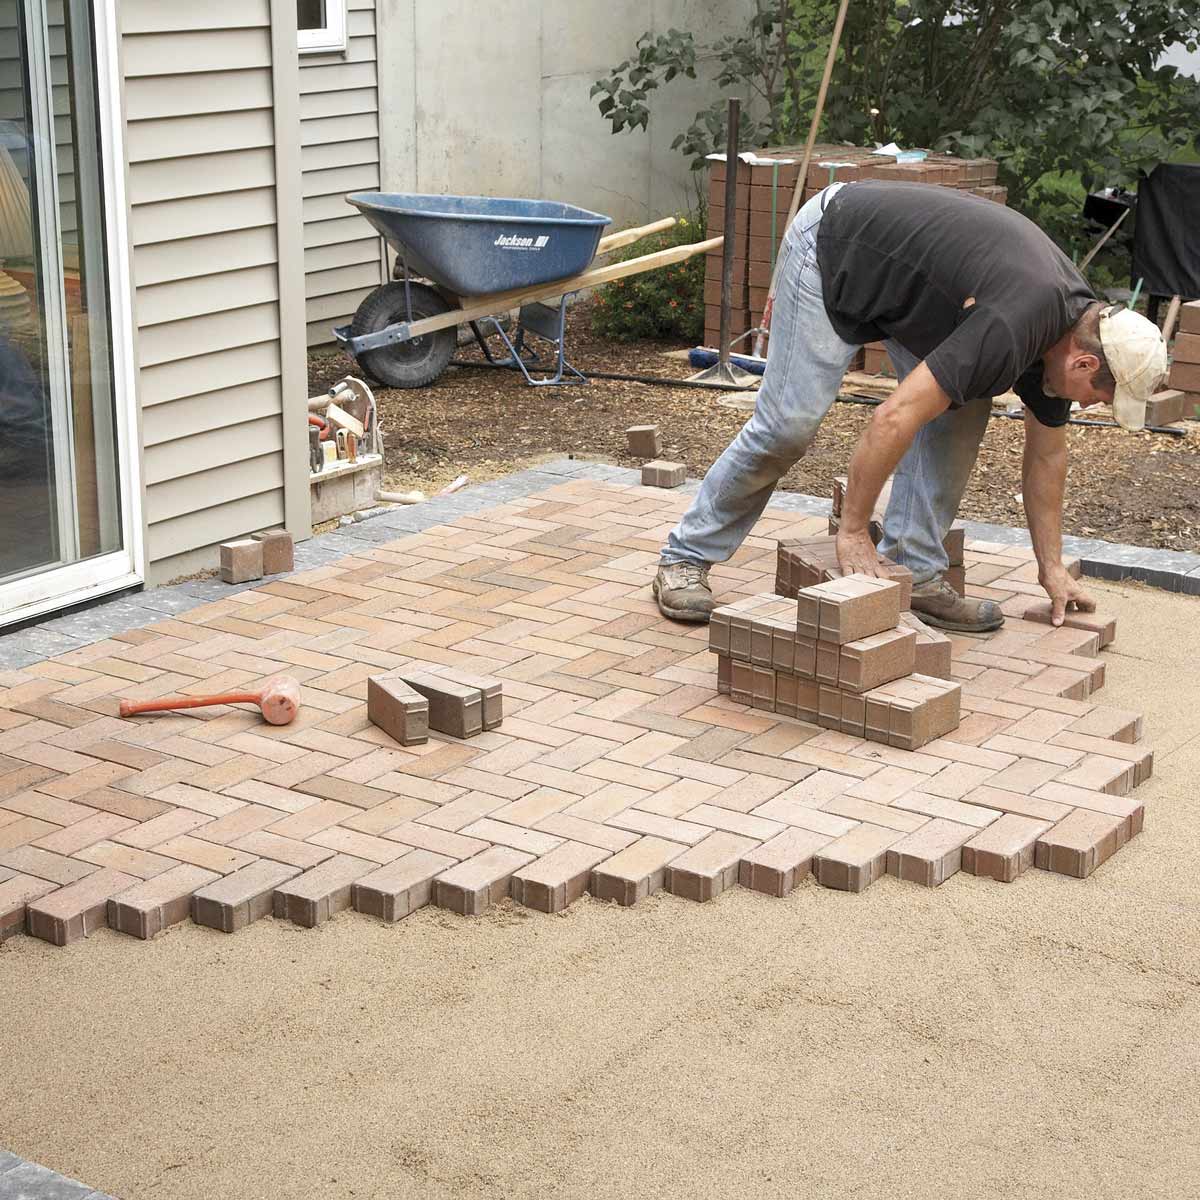
From here, continue laying the paver stones, following the desired pattern for your patio. You can choose from a variety of patterns, such as running bond, herringbone, or basket weave, to suit your style. As you lay each stone, align them tightly against one another, creating even joints between them.
Periodically check that each stone is level and adjust as needed. Use a level across the surface of the stones to ensure they are at a consistent height and create a smooth and uniform appearance. This step is crucial in achieving a professional-looking result for your patio.
In some cases, you may need to cut or shape the paver stones to fit the edges or corners of the patio. Use a chisel, a hammer, or a wet saw specifically designed for cutting pavers to make these adjustments. Take careful measurements and mark the stones before cutting to ensure precision and accuracy.
Continue laying the paver stones and making necessary adjustments until you cover the entire patio area. Take your time to ensure that the stones are properly placed and aligned, as this will determine the overall quality and visual appeal of your finished patio.
With the paver stones laid, it’s time to move on to the next step – adding the finishing touches to your raised paver patio.
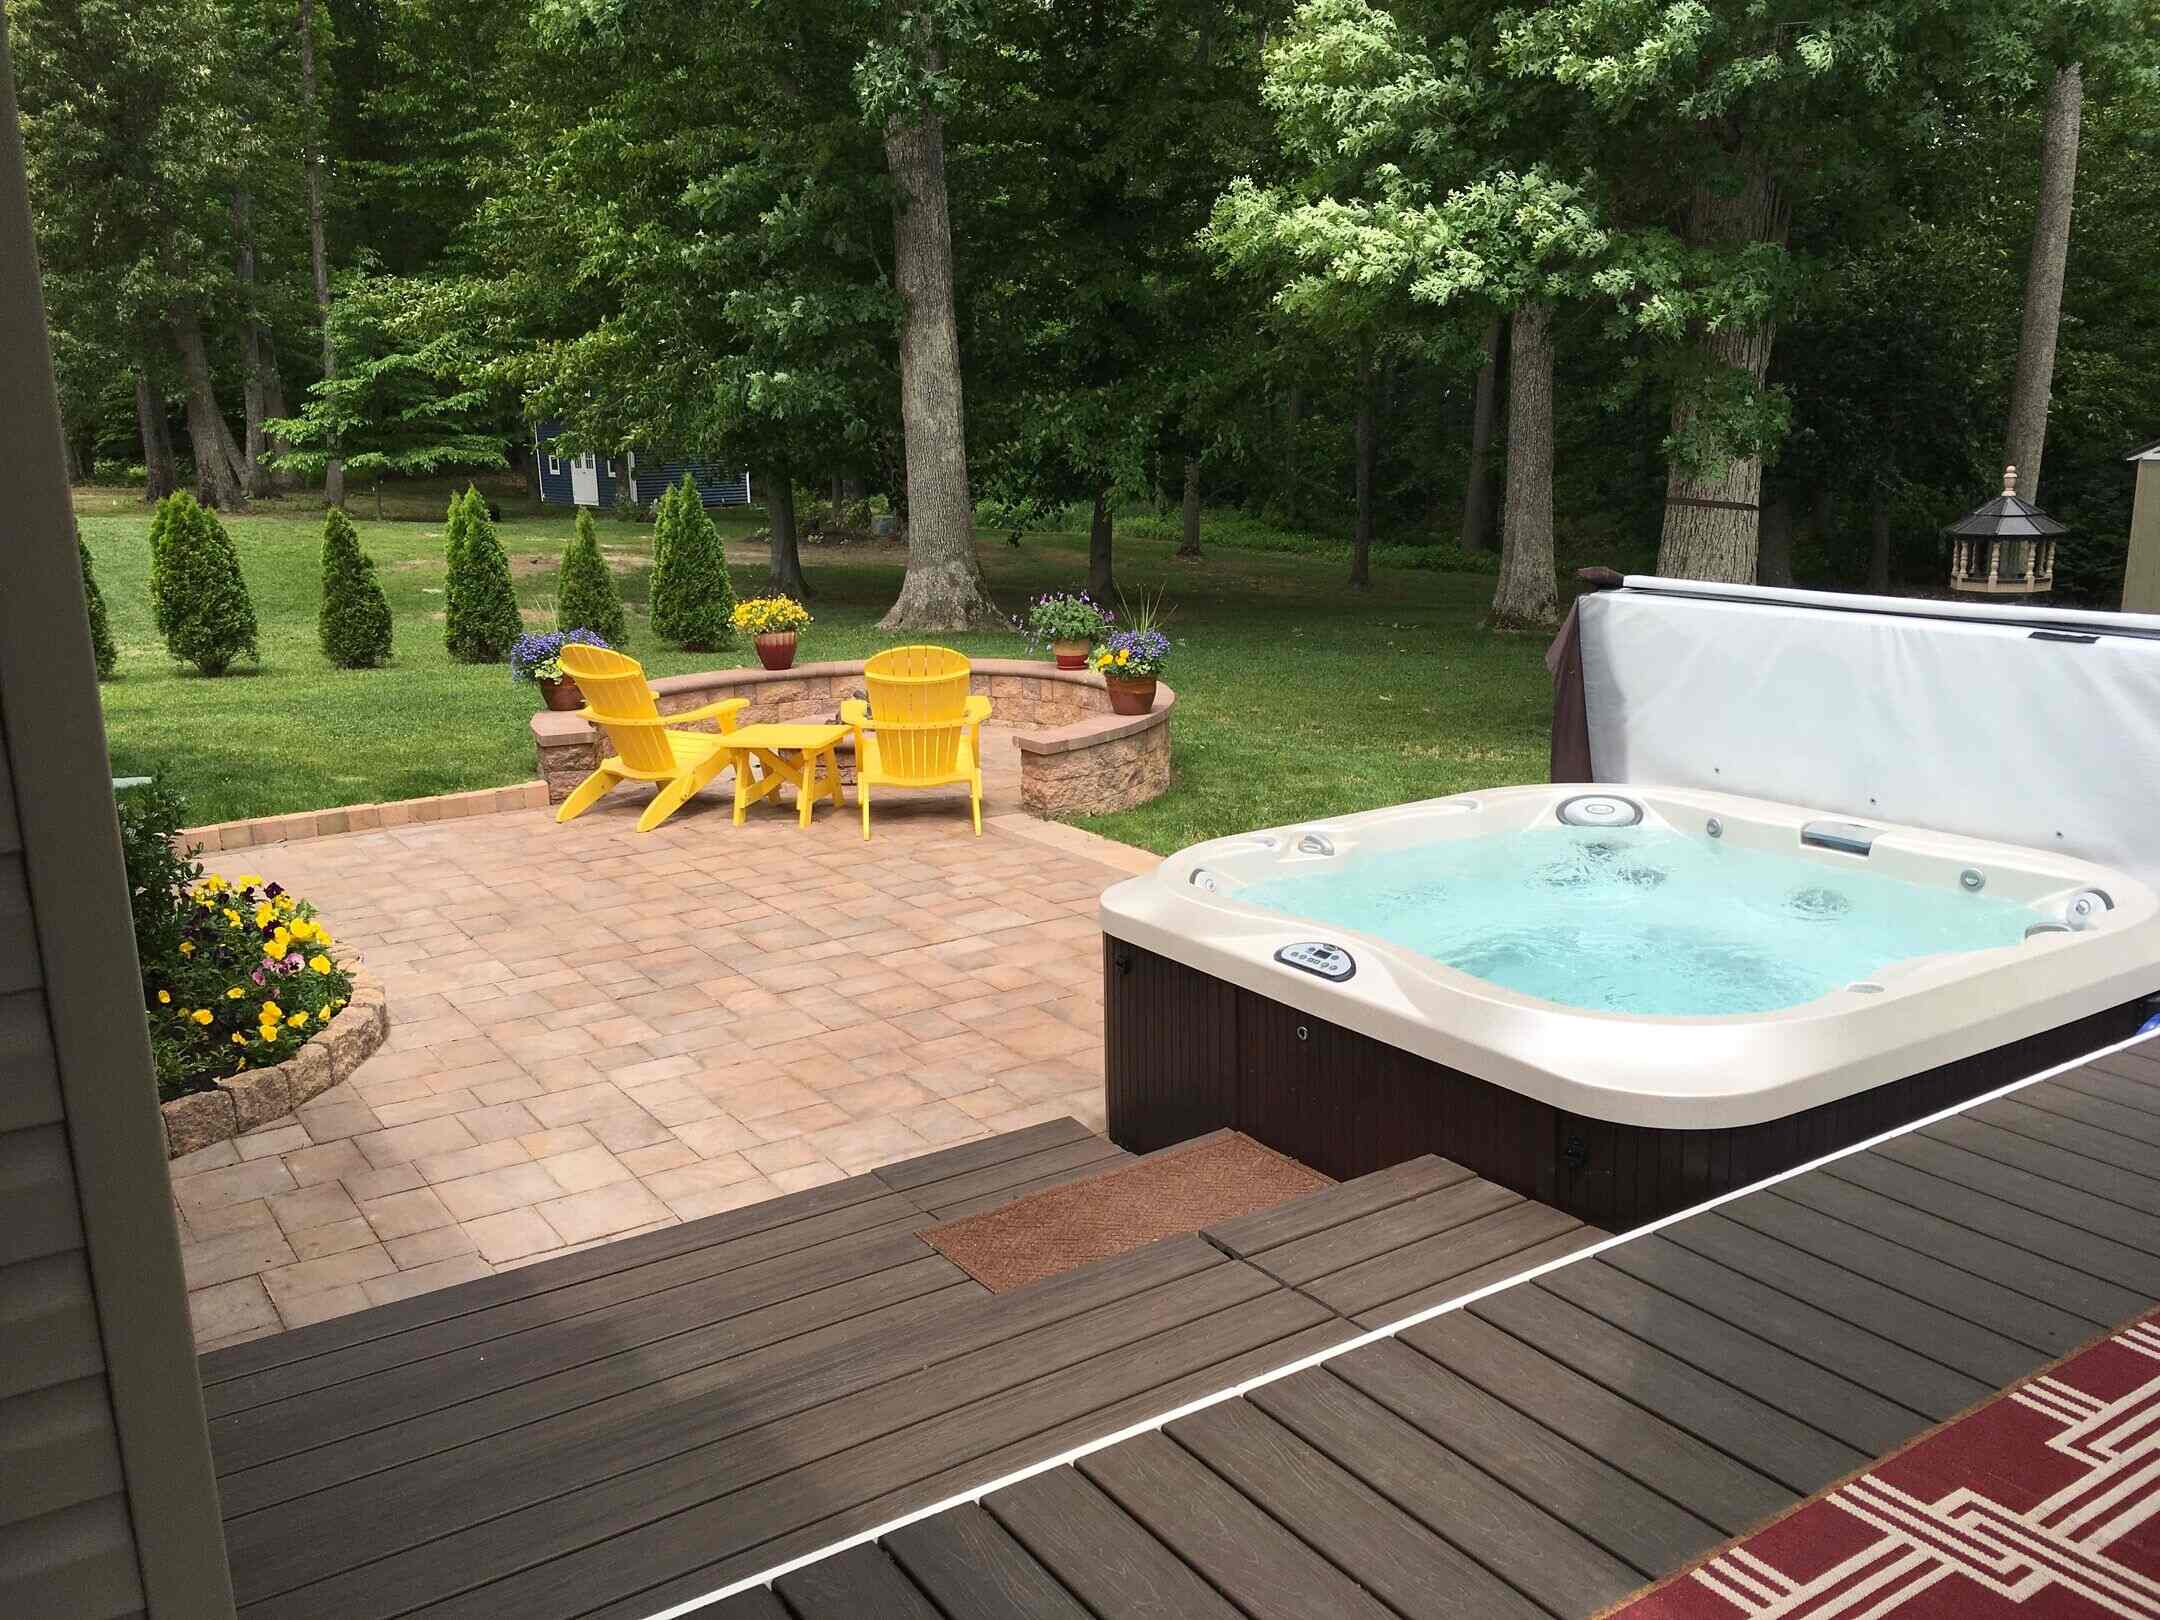
Step 7: Finishing Touches
Congratulations on reaching the final step of creating your raised paver patio! In this step, we will guide you through adding joint sand between the pavers, sweeping and compacting the sand, optionally applying a sealant, and finally adding the finishing touches with patio furniture or accessories.
The first task is to add joint sand between the pavers. This sand serves to lock the pavers in place, preventing shifting and providing stability. Pour the sand onto the surface of the patio and use a broom or a brush to sweep it into the joints between the pavers. Ensure that every joint is filled completely with sand.
Next, use a plate compactor or a tamper to gently compact the sand. This process helps settle the sand into the joints and ensures a solid and stable surface. Pass the compactor over the entire patio, focusing on the areas between the pavers. Repeat this step as needed until the sand is fully compacted.
Applying a sealant is an optional step, but it can enhance the longevity and appearance of your patio. A sealant helps protect the paver stones from stains, weather damage, and color fading. Choose a sealant specifically designed for paver stones and follow the manufacturer’s instructions for application.
Finally, it’s time to add the finishing touches to your raised paver patio. Arrange your patio furniture, such as tables, chairs, and loungers, to create a comfortable and inviting space. Consider adding accessories like outdoor rugs, cushions, or pillows to add a touch of coziness and style.
Take a step back and admire your completed raised paver patio. You have transformed your outdoor space into a beautiful and functional area that you can enjoy for years to come.
Remember to regularly maintain your patio by sweeping away debris, removing any weeds that may grow between the pavers, and reapplying joint sand as needed. With proper care, your raised paver patio will continue to be a stunning addition to your outdoor living space.
Thank you for joining us on this journey of creating a raised paver patio. We hope you find this guide helpful and inspiring as you embark on your own outdoor project.
Conclusion
Creating a raised paver patio is a fulfilling and rewarding project that can transform your outdoor space into a stylish and functional area for relaxation and entertainment. By following the step-by-step guide we’ve provided, you can confidently embark on this DIY journey and create a beautiful patio that reflects your personal style and meets your outdoor living needs.
From the initial planning and preparation stage to the finishing touches, each step plays a crucial role in the construction process. Choosing the right location, gathering the necessary materials and tools, properly excavating the area, and creating a solid base are essential for a successful project. Laying the paver stones with precision, adding joint sand, and considering optional sealant application ensures a long-lasting and visually appealing patio.
Remember that safety should always be a priority. Wear protective gear, use caution when using tools and equipment, and follow local building codes and regulations. Being mindful of these considerations will help you complete your patio construction responsibly and efficiently.
Once your raised paver patio is complete, take the time to enjoy and appreciate your outdoor oasis. Whether you’re hosting gatherings with friends and family, relaxing on a quiet afternoon, or simply immersing yourself in the beauty of nature, your patio will provide the perfect setting.
Don’t forget to regularly maintain your patio by keeping it clean, reapplying joint sand as needed, and treating it with care. With proper maintenance, your raised paver patio will provide years of enjoyment and enhance the overall value of your property.
Thank you for joining us on this journey of creating a raised paver patio. We hope this comprehensive guide has equipped you with the knowledge and confidence to embark on your own outdoor project and create a stunning sanctuary in your backyard.
Frequently Asked Questions about How To Build A Raised Paver Patio
Was this page helpful?
At Storables.com, we guarantee accurate and reliable information. Our content, validated by Expert Board Contributors, is crafted following stringent Editorial Policies. We're committed to providing you with well-researched, expert-backed insights for all your informational needs.


0 thoughts on “How To Build A Raised Paver Patio”