Home>Furniture>Outdoor Furniture>How To Fix A Paver Patio

Outdoor Furniture
How To Fix A Paver Patio
Modified: March 7, 2024
Learn how to fix your paver patio and create a stunning outdoor space with our expert tips and tricks. Enhance your outdoor furniture experience today!
(Many of the links in this article redirect to a specific reviewed product. Your purchase of these products through affiliate links helps to generate commission for Storables.com, at no extra cost. Learn more)
Introduction
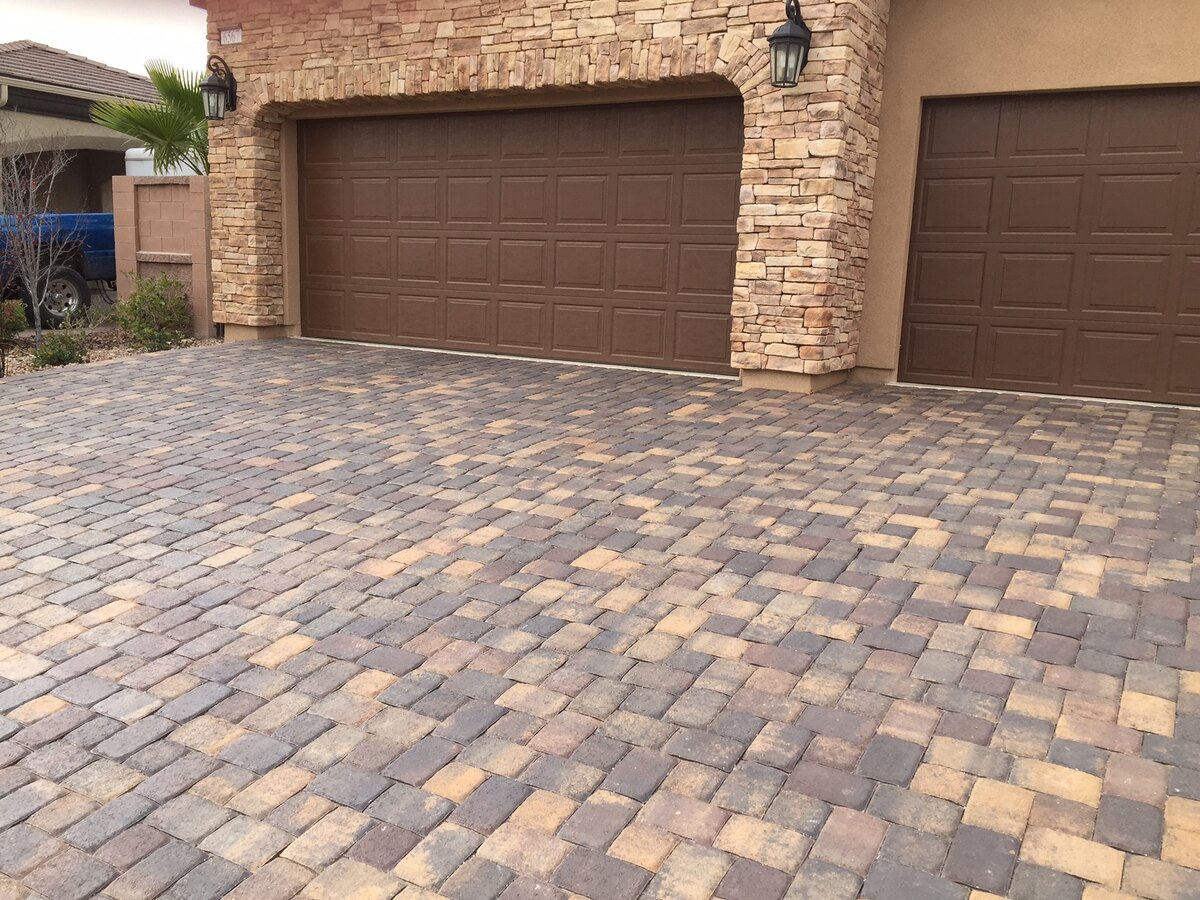
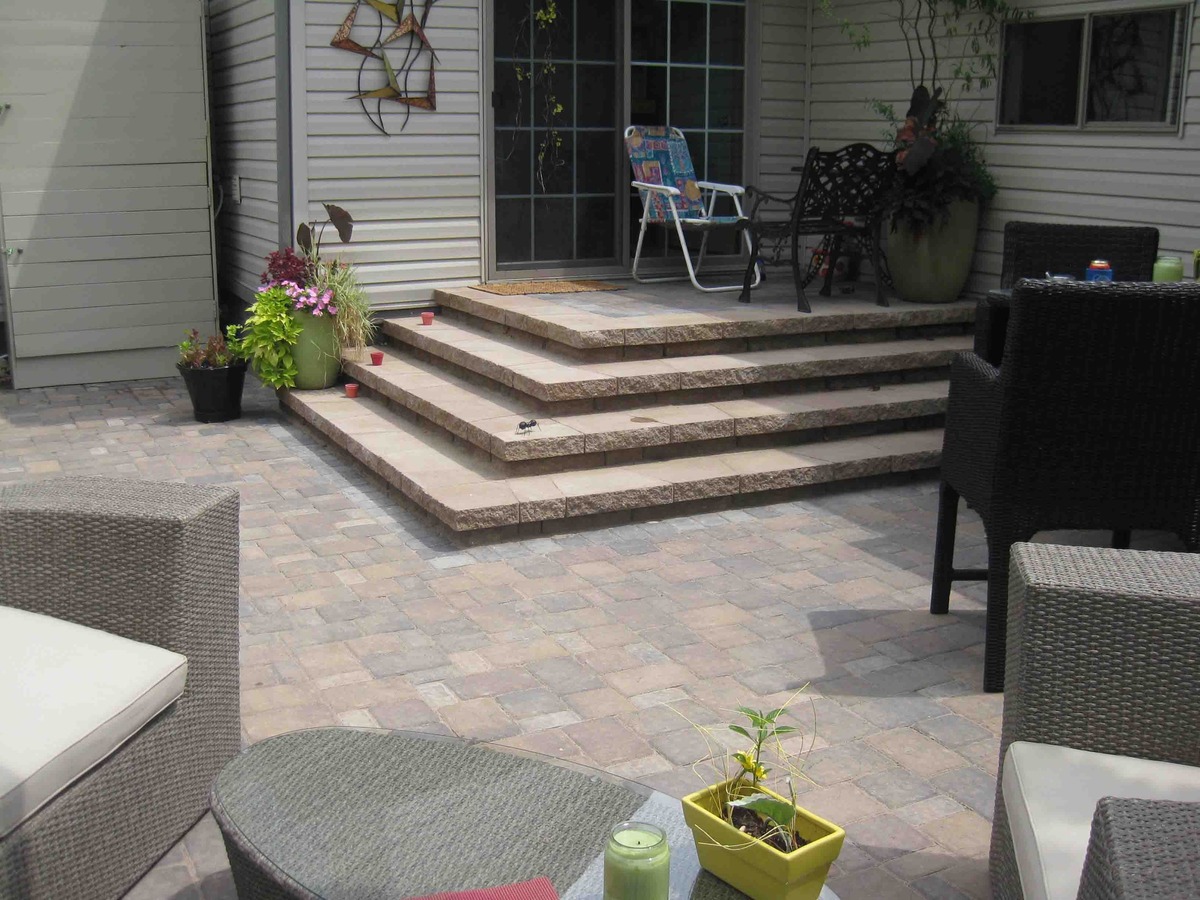
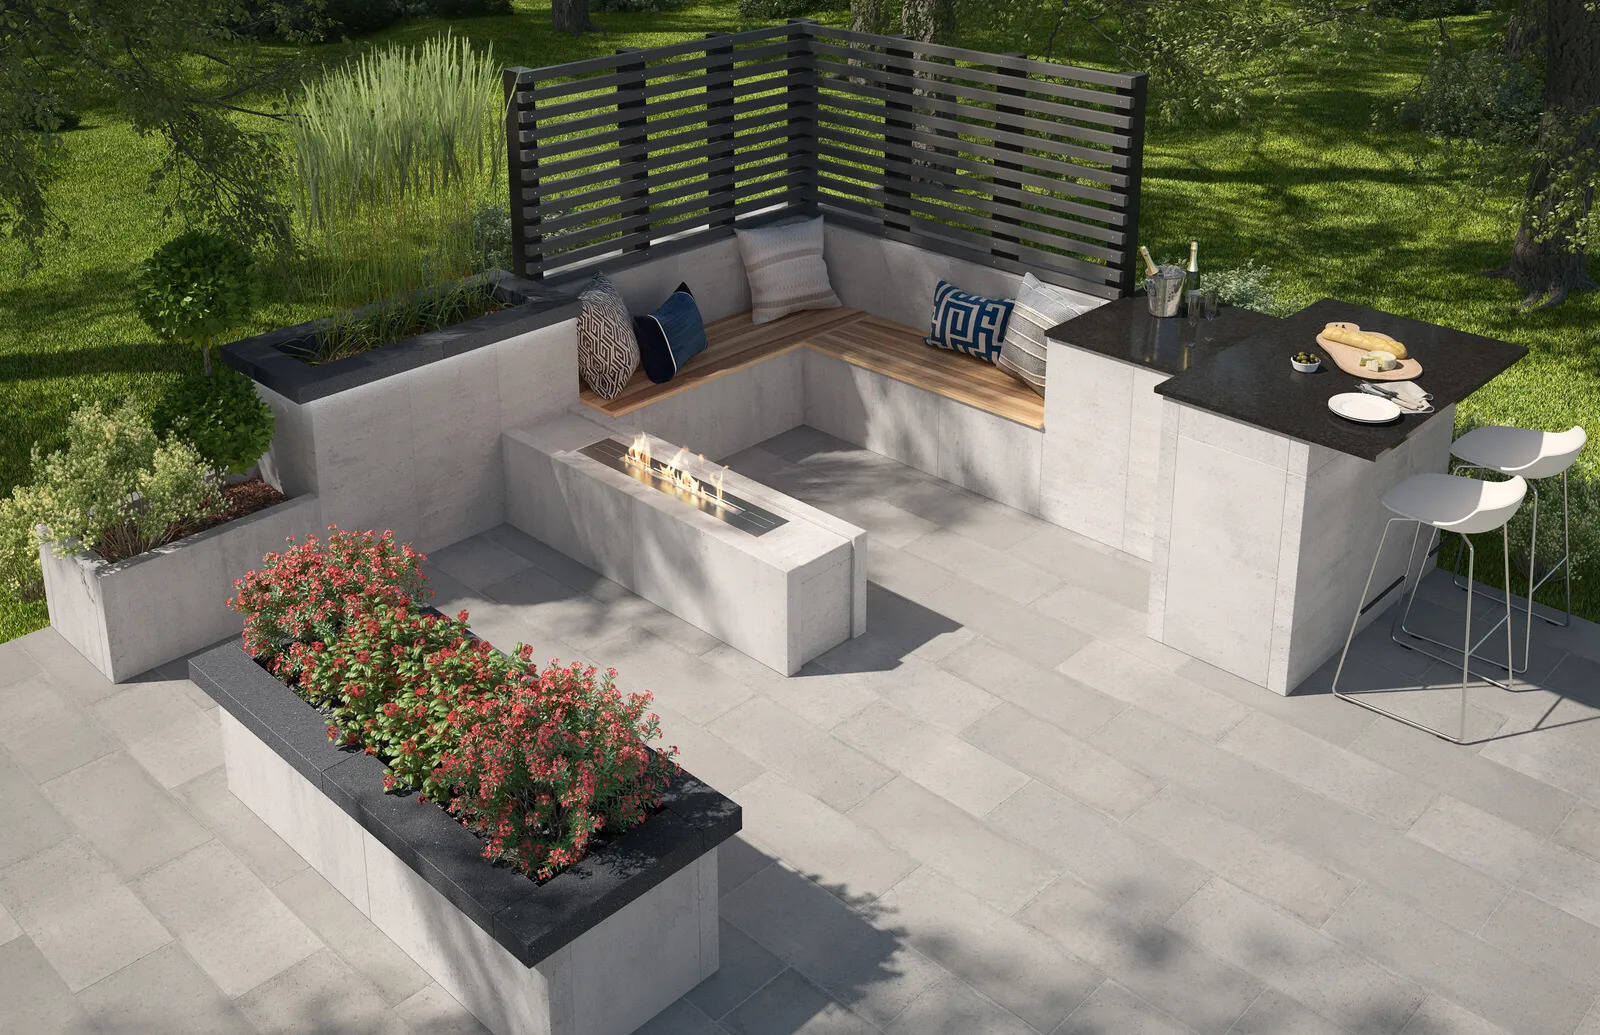
A paver patio is a wonderful addition to any outdoor space. It provides a beautiful and functional area for relaxation, entertaining, and enjoying the outdoors. However, over time, wear and tear can take a toll on your patio, resulting in cracked or uneven pavers. This not only detracts from the overall aesthetics of your patio but can also pose a tripping hazard.
The good news is that fixing a paver patio is a relatively straightforward process that can be done with a few simple steps. In this article, we will guide you through the process of fixing a paver patio, from assessing the damage to applying the finishing touches. So let’s roll up our sleeves and get started!
Before diving into the steps, it is essential to mention that the level of repair required will depend on the extent of the damage. Minor cracks or loose pavers can typically be fixed without the need for extensive work. However, more severe damage, such as large cracks or sunken pavers, may require additional steps and materials.
Remember, safety should always be a top priority when working on any outdoor project. Make sure to wear protective gear such as gloves and safety glasses and take necessary precautions to avoid injury.
Key Takeaways:
- Fixing a paver patio involves assessing, removing, replacing, leveling, compacting, applying joint sand, and sealing. Following these steps will result in a beautiful and long-lasting outdoor space for relaxation and entertainment.
- Prioritize safety, attention to detail, and regular maintenance when repairing a paver patio. Seek professional advice if unsure, and enjoy the rewarding process of restoring your outdoor oasis.
Read more: How To Fix Sunken Patio Pavers
Step 1: Assess the Damage
Before you can begin repairing your paver patio, it is important to assess the extent of the damage. This will help you determine the best course of action and the materials you will need for the repair.
Take a close look at your patio and identify any cracked, chipped, or loose pavers. Also, check if the patio is uneven or has any areas that have sunk or shifted. This will give you a clear picture of the repairs that need to be made.
If you notice minor cracks or chips in a few pavers, you may be able to repair them individually without having to remove large sections of the patio. However, if there are major cracks or sunken areas, it might be necessary to remove and replace larger sections of pavers.
Additionally, take note of the condition of the base beneath the pavers. If you notice any signs of erosion or instability, you may need to address this issue as well to ensure a long-lasting repair.
Once you have assessed the damage, make a list of the materials and tools you will need for the repair. This typically includes replacement pavers, joint sand, a rubber mallet or hammer, a chisel or pry bar, a broom, and a level. Gathering all the necessary materials beforehand will save you time and allow for a smoother repair process.
Remember, if you are unsure about the severity of the damage or the best approach to take, it is always a good idea to consult with a professional or seek advice from a local home improvement store.
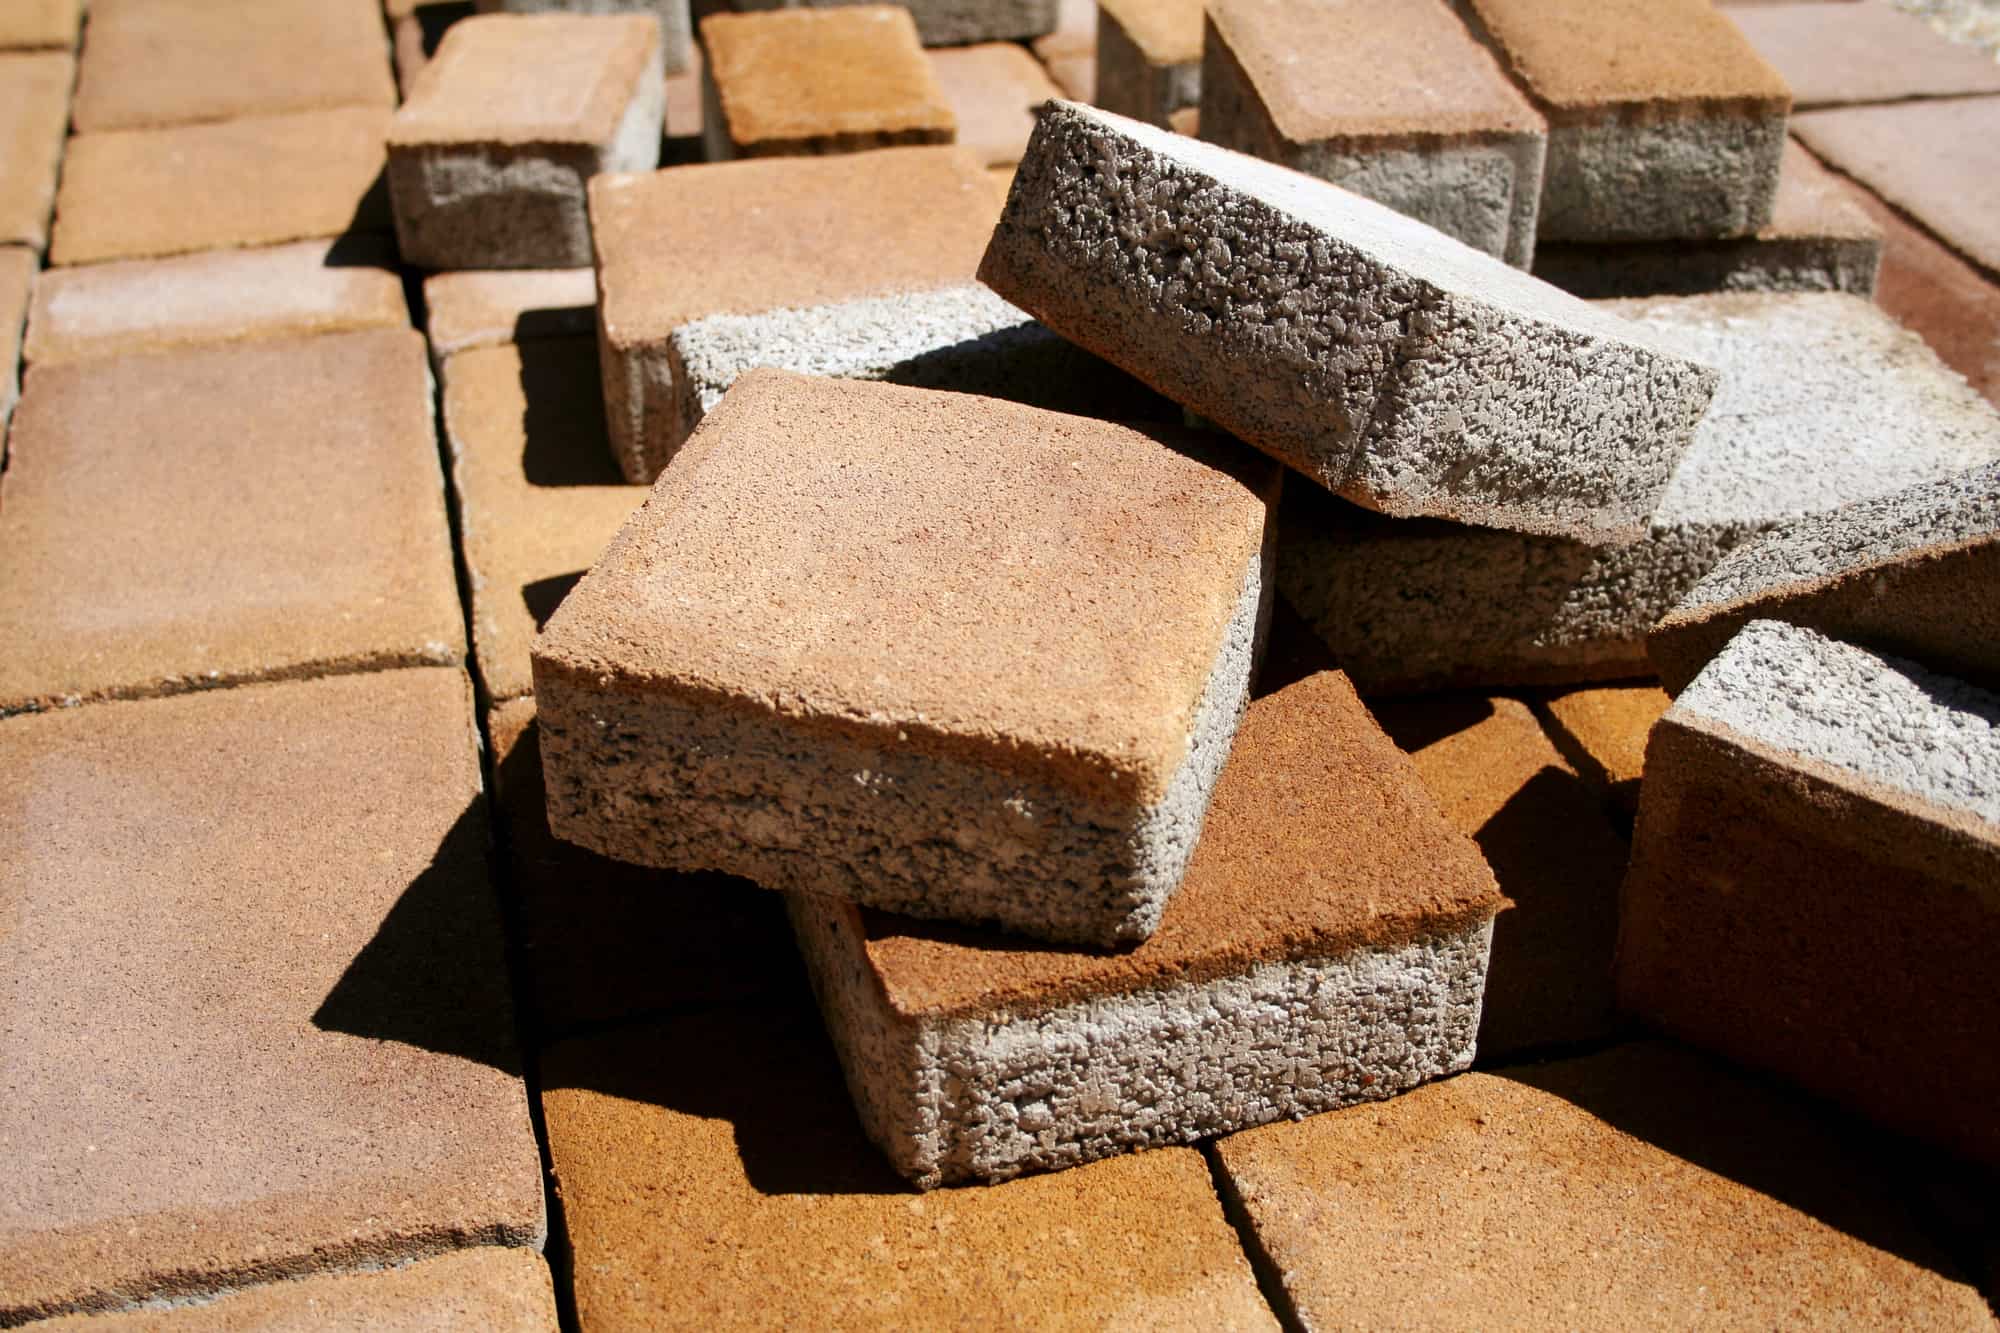
Step 2: Remove Damaged Pavers
Now that you have assessed the damage and gathered all the necessary materials, it’s time to start the repair process by removing the damaged pavers from your patio.
- Start by carefully inspecting the cracked or loose pavers that you identified during the assessment. Determine if they can be salvaged or if they need to be completely replaced.
- Using a rubber mallet, gently tap the damaged pavers to loosen them from the sand bed beneath. If the paver doesn’t budge, you may need to use a chisel or pry bar to lift it out. Take care to avoid damaging the surrounding pavers during this process.
- Once the damaged pavers have been removed, set them aside to assess whether they are repairable. Minor cracks can often be fixed using paver adhesive or epoxy, while more significant damage may necessitate replacing the pavers entirely.
- If you need to replace a paver, use the removed one as a guide to find a replacement that matches in size, shape, and color. This will ensure a seamless repair and maintain the aesthetic appeal of your patio.
- Continue this process of removing damaged pavers until all the necessary replacements have been identified.
- Once you have removed all the damaged pavers, make sure to clean the vacant spaces by sweeping away any debris or loose sand.
Removing damaged pavers is a critical step in the repair process. It allows you to address any underlying issues, such as a damaged base or unevenness, while also preparing the area for the replacement pavers. Take your time and be careful to avoid causing further damage during this step.
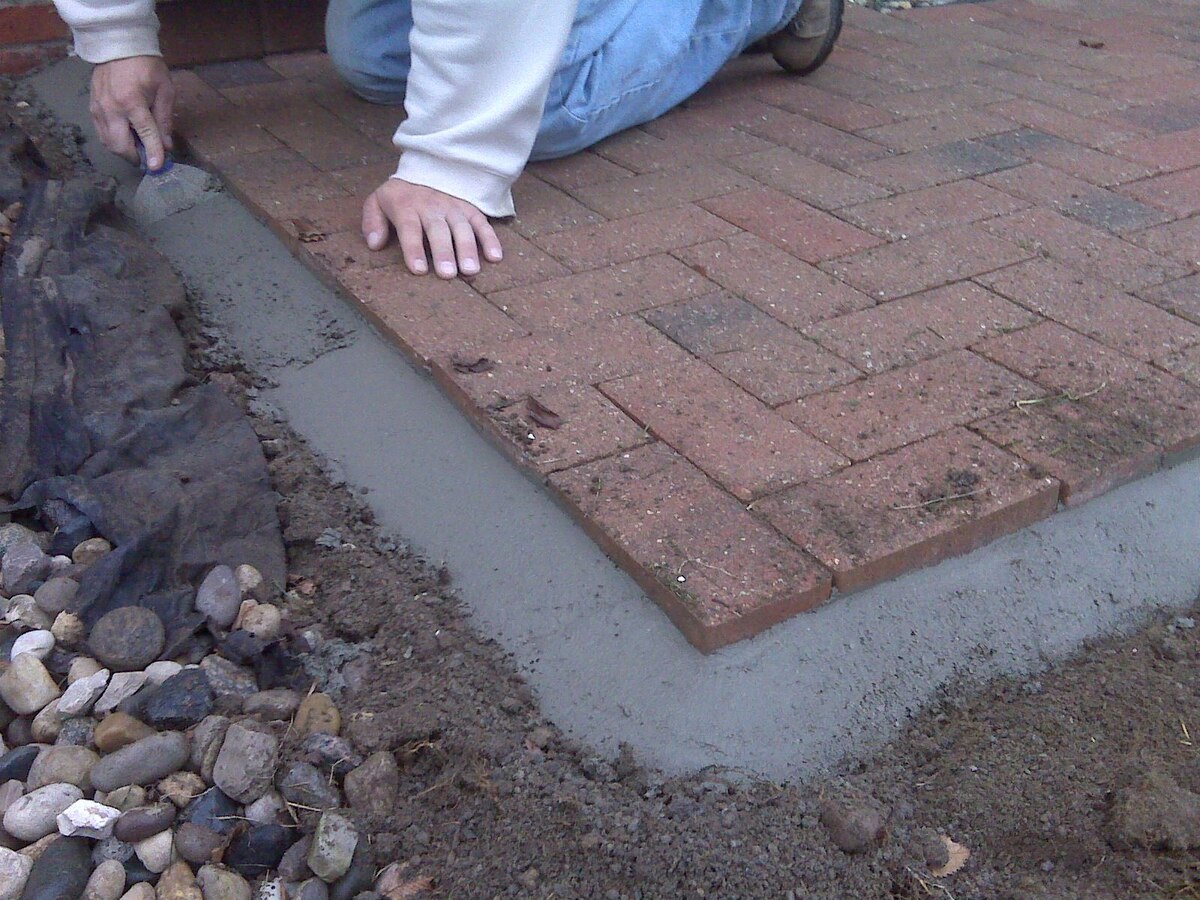
Step 3: Prepare the Base
Now that the damaged pavers have been removed, it’s time to prepare the base of your paver patio. This step ensures a stable and solid foundation for the replacement pavers.
- Begin by inspecting the sand bed beneath the removed pavers. Look for any signs of erosion, compaction, or unevenness.
- If you notice erosion or uneven areas, add fresh sand to those regions. Use a trowel or your hands to spread the sand evenly and level it with the surrounding areas. The goal is to create a smooth and level surface for the pavers.
- Next, use a tamper or a hand compactor to compact the sand. This helps to ensure a firm and stable base for the replacement pavers. Continue compacting until the sand is tightly packed and does not shift or move when pressure is applied.
- Once the sand bed is appropriately prepared and compacted, use a level to check for any areas that are not level or have uneven slopes. Adjust the sand as needed to achieve a consistent and level base.
- Take this opportunity to also check the overall slope of the patio. Ideally, the patio should have a slight slope away from the house to allow for proper water drainage. Make any necessary adjustments to ensure proper water flow.
- Finally, sweep away any excess sand or debris from the base to leave a clean surface for the replacement pavers.
By properly preparing the base of your paver patio, you create a stable foundation that will prevent future issues such as erosion and shifting. This step is essential for ensuring the longevity of your patio and the newly replaced pavers.
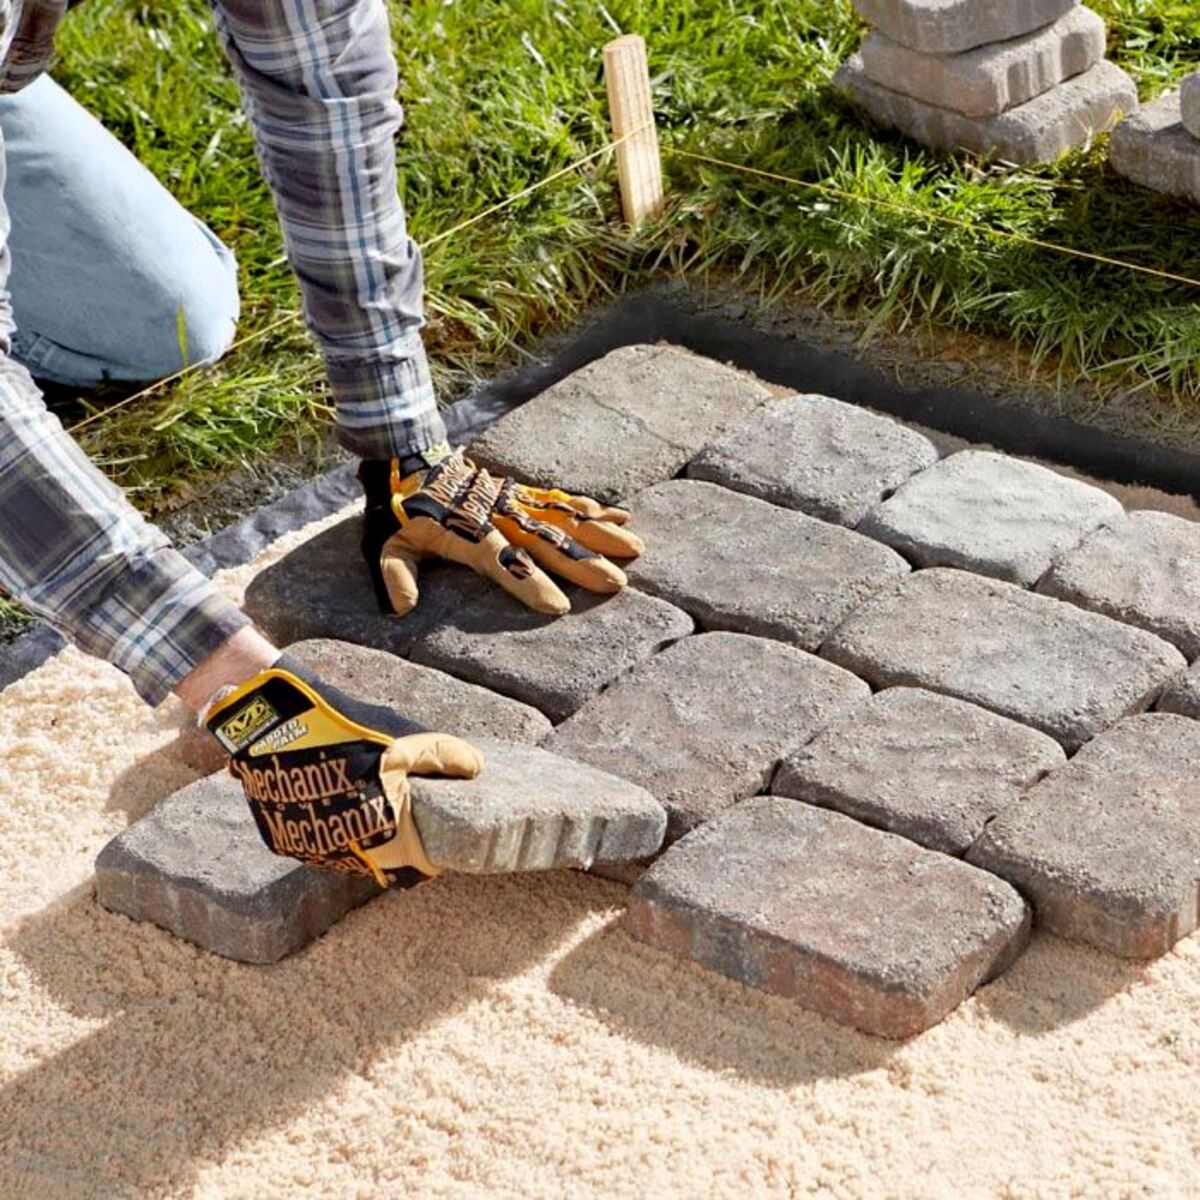
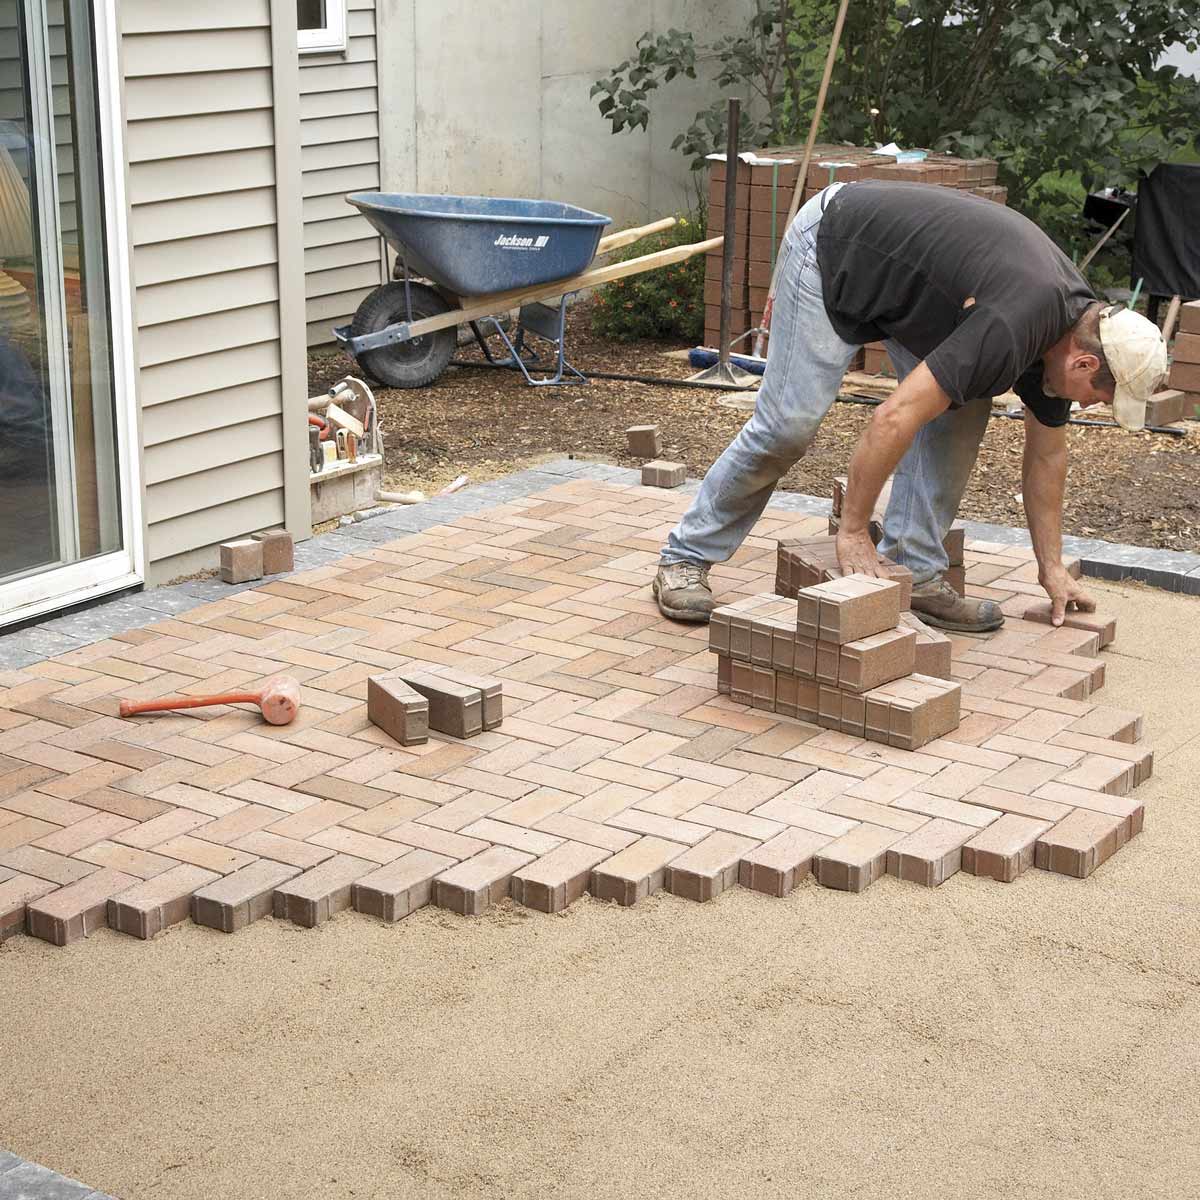
Step 4: Replace Pavers
With the base prepared, it’s time to move on to the exciting part of the repair process: replacing the damaged pavers with new ones.
- Take the replacement pavers that match the size, shape, and color of the ones you removed. Double-check that they fit snugly into the vacant spaces without any gaps or misalignment.
- Starting from one corner of the patio, carefully place the replacement pavers into their respective spots. Press them down firmly, ensuring they are level with the surrounding pavers and properly seated in the sand bed.
- Continue working your way across the patio, placing the replacement pavers one by one. Take your time to ensure they are aligned correctly and fit securely in their designated spaces.
- If necessary, use a rubber mallet or hammer to gently tap the pavers into place. Be cautious not to damage the pavers or disturb the surrounding ones while doing so.
- For areas where you need to cut the pavers to fit, use a masonry saw or paver splitter to make precise cuts. Measure carefully and make small adjustments as needed to achieve a perfect fit.
- As you replace the pavers, periodically check for proper alignment and levelness. Adjust as needed to maintain a uniform and visually appealing surface.
- If you need to install any edge restraints or border pavers, do so at this stage. Follow the manufacturer’s instructions for proper installation.
Replacing the pavers requires attention to detail and precision to ensure a seamless repair. Take your time during this step to ensure that the new pavers fit properly, align correctly, and create a visually pleasing patio space.
To fix a paver patio, start by removing any damaged pavers and leveling the base. Then, add a layer of sand and replace the pavers, making sure they are properly spaced and level. Finally, compact the pavers and fill the joints with sand to secure them in place.
Read more: What Is A Paver Patio
Step 5: Level and Compact Pavers
After replacing the pavers, it’s important to ensure that they are level and tightly secured in place. This step will provide stability and longevity to your repaired paver patio. Here’s how to level and compact the pavers:
- Using a level, check the surface of the patio to ensure that the newly replaced pavers are level and even with the surrounding ones. If you notice any areas that are higher or lower than the rest, gently adjust the pavers by tapping them with a rubber mallet until they are aligned correctly.
- Once the pavers are level, it’s time to compact them. Start by sweeping fine-grain polymeric jointing sand into the spaces between the pavers.
- Use a broom or a brush to ensure the sand fills all the gaps evenly. Move the broom back and forth to work the sand into the joints thoroughly.
- Once the joints are filled with sand, use a compactor or plate compactor to compress the pavers gently. This will help to settle the sand and lock the pavers in place.
- Be sure to follow the manufacturer’s instructions for the compactor and take care not to apply excessive force that could damage the pavers.
- After compacting, sweep away any excess sand from the surface of the patio using a broom. This will prevent loose sand from interfering with the next step of the repair process.
Leveling and compacting the pavers is crucial for both the aesthetic appeal and the structural integrity of your patio. It ensures that the pavers are securely in place and eliminates any potential tripping hazards caused by uneven surfaces.
Now that your pavers are leveled and compacted, it’s time to move on to the next step in the repair process: applying joint sand.
Step 6: Apply Joint Sand
Once the pavers are level and compacted, the next step in the repair process is to apply joint sand. Joint sand helps stabilize the pavers and prevents weed growth, erosion, and shifting. Follow these steps to properly apply joint sand:
- Make sure the paver surface is clean and free from any debris or excess sand.
- Choose a high-quality polymeric joint sand that is suitable for your specific paver type and climate.
- Pour the joint sand onto the surface of the patio, directly over the paver joints.
- Using a broom or brush, sweep the sand into the joints, ensuring it fills each gap completely.
- Continue sweeping and brushing the sand until it is evenly distributed and fills all the joints.
- Once the joints are filled, use a leaf blower or a fine mist of water to lightly wet the sand. This helps activate the polymeric properties of the sand and aids in the setting process.
- Follow the manufacturer’s instructions for the specific joint sand you are using, as some may require additional steps or specific curing times.
- Allow the joint sand to fully set and dry before allowing foot traffic or additional activities on the patio.
The application of joint sand is crucial for maintaining the stability and longevity of your patio. It locks the pavers together, minimizing movement and preventing weed growth and erosion between the joints.
Once the joint sand has set, you’re almost done with the repair process! The final step is to seal the patio to provide added protection and enhance its overall appearance.
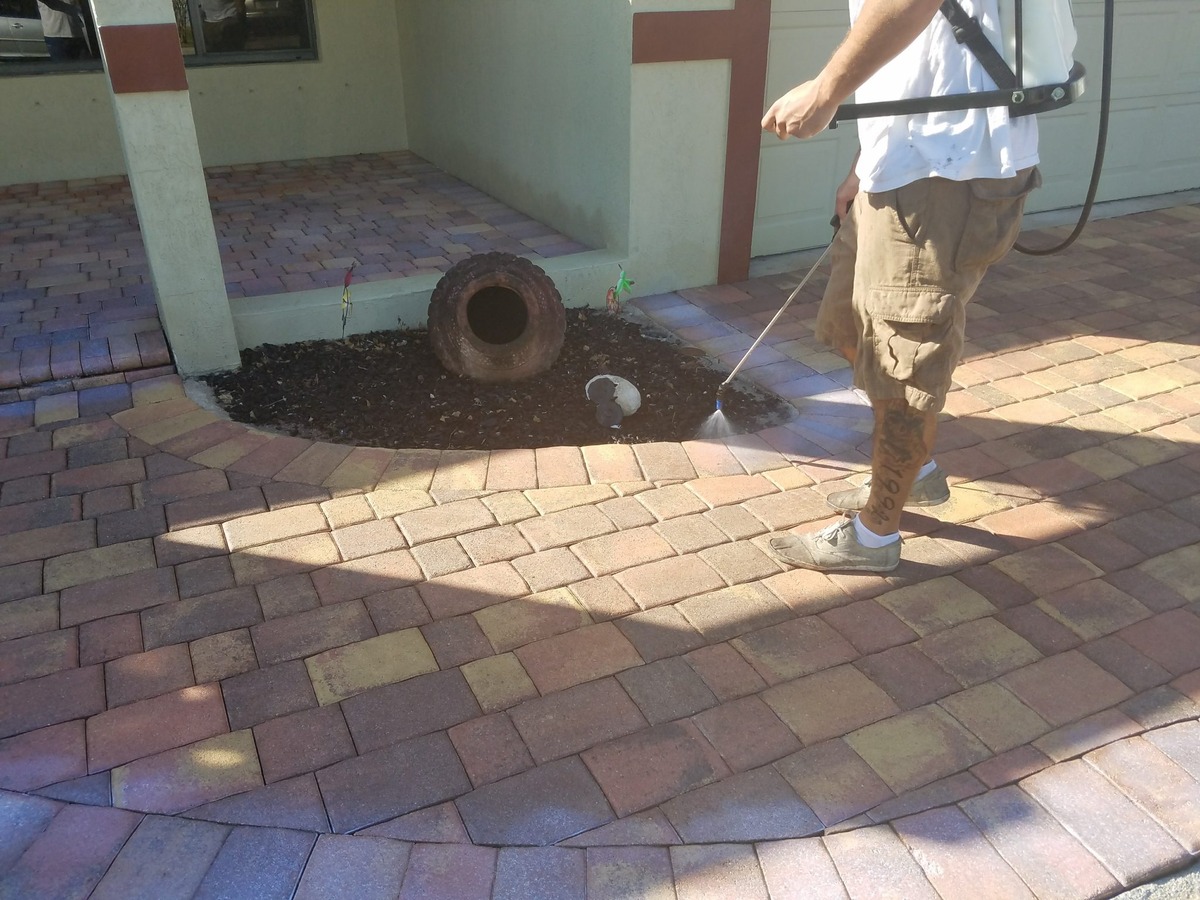
Step 7: Seal the Patio
The final step in the paver patio repair process is to seal the patio. Sealing not only enhances the appearance of the patio but also provides added protection against stains, weathering, and UV damage. Follow these steps to properly seal your patio:
- Ensure that the patio is clean and dry before applying the sealer. Remove any debris or dirt using a broom or leaf blower.
- Choose a high-quality paver sealer that is suitable for your specific paver material. Consider factors such as durability, climate resistance, and the desired finish.
- Read and follow the manufacturer’s instructions for the sealer, including any recommended application techniques and drying times.
- Use a paint roller or a sprayer to evenly apply the sealer to the surface of the patio. Work in small sections to ensure thorough coverage.
- Pay special attention to the joints between the pavers, as they tend to be more porous. Apply an extra coat of sealer to these areas to provide additional protection.
- Allow the sealer to dry according to the manufacturer’s instructions. This typically takes several hours, but can vary depending on the sealer type and weather conditions.
- Once the sealer is fully dry, you can enjoy your beautifully repaired and sealed paver patio.
Sealing your patio not only enhances its visual appeal but also extends its lifespan by protecting it from the elements. Regular maintenance and resealing every few years will help preserve the beauty and integrity of your paver patio for years to come.
Congratulations! You have successfully completed the repair process for your paver patio. By following these steps and taking the time to properly assess, remove, replace, level, compact, apply joint sand, and seal your patio, you have restored it to its former glory. Now, it’s time to relax, entertain, and enjoy your outdoor oasis.
Conclusion
Repairing a paver patio may seem like a daunting task, but by following the steps outlined in this guide, you can easily tackle the job and restore your outdoor space. Remember, taking the time to assess the damage, remove the damaged pavers, prepare the base, replace the pavers, level and compact them, apply joint sand, and seal the patio will result in a long-lasting and beautiful paver patio that you can enjoy for years to come.
Throughout the repair process, it’s important to prioritize safety and attention to detail. Use proper protective gear, take your time, and ensure that each step is completed thoroughly. If you’re unsure about any aspect of the repair, don’t hesitate to seek advice from a professional or a local home improvement store. They can provide guidance and answer any questions you may have.
Once your paver patio is repaired, don’t forget to regularly maintain it. Sweep away debris, clean any stains promptly, and reapply sealer as needed. This maintenance will help extend the life and beauty of your patio, ensuring that it remains a stunning feature of your outdoor living space.
Now that you have the knowledge and guidance to fix a paver patio, it’s time to get started. Gather your materials, assess the damage, and embark on this rewarding project. With a little bit of effort, you’ll have a renewed and inviting outdoor space where you can relax, entertain, and enjoy the beauty of nature.
Frequently Asked Questions about How To Fix A Paver Patio
Was this page helpful?
At Storables.com, we guarantee accurate and reliable information. Our content, validated by Expert Board Contributors, is crafted following stringent Editorial Policies. We're committed to providing you with well-researched, expert-backed insights for all your informational needs.


0 thoughts on “How To Fix A Paver Patio”