Home>Home Appliances>Laundry Appliances>How To Clean The Agitator In A GE Washing Machine

Laundry Appliances
How To Clean The Agitator In A GE Washing Machine
Modified: August 27, 2024
Learn how to effectively clean the agitator in your GE washing machine for optimal performance and longevity. Expert tips for maintaining your laundry appliances.
(Many of the links in this article redirect to a specific reviewed product. Your purchase of these products through affiliate links helps to generate commission for Storables.com, at no extra cost. Learn more)
Introduction
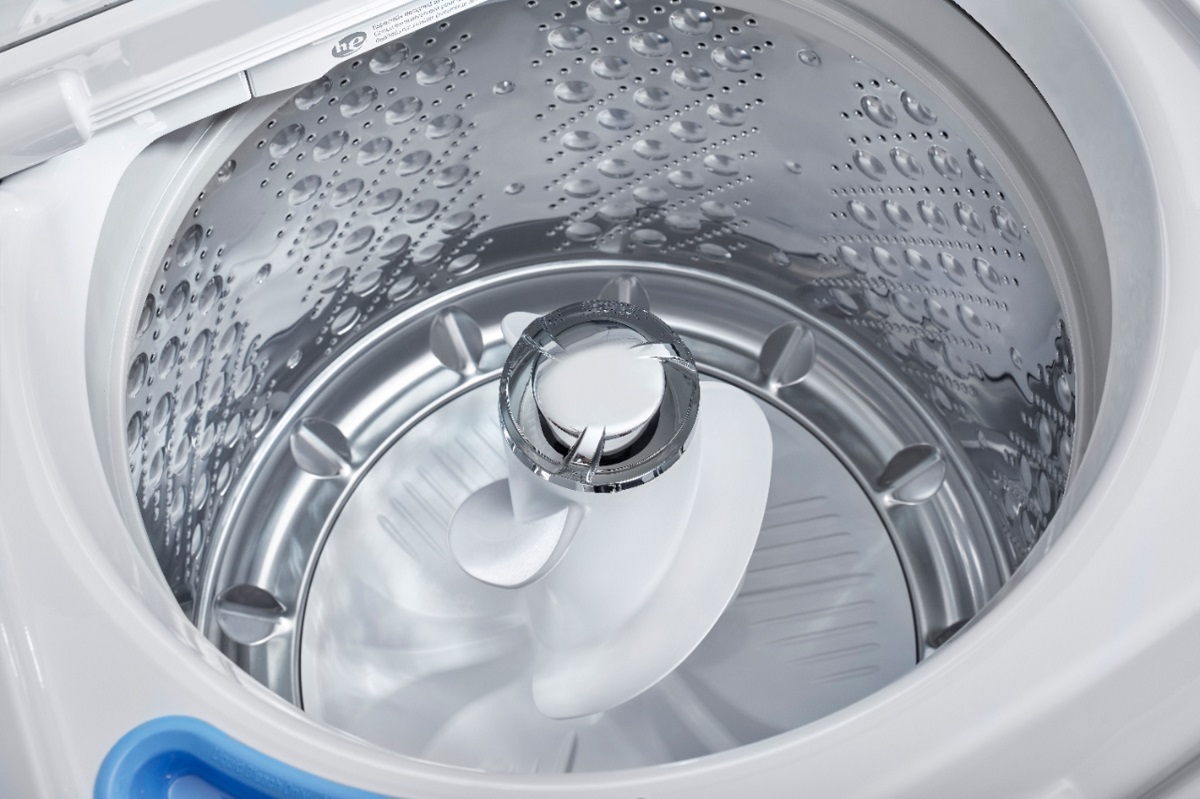
Maintaining a clean and well-functioning washing machine is essential for ensuring the longevity of your appliance and the cleanliness of your laundry. Over time, the agitator in a GE washing machine can accumulate dirt, grime, and detergent residue, which can lead to unpleasant odors and reduced washing efficiency. Fortunately, cleaning the agitator is a relatively simple task that can be performed with basic tools and a little know-how.
In this comprehensive guide, we will walk you through the step-by-step process of cleaning the agitator in your GE washing machine. By following these instructions, you can restore your washing machine's performance and keep your laundry fresh and clean. With just a few tools and some elbow grease, you can tackle this maintenance task with confidence and achieve satisfying results.
Regular maintenance of your washing machine, including cleaning the agitator, can help prevent the buildup of mold, mildew, and other contaminants that can compromise the cleanliness of your clothes. By taking the time to clean the agitator, you can ensure that your washing machine operates at its best, providing you with fresh, clean laundry load after load.
Now, let's gather the necessary tools and materials and dive into the process of removing, cleaning, and reassembling the agitator in your GE washing machine. With a little effort, you can restore your washing machine to its optimal condition and enjoy the benefits of a well-maintained appliance.
Key Takeaways:
- Regularly cleaning the agitator in your GE washing machine with mild detergent, vinegar, and baking soda can help maintain its efficiency and keep your laundry fresh and clean.
- Reassembling the agitator properly after cleaning is crucial for ensuring smooth washing cycles and prolonging the lifespan of your GE washing machine.
Read more: How To Clean An Agitator Washing Machine
Tools and Materials Needed
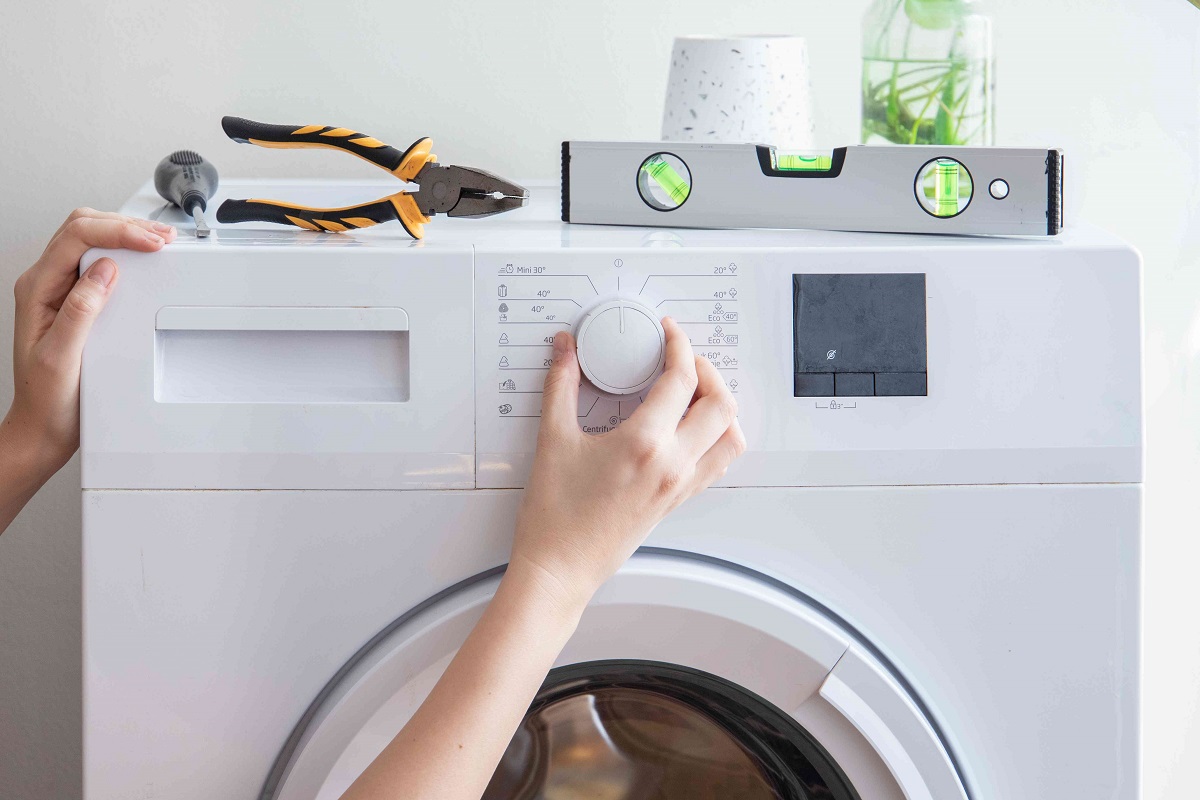
Before embarking on the task of cleaning the agitator in your GE washing machine, it's essential to gather the necessary tools and materials to ensure a smooth and efficient process. Here's a comprehensive list of what you'll need:
Tools:
- Adjustable Wrench: This versatile tool will be used to loosen and remove the bolt securing the agitator to the driveshaft.
- Flathead Screwdriver: A flathead screwdriver is handy for prying off the agitator cap, providing access to the agitator bolt.
- Bucket: Having a bucket on hand will allow you to collect any water that may spill out during the agitator removal process.
- Cleaning Brush: A small cleaning brush or an old toothbrush will be useful for scrubbing away dirt and grime from the agitator components.
- Mild Detergent: Using a mild detergent will help effectively clean the agitator without causing damage to the components.
- Clean Cloth or Sponge: Having a clean cloth or sponge available will allow you to wipe down the agitator and surrounding areas after cleaning.
Materials:
- White Vinegar: White vinegar is an excellent natural cleaner that can help dissolve mineral deposits and remove odors from the agitator.
- Warm Water: Having warm water on hand will aid in the cleaning process, helping to loosen and remove stubborn dirt and residue.
- Optional: Baking Soda: If the agitator has tough stains or odors, baking soda can be used as a gentle abrasive cleaner to tackle these issues.
By ensuring that you have these tools and materials readily available, you can streamline the process of cleaning the agitator in your GE washing machine. With these items at your disposal, you'll be well-equipped to tackle the task with confidence and achieve satisfying results.
Removing the Agitator
Removing the agitator from your GE washing machine is a crucial step in the cleaning process. Before beginning, ensure that the washing machine is unplugged to prevent any accidents. Here's a detailed guide on how to remove the agitator:
-
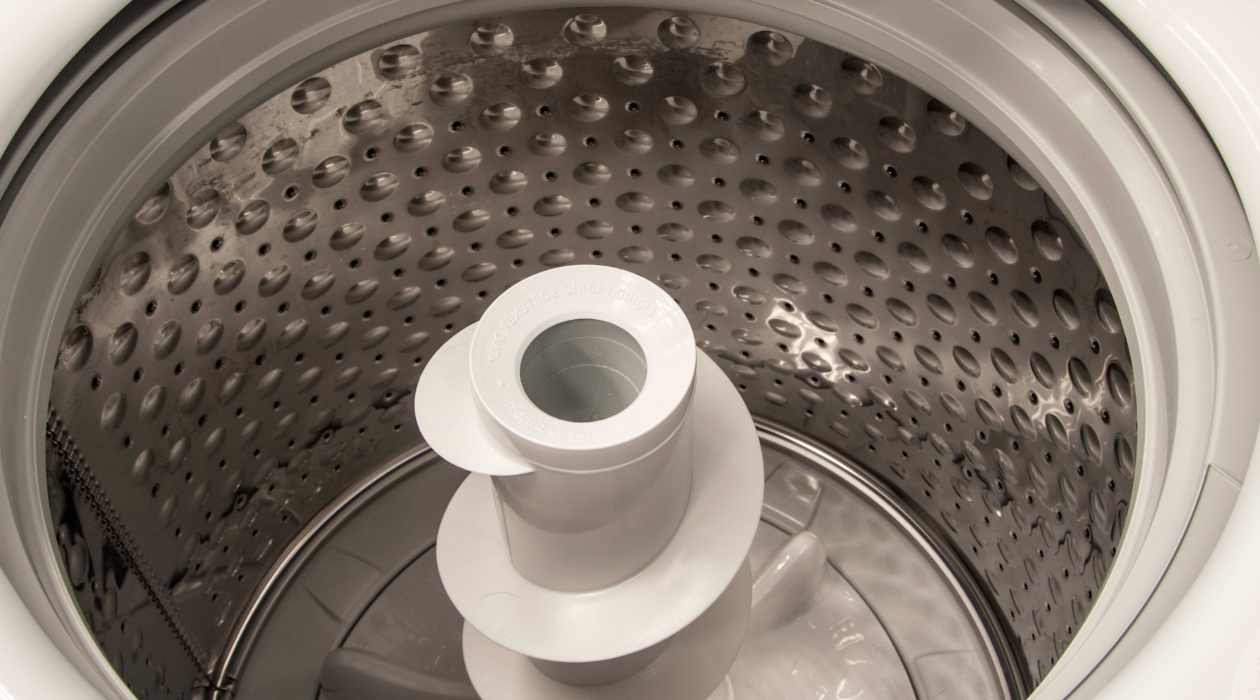
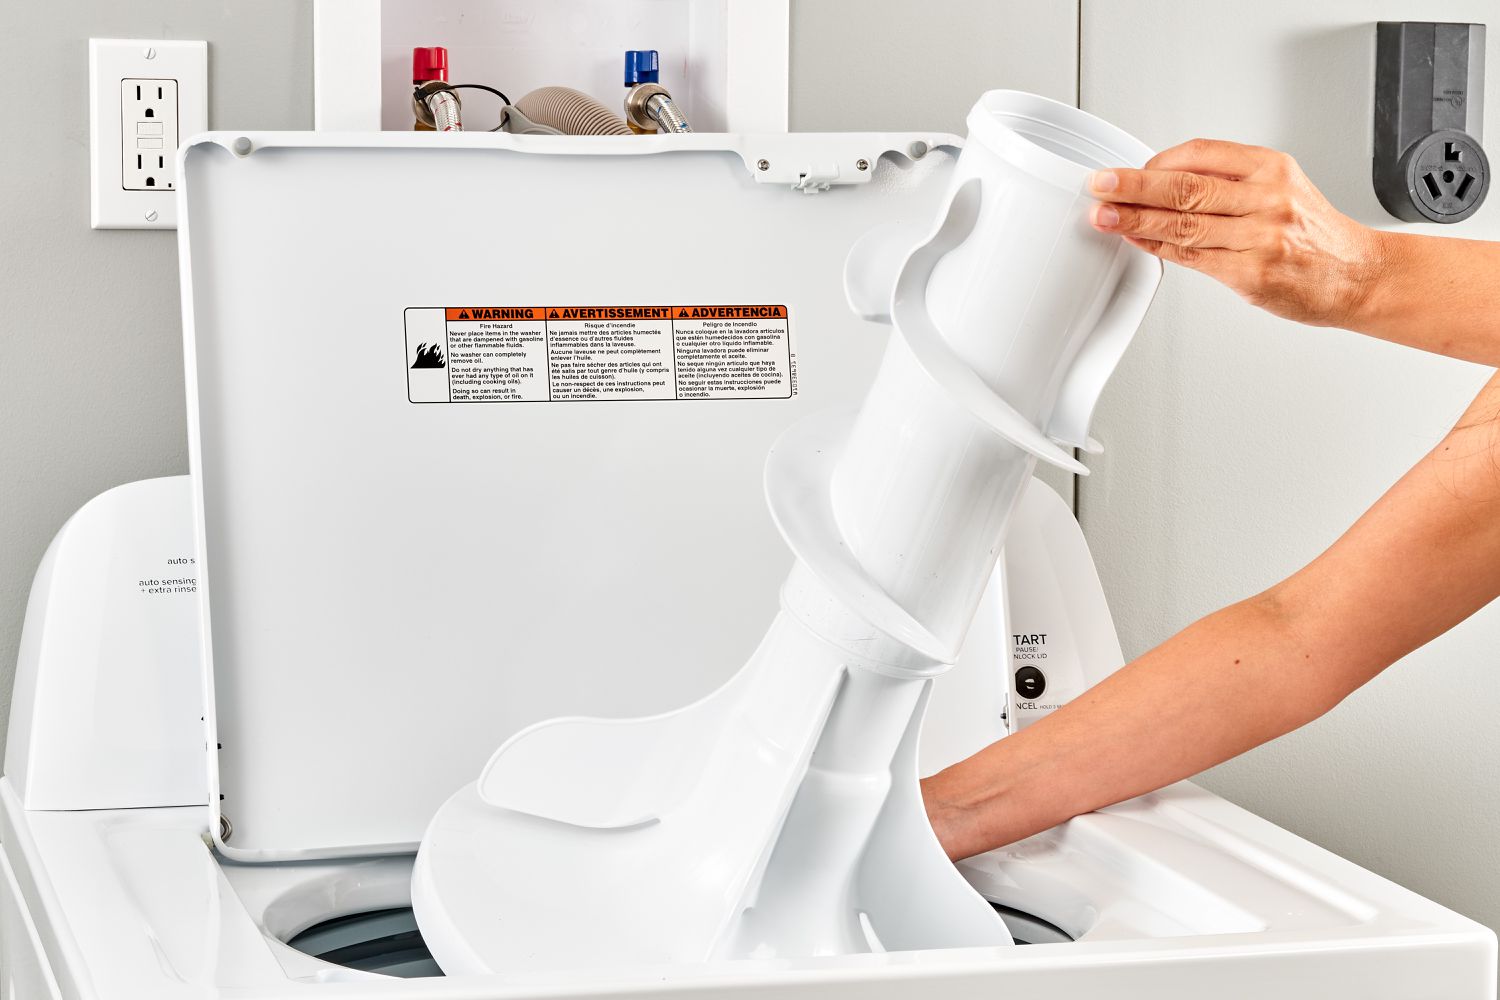
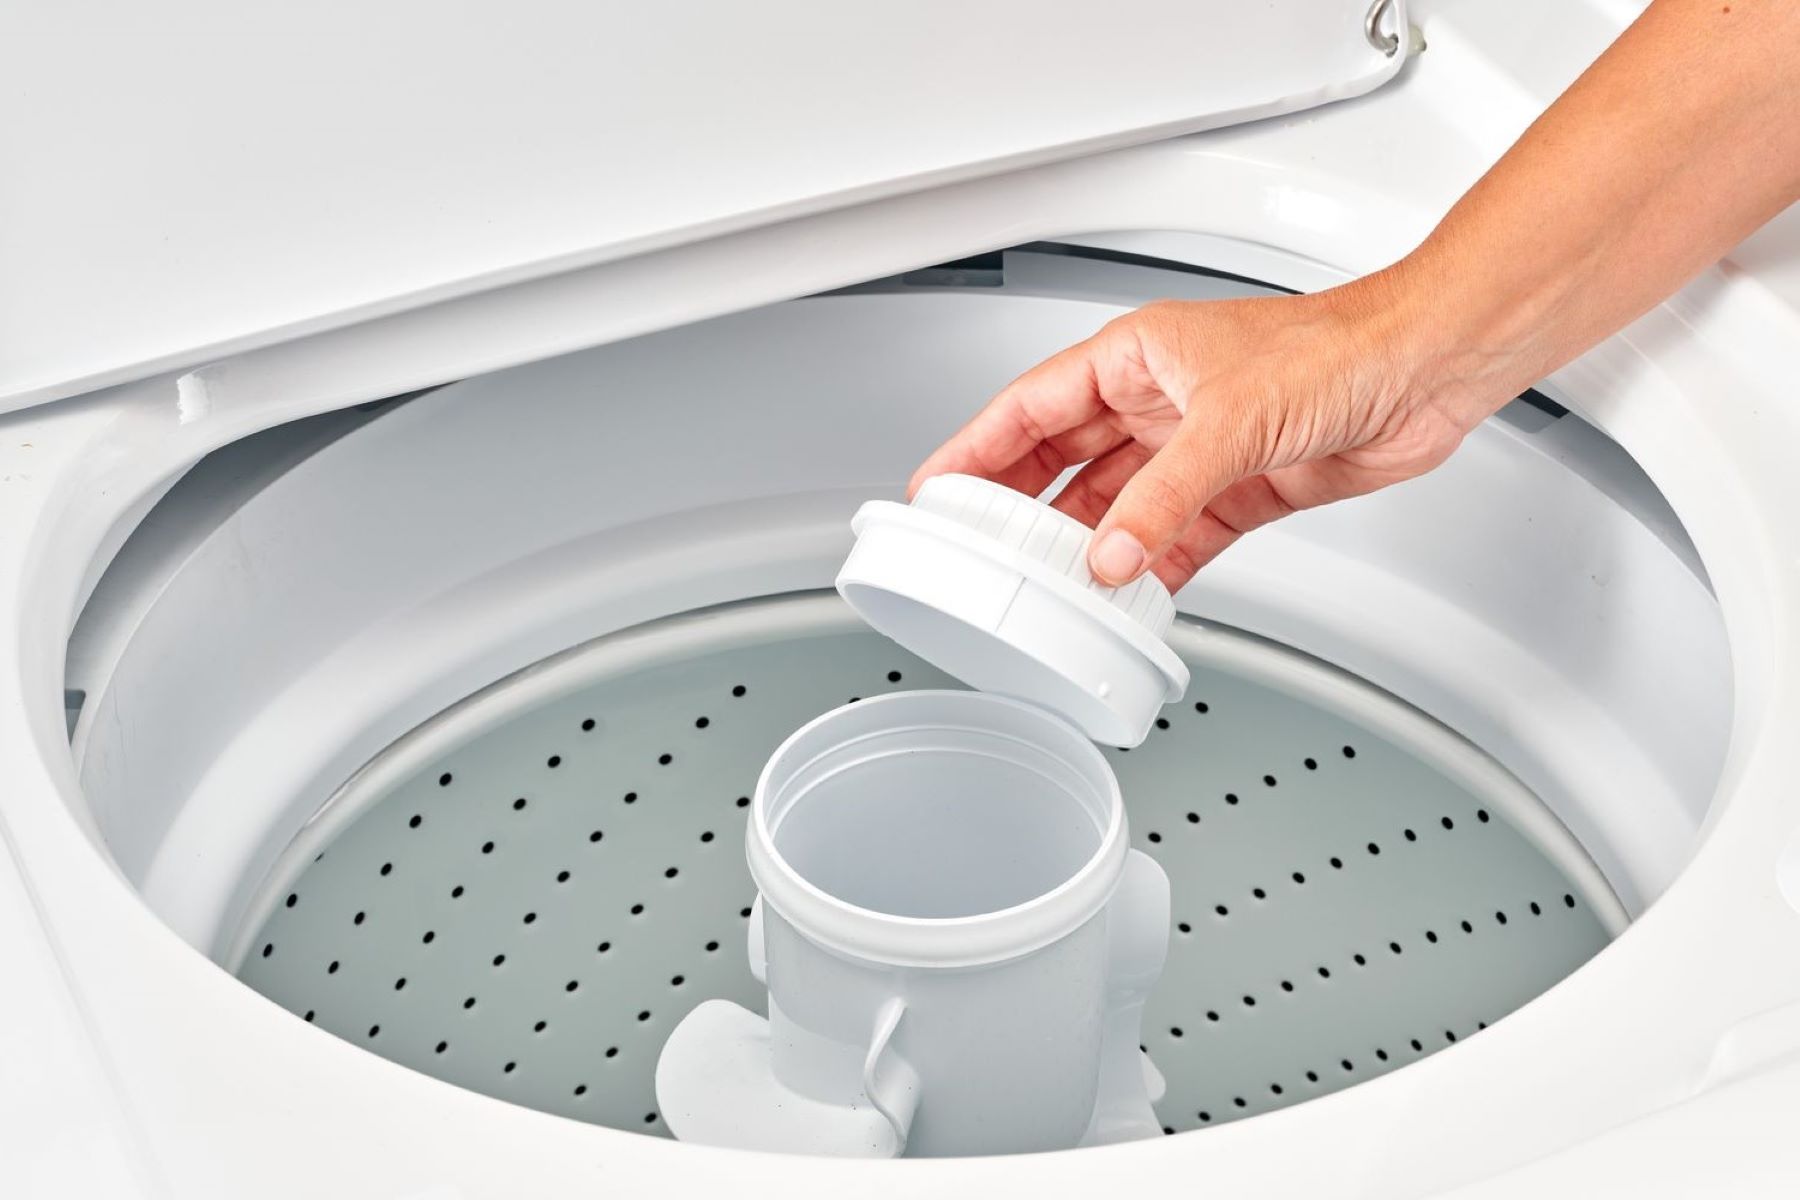
Accessing the Agitator: Start by lifting the fabric softener dispenser or cap from the top of the agitator. Underneath, you may find a plastic or fabric softener dispenser that can be easily removed by pulling it upwards. If there is a cap covering the agitator bolt, use a flathead screwdriver to gently pry it off.
-
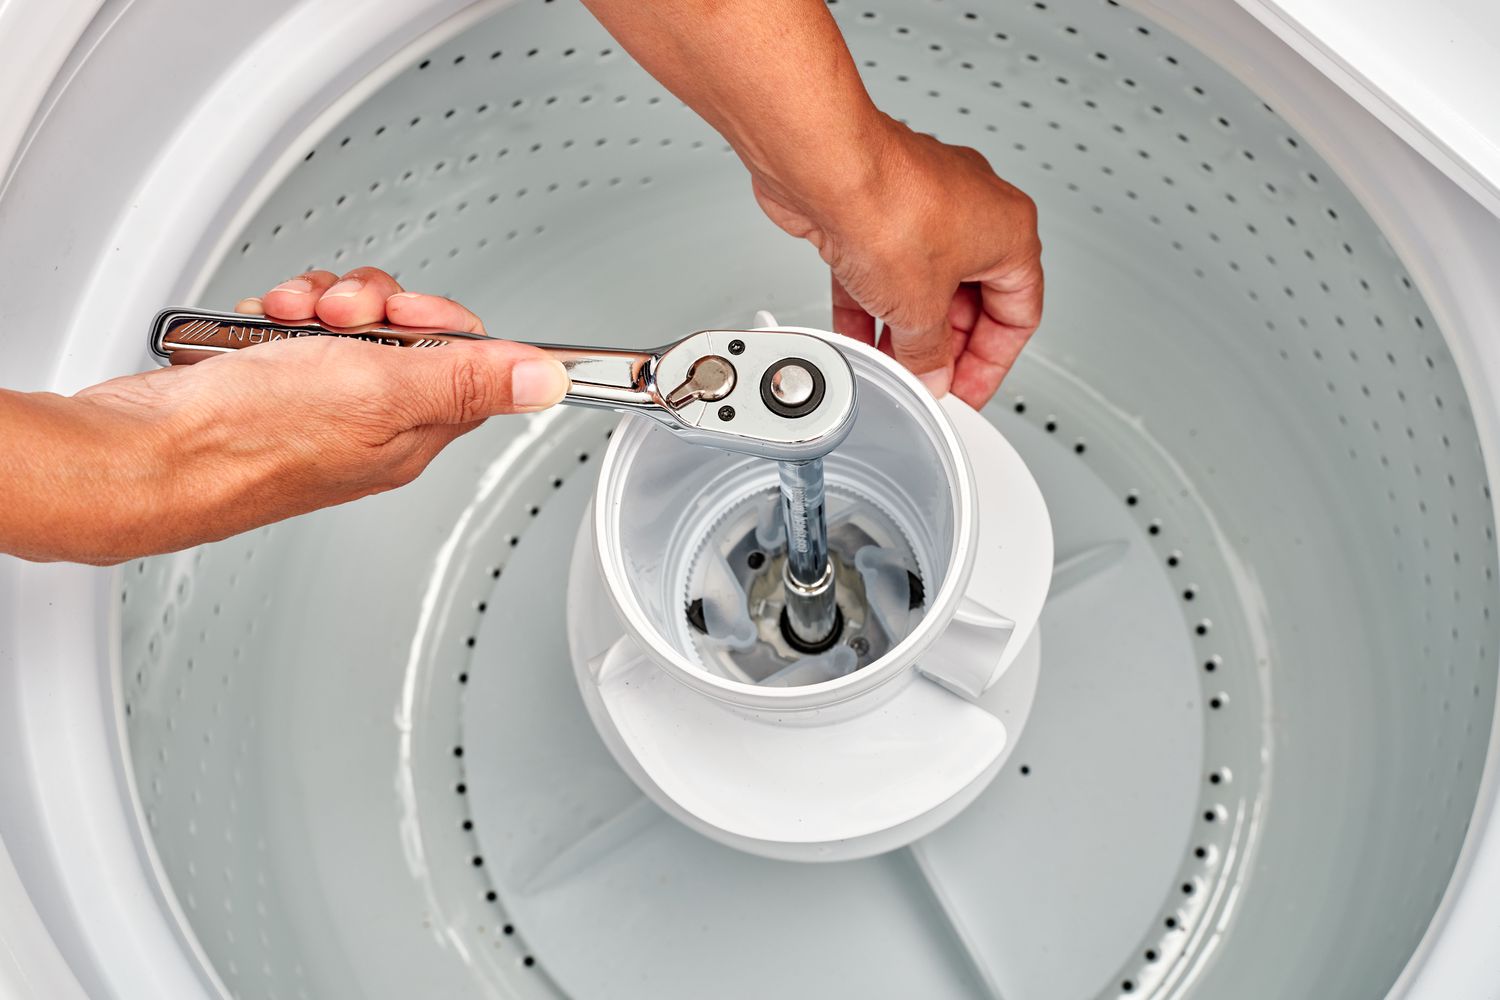
Locating the Agitator Bolt: Once the cap or dispenser is removed, you will see the agitator bolt. Use an adjustable wrench to loosen and remove the bolt. In some models, you may need to hold the agitator in place while loosening the bolt to prevent it from rotating along with the bolt.
-
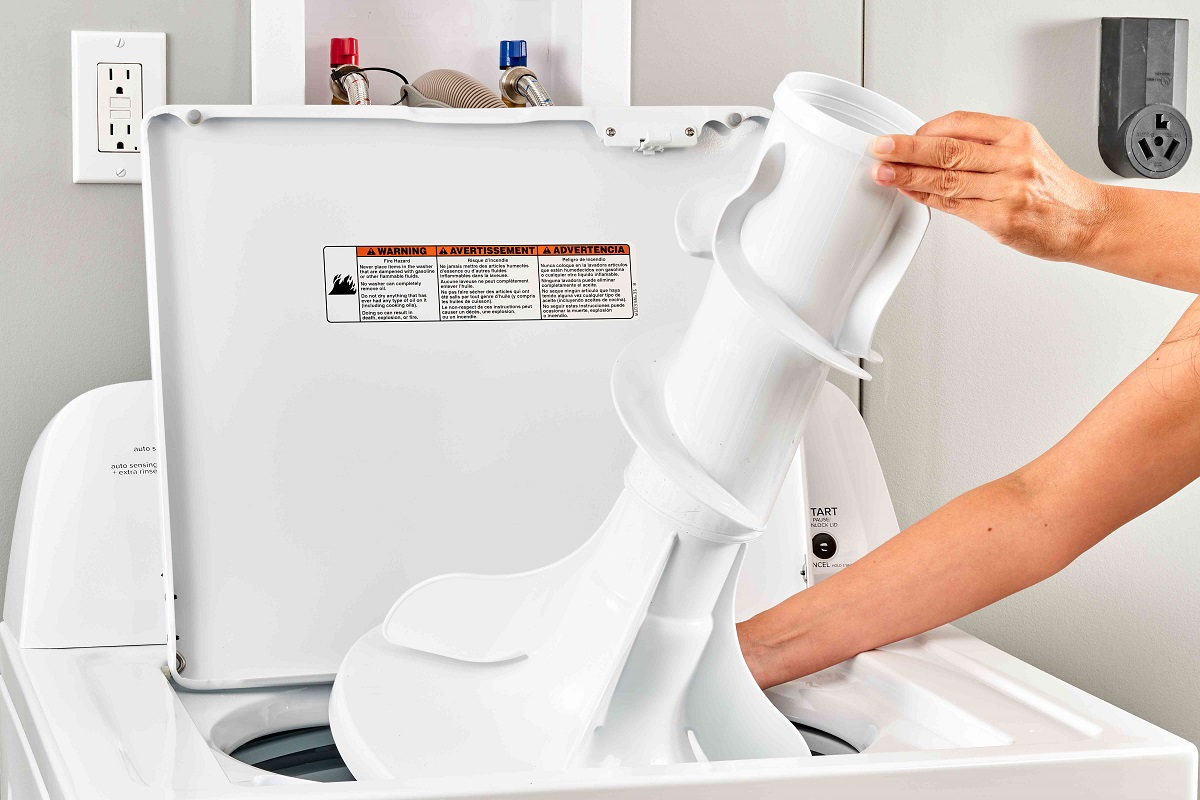
Removing the Agitator: With the bolt removed, grasp the bottom of the agitator and pull it upwards. If the agitator is stubbornly stuck, gently rock it back and forth to loosen it from the driveshaft. As you lift the agitator, be mindful of any attached components, such as agitator dogs or cogs, which may come loose during the removal process.
-
Collecting Any Spilled Water: As you lift the agitator, it's common for a small amount of water to spill out from the bottom. Place a bucket or towel beneath the agitator to catch any spilled water, preventing it from reaching the floor or interior of the washing machine.
By following these steps, you can successfully remove the agitator from your GE washing machine, gaining access to the components that require cleaning. With the agitator removed, you can proceed to the next phase of the maintenance process, which involves thoroughly cleaning the agitator to ensure optimal performance and cleanliness.
Cleaning the Agitator
With the agitator successfully removed from your GE washing machine, it's time to focus on cleaning the various components to eliminate dirt, grime, and detergent residue. Follow these steps to ensure a thorough cleaning process:
-
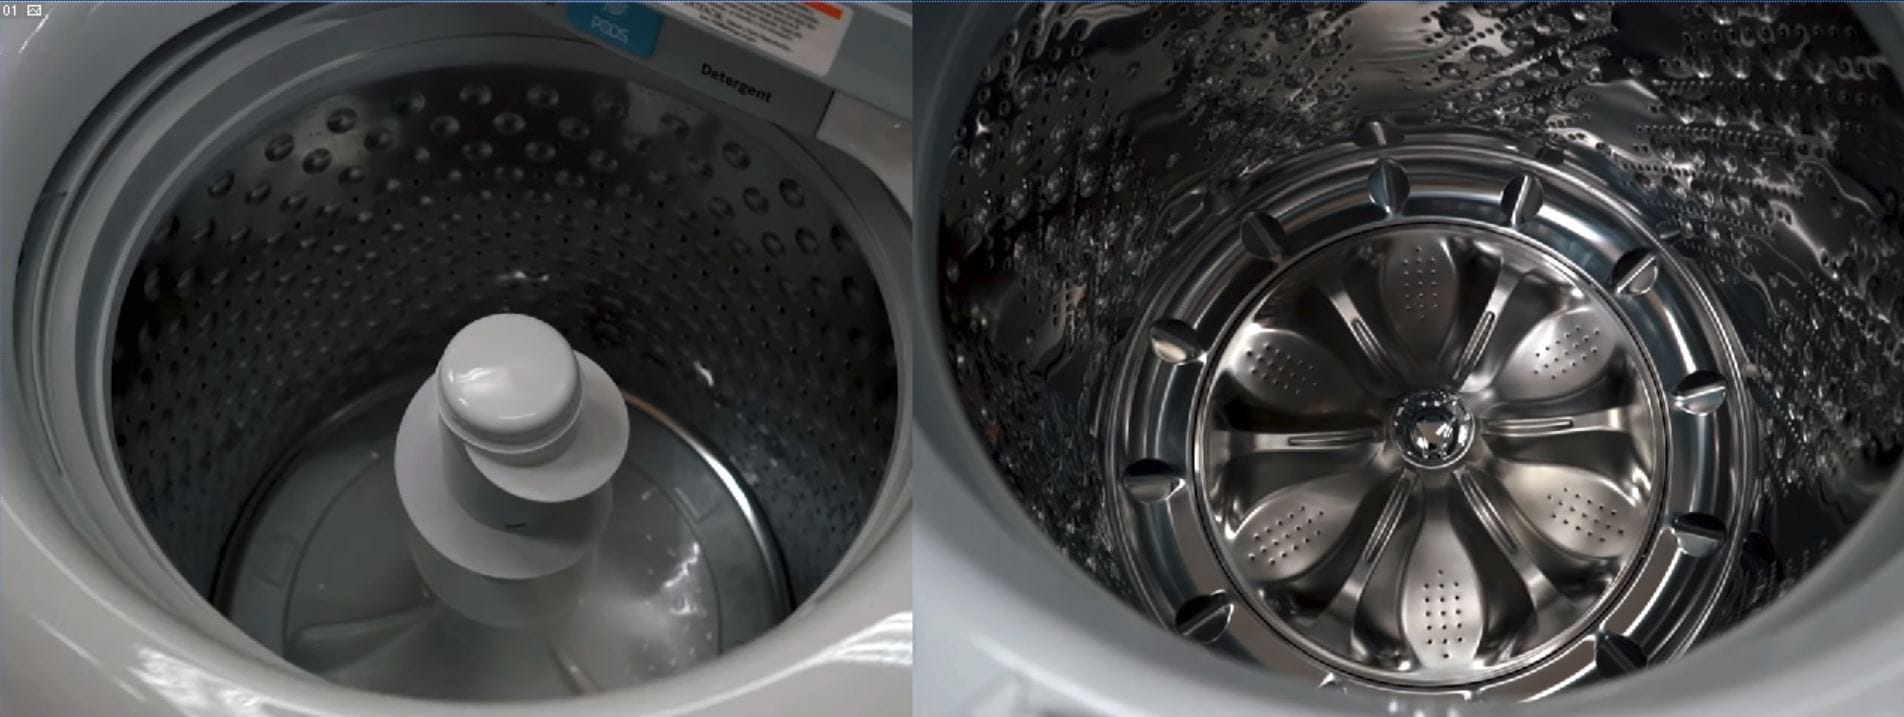
Inspecting the Agitator Components: Take a close look at the agitator, including the agitator dogs or cogs, to assess the level of buildup and grime. If these components are worn or damaged, this is an opportune time to replace them to maintain the agitator's effectiveness.
-
Soaking in a Cleaning Solution: Prepare a cleaning solution by mixing warm water with a mild detergent. Submerge the agitator in this solution, allowing it to soak for a period to loosen any stubborn residue. For enhanced cleaning, you can add a cup of white vinegar to the solution, which helps dissolve mineral deposits and eliminate odors.
-
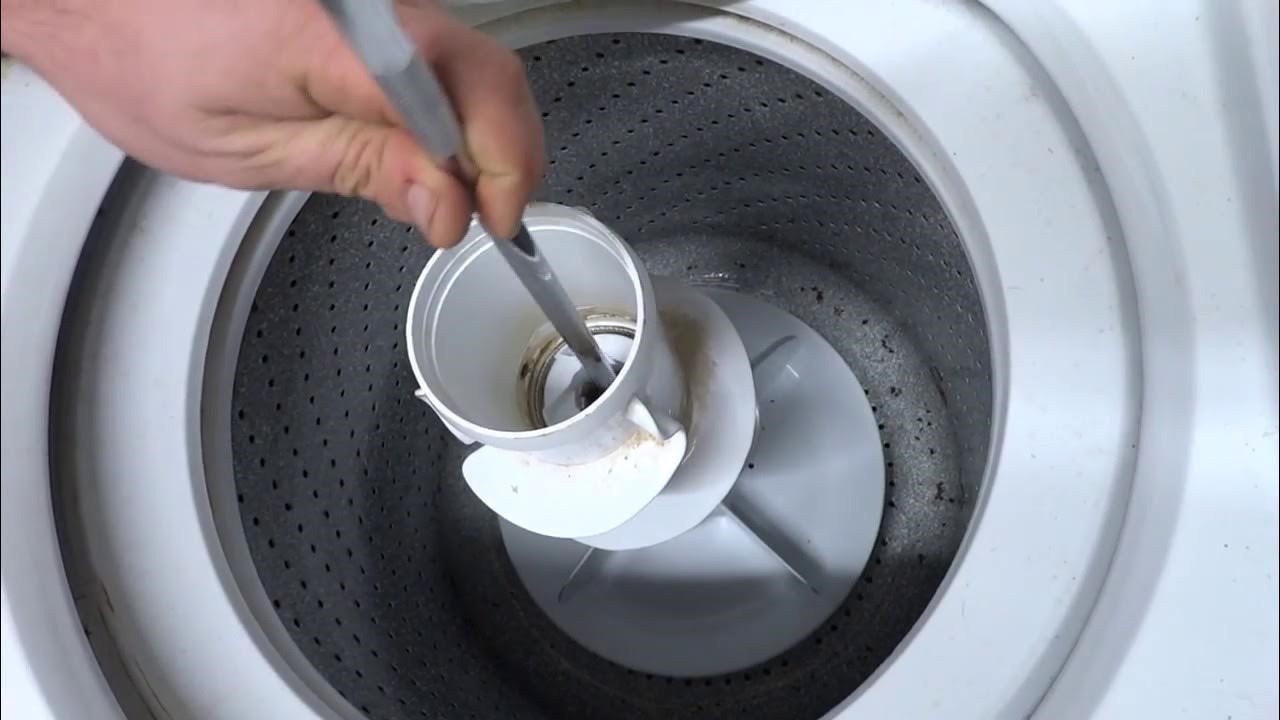
Scrubbing Away Dirt and Grime: Using a cleaning brush or an old toothbrush, gently scrub the agitator to dislodge dirt and grime. Pay particular attention to crevices and hard-to-reach areas where residue may have accumulated. For tough stains or odors, sprinkle a small amount of baking soda on the agitator and scrub it in to act as a gentle abrasive cleaner.
-
Rinsing and Drying: After thorough scrubbing, rinse the agitator with clean water to remove any remaining cleaning solution and residue. Ensure that all detergent and vinegar are completely washed away. Once rinsed, use a clean cloth or sponge to dry the agitator thoroughly, ensuring that no moisture remains before reassembling it.
-
Inspecting and Replacing Agitator Dogs or Cogs: While cleaning the agitator, inspect the agitator dogs or cogs for wear and tear. If these components show signs of damage or excessive wear, consider replacing them to maintain the agitator's efficiency in agitating the laundry during the wash cycle.
By following these steps, you can effectively clean the agitator in your GE washing machine, ensuring that it is free from dirt, grime, and residue that can compromise its performance. A clean agitator contributes to a more hygienic and efficient laundry process, allowing you to enjoy fresh and clean clothes with every wash.
Remember, regular cleaning and maintenance of the agitator can prolong the life of your washing machine and contribute to the overall cleanliness of your laundry. With the agitator now clean and refreshed, you can proceed to reassemble it and complete the maintenance process.
Reassembling the Agitator
After thoroughly cleaning the agitator components, it's time to reassemble the agitator in your GE washing machine. Proper reassembly is crucial to ensure that the agitator functions effectively and that the washing machine operates optimally. Follow these steps to reassemble the agitator with precision and care:
-
Inspecting the Agitator Components: Before reassembly, carefully inspect the agitator and its associated parts. Ensure that the agitator dogs or cogs are in good condition and free from excessive wear. If any components appear worn or damaged, consider replacing them to maintain the agitator's efficiency.
-
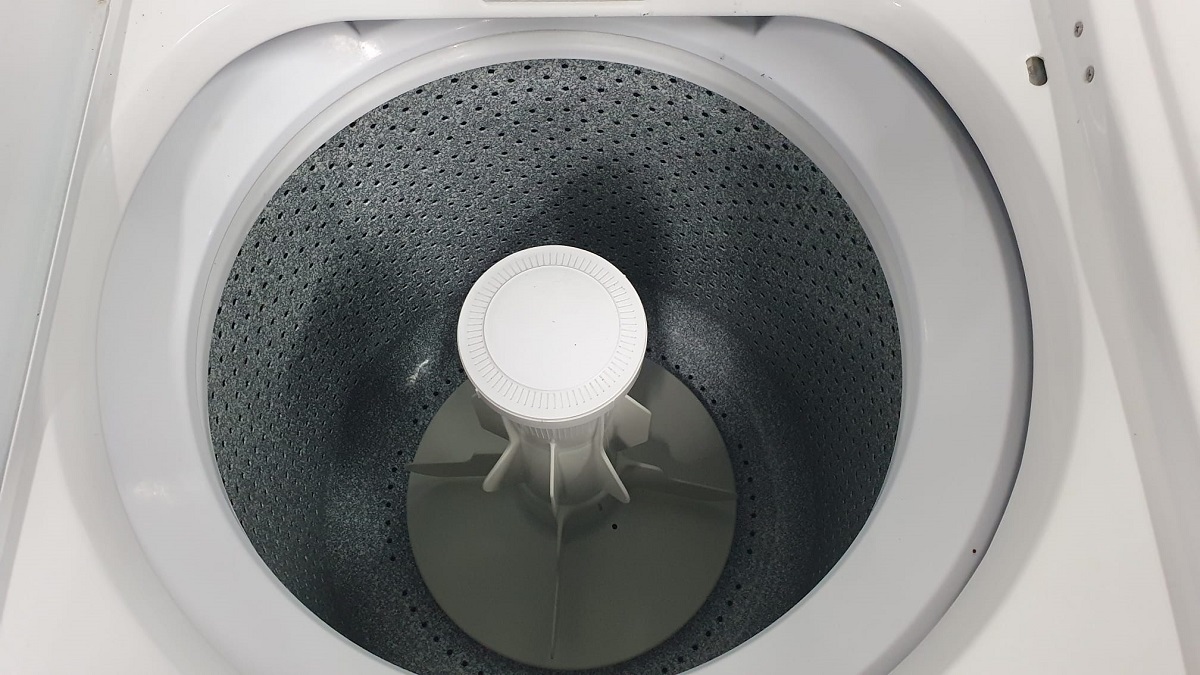
Positioning the Agitator on the Driveshaft: Align the agitator with the driveshaft in the center of the washing machine's tub. Ensure that the agitator is positioned correctly and that it sits flush with the bottom of the tub. Proper alignment is essential for the agitator to function smoothly during the wash cycle.
-
Reattaching the Agitator Bolt: Once the agitator is properly positioned, reattach the agitator bolt and use an adjustable wrench to secure it tightly. Ensure that the bolt is fastened securely to prevent any movement or instability during operation. If necessary, hold the agitator in place while tightening the bolt to ensure a snug fit.
-
Replacing the Agitator Cap or Dispenser: If your GE washing machine features an agitator cap or fabric softener dispenser, carefully place it back in its original position. Gently press it down to ensure a secure fit. This step is essential for maintaining the aesthetic and functional integrity of the agitator assembly.
-
Testing the Agitator: Once the agitator is reassembled, perform a brief test to ensure that it rotates smoothly and without any unusual noises or vibrations. Run a short wash cycle without laundry to observe the agitator's performance and verify that it functions as expected.
By following these steps, you can successfully reassemble the agitator in your GE washing machine, ensuring that it is securely positioned and ready to deliver efficient and effective washing performance. Proper reassembly is a critical aspect of the maintenance process, and attention to detail during this phase contributes to the overall functionality and longevity of your washing machine.
With the agitator reassembled, you have completed the essential maintenance task of cleaning and reassembling the agitator in your GE washing machine. By performing these maintenance steps regularly, you can uphold the cleanliness of your laundry and prolong the lifespan of your washing machine, ensuring that it continues to provide reliable performance load after load.
To clean the agitator in a GE washing machine, start by removing the fabric softener dispenser and then unscrewing the agitator cap. Use a brush and hot soapy water to scrub the agitator and then rinse it thoroughly before reassembling.
Final Steps and Tips
After completing the process of cleaning and reassembling the agitator in your GE washing machine, there are a few final steps and valuable tips to consider to ensure that your appliance continues to operate at its best. These final steps and tips encompass additional measures to maintain the cleanliness and functionality of your washing machine, contributing to a seamless laundry experience.
Final Steps
-
Run a Cleaning Cycle: Once the agitator is reassembled, consider running a cleaning cycle with hot water and a washing machine cleaner or white vinegar. This additional step helps eliminate any remaining residue or odors within the washing machine, including the agitator and tub, promoting a hygienic environment for your laundry.
-
Inspect and Clean the Tub: While focusing on the agitator, take the opportunity to inspect and clean the interior of the washing machine tub. Wipe down the tub walls and agitator cavity with a clean cloth or sponge to remove any lingering dirt or detergent buildup. Maintaining a clean tub contributes to the overall cleanliness of your laundry.
-
Check for Leaks or Abnormal Noises: After reassembling the agitator and running a test cycle, carefully inspect the washing machine for any leaks or unusual noises. Addressing these issues promptly can prevent potential damage to the appliance and ensure that it continues to function reliably.
Tips for Ongoing Maintenance
-
Regular Cleaning Schedule: Establish a regular cleaning schedule for your washing machine, including the agitator, tub, and other components. Consistent maintenance helps prevent the buildup of dirt, grime, and odors, preserving the cleanliness of your laundry and the longevity of the appliance.
-
Use High-Efficiency Detergent: Opt for high-efficiency (HE) detergent when washing your laundry. HE detergents are formulated to produce fewer suds, reducing the likelihood of residue buildup in the agitator and washing machine components.
-
Leave the Lid Open: After completing a laundry cycle, leave the washing machine lid open to allow air circulation and prevent the growth of mold or mildew. Allowing the interior of the washing machine to dry thoroughly helps maintain a clean and odor-free environment.
-
Address Stains Promptly: If you notice stains or spills inside the washing machine, address them promptly to prevent them from setting and causing lingering odors. Wipe down any spills or residue and consider running a rinse cycle to maintain a fresh-smelling washing machine.
By incorporating these final steps and tips into your washing machine maintenance routine, you can uphold the cleanliness and functionality of your GE washing machine. Consistent care and attention to detail contribute to a positive laundry experience, ensuring that your clothes emerge fresh and clean with every wash.
Frequently Asked Questions about How To Clean The Agitator In A GE Washing Machine
Was this page helpful?
At Storables.com, we guarantee accurate and reliable information. Our content, validated by Expert Board Contributors, is crafted following stringent Editorial Policies. We're committed to providing you with well-researched, expert-backed insights for all your informational needs.

0 thoughts on “How To Clean The Agitator In A GE Washing Machine”