Home>Home Appliances>Laundry Appliances>How To Clean An Agitator Washing Machine
Laundry Appliances
How To Clean An Agitator Washing Machine
Modified: August 31, 2024
Learn how to effectively clean your agitator washing machine for optimal performance and hygiene. Discover expert tips for maintaining your laundry appliances.
(Many of the links in this article redirect to a specific reviewed product. Your purchase of these products through affiliate links helps to generate commission for Storables.com, at no extra cost. Learn more)
Introduction
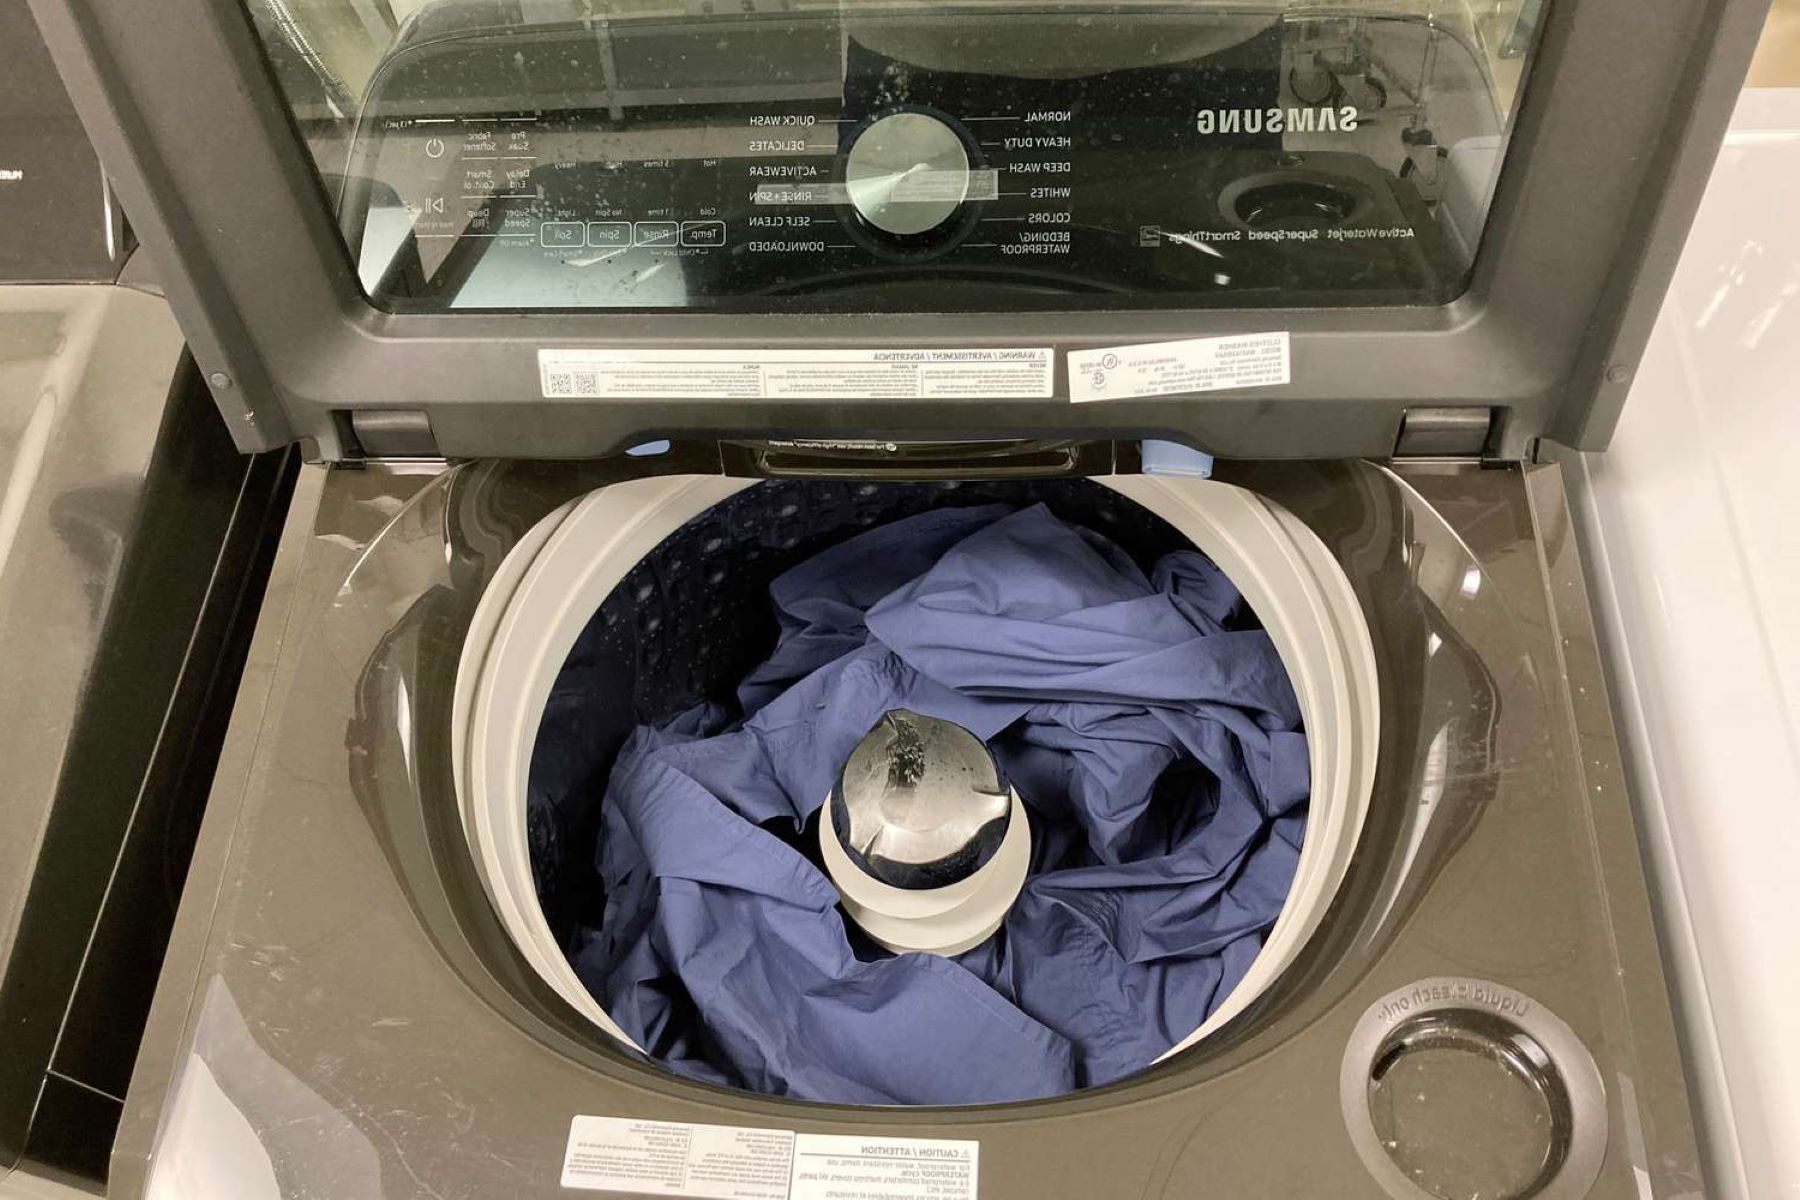
Cleaning an agitator washing machine is an essential maintenance task that ensures your laundry appliances function efficiently and effectively. Over time, residue from detergents, fabric softeners, and minerals from hard water can accumulate in the agitator, leading to unpleasant odors and reduced cleaning performance. By regularly cleaning the agitator, you can prevent these issues and prolong the lifespan of your washing machine.
In this comprehensive guide, we will walk you through the step-by-step process of cleaning an agitator washing machine. From gathering the necessary supplies to reassembling the agitator, each stage is crucial in restoring your washing machine's optimal performance. By following these instructions, you can maintain a clean and odor-free washing machine, ensuring that your laundry emerges fresh and spotless with every wash.
Let's delve into the details of how to clean an agitator washing machine, empowering you to take proactive measures in maintaining your laundry appliances.
Key Takeaways:
- Regularly cleaning your agitator washing machine with vinegar, baking soda, and hot water prevents odors and residue buildup, ensuring fresh and spotless laundry every time.
- Reassembling the agitator correctly after cleaning is crucial for optimal washing machine performance, so follow the steps carefully to enjoy clean and efficient laundry cycles.
Gather Necessary Supplies
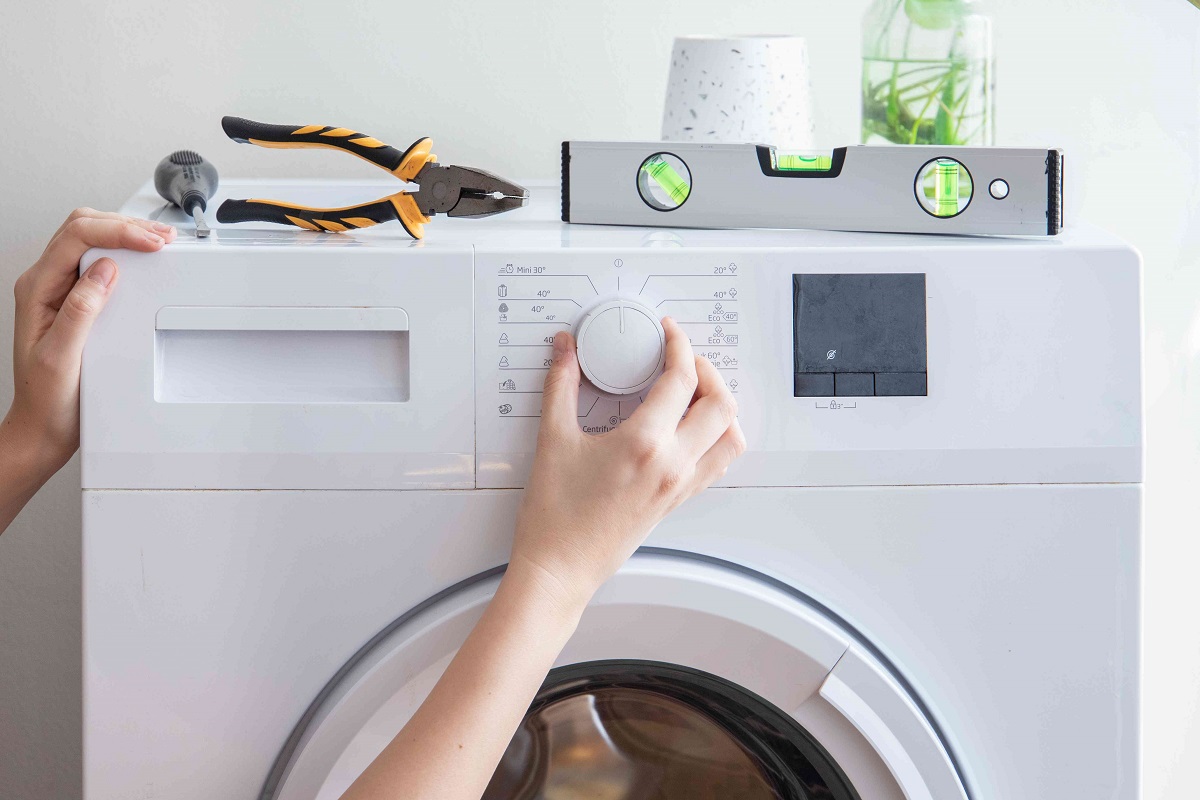
Before embarking on the task of cleaning your agitator washing machine, it's essential to gather the necessary supplies to ensure a thorough and effective cleaning process. Here's a comprehensive list of supplies you'll need:
-
White Vinegar: This natural cleaning agent is highly effective in breaking down mineral deposits and dissolving residue within the agitator.
-
Baking Soda: Known for its deodorizing and abrasive properties, baking soda helps to eliminate odors and gently scrub away grime from the agitator.
-
Soft Bristle Brush: A soft-bristled brush is ideal for scrubbing the agitator and agitator cap without causing damage to the surfaces.
-
Hot Water: Hot water aids in dissolving detergent buildup and effectively rinsing away loosened residue from the agitator.
-
Microfiber Cloth: Use a microfiber cloth to wipe down the agitator and surrounding areas, ensuring a thorough clean and polish.
-
Screwdriver: Depending on the type of agitator, you may need a screwdriver to remove the agitator cap and access the interior components.
-
Rubber Gloves: Protect your hands from cleaning solutions and potential debris by wearing rubber gloves throughout the cleaning process.
By ensuring that you have all these supplies on hand, you can proceed with confidence, knowing that you have everything necessary to clean your agitator washing machine thoroughly. With these supplies at your disposal, you're ready to tackle the next steps in restoring your washing machine to its optimal condition.
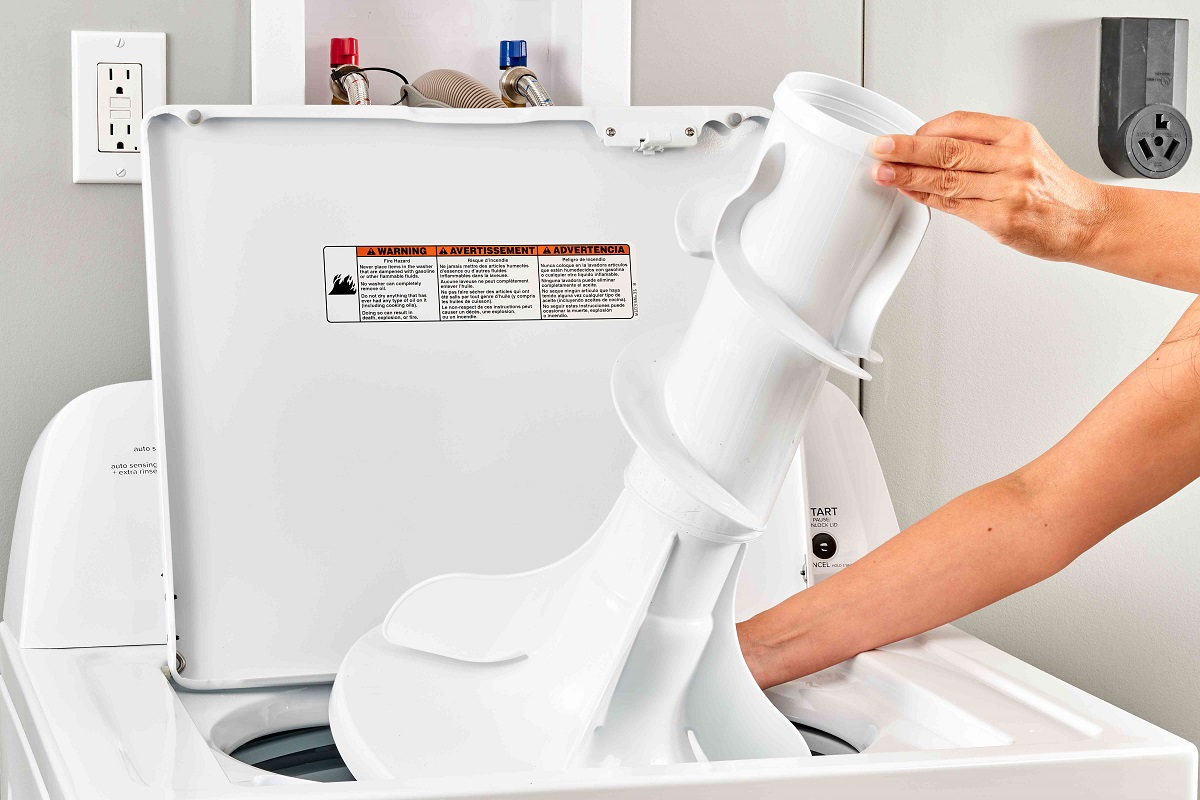
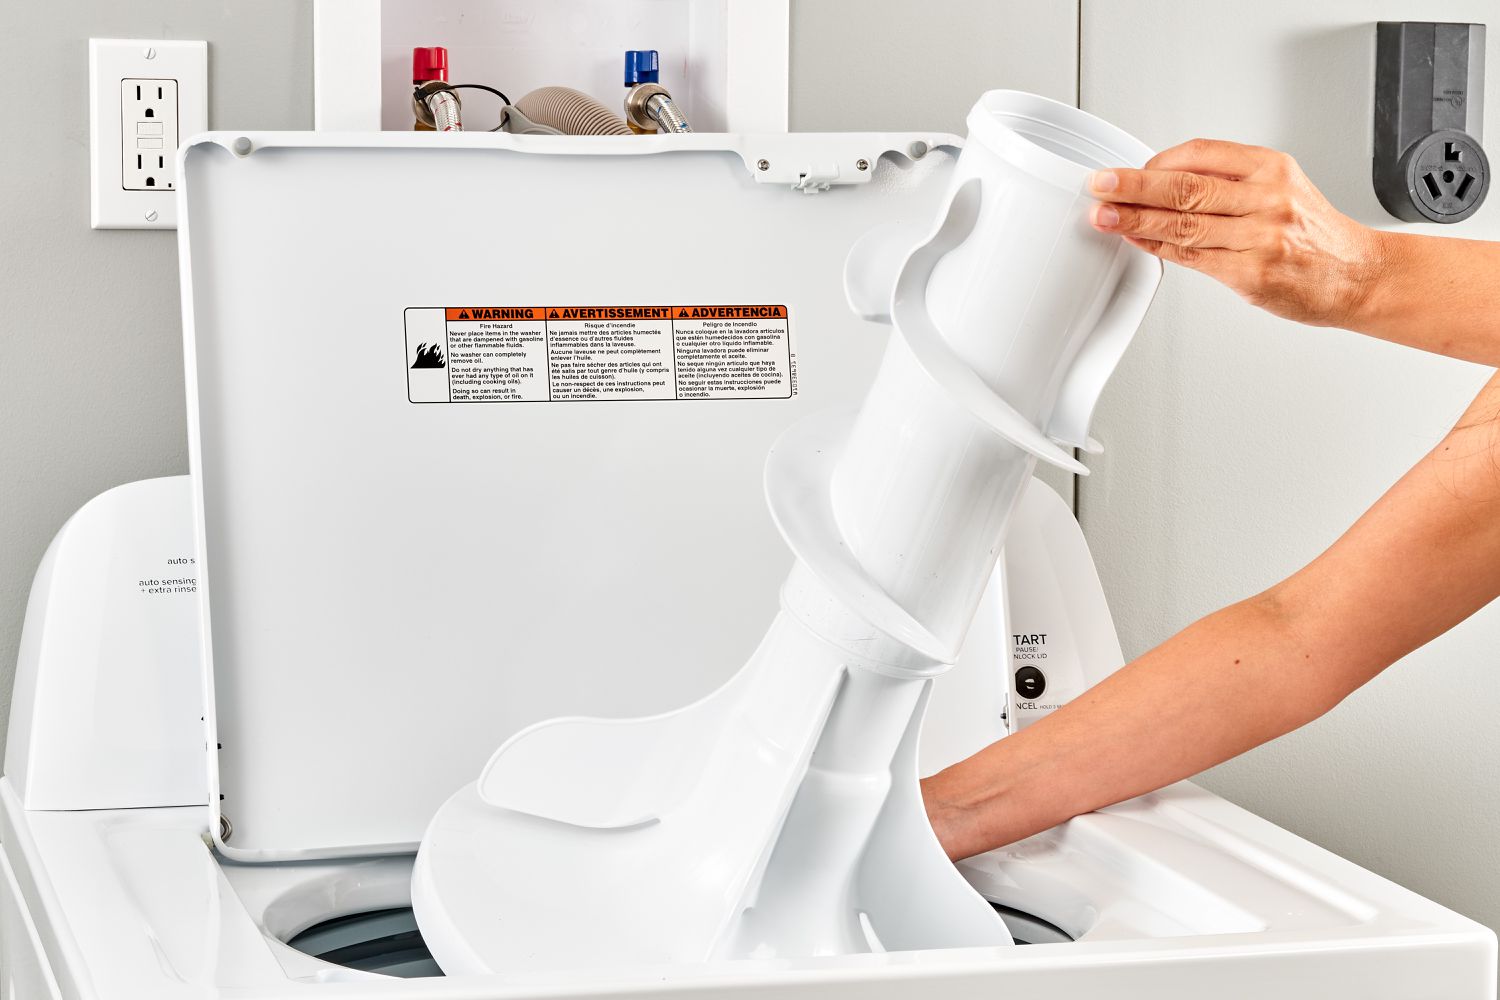
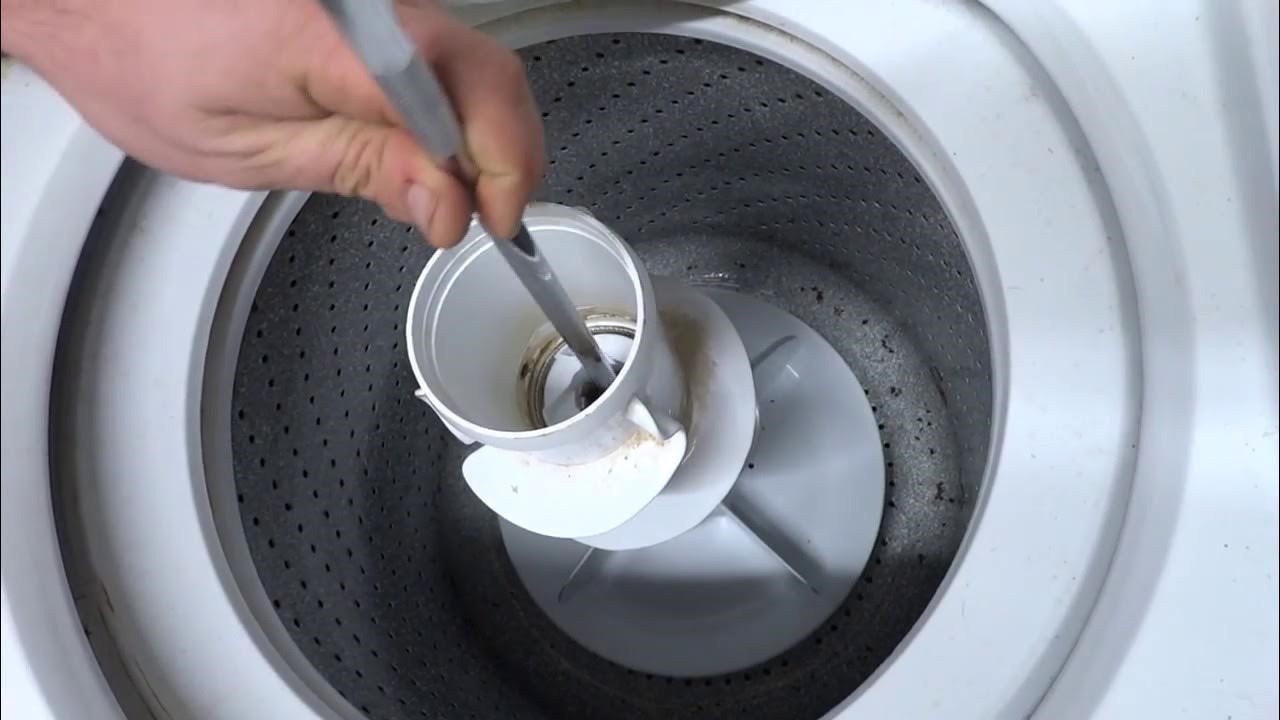
Remove Agitator Cap
Removing the agitator cap is the initial step in accessing the interior components of the agitator for thorough cleaning. The process may vary depending on the type of washing machine, but the following general steps will guide you through this essential task.
-
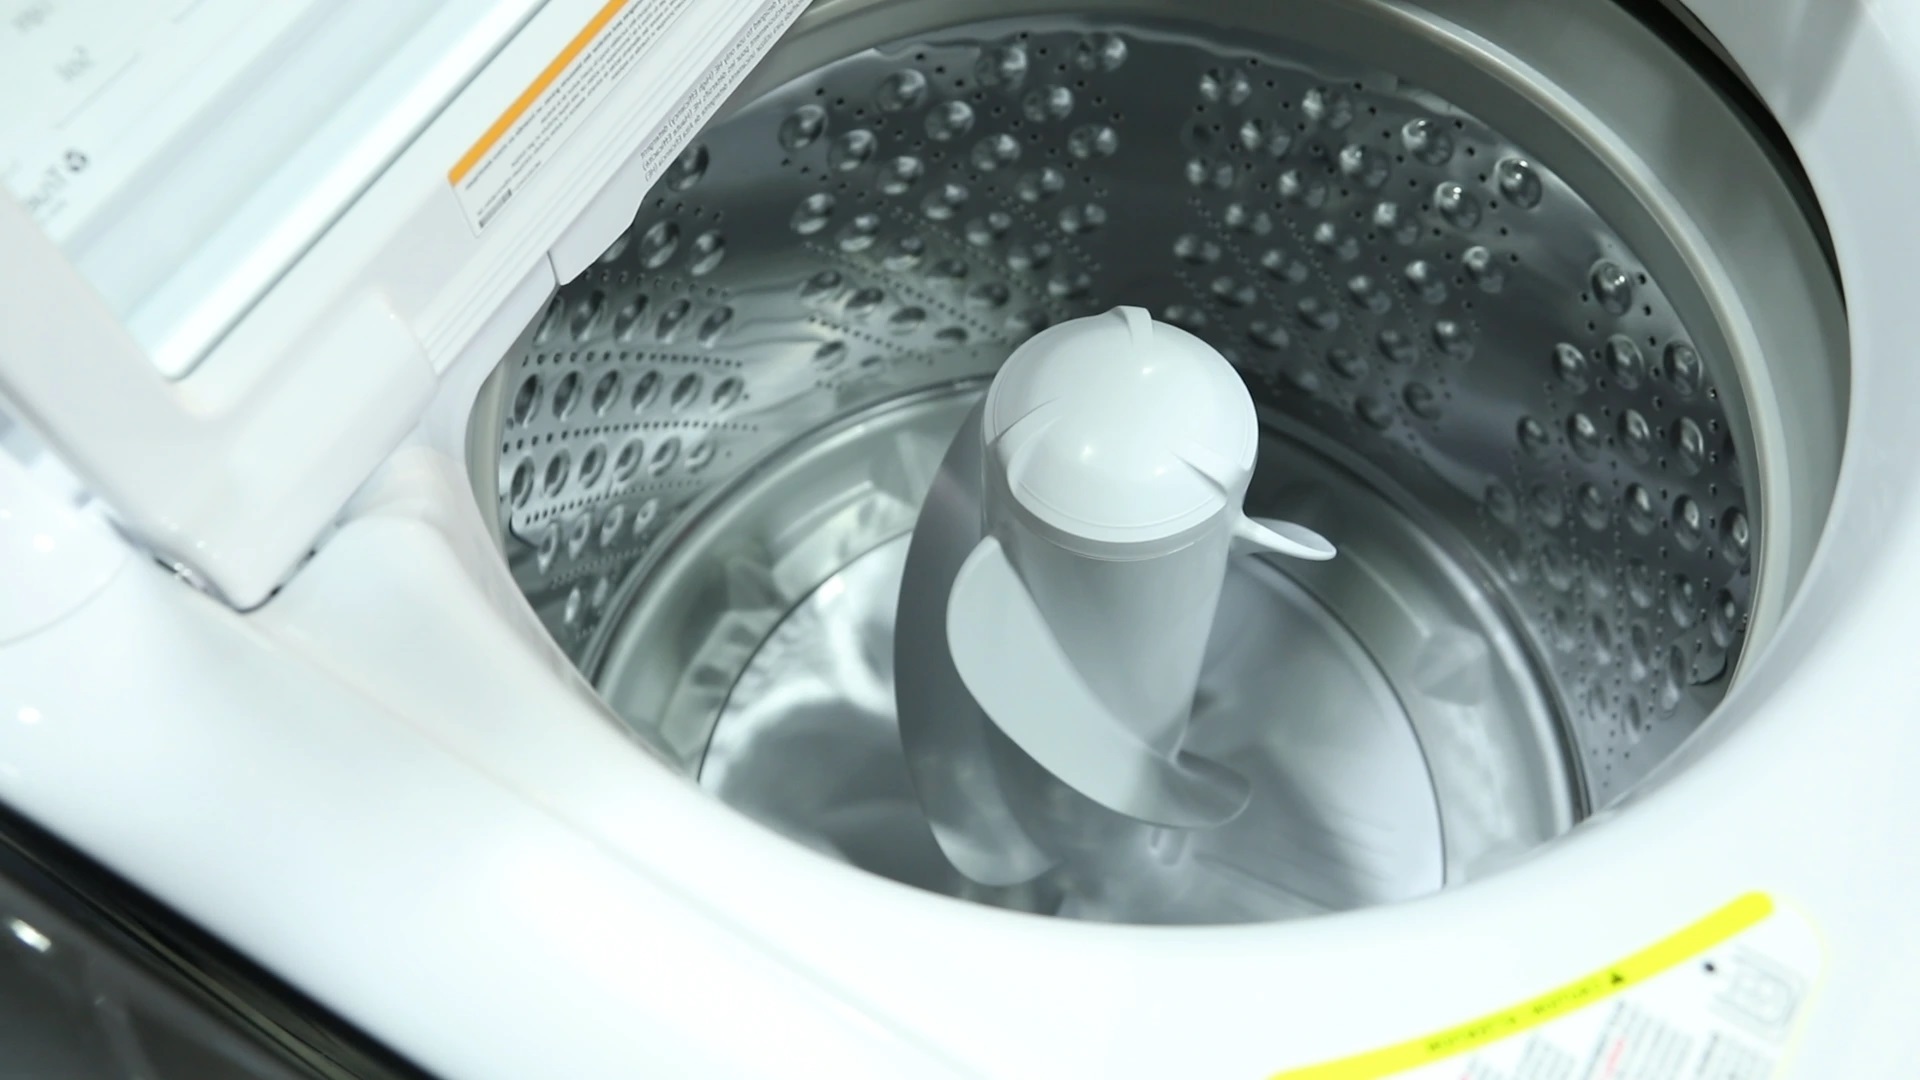
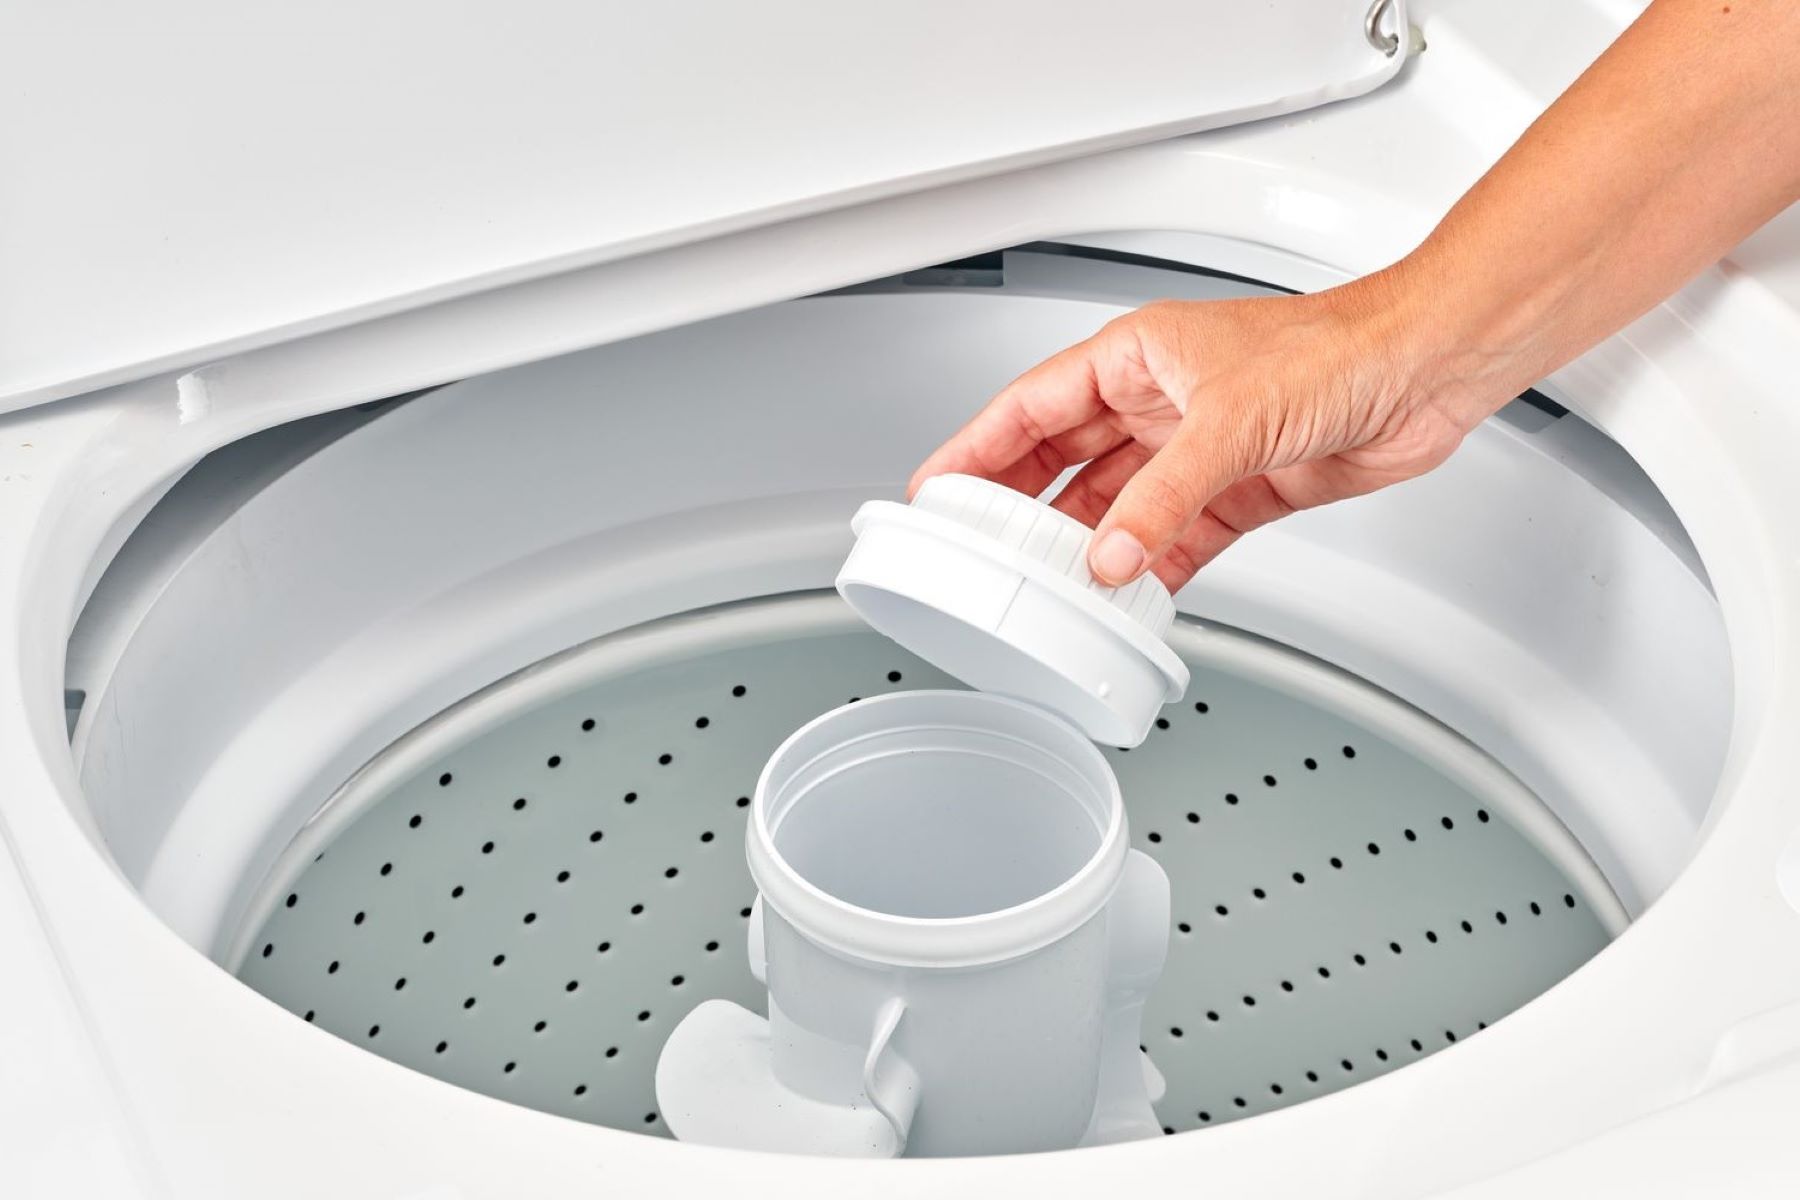
Locate the Agitator Cap: The agitator cap is typically situated at the top of the agitator and may be disguised as a decorative feature. It's essential to identify the cap's location before proceeding with its removal.
-
Access the Agitator Cap: Depending on the design of your washing machine, you may need to gently pry off the agitator cap using a flathead screwdriver or simply twist it counterclockwise to release it. Exercise caution to avoid damaging the cap or the surrounding components.
-
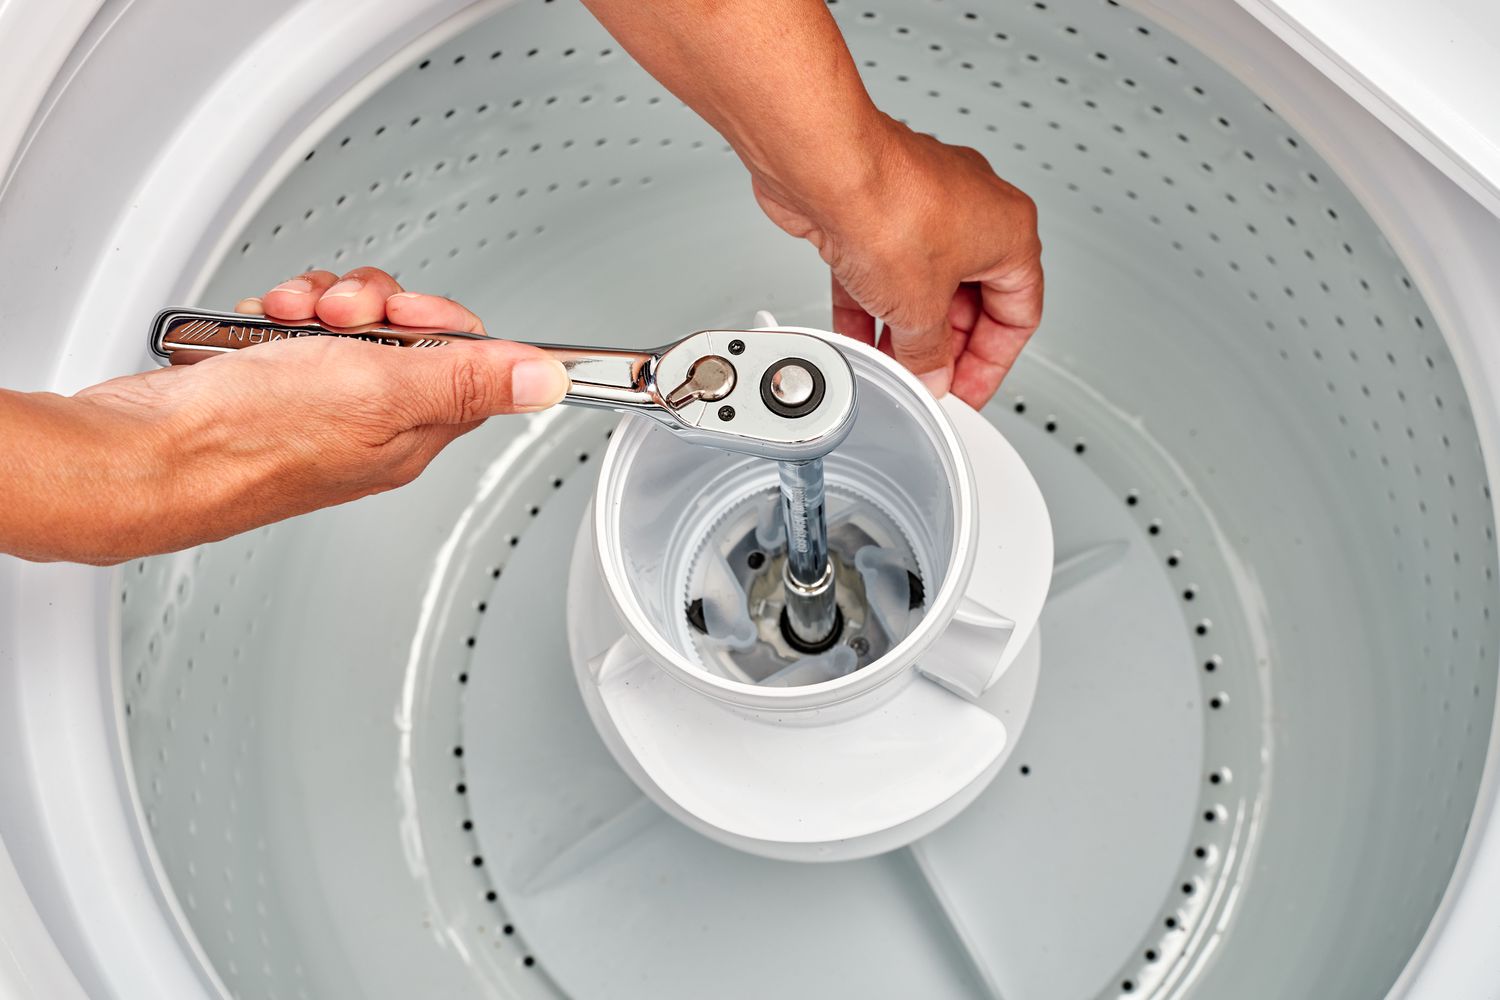
Inspect for Fasteners: Some agitator caps are secured with a bolt or screw underneath. If you encounter a fastener, use an appropriate tool, such as a socket wrench or screwdriver, to loosen and remove it. Keep track of the fastener to ensure it can be reattached during the reassembly process.
-
Lift Off the Agitator Cap: Once any fasteners are removed, carefully lift off the agitator cap. It's essential to handle it gently to prevent any damage and to ensure that you can easily reassemble it after cleaning.
By successfully removing the agitator cap, you gain access to the agitator's interior, allowing you to proceed with the thorough cleaning of both the agitator and the agitator cap. This pivotal step sets the stage for the subsequent cleaning process, enabling you to address any accumulated residue and restore your washing machine's optimal functionality.
Clean Agitator and Agitator Cap
With the agitator cap successfully removed, you can now focus on cleaning both the agitator and the agitator cap to eliminate any accumulated residue and restore optimal functionality to your washing machine.
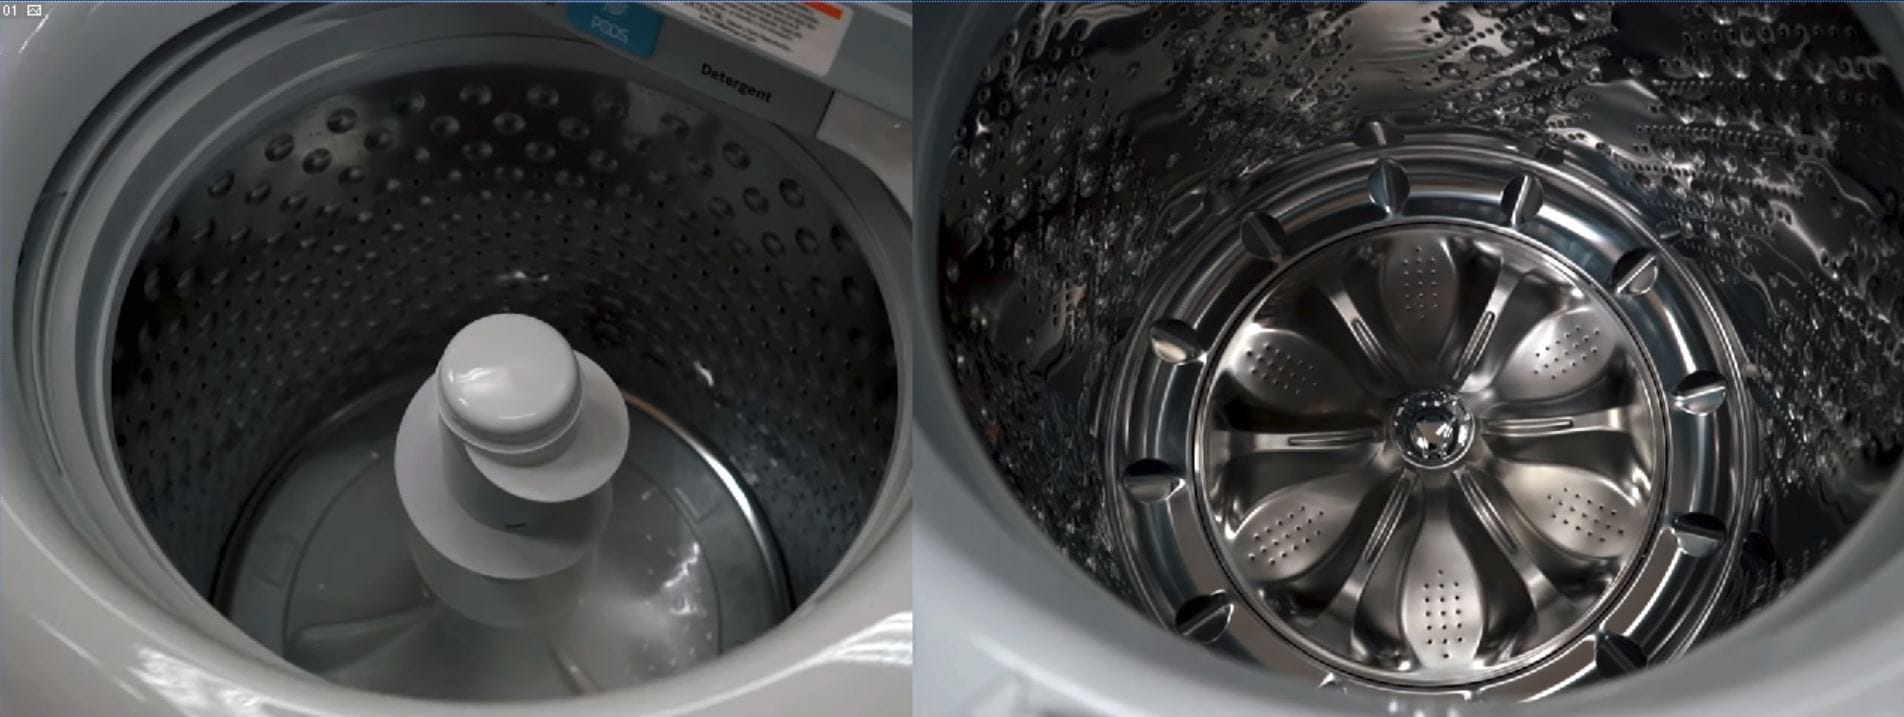
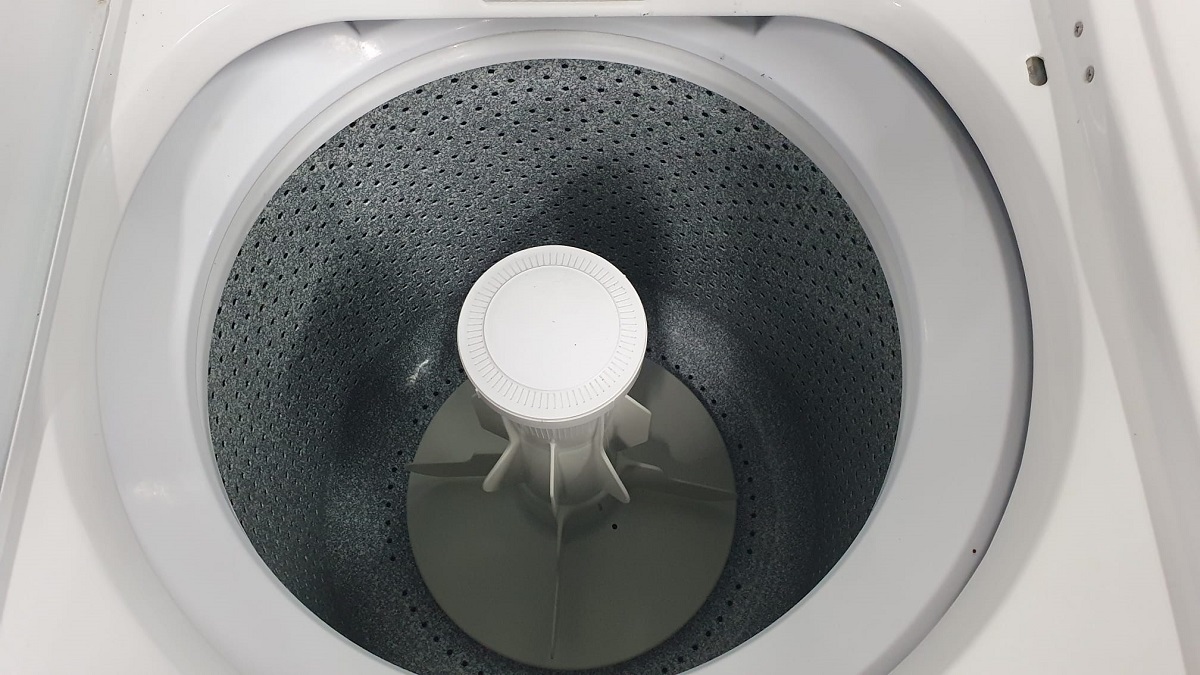
Cleaning the Agitator
-
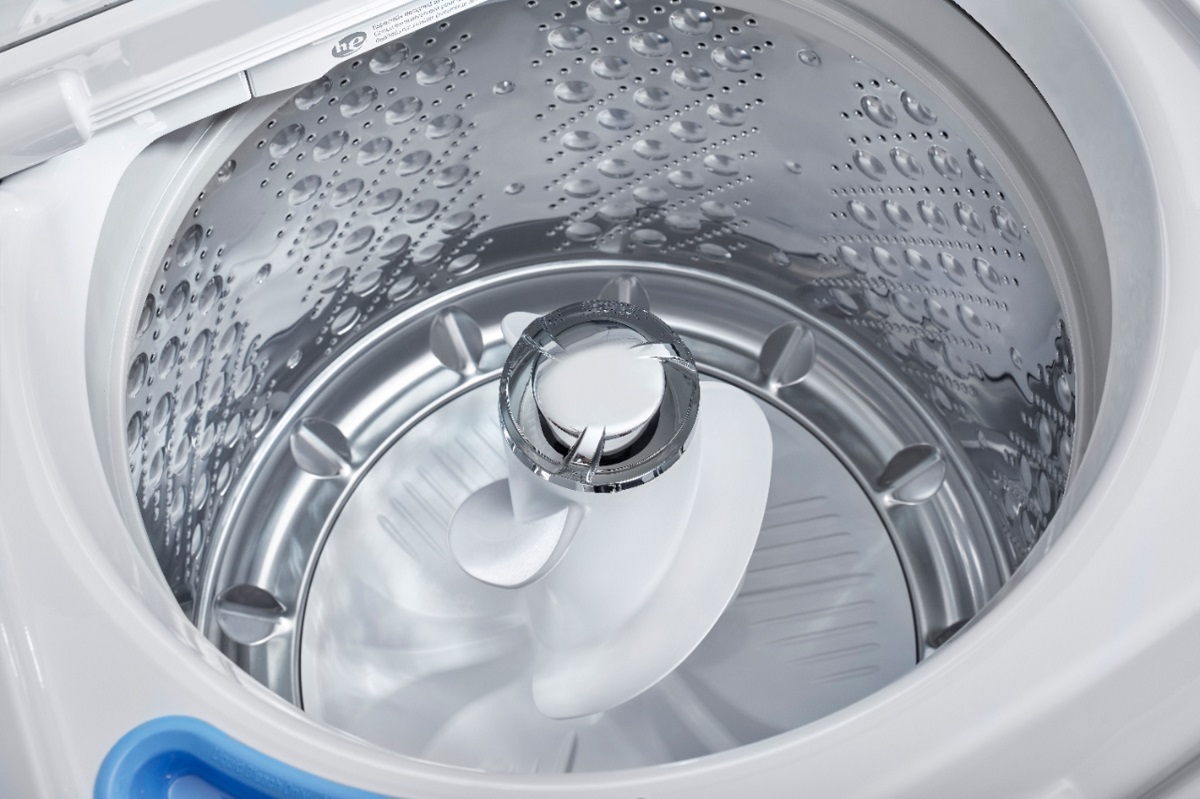
Inspect for Residue: Take a moment to visually inspect the interior of the agitator. You may notice a buildup of detergent residue, fabric softener, or mineral deposits. These can contribute to unpleasant odors and reduced cleaning performance.
-
Prepare the Cleaning Solution: In a small container, mix equal parts of white vinegar and hot water. This solution effectively breaks down mineral deposits and dissolves residue within the agitator.
-
Apply the Cleaning Solution: Carefully pour the vinegar and water solution into the agitator, ensuring that it reaches all interior surfaces. Allow the solution to sit for at least 30 minutes to effectively loosen the accumulated residue.
-
Scrub the Agitator: Using a soft-bristle brush, gently scrub the interior surfaces of the agitator to dislodge the loosened residue. Focus on areas where buildup is most prominent, ensuring thorough coverage.
-
Rinse the Agitator: After scrubbing, flush the agitator with hot water to rinse away the dissolved residue and cleaning solution. This step helps to ensure that the agitator is free from any remaining debris.
-
Dry the Agitator: Use a microfiber cloth to dry the interior of the agitator, removing any excess moisture and ensuring a clean, polished finish.
Cleaning the Agitator Cap
-
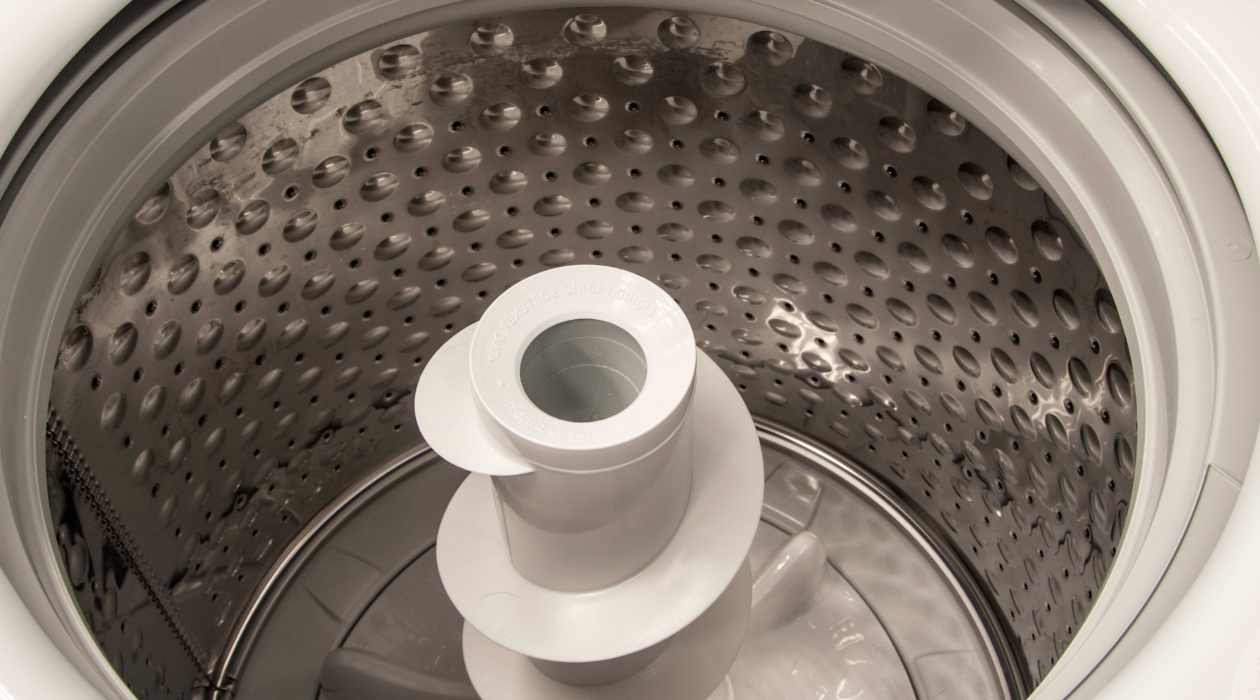
Inspect for Residue: Similarly, inspect the interior and exterior of the agitator cap for any accumulated residue. Pay attention to crevices and edges where residue may be present.
-
Soak the Agitator Cap: If the agitator cap is removable, soak it in a mixture of white vinegar and hot water for approximately 30 minutes. This soaking process helps to loosen and dissolve any residue present on the cap.
-
Scrub the Agitator Cap: After soaking, use a soft-bristle brush to gently scrub the agitator cap, focusing on areas with visible residue. This gentle scrubbing action helps to dislodge and remove any buildup.
-
Rinse and Dry the Agitator Cap: Thoroughly rinse the agitator cap with hot water to remove the dissolved residue and cleaning solution. Once rinsed, use a microfiber cloth to dry the cap, ensuring a clean and polished surface.
By meticulously cleaning both the agitator and the agitator cap, you effectively eliminate accumulated residue and ensure that your washing machine operates at its best. This thorough cleaning process helps to prevent odors and maintain optimal cleaning performance, ultimately prolonging the lifespan of your laundry appliance.
To clean an agitator washing machine, mix equal parts water and vinegar and pour it into the machine. Let it agitate for a few minutes, then let it sit for an hour. After that, run a hot water cycle to rinse it out.
Reassemble Agitator
After completing the thorough cleaning of the agitator and agitator cap, the next crucial step is to reassemble the agitator, ensuring that all components are securely and correctly positioned. This reassembly process is essential to restore the washing machine to full functionality and ensure that it operates effectively during future laundry cycles.
To reassemble the agitator, follow these steps:
-
Position the Agitator Cap: If the agitator cap was removed, carefully place it back onto the agitator, ensuring that it aligns properly with the agitator's top. If there was a fastener, such as a bolt or screw, used to secure the cap, reattach it securely to prevent any movement during operation.
-
Align the Agitator: With the agitator cap in place, align the agitator with the agitator shaft within the washing machine. Ensure that the agitator sits securely and does not wobble or shift when touched.
-
Secure the Agitator: If the agitator is designed to be fastened with a bolt or screw, use the appropriate tool to secure it in place. This step is crucial to prevent the agitator from dislodging during the washing machine's operation.
-
Test the Agitator: Once the agitator is reassembled, perform a brief test by gently rotating it to ensure that it moves smoothly and securely. This test helps to confirm that the agitator is correctly reassembled and ready for use.
By meticulously following these reassembly steps, you can ensure that the agitator is securely and correctly positioned within the washing machine, ready to deliver optimal cleaning performance during future laundry cycles. This reassembly process marks the completion of the cleaning and maintenance task, empowering you to enjoy the benefits of a clean and efficiently functioning agitator washing machine.
Remember, regular cleaning and maintenance of your washing machine's agitator are essential to prevent odors, maintain optimal cleaning performance, and prolong the appliance's lifespan. By incorporating these maintenance practices into your routine, you can ensure that your laundry emerges fresh and spotless with every wash, enhancing your overall laundry experience.
Run a Cleaning Cycle
Running a cleaning cycle is the final step in the comprehensive process of cleaning an agitator washing machine. This essential step ensures that any remaining residue or cleaning solution is thoroughly flushed out of the washing machine, leaving it fresh, clean, and ready for regular use.
To run a cleaning cycle, follow these steps:
-
Select the Cleaning Cycle Setting: Many modern washing machines feature a designated cleaning cycle setting. Consult your washing machine's manual to identify and select the appropriate cleaning cycle setting. If your washing machine does not have a specific cleaning cycle, select the hottest water setting and the longest wash cycle duration.
-
Add Cleaning Agents: To enhance the cleaning cycle's effectiveness, add two cups of white vinegar to the detergent dispenser. The acidic properties of white vinegar help to dissolve any remaining residue within the washing machine, including the agitator and other internal components.
-
Initiate the Cleaning Cycle: Start the cleaning cycle, allowing the washing machine to fill with hot water and agitate the vinegar solution. The prolonged duration of the cleaning cycle ensures that the interior of the washing machine, including the agitator, is thoroughly cleaned and rinsed.
-
Pause and Soak: Once the washing machine is filled with the vinegar solution, pause the cycle and allow the solution to soak for approximately one hour. This extended soaking period maximizes the vinegar's cleaning properties, effectively breaking down any remaining residue within the agitator and other internal components.
-
Complete the Cleaning Cycle: After the soaking period, resume the cleaning cycle, allowing the washing machine to complete the full cycle, including draining and spinning. This final phase ensures that the vinegar solution is thoroughly rinsed out, leaving the washing machine clean and free from any residual cleaning agents.
By running a dedicated cleaning cycle, you effectively maintain the cleanliness and optimal functionality of your agitator washing machine. This proactive approach to cleaning and maintenance helps to prevent odors, eliminate residue, and ensure that your laundry emerges fresh and clean with every wash.
Incorporating a regular cleaning cycle into your laundry appliance maintenance routine is essential for preserving the performance and longevity of your washing machine. By following these detailed steps, you can confidently maintain a clean and efficiently functioning agitator washing machine, enhancing the overall quality of your laundry experience.
Frequently Asked Questions about How To Clean An Agitator Washing Machine
Was this page helpful?
At Storables.com, we guarantee accurate and reliable information. Our content, validated by Expert Board Contributors, is crafted following stringent Editorial Policies. We're committed to providing you with well-researched, expert-backed insights for all your informational needs.

0 thoughts on “How To Clean An Agitator Washing Machine”