Home>Home Appliances>Laundry Appliances>How To Fix An Agitator On A Washing Machine
Laundry Appliances
How To Fix An Agitator On A Washing Machine
Modified: August 17, 2024
Learn how to fix the agitator on your washing machine with our step-by-step guide. Keep your laundry appliances running smoothly.
(Many of the links in this article redirect to a specific reviewed product. Your purchase of these products through affiliate links helps to generate commission for Storables.com, at no extra cost. Learn more)
Introduction
When it comes to the functionality of a washing machine, the agitator plays a crucial role in ensuring that your laundry is thoroughly cleaned. Over time, the agitator may encounter issues such as malfunctioning, making strange noises, or failing to agitate properly. In such cases, it becomes necessary to address the problem to restore the optimal performance of your washing machine.
Understanding the inner workings of your washing machine and being able to troubleshoot and fix issues like a faulty agitator can save you time and money. By learning how to fix the agitator on a washing machine, you can avoid the inconvenience of a malfunctioning appliance and the expense of hiring a professional repair service.
In this comprehensive guide, we will delve into the process of fixing an agitator on a washing machine. From understanding the agitator's function to the tools and materials needed for the repair, we will cover each step in detail. By following this guide, you will gain the knowledge and confidence to tackle this repair project effectively.
Let's embark on this journey to unravel the mysteries of the agitator and equip ourselves with the skills to troubleshoot and repair this essential component of the washing machine. With the right tools, a clear understanding of the process, and a can-do attitude, you'll soon be on your way to restoring your washing machine's agitator to its optimal condition.
Key Takeaways:
- Understanding the agitator’s role in a washing machine and learning how to fix it can save time and money. With the right tools and knowledge, you can troubleshoot and repair the agitator, restoring your washing machine’s optimal performance.
- After inspecting, repairing, and reassembling the washing machine, testing it is crucial. Observing the agitator’s movement, balancing, and assessing cleaning performance ensures that the repair was successful and the machine is ready for use.
Read more: What Is An Agitator Washer
Understanding the Agitator
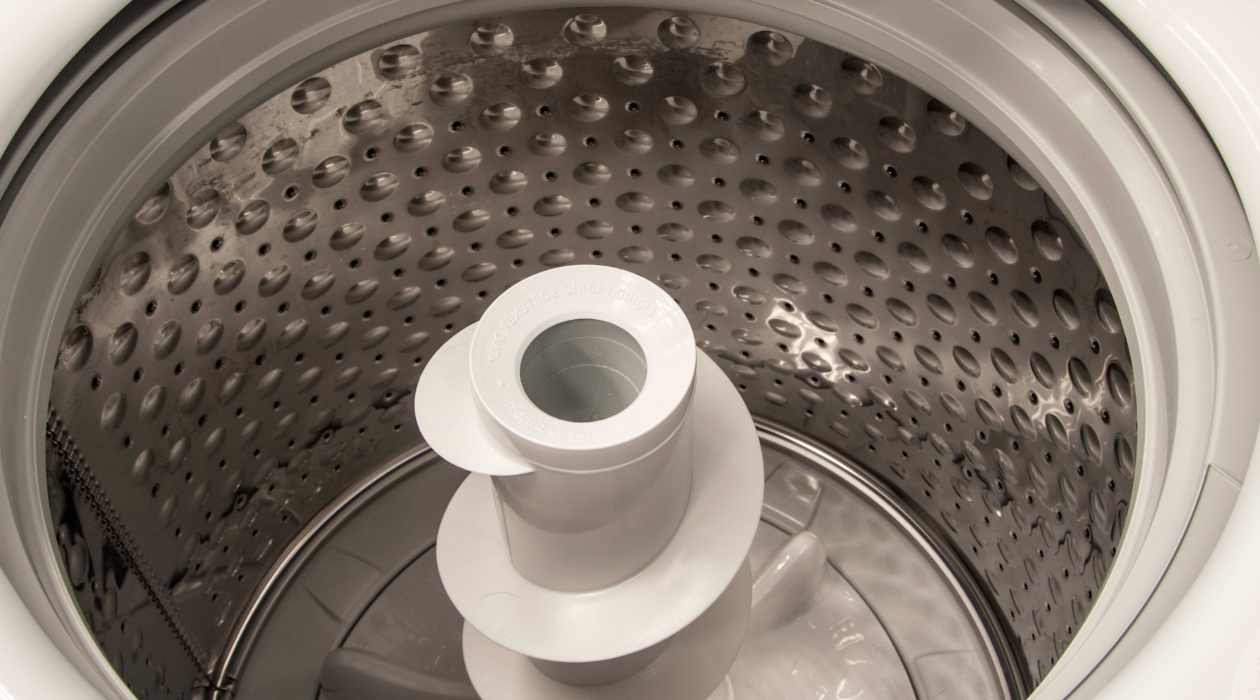
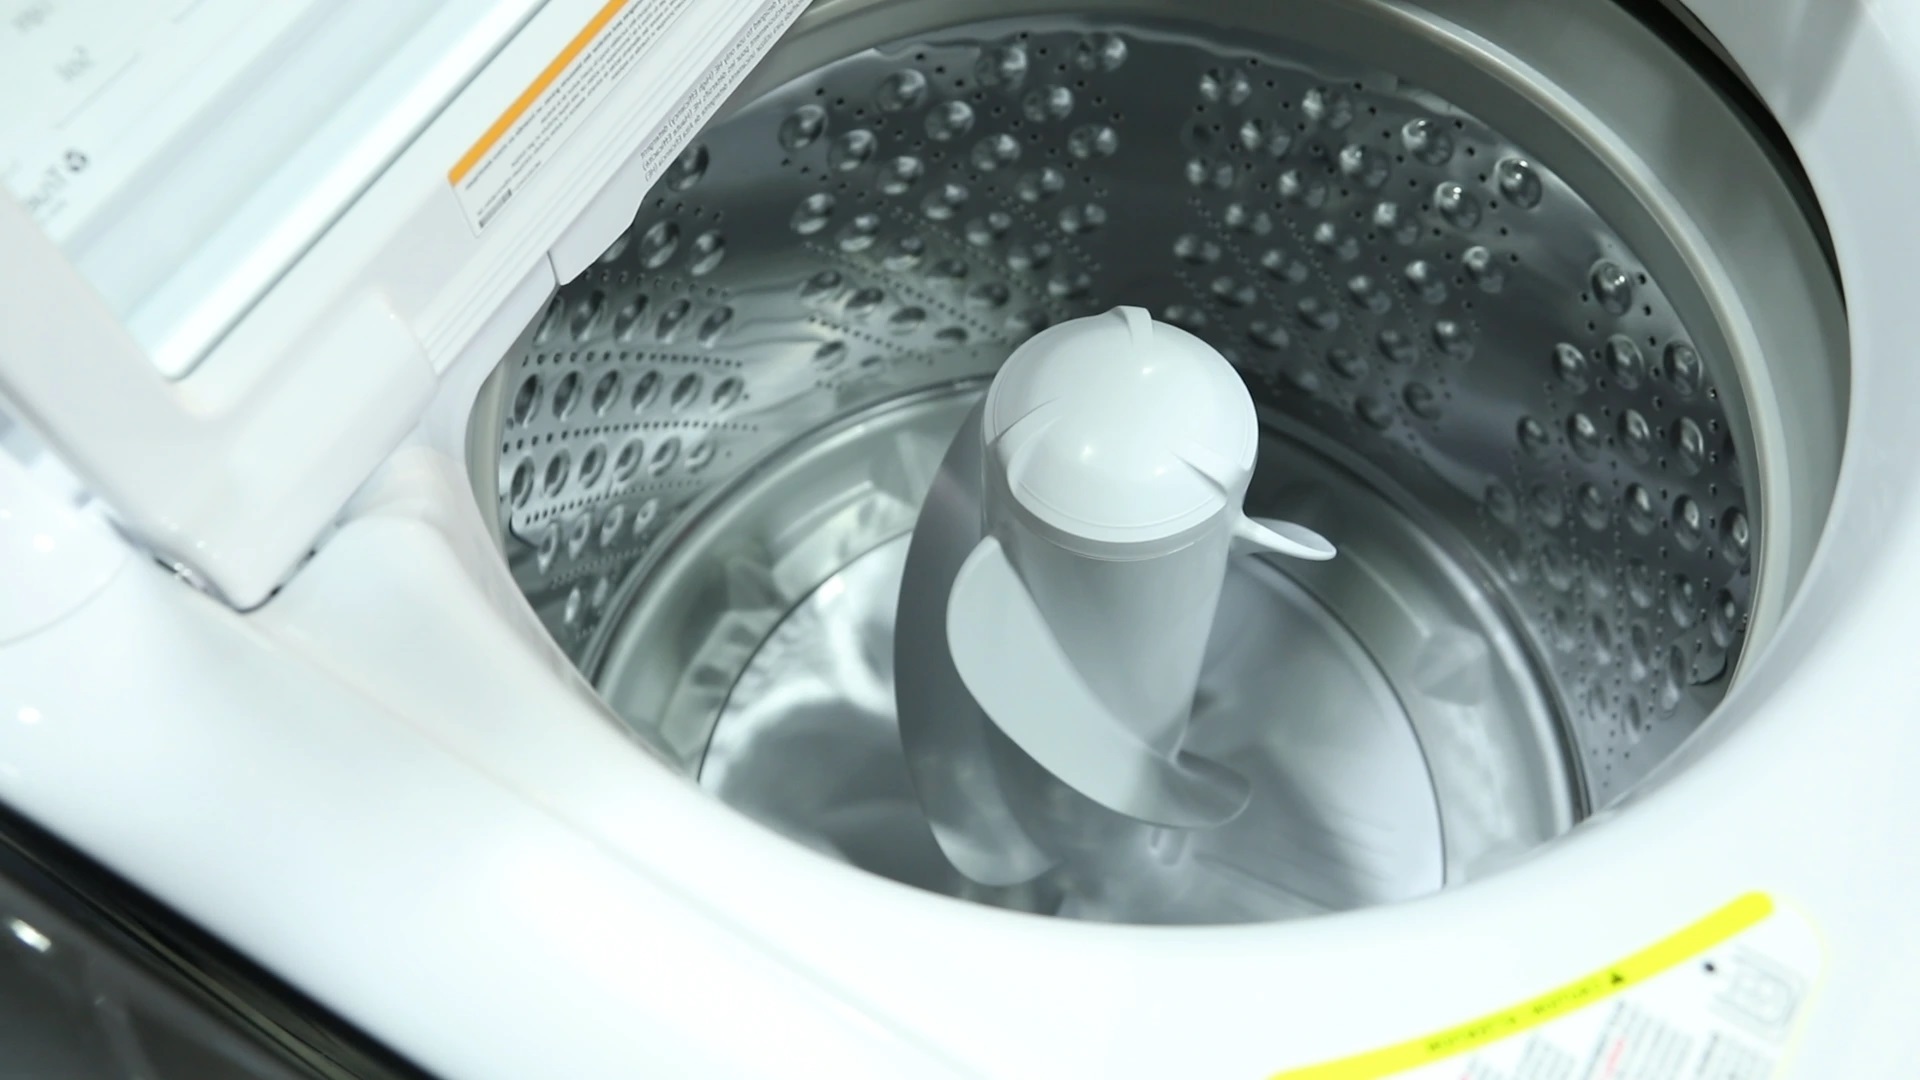
The agitator in a washing machine is a vital component responsible for the movement and circulation of the laundry during the wash cycle. It consists of a spindle located in the center of the washing machine drum, with protruding fins or paddles that facilitate the agitation process. The primary function of the agitator is to create a dynamic washing action by moving the clothes in different directions, ensuring thorough cleaning by dislodging dirt and grime from the fabric fibers.
Agitators come in various designs, including a single-piece agitator with a tall spindle and fins, and a dual-action agitator featuring a bottom agitator and a top agitator. The single-piece agitator operates by rotating the entire agitator assembly in one direction, while the dual-action agitator has a more complex movement, with the bottom agitator rotating in one direction and the top agitator moving independently in the opposite direction. This dual-action mechanism provides a gentler washing motion while still effectively cleaning the laundry.
Understanding the agitator's role in the washing process is essential for diagnosing and addressing any issues that may arise. Common problems with the agitator include a malfunctioning movement, unusual noises during operation, or failure to agitate the laundry effectively. By comprehending the function and structure of the agitator, you can better identify the root cause of these issues and proceed with the necessary repairs.
In addition to its cleaning function, the agitator also plays a role in balancing the load within the washing machine drum. By agitating the laundry, the agitator helps distribute the clothes evenly, preventing imbalances that could lead to excessive vibration or noise during the wash cycle. This aspect of the agitator's function contributes to the overall smooth operation of the washing machine.
By gaining a thorough understanding of the agitator and its significance in the washing process, you will be better equipped to troubleshoot and repair any issues that may arise. With this knowledge as a foundation, you can confidently proceed to the next steps of removing, inspecting, and repairing the agitator, ultimately restoring your washing machine to optimal working condition.
Tools and Materials Needed
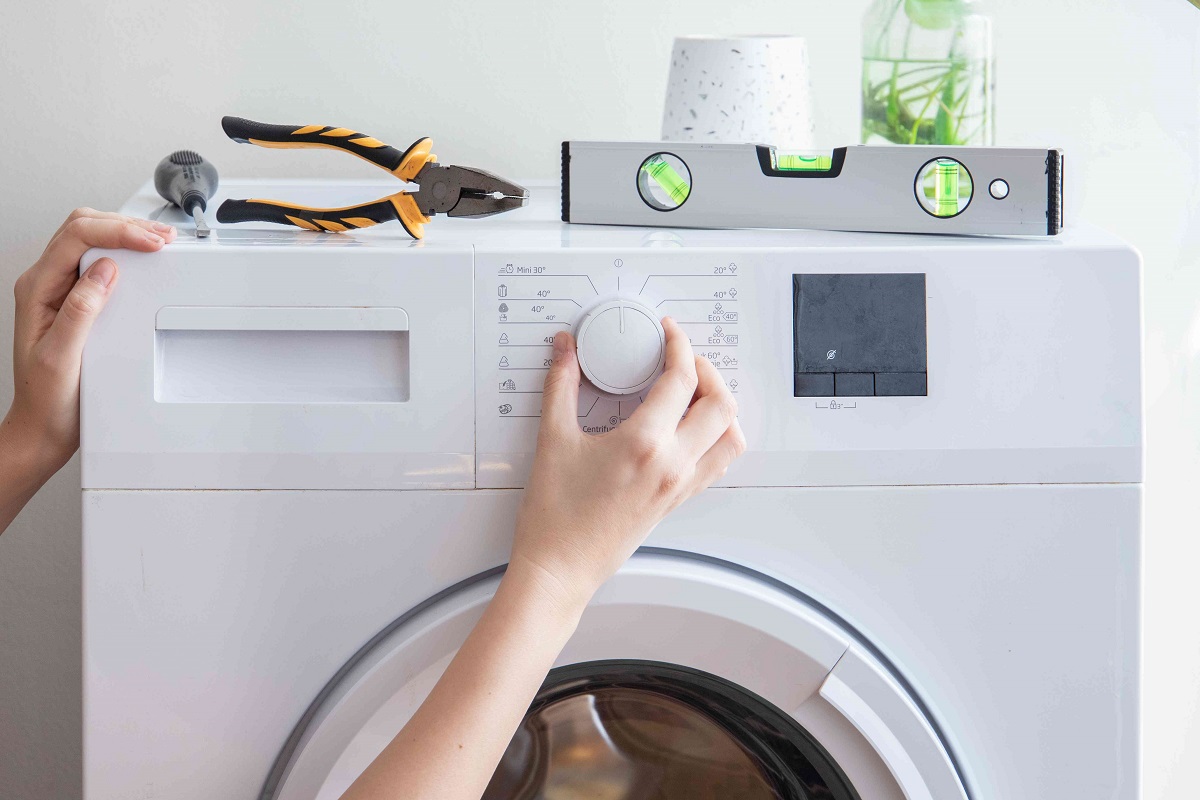
Before embarking on the task of fixing the agitator on a washing machine, it is essential to gather the necessary tools and materials to ensure a smooth and efficient repair process. Having the right equipment at your disposal will enable you to tackle the task with confidence and precision. Here's a comprehensive list of the tools and materials needed for this repair project:
Tools:
- Adjustable Wrench: This versatile tool will be used to loosen and tighten nuts and bolts during the disassembly and reassembly of the washing machine components.
- Socket Wrench Set: A set of socket wrenches in various sizes will be essential for accessing and removing components within the washing machine.
- Screwdriver Set: Both flathead and Phillips screwdrivers will be required for removing screws and securing various parts of the washing machine.
- Pliers: Having a pair of pliers on hand will aid in gripping and manipulating small components during the repair process.
- Putty Knife: This tool will be useful for prying open the agitator cap or any other components that may be secured with adhesive or clips.
- Flashlight: A reliable flashlight will assist in illuminating the interior of the washing machine, especially in areas with limited visibility.
- Towel or Cloth: Keeping a towel or cloth nearby will help in cleaning up any spills or water that may occur during the repair.
Materials:
- Replacement Agitator Parts: If the agitator requires replacement components, ensure that you have the new agitator assembly or any necessary individual parts on hand.
- Cleaning Solution: Having a mild cleaning solution or detergent will be beneficial for cleaning the agitator and surrounding components.
- Lubricant: A suitable lubricant, such as silicone grease, may be needed to lubricate moving parts or components during reassembly.
- Safety Gloves: It's important to prioritize safety, so wearing protective gloves is advisable to prevent any injuries or contact with cleaning solutions.
- Safety Glasses: Protecting your eyes with safety glasses is crucial, especially when working with tools or components that may produce debris or splashes.
By ensuring that you have the necessary tools and materials at your disposal, you can proceed with confidence, knowing that you are well-prepared to address any issues with the agitator on your washing machine. With these resources in hand, you are ready to move on to the next steps of removing and repairing the agitator, ultimately restoring your washing machine to optimal working condition.
Read more: How To Clean An Agitator Washing Machine
Steps to Remove the Agitator
-
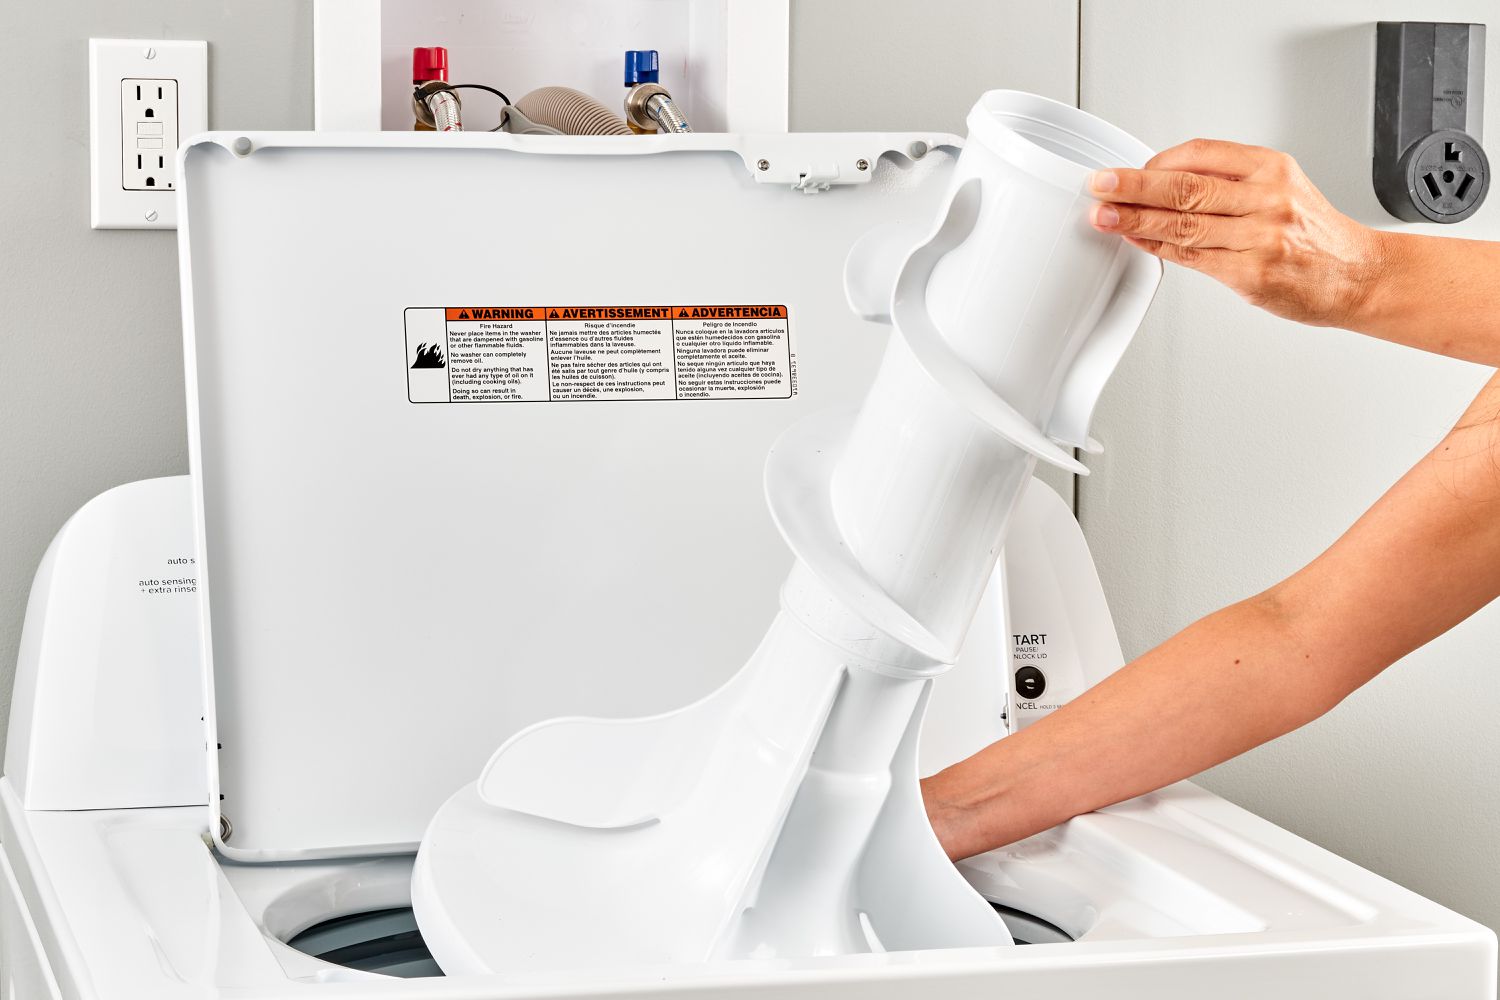
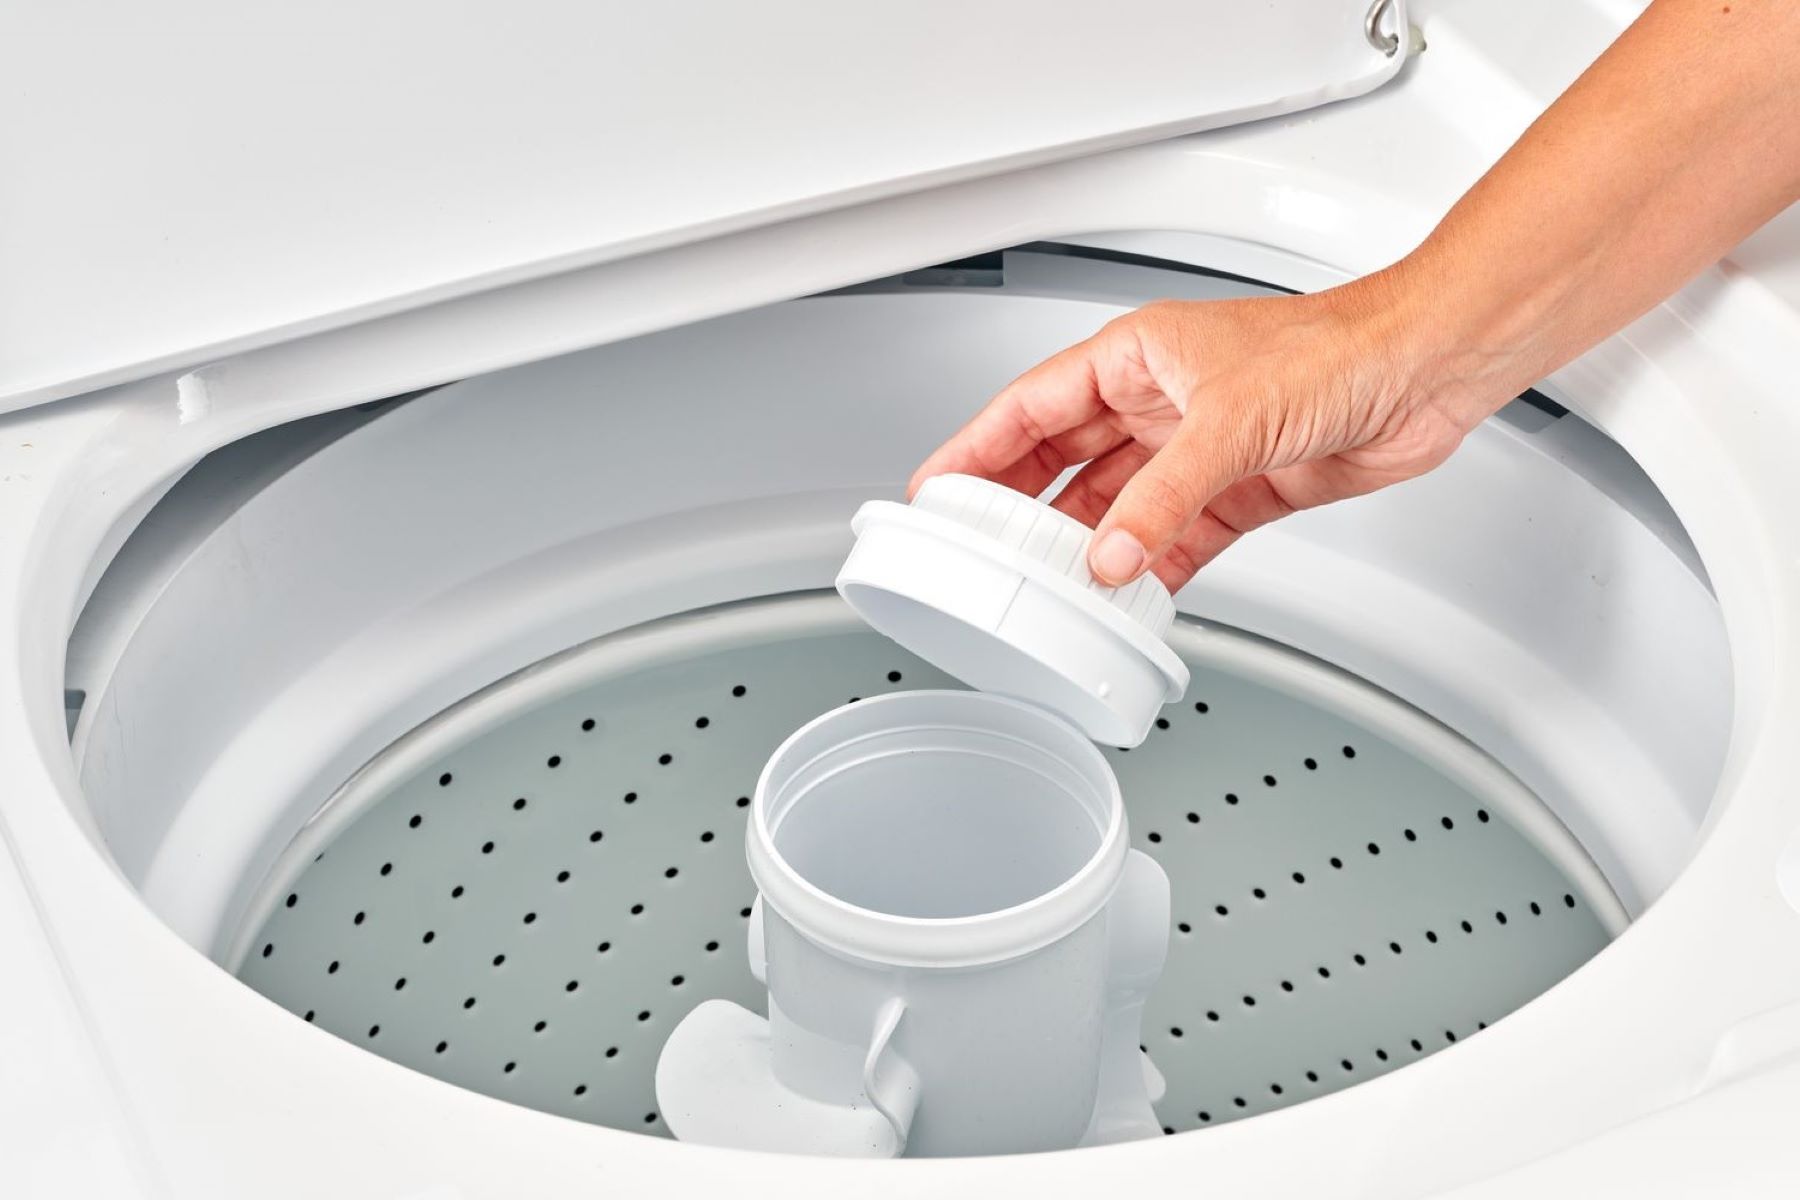
Prepare the Washing Machine: Start by unplugging the washing machine to ensure safety during the repair process. If the agitator is located beneath a fabric softener dispenser or any other attachments, remove them to access the agitator assembly.
-
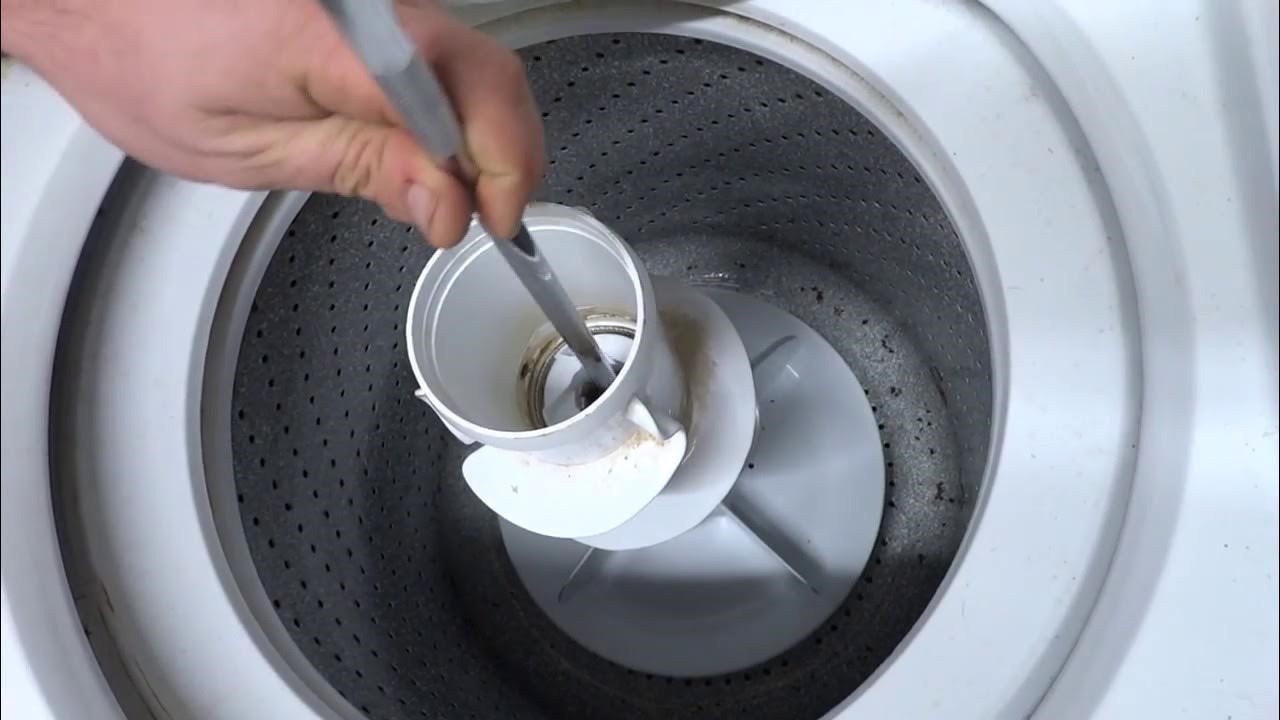
Access the Agitator Assembly: Depending on the washing machine model, you may need to remove the agitator cap or fabric softener dispenser to reveal the agitator bolt or nut. Use a putty knife to carefully pry open the agitator cap, exposing the fastening mechanism underneath.
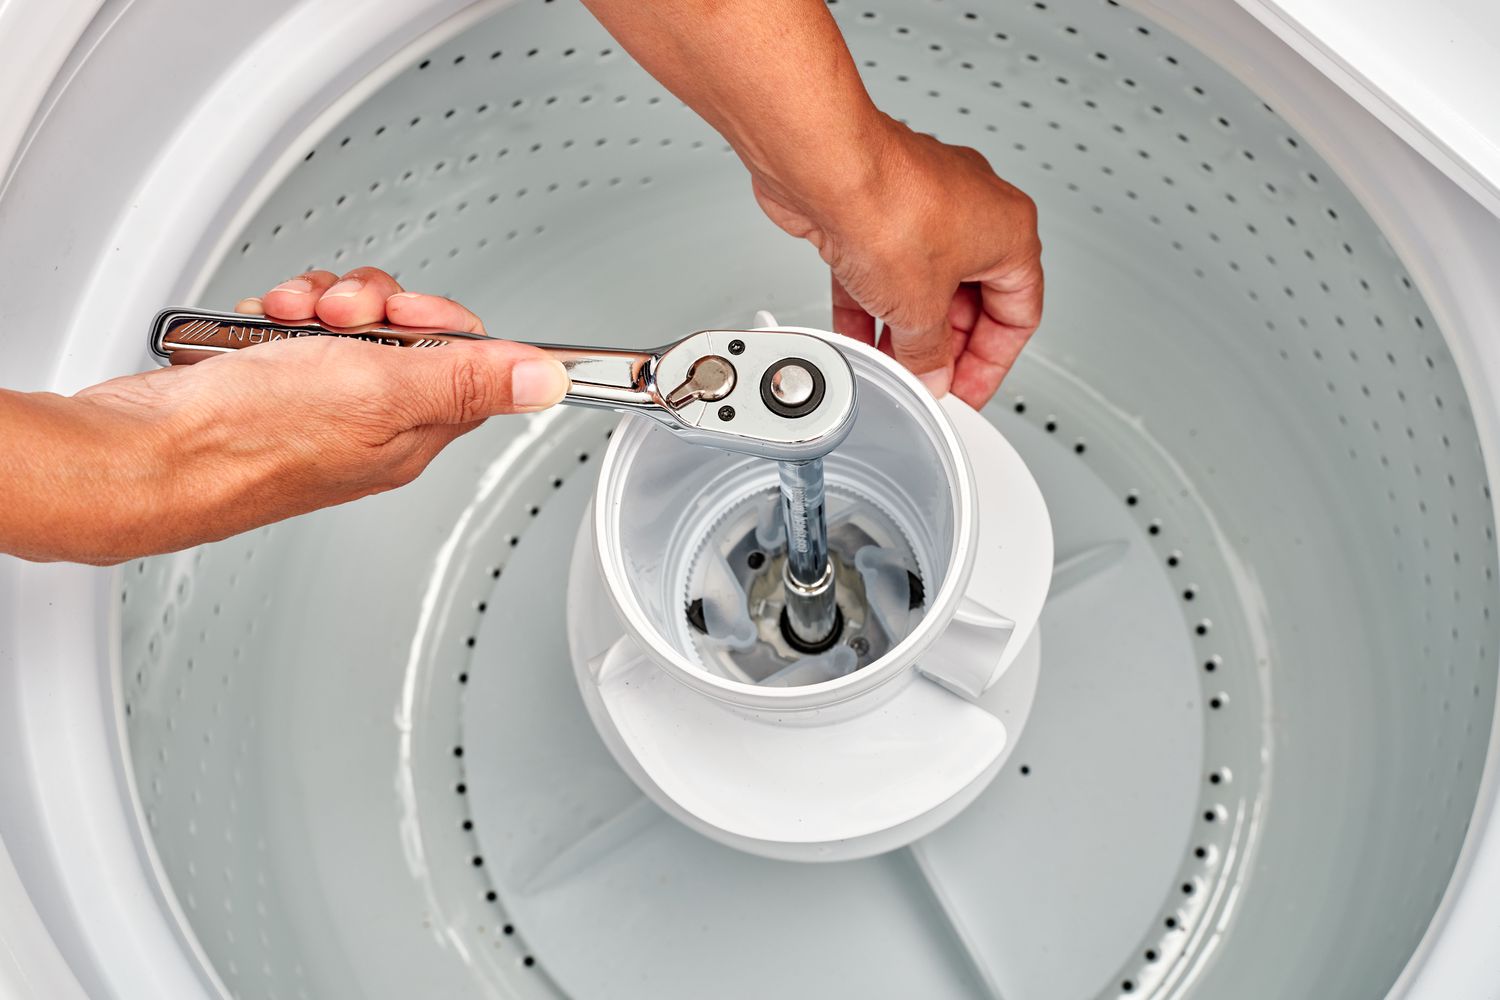
-
Loosen the Agitator Bolt or Nut: Once the agitator bolt or nut is visible, use an appropriate-sized socket wrench or adjustable wrench to loosen and remove it. This step may require some effort, as the bolt or nut may be tightly secured due to years of use.
-
Remove the Agitator Assembly: With the bolt or nut removed, gently lift the agitator assembly out of the washing machine drum. If the agitator is stubbornly stuck, you can gently rock it back and forth to loosen it from the spindle. Be mindful of any attached components or wiring as you lift the agitator out.
-
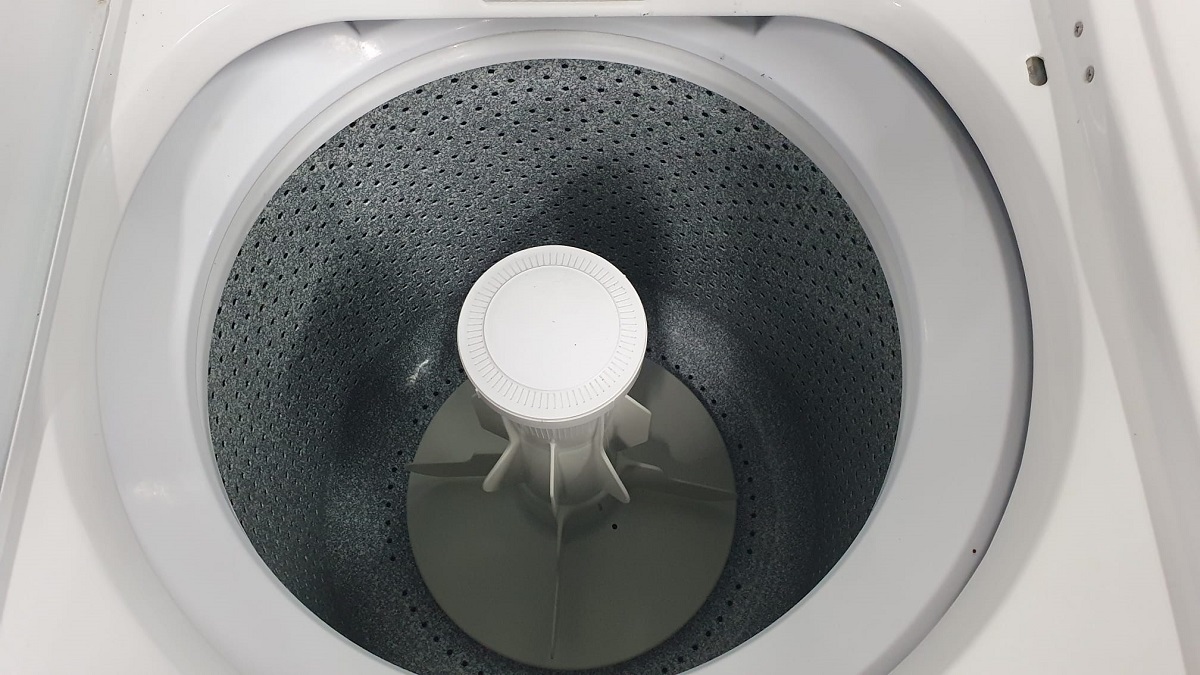
Inspect the Agitator Mounting Hub: After removing the agitator, inspect the mounting hub located at the bottom of the agitator spindle. Check for any signs of wear, damage, or accumulation of debris that may have been affecting the agitator's performance.
-
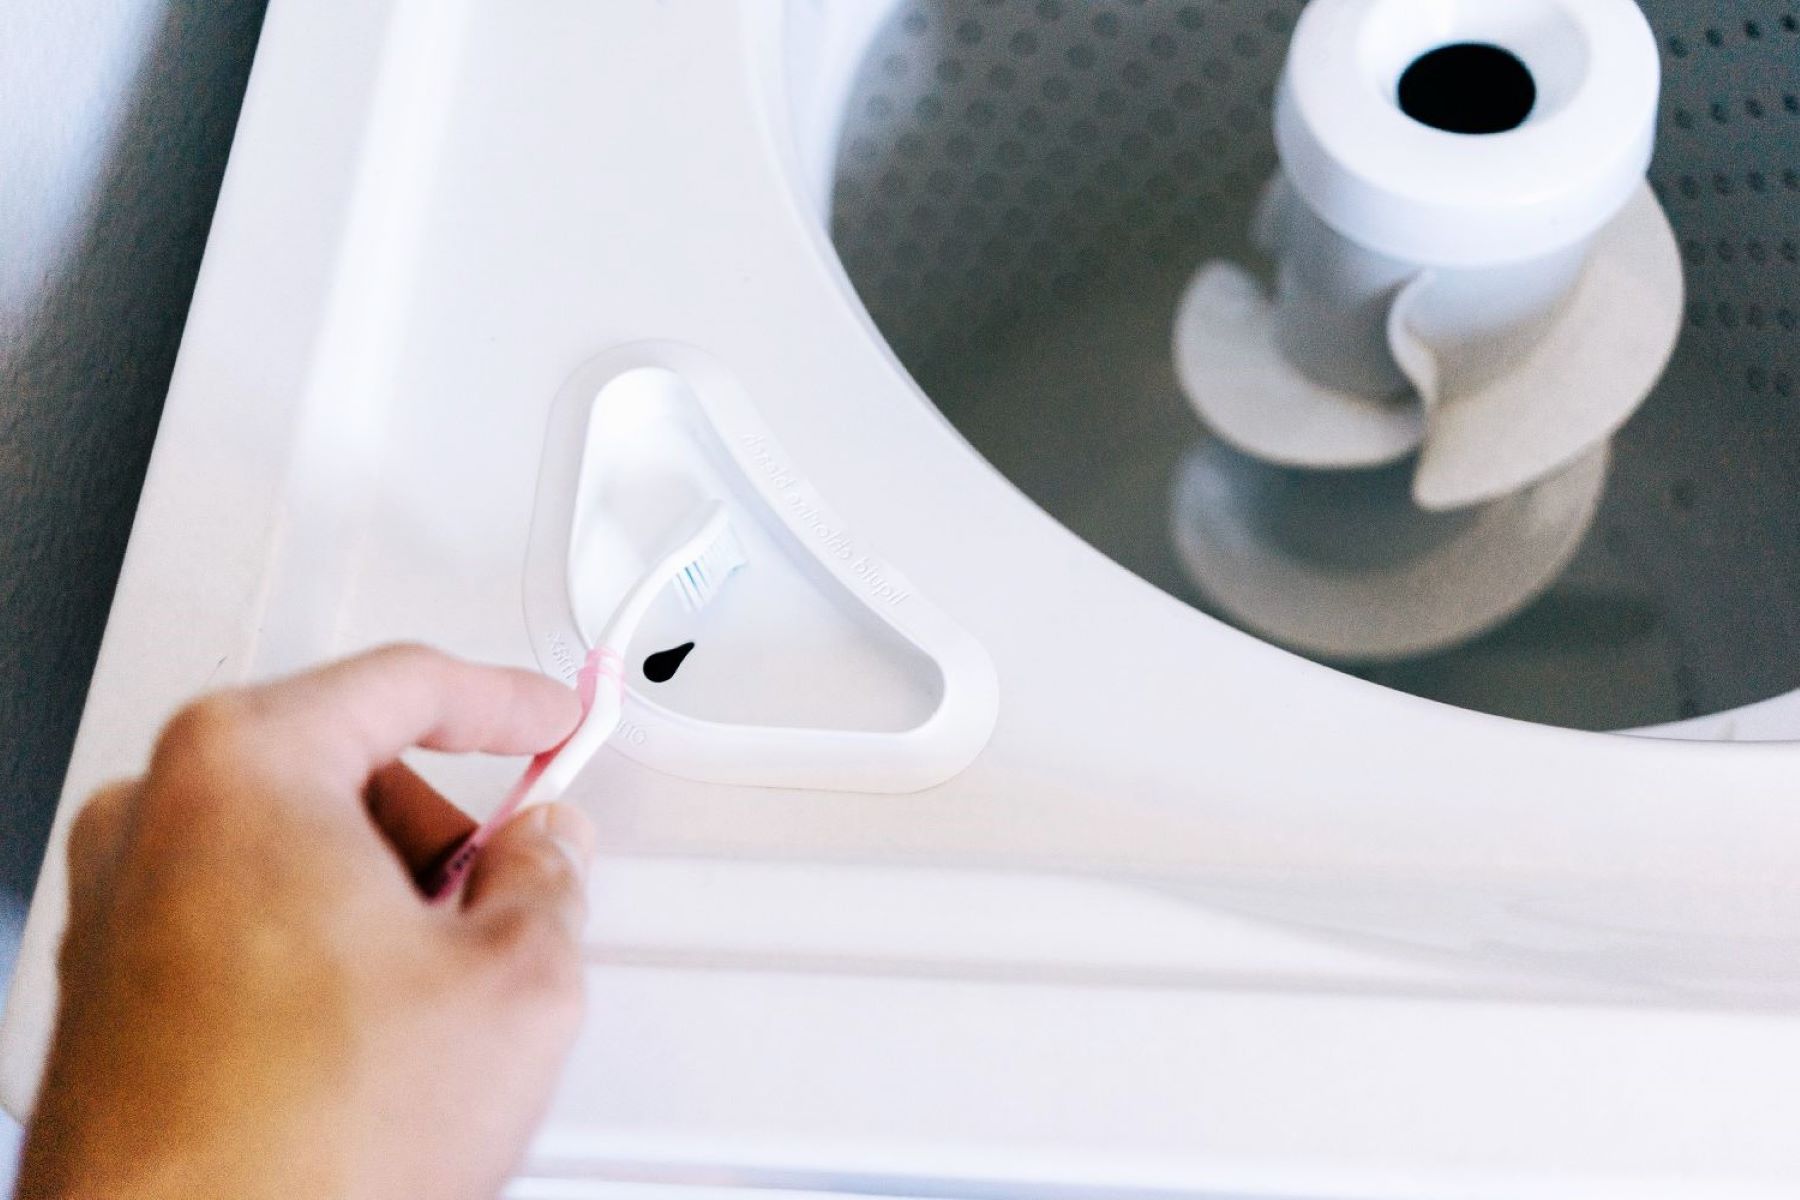
Clean the Agitator and Surrounding Area: Take this opportunity to clean the agitator and the interior of the washing machine drum. Use a mild cleaning solution or detergent to remove any built-up residue or grime from the agitator fins and surrounding components.
-
Prepare for Agitator Repair or Replacement: If the agitator requires repair or replacement, ensure that you have the necessary replacement parts and tools ready for the next phase of the repair process.
By following these detailed steps, you can successfully remove the agitator from your washing machine, gaining access to the inner components for inspection and potential repair. This process sets the stage for the subsequent steps of inspecting and repairing the agitator, ultimately leading to the restoration of your washing machine's optimal functionality.
Inspecting and Repairing the Agitator
Upon removing the agitator from the washing machine, the next crucial step involves a thorough inspection of the agitator assembly and the associated components. This inspection is essential for identifying any underlying issues that may have been affecting the agitator's performance. Here's a detailed guide on inspecting and repairing the agitator:
Inspecting the Agitator Assembly
Begin by closely examining the agitator assembly, paying particular attention to the agitator fins or paddles. Check for any signs of wear, damage, or deformation that may have occurred over time. Additionally, inspect the agitator spindle for any indications of wear or corrosion that could impede its smooth operation.
Checking the Agitator Mounting Hub
Inspect the mounting hub located at the bottom of the agitator spindle. Look for any wear or damage to the splines or locking mechanism that secures the agitator in place. Any irregularities in the mounting hub could affect the agitator's stability and movement during the wash cycle.
Read more: How To Remove Agitator From Ge Washer
Addressing Agitator Noise or Malfunction
If the agitator was exhibiting unusual noises or malfunctioning prior to removal, carefully diagnose the source of the issue. Loose or worn components within the agitator assembly, such as bearings or gears, could be contributing to the problem. Thoroughly inspect these internal components for any signs of damage or wear that may require repair or replacement.
Repairing the Agitator
Depending on the findings of the inspection, proceed with the necessary repairs to restore the agitator to optimal working condition. This may involve replacing damaged or worn agitator fins, repairing the mounting hub, or addressing any internal components contributing to the agitator's malfunction. Ensure that the repairs are carried out meticulously to guarantee the agitator's smooth and effective operation.
Lubrication and Reassembly
If the inspection reveals the need for lubrication of moving parts within the agitator assembly, apply a suitable lubricant to ensure smooth movement and reduced friction. Once the necessary repairs and maintenance tasks are completed, carefully reassemble the agitator, ensuring that all components are securely fastened and aligned.
By meticulously inspecting and repairing the agitator, you can address any underlying issues that may have been affecting the washing machine's performance. This proactive approach ensures that the agitator operates optimally, contributing to thorough and efficient cleaning during each wash cycle. With the agitator restored to its full functionality, you can proceed with confidence to reassemble the washing machine and test its performance.
Reassembling the Washing Machine
After successfully inspecting and repairing the agitator, the next crucial phase of the repair process involves reassembling the washing machine. This step is essential for restoring all components to their proper places and ensuring that the washing machine functions seamlessly. Here's a detailed guide on reassembling the washing machine:
Read more: Maytag Washer How To Remove Agitator
Placing the Agitator Assembly
Carefully position the repaired or replaced agitator assembly back into the washing machine drum, ensuring that it aligns properly with the agitator spindle. Gently lower the agitator into place, taking care not to damage any surrounding components or wiring.
Securing the Agitator
Once the agitator is in position, reattach the agitator bolt or nut and tighten it securely using an appropriate-sized socket wrench or adjustable wrench. Ensure that the agitator is firmly fastened to the spindle, as this is crucial for its stable and effective operation during the wash cycle.
Reattaching Removed Components
If any components, such as the agitator cap or fabric softener dispenser, were removed to access the agitator assembly, carefully reattach them to their respective positions. Ensure that these components are secured in place, as they contribute to the overall functionality and aesthetics of the washing machine.
Reconnecting Wiring and Attachments
If any wiring or attachments were disconnected during the disassembly process, take care to reconnect them according to their respective configurations. Ensure that all connections are secure and properly insulated to prevent any electrical issues during the washing machine's operation.
Read more: Which Washer Is Better Agitator Or Impeller
Cleaning and Maintenance
Before completing the reassembly, take the opportunity to clean the interior of the washing machine drum and surrounding components. Remove any accumulated debris or residue, and ensure that the area is free from any obstructions that could affect the washing machine's performance.
Final Checks
Once all components are reassembled, perform a thorough visual inspection to ensure that everything is in place and properly secured. Double-check the tightness of fasteners, such as bolts and nuts, to prevent any potential issues during operation.
By meticulously following these reassembly steps, you can ensure that the washing machine is restored to its optimal working condition. The careful placement and secure fastening of components, including the agitator assembly, contribute to the smooth and efficient operation of the washing machine during the wash cycles. With the reassembly completed, the final step involves testing the washing machine to confirm its restored functionality.
Testing the Washing Machine
After completing the meticulous process of inspecting, repairing, and reassembling the washing machine, the final and pivotal step is to test the machine to ensure that it operates flawlessly. This crucial phase allows you to verify the effectiveness of the agitator repair and the overall functionality of the washing machine. Here's a detailed guide on testing the washing machine:
-
Powering On the Washing Machine: Plug the washing machine back into the power source and ensure that it is properly connected. Turn on the power and prepare to run a test cycle to evaluate the agitator's performance.
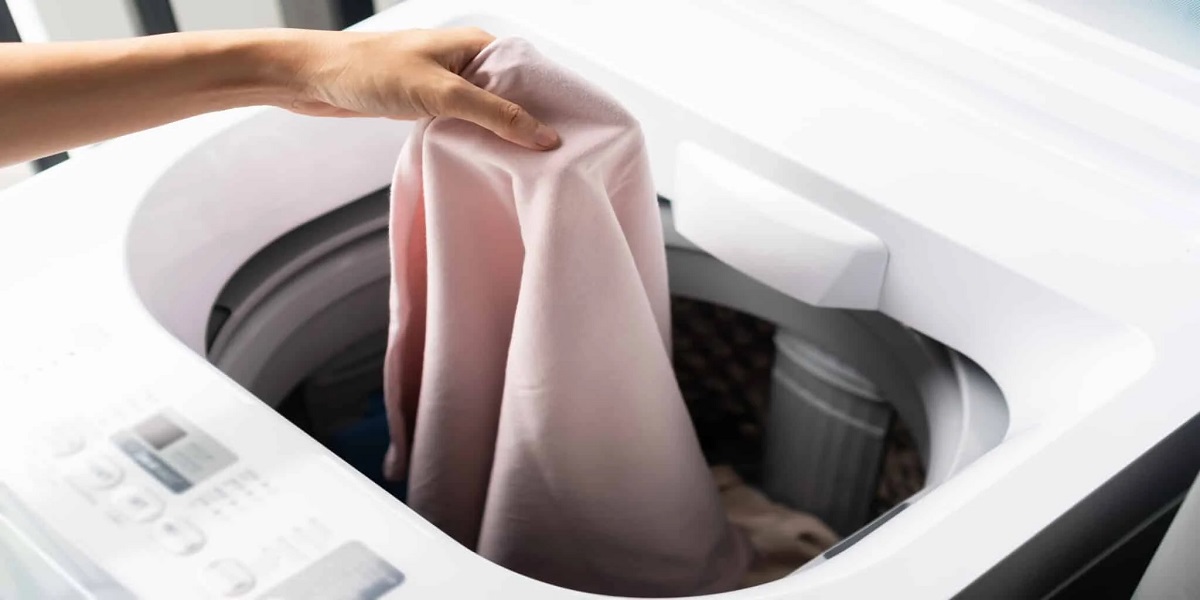
-
Selecting a Test Cycle: Choose a suitable wash cycle, such as a normal or medium load setting, to initiate the test. This will allow the agitator to engage in its full range of motion, providing an accurate assessment of its functionality.
-
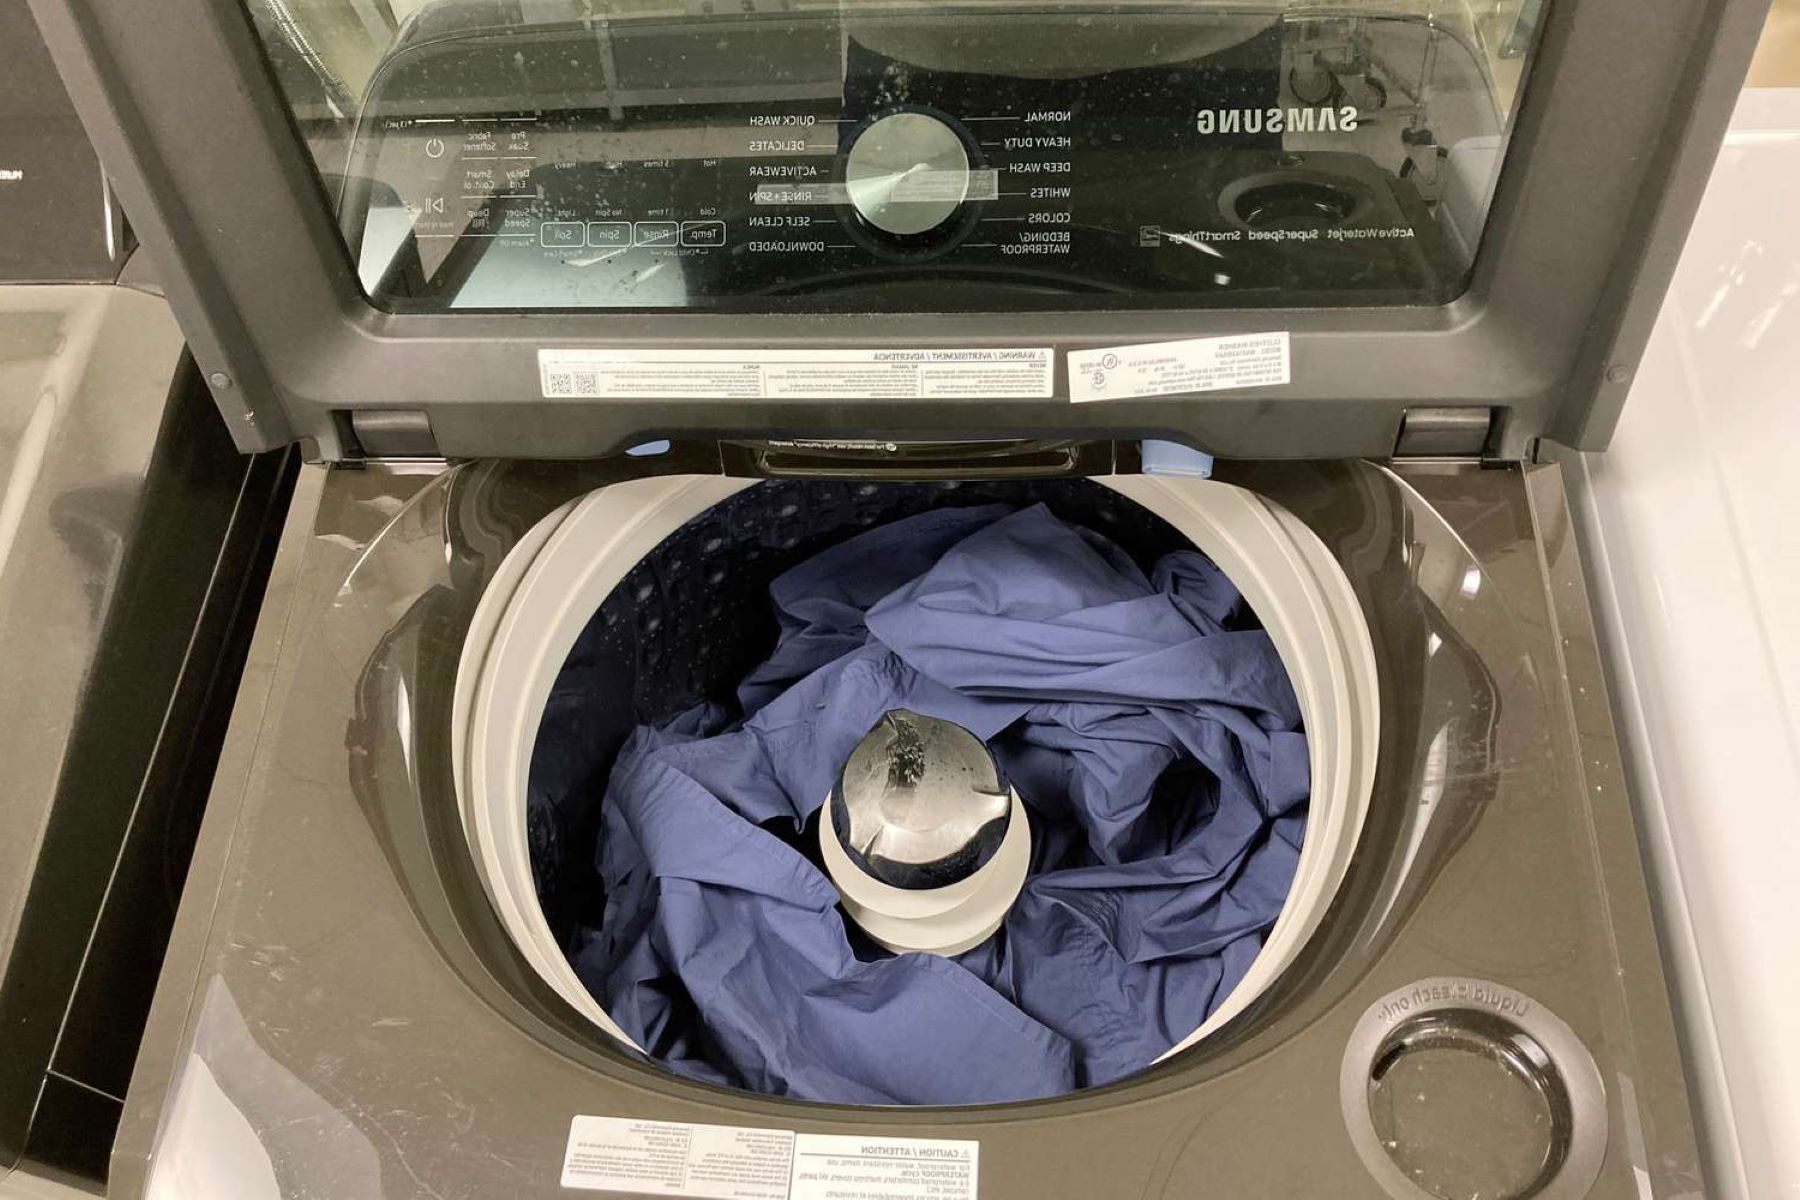
Observing the Agitation Process: As the test cycle commences, closely observe the agitator's movement within the washing machine drum. Pay attention to the smoothness and consistency of the agitator's motion, ensuring that it effectively agitates the laundry without producing excessive noise or vibration.
-
Balancing and Stability: Monitor the washing machine for any signs of imbalance or instability during the test cycle. A well-functioning agitator contributes to the balanced distribution of the laundry within the drum, minimizing vibrations and ensuring a stable washing process.
-
Assessing Cleaning Performance: Upon completion of the test cycle, inspect the cleanliness and condition of the laundry. A properly functioning agitator should have effectively agitated the clothes, resulting in thorough cleaning and the removal of dirt and stains.
-
Checking for Leaks or Abnormal Noises: While the test cycle is in progress, inspect the washing machine for any leaks or unusual noises. Ensure that all connections and components are secure, and that the washing machine operates quietly and without any signs of water leakage.
-
Verifying Overall Functionality: Test other essential functions of the washing machine, such as the drainage and spin cycles, to confirm that the agitator repair has not affected these operations. The washing machine should complete the entire cycle smoothly, including draining the water and spinning the laundry effectively.
-
Repeat Testing if Necessary: If any issues or irregularities are observed during the initial test cycle, consider running additional test cycles to further evaluate the agitator's performance and the overall functionality of the washing machine.
By meticulously testing the washing machine after the agitator repair, you can ensure that the appliance operates at its optimal capacity, delivering thorough cleaning and efficient performance during each wash cycle. This comprehensive testing process provides the assurance that the agitator repair has been successful and that the washing machine is ready to resume its essential role in maintaining clean and fresh laundry.
Frequently Asked Questions about How To Fix An Agitator On A Washing Machine
Was this page helpful?
At Storables.com, we guarantee accurate and reliable information. Our content, validated by Expert Board Contributors, is crafted following stringent Editorial Policies. We're committed to providing you with well-researched, expert-backed insights for all your informational needs.

0 thoughts on “How To Fix An Agitator On A Washing Machine”