Home>Home Appliances>Laundry Appliances>How To Fix A Washing Machine Drum
Laundry Appliances
How To Fix A Washing Machine Drum
Modified: March 2, 2024
Learn how to fix a washing machine drum and get your laundry appliances back in working order with our step-by-step guide. Save time and money with these DIY tips.
(Many of the links in this article redirect to a specific reviewed product. Your purchase of these products through affiliate links helps to generate commission for Storables.com, at no extra cost. Learn more)
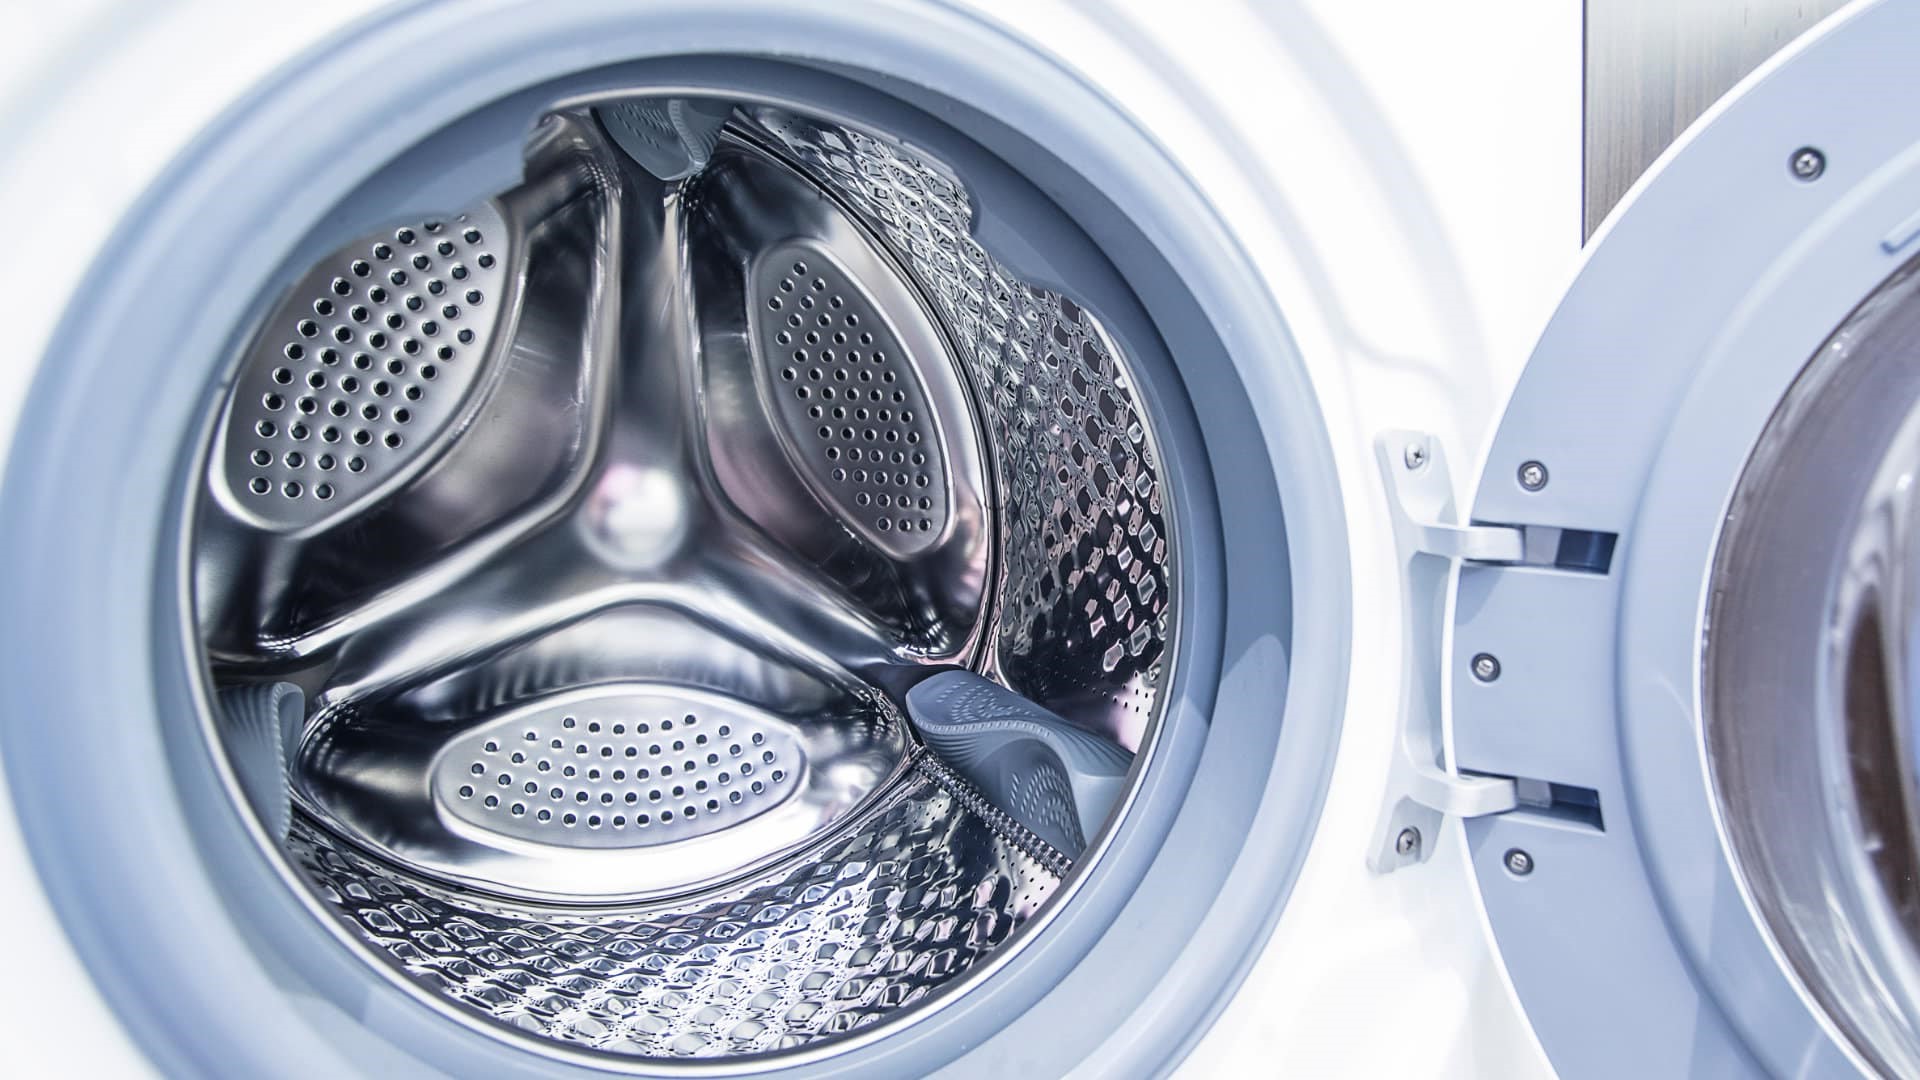
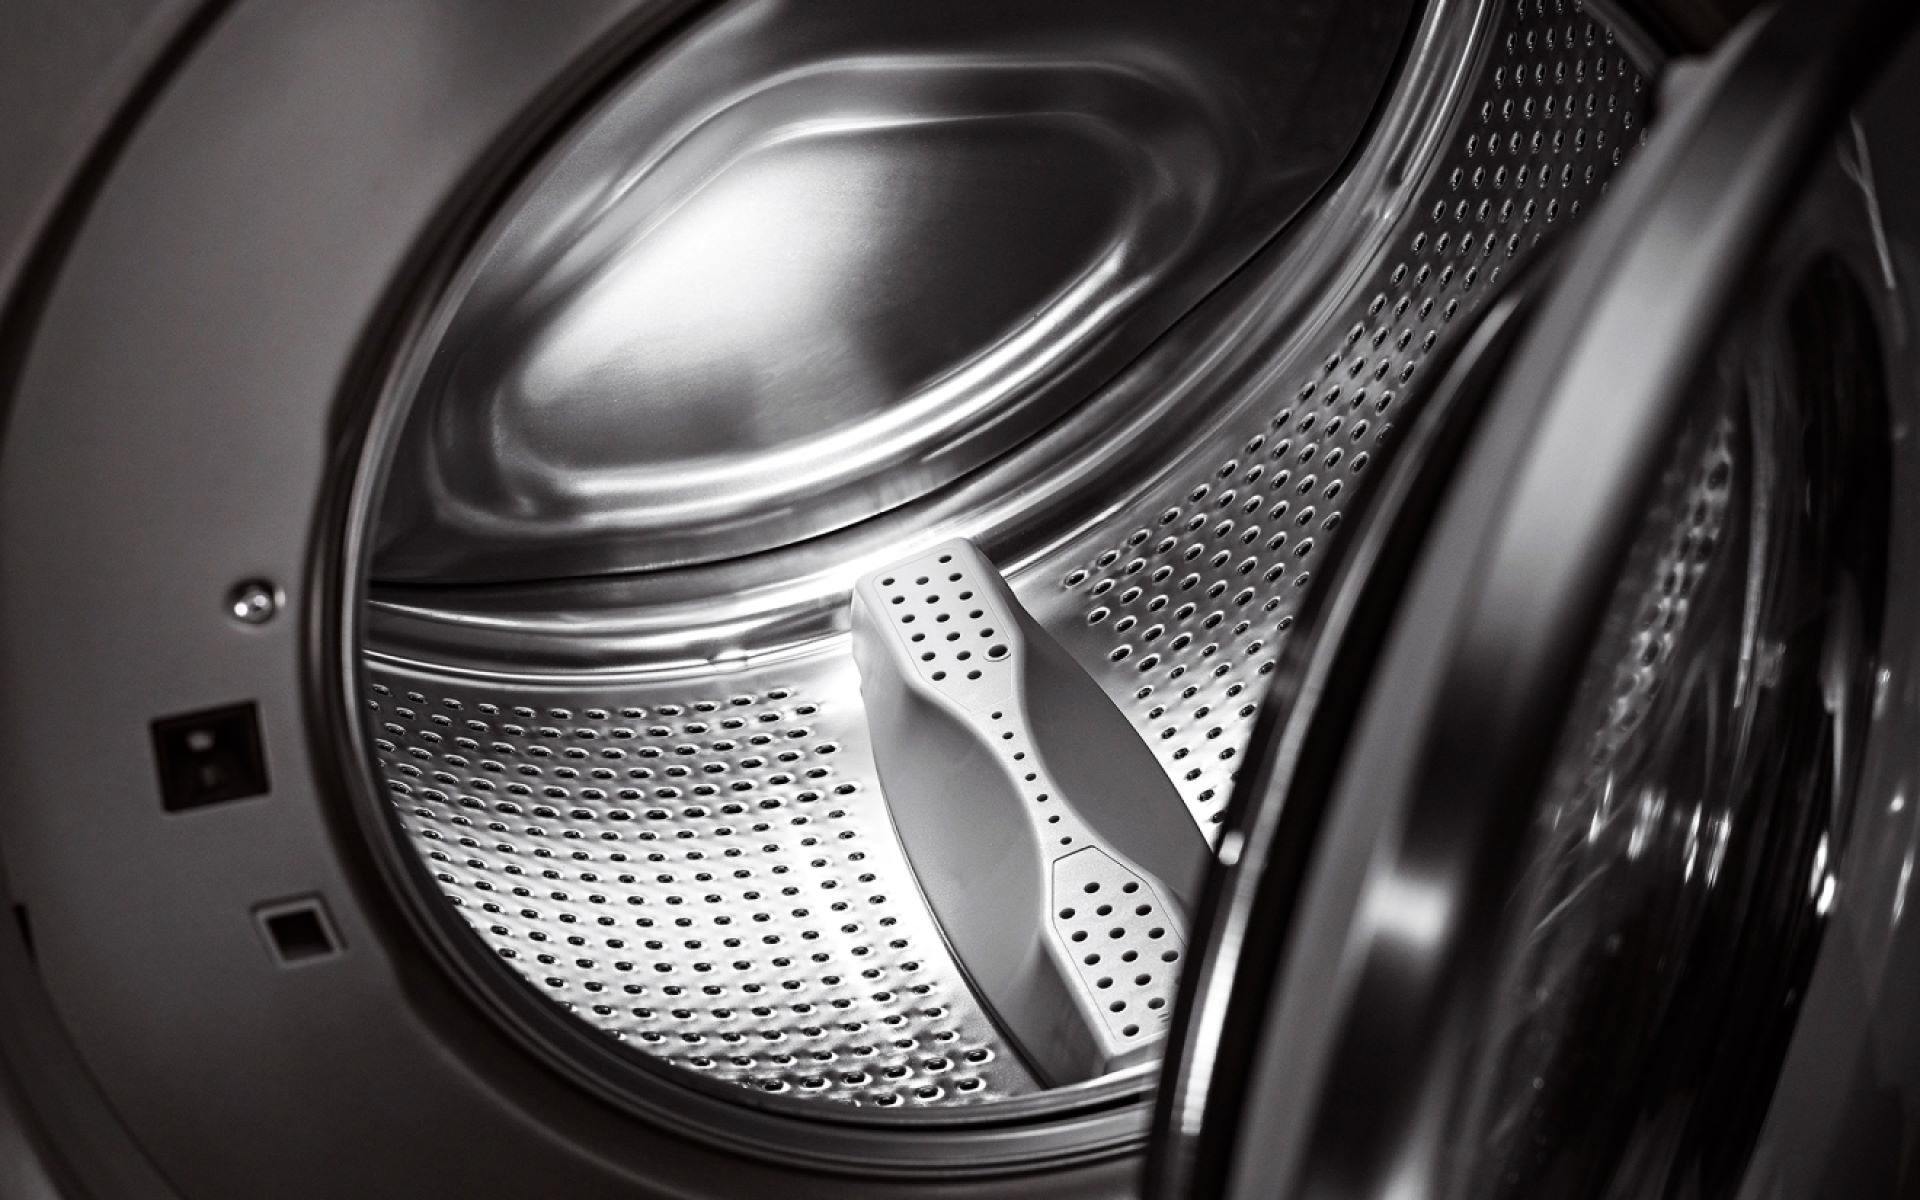
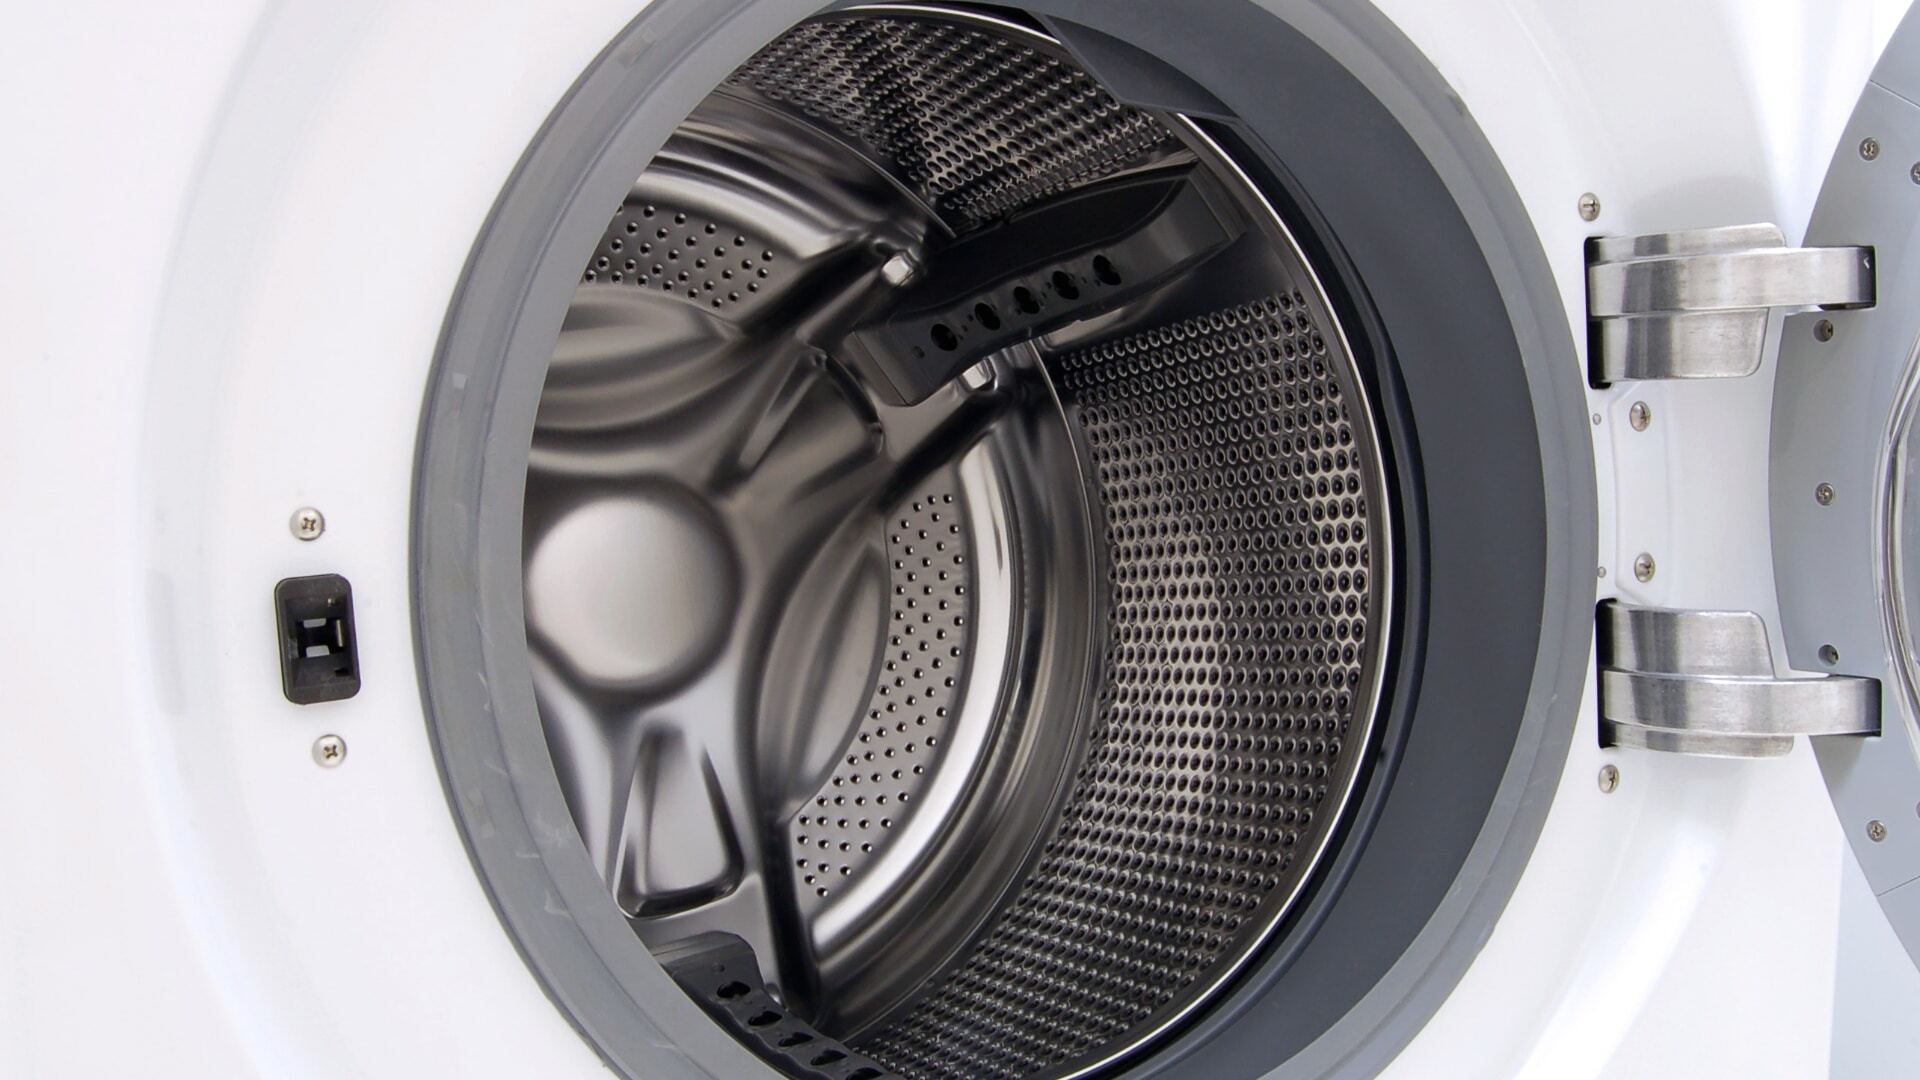
Common Issues with Washing Machine Drums
Washing machines are essential appliances in modern households, simplifying the daunting task of laundry. However, like any mechanical device, they are susceptible to wear and tear, especially the drum, which is a vital component responsible for agitating and spinning the clothes during the wash cycle. Understanding the common issues that can arise with washing machine drums is crucial for maintaining the appliance's optimal functionality.
-
Unusual Noises: One of the most prevalent issues with washing machine drums is the occurrence of unusual noises during operation. These noises can range from loud banging or thumping to high-pitched squealing or grinding sounds. Such noises often indicate problems with the drum's bearings, support spider, or suspension springs.
-
Excessive Vibration: If your washing machine excessively vibrates or moves around during the spin cycle, it could be a sign of an unbalanced or damaged drum. This issue not only affects the appliance's stability but can also lead to further damage if left unaddressed.
-
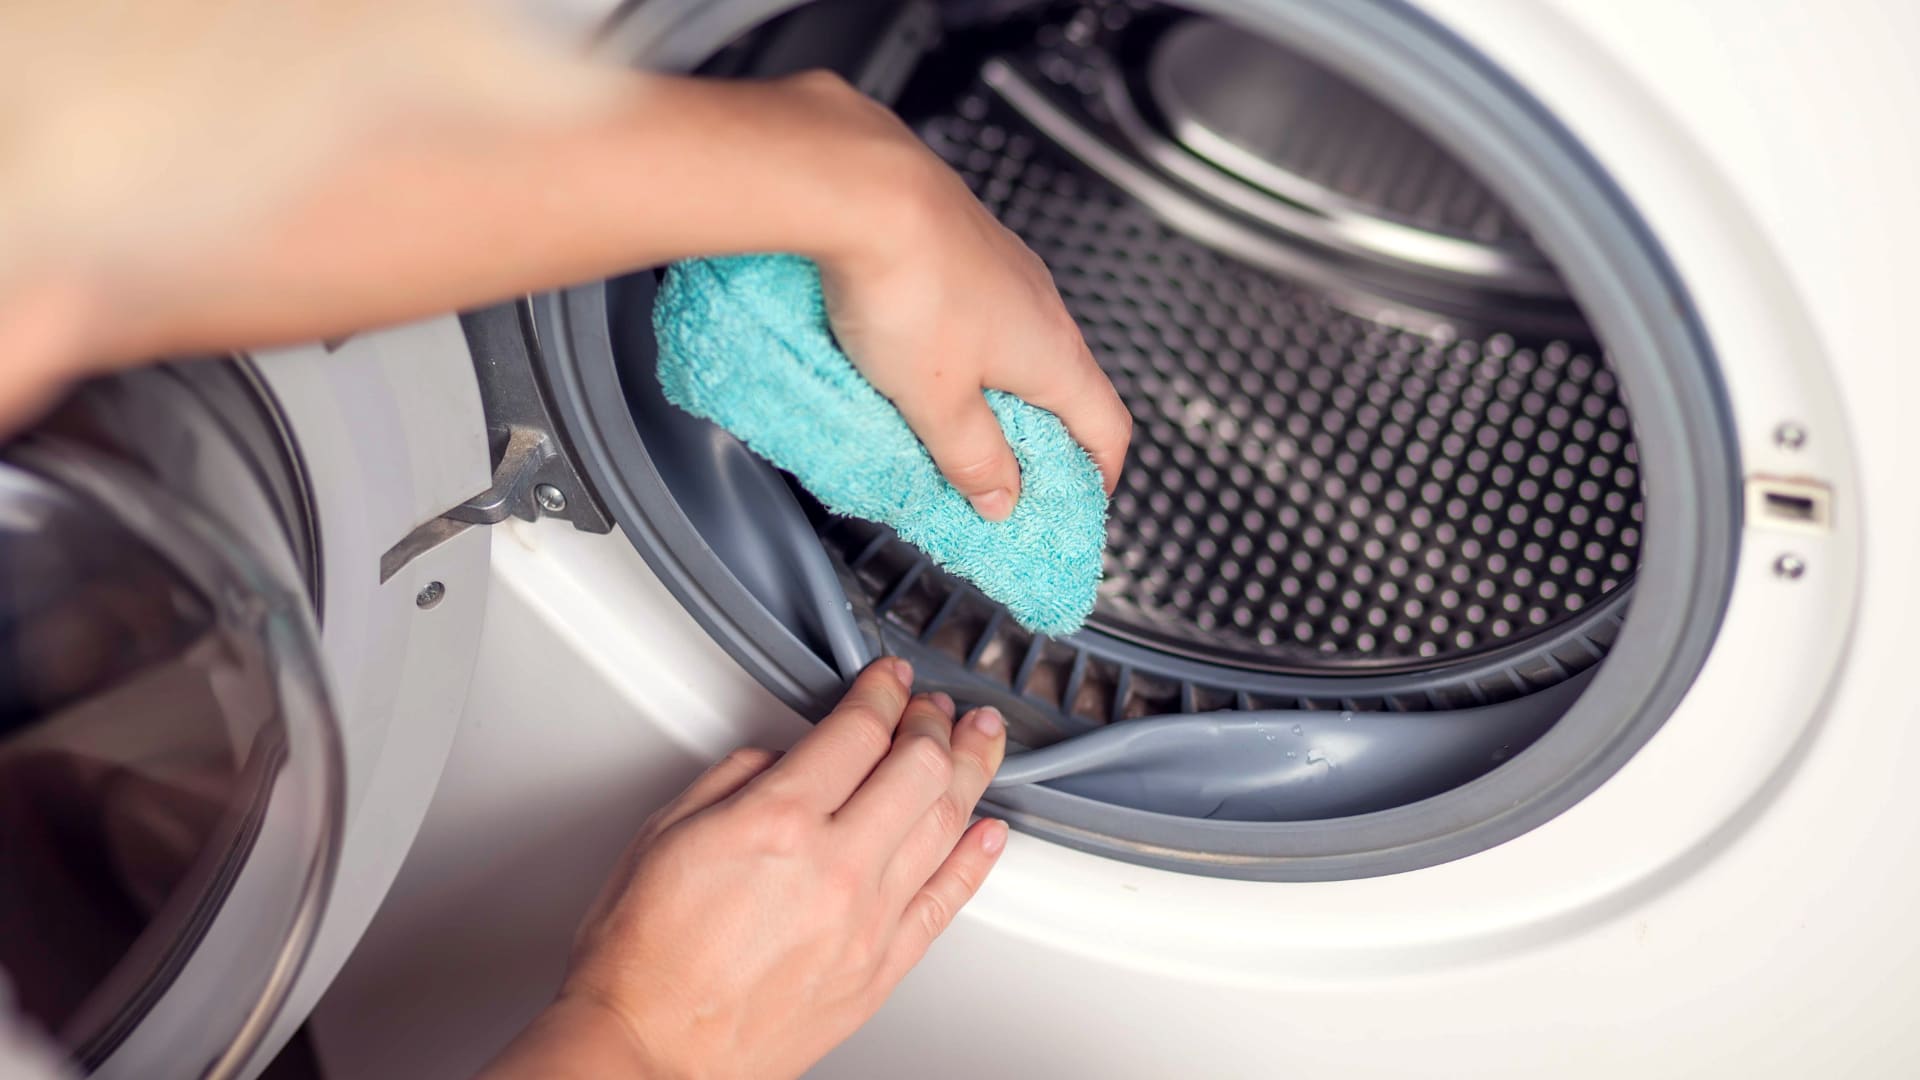
Leaking: A leaking washing machine is a common headache for many homeowners. A faulty drum seal or damaged door gasket can result in water leakage during the wash cycle, leading to potential water damage and mold growth.
-
Failure to Spin: When the drum fails to spin, it can significantly impede the washing machine's ability to effectively clean clothes. This issue may stem from a malfunctioning drive belt, motor coupling, or motor itself.
-
Foul Odors: Over time, washing machine drums can develop unpleasant odors caused by the accumulation of dirt, detergent residue, and moisture. These odors can transfer to the laundered clothes, making them smell musty or moldy.
-
Excessive Wear and Tear: Continuous use and overloading can accelerate the wear and tear of the washing machine drum, leading to dents, cracks, or other forms of damage that compromise its performance.
Understanding these common issues with washing machine drums empowers homeowners to identify and address potential problems promptly. By recognizing the symptoms associated with these issues, individuals can take proactive measures to maintain their washing machines and ensure the longevity of their laundry appliances.
Key Takeaways:
- Keep your washing machine drum healthy by balancing loads, routine inspections, and proper cleaning. Avoid overloading and address issues promptly to prevent costly repairs and maintain optimal performance.
- When fixing a washing machine drum, use essential tools like screwdrivers, wrenches, and pliers. Follow step-by-step instructions to remove and replace the drum, ensuring a successful repair.
Read more: How To Fix A Loose Drum In A Washing Machine
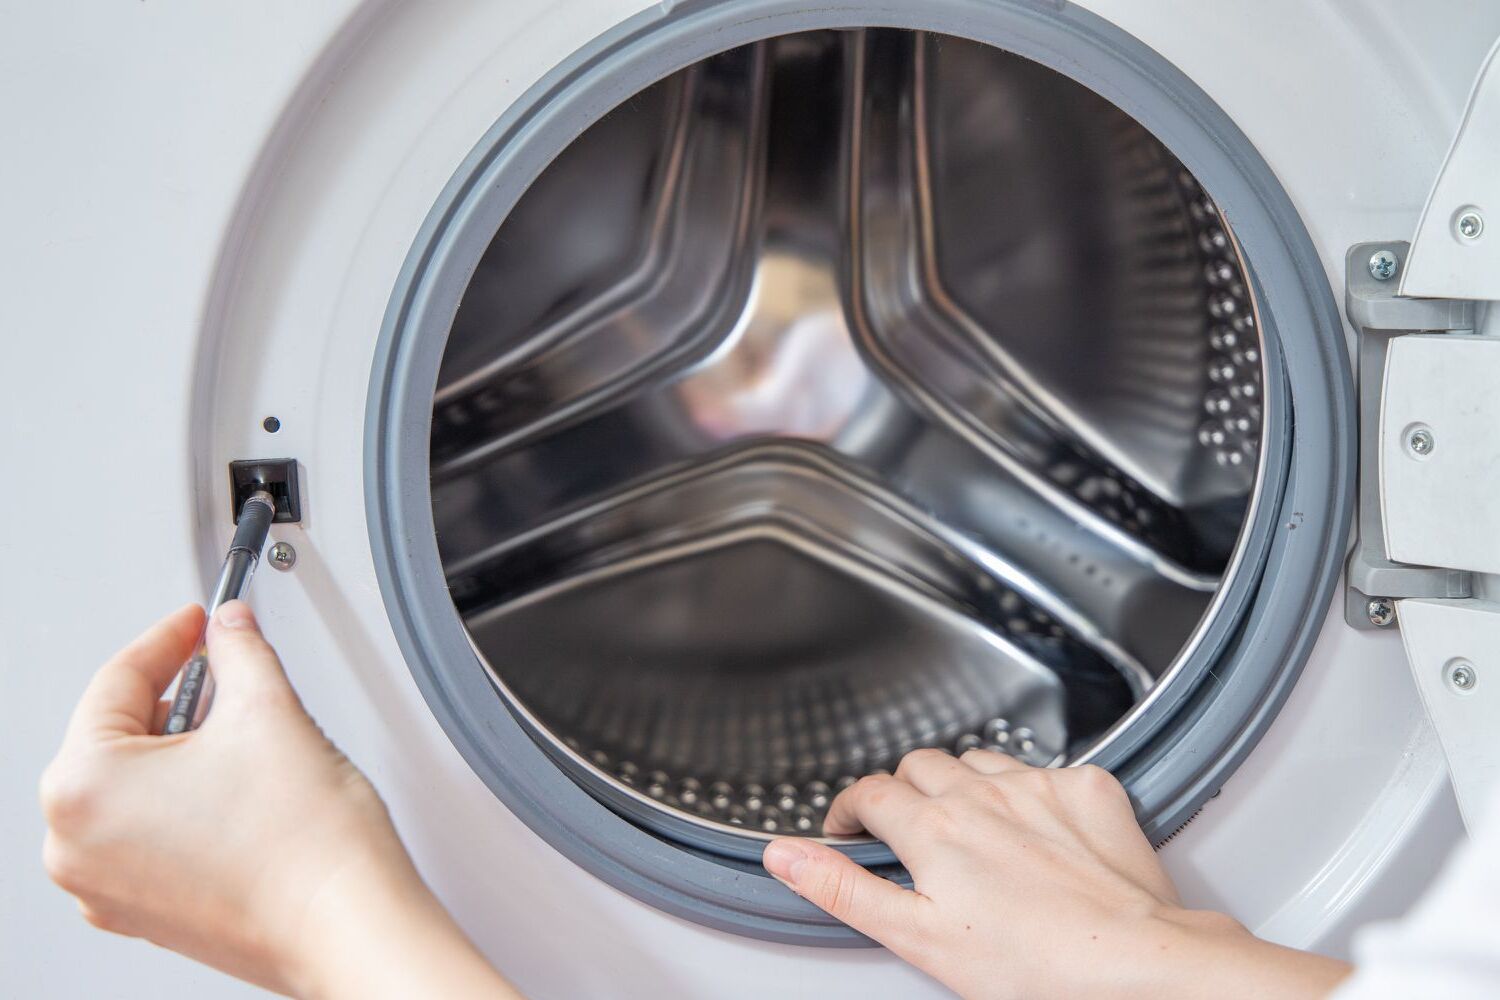
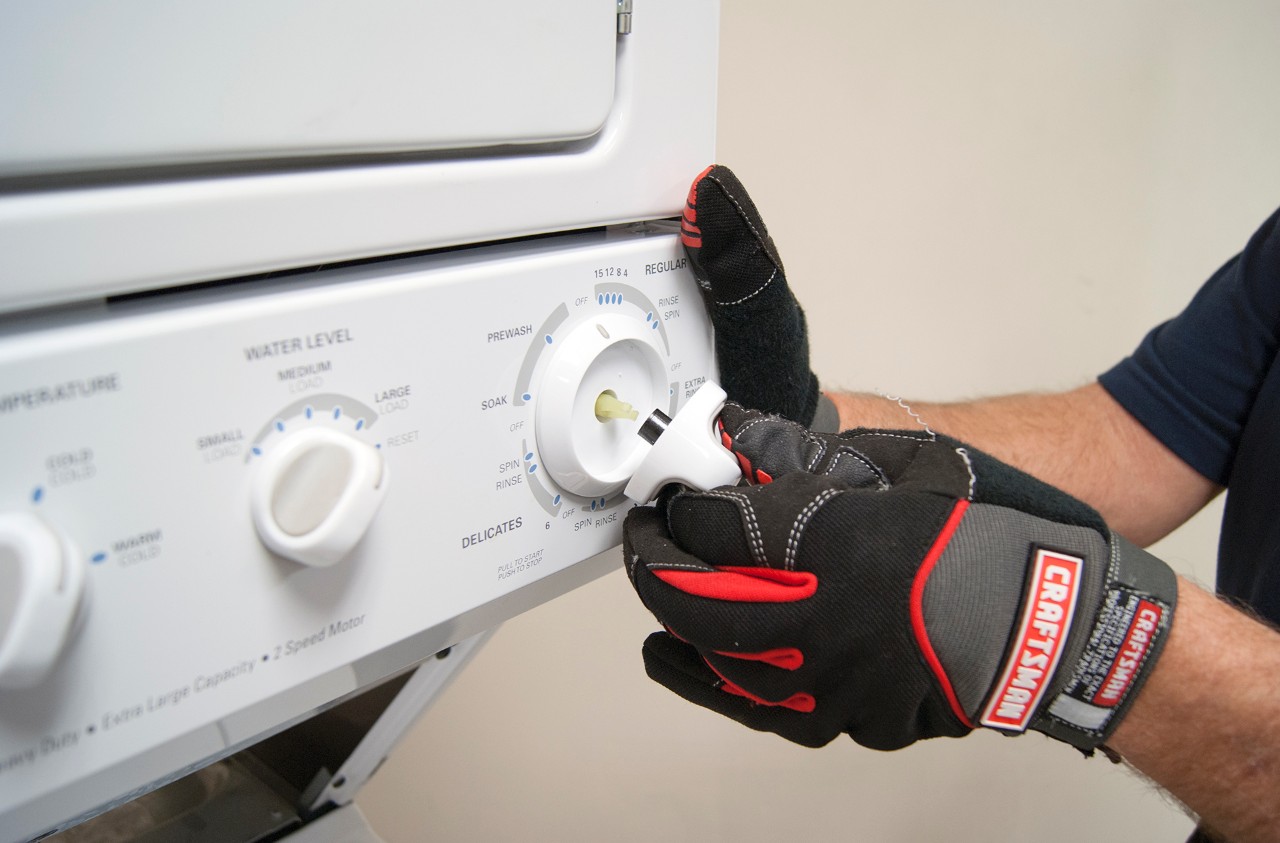
Tools Needed for Fixing a Washing Machine Drum
When it comes to fixing a washing machine drum, having the right tools at your disposal is essential for a successful repair. Whether you are addressing issues such as unusual noises, excessive vibration, or leaking, the following tools are indispensable for tackling the task effectively:
-
Screwdriver Set: A comprehensive screwdriver set with various head types is crucial for accessing and removing the outer panels and components of the washing machine. Phillips and flathead screwdrivers are commonly used for this purpose.
-
Adjustable Wrench: An adjustable wrench is indispensable for loosening and tightening nuts, bolts, and fasteners that secure the drum and other internal components in place.
-
Pliers: Both needle-nose and slip-joint pliers are valuable for gripping, twisting, and manipulating small components, such as clamps, hoses, and wires, within the washing machine.
-
Socket and Ratchet Set: This set is essential for removing and installing bolts and nuts of various sizes, providing a secure and efficient means of disassembling the washing machine.
-
Hammer: A lightweight hammer can be useful for gently tapping and maneuvering components during the repair process, especially when dealing with stubborn or stuck parts.
-
Level: To address issues related to excessive vibration, a level is crucial for ensuring the washing machine is properly balanced after the drum repair is completed.
-
Flashlight: A reliable flashlight or headlamp is invaluable for illuminating the internal components of the washing machine, especially in dimly lit areas, to aid in the inspection and repair process.
-
Putty Knife: A putty knife can be used to carefully pry apart and remove the sealing or gasket around the washing machine drum, facilitating access for inspection and repair.
-
Tub Spanner Wrench: This specialized tool is designed specifically for removing the tub nut that secures the washing machine drum in place, allowing for safe and efficient disassembly.
-
Gloves and Safety Gear: It is essential to prioritize safety during the repair process. Wearing protective gloves and safety goggles can safeguard against potential injuries and exposure to sharp edges and electrical components.
By ensuring that these essential tools are readily available, individuals can approach the task of fixing a washing machine drum with confidence and preparedness. With the right tools and a methodical approach, addressing common drum issues can be a manageable and rewarding endeavor, ultimately restoring the optimal functionality of the laundry appliance.
Tip: If your washing machine drum is making loud noises, it may be off-balance. Try redistributing the load evenly and leveling the machine to fix the issue.
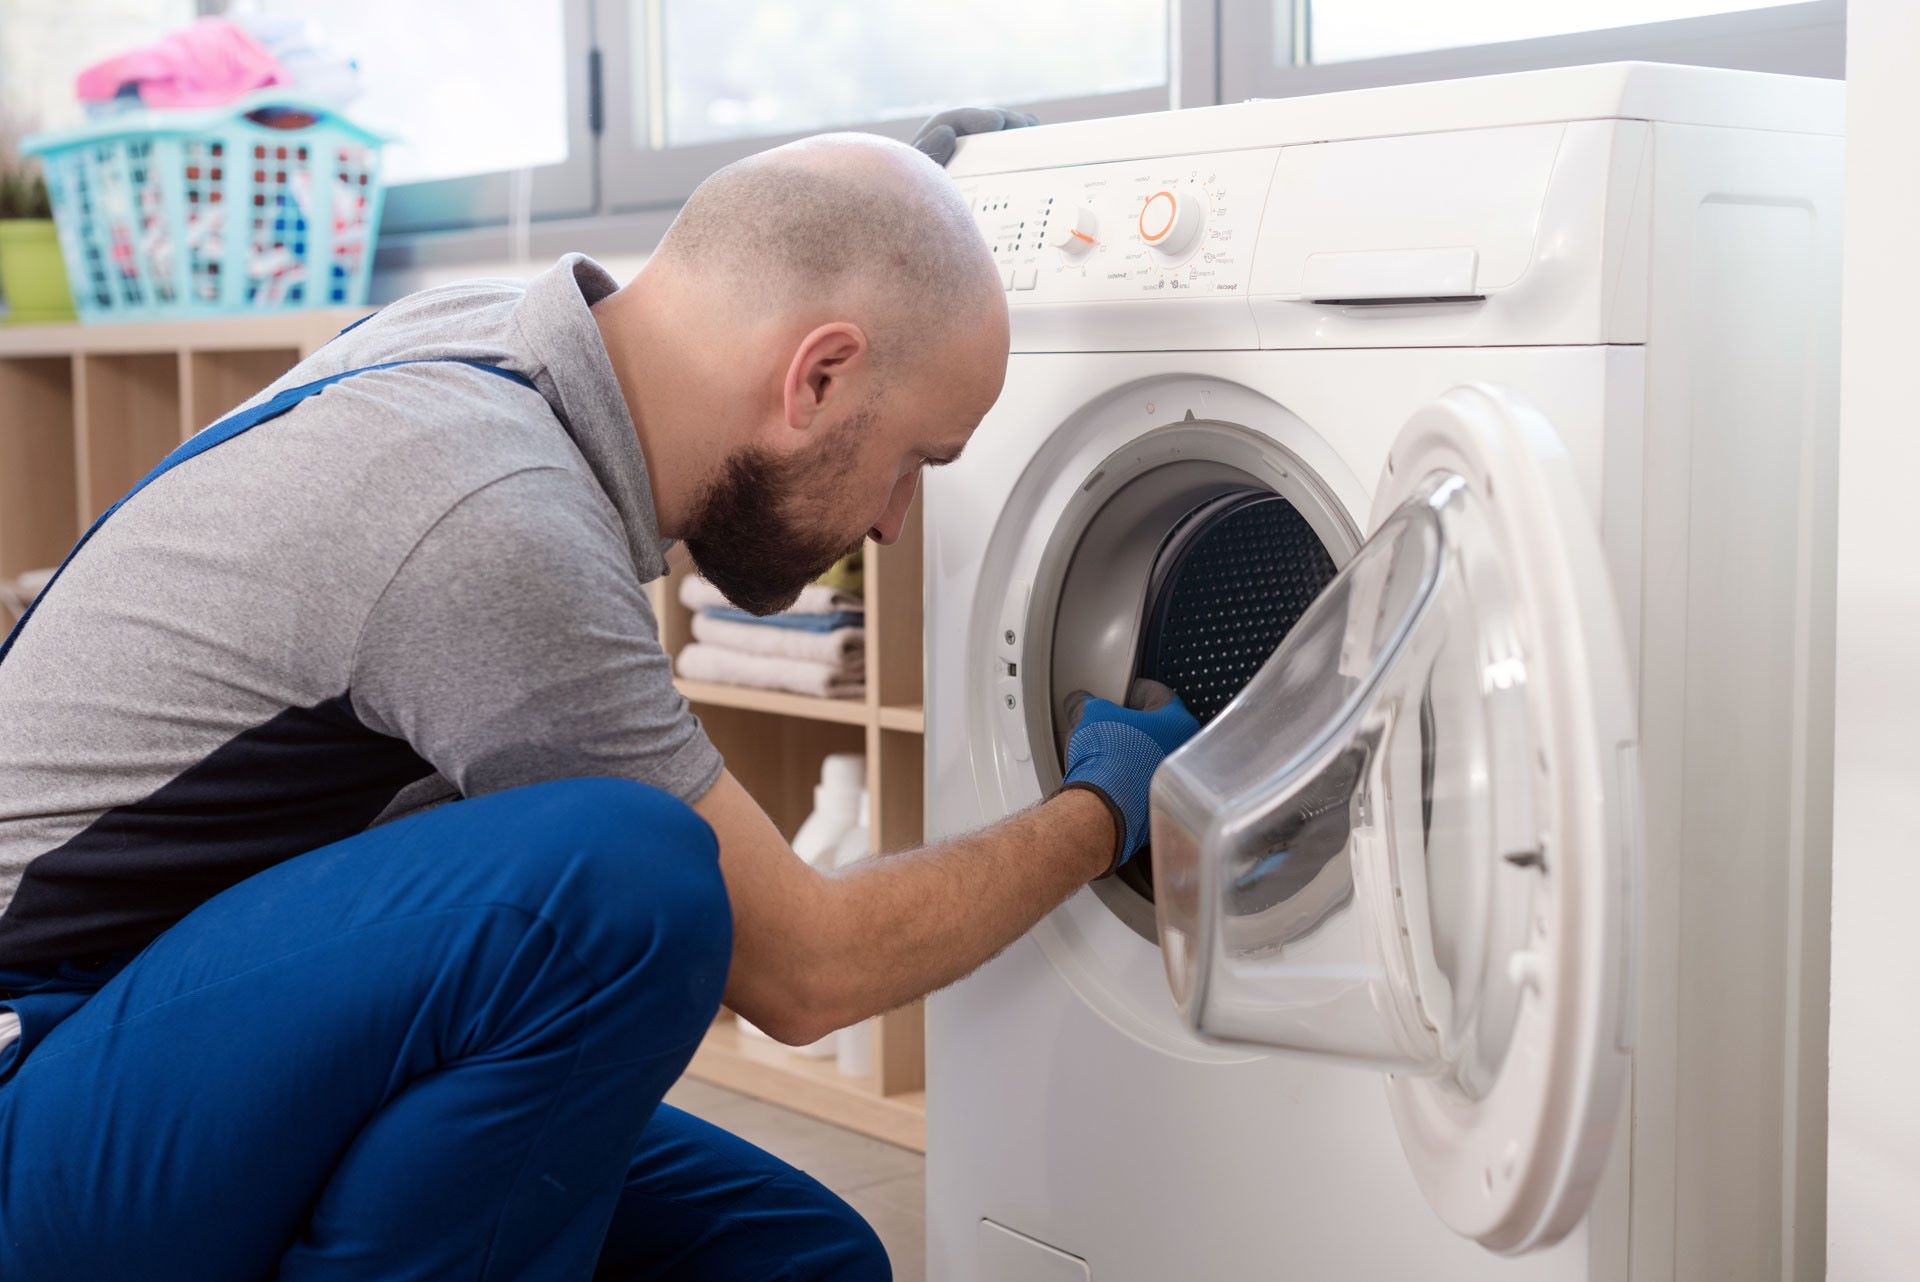
Steps to Remove and Replace a Washing Machine Drum
Repairing or replacing a washing machine drum requires careful disassembly and reassembly to ensure the appliance's optimal functionality. Here are the essential steps to effectively remove and replace a washing machine drum:
-
Preparation: Before beginning the repair process, unplug the washing machine from the power source and turn off the water supply. Position the appliance in a well-lit and spacious area to facilitate the repair process.
-
Accessing the Drum: Start by removing the outer panels of the washing machine to gain access to the drum and its surrounding components. This typically involves using a screwdriver to unfasten the screws securing the top, front, and rear panels.
-
Disconnecting Components: Carefully disconnect the electrical wires, hoses, and any other components attached to the drum. Labeling or documenting the connections can aid in the reassembly process.
-
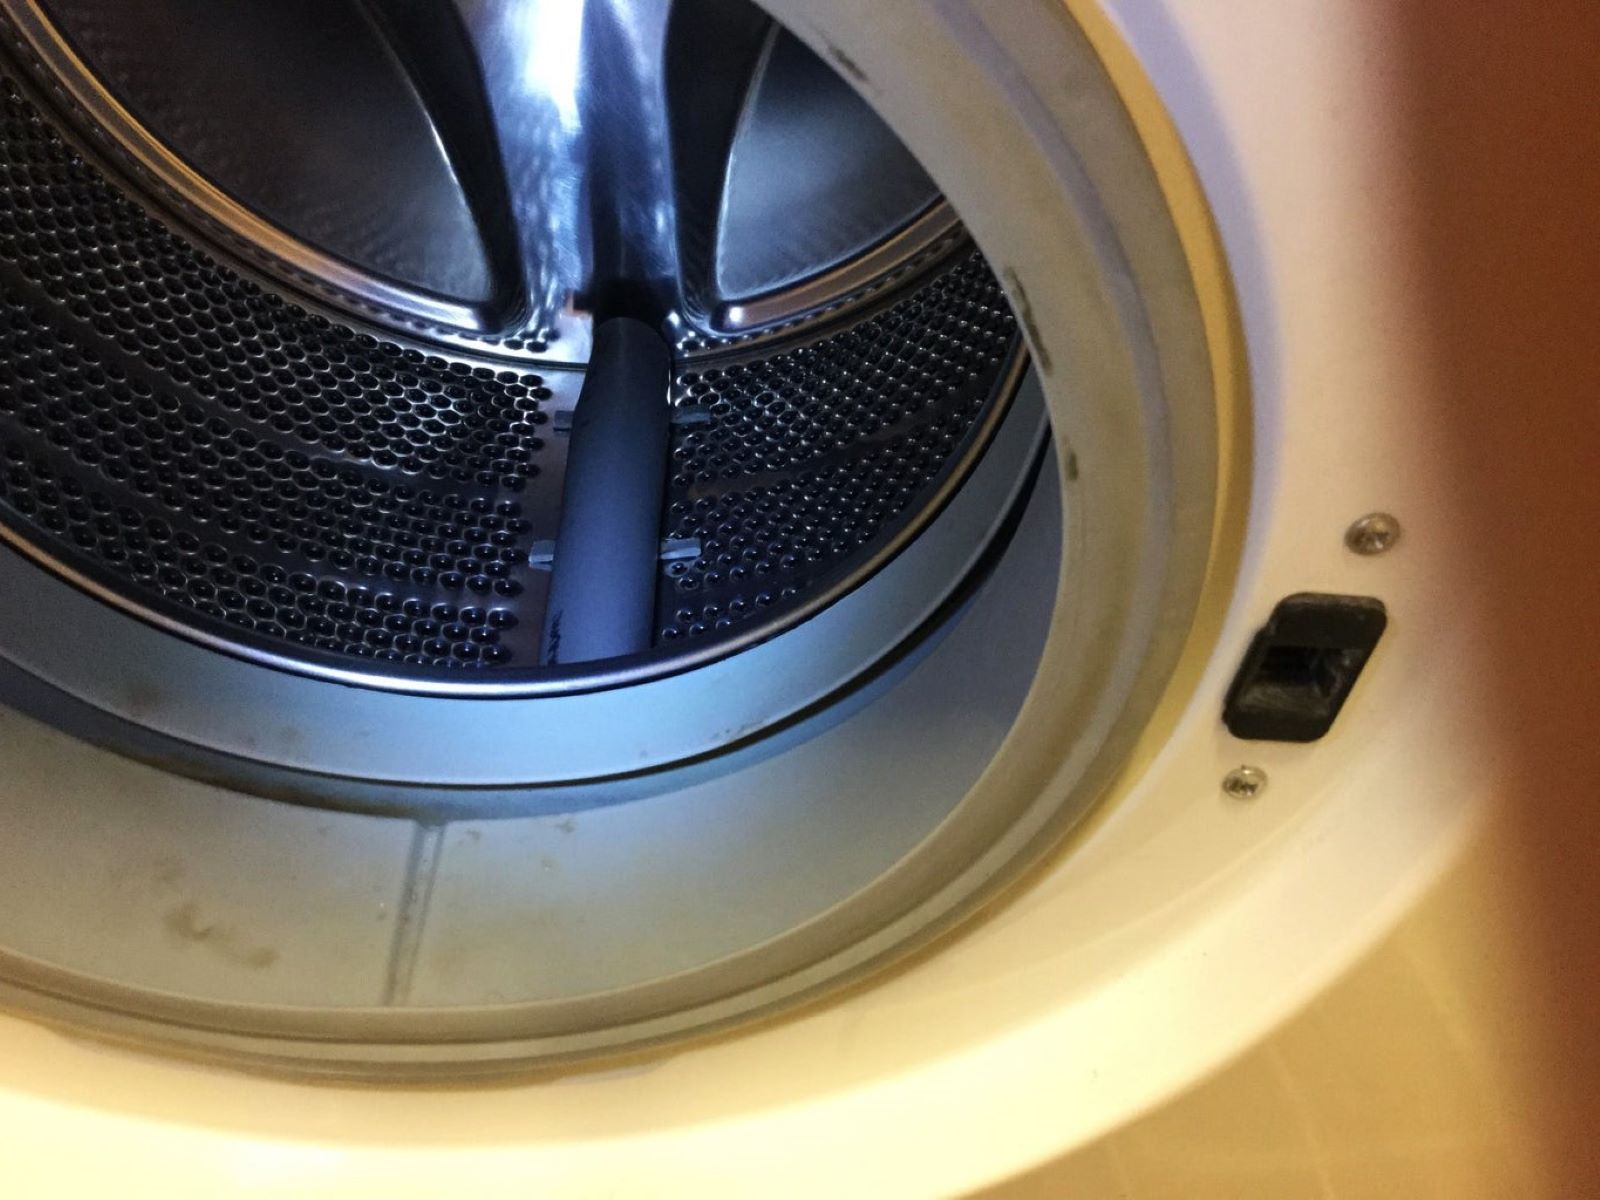
Removing the Tub Seal and Bearing: If the repair involves replacing the drum bearings or seal, carefully remove the tub seal and bearing using a putty knife and specialized tools, such as a bearing puller or tub spanner wrench.
-
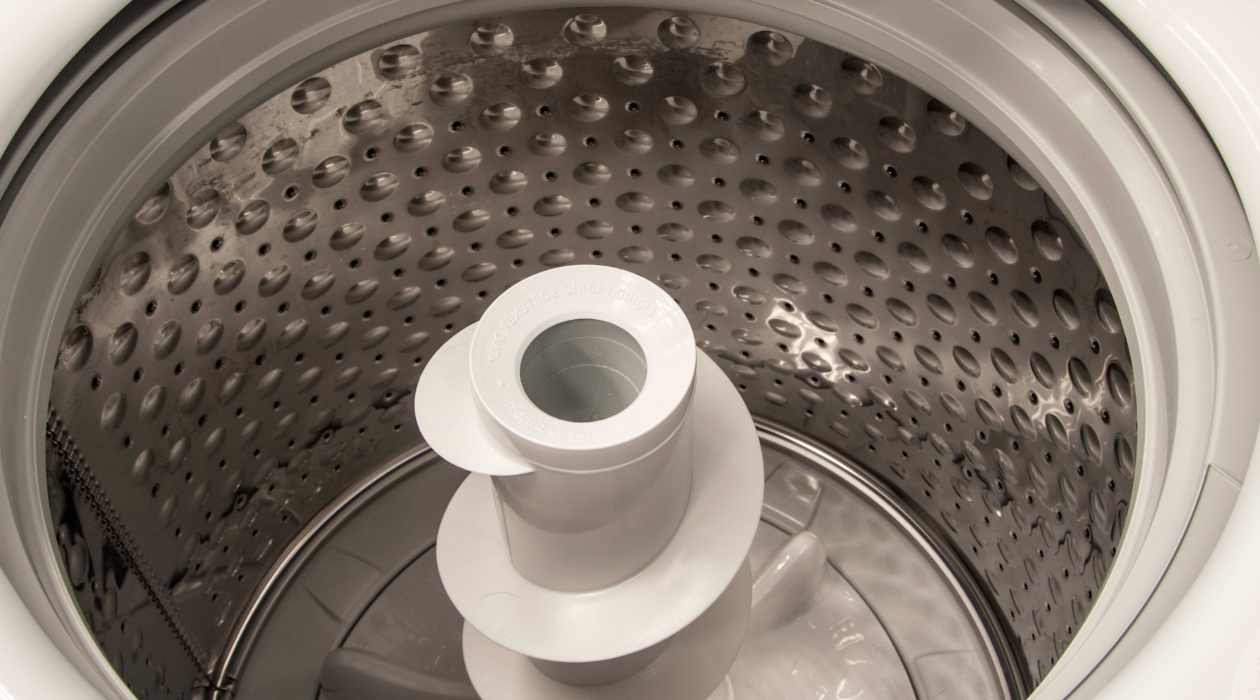
Detaching the Drum: Loosen and remove the bolts or nuts securing the drum to the washing machine's tub. Once the fasteners are removed, carefully lift and maneuver the drum out of the appliance, taking care to avoid damage to the surrounding components.
-
Inspecting and Cleaning: With the drum removed, thoroughly inspect the internal components and the tub for any signs of damage, wear, or debris. Clean the interior of the washing machine to remove any accumulated dirt, lint, or detergent residue.
-
Replacing the Drum: If replacing the drum, carefully position the new drum within the washing machine's tub, ensuring it is properly aligned and seated. Secure the drum in place by reattaching the bolts or nuts and tightening them to the manufacturer's specifications.
-
Reconnecting Components: Reconnect the electrical wires, hoses, and any other components that were detached during the disassembly process. Ensure that all connections are secure and properly aligned.
-
Reassembling the Outer Panels: Once the drum and internal components are in place, reattach the outer panels of the washing machine using the appropriate screws and fasteners. Ensure that the panels are securely in place before proceeding.
-
Testing the Appliance: After the drum replacement and reassembly are complete, plug the washing machine back into the power source and turn on the water supply. Run a test cycle to ensure that the appliance operates smoothly and without any unusual noises or issues.
By following these comprehensive steps, individuals can effectively remove and replace a washing machine drum, addressing common issues and restoring the appliance's functionality. It is important to approach the repair process with patience and attention to detail to ensure a successful outcome.
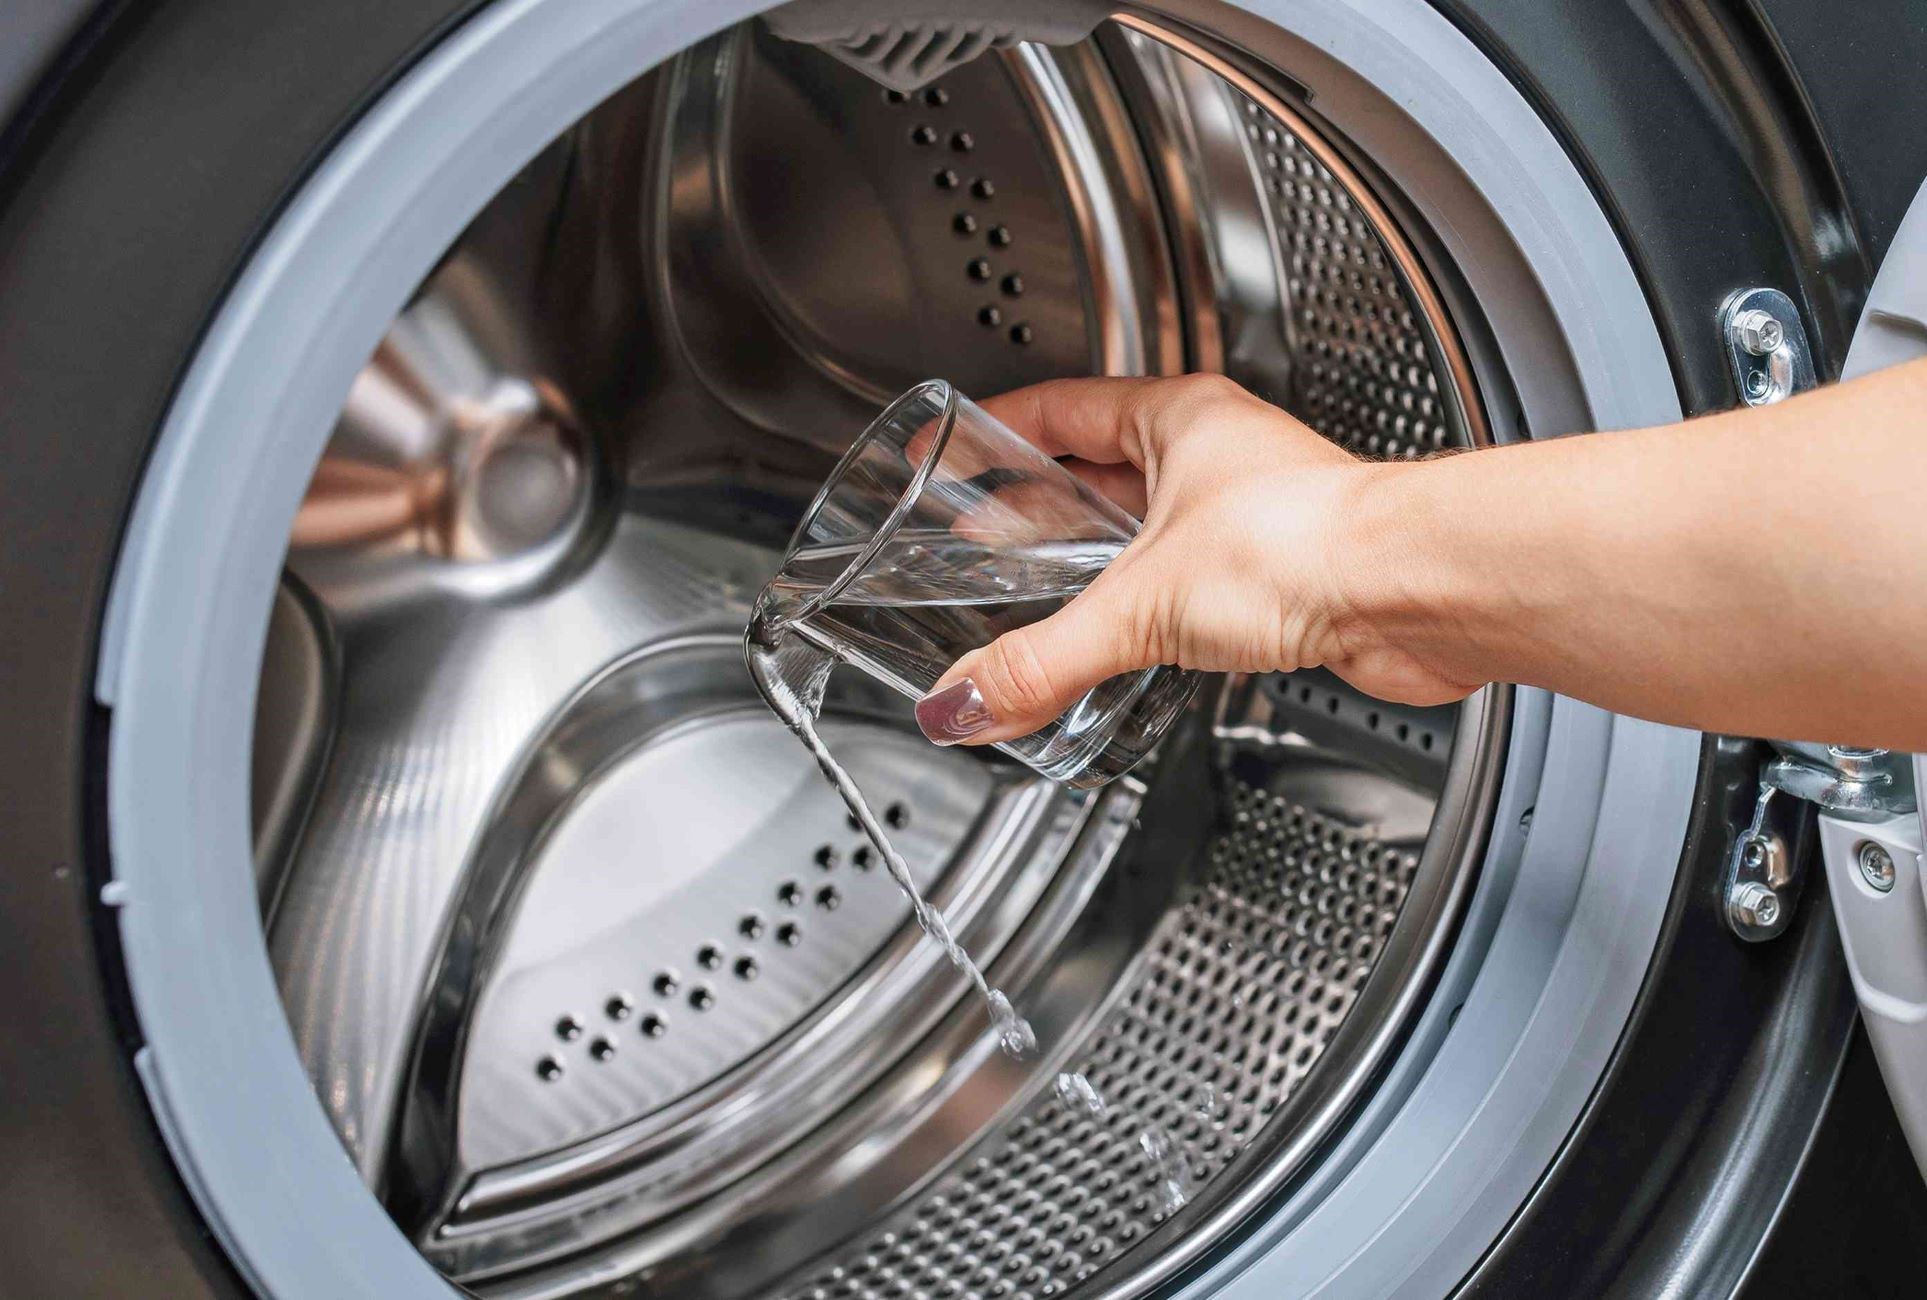
Tips for Maintaining a Healthy Washing Machine Drum
Proper maintenance is key to ensuring the longevity and optimal performance of a washing machine drum. By implementing regular care and preventive measures, homeowners can mitigate potential issues and preserve the functionality of this essential laundry appliance. Here are valuable tips for maintaining a healthy washing machine drum:
-
Balanced Loads: Always strive to load the washing machine drum evenly to prevent imbalance during the spin cycle. Overloading or underloading the drum can lead to excessive vibration, potentially causing damage to the appliance over time.
-
Routine Inspections: Periodically inspect the drum, seals, and gaskets for signs of wear, damage, or mold growth. Addressing minor issues promptly can prevent them from escalating into more significant problems that require extensive repairs.
-
Cleaning Regimen: Establish a regular cleaning routine for the washing machine drum to remove dirt, detergent residue, and mold buildup. Running a hot water cycle with vinegar or a specialized washing machine cleaner can effectively eliminate odors and maintain a hygienic interior.
-
Proper Detergent Use: Use the appropriate amount of detergent according to the manufacturer's guidelines to prevent excessive suds and residue buildup in the drum. Excess detergent can contribute to foul odors and affect the appliance's performance.
-
Balancing the Appliance: Ensure that the washing machine is level and properly balanced to prevent excessive vibration during operation. Adjust the appliance's leveling feet as needed to maintain stability and reduce wear on the drum and other internal components.
-
Regular Maintenance Checks: Schedule periodic maintenance checks by a qualified technician to assess the condition of the drum, bearings, and other critical components. Professional inspections can identify potential issues early and prolong the appliance's lifespan.
-
Avoiding Overloading: Refrain from overloading the washing machine drum with excessive laundry, as this can strain the appliance and lead to premature wear and tear. Follow the manufacturer's recommendations for load capacity to prevent unnecessary stress on the drum.
-
Prompt Repairs: Address any unusual noises, leaks, or performance issues promptly to prevent further damage to the drum and associated components. Ignoring warning signs can exacerbate problems and result in more extensive and costly repairs.
By incorporating these maintenance tips into a regular care routine, homeowners can uphold the health and functionality of their washing machine drums, ensuring efficient laundry cycles and prolonging the appliance's lifespan. Prioritizing preventive maintenance and attentive care can ultimately save time, money, and the inconvenience of unexpected breakdowns.
Frequently Asked Questions about How To Fix A Washing Machine Drum
Was this page helpful?
At Storables.com, we guarantee accurate and reliable information. Our content, validated by Expert Board Contributors, is crafted following stringent Editorial Policies. We're committed to providing you with well-researched, expert-backed insights for all your informational needs.


0 thoughts on “How To Fix A Washing Machine Drum”