Home>Home Appliances>Laundry Appliances>How To Test A Washing Machine Control Board
Laundry Appliances
How To Test A Washing Machine Control Board
Modified: October 18, 2024
Learn how to test a washing machine control board for issues and malfunctions. Get expert tips for troubleshooting laundry appliances.
(Many of the links in this article redirect to a specific reviewed product. Your purchase of these products through affiliate links helps to generate commission for Storables.com, at no extra cost. Learn more)
Introduction
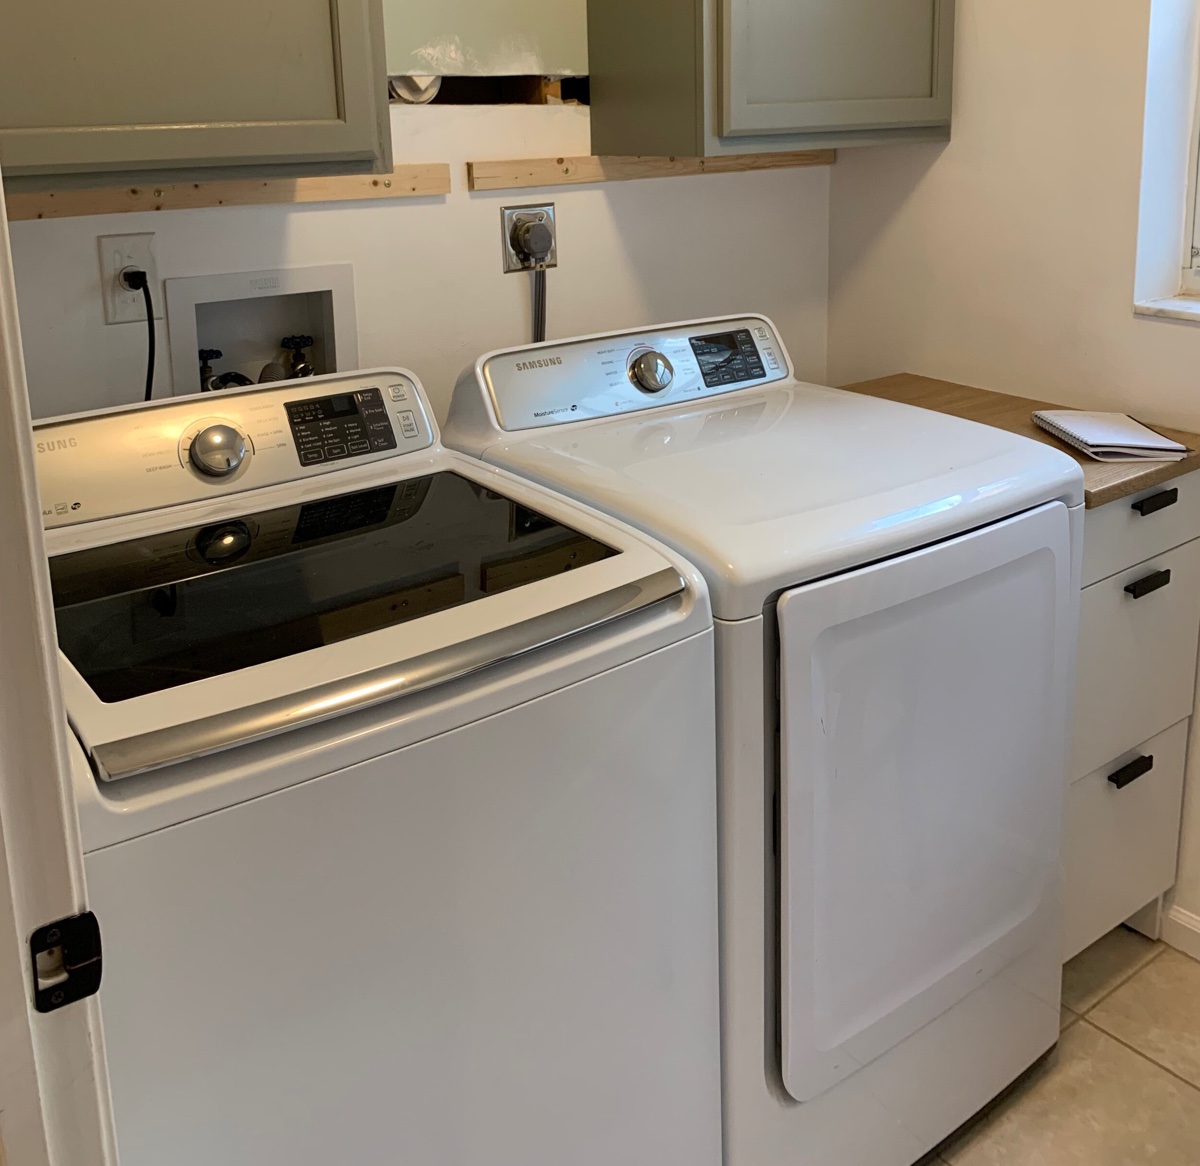
Washing machines have become an indispensable part of our daily lives, simplifying the daunting task of laundry. However, when these trusty appliances malfunction, it can disrupt our routines and cause frustration. One of the key components responsible for the proper functioning of a washing machine is the control board. The control board, also known as the main PCB (Printed Circuit Board), serves as the brain of the washing machine, coordinating and regulating various functions such as water temperature, cycle duration, and spin speed.
Understanding how to test a washing machine control board can be invaluable in diagnosing and resolving issues with your appliance. By conducting a thorough assessment of the control board, you can pinpoint the source of the problem and take the necessary steps to rectify it. This not only saves time and money but also empowers you to tackle minor repairs on your own.
In this comprehensive guide, we will delve into the essential steps for testing a washing machine control board. From the tools and equipment needed to the safety precautions to be observed, we will cover every aspect to ensure a seamless testing process. By following the instructions outlined in this guide, you will gain the confidence to troubleshoot your washing machine's control board effectively.
Let's embark on this enlightening journey to demystify the intricacies of testing a washing machine control board, empowering you to become adept at maintaining and repairing your valuable appliance.
Key Takeaways:
- Mastering the art of testing a washing machine control board empowers you to diagnose and fix appliance issues, saving time and money while gaining confidence in DIY repairs.
- By prioritizing safety, using essential tools, and interpreting test results, you can effectively troubleshoot and restore your washing machine’s control board, becoming a savvy appliance troubleshooter.
Read more: How To Test A Washing Machine Motor
Tools and Equipment Needed
To conduct a comprehensive test of a washing machine control board, you will require a set of essential tools and equipment. These items are instrumental in facilitating a thorough assessment of the control board's functionality. Here's a detailed list of the tools and equipment needed for testing a washing machine control board:
-
Multimeter: This versatile device is indispensable for measuring voltage, current, and resistance. A digital multimeter allows you to assess the electrical parameters of the control board components accurately.
-
Screwdriver Set: A set of screwdrivers with various head types, including Phillips and flathead, is essential for accessing the control board within the washing machine. Different screw sizes and types are commonly used in securing the control board, necessitating a diverse screwdriver set.
-
Insulated Gloves: Safety is paramount when dealing with electrical components. Insulated gloves provide protection against electric shock and should be worn throughout the testing process.
-
Safety Goggles: Shielding your eyes from potential sparks or debris is crucial. Safety goggles ensure eye protection while working on the control board.
-
Flashlight: Adequate illumination is essential for inspecting the control board and its intricate components. A reliable flashlight enables clear visibility within the washing machine's interior.
-
Replacement Fuses and Components: In the event of identifying a faulty component, having replacement fuses and components on hand can expedite the repair process.
-
Testing Leads: These insulated wires with probes are used in conjunction with the multimeter for conducting voltage and resistance tests on the control board.
-
Work Gloves: Handling the washing machine and its components may require sturdy work gloves to protect your hands from sharp edges and surfaces.
By ensuring that you have these essential tools and equipment at your disposal, you can proceed with confidence in testing the washing machine control board. This comprehensive array of items equips you to perform a thorough assessment and effectively troubleshoot any issues that may arise during the testing process.
Safety Precautions
When testing a washing machine control board, prioritizing safety is paramount to prevent accidents and ensure a secure working environment. The intricate electrical components and the potential for exposure to high voltage necessitate adherence to stringent safety precautions. By conscientiously observing the following safety measures, you can safeguard yourself and mitigate the risks associated with testing the control board:
-
Power Disconnection: Before initiating any testing procedures, it is imperative to disconnect the washing machine from the power supply. Unplug the appliance from the electrical outlet to eliminate the risk of electric shock during the testing process. Additionally, ensure that the water supply to the washing machine is turned off to prevent any water-related mishaps.
-
Insulated Gloves and Safety Goggles: Prior to handling the control board or any electrical components, don insulated gloves to protect against electric shock. Furthermore, donning safety goggles shields your eyes from potential sparks, debris, or accidental contact with hazardous substances. These protective measures are essential for minimizing the risk of injury during the testing process.
-
Work Area Preparation: Clear the work area around the washing machine to create a spacious and unobstructed environment for testing the control board. Remove any clutter, liquids, or flammable materials from the vicinity to prevent accidents and facilitate unhindered access to the appliance's interior.
-
Identification of Live Wires: Exercise caution when handling wires and components connected to the control board. Identify and label live wires to avoid accidental contact and ensure that they are adequately insulated to prevent electrical hazards.
-
Proper Grounding: Establish a proper grounding connection to dissipate any residual electrical charge and minimize the risk of static discharge. This is particularly crucial when handling sensitive electronic components to prevent damage due to electrostatic discharge.
-
Adherence to Manufacturer's Guidelines: Refer to the washing machine's user manual or technical documentation provided by the manufacturer for specific safety instructions and precautions related to testing the control board. Adhering to the manufacturer's guidelines ensures compliance with recommended safety protocols and best practices.
By meticulously adhering to these safety precautions, you can create a secure testing environment and mitigate the inherent risks associated with handling electrical components. Prioritizing safety not only safeguards your well-being but also contributes to a methodical and focused testing process, enabling you to effectively assess the washing machine control board with confidence and peace of mind.
Testing the Power Supply
Before delving into the intricate components of the washing machine control board, it is imperative to initiate the testing process by assessing the power supply. The power supply serves as the vital lifeline that energizes the control board and facilitates the seamless operation of the washing machine. By meticulously testing the power supply, you can ascertain the presence of adequate voltage and identify any irregularities that may impede the functionality of the control board.
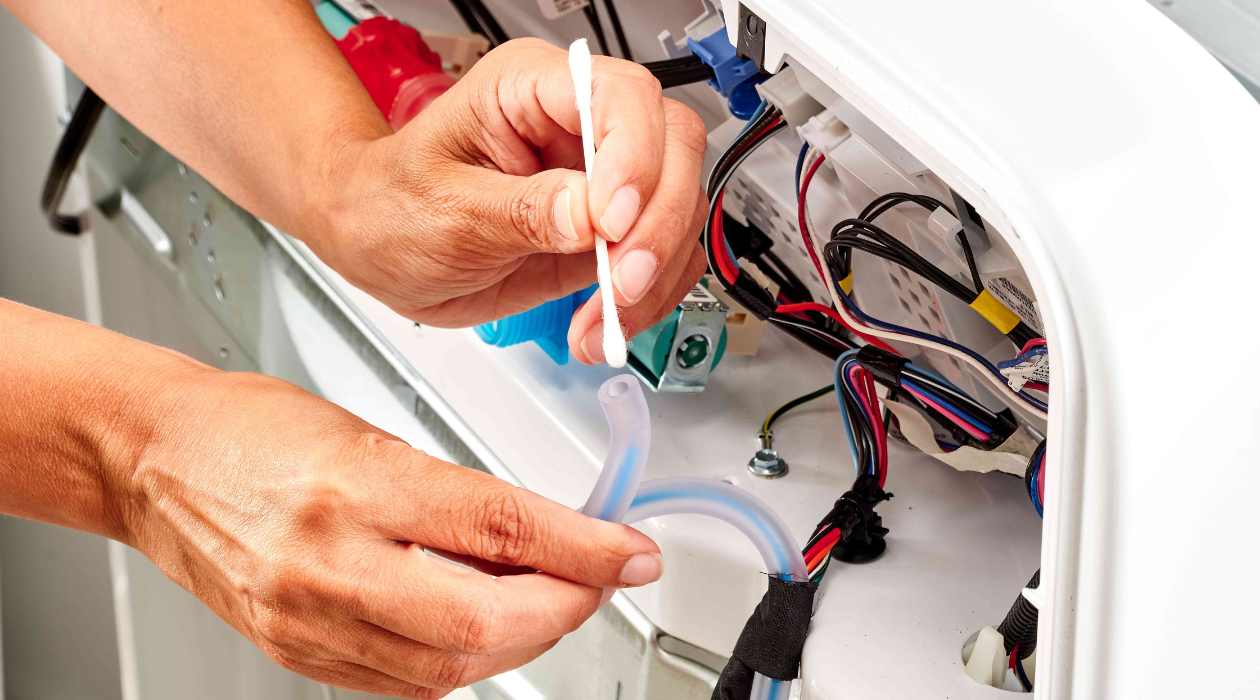
To commence the power supply testing, begin by unplugging the washing machine from the electrical outlet to ensure complete disconnection from the power source. This precautionary measure eliminates the risk of electric shock and provides a safe environment for conducting the assessment. Once the washing machine is disconnected, proceed to access the control board, which is typically located within the appliance's housing.
Using a multimeter set to measure AC voltage, carefully probe the power supply terminals connected to the control board. Ensure that the multimeter's testing leads are securely connected to the corresponding terminals to obtain accurate voltage readings. With the multimeter in place, restore power to the washing machine and observe the voltage displayed on the multimeter's screen. A standard power supply for a washing machine typically ranges between 110 to 120 volts for residential units.
During the voltage assessment, pay close attention to fluctuations or inconsistencies in the voltage readings, as these deviations may indicate underlying issues with the power supply. Additionally, inspect the power supply connections for signs of corrosion, loose wiring, or physical damage, as these factors can adversely impact the stability of the power supply.
In the event of encountering irregular voltage readings or identifying compromised power supply connections, it is imperative to address these issues promptly to restore the optimal functionality of the control board. This may involve rectifying faulty wiring, replacing damaged power supply components, or consulting a qualified technician for further diagnosis and resolution.
By meticulously testing the power supply and diligently scrutinizing the voltage parameters, you can lay a solid foundation for the subsequent assessment of the control board components. This meticulous approach enables you to identify and rectify power supply-related issues, ensuring that the control board receives the requisite electrical input for orchestrating the seamless operation of the washing machine.
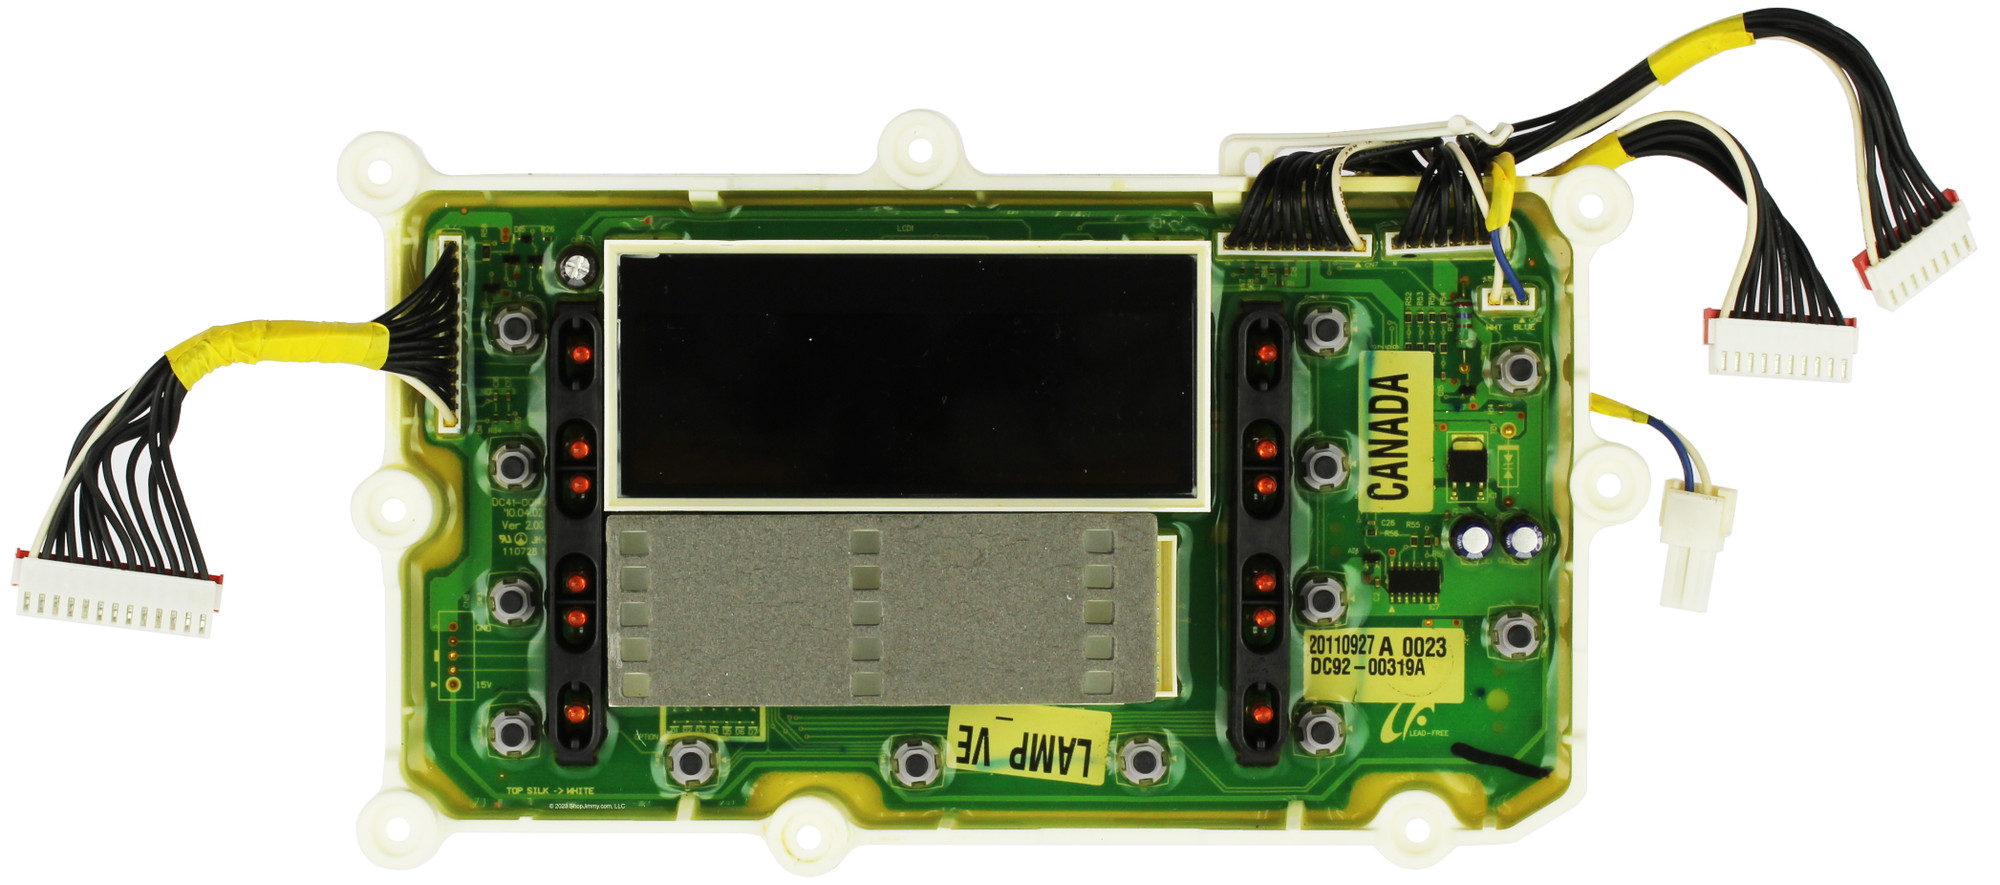
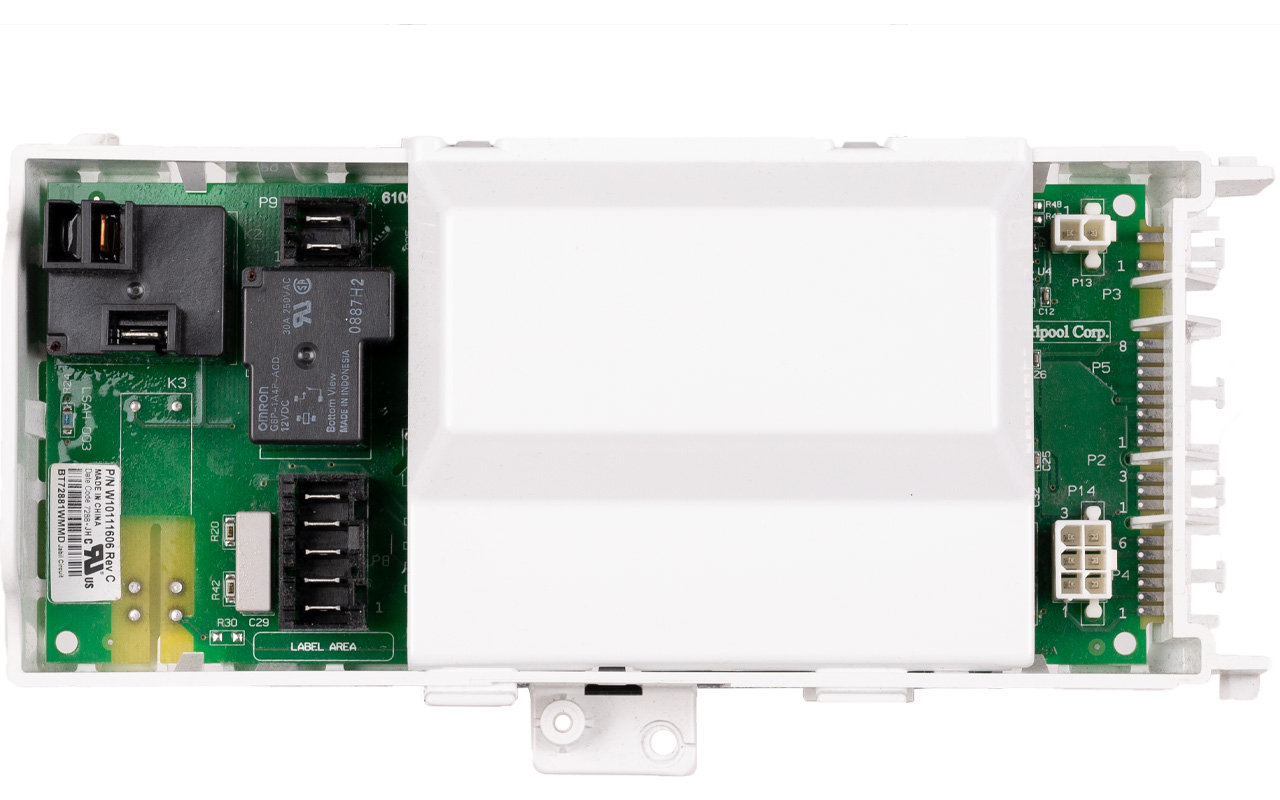
Testing the Control Board Components
Once the power supply assessment is completed, the next crucial phase in testing a washing machine control board involves scrutinizing the individual components integrated within the control board. The control board comprises an array of electronic elements, including relays, capacitors, resistors, and microcontrollers, each playing a pivotal role in regulating the various functions of the washing machine. By methodically testing these components, you can pinpoint any anomalies or malfunctions that may impede the control board's optimal performance.
Read more: How To Test Windshield Washer Pump
Relays and Contact Points
Commence the assessment by focusing on the relays and contact points within the control board. Relays serve as electromechanical switches that facilitate the activation of specific functions, such as initiating the motor or controlling the water inlet valve. Using a multimeter set to measure resistance, carefully probe the relay terminals to ascertain their operational integrity. An optimal relay exhibits consistent resistance readings and ensures seamless electrical conductivity. Additionally, inspect the contact points for signs of corrosion, wear, or damage, as these factors can compromise the relay's functionality.
Capacitors and Resistors
Proceed to evaluate the capacitors and resistors embedded within the control board. Capacitors are responsible for storing and discharging electrical energy, while resistors regulate the flow of current within the circuit. Utilizing the multimeter's capacitance measurement function, assess the capacitors for their capacitance values and integrity. Anomalies such as bulging or leaking capacitors indicate potential failure and necessitate replacement. Similarly, measure the resistance of the resistors to verify their adherence to the specified resistance values, identifying any deviations that signify defective components.
Microcontrollers and Integrated Circuits
The microcontroller, often regarded as the brain of the control board, orchestrates the intricate operations of the washing machine by processing input signals and executing predefined commands. Integrated circuits collaborate with the microcontroller to facilitate seamless communication and control of the appliance's functions. Employing the multimeter's continuity test function, validate the connectivity and integrity of the microcontroller and integrated circuits. Any disruptions in continuity or irregularities in signal transmission may indicate underlying issues requiring further investigation.
Interpreting the Test Results
Throughout the component testing process, meticulous documentation of the test results is imperative. Record the readings obtained from the multimeter, noting any deviations from the specified parameters or irregularities observed during the assessment. These comprehensive records serve as invaluable reference points for diagnosing and addressing the identified issues, guiding subsequent repair or replacement efforts.
By meticulously testing the control board components and discerningly interpreting the test results, you can gain profound insights into the operational status of the washing machine's vital electronic elements. This systematic approach empowers you to identify and rectify component-related issues, fostering the seamless functionality of the control board and ensuring the optimal performance of the washing machine.
Read more: Where Is The HVAC Control Board Located
Interpreting the Test Results
Interpreting the test results obtained from the comprehensive assessment of the washing machine control board components is a pivotal phase in the diagnostic process. The meticulous scrutiny of the multimeter readings and observations during the testing procedure yields valuable insights into the operational status of the control board's intricate electronic elements. By discerningly interpreting the test results, you can effectively discern anomalies, identify malfunctioning components, and formulate a targeted course of action to rectify the issues.
Upon reviewing the recorded multimeter readings and observations, it is essential to categorize the test results based on their implications for the control board's functionality. Anomalies such as irregular resistance values, fluctuating capacitance readings, or disrupted continuity in microcontrollers and integrated circuits signify potential malfunctions that warrant further attention. These deviations from the specified parameters serve as critical indicators of underlying issues within the control board's components.
Furthermore, the interpretation of the test results involves correlating the identified anomalies with the observed symptoms or malfunctions exhibited by the washing machine. By aligning the test results with the reported issues, such as erratic cycle operations, failure to initiate specific functions, or irregularities in water intake, you can establish a direct correlation between the control board's components and the manifested malfunctions. This correlation serves as a guiding framework for prioritizing the resolution of identified component-related issues to address the washing machine's operational deficiencies effectively.
In addition to identifying anomalies, the interpretation of the test results encompasses the formulation of a targeted action plan to address the identified component-related issues. This involves delineating the specific components requiring replacement, repair, or recalibration based on the test results and observations. By devising a structured action plan, you can streamline the repair process and expedite the restoration of the control board's optimal functionality, thereby facilitating the seamless operation of the washing machine.
Moreover, the interpretation of the test results serves as a foundation for consulting technical documentation, manufacturer's guidelines, and expert resources to gain deeper insights into the identified component-related issues. This collaborative approach leverages the test results as diagnostic indicators, enabling informed decision-making and precise execution of the necessary repairs or replacements.
In essence, the interpretation of the test results is a pivotal endeavor that culminates in a comprehensive understanding of the control board's operational status, the correlation between component anomalies and manifested malfunctions, and the formulation of a targeted action plan for resolving identified issues. This interpretative process empowers you to navigate the repair or replacement efforts with precision and efficacy, ultimately restoring the optimal functionality of the washing machine's control board.
When testing a washing machine control board, use a multimeter to check for continuity and voltage at the connections. Look for any burnt or damaged components. Always disconnect power before testing.
Conclusion
In conclusion, mastering the art of testing a washing machine control board is a transformative skill that empowers individuals to diagnose and resolve issues with their appliances effectively. Through the meticulous assessment of the power supply and the comprehensive scrutiny of the control board components, one can gain profound insights into the operational status of the washing machine's vital electronic elements. The interpretative process of the test results serves as a guiding framework for formulating a targeted action plan to address identified component-related issues, ultimately facilitating the seamless operation of the washing machine.
By adhering to stringent safety precautions and leveraging the essential tools and equipment, individuals can embark on the testing process with confidence and peace of mind. The systematic approach to testing the power supply ensures the identification of irregularities that may impede the functionality of the control board, laying a solid foundation for subsequent assessments. Furthermore, the meticulous testing of the control board components, including relays, capacitors, resistors, microcontrollers, and integrated circuits, enables individuals to pinpoint anomalies and malfunctions, guiding the formulation of a targeted course of action for rectifying the issues.
The interpretative process of the test results serves as a pivotal endeavor that culminates in a comprehensive understanding of the control board's operational status, the correlation between component anomalies and manifested malfunctions, and the formulation of a targeted action plan for resolving identified issues. This interpretative process empowers individuals to navigate the repair or replacement efforts with precision and efficacy, ultimately restoring the optimal functionality of the washing machine's control board.
By honing the skills required to test a washing machine control board, individuals can transcend from being mere users of appliances to adept troubleshooters capable of maintaining and repairing their valuable assets. This newfound proficiency not only fosters self-reliance but also contributes to cost savings and a deeper appreciation for the intricate technology embedded within washing machines. Embracing the journey of testing a washing machine control board is a transformative endeavor that equips individuals with the knowledge and skills to uphold the seamless functionality of their appliances, enriching their daily lives with convenience and efficiency.
Frequently Asked Questions about How To Test A Washing Machine Control Board
Was this page helpful?
At Storables.com, we guarantee accurate and reliable information. Our content, validated by Expert Board Contributors, is crafted following stringent Editorial Policies. We're committed to providing you with well-researched, expert-backed insights for all your informational needs.


0 thoughts on “How To Test A Washing Machine Control Board”