Home>Home Appliances>Lighting Appliances>How To Ground A Ceiling Light

Lighting Appliances
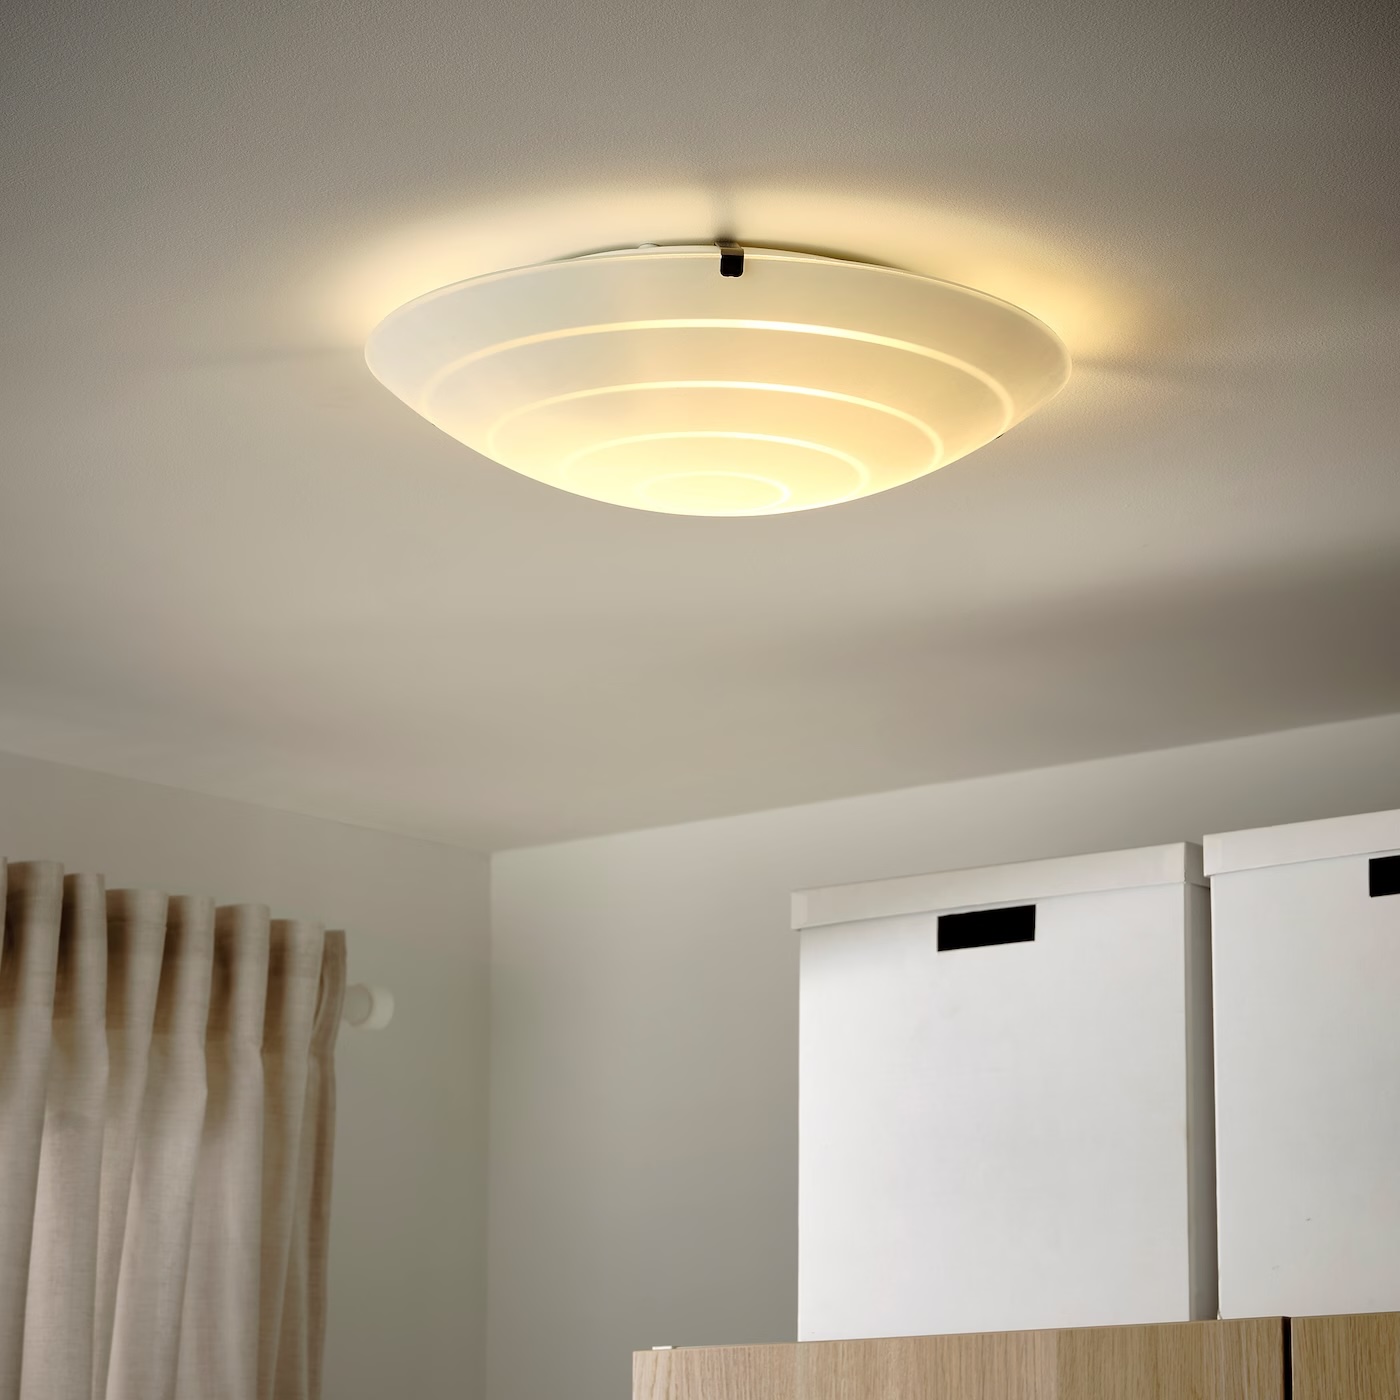
How To Ground A Ceiling Light
Modified: August 17, 2024
Learn how to properly ground a ceiling light to ensure safety and compliance. Our guide covers essential steps for installing lighting appliances with confidence.
(Many of the links in this article redirect to a specific reviewed product. Your purchase of these products through affiliate links helps to generate commission for Storables.com, at no extra cost. Learn more)
Introduction
When it comes to lighting fixtures, ensuring proper grounding is essential for both safety and functionality. A ceiling light that is not properly grounded can pose a risk of electrical shock and may not operate as intended. Grounding a ceiling light involves connecting it to the grounding system of your home, which provides a path for electrical currents to safely dissipate in the event of a fault.
Whether you are replacing an existing ceiling light or installing a new one, understanding how to ground the fixture is crucial. This process involves a series of steps that require attention to detail and a cautious approach. By following the correct procedures, you can ensure that your ceiling light is not only securely installed but also compliant with electrical safety standards.
In the following guide, we will walk you through the step-by-step process of grounding a ceiling light. From turning off the power to testing the light after installation, each stage is vital in achieving a safe and effective outcome. By the end of this tutorial, you will have the knowledge and confidence to ground a ceiling light in your home, promoting a secure and well-illuminated living space.
Let's dive into the essential steps for grounding a ceiling light, ensuring that you have the necessary tools and knowledge to complete the task effectively and safely.
Key Takeaways:
- Safety First!
Before grounding a ceiling light, always turn off the power at the circuit breaker and use a voltage tester to ensure it’s off. Safety measures like locking the breaker and wearing protective gear are crucial for a secure installation. - Test and Inspect
After installing the light, turn the power back on and test the light to ensure it works properly. Check for any flickering, overheating, or unusual smells to guarantee a safe and well-illuminated living space.
Read more: How To Move Ceiling Light
Step 1: Turn off the Power
Before beginning any work on the ceiling light, it is crucial to ensure that the power supply to the fixture is completely turned off. This step is paramount for personal safety and to prevent any electrical mishaps during the installation process.
-
Locate the Circuit Breaker: Identify the circuit breaker that controls the power supply to the ceiling light. Circuit breakers are typically located in the electrical panel of the house. Once located, switch off the breaker that corresponds to the light fixture. It is advisable to use a flashlight if the electrical panel is in a dimly lit area.
-
Double-Check the Power: After switching off the circuit breaker, use a non-contact voltage tester to verify that the power is indeed off. This handheld device can detect the presence of electrical current without direct contact, providing an extra layer of safety assurance.
-
Secure the Circuit Breaker: To prevent accidental power restoration while working on the ceiling light, it is recommended to lock or tag the circuit breaker. This precautionary measure ensures that no one inadvertently turns the power back on while the installation is in progress.
By diligently following these steps to turn off the power, you can create a safe working environment for the subsequent tasks involved in grounding the ceiling light. Always prioritize safety when working with electrical components, and never proceed with the installation until you are certain that the power is completely switched off.
Step 2: Gather the Necessary Tools
Before embarking on the process of grounding a ceiling light, it is essential to gather the appropriate tools and equipment. Having the right tools at your disposal not only streamlines the installation process but also ensures that you can address any unforeseen challenges effectively. Here are the necessary tools you will need to complete the task:
-
Screwdriver Set: A set of screwdrivers, including both flathead and Phillips head varieties, is indispensable for removing the existing fixture and securing the new ceiling light in place.
-
Wire Strippers: These tools are essential for accurately stripping the insulation from electrical wires, allowing for proper connection and installation.
-
Voltage Tester: A non-contact voltage tester is crucial for confirming that the power supply to the ceiling light has been effectively turned off before commencing any work. This device helps to mitigate the risk of electrical accidents.
-
Wire Nuts: Wire nuts are used to secure and connect the electrical wires during the installation process. They provide a reliable and insulated connection, ensuring the safety and functionality of the ceiling light.
-
Grounding Pigtail: This component is specifically designed to facilitate the grounding of the ceiling light. It provides a secure and efficient means of connecting the fixture to the grounding system of the electrical wiring.
-
Ladder or Step Stool: Depending on the height of the ceiling, a stable ladder or step stool is necessary to access the fixture safely and comfortably.
-
Electrical Tape: Electrical tape is utilized to insulate and protect wire connections, reducing the risk of electrical shorts and ensuring the integrity of the electrical system.
-
Work Gloves and Safety Glasses: Personal protective equipment, including work gloves and safety glasses, is essential to safeguard against potential hazards during the installation process.
By ensuring that you have all the necessary tools and equipment readily available, you can approach the task of grounding a ceiling light with confidence and preparedness. These tools not only facilitate a smooth installation process but also contribute to maintaining a safe working environment. With the tools in hand, you are now ready to proceed to the next steps of the ceiling light installation process.
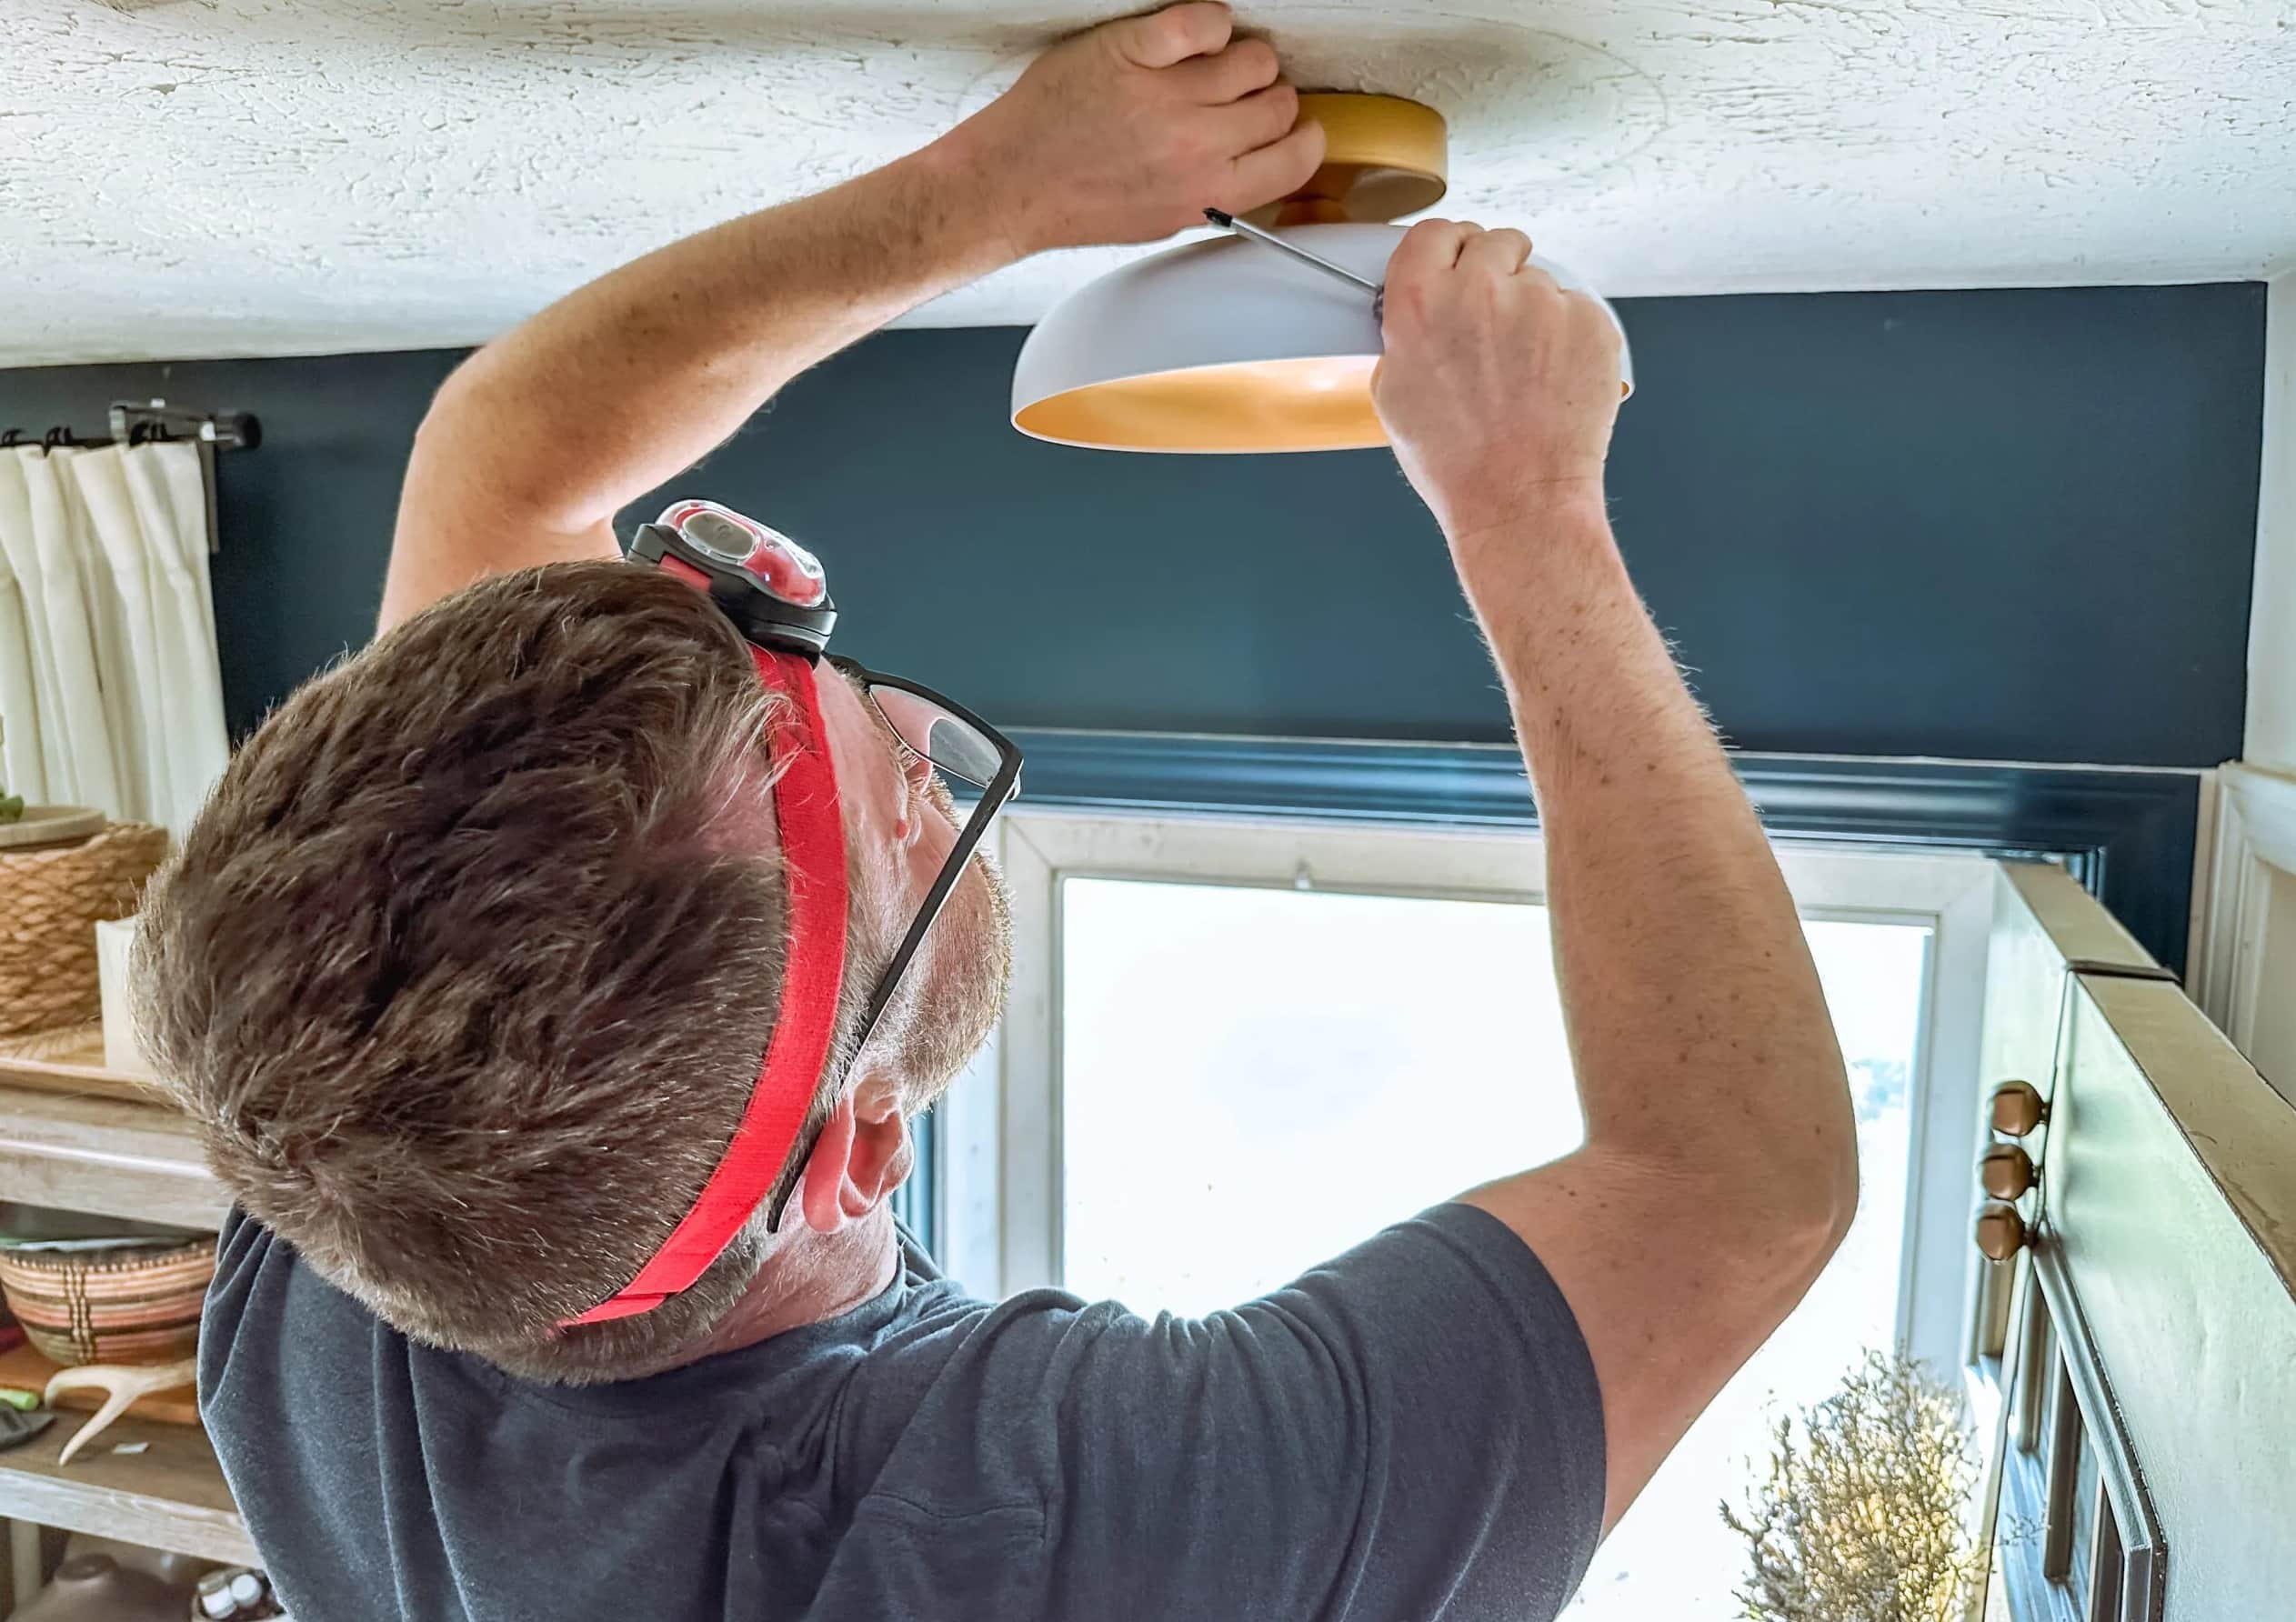
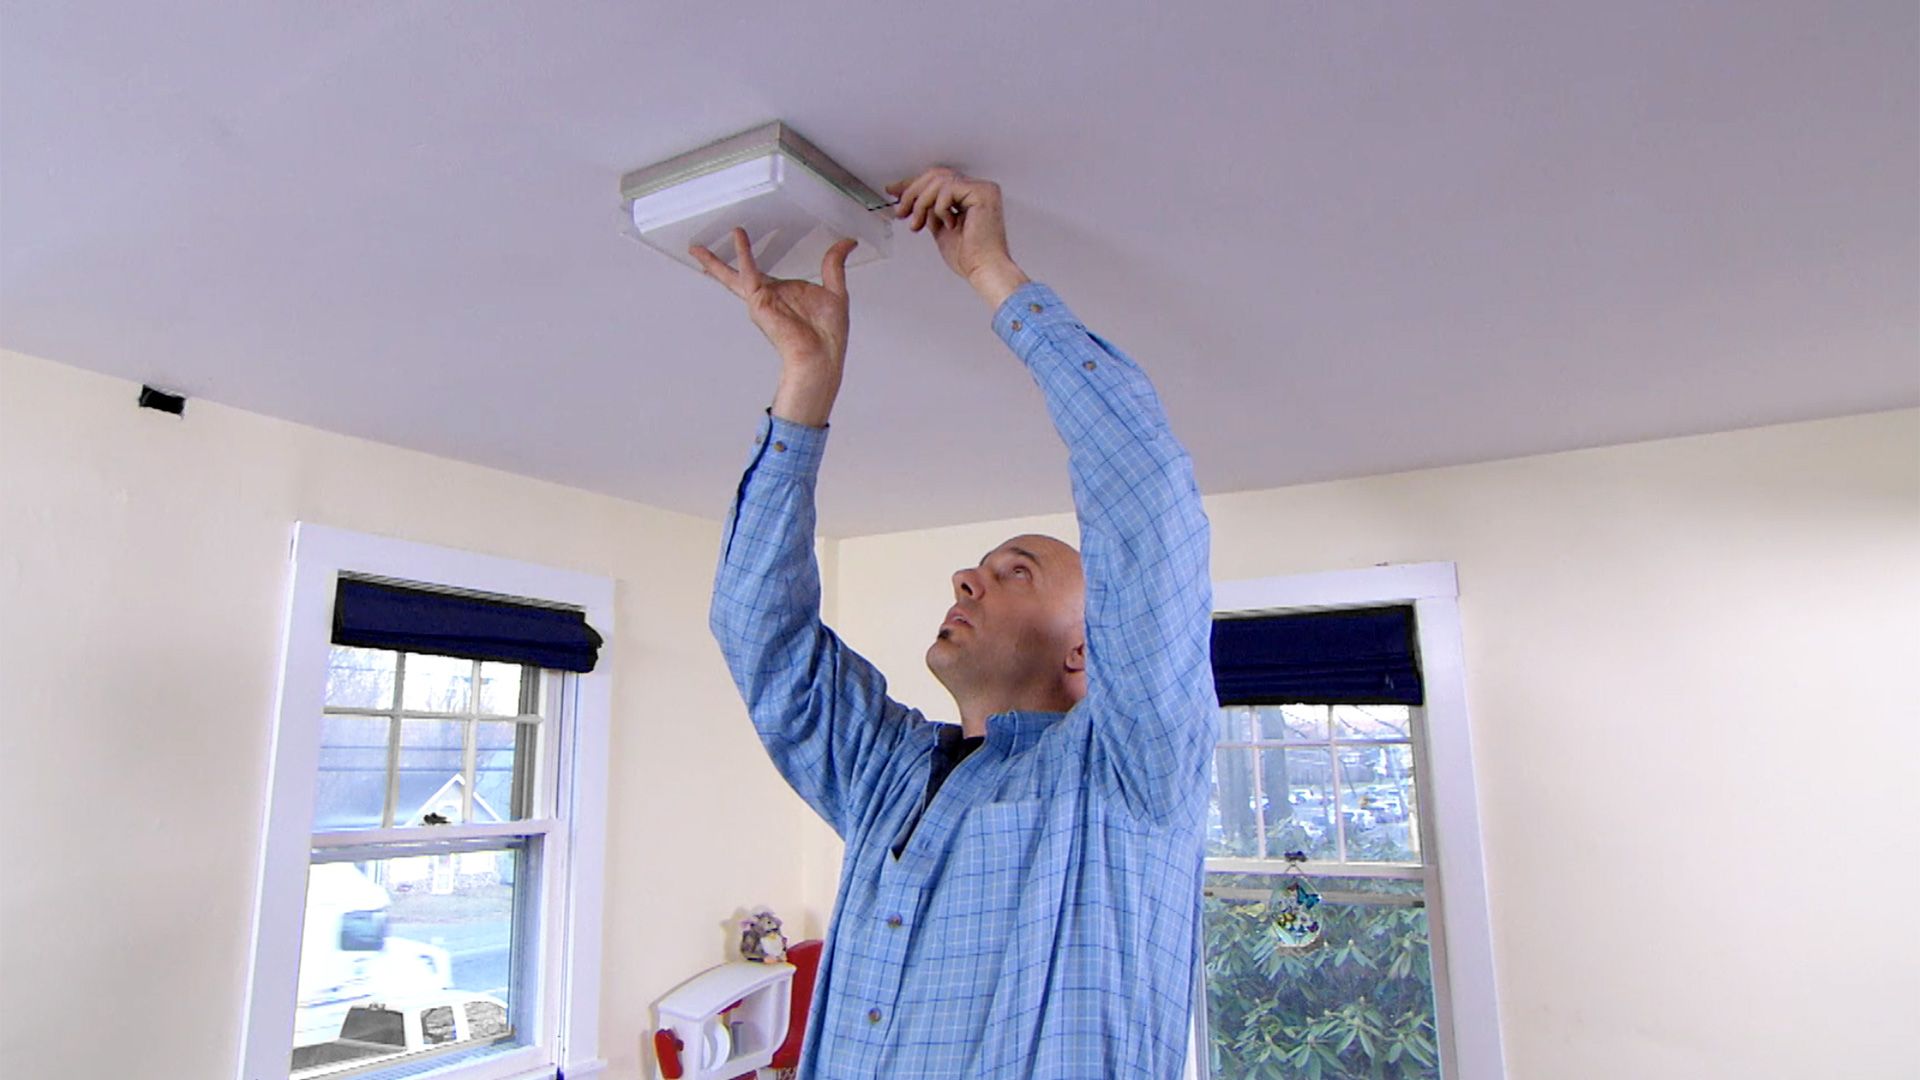
Step 3: Remove the Existing Fixture
Removing the existing fixture is a crucial step in the process of grounding a ceiling light. Whether you are replacing an outdated light or installing a new one, proper removal of the existing fixture sets the stage for a successful installation. This step requires attention to detail and a methodical approach to ensure that the old fixture is safely and effectively detached from the ceiling.
Preparing for Removal
Before beginning the removal process, it is important to take certain precautions to create a safe and organized workspace. Start by placing a sturdy ladder or step stool beneath the fixture, ensuring that it is positioned securely on a level surface. Additionally, it is advisable to have a helper present to provide assistance if needed, especially when dealing with larger or heavier fixtures.
Disconnecting the Wiring
The first task in removing the existing fixture is to disconnect the electrical wiring. This typically involves removing the wire nuts that secure the connections between the fixture's wires and the house wiring. Carefully unscrew the wire nuts and separate the fixture's wires from the house wiring, taking note of the color coding (e.g., black for hot, white for neutral, and green or bare for ground) to ensure proper reconnection later.
Removing the Mounting Hardware
With the wiring disconnected, the next step is to remove the mounting hardware that secures the fixture to the ceiling. Depending on the type of fixture, this may involve unscrewing visible screws or decorative nuts that hold the fixture in place. It is important to support the fixture with one hand while removing the last screw or nut to prevent it from falling.
Lowering and Detaching the Fixture
Once the mounting hardware is removed, carefully lower the fixture from the ceiling, taking care not to strain the electrical wires. If the fixture is heavy or awkward to handle, seek assistance to ensure safe removal. Once the fixture is lowered, set it aside in a safe location, ensuring that it is clear of the work area to allow for the installation of the new ceiling light.
Inspecting the Wiring and Ceiling Box
After removing the fixture, take a moment to inspect the exposed wiring and the ceiling box. Look for any signs of damage, wear, or corrosion, and address any issues before proceeding with the installation of the new ceiling light. Additionally, ensure that the ceiling box is securely mounted and capable of supporting the weight of the new fixture.
By meticulously following these steps to remove the existing fixture, you can effectively prepare the space for the installation of the new ceiling light. With the old fixture safely detached and the wiring exposed, you are now ready to proceed to the next steps of grounding the new ceiling light, ensuring a seamless and secure installation process.
Read more: How To Choose A Ceiling Light
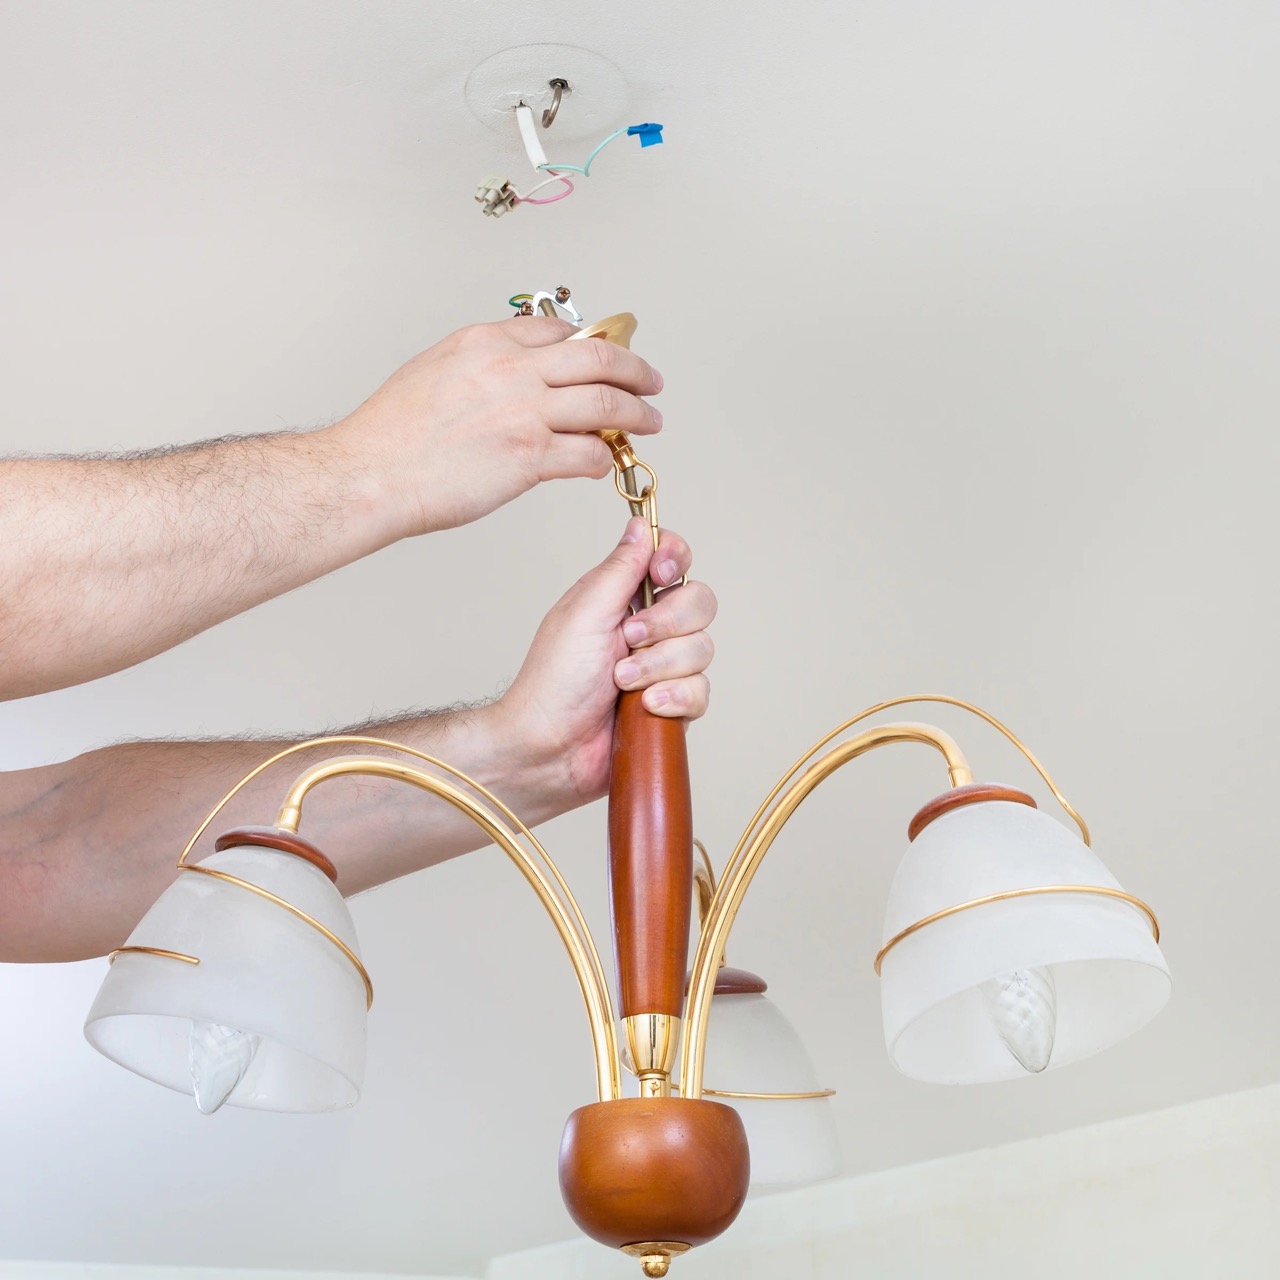
Step 4: Install the Ground Wire
Installing the ground wire is a critical step in the process of grounding a ceiling light. The ground wire, often referred to as the grounding conductor, serves as a vital safety feature, providing a path for electrical currents to safely dissipate in the event of a fault. Proper installation of the ground wire ensures that the ceiling light is securely connected to the grounding system of the electrical wiring, promoting both safety and functionality.
To begin the installation of the ground wire, carefully examine the electrical wiring in the ceiling box. Identify the grounding conductor, which is typically a bare copper wire or a wire with green insulation. This wire is dedicated to grounding and is essential for establishing a secure connection between the ceiling light and the grounding system.
Once the grounding conductor is identified, proceed to prepare the ground wire provided with the new ceiling light fixture. This wire is often a green or bare copper conductor, specifically designated for grounding purposes. If the fixture does not include a ground wire, a grounding pigtail can be utilized to establish the connection between the fixture and the grounding conductor in the ceiling box.
Using wire strippers, carefully strip a small portion of insulation from the end of the ground wire to expose the conductor. Take care to strip just enough insulation to allow for a secure connection without exposing an excessive length of the conductor. With the ground wire prepared, it is now ready to be connected to the grounding conductor in the ceiling box.
Securely connect the ground wire from the ceiling light fixture to the grounding conductor in the ceiling box. This is typically achieved by twisting the ends of the wires together and securing them with a wire nut. Ensure that the connection is snug and secure, as the integrity of the ground connection is crucial for the safe operation of the ceiling light.
After connecting the ground wire, carefully tuck any excess wiring into the ceiling box, ensuring that no wires are pinched or strained. With the ground wire securely installed and the wiring neatly arranged, the fixture is now ready to be mounted to the ceiling.
By meticulously following these steps to install the ground wire, you can effectively establish a secure and reliable connection between the ceiling light fixture and the grounding system. This ensures that the fixture is not only compliant with electrical safety standards but also equipped to provide safe and dependable illumination in your living space.
Step 5: Secure the Fixture
Securing the fixture is a pivotal step in the process of grounding a ceiling light, ensuring that the newly installed or replaced fixture is stably affixed to the ceiling. This step involves mounting the fixture in a manner that not only provides structural support but also facilitates the proper connection of the electrical wiring. By following the correct procedures for securing the fixture, you can guarantee a safe and reliable installation that enhances the overall lighting environment in your home.
To begin, carefully position the new ceiling light fixture over the ceiling box, aligning it with the mounting screws or hardware. Depending on the design of the fixture, it may feature a mounting bracket or crossbar that needs to be secured to the ceiling box. Ensure that the fixture is centered and level, as this will contribute to a visually appealing and balanced installation.
Using the appropriate screws or hardware provided with the fixture, secure the mounting bracket or crossbar to the ceiling box. It is essential to tighten the screws firmly to ensure that the fixture is securely anchored to the ceiling. Take care not to over-tighten the screws, as this could potentially damage the fixture or the ceiling box.
Once the mounting bracket or crossbar is securely in place, carefully lift the fixture and align it with the bracket. Depending on the design, the fixture may feature slots or keyhole openings that allow it to be easily mounted onto the bracket. Ensure that the fixture is properly seated and that any accompanying decorative elements, such as finials or trim pieces, are correctly positioned.
With the fixture aligned and seated on the mounting bracket, secure it in place using the provided screws or fasteners. Take care to follow the manufacturer's instructions regarding the appropriate hardware and installation method. It is crucial to verify that the fixture is firmly attached to the bracket, minimizing any potential for movement or instability.
After securing the fixture, double-check that all connections are tight and secure, and that the fixture is level and aesthetically positioned. This attention to detail ensures that the fixture not only functions safely but also enhances the visual appeal of the space.
By diligently following these steps to secure the fixture, you can complete the installation process with confidence, knowing that the ceiling light is securely mounted and ready for the final stages of the installation process.
When grounding a ceiling light, always connect the grounding wire from the light fixture to the grounding wire in the electrical box using a wire connector. This helps prevent electrical shock and ensures safety.
Step 6: Turn on the Power and Test the Light
With the ceiling light securely installed and all connections properly made, the final step in the process of grounding a ceiling light is to turn on the power and test the functionality of the light. This critical stage ensures that the installation has been executed accurately and that the ceiling light operates as intended, providing safe and effective illumination in your living space.
Before restoring power to the ceiling light, it is essential to conduct a thorough visual inspection of the installation. Verify that all wiring connections are secure and properly insulated, and that no wires are pinched or strained. Additionally, ensure that the fixture is level, securely mounted, and aesthetically positioned. This meticulous inspection serves as a final check to confirm that the installation has been completed to the highest standards of safety and quality.
Once the visual inspection is complete, proceed to the electrical panel and switch on the circuit breaker that controls the power supply to the ceiling light. Exercise caution and attentiveness during this step, ensuring that the breaker is securely engaged and that there are no signs of electrical arcing or sparking. The safe restoration of power is essential to prevent any potential electrical hazards and to facilitate the testing of the light.
With the power restored, return to the location of the ceiling light and switch on the light fixture using the designated control, such as a wall switch or pull chain. Observe the light as it illuminates, confirming that it operates as expected and provides the desired level of illumination. Take note of any flickering, dimming, or unusual behavior, as these could indicate underlying issues that require further attention.
In addition to visual inspection, it is advisable to physically test the functionality of the light by toggling the control switch on and off. This action helps to verify that the electrical connections are secure and that the fixture responds reliably to user input. Pay close attention to any irregularities in the light's behavior, as these could signify wiring issues or compatibility concerns.
After testing the light, take a moment to assess the surrounding area for any signs of overheating or abnormal odors, which could indicate electrical problems. It is crucial to ensure that the fixture, wiring, and ceiling box remain cool and free of any unusual smells, as these could indicate potential safety hazards.
By diligently following these steps to turn on the power and test the light, you can confidently conclude the installation process, knowing that the ceiling light is not only securely grounded but also fully operational. This final stage ensures that the installation has been executed to the highest standards of safety and functionality, providing a well-illuminated and secure living environment for you and your family.
Frequently Asked Questions about How To Ground A Ceiling Light
Was this page helpful?
At Storables.com, we guarantee accurate and reliable information. Our content, validated by Expert Board Contributors, is crafted following stringent Editorial Policies. We're committed to providing you with well-researched, expert-backed insights for all your informational needs.


0 thoughts on “How To Ground A Ceiling Light”